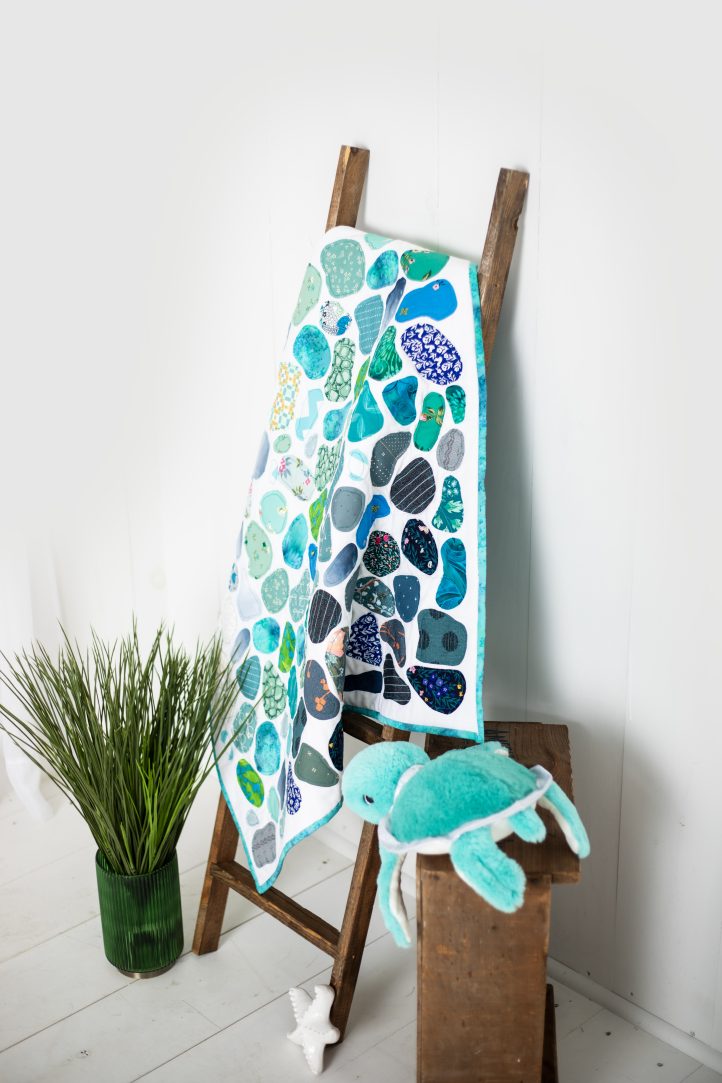
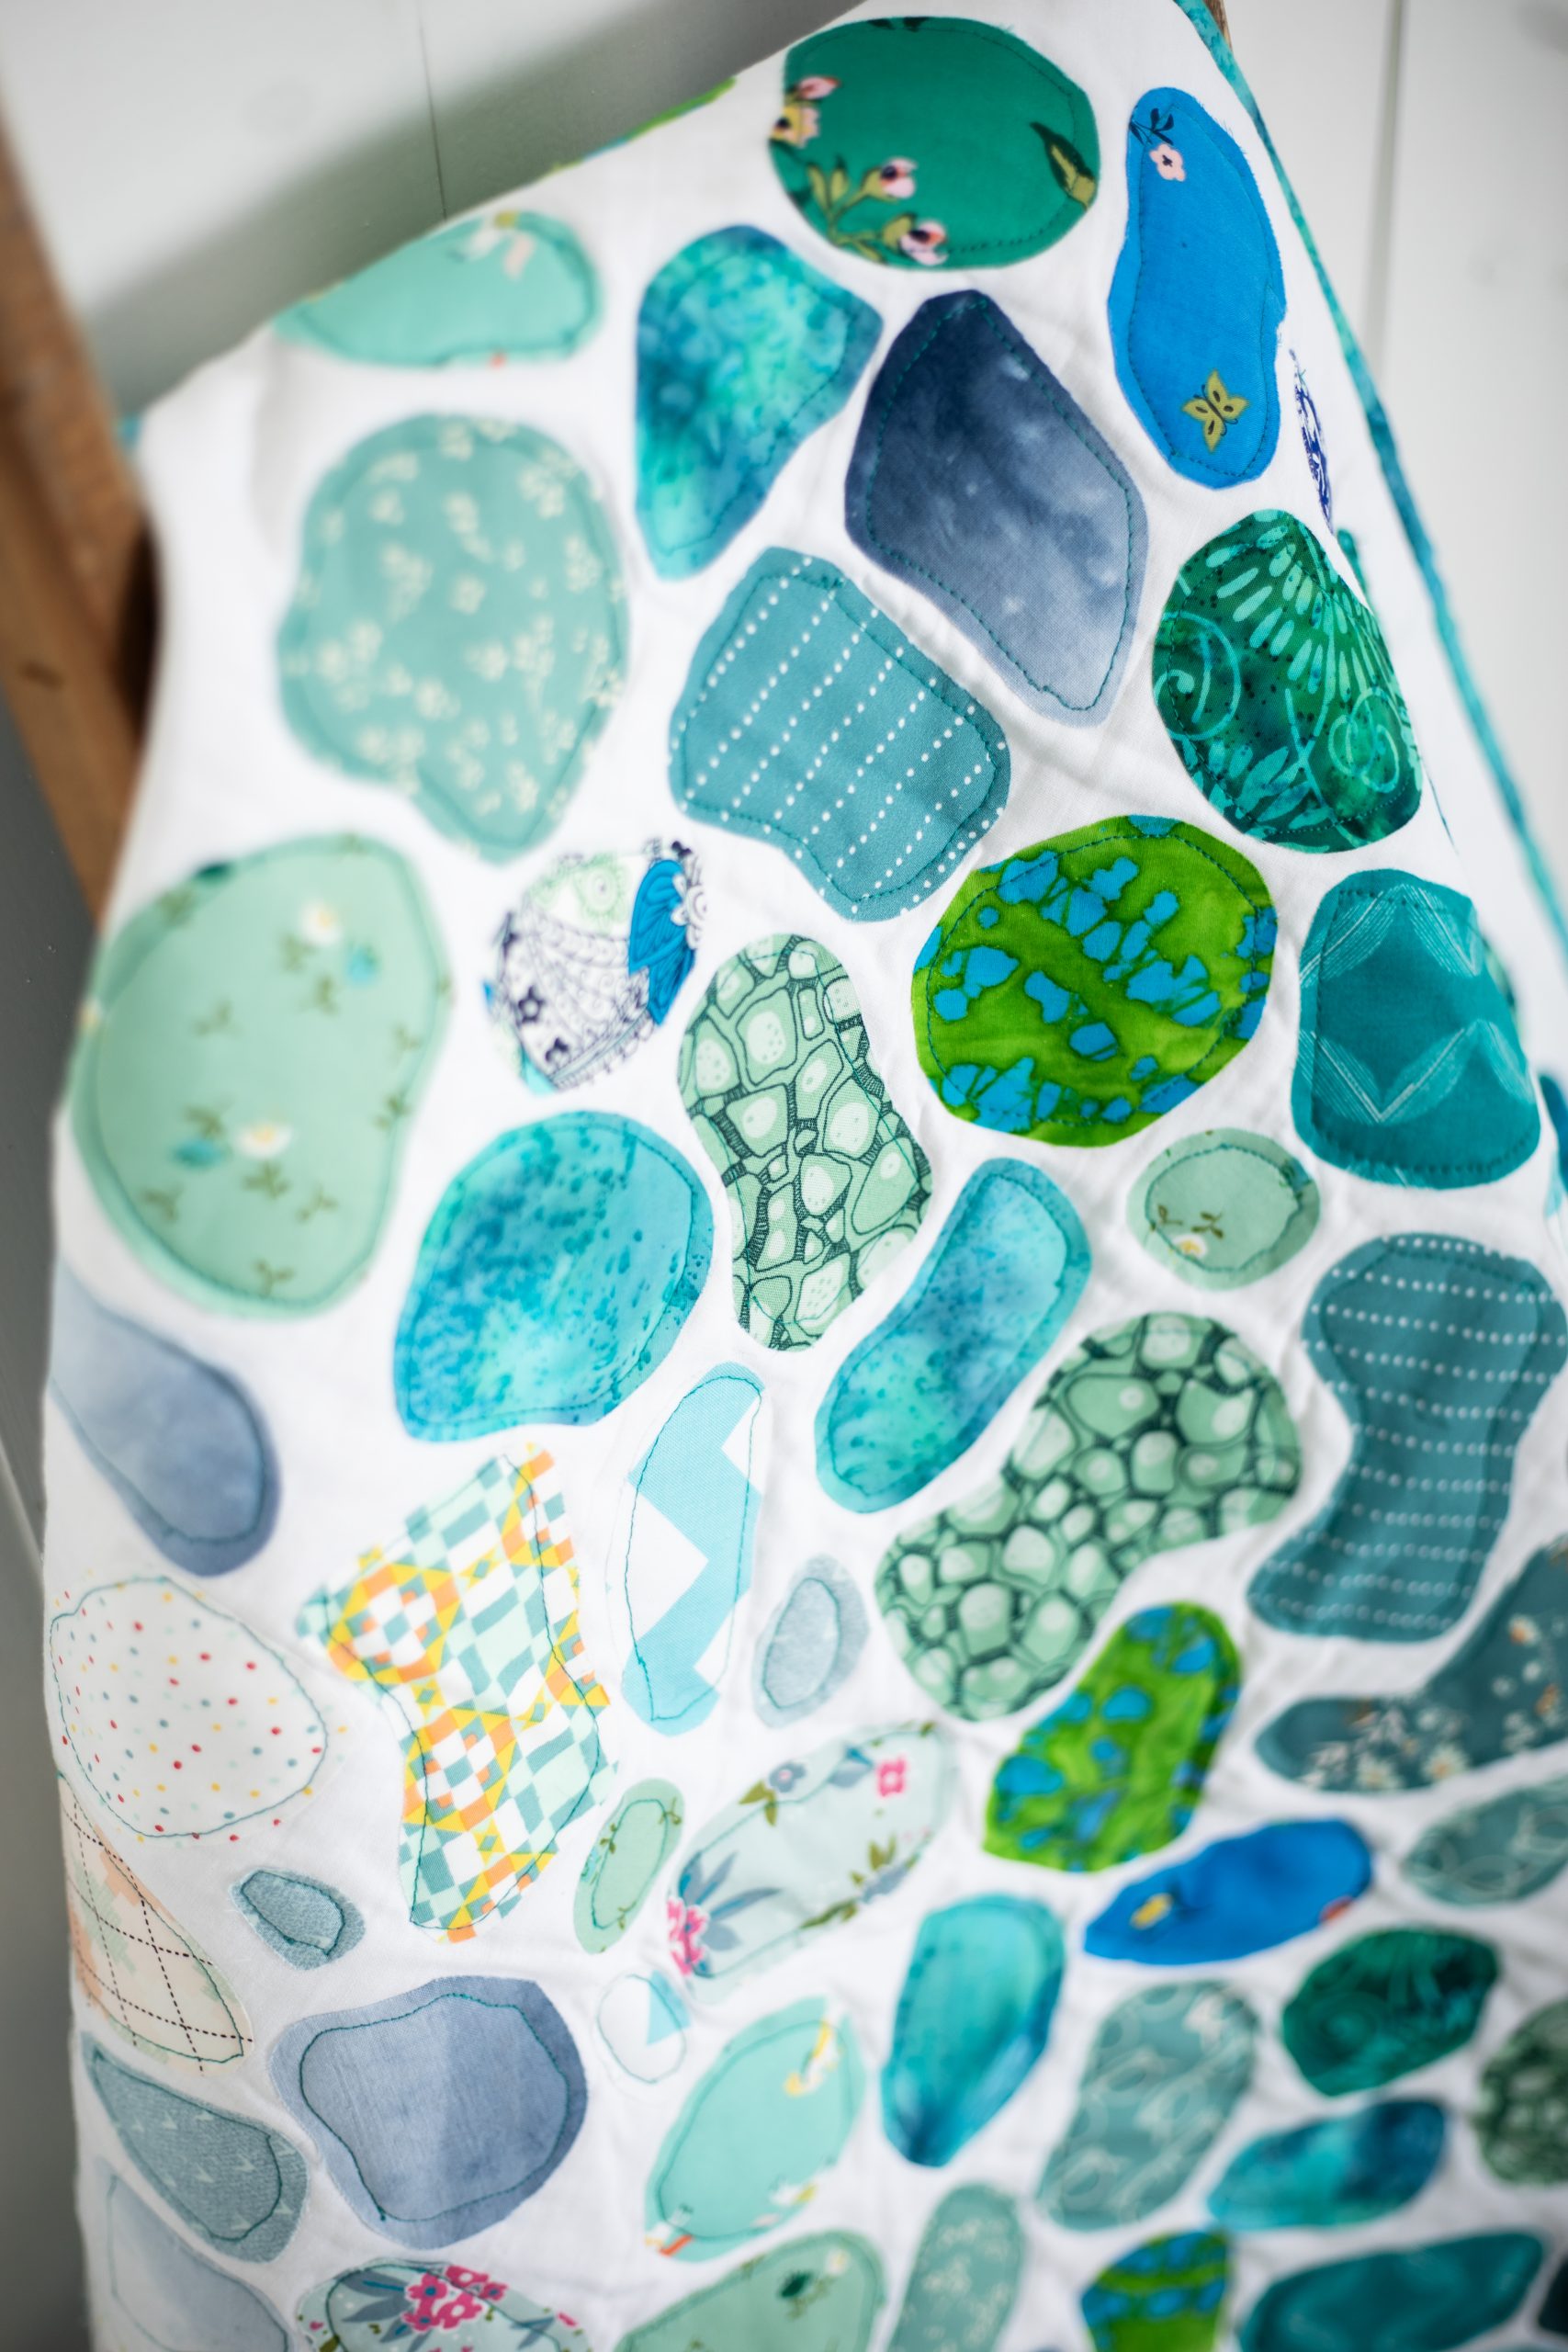
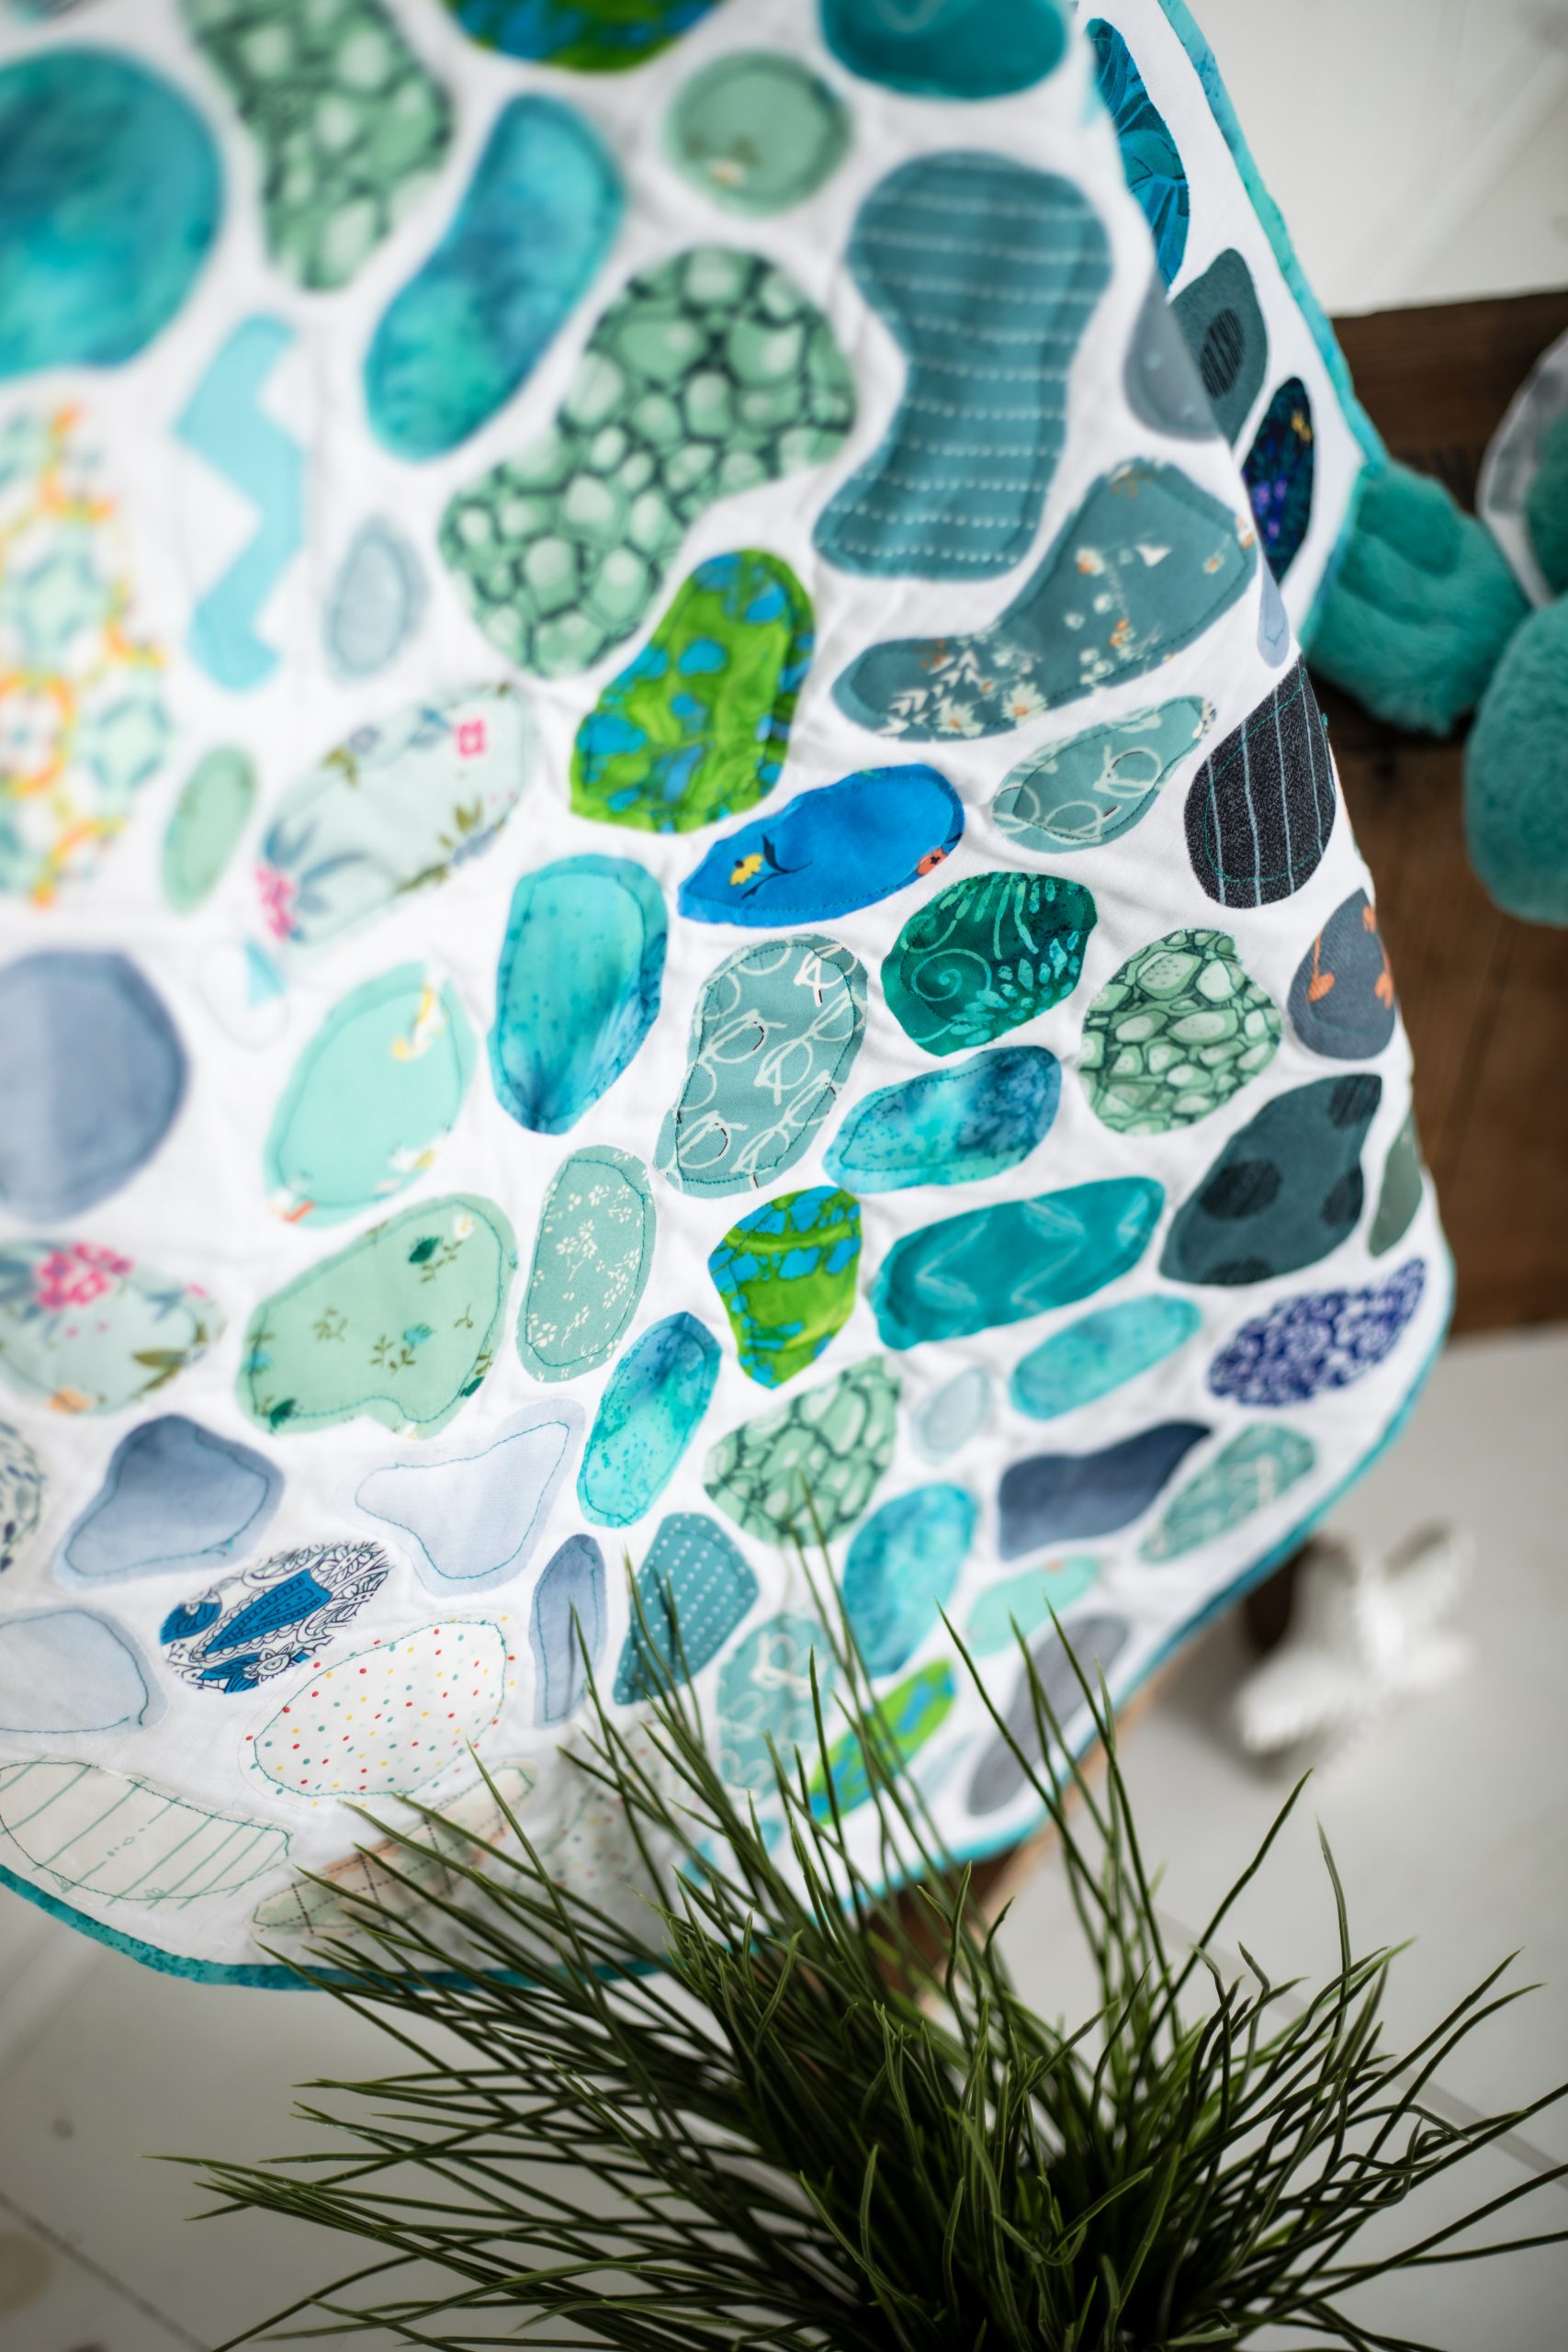
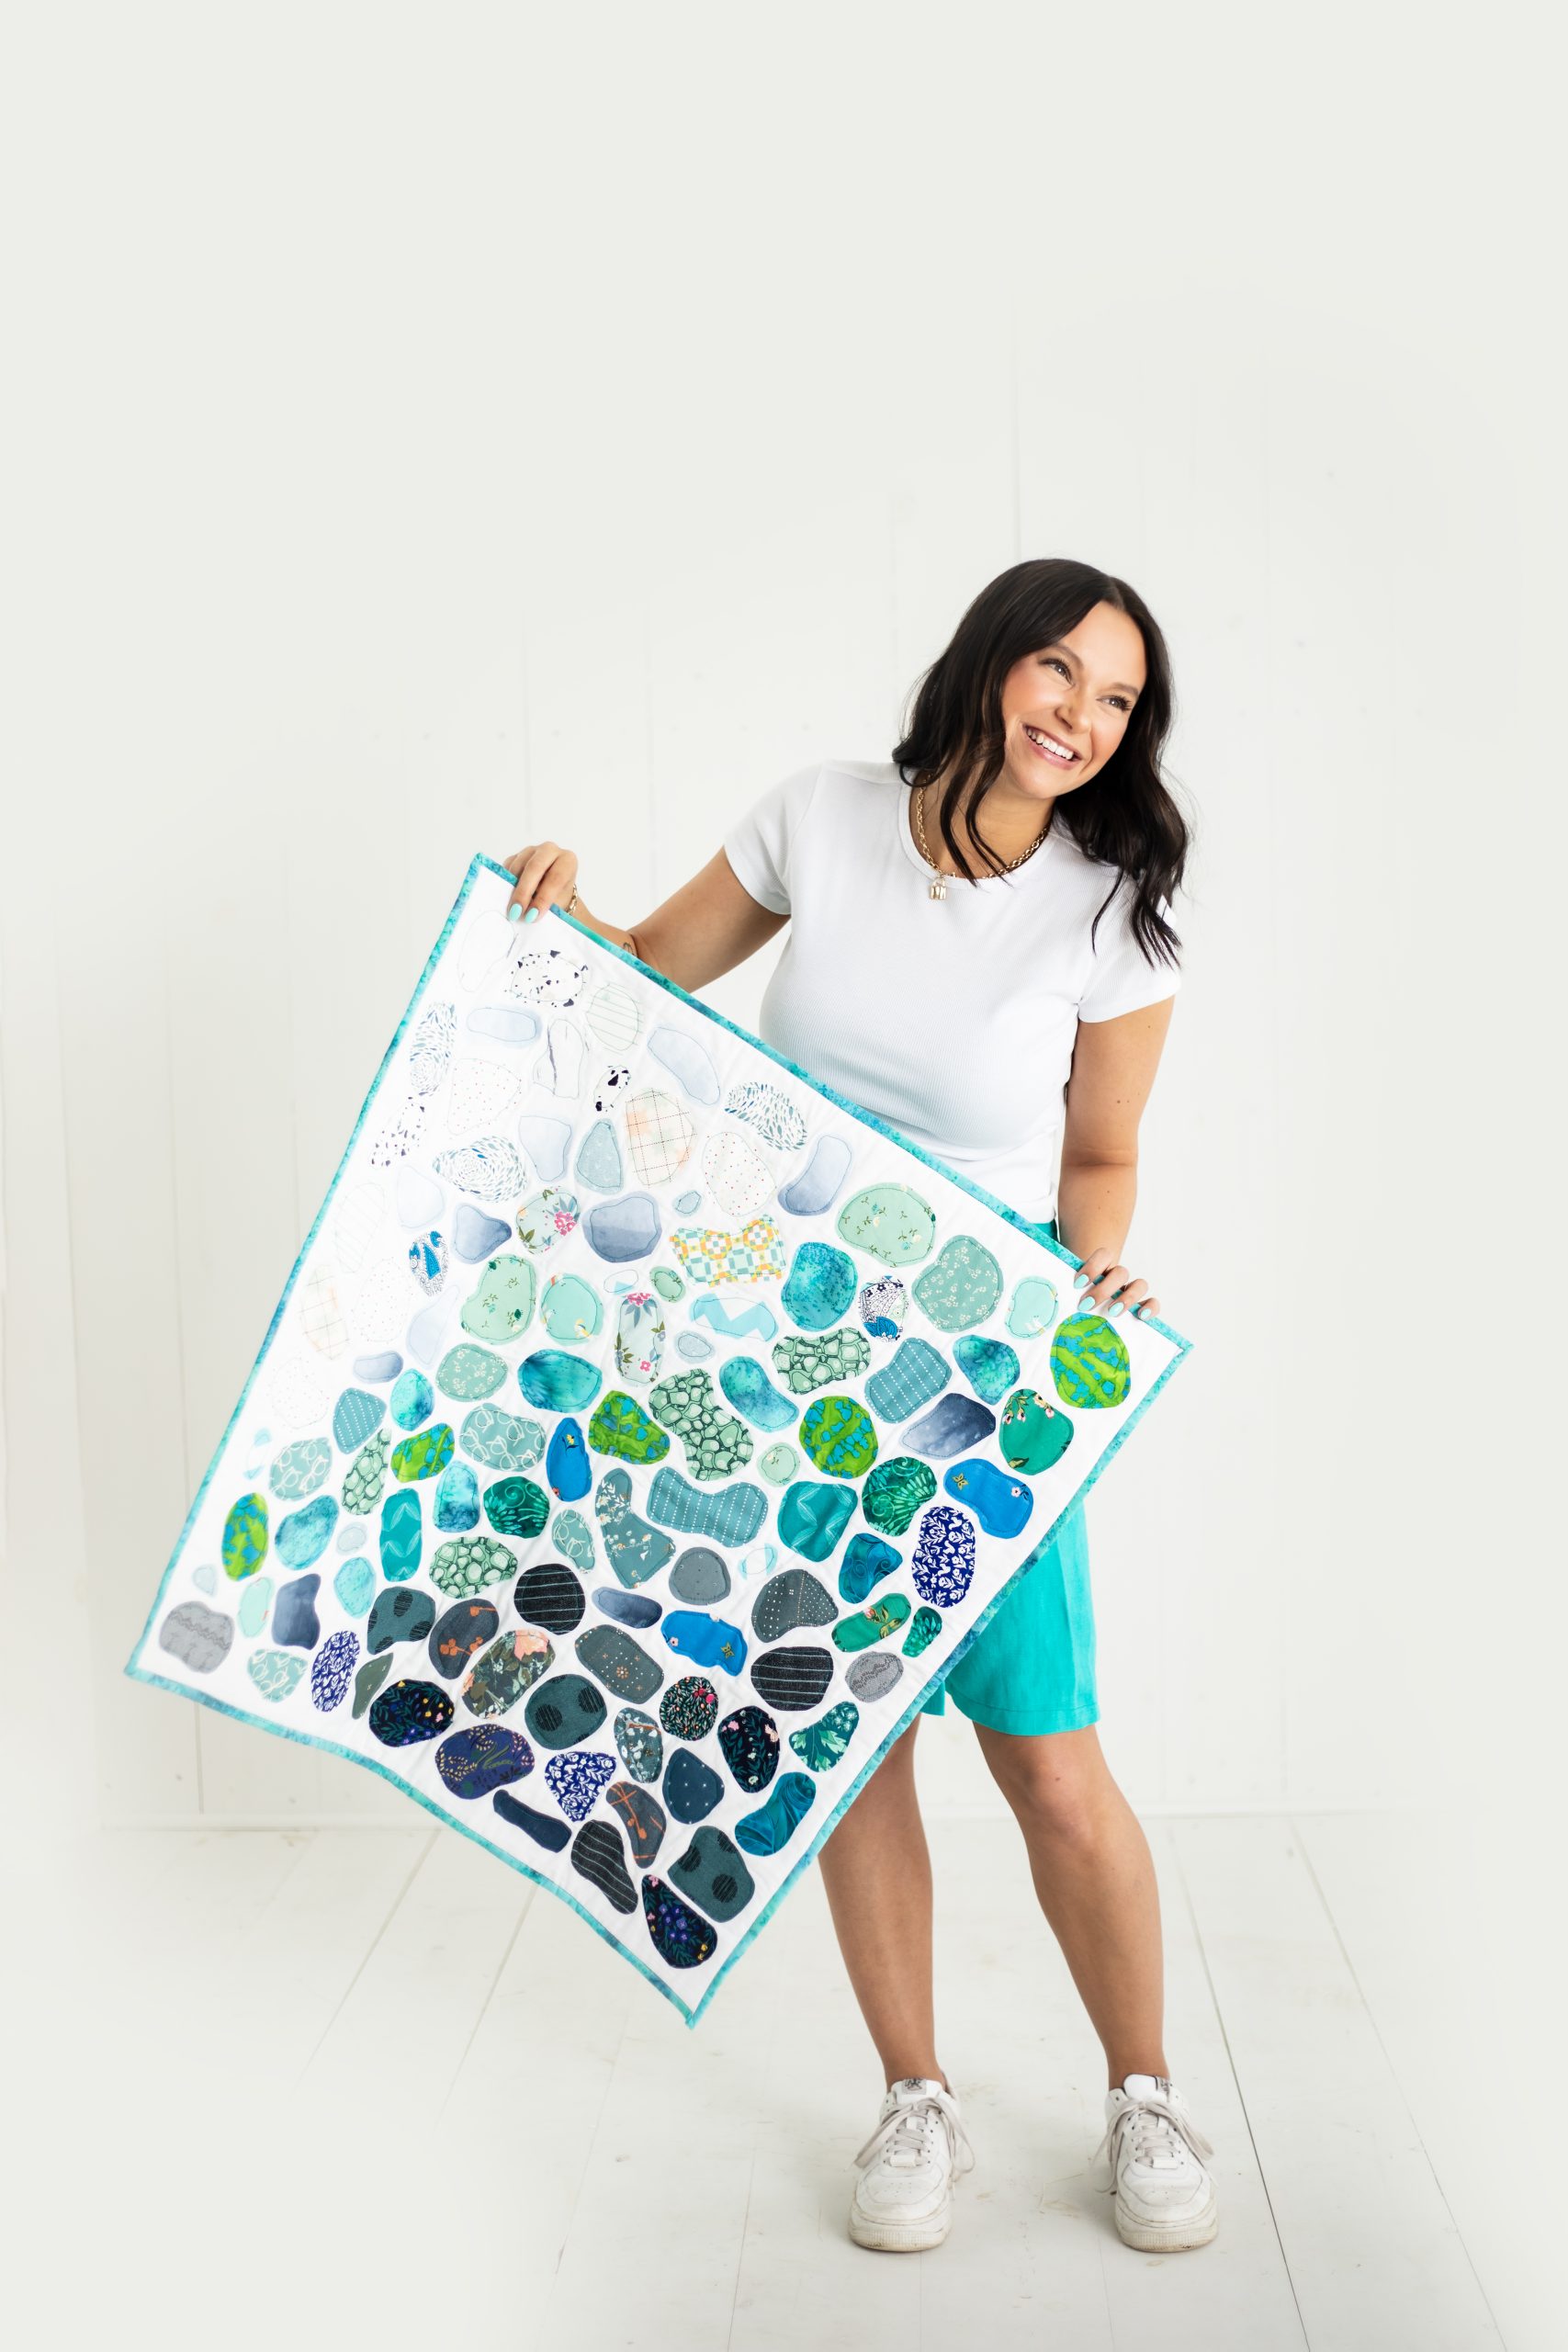
Use clever applique techniques to create a stunning sea glass baby quilt with this pattern from Sophie Tarrant. This summer baby quilt pattern uses fabric scraps in shades of soft white, rich greens, and gemstone blues to create an ombre effect that echoes colors found in real sea glass. Finishing at a 30” square, this sea glass baby quilt is a wonderful gift for the parents-to-be in your life and would look gorgeous in any ocean-themed nursery.
Skill Level: Easy
Seam Allowances: 1/4″
Finished Size: 30” x 30”
Designer Notes: While our designer was inspired by the soft blue and green shades typically found in sea glass, you can opt for any color scheme you like – why not move from bold reds to fiery oranges and yellows, or go all out with a rainbow design?
Materials:
- Fabric: white cotton, and blue batik cotton, 1 yard of each; Plus lots of scraps of cotton in various shades and prints of blue, green, and white
- Sewing thread: Turquoise
- Fusible webbing: 1 yard
- Quilt batting: 1 yard
Tools:
- Rotary cutter and mat
- Scissors
- Pencil
- Iron
- Ruler
- Pins or clips
- Sewing machine
- Free motion embroidery foot
Instructions:
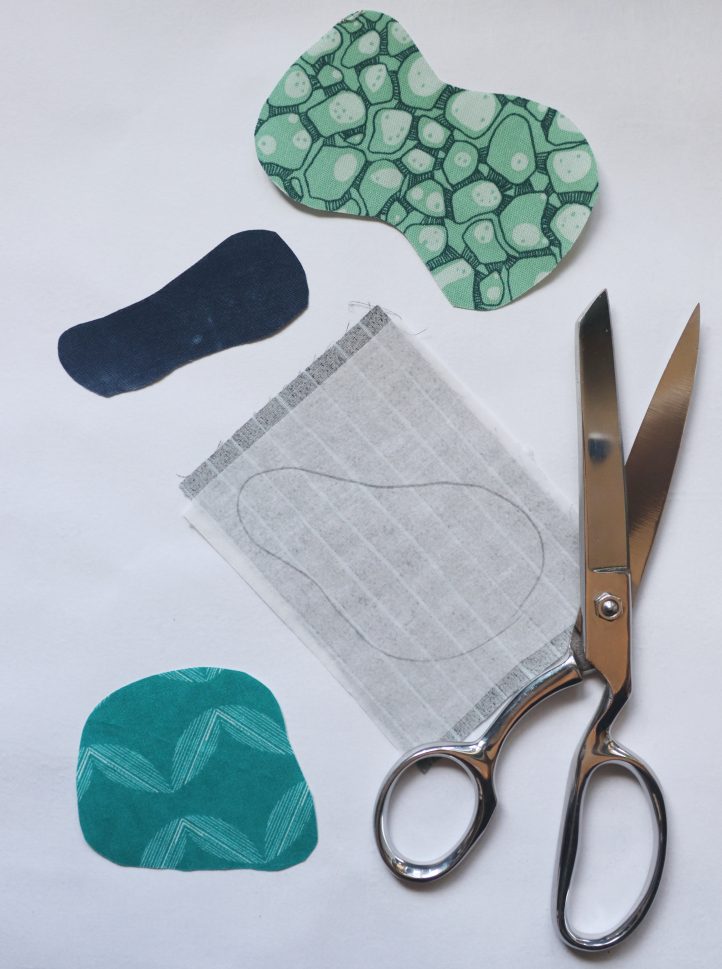
- Begin by creating your sea glass-inspired patchwork pieces. The joy of this project is that it’s totally free-form – you can use as many different prints as you like, and each piece of sea glass is hand-drawn and can be a totally different shape from its neighbors. It’s ideal for using up all those long-forgotten scraps from past projects. Back each of your patchwork fabric pieces with fusible webbing, then use a pencil to draw your shapes out free-hand. Cut each one out, then lay them down in rough color order, going from dark to light.
- Cut a 30” square from white cotton – this is your quilt top. Lay it out flat, then start to place your sea glass pieces onto it, leaving a clear 2” border around the outer edge. You can choose to keep the pieces in color order (fading from dark to light), or mix them up for a more random look – it’s totally up to you. Once you’re happy with the placement of each piece, peel the paper backing from the fusible webbing and pin them into place.
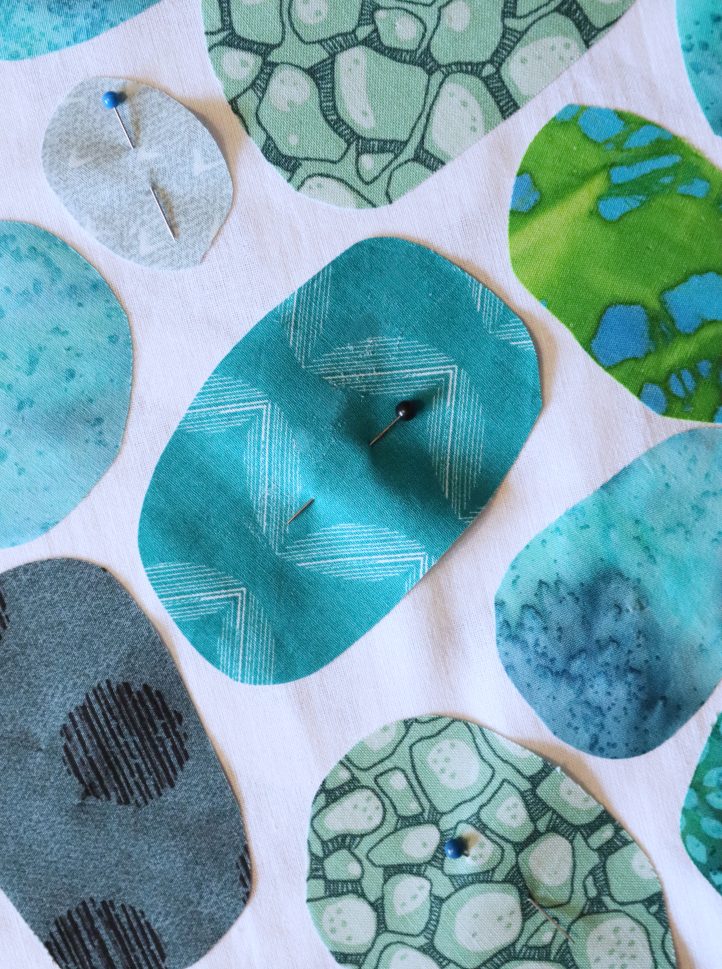
- With your sea glass pieces in position on your quilt top, use a warm iron to set them in place, following the manufacturer’s instructions with regards to temperature and timings.
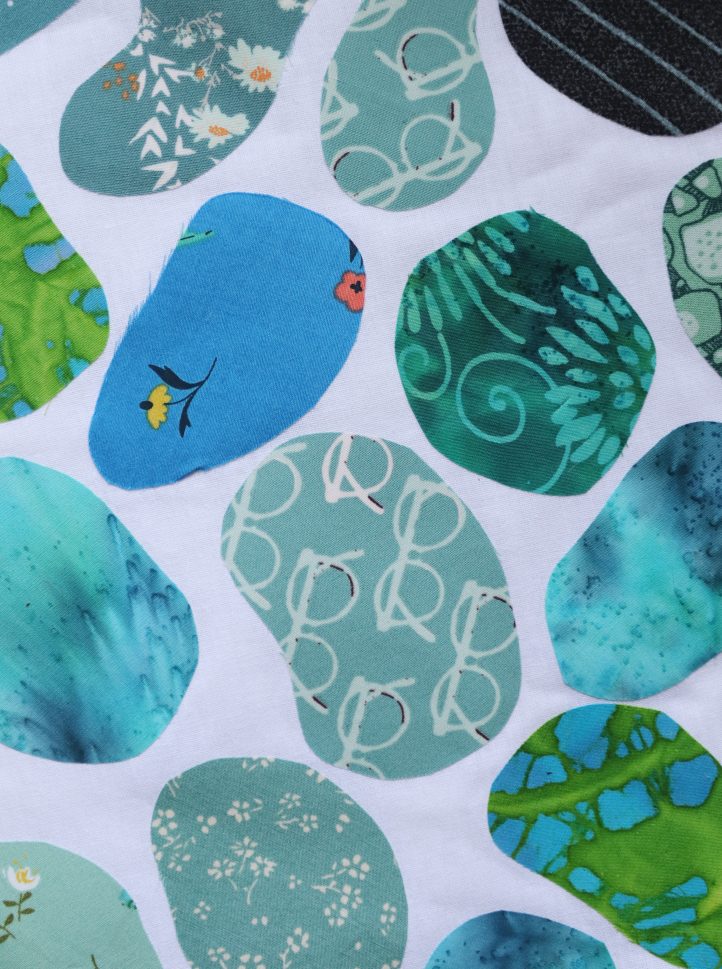
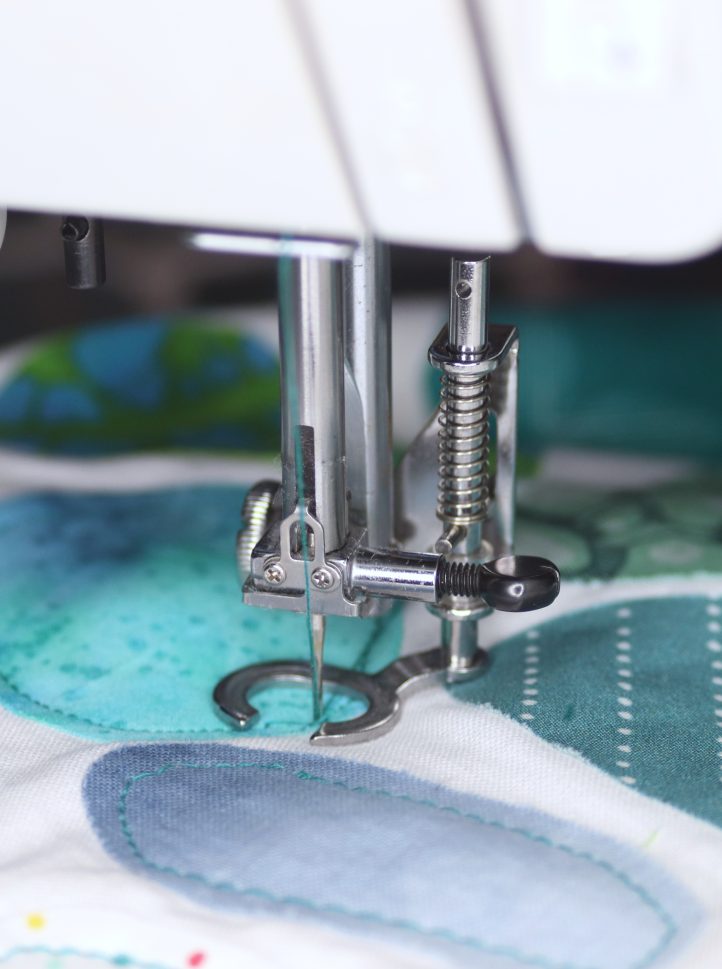
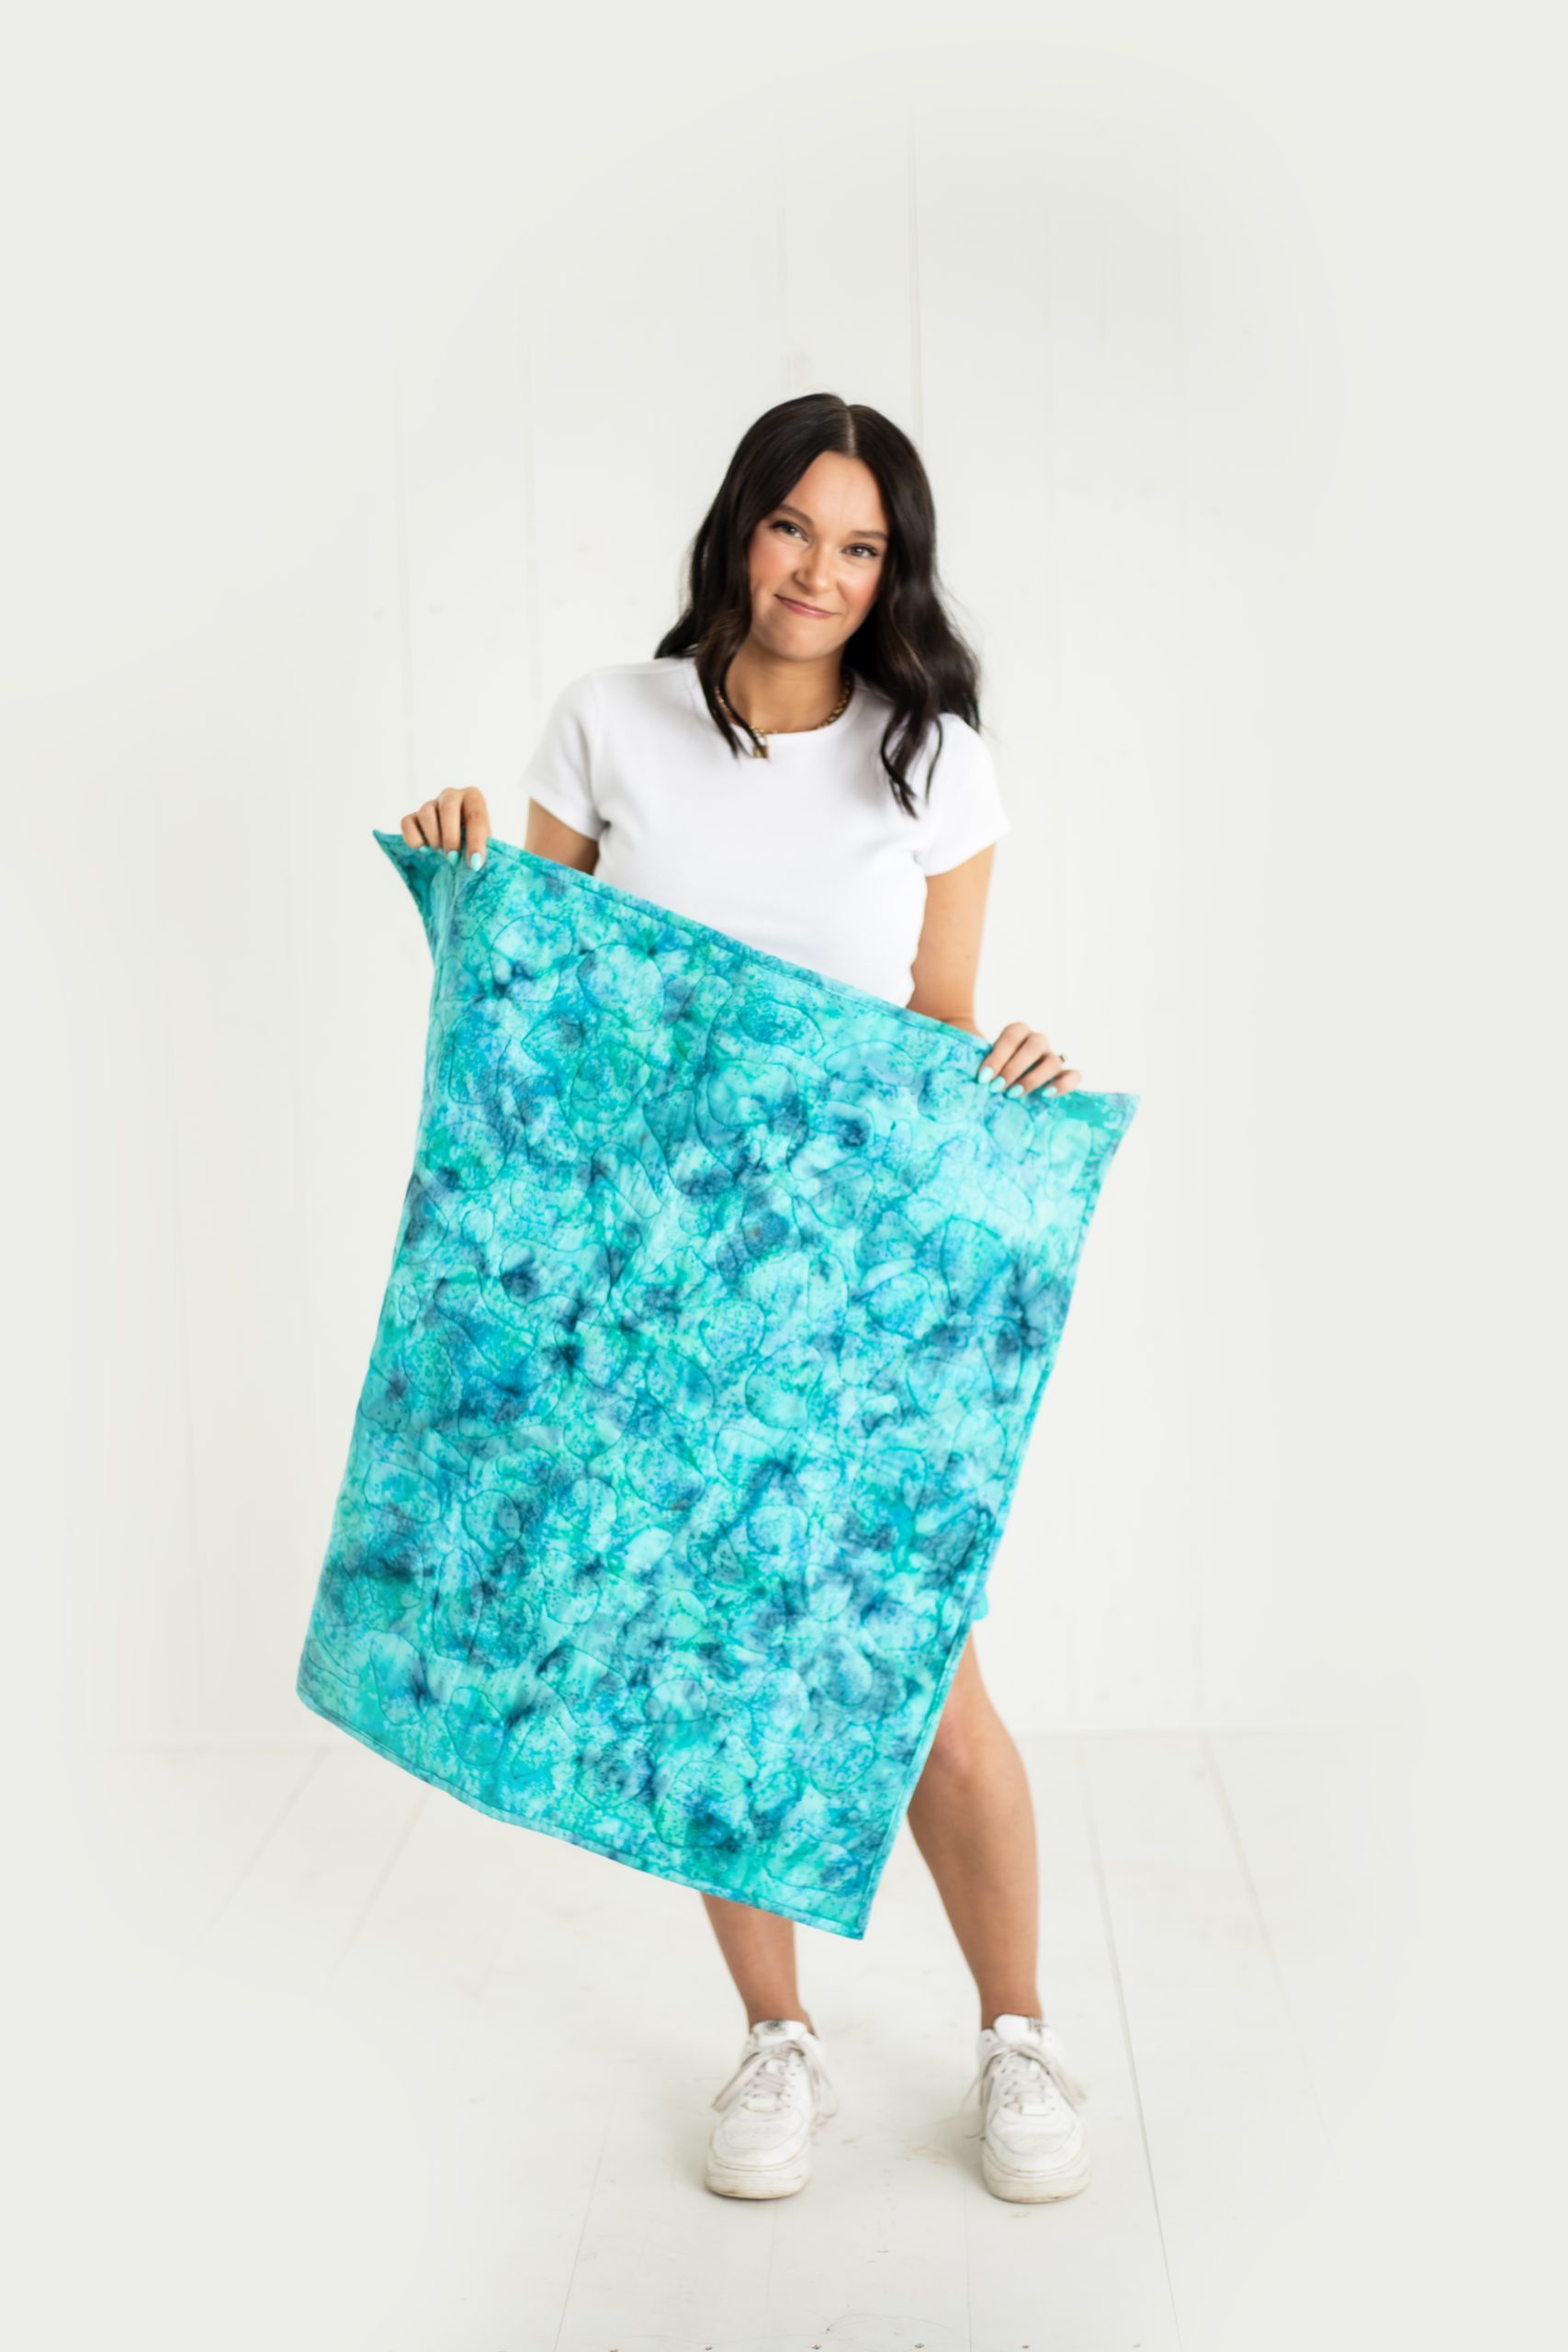
- It’s time to construct your quilt. On a large work surface (a clean floor will do if you don’t have a table big enough!), lay out your blue batik backing fabric with the right side facing down, ensuring it is smooth and without any wrinkles. Place your quilt batting on top of it, again making sure it is flat and smooth. Finally, add your quilt top, with the right side facing up. Clip or pin all three layers together. Take the work over to your sewing machine. Fit a free motion foot onto the machine, and lower the feed dogs – this will allow you to move the fabric freely beneath the needle in any direction to ‘draw’ with the thread. Work a line of free motion top stitch inside the outer edge of each piece of sea glass. This will not only fix the sea glass pieces to the quilt top, but it’ll quilt the layers together, too.
- Finally, bind your quilt. To start, you’ll need to make your quilt binding. Measure the circumference of your quilt – it should be around 120”, so you’ll need around 140” of binding (we’ve included a little excess to cover the mitered corners, the join, and any potential errors!). To make your binding, cut several long 2 1/2” wide strips from the remainder of your blue batik fabric. Join them together into one long strip by placing the ends of each together at right angles (with right sides facing) and stitching diagonally across the join. Trim the seam allowance down to 1/4” then press each seam flat to reveal one long, continuous strip. Trim the strip so that it measures 140” in length.
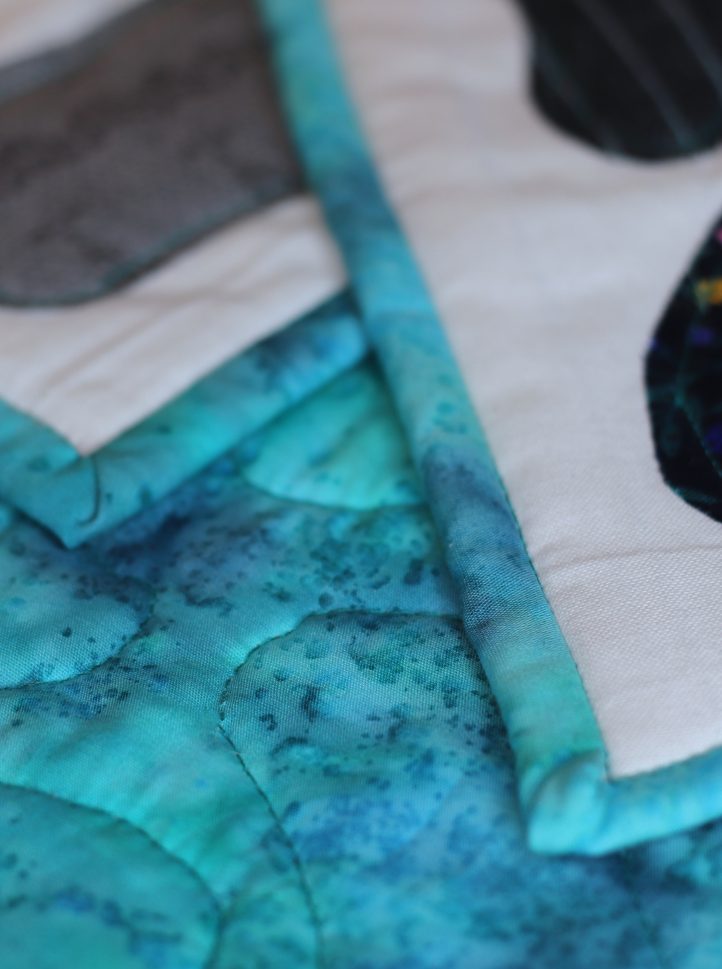
- Fold your binding in half with the right sides facing out, and press. Starting in the middle of the bottom edge of the quilt, measure out around 5” of the folded binding (leave this unattached for now), then begin to clip the strip along the quilt edges, aligning the raw edges of both the binding and the quilt top. When you reach a corner, fold the binding upwards and then back down onto itself, to create a miter and change the direction. Continue to clip the binding all the way around the quilt edge until you reach the point you started. Leave another 5” of binding unclipped, then trim any excess away. Stitch the binding into place with a 1/4” seam allowance, leaving the first and last 5” of the clipped binding unstitched, in addition to the 5” extra you left unclipped at each end. Take the two unattached ends of the binding and measure and mark the point they meet along the edge of the quilt. Clip and then stitch them together at the mark, with the right sides facing. Trim away the excess seam allowance and finally, sew the joined binding to the edge of the quilt to create a neat finish.
- Your binding should now be attached all the way around the quilt, with an almost invisible join at the center of the bottom edge. Wrap the fold of the binding around to the back of the quilt and clip or pin it into position. It should neatly conceal the raw edge of the fabric, as well as the seam line from when you initially stitched the binding into place. You now have two options – you can hand stitch the binding to the back of the quilt, or turn the quilt back over so the top is facing upwards and stitch-in-the-ditch around the seam of the binding. Either method works fine – it’s totally up to you. Once stitched, your quilt is bound and finished!

I use a very small button edge stitch and this will not gray the edges. Hope this helps
What about using a decorative stich around the edges to hold it in place. That should keep it in place and keep it from fraying. I think.
Thank you so much for your suggestion, Patty! Have a great day 🙂 – Ashley, We Like Quilting
I think I may try this, but I will applique the “stones” onto the white fabric first — invisible thread…and yes, it will take a l-o-n-g time, so I will be sure my seaglass is in larger pieces :-). Then, I will make the quilt “sandwich” and do the stitching just inside the borders.
How do you keep the edges of each piece from fraying?
Using a straight stitch, sew around close to the edge at least twice. That’s what one teacher does.
Love this sea glass quilt…I’m going to give it a go soon!