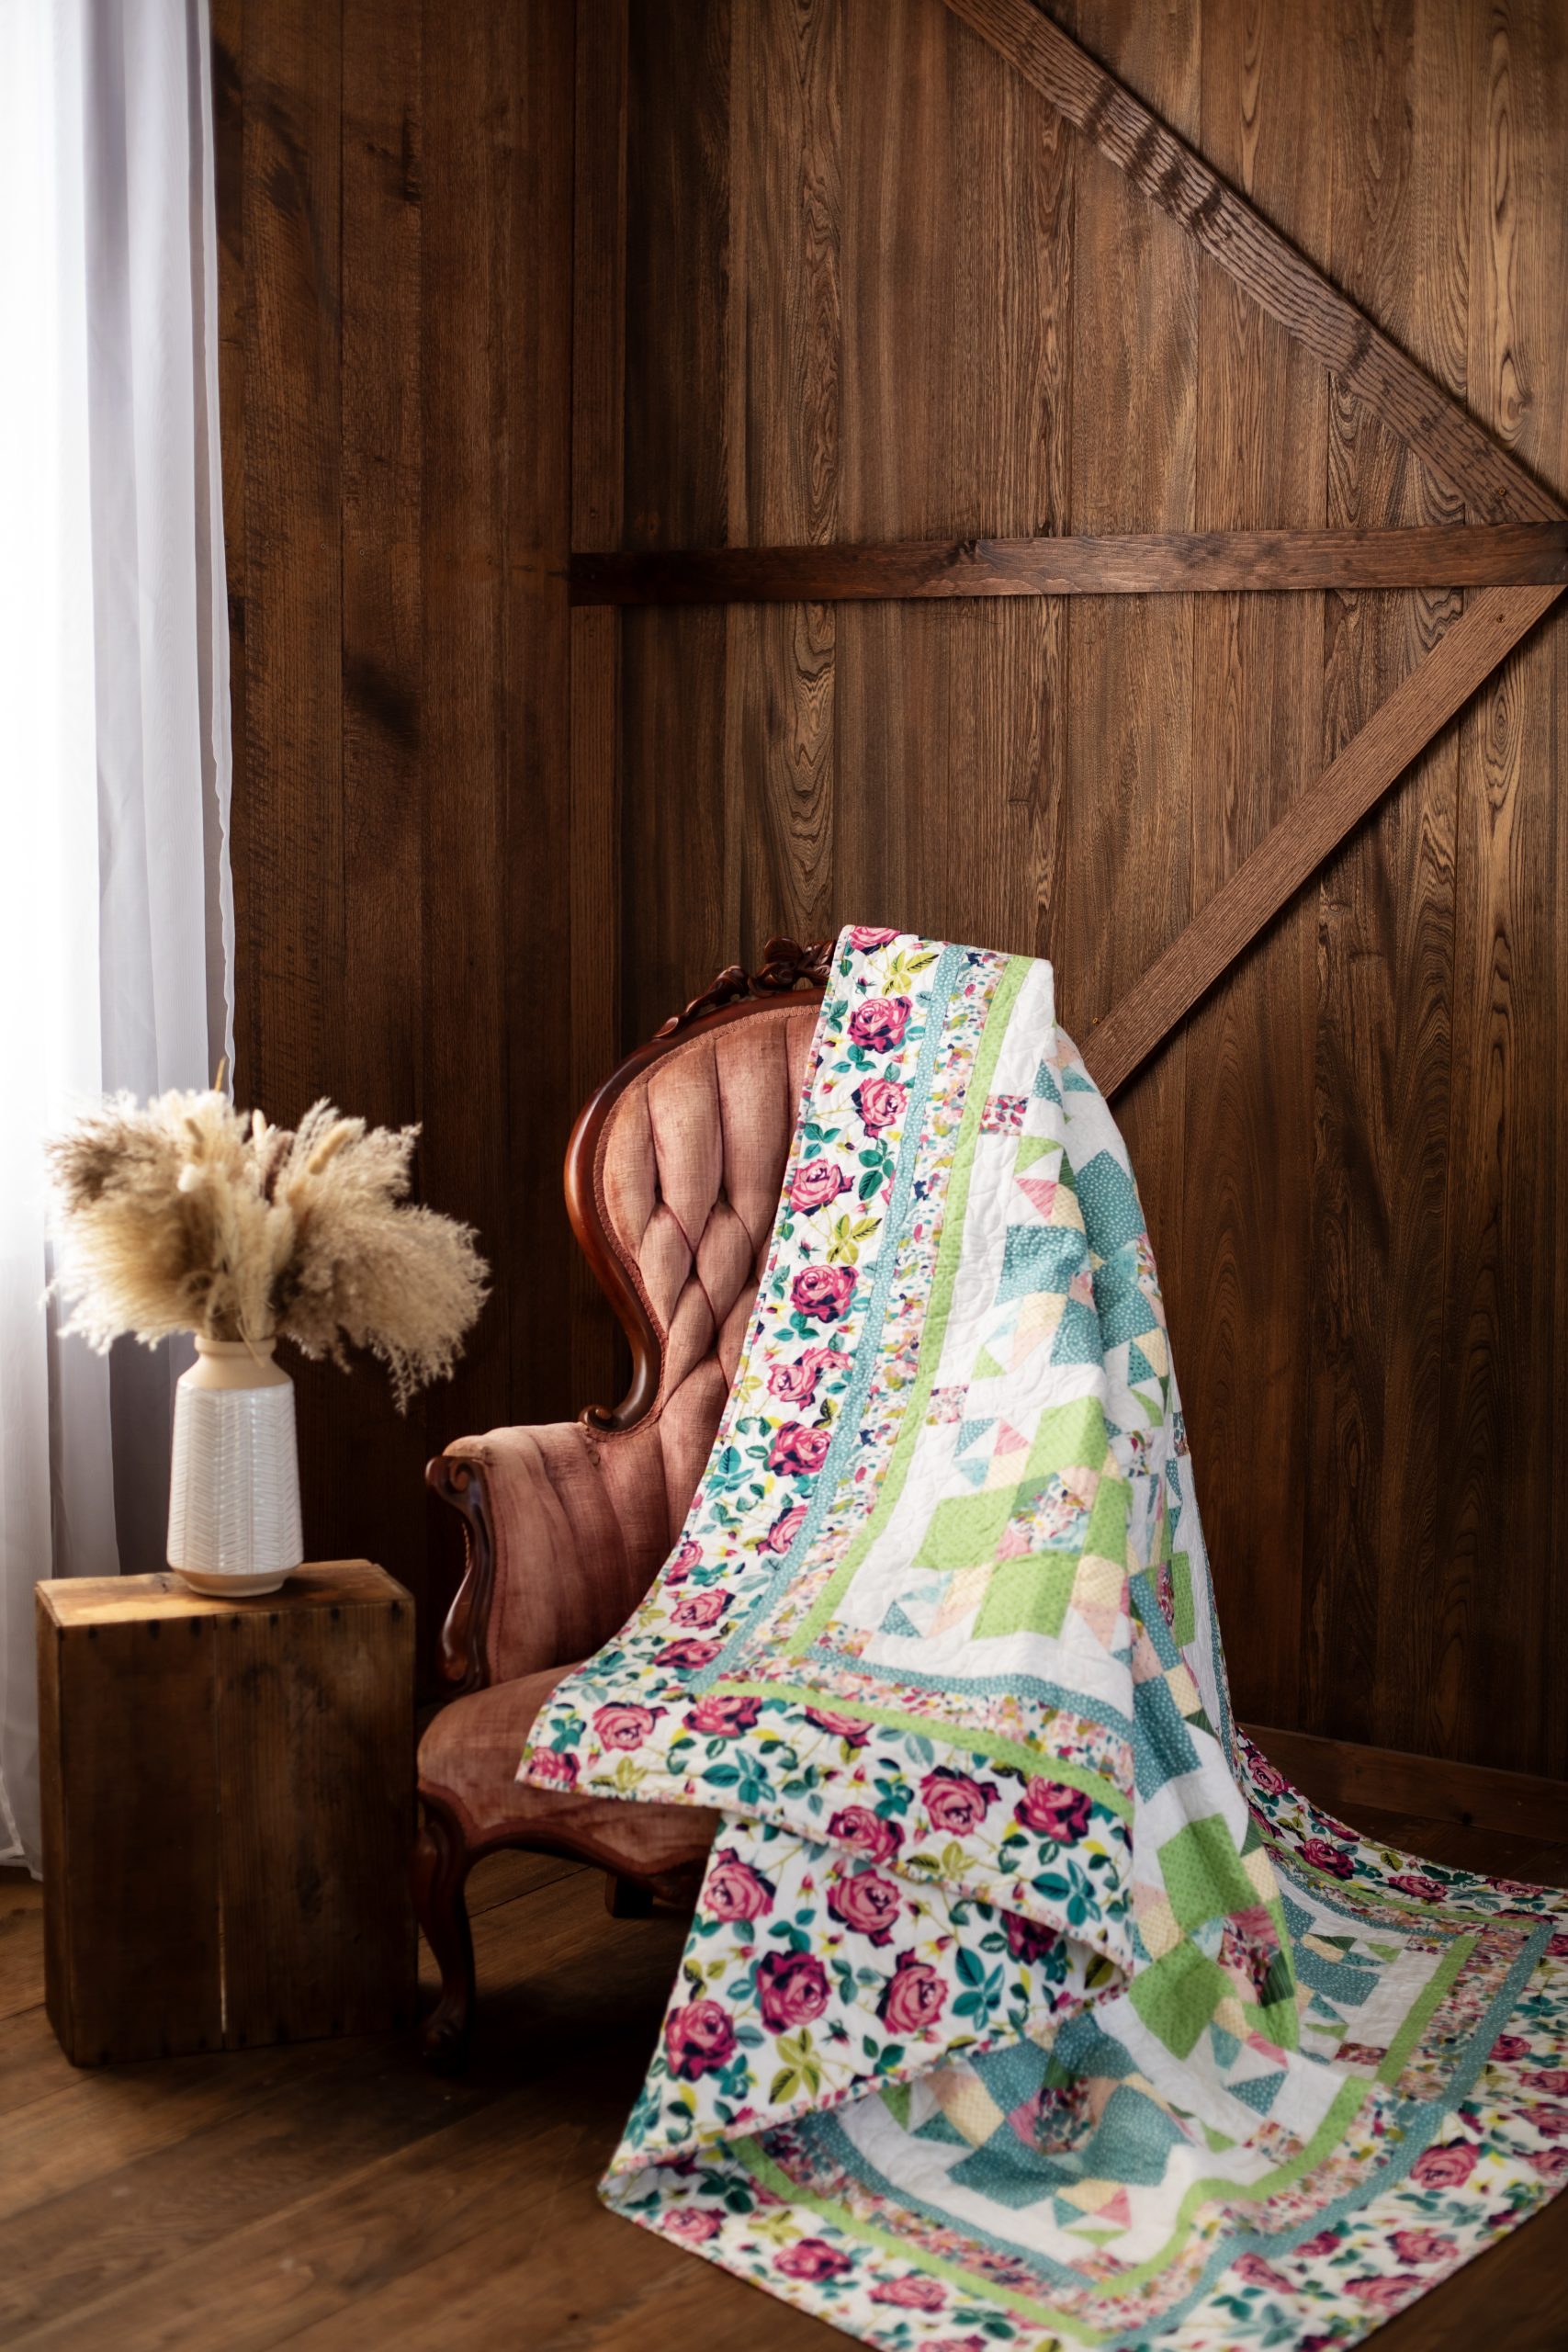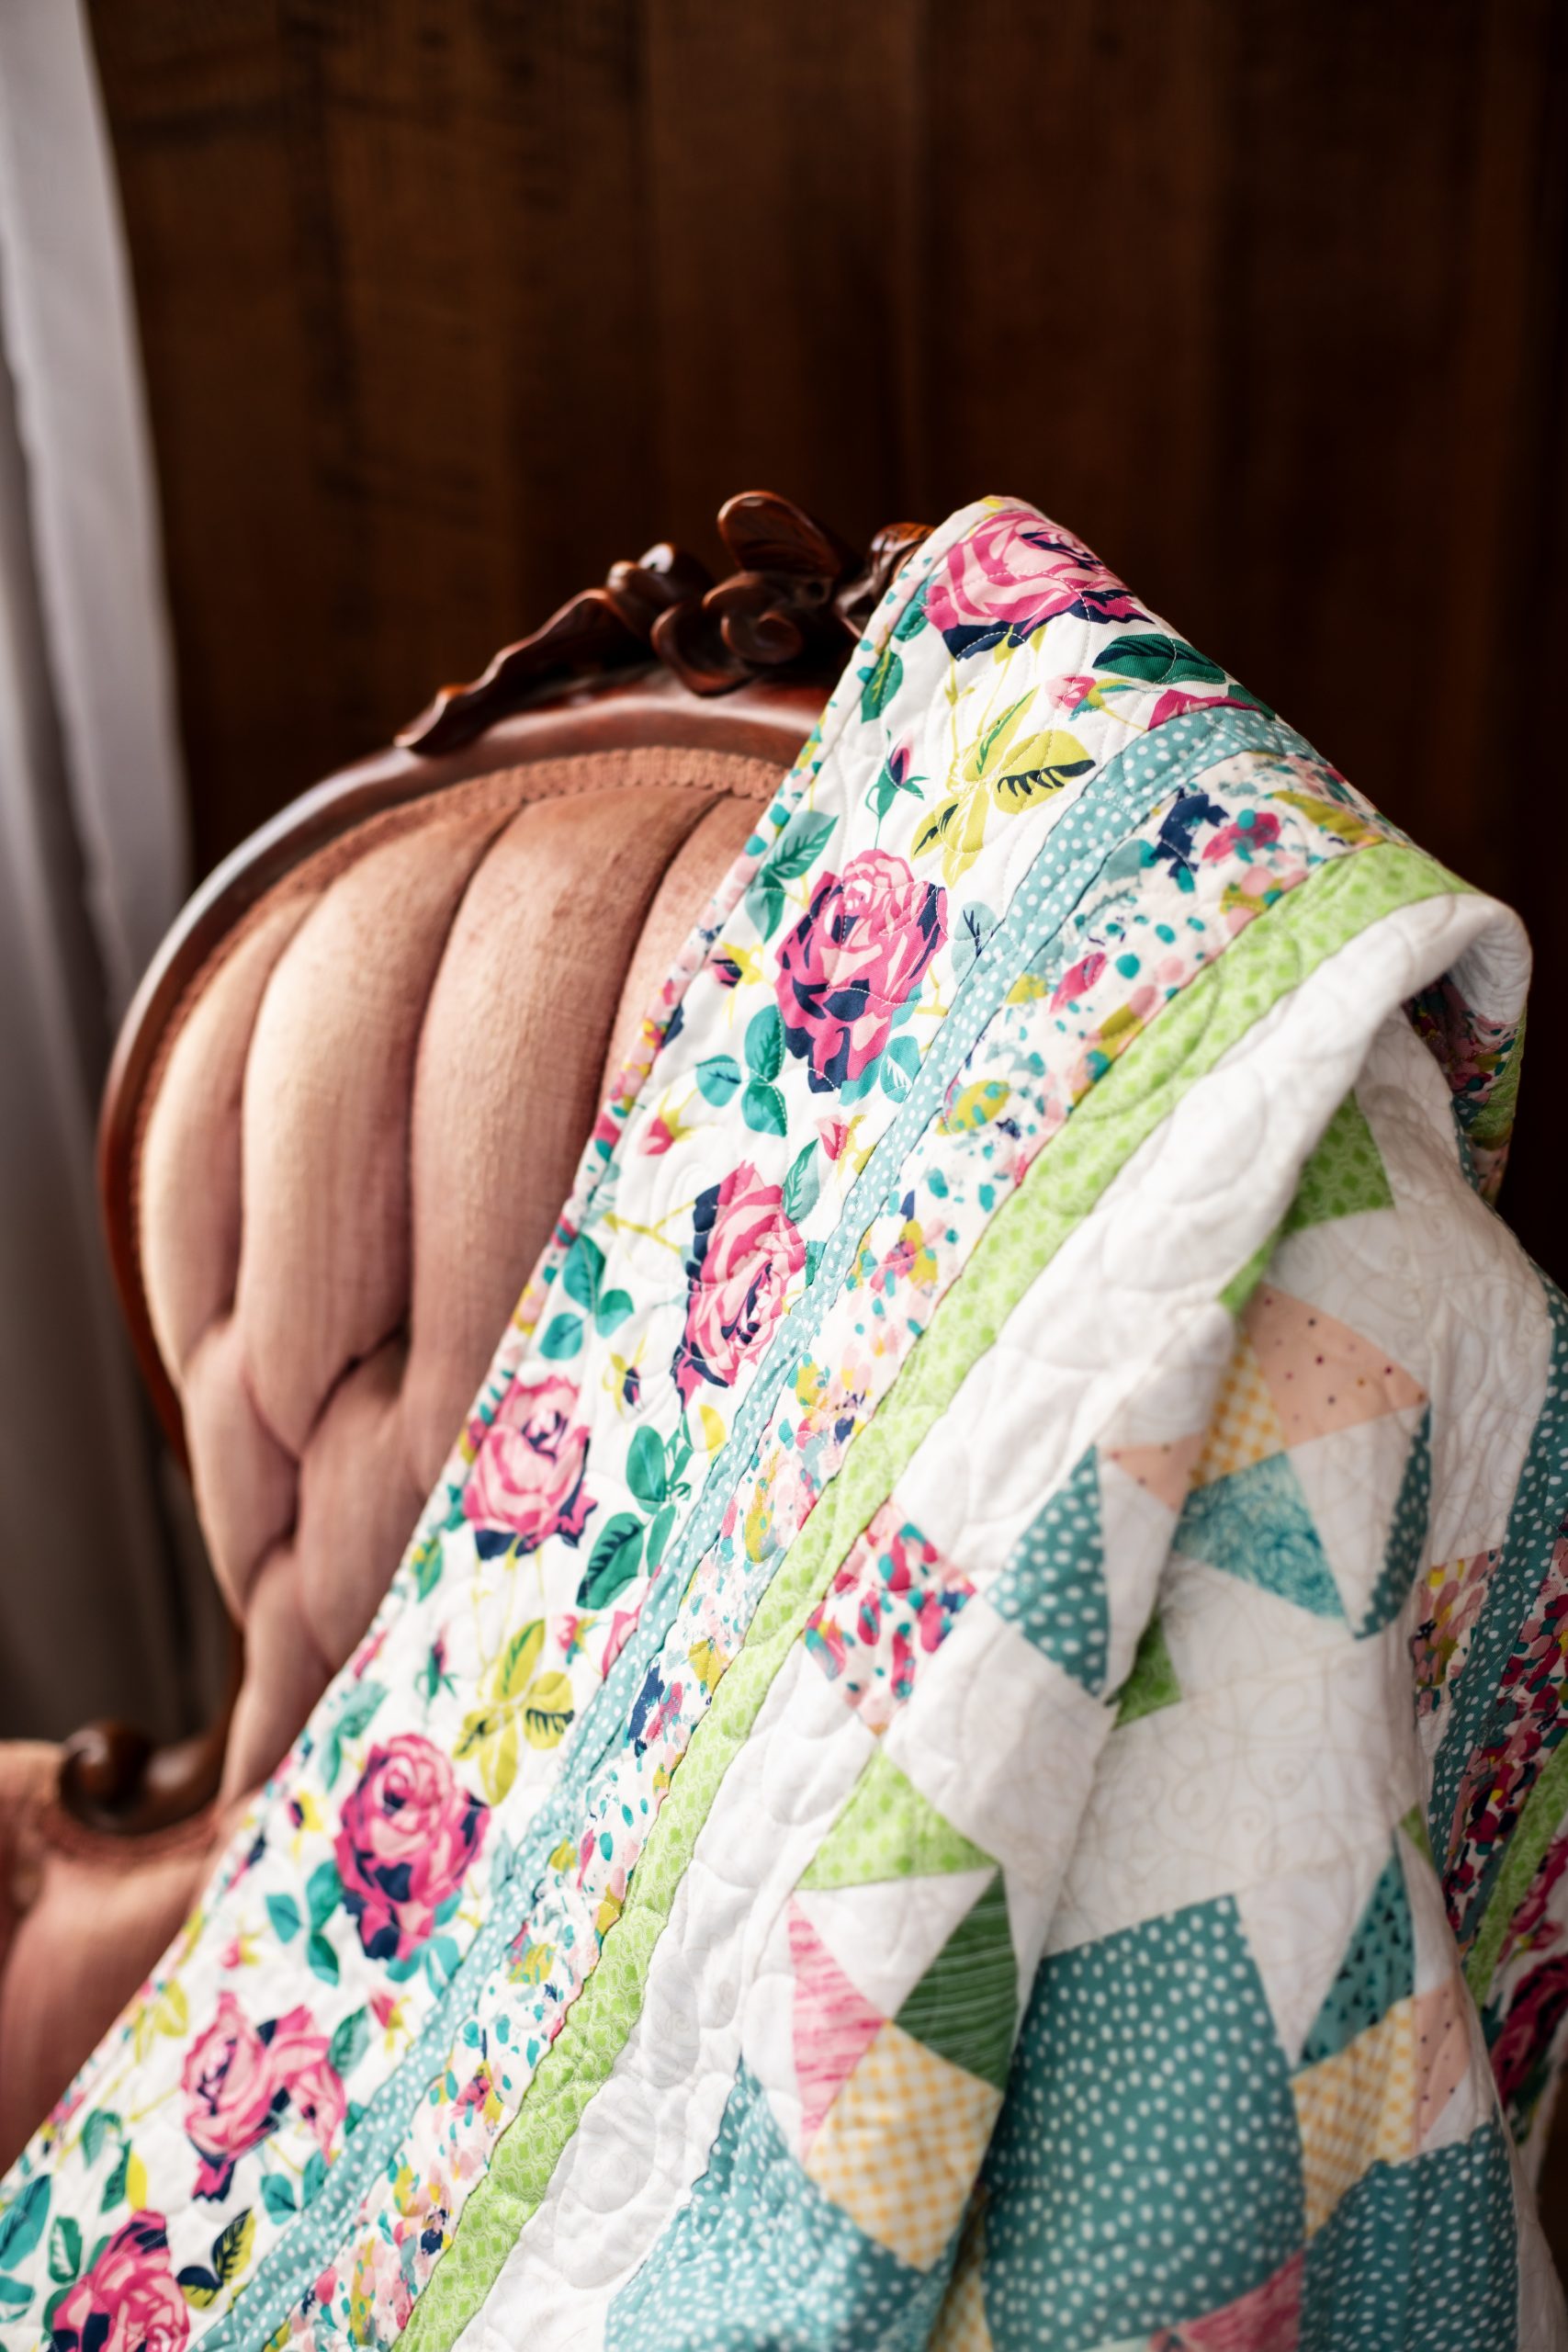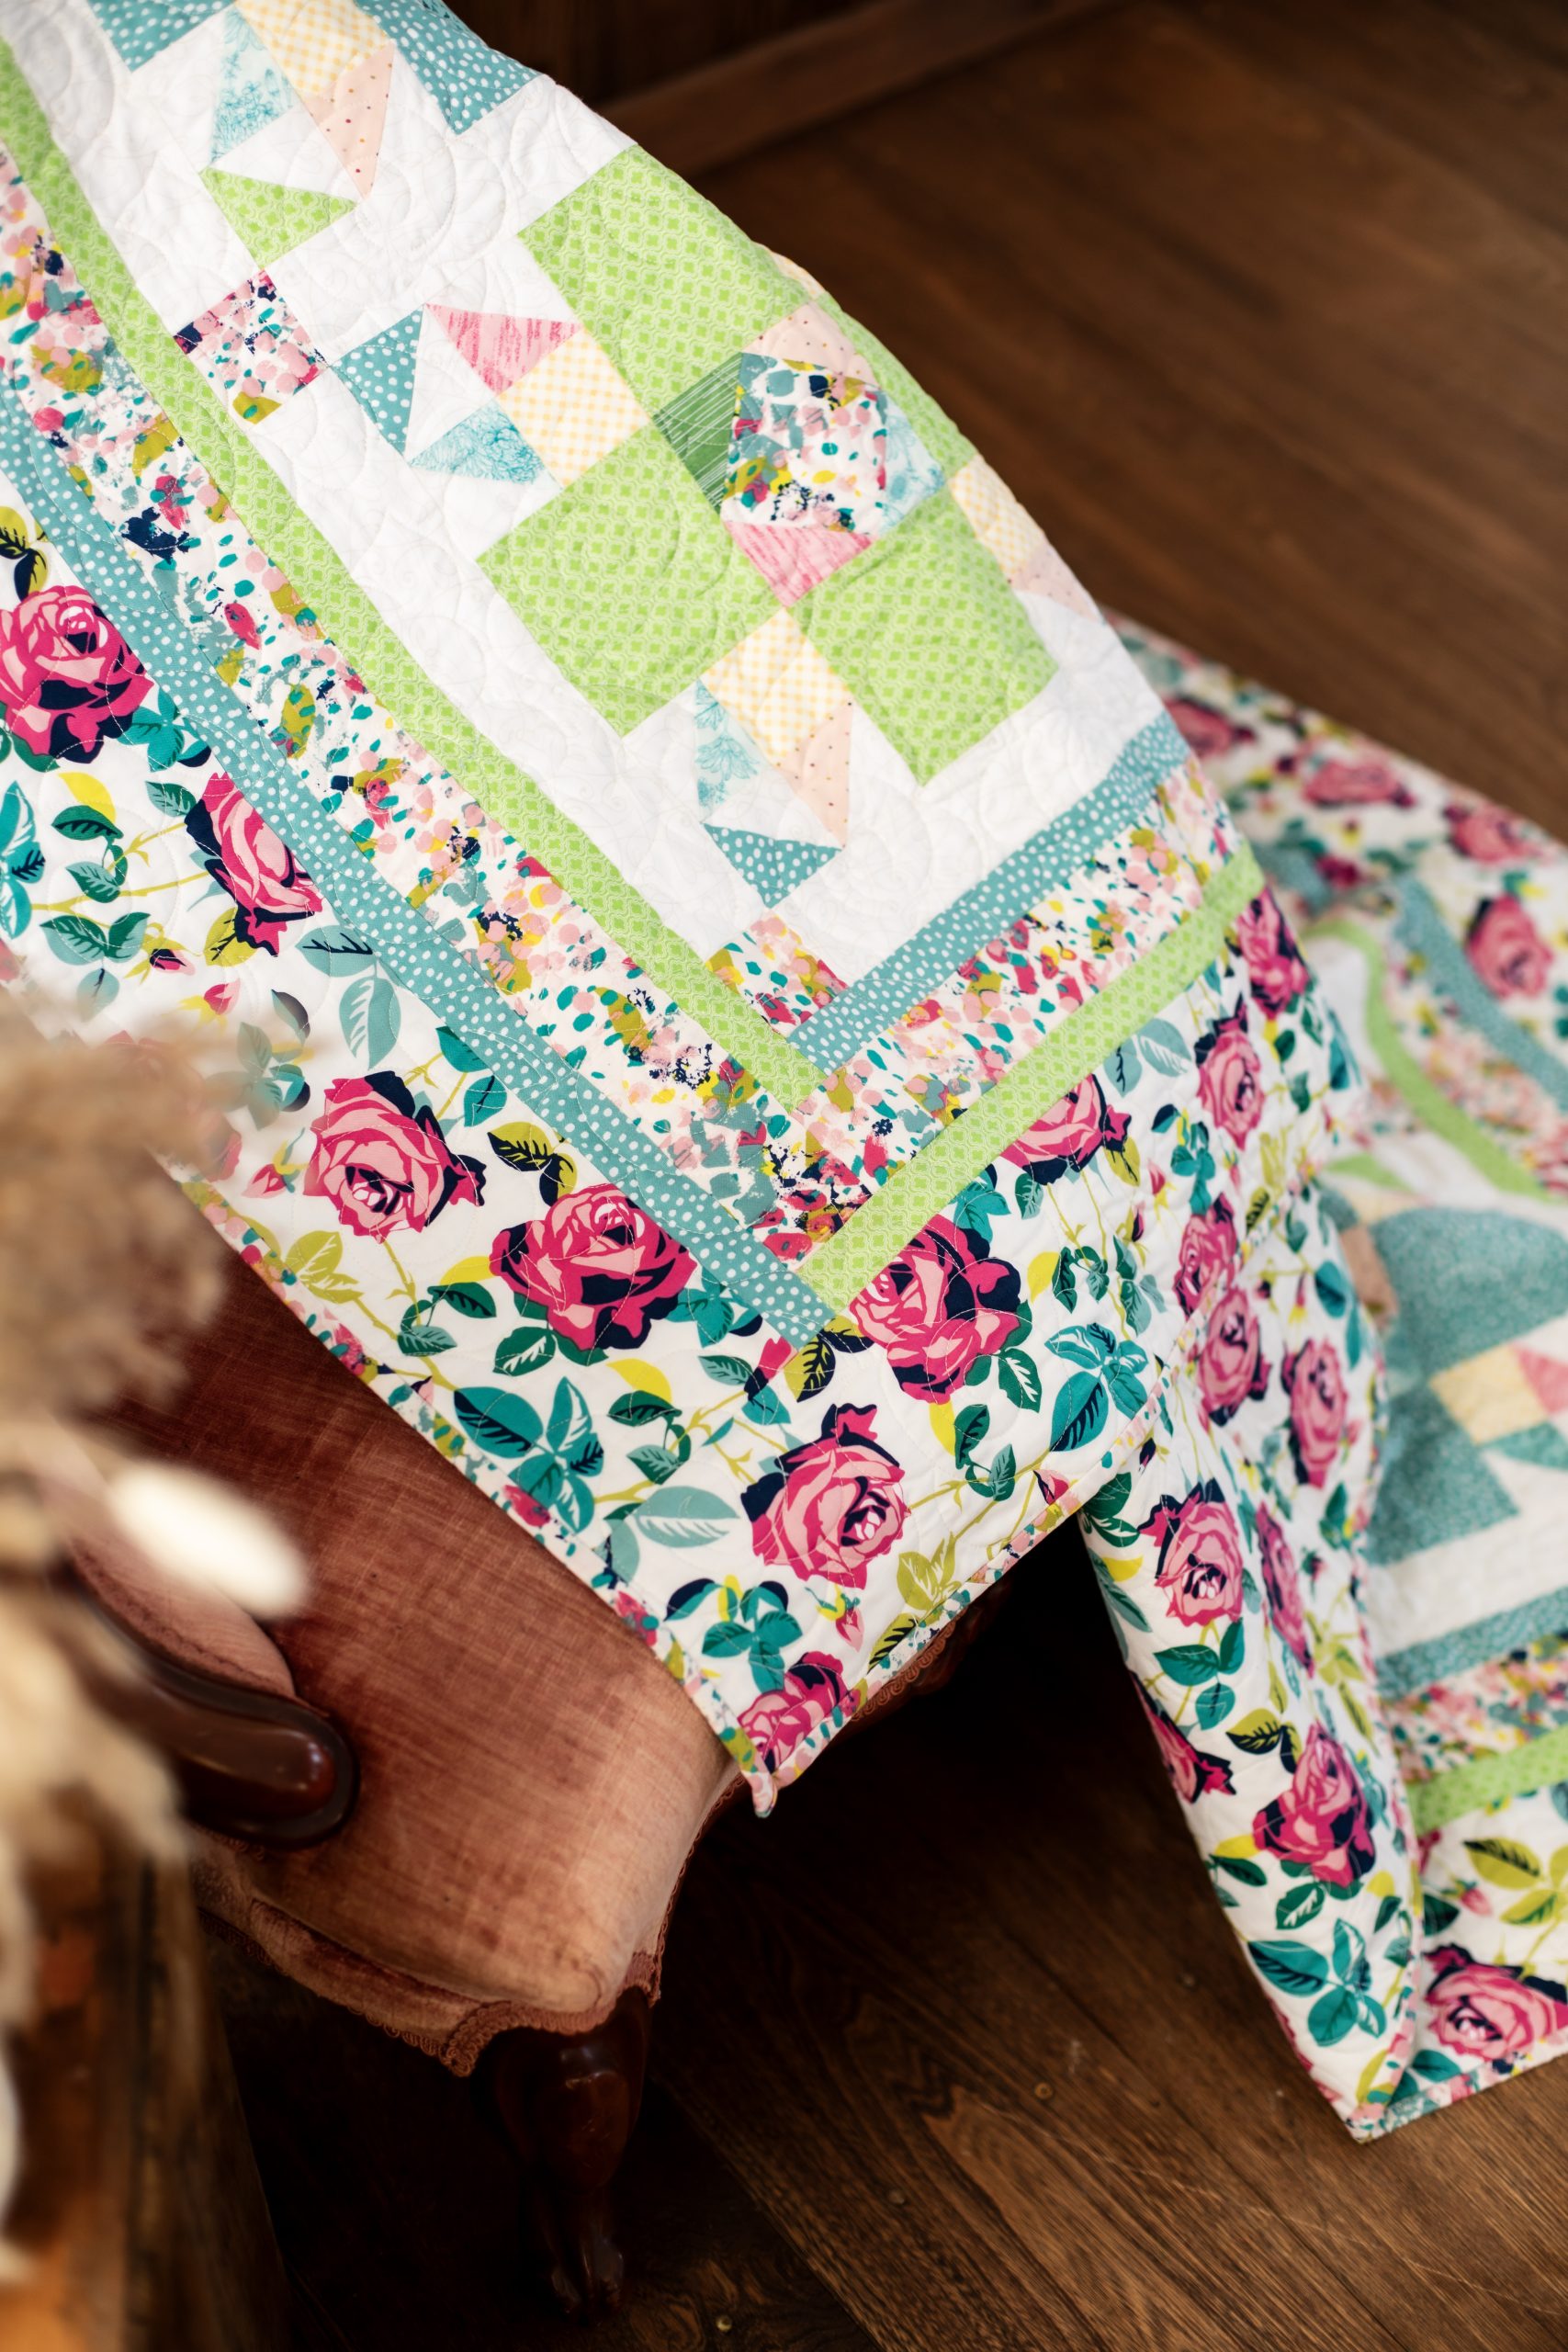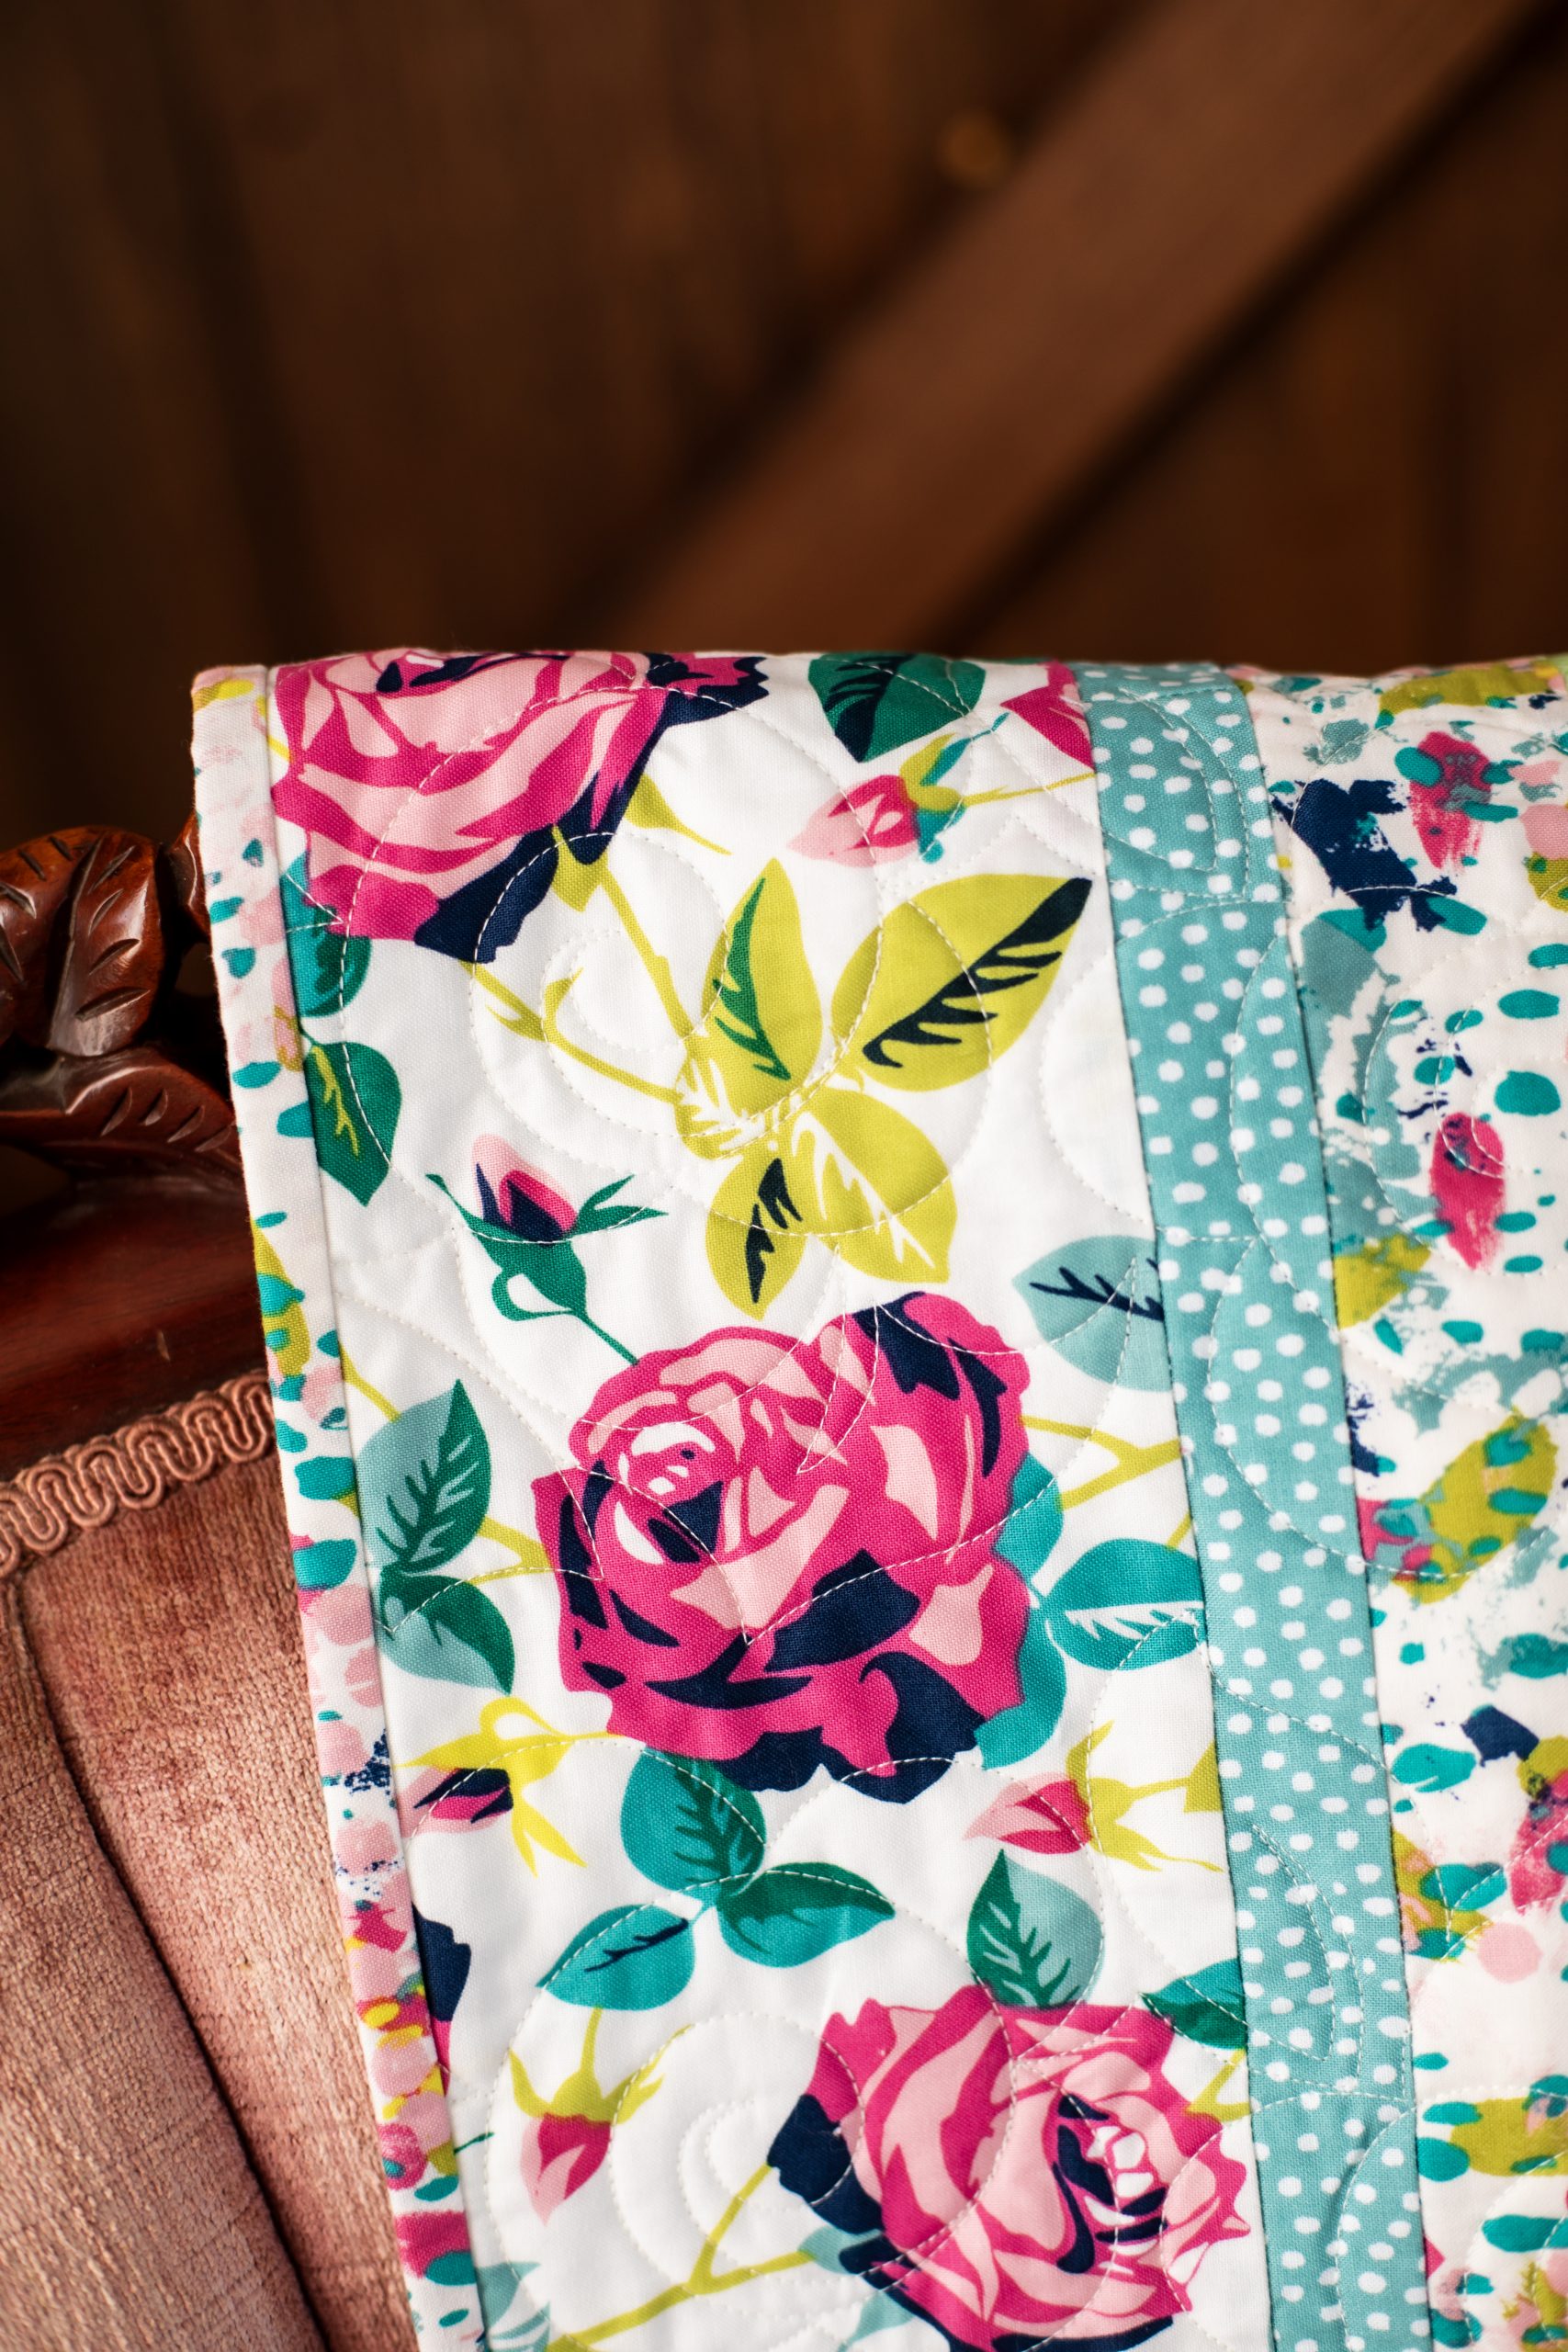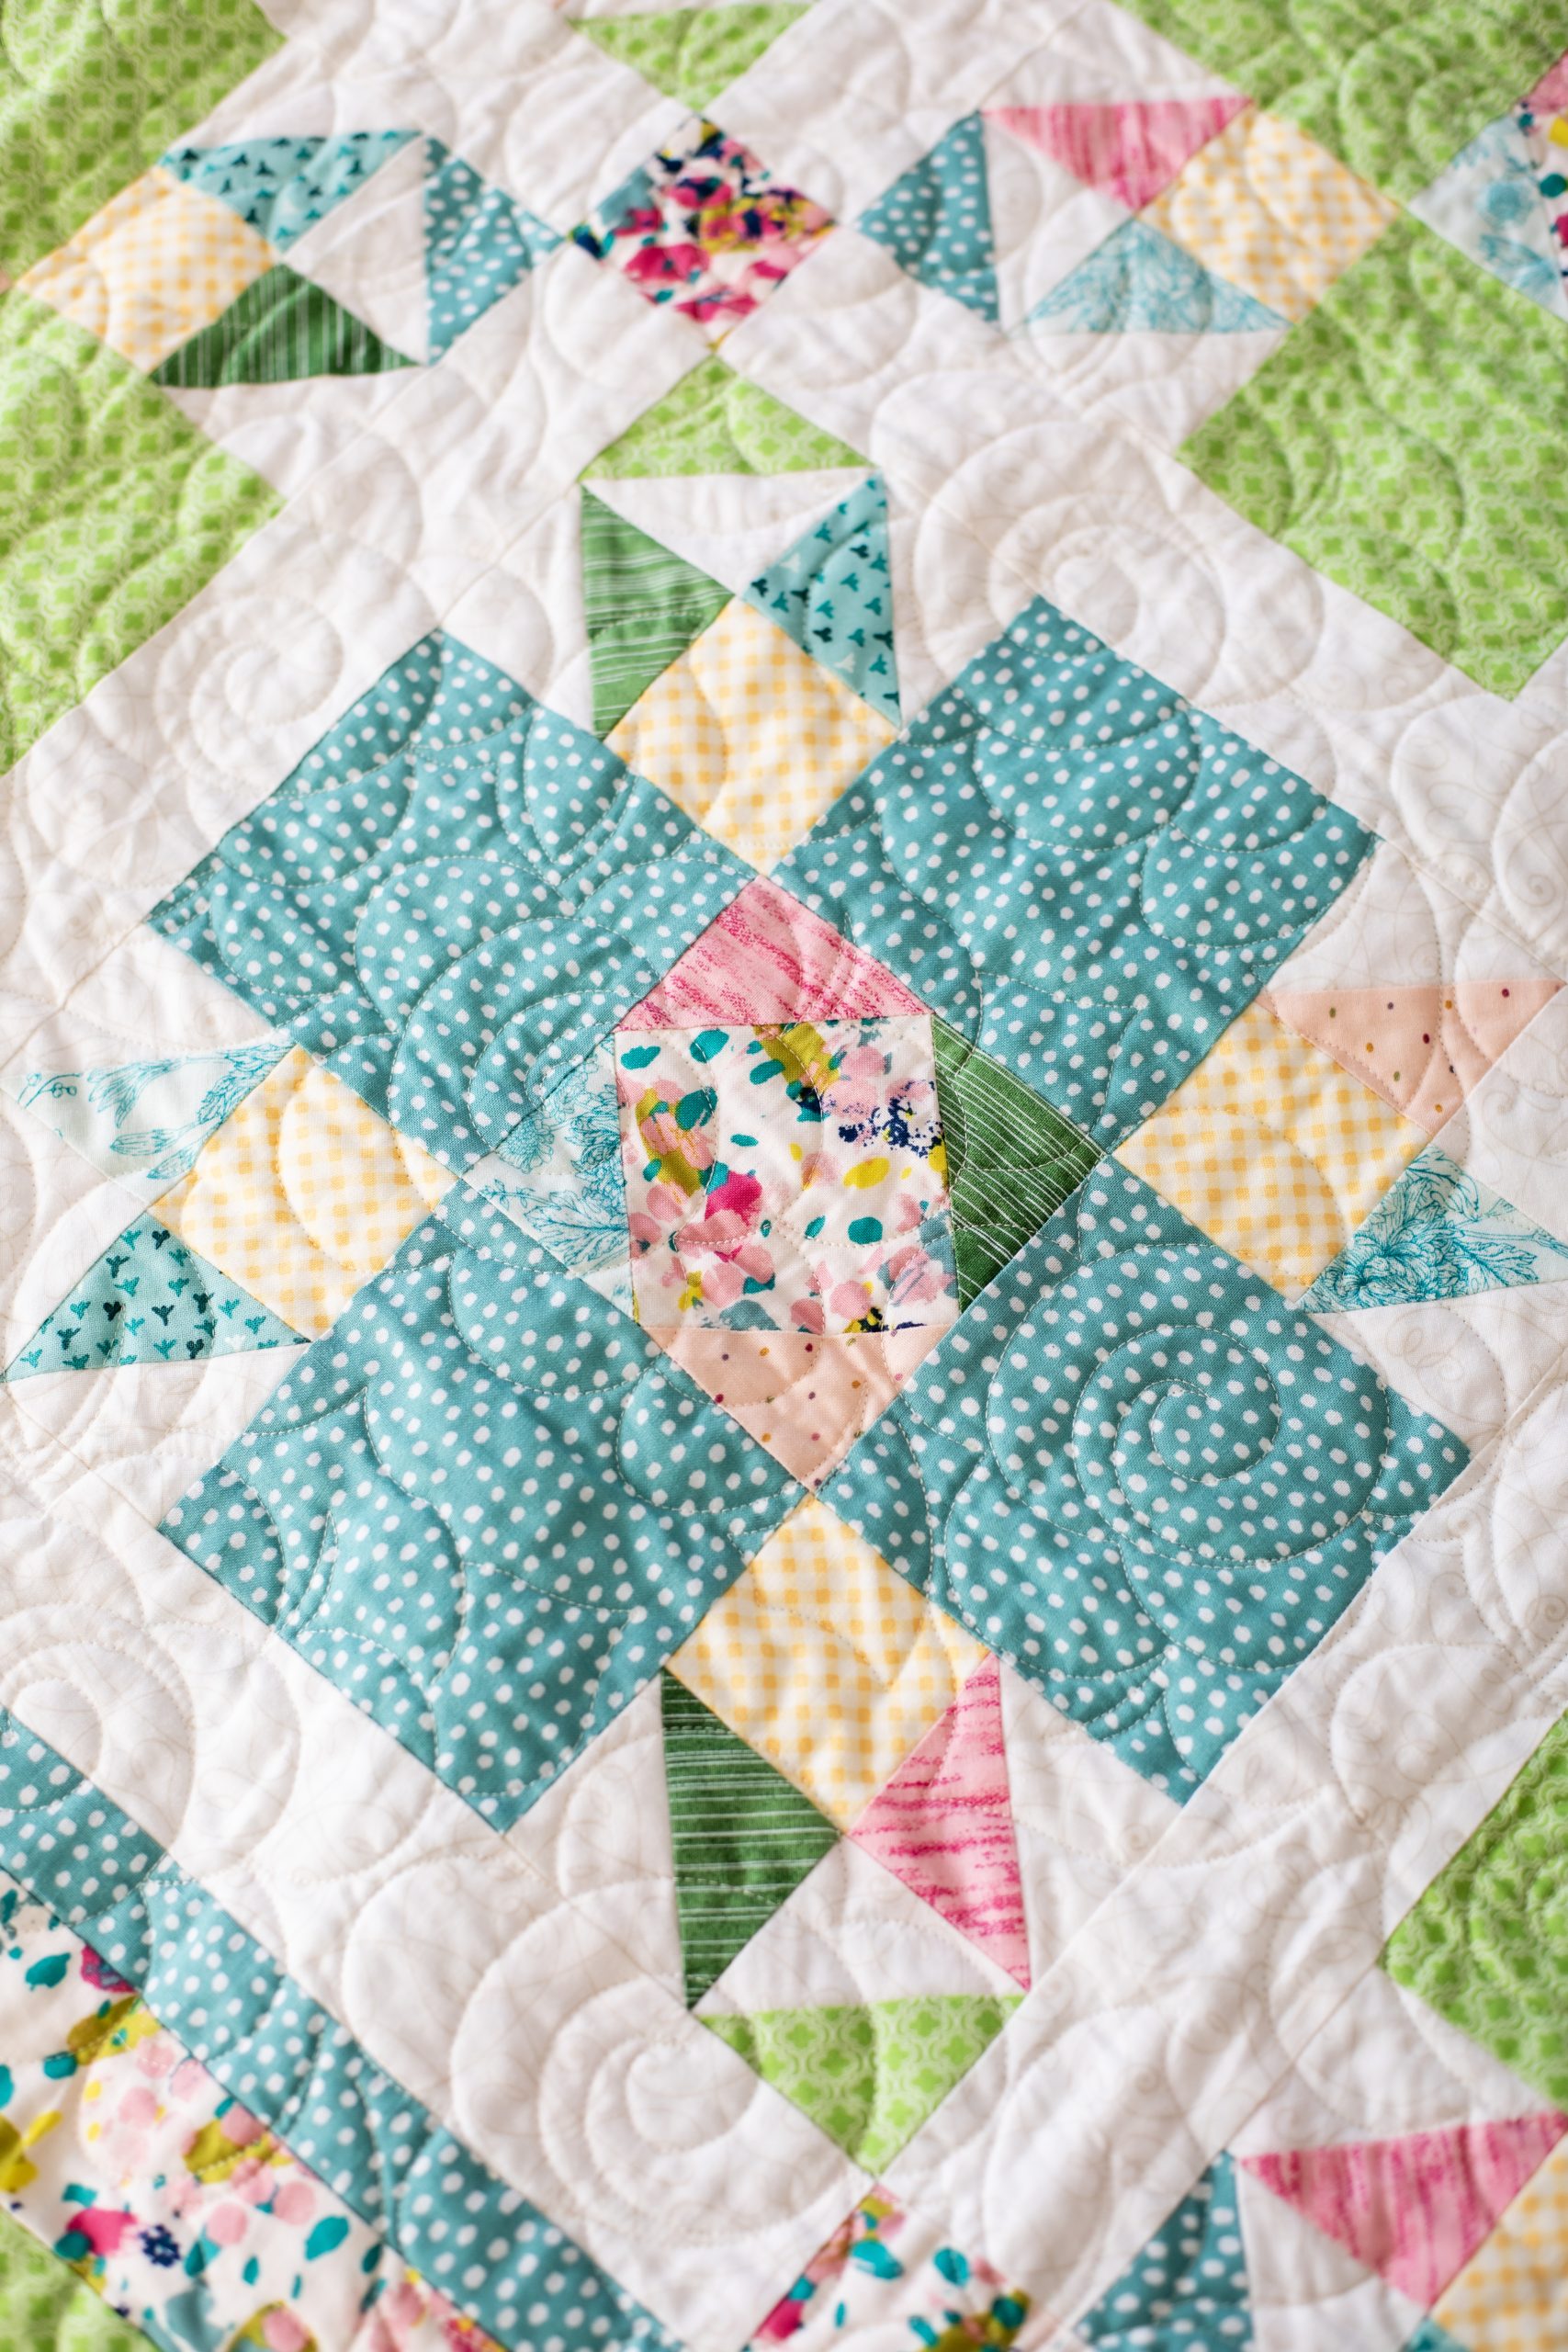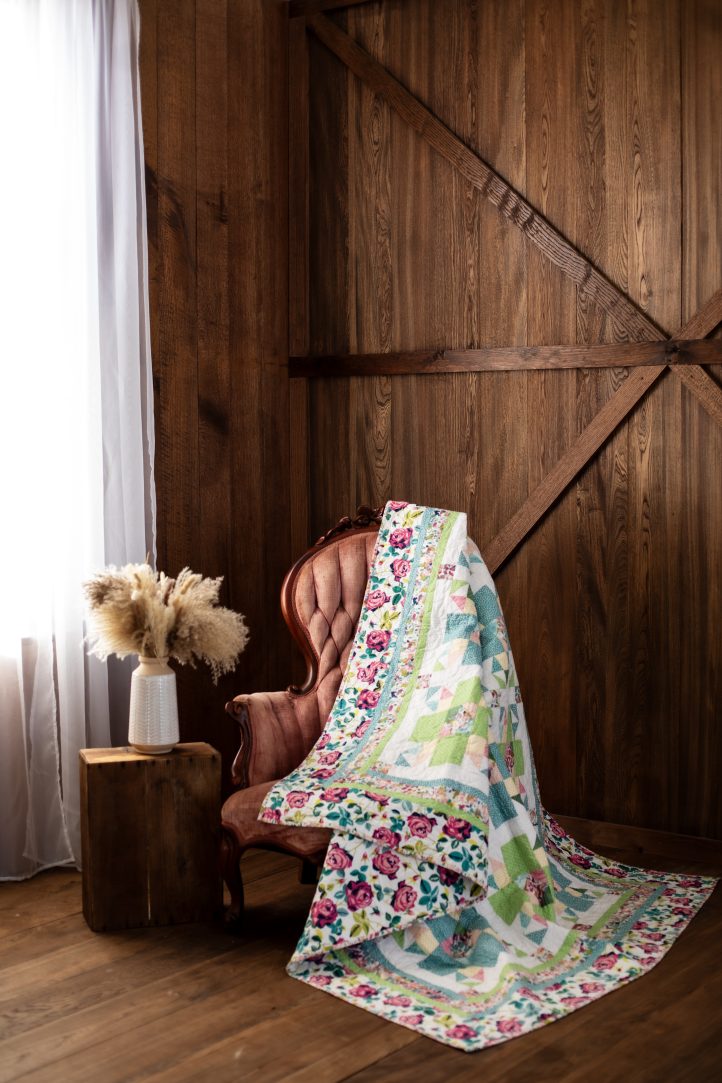
Design a dreamy spring quilt for your country cottage with this fresh pattern from Megan Farrell. Made in rich colors like rose pink, spring green, and sky blue, this throw quilt pattern finishes at 56 inches by 70 inches and is completed with beautiful borders in lovely floral prints. Lay this quilt out on your bed to add color to your bedroom or display your spring quilt in your living room to give your home an English cottage vibe.
Finished Size: 56” x 70”
Materials:
- Fabric Requirements:
- Main color #1 (Green): 3/4 yard
- Main color #2 (Blue): 3/4 yard
- Accent #1 (Yellow): 1/4 yard
- Accent #2 (Multi-color): 1 yard
- Scrappy (four different colors): 1/4 yard per color
- Background: 1 1/4 yard
- Large border: 1 yard
- Backing: 4 yards
- Binding: 1/2 yard
Cutting Instructions:
Main color #1 (Green):
- Cut 3 strips 4 1/2” x WOF.
- Sub cut into 24 total 4 1/2” squares.
- Cut 7 strips 1 1/2” x WOF. This is for 1” finished borders.
Main color #2 (Blue):
- Cut 3 strips 4 1/2” x WOF.
- Sub cut into 24 total 4 1/2” squares.
- Cut 7 strips 1 1/2” x WOF. This is for 1” finished borders.
Accent #1 (Yellow):
- Cut 3 strips 2 1/2” x WOF.
- Sub Cut into 48 total 2 1/2” squares.
Accent #2 (Multi color):
- Cut 2 strips 4 1/2” x WOF.
- Sub cut into 12 total 4 1/2” squares.
- Cut 2 strips 2 1/2” x WOF.
- Sub cut into 20 total 2 1/2” squares (for corner stones).
- Cut 7 strips 2 1/2” x WOF. This is for 2” finished borders.
Scrappy (Four colors):
- Cut 2 strips 3” x WOF.
- Sub cut into 18 total (per color) 3” squares.
- Cut 1 strip 2 1/2” x WOF.
- Sub cut into 12 total (per color ) 2 1/2” squares.
Background:
- Cut 6 strips 3” x WOF.
- Sub cut into 72 total 3” squares.
- Cut 2 strips 12 1/2” x WOF.
- Sub cut into 31 total 2 1/2” x 12 1/2” rectangles (for sashing).
Floral (Large border):
- Cut 8 Strips 4 1/2” x WOF. This is for 4” finished border.
Piecing Instructions:
CREATE HALF SQUARE TRIANGLES (HSTs):
- Draw one diagonal line on the wrong side of all background 3” squares.
- Pair up 3” background square with Scrappy 3” square. Put squares right sides together, and sew 1/4” on each side of the diagonal line.

- Cut on diagonal line. Step 2 yields qty 2 half square triangles.

- Complete Steps 2 and 3 a total of 72 times (for all 3” squares.)
- Square all HST’s to 2 1/2”.
CREATE CENTER OF THE BLOCK – SQUARE IN A SQUARE:
- For this step, you need one 2 1/2” square from the four scrappy colors and one 4 1/2” multi color square.
- Place one 2 1/2” square right sides together on one corner of the 4 1/2” multi color square. Sew on the diagonal, point to point on the 2 1/2” square.

- Place one 2 1/2” square right sides together on one corner of the 4 1/2” multi color square. Sew on the diagonal, point to point on the 2 1/2” square.
- Cut on the outside of the seam 1/4” from stitching to cut away the excess fabric. Press the scrappy color away from the center of the block. This is called snowballing.
- Repeat Step 1 on all corners of the 4 1/2” multi color square and press the scrappy color away from the center. When complete, you have a 4 1/2” square in a square.


- Repeat Steps 1 thru 3 a total of 12 times, which will yield 12 square in a square 4 1/2” blocks for the center of all 12 quilt blocks.
CREATE CORNERS OF THE BLOCK:
- You will need 3 HSTs and 1 Yellow 2 1/2” squares for one block corner.
- Sew Yellow square to scrappy side of HST. (Scrappy pointing up and to the left.) This is the bottom of the corner.

- Sew HST (scrappy pointing down to the right) to HST (scrappy pointing up and to the right) This is the top of the corner.

- Sew top (Step 3) to bottom (Step 2).

- Repeat Steps 2 thru 4 a total of 48 times, which will yield 48 corner 4 1/2” blocks. (4 per block)
CREATE BLUE BLOCK:
- For this step, you need one square in a square from Step B, four Corner blocks from Step C and four Blue 4 1/2” squares.
- Sew together top row of block: Corner block (Yellow in the bottom right) + 4 1/2” Blue square + Corner block (yellow in the bottom left).

- Sew together middle row of block: 4 1/2” Blue square + Square in a square + 4 1/2” blue square.

- Sew together bottom row of block: Corner block (Yellow in the top right) + 4 1/2” blue square + Corner block (yellow in the top left).

- Sew top row to middle row to bottom row.

- Repeat Steps 2 thru 5 a total of 6 times, yielding 6 blue blocks.
CREATE GREEN BLOCK:
- For this step, you need one square in a square from Step B, four Corner blocks from Step C and four Green 4 1/2” squares.
- Sew together top row of block: Corner block (Yellow in the bottom right) + 4 1/2” Green square + Corner block (Yellow in the bottom left).

- Sew together middle row of block: 4 1/2” Green square + Square in a square + 4 1/2” Green square.

- Sew together bottom row of block: Corner block (Yellow in the top right) + 4 1/2” Green square + Corner block (yellow in the top left).

- Sew top row to middle row to bottom row.

- Repeat Steps 2 thru 5 a total of 6 times, yielding 6 Green blocks.
CREATE BLOCK ROWS (BLUE AND GREEN BLOCKS SHOULD ALTERNATE):
- Sashing (Background 2 1/2” x 12 1/2”) + block + sashing + block to sashing + block + sashing.
- Repeat Step 1 a total of 4 times.
CREATE SASHING ROWS:
- Corner stone (multi colored 2 1/2” square) + sashing + corner stone + sashing + corner stone + sashing + corner stone.
- Repeat Step 1 a total of 5 times.
SEW ROWS TOGETHER FOR QUILT LAYOUT:
- Sew step G (Sashing Row) + Step F (Block Row) + G + F + G + F + G + F + G.
SEW/ATTACH FIRST 1 1/2″ BORDER:
- Blue and Green borders can alternate like in the sample, or they can be applied one color at a time.
SEW/ATTACH 2 1/2″ BORDER:
- Multi color border is to be added to all four sides.
SEW/ATTACH SECOND 1 1/2″ BORDER:
- If alternating like in the sample, attach in order of alternating colors.
Sew/attach 4 1/2” border.
For backing and binding, please use preferred process. Backing requirements in pattern are determined for Long Arm Quilting.

