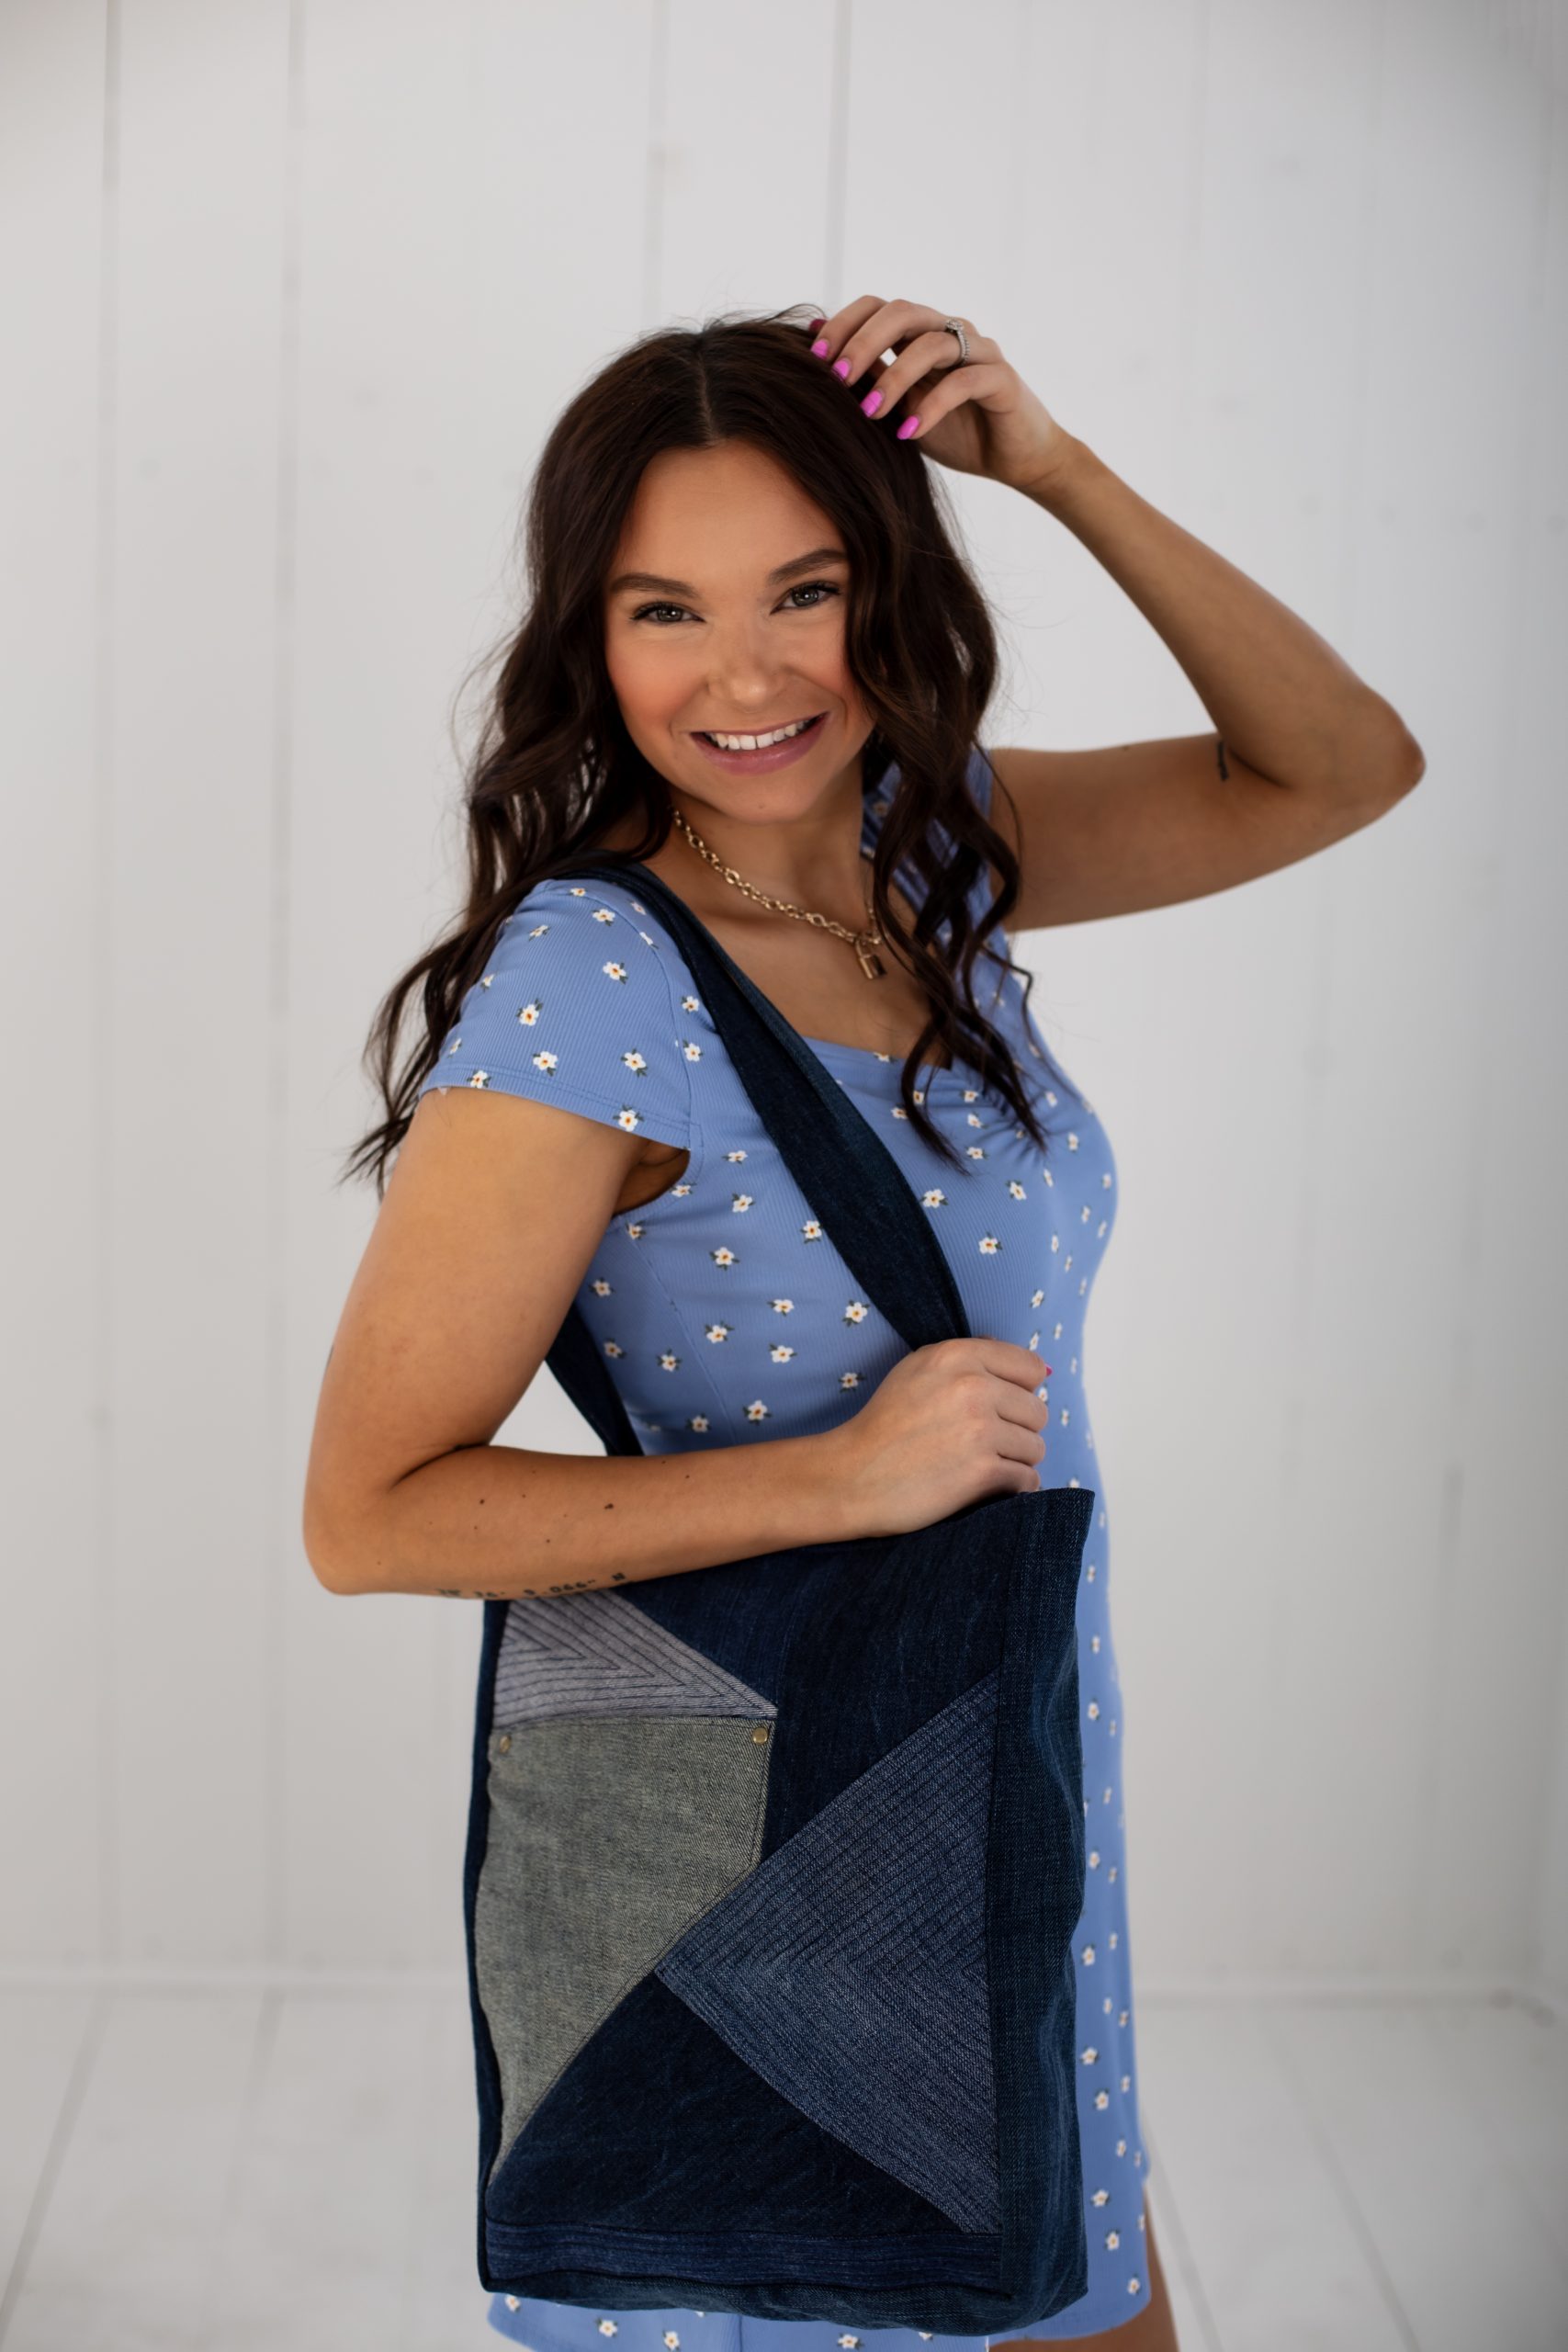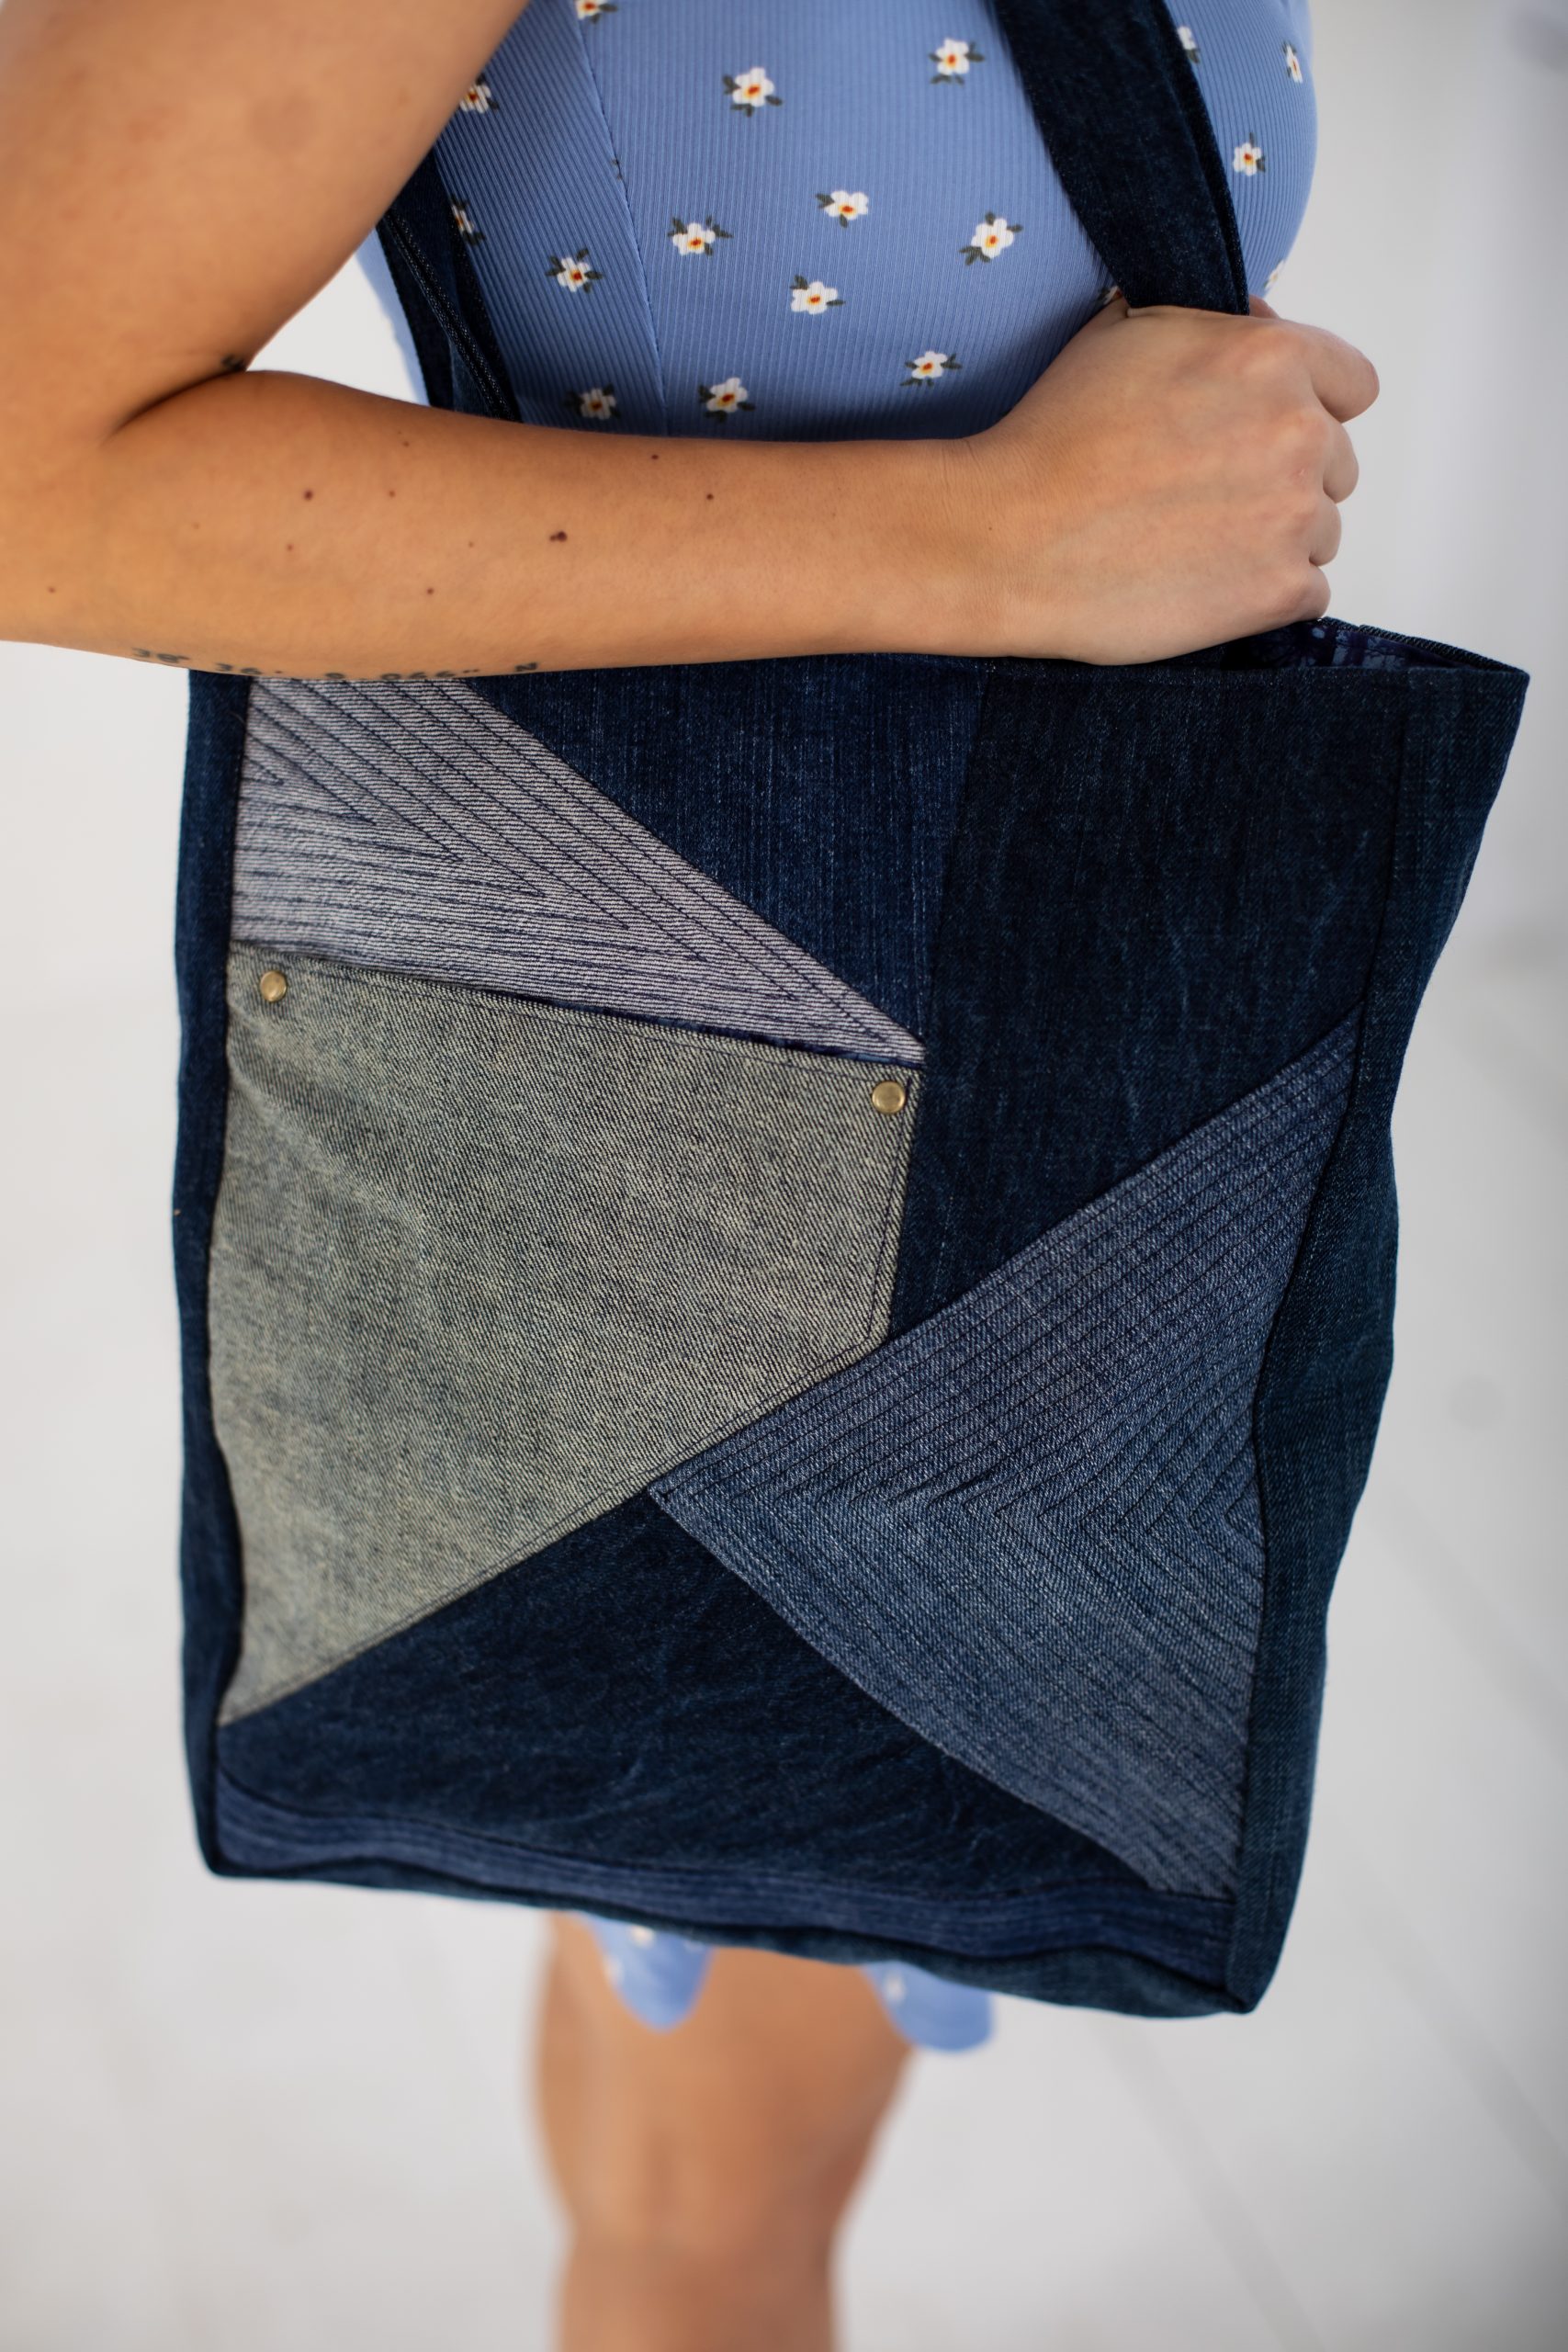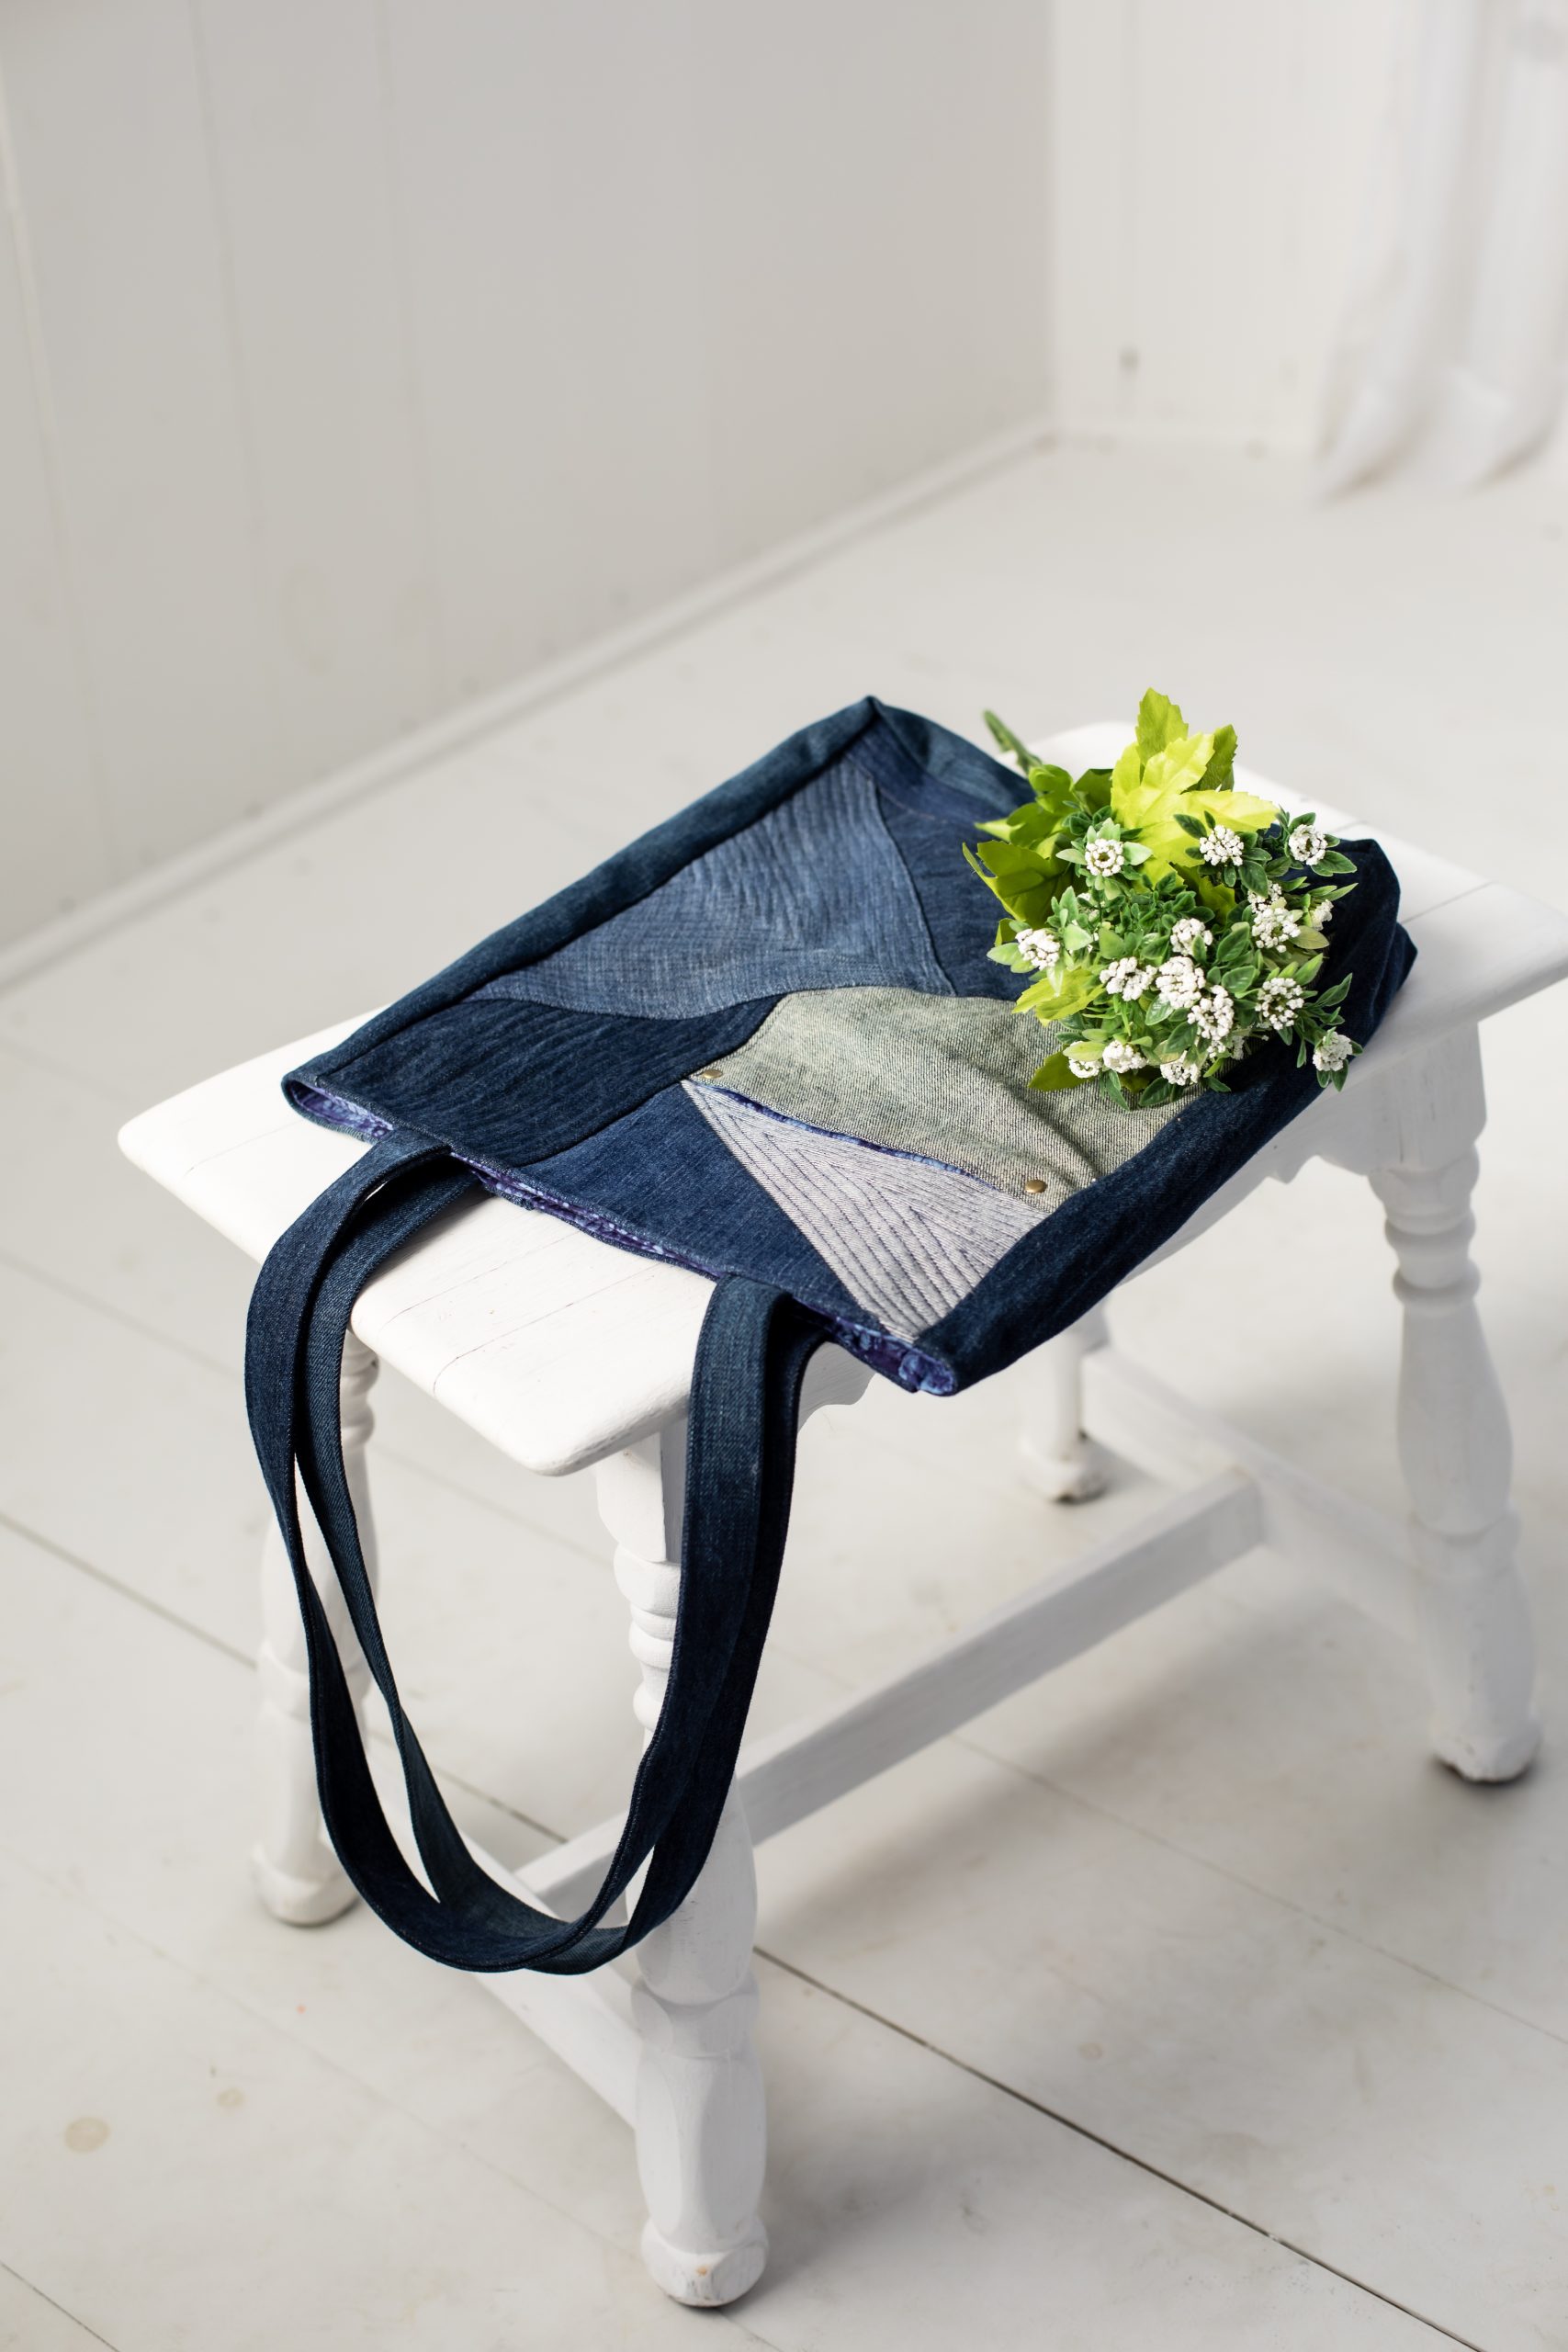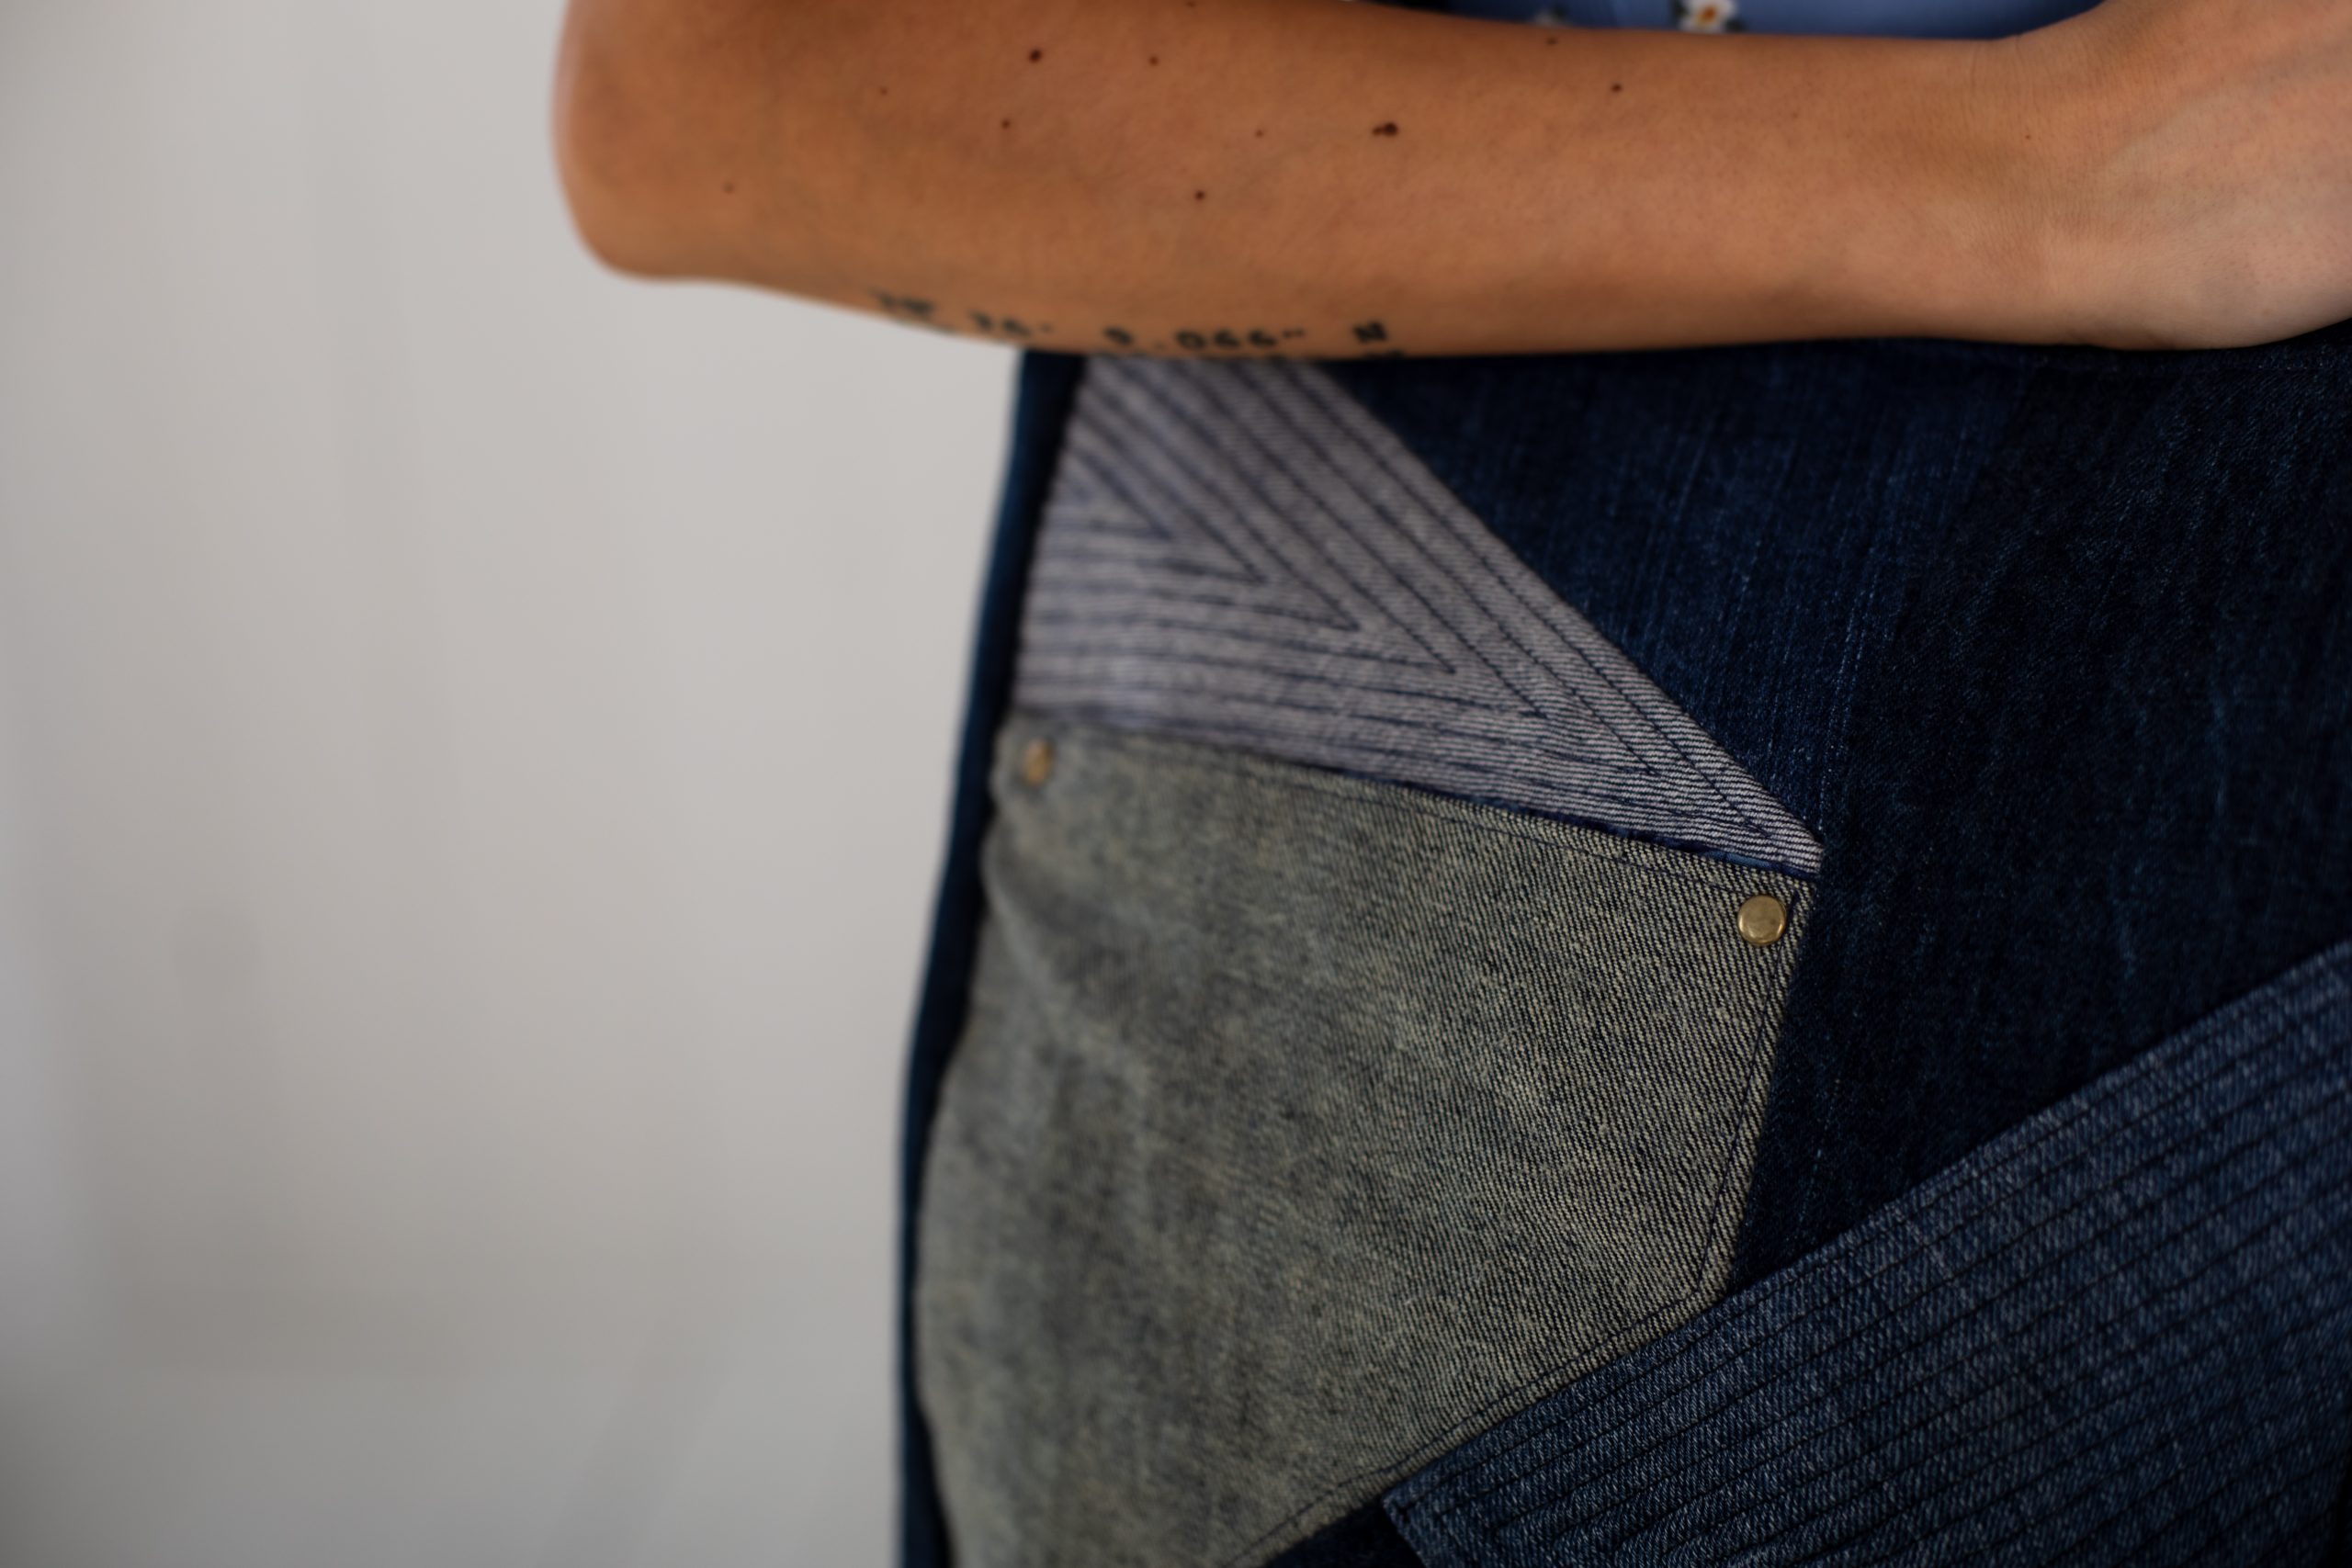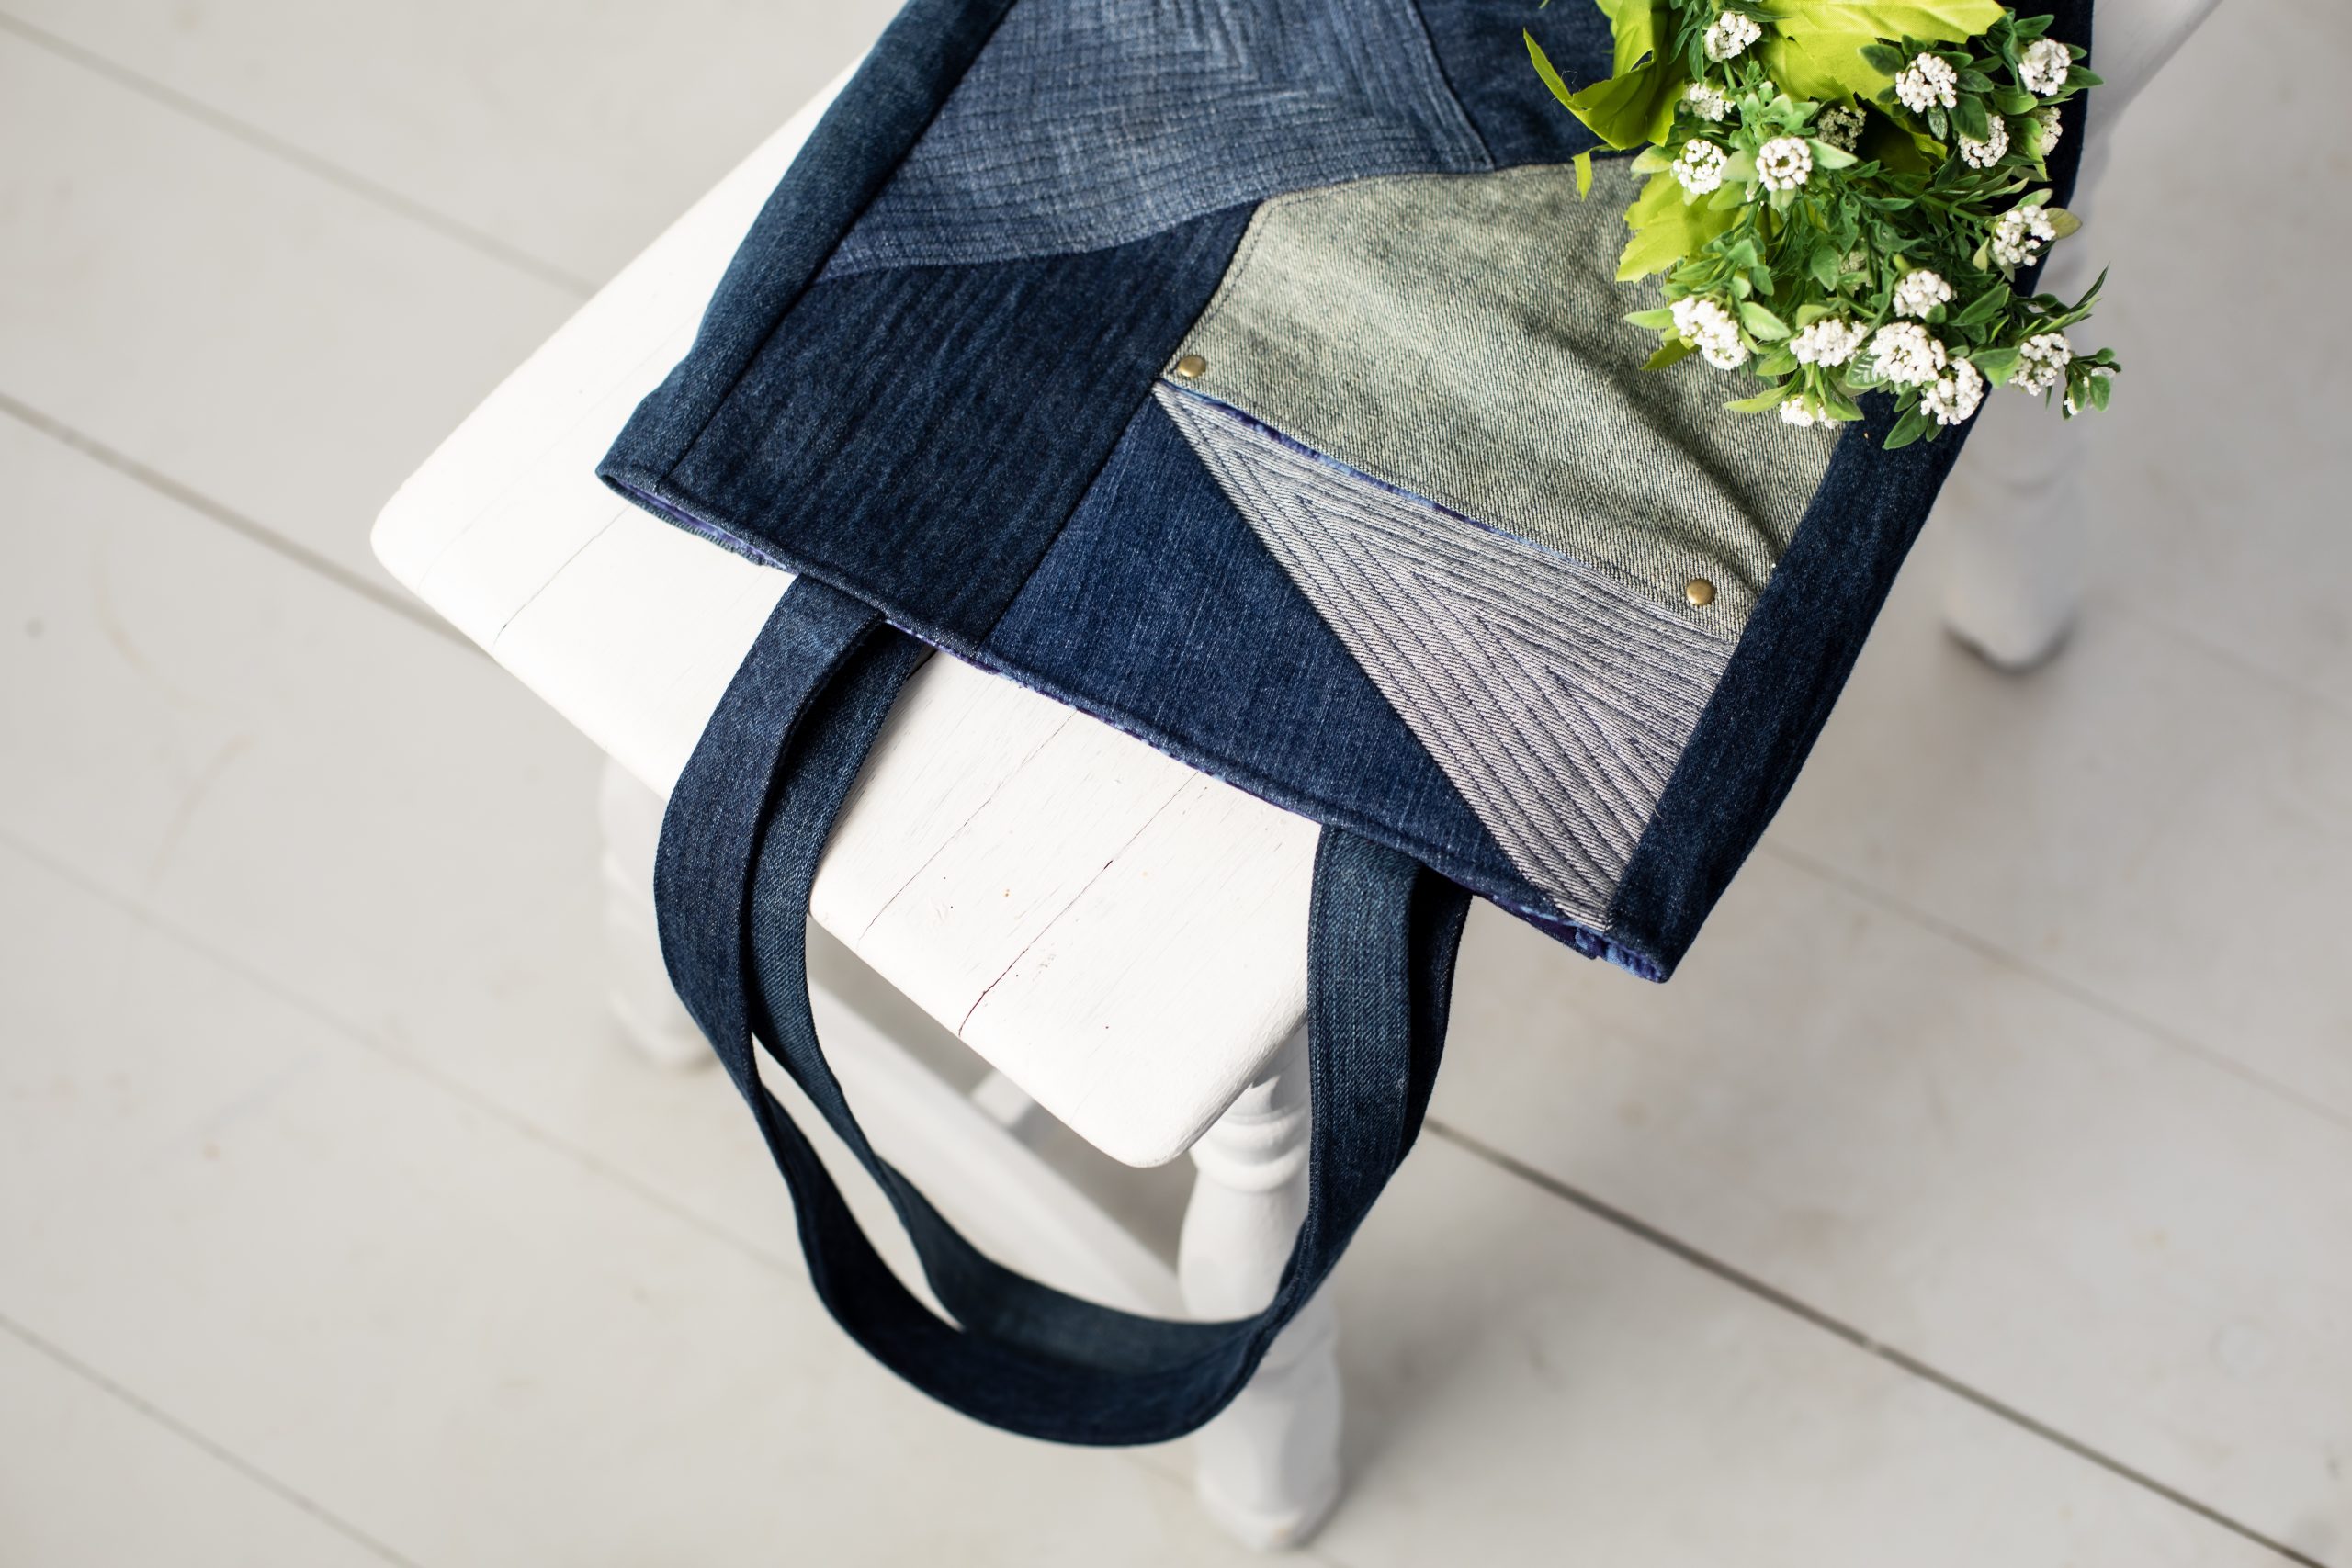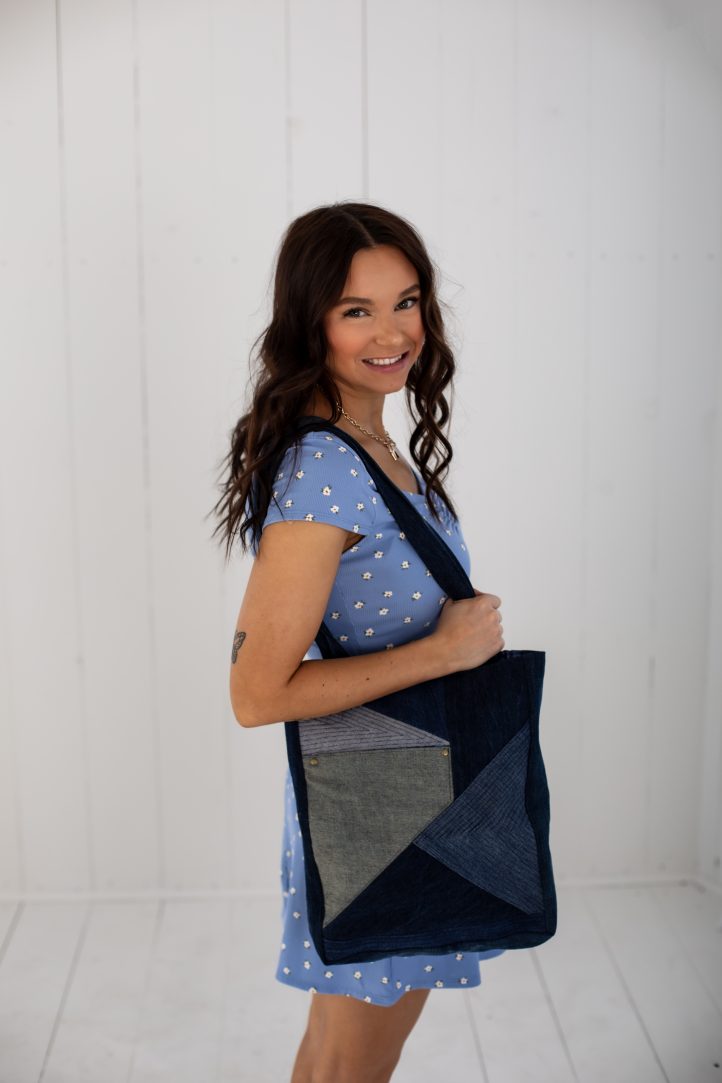
If you’ve been saving up old jeans for the perfect sewing project, then we know you’ll love this quilted tote bag from Mallory Hill. Made using two pairs of thrifted men’s jeans, this quilted tote bag pattern features an on-trend asymmetrical design and is roomy enough to hold your daily necessities. The best part about this quilted accessory is that denim goes with everything, so this chic tote will pair perfectly with your entire wardrobe.
Abbreviations:
- T = tall
- W = wide
- RST = right sides together
- WST = wrong sides together
Materials:
- Exterior denim – The sample was made from two pairs of large men’s jeans upcycled from the thrift store. If you are using yardage, you will need 1 yd. total of various colors of denim.
- Lining – 2/3 yard – Light weight fabric such as quilting cotton
- Interfacing – 1 1/4 yards
- 1 spool of coordinating thread
- 2 sets of 8mm (5/16-inch) rivets – Optional
- PDF Pattern – This is located at the bottom of this page. See printing instructions below.
Tools:
- Sewing machine w/ denim needle
- Ruler
- Rotary cutter
- Self-healing mat
- Scissors
- Rivet installation tools – Optional
- Fabric marking tool
- Pins
- Iron and ironing board
PRINTING INSTRUCTIONS:
To download the PDF pattern, click on the download button at the bottom of the page. We recommend opening your download using Adobe Acrobat.
Piecing Instructions:
- Cut out fabrics:
- Interior Front/Back – two – 15” T x 12” W
- Interior Gusset – one – 4” x 42”
- Handles – two – 4” x 30”
- Exterior Back – one – 15” T x 12” W
- Exterior Gusset – one – 4” x 42” (You can piece together multiple 4” strips if needed)
- Exterior G Piece – 2” T x 12” W
- Exterior pieces – Cut one of each pattern piece from PDF pattern (A – F).
- Front Pocket – Cut 2 of piece D (mirror images) from your interior fabric.
- Note: If you are using upcycled denim, lay out all of your pieces before cutting to make sure you have enough. You can use the wrong side and the right side of the same pair of jeans for further color variation.
- Interface all interior pieces and both interior pocket pieces. Note: Cut the interfacing for your interior gusset in two 21” long strips to save on interfacing yardage.
- Create handles (Skip if using leather or webbing).
- Fold fabric in half lengthwise, press. Unfold fabric and fold the long raw edges in the center to meet the created crease from the first fold. Press along both long edges. Fold again along the original center crease. Press well. Final handle should be 1” wide.
- Edgestitch along both long edges of the handle.
- Repeat for second handle, set aside.
- Piece front of bag.
- Sew Piece B and C together.

- Sew Pieces E and F together.


- Sew Piece BC and one interior D together.


- Sew one Exterior D and one Interior D together RST, flip WST and press. Edgestitch along the top sewn edge.
- Baste the Exterior Pocket D on top of the Interior Piece D to create a Panel BCD.

- Sew BCD to A.


- Sew BCDA to EF.


- Sew BCDAEF to Exterior G.


- Press all edges well.
- Quilt as desired to create texture and visual interest on the front of your tote.
- Add rivets on the top edge of your pocket according to the manufacturer’s instructions, if desired.
- Square up the front panel to a final measurement of 15” T x 12” W.
- Sew Piece B and C together.
- Create exterior.
- Mark the center of the front and back panels along the bottom edge. Mark the center of the gusset along both long edges.
- Match the center of the back panel to the center of one side of the gusset. Pin or clip the gusset in place along the bottom edge and both side edges of the back panel.
- Sew in place clipping into the gusset as needed.
- Repeat Step 5 to attach the front panel to the gusset.
- Keep exterior Wrong sides out, set aside.
- Create interior.
- Repeat Step 5 with both interior pieces and interior gusset.
- Turn the Interior Right Side Out.
- Assemble tote.
- Lay your Interior on your work surface.
- Mark the center along the top edge of both of your interior panels. Make a mark 3” inches to the left of the center, and make a mark 3” inches to the right of the center on both front and back panels.
- Place the short edge of one handle onto one of the marks at the top edge of your interior, and match the center of your strap to the mark. Pin in place. Place the other end of the handle to the other mark. Make sure the handle is not twisted. Pin in place.
- Baste the handle to your bag at 1/4” seam allowance.
- Repeat with the other handle on the opposite side of the Interior Panel.
- Place the Interior inside the exterior RST. Match up the side seams and handles. Make sure the handles are tucked down in between the two layers. Pin or clip around the top edge of the bag.
- Sew with a 1/2” seam allowance around the top edge of the bag leaving a 4” opening between the handles on the back panel. Backstitch well at both ends.
- Turn the bag right side out through the opening.
- Poke out all corners and press well.
- Edgestitch around the entire top opening of your tote
You are all done, so fill up your tote and get ready for your next adventure!

