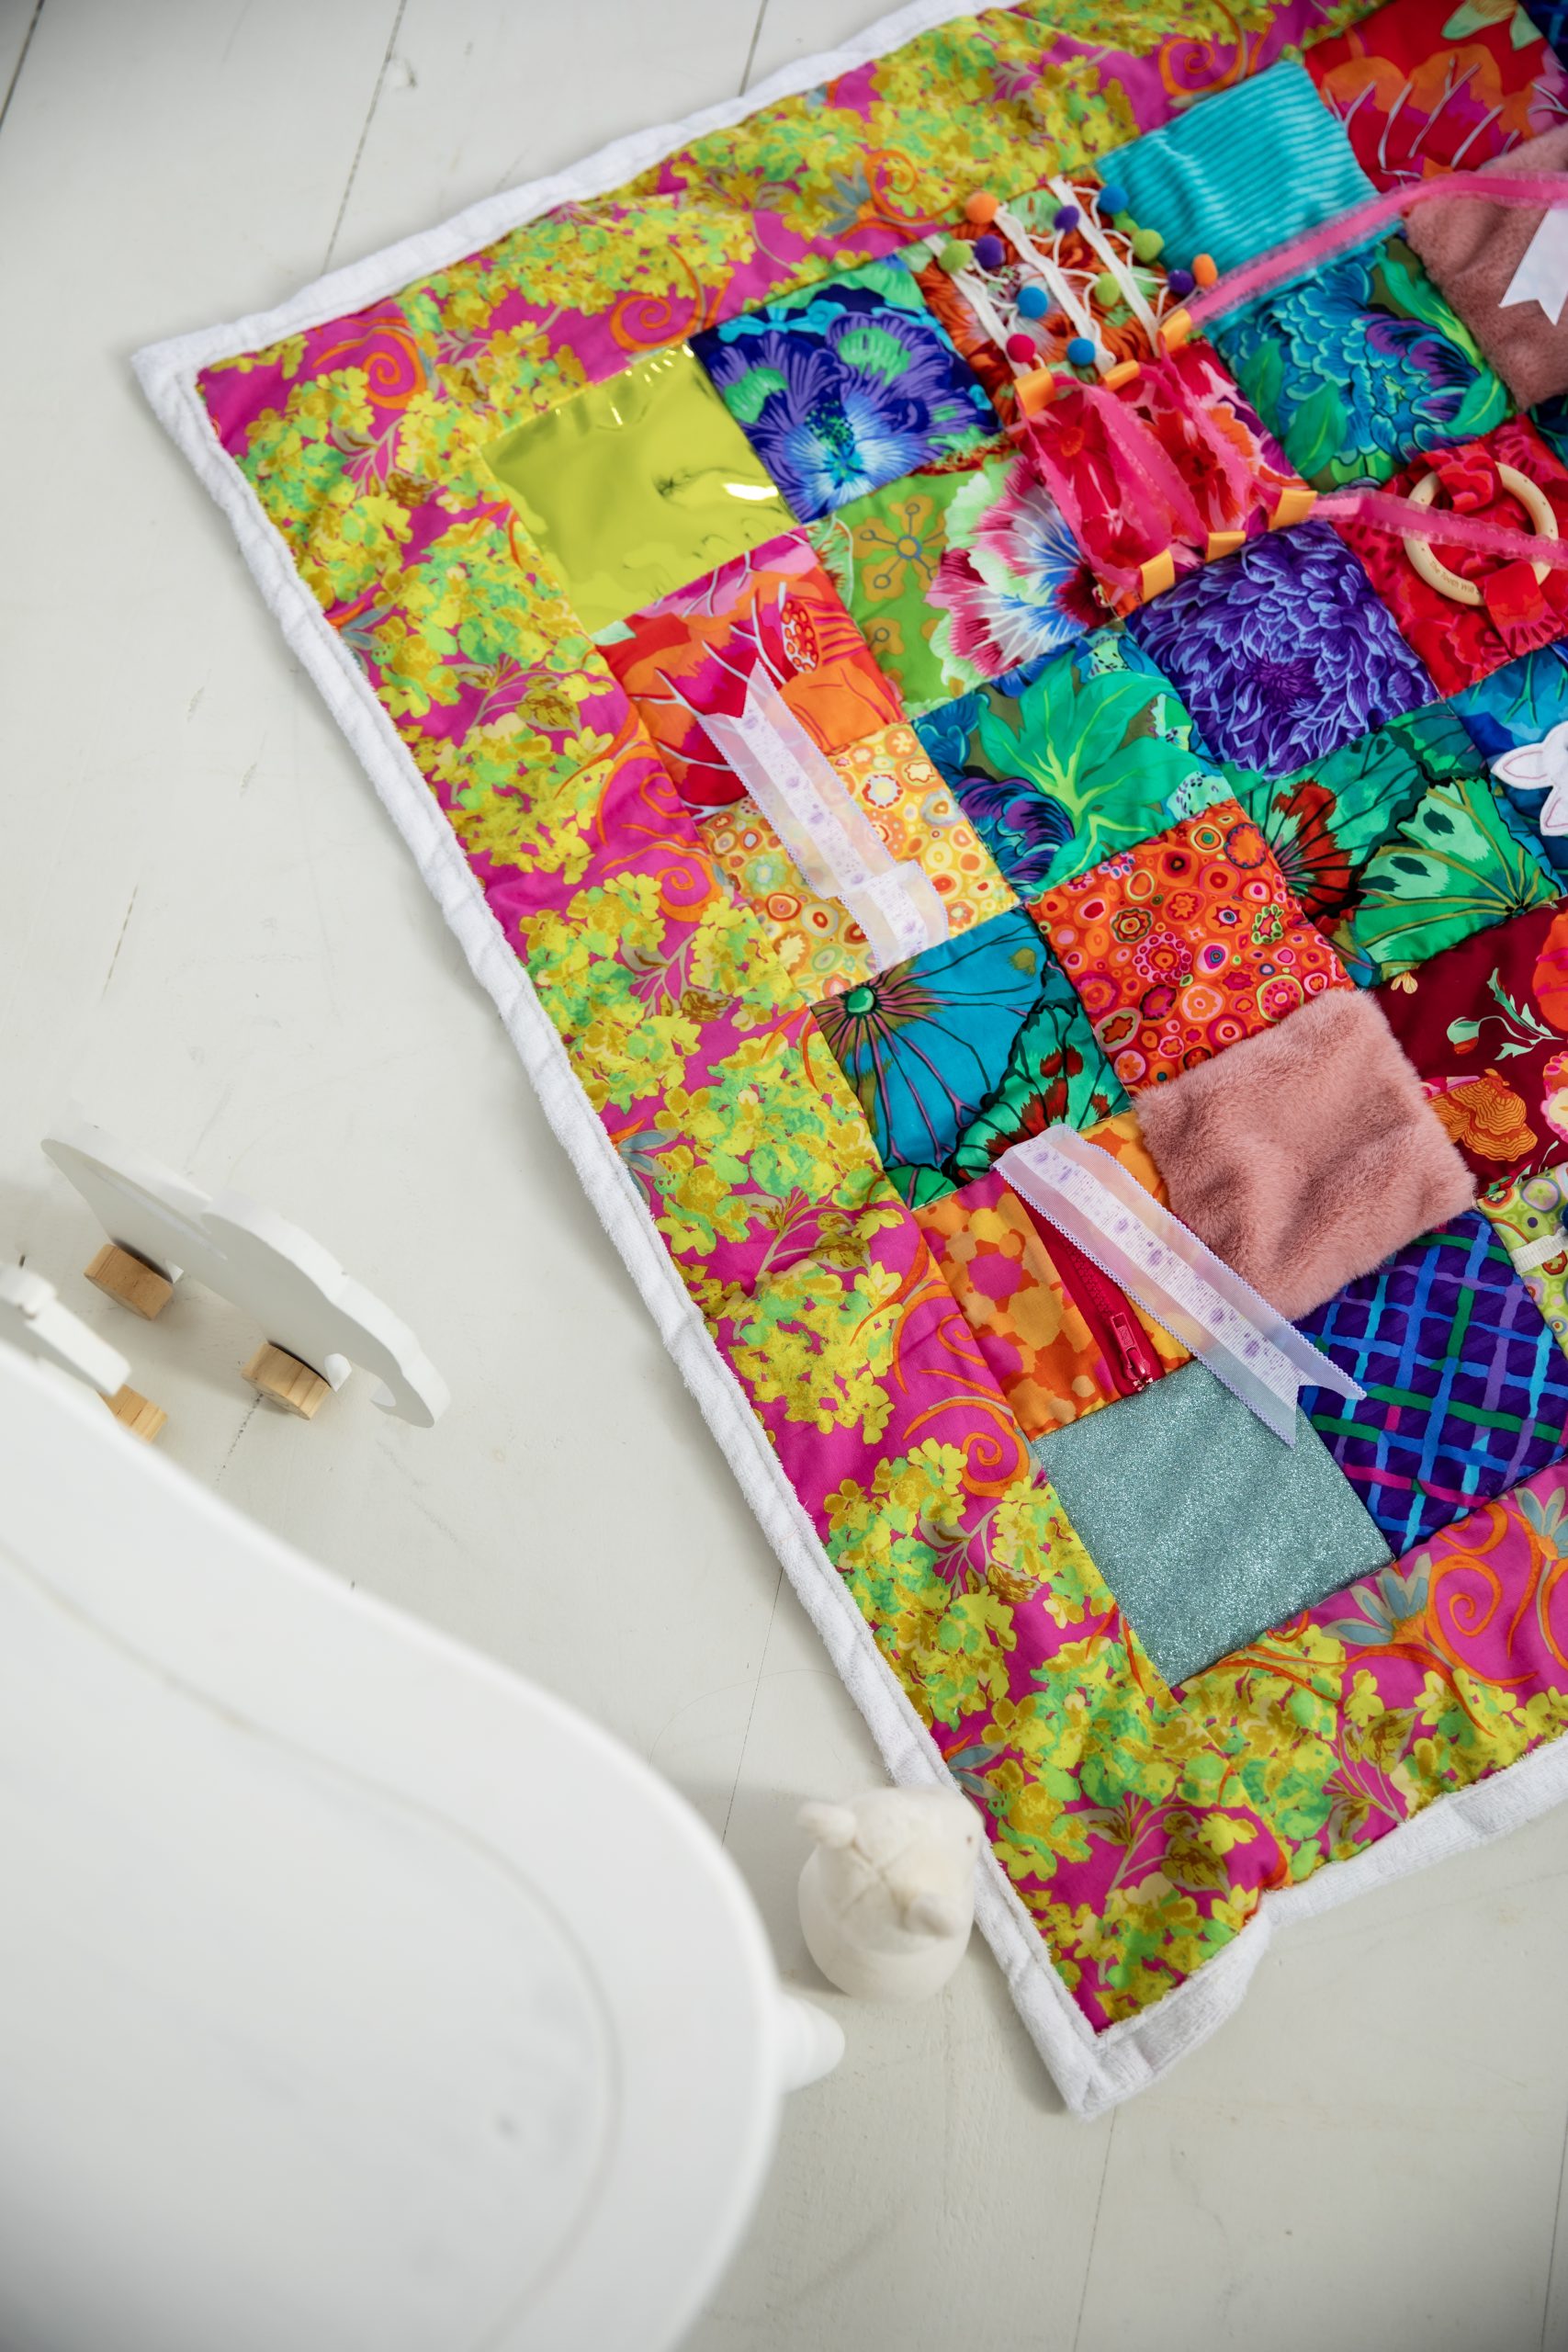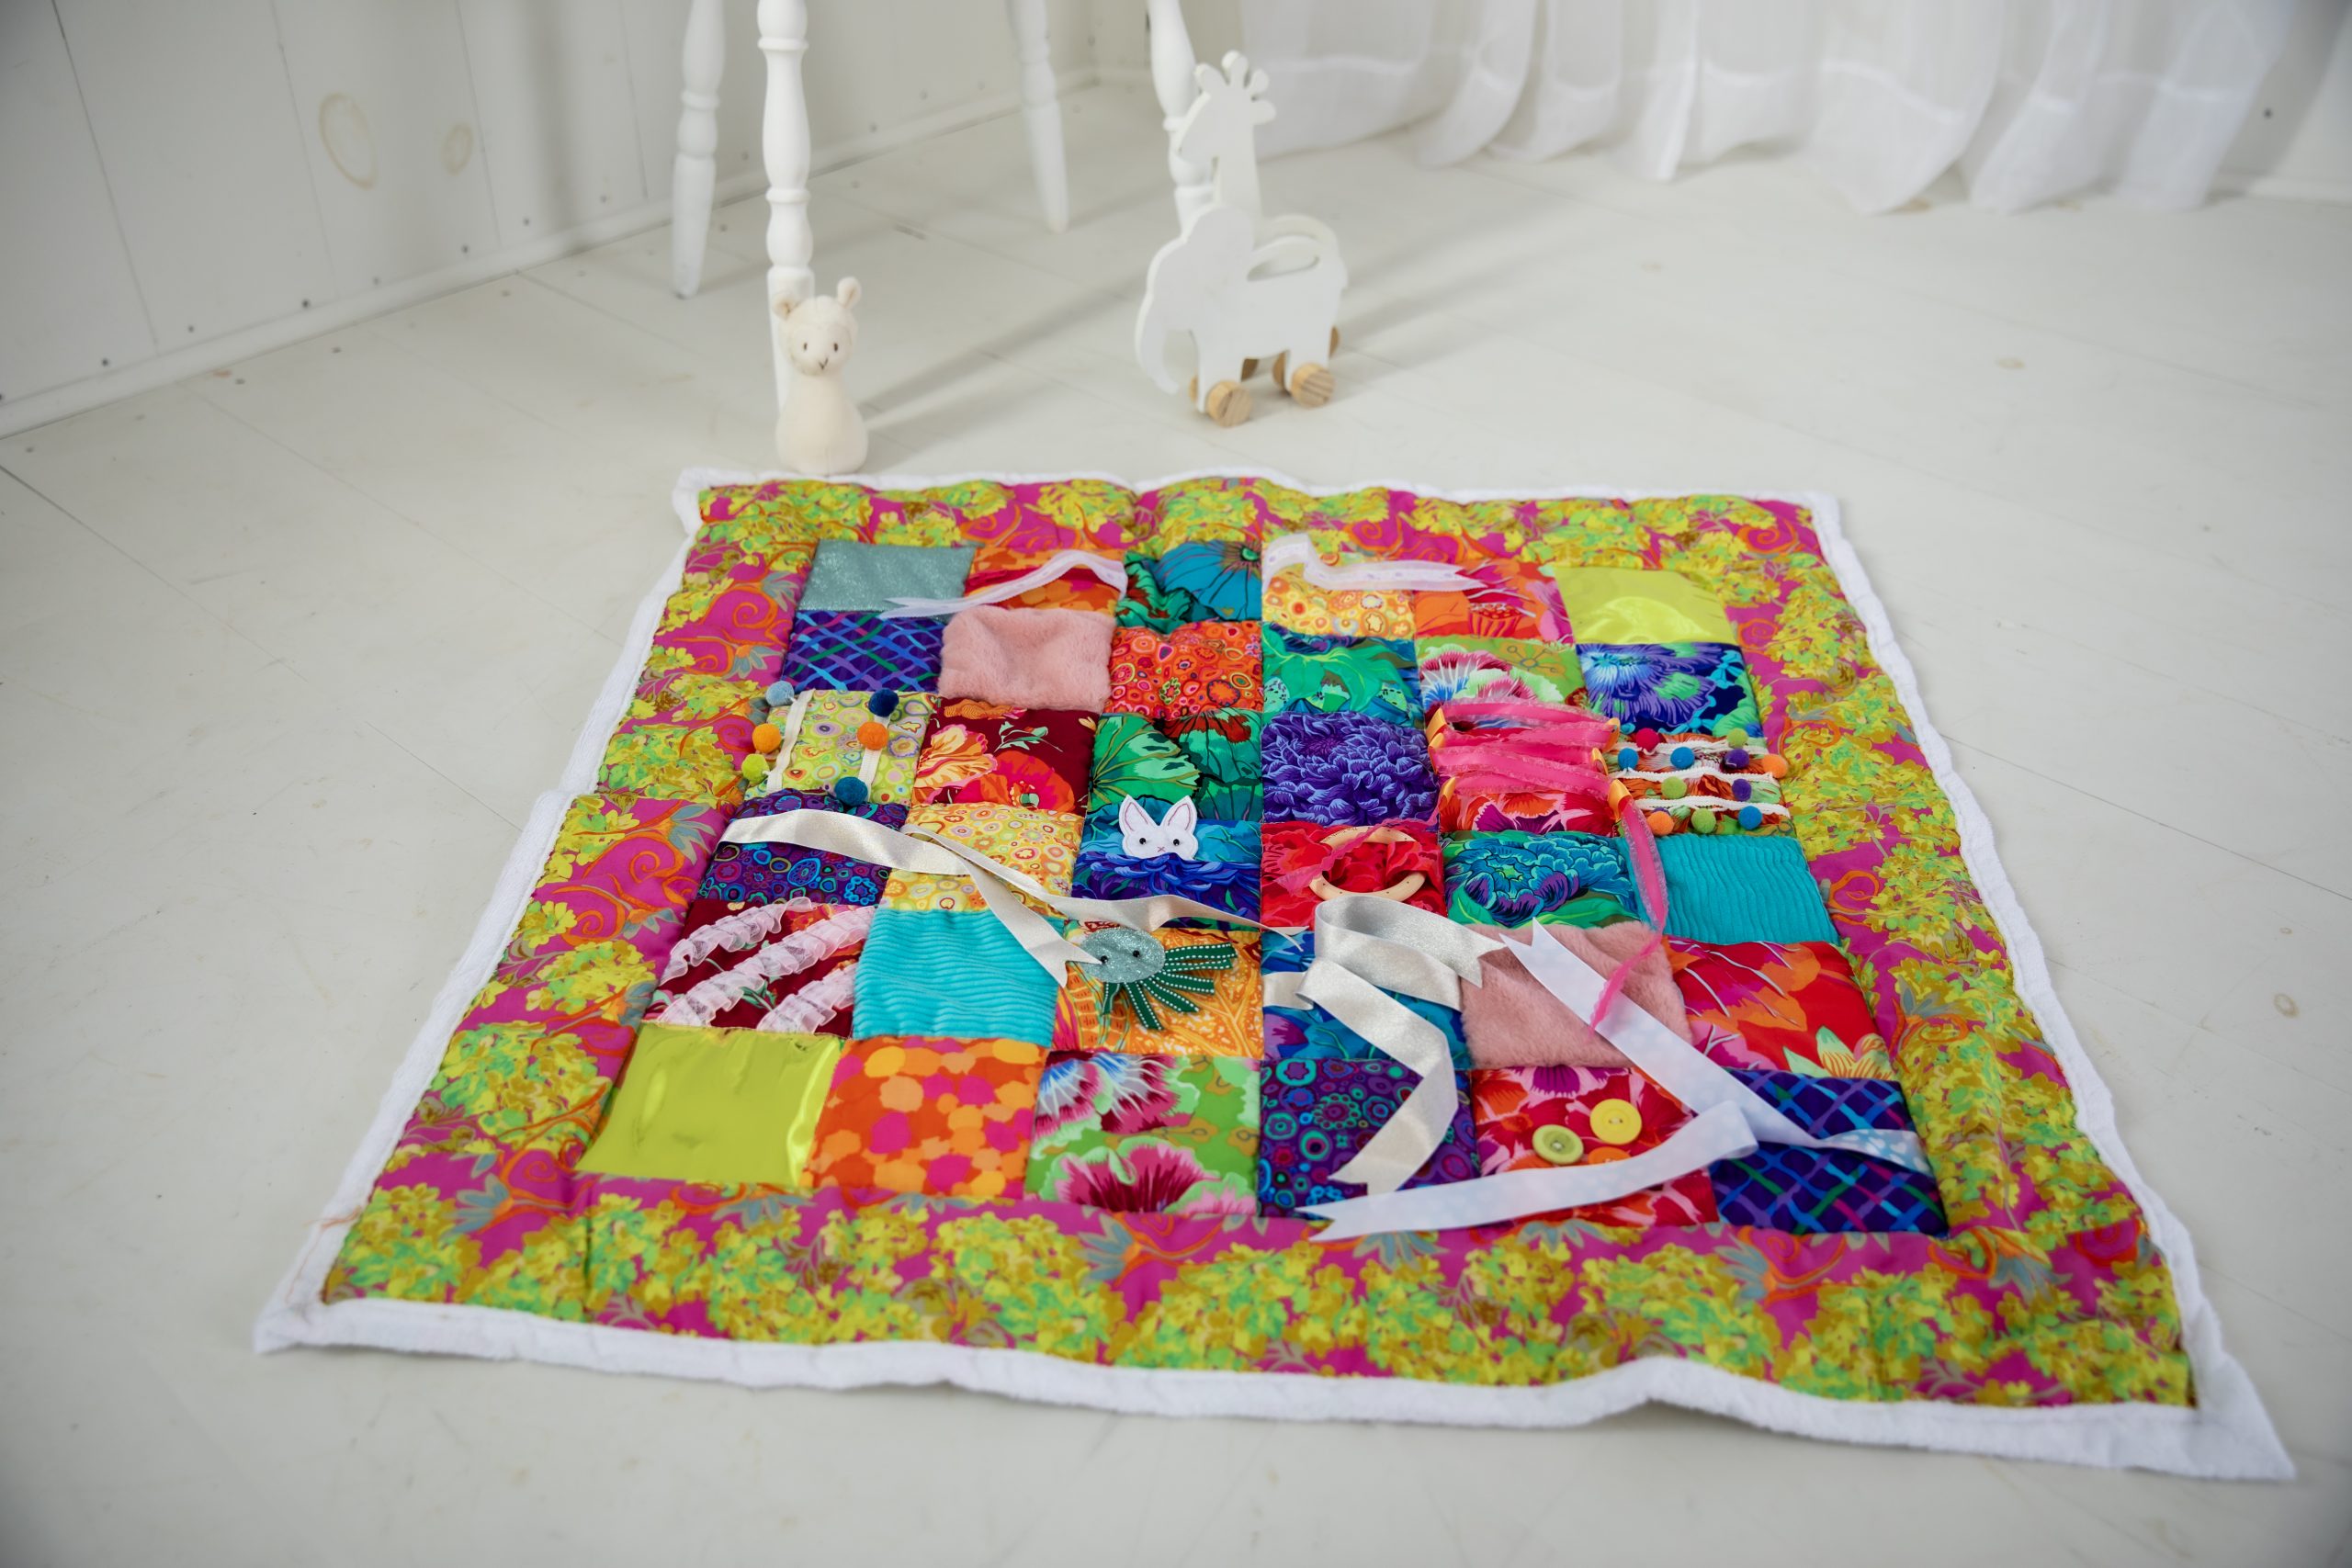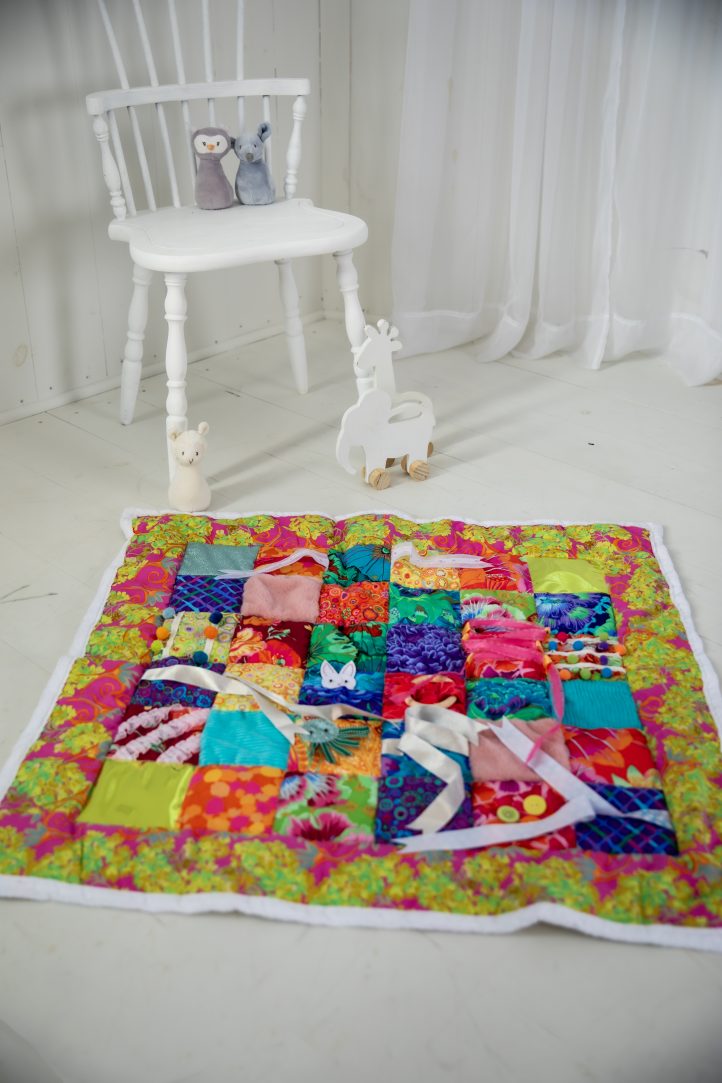
Gift your new grandbaby with a colorful, creative quilt that will keep them entertained for hours. Designed by Sophie Tarrant, this sensory baby quilt pattern is made with a rainbow charm pack and is a fun project for intermediate quilters. On this quilt, you’ll find ribbons, a teething ring, and noise-making details, as well as a tiny bunny that’s sure to delight your little one. This baby quilt pattern is backed with a soft toweling fabric, making it lightweight and cuddly. Your grandchild will love finding this thoughtful, handmade gift under the tree on Christmas morning.
Skill Level: Intermediate
Designer Notes:
- Distribute your crinkle squares, pom poms, ribbons, and glitter pieces evenly across your quilt. This ensures every part is engaging and avoids clusters of similar textures.
- Large buttons should be sewn on very firmly to withstand use. When in doubt, double-stitch or skip fragile elements to keep your quilt safe for all ages.
Editor’s Note: This project contains small pieces. Please make sure that an adult is present when children are playing with this sensory quilt.
Materials:
- Fabric: One rainbow charm pack; Pink floral cotton, one yard; Toweling, 1-1/2 yards; Plus pink faux fur, green mirror finish vinyl, blue glitter cotton, and blue jumbo cord – One fat quarter of each
- Quilt wadding – 1-1/2 yards
- White felt: One 12 inch square
- Ribbons
- 5-inch all-purpose zipper
- Two clean potato chip bags
- Pom pom trim
- Black seed beads
- Pink embroidery floss
- Lace trim
- Teething ring
- Jingle bells
- Squeaky toy noisemakers
- PDF Template – This is located at the bottom of this page. See printing instructions below.
Tools:
- Scissors
- Dressmaker’s chalk
- Sewing clips
- Sewing machine
- Hand sewing needle and thread
- Embroidery needle
- Iron
PRINTING INSTRUCTIONS:
To download the PDF template, click on the download button at the bottom of the page. We recommend opening your download using Adobe Acrobat.
Piecing Instructions:
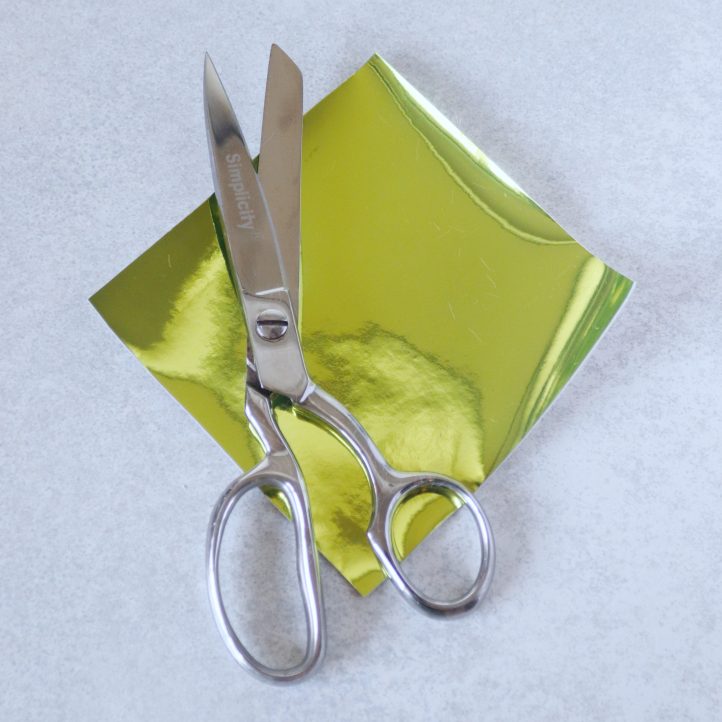
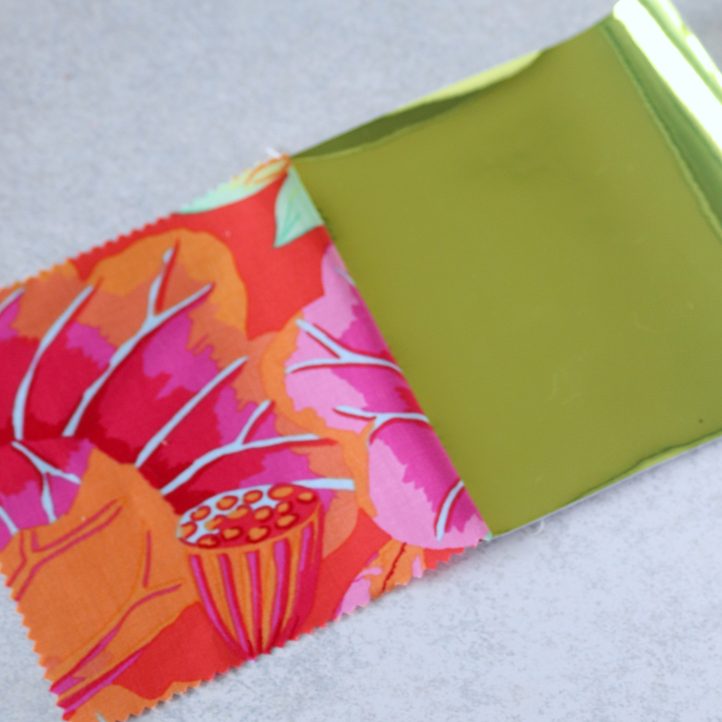
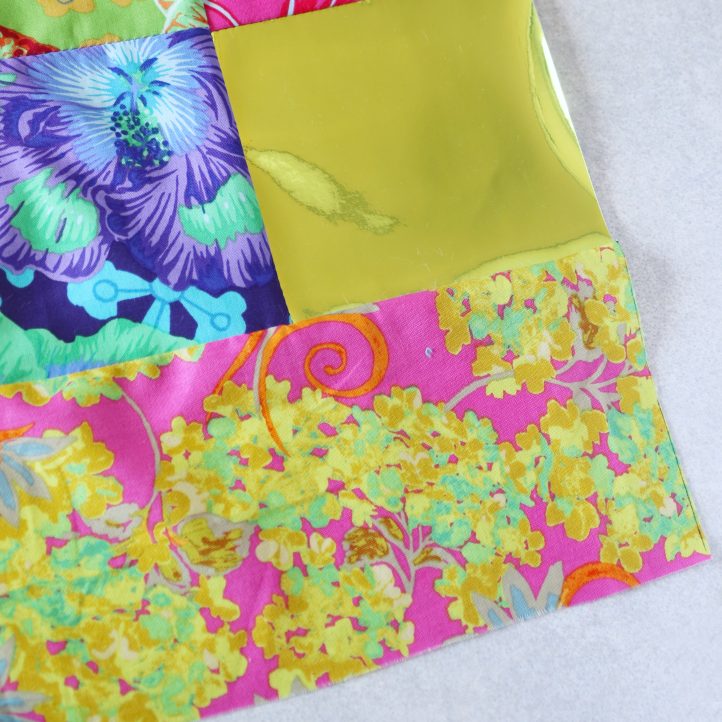
- This quilt is made up of (36) 5-inch squares – the majority come from a pre-cut rainbow charm pack (which saves a lot of time!), but you will also be adding a few extras of your own to include additional sensory details. Begin by cutting two 5-inch squares from a sheet of mirrored green vinyl.
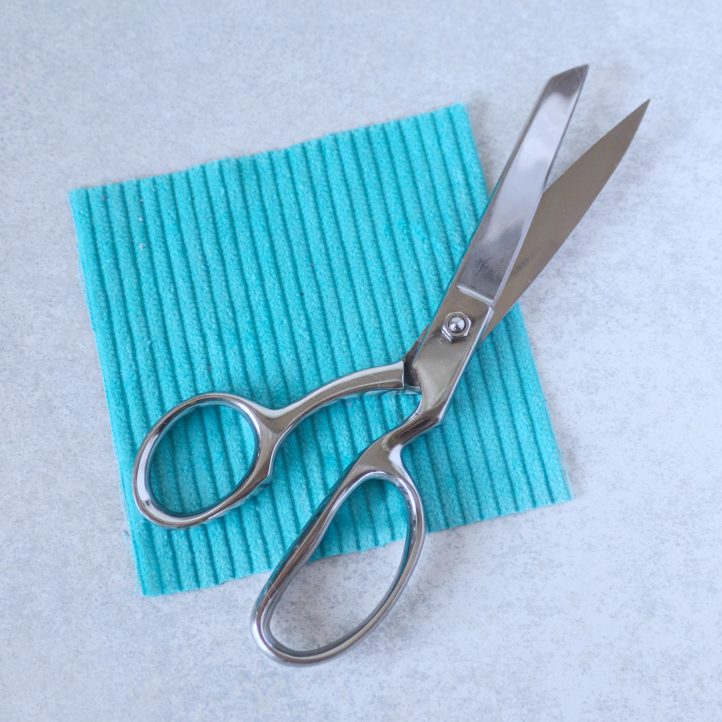
- Next, cut two 5-inch squares from bright blue jumbo cord.
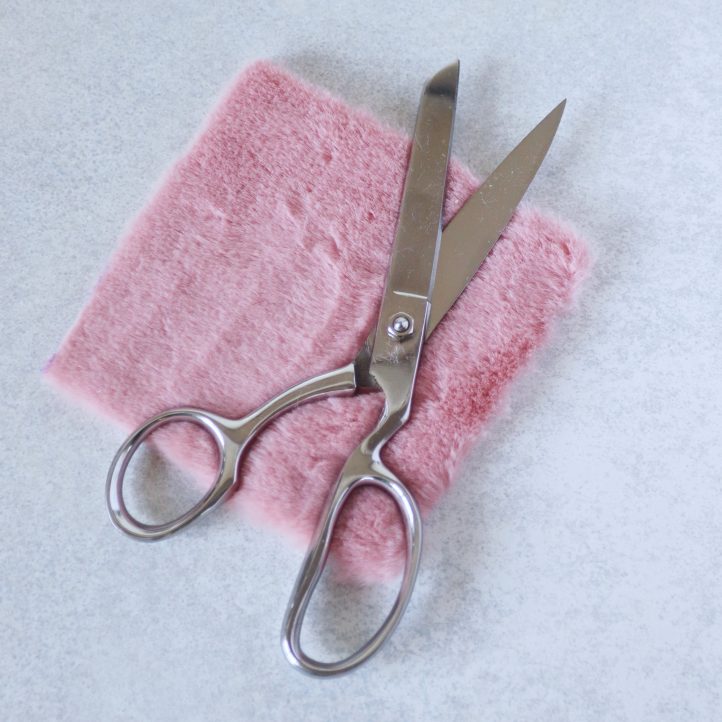
- Trim two 5-inch squares from a piece of super-soft pink faux fur.
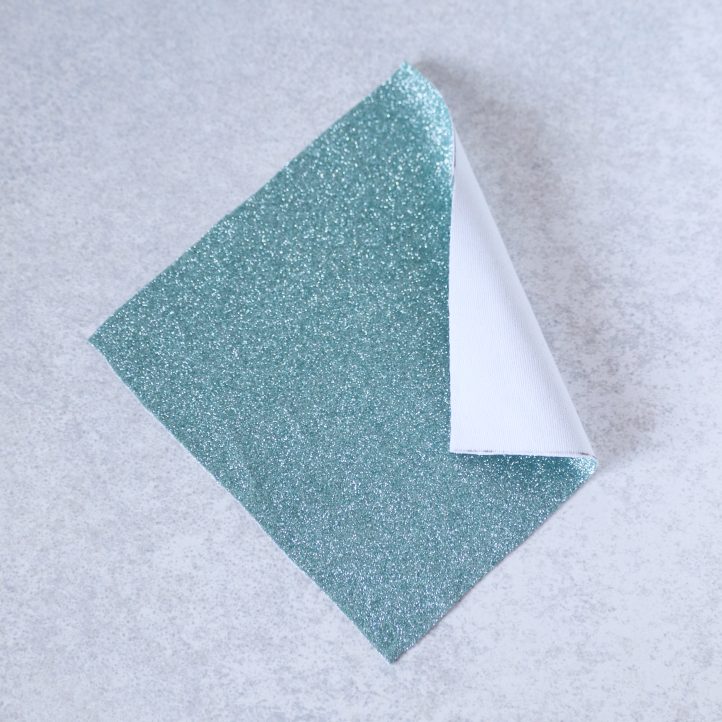
- Cut two 5-inch squares from a sheet of blue glitter-coated cotton. Keep the excess from this piece – you’ll use it in a later step.
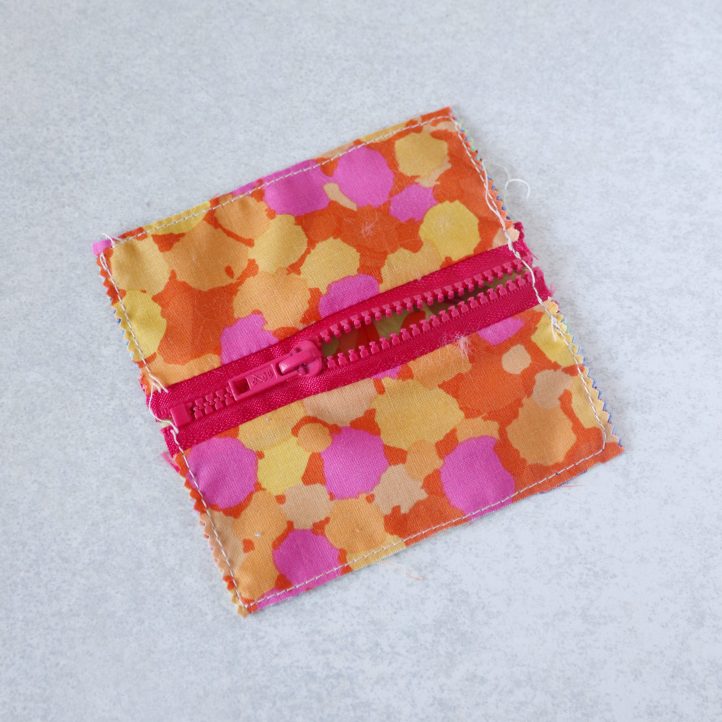
- Make a zipper square. Take one of your charm pack pieces and cut it in half. With right sides facing, stitch each half along the long edges of a zipper to secure it down the center of the square. Trim the square down so it measures exactly 5 inches again. Place this zippered square on top of another charm pack piece with the right sides up and the edges aligned, then baste around the edge to hold the layers together.
- Make crinkle squares – yes, using potato chip bags! Take two small empty chip bags, wash them, and leave them to dry thoroughly. Place one bag flat against the wrong side of a charm pack square, then baste around the edge to hold it in place. Trim any excess chip bag so your square measures exactly 5 inches. Repeat to make another crinkle square in the same way. When the quilt is finished, these layers will rustle together when they’re touched, creating a fun, satisfying crinkling sound.

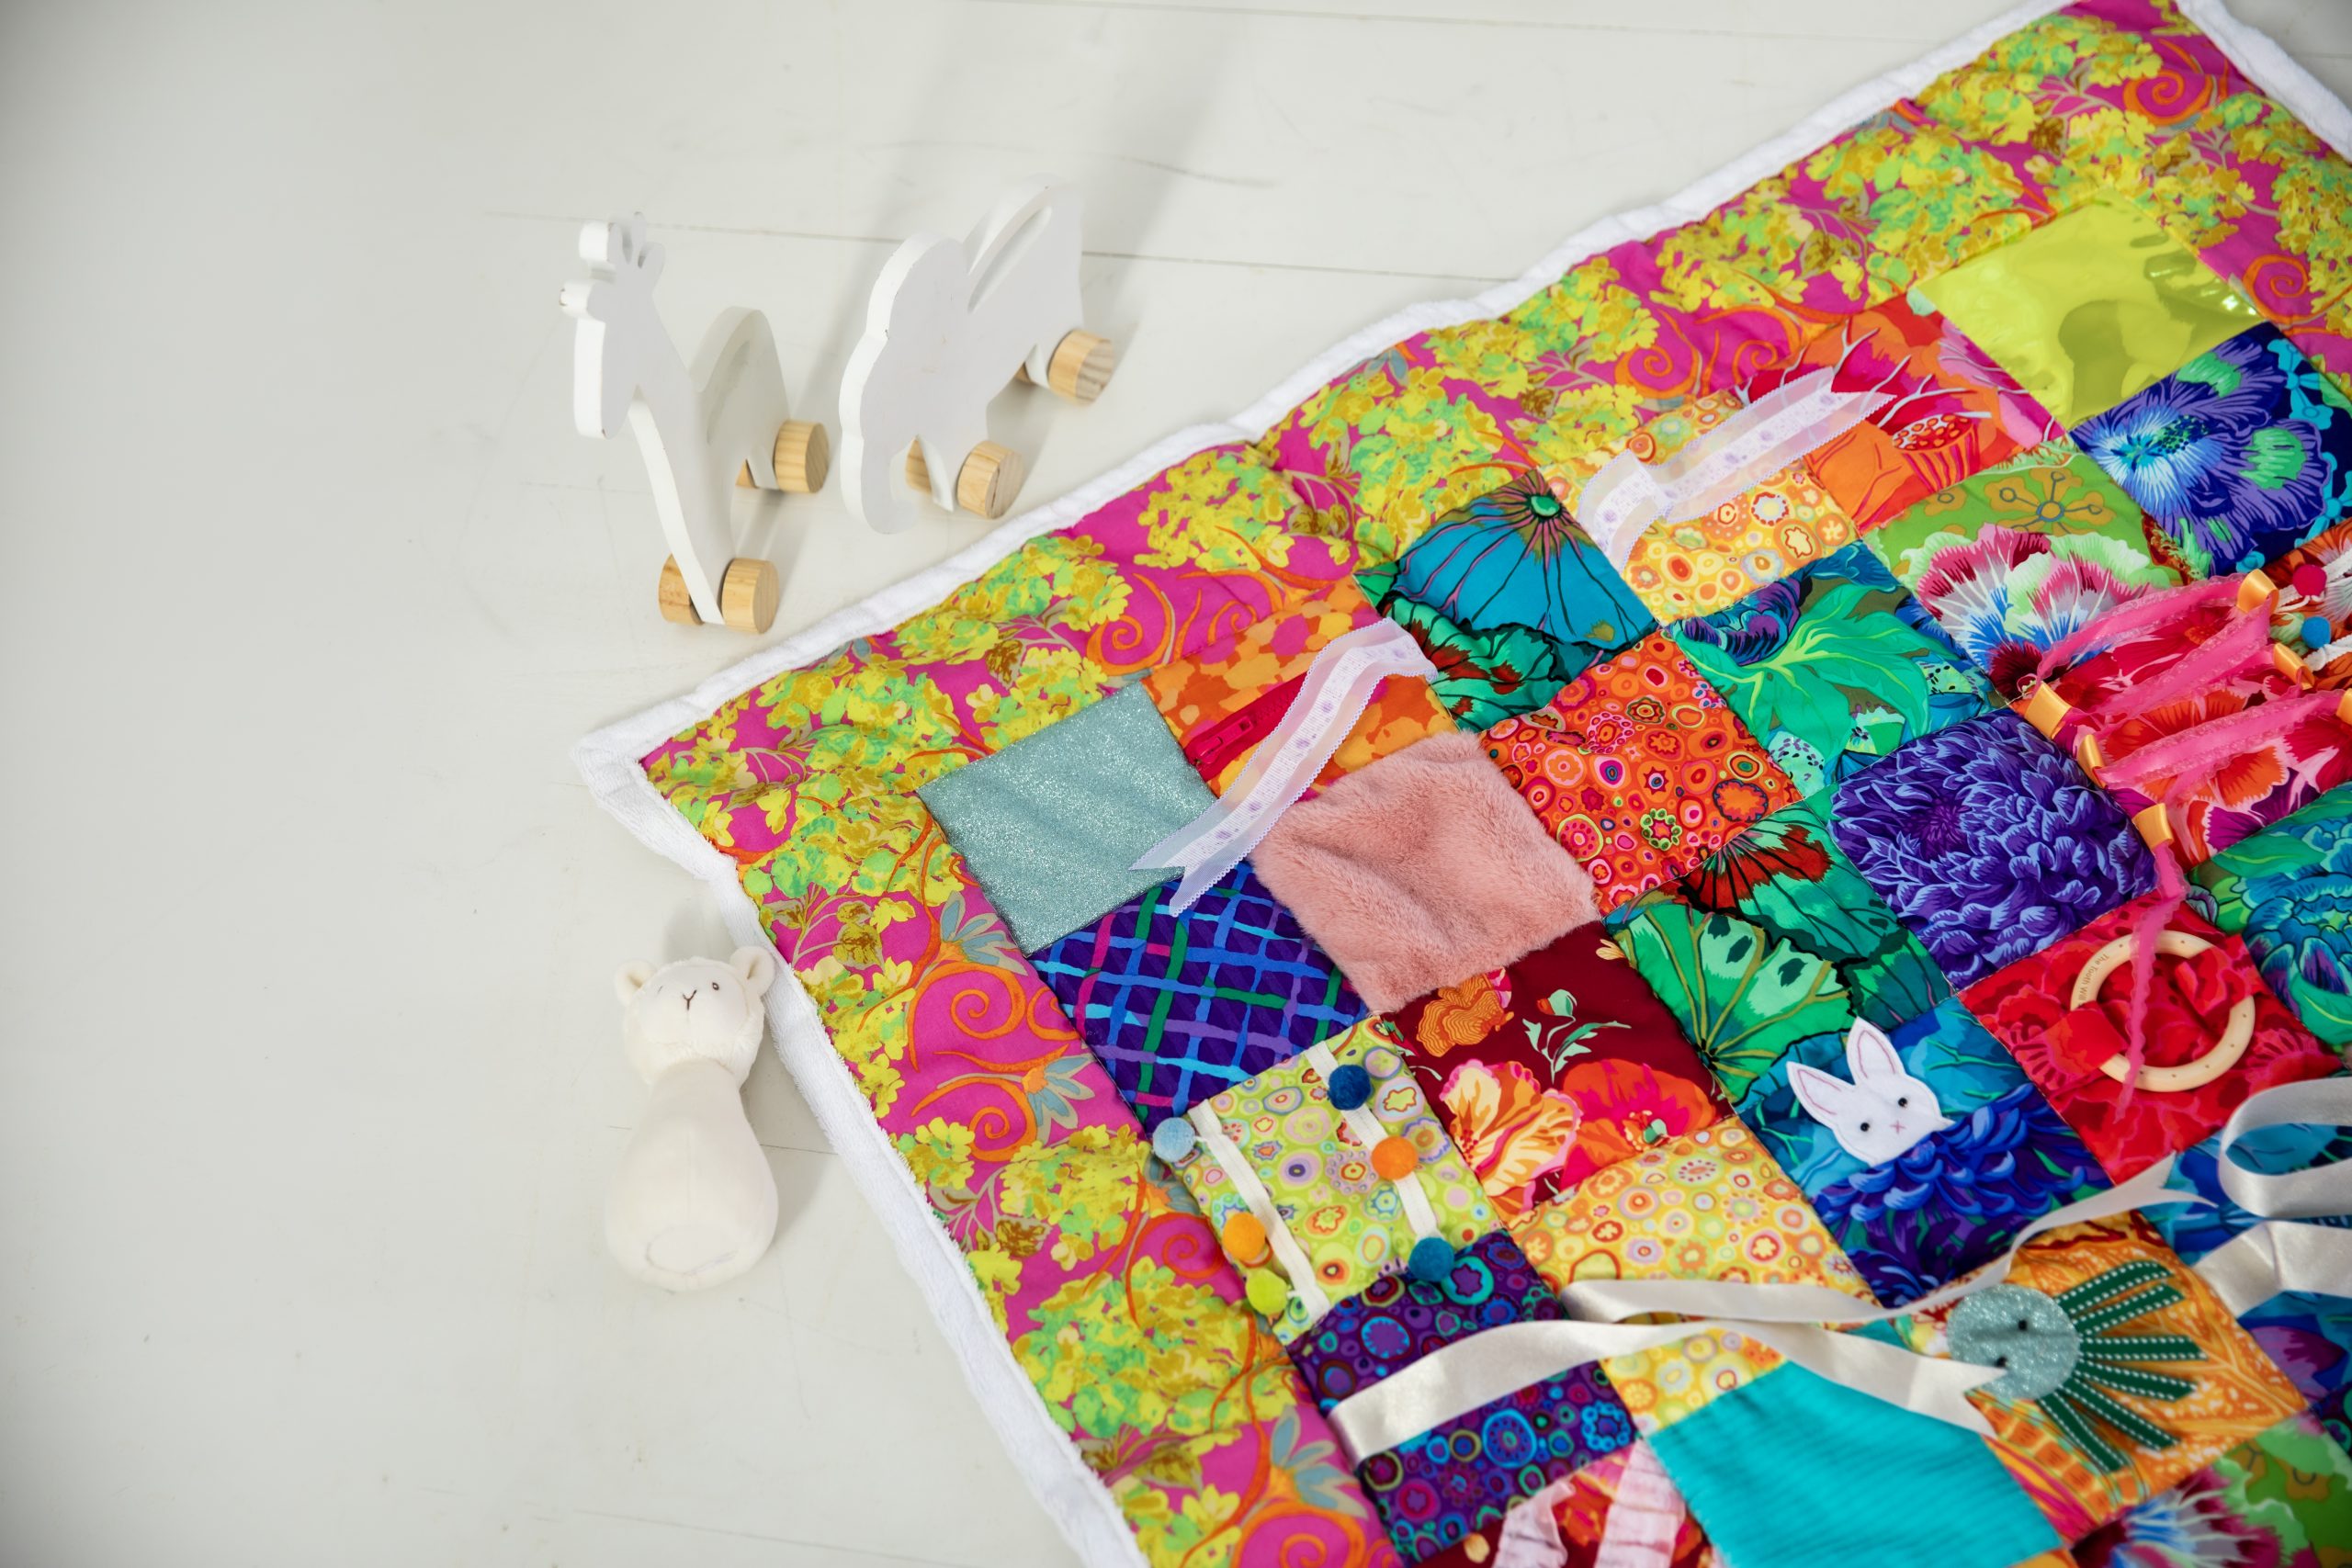
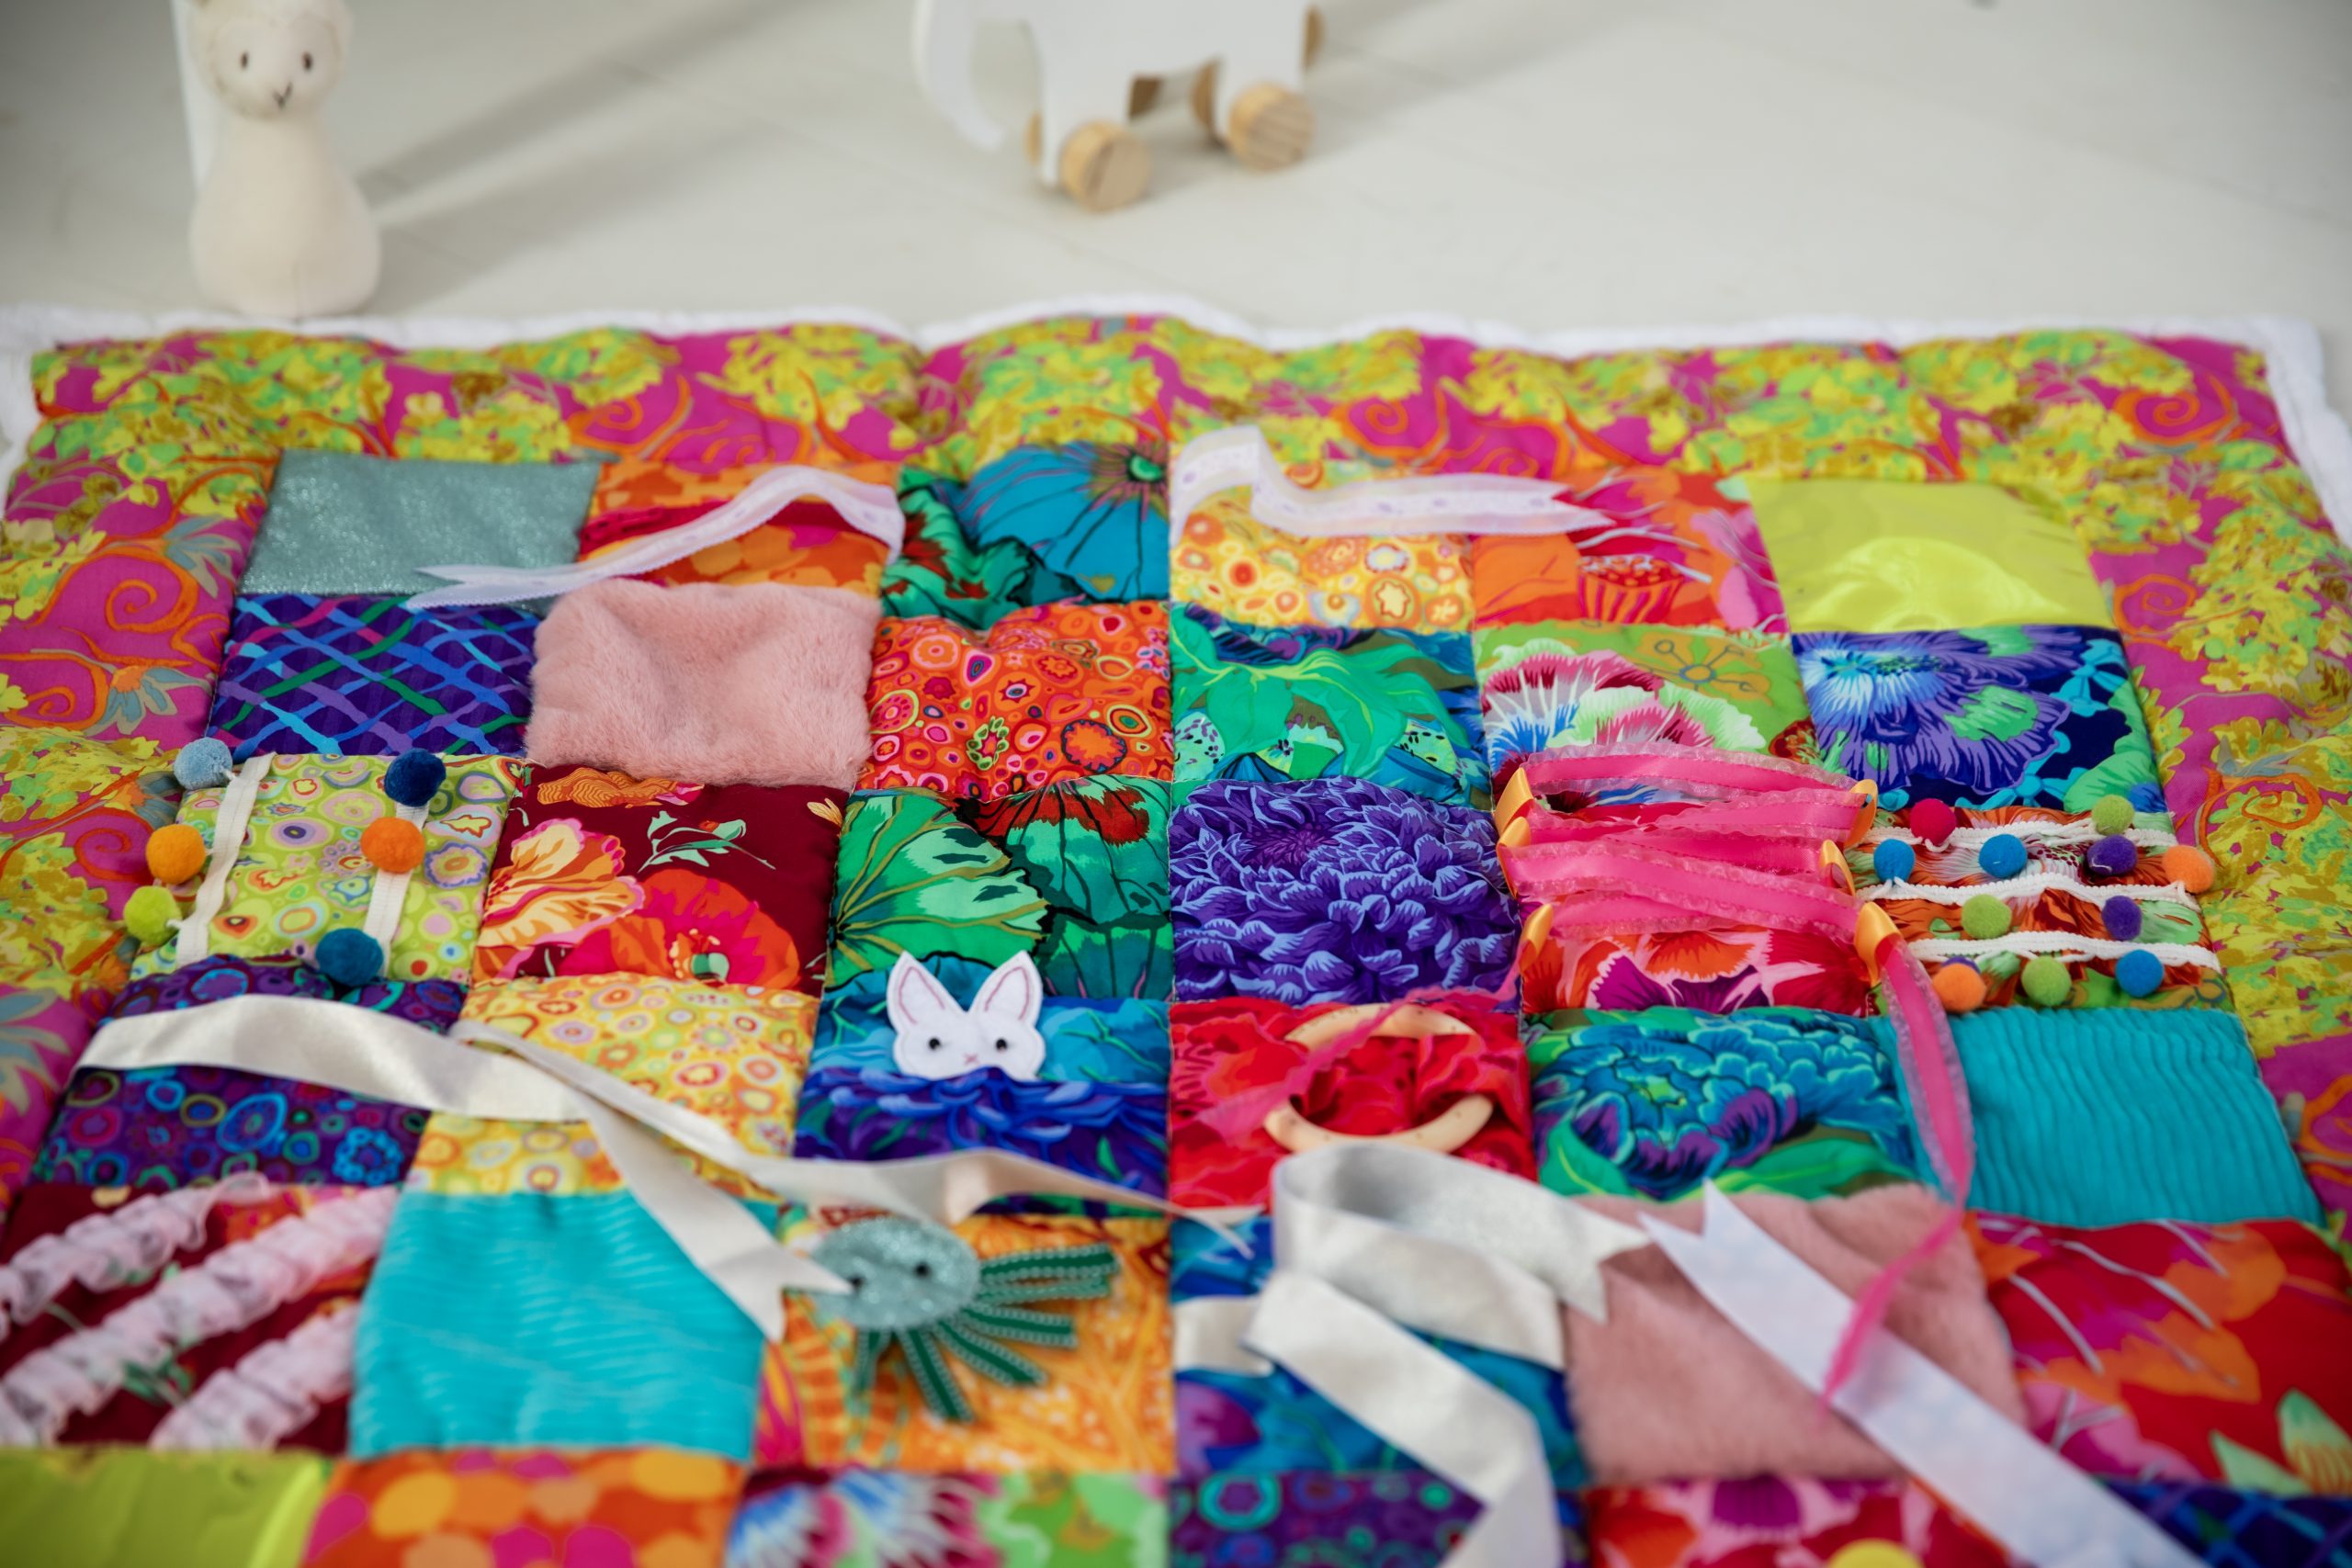
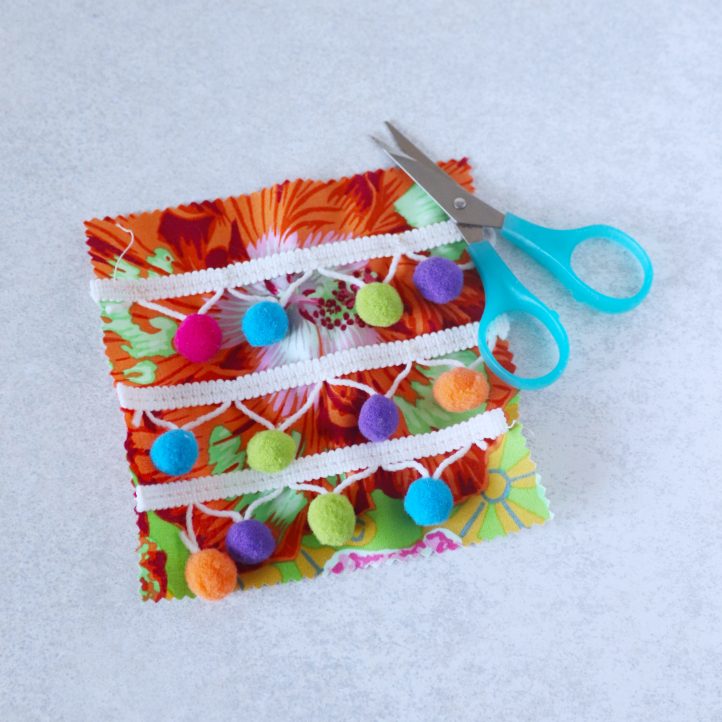
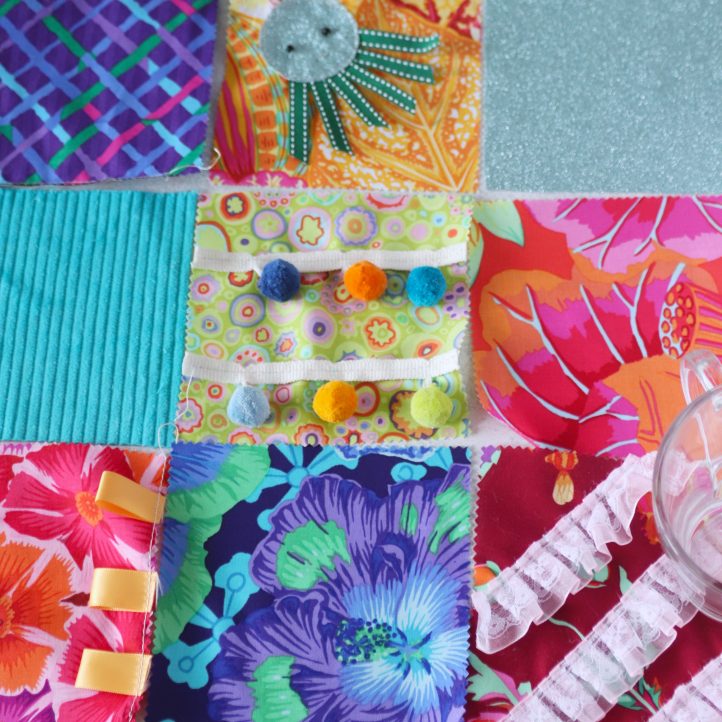
- Next, make two pom pom squares. Pin several lengths of pom pom trim across a charm pack piece and machine top stitch along the length of the trim to hold it in place. Repeat to make another pom pom square – we created one with vertical stripes, and one with horizontal stripes.
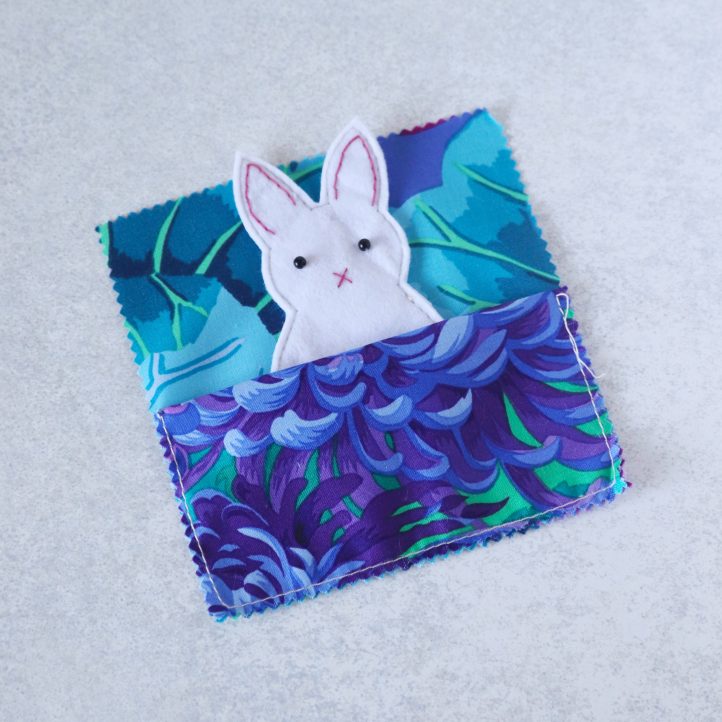
- Now for one of our favorite squares – featuring a cute bunny in a pocket! Print the PDF template and use it to cut two rabbit shapes from white felt. Embroider ears and a mouth onto one piece using two strands of pink embroidery floss, then stitch two seed beads on for eyes. Layer the two felt pieces together with the right sides out and the edges aligned, then machine stitch all around the edge to join them. Take a 5-inch charm pack piece, then fold it in half with the right sides facing out and press. Place the folded piece on top of a matching-colored fabric square, aligning the bottom and side edges and with the fold aligned in the middle. Baste the layers together – this forms your rabbit’s pocket.
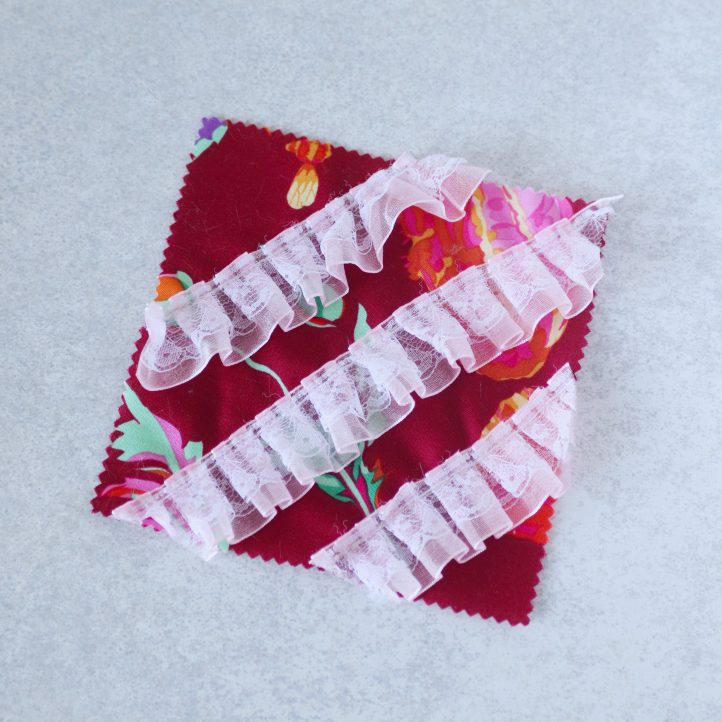
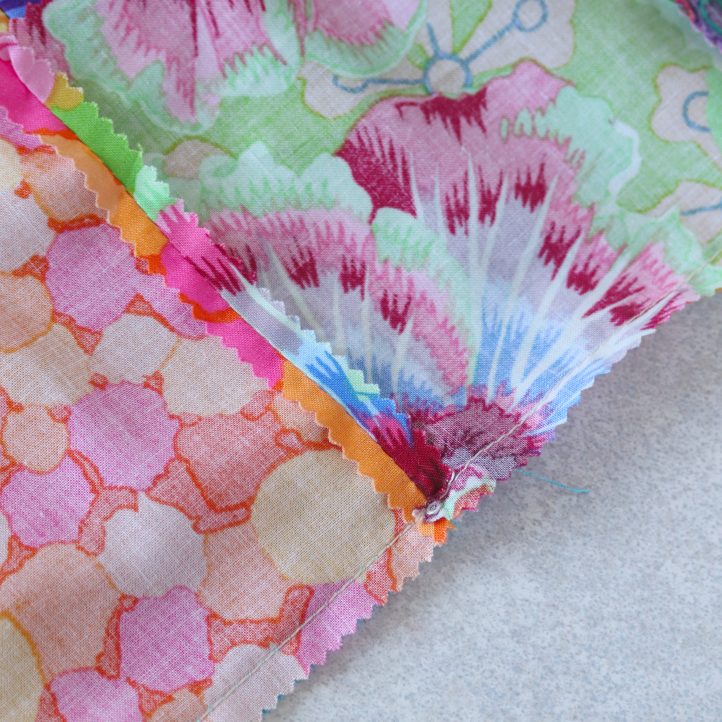
- Make a lace square by pinning and stitching stripes of lace trim diagonally across another charm pack piece.
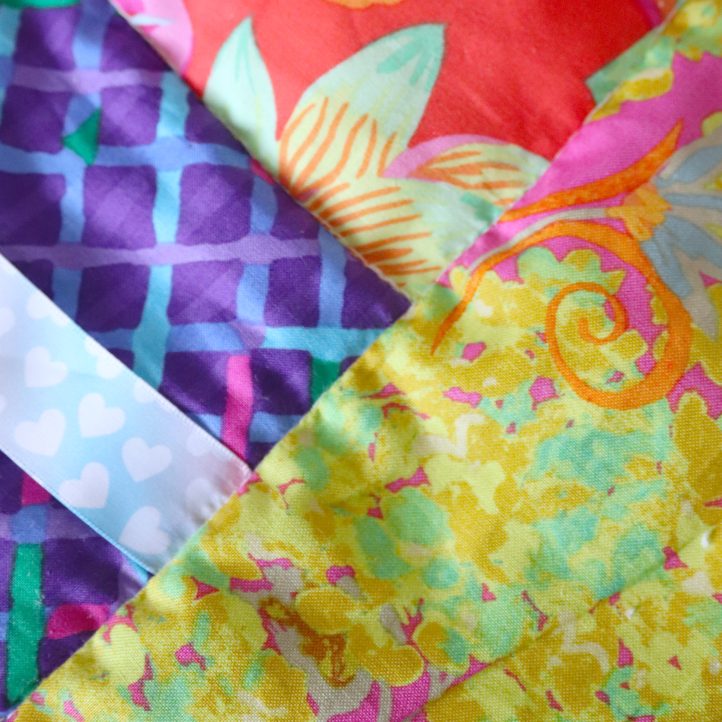
- Cut and stitch lengths of different colored ribbons to the edges of several other squares to create ribbon tie pieces.
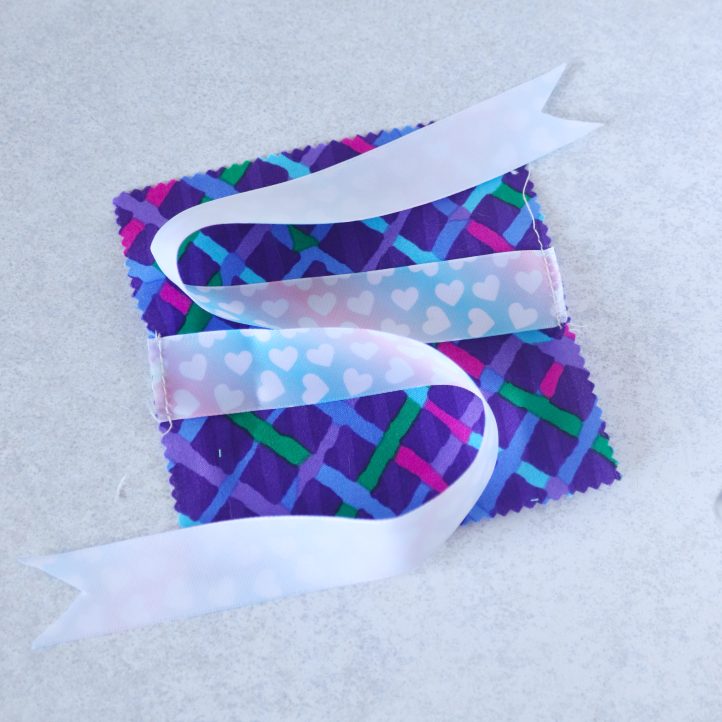
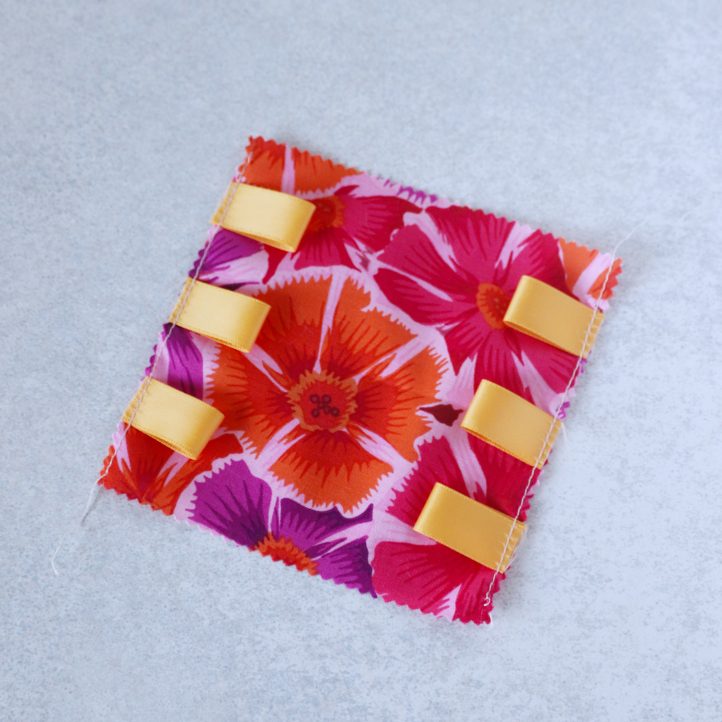
- Take another ribbon and cut six 3-inch pieces. Fold each piece in half and pin them along the side edges of a charm pack square, aligning their raw edges with the fabric. Baste to hold in place. When the quilt is complete, thread another ribbon through these ties and fasten it, like a shoelace.
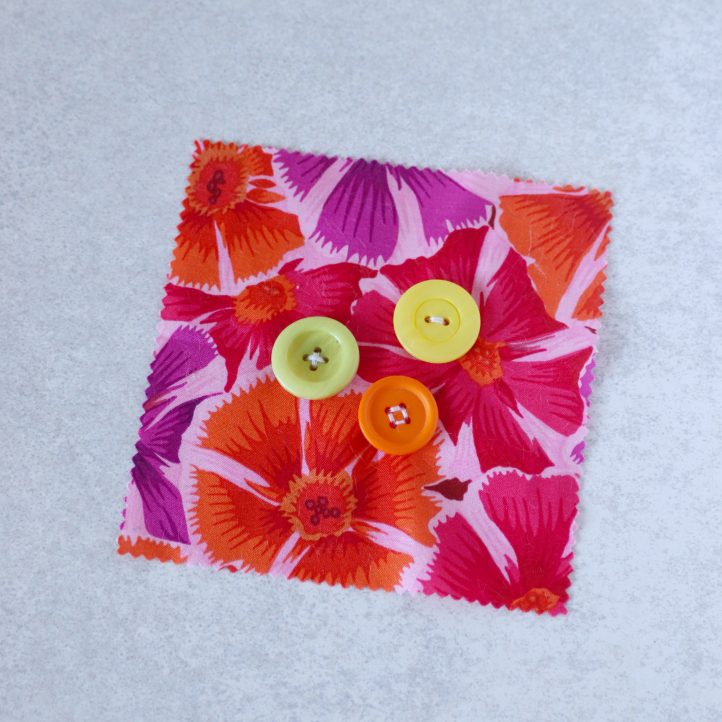
- Stitch a handful of large buttons onto another charm pack square. Be extra careful – choose buttons large enough not to be swallowed by a child and sew them on very securely. If in doubt, skip this step and make another favorite square instead.
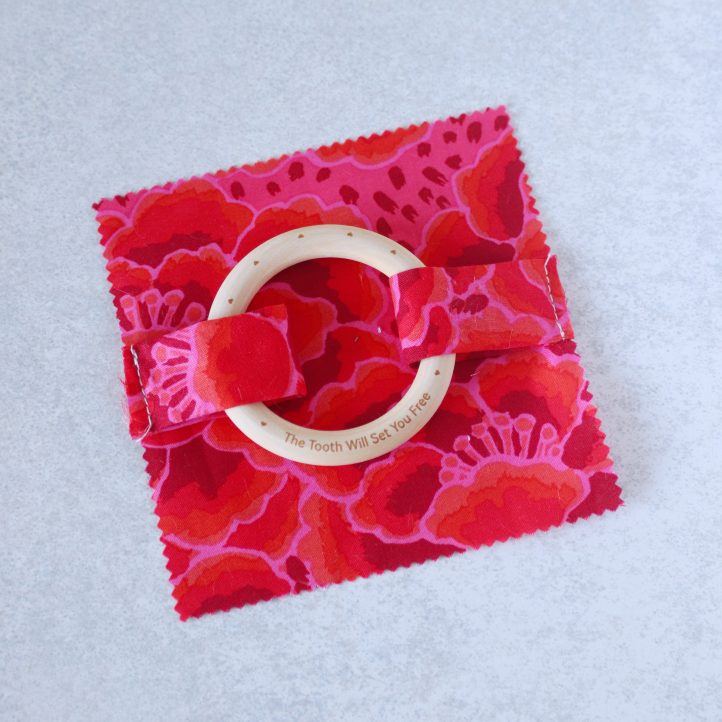
- Take a charm square and cut it in half. Fold each piece in half lengthwise with right sides facing and sew along the long edge to make two tubes. Turn them right side out, roll slightly so the seam runs down the center back side, and press flat to make two strips. Fold each strip in half, thread them through your preferred teething ring, then place this onto another charm square and baste along each side to secure. Trim away any excess strip that extends beyond the edge of the charm square.
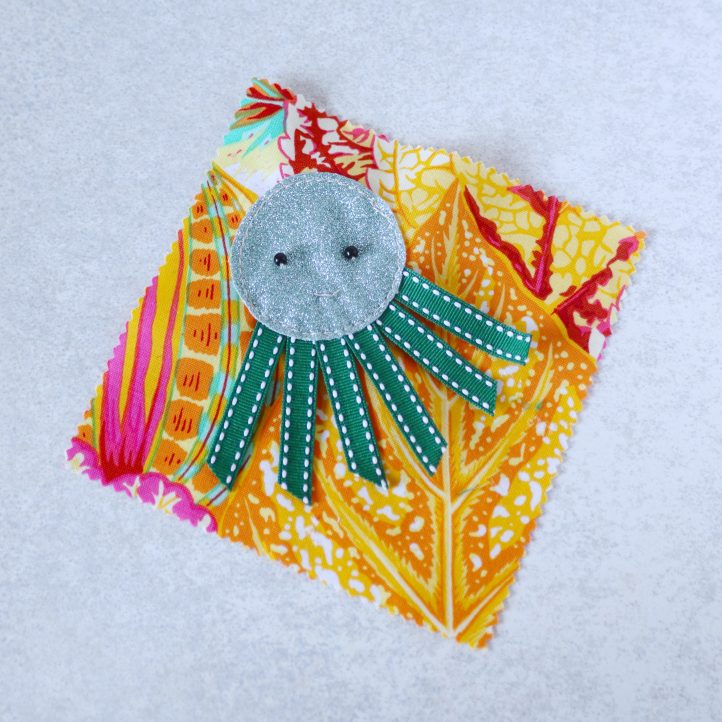
- This is another favorite of ours – the octopus! Cut a 2-inch circle from your blue glitter cotton and six 3-inch lengths of ribbon (yes – we know an octopus technically has eight legs – but that looked a little crowded so we opted to give ours six, instead). Position the ribbons on a charm square, then place the glitter circle on top to create an octopus. Stitch around the edge of the circle to secure, then embroider a smiling mouth and add two black seed bead eyes.
- By now, you should have 23 squares. The quilt top is made up from 36 squares in a six-by-six grid, so you’ll need 13 more. To add extra sensory interest, you can include jingle bells or squeaky noisemakers behind a few of these final squares – these will be added at the end, so don’t attach them yet.

- Time to assemble the quilt! Lay the squares in a six-by-six grid, mixing colors and textures. Once you’re happy with the layout, snap a picture – this will help later as you sew everything together.
- Take the first two squares of the top row and place them right sides together, then machine stitch along one side edge with a 1/4-inch seam allowance. Press the seam open, then continue adding squares along the row. Repeat for all rows.
- With the rows stitched, join them together to form the quilt top. Place the top row right sides together with the next row down, aligning the long edges and matching the patchwork seams. Stitch along the long edge with a 1/4-inch seam allowance. Repeat to join all six rows.
- Lay out your pink floral cotton with the right side facing up. Cut two 27 1/2-inch x 5-inch vertical strips and two 37 1/2-inch x 5-inch horizontal strips. Align the shorter strips along the left and right edges of the quilt top and sew with a 1/4-inch seam allowance. Press the seams open. Then, sew the longer strips along the top and bottom edges in the same way. The quilt top is now complete!
- To assemble the quilt, lay your toweling fabric right side down, ensuring it is completely flat with no wrinkles. Place a layer of quilt wadding on top, then position the quilt top right side up. Pin all three layers together evenly. Before quilting, add any noisemakers or jingle bells behind your chosen squares – simply place them in position so they will be secured as you stitch. Once everything is in place, stitch in the ditch along each central patchwork seam to quilt the layers together.
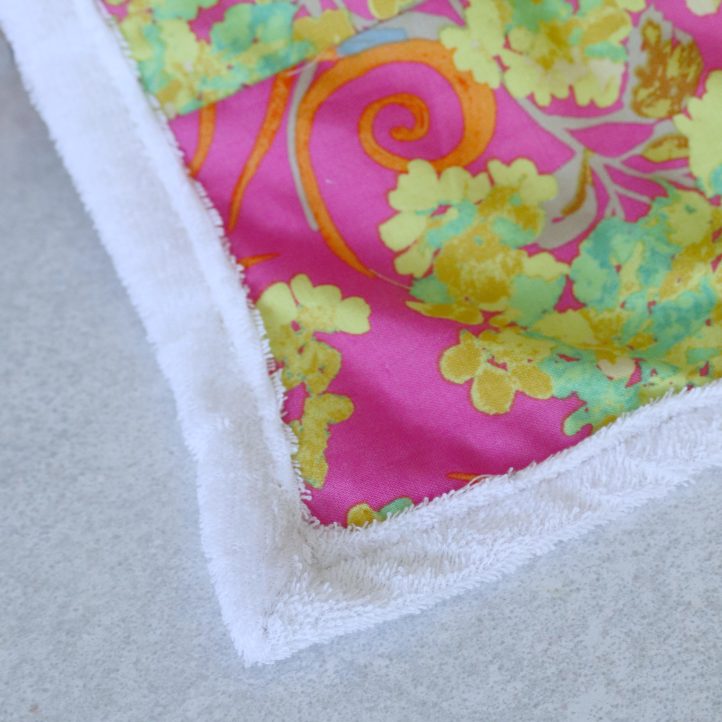
- To finish, trim the wadding so it matches the quilt top exactly, being careful not to cut the towel backing underneath. Trim the toweling to leave a 1 1/2-inch border all around. Fold the toweling over to meet the quilt edge, then fold again to create a neat front-facing border. Clip the edges. At each corner, unfold the second fold, measure 3 inches from the corner along both edges, and draw a diagonal line connecting these points. Fold the fabric right sides together along the line and stitch. Trim excess, leaving a 1/4-inch seam allowance. Turn the corner right side out, shape with a point turner, press flat, and ease into position. Top stitch along the inner folded edge all around, pivoting at corners for a crisp finish. Your quilt is now complete!