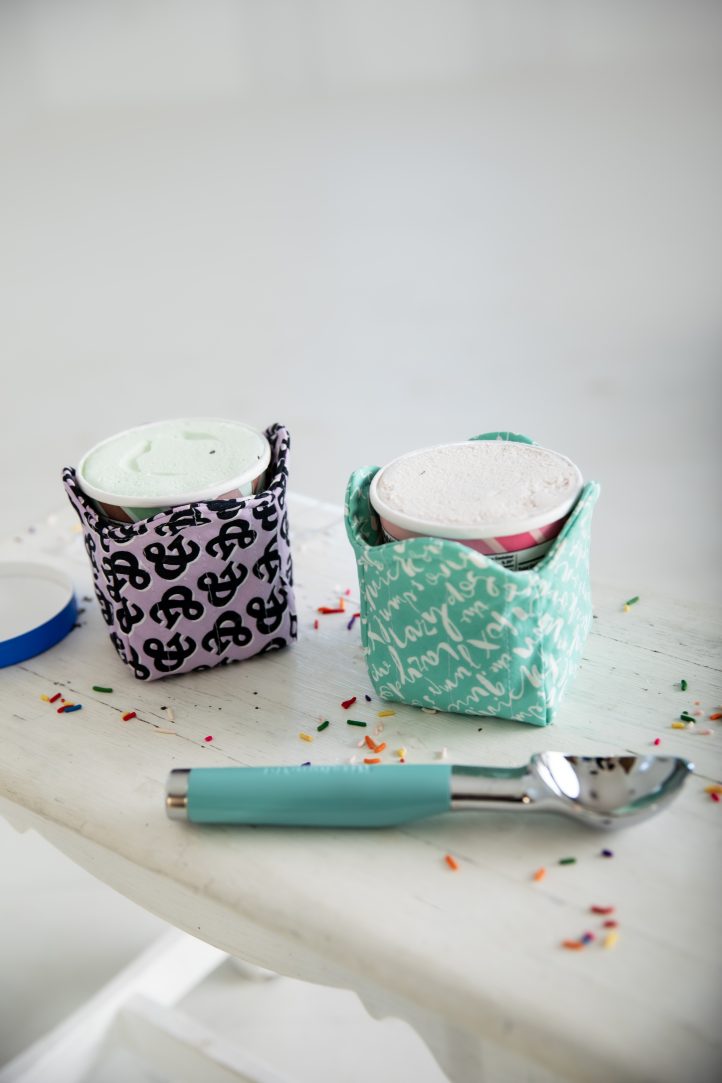
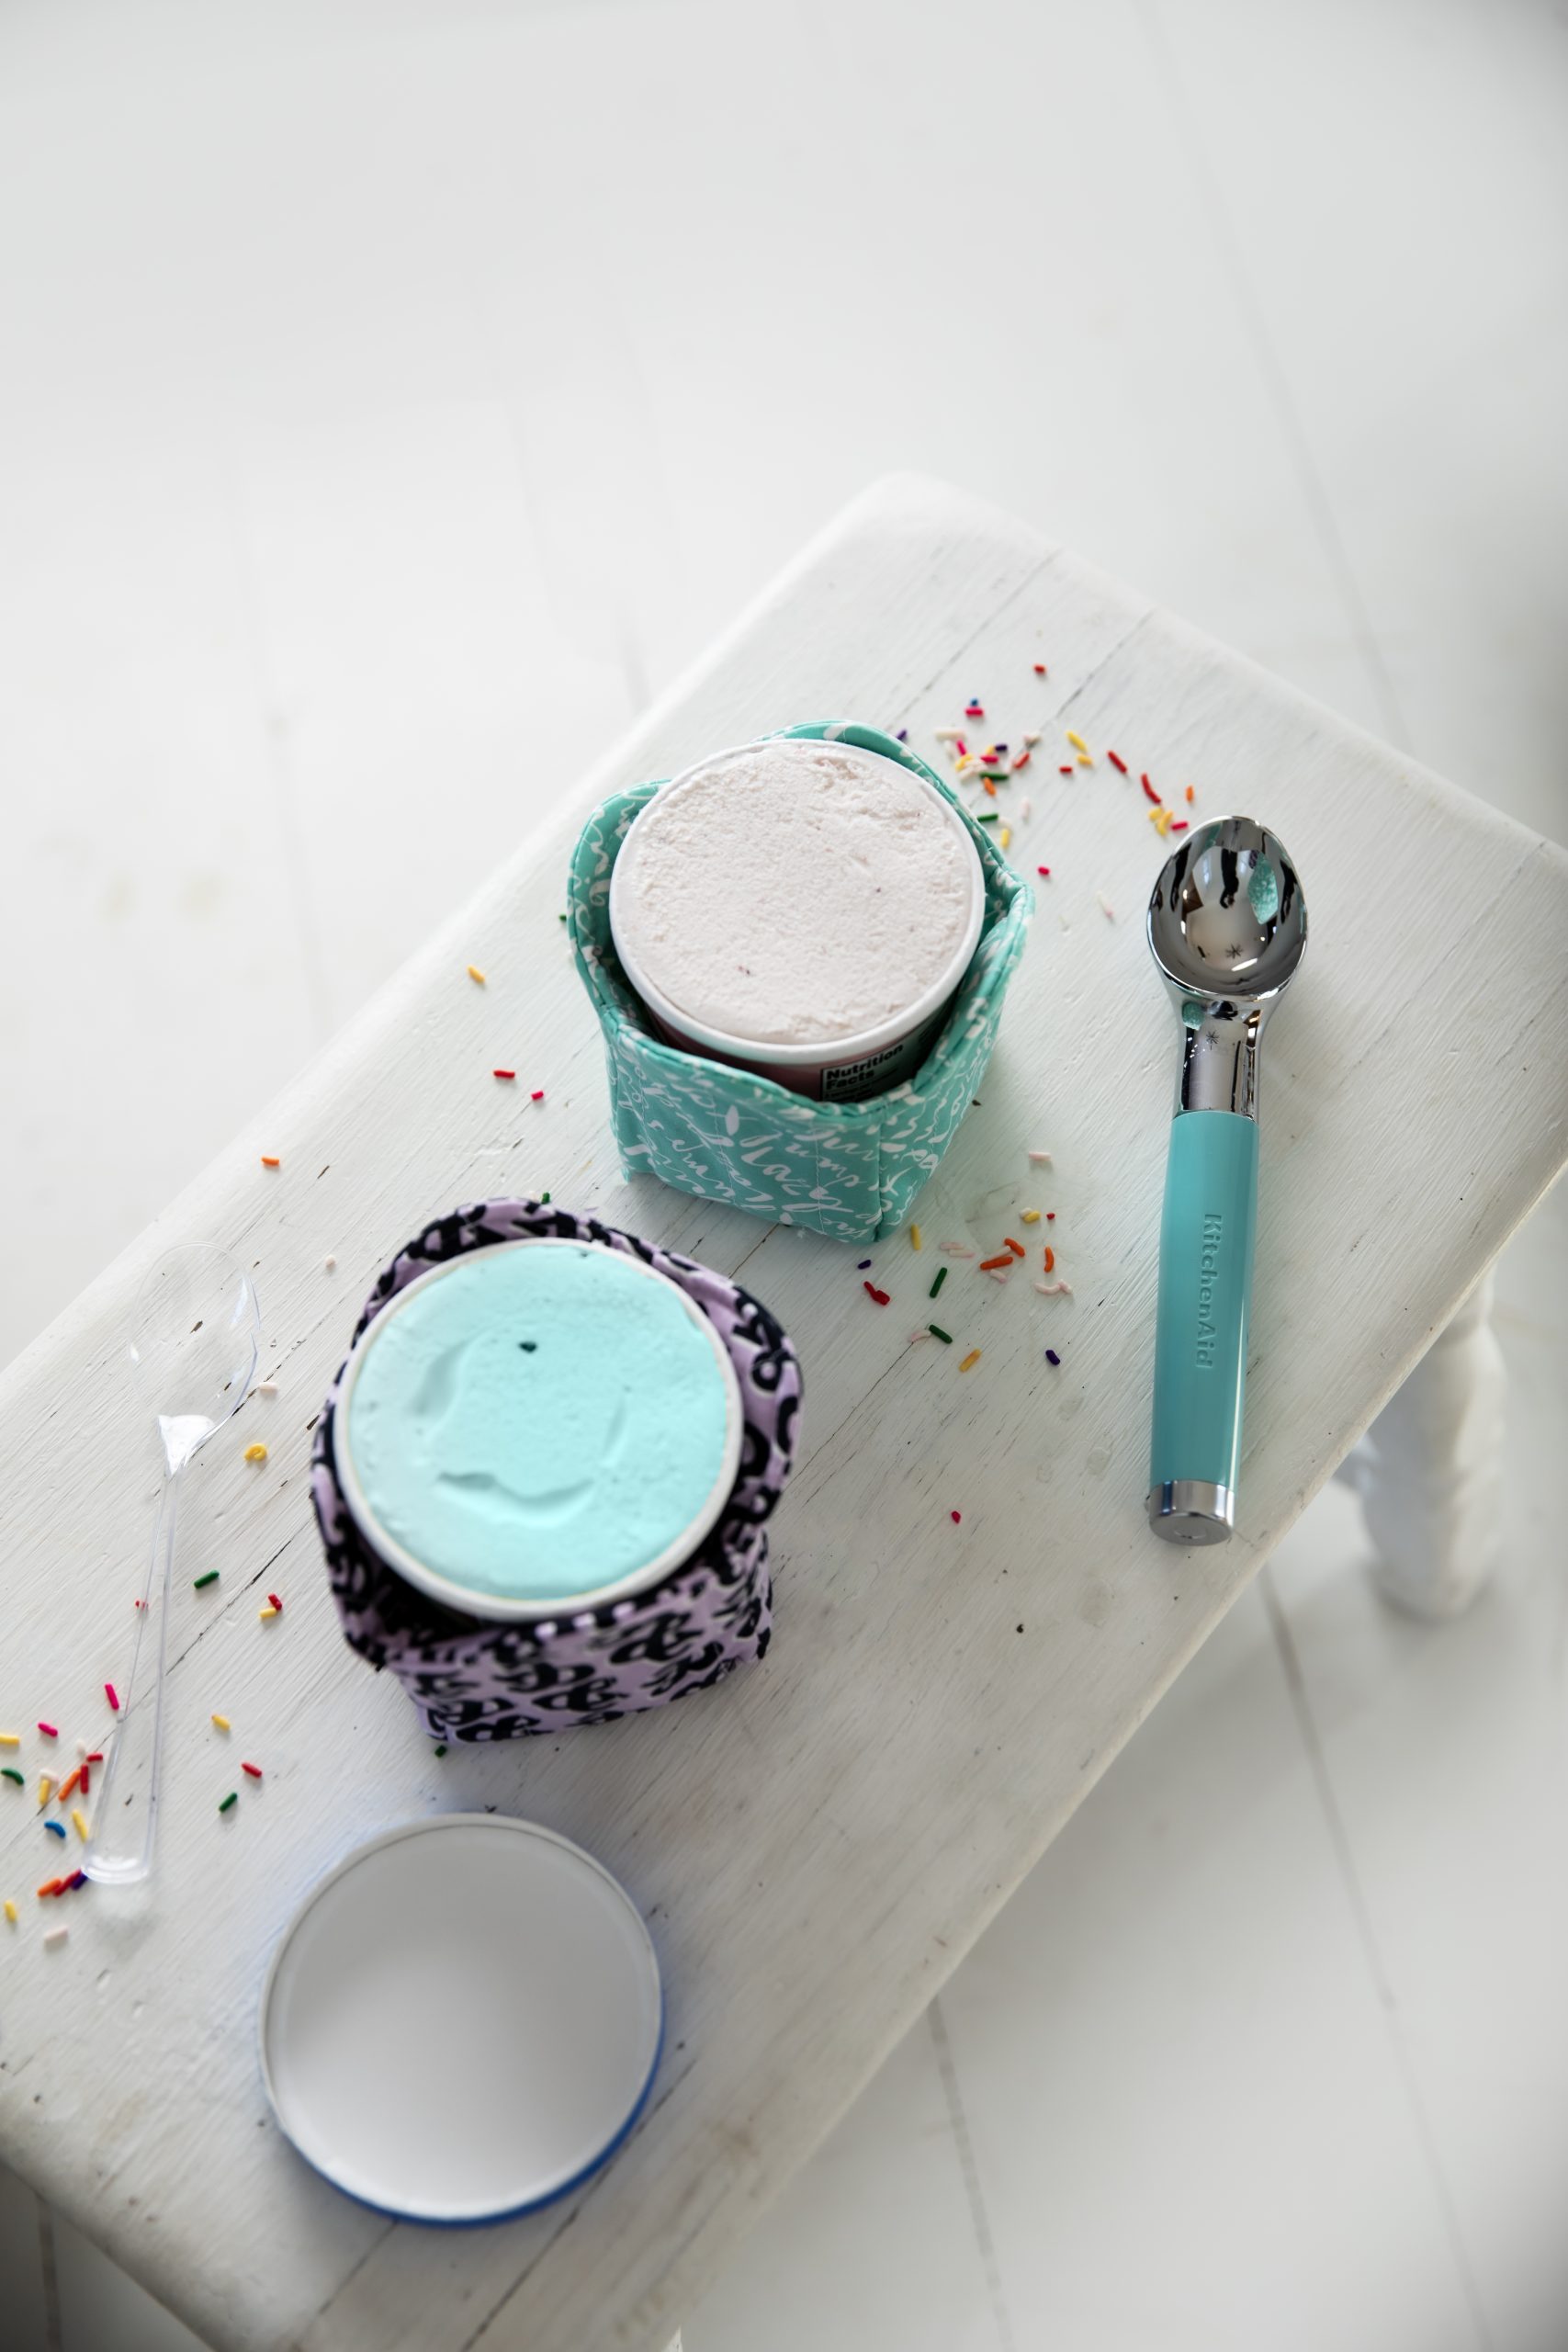
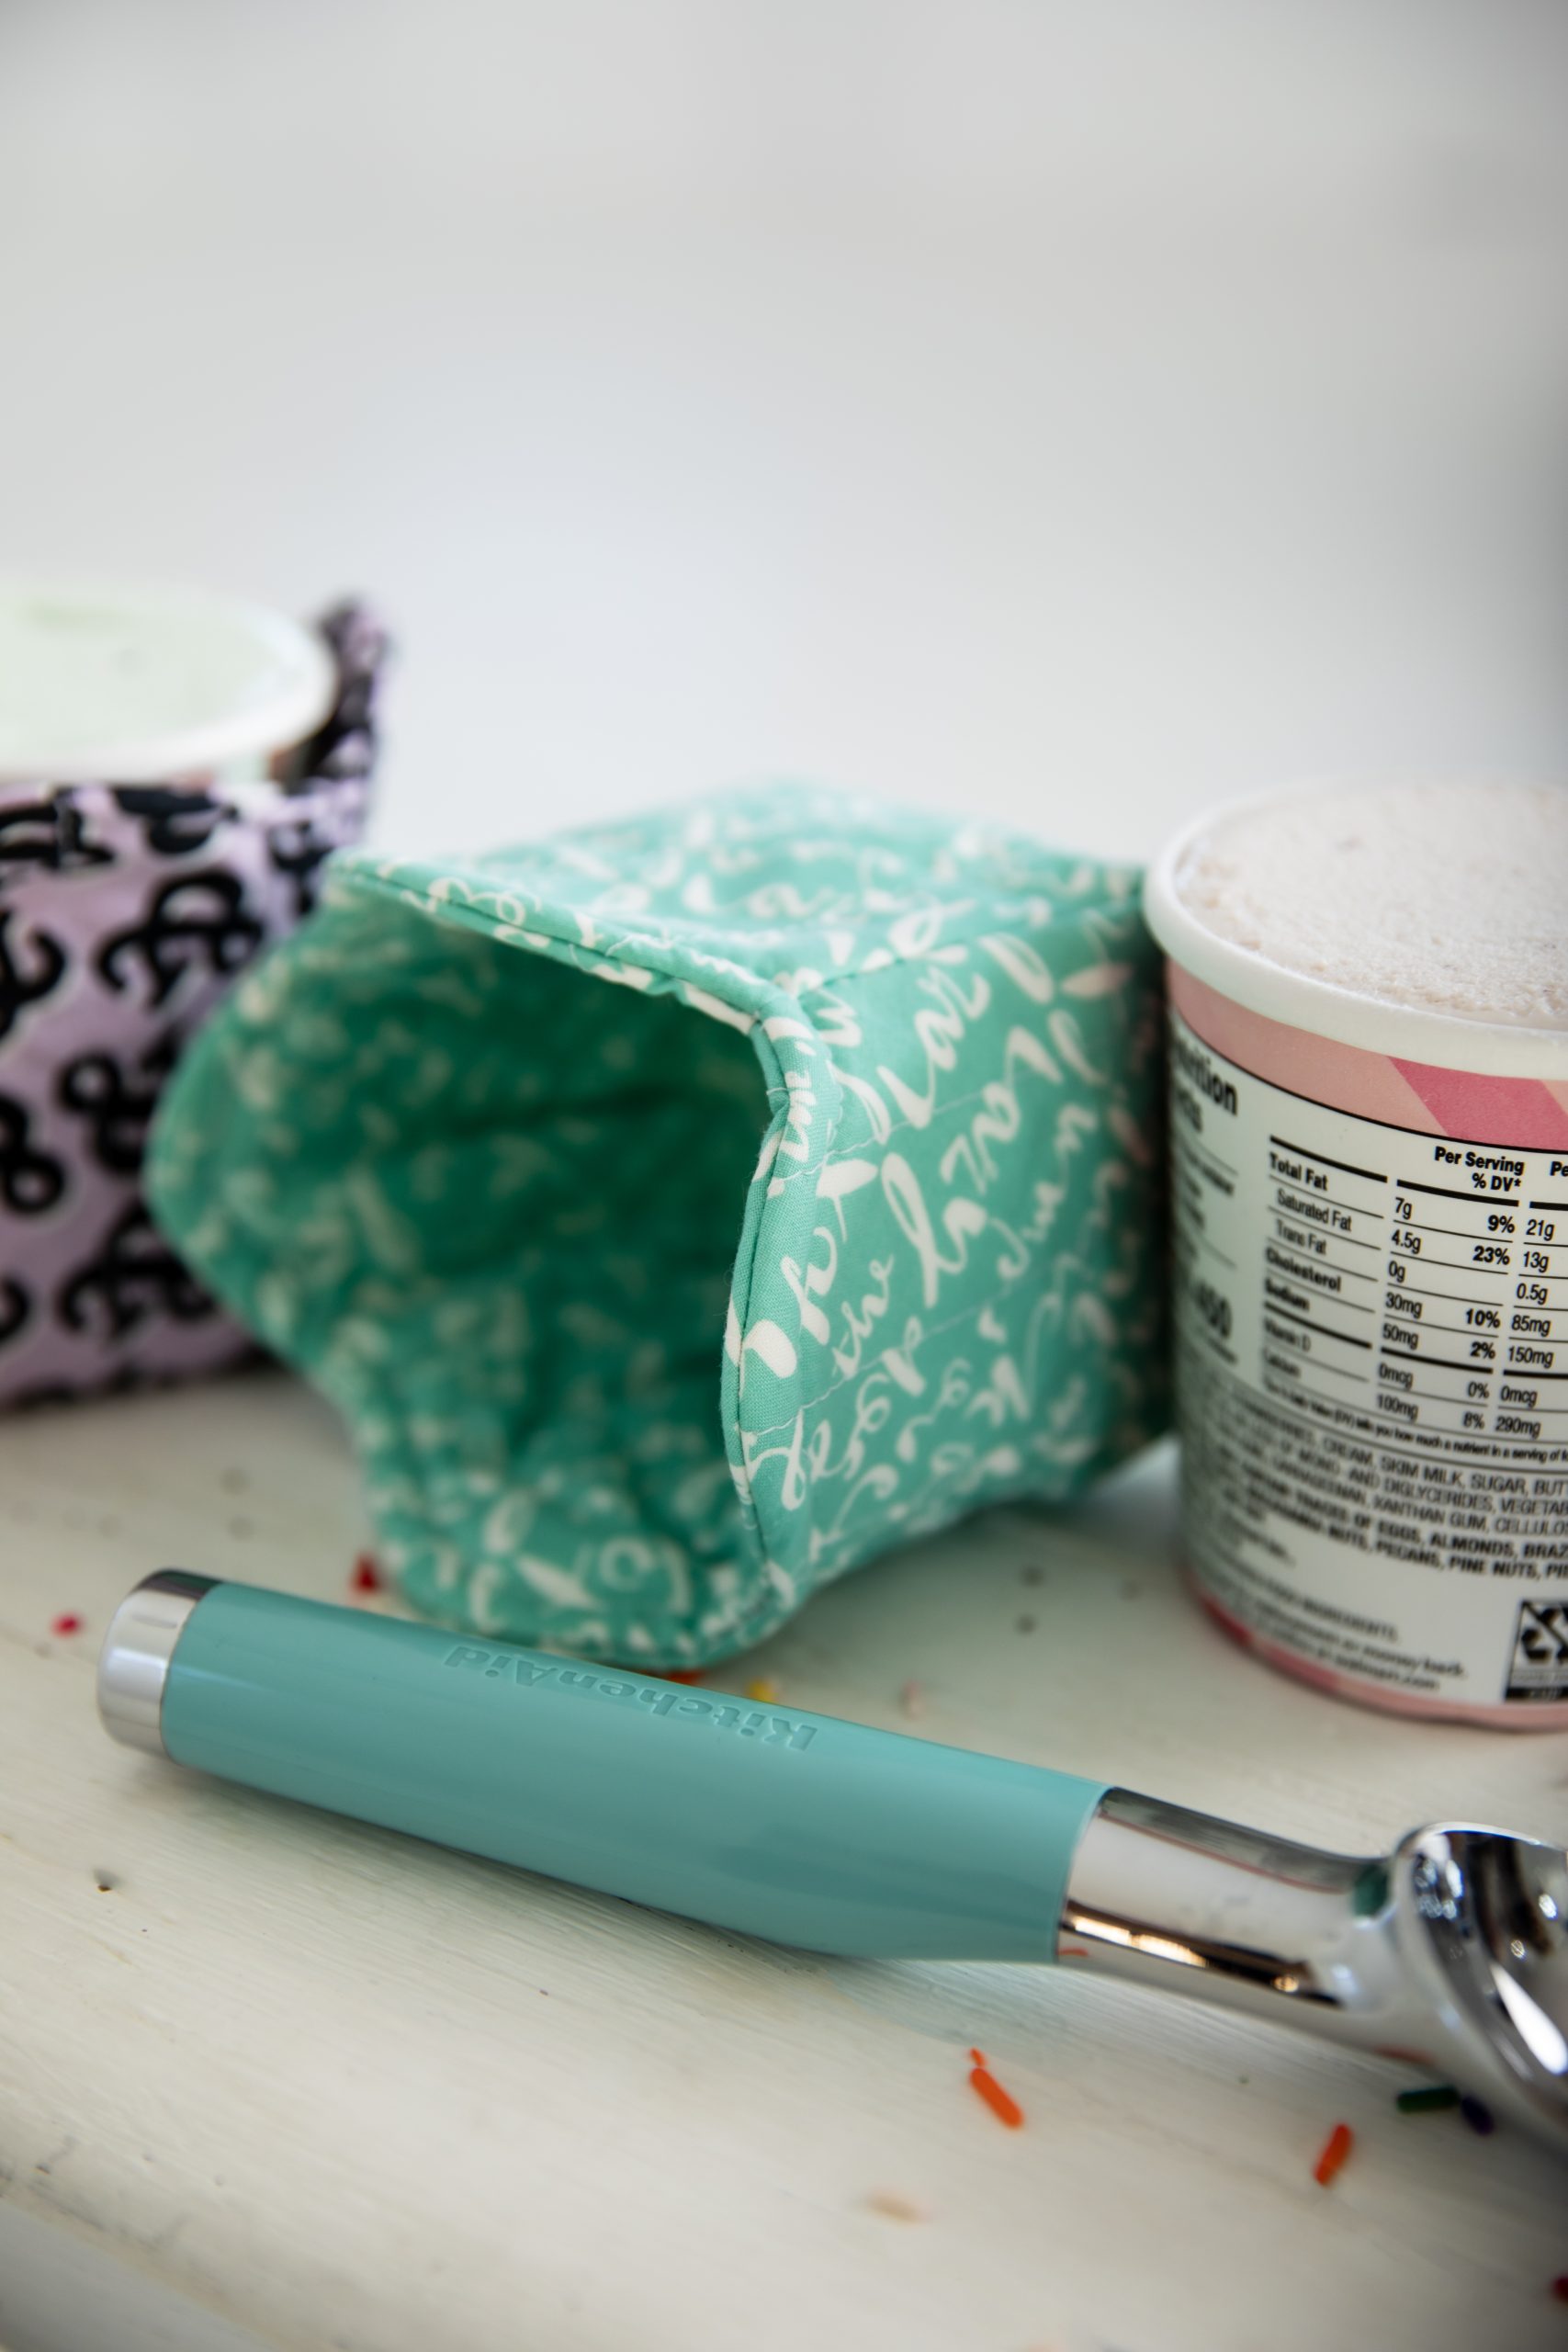
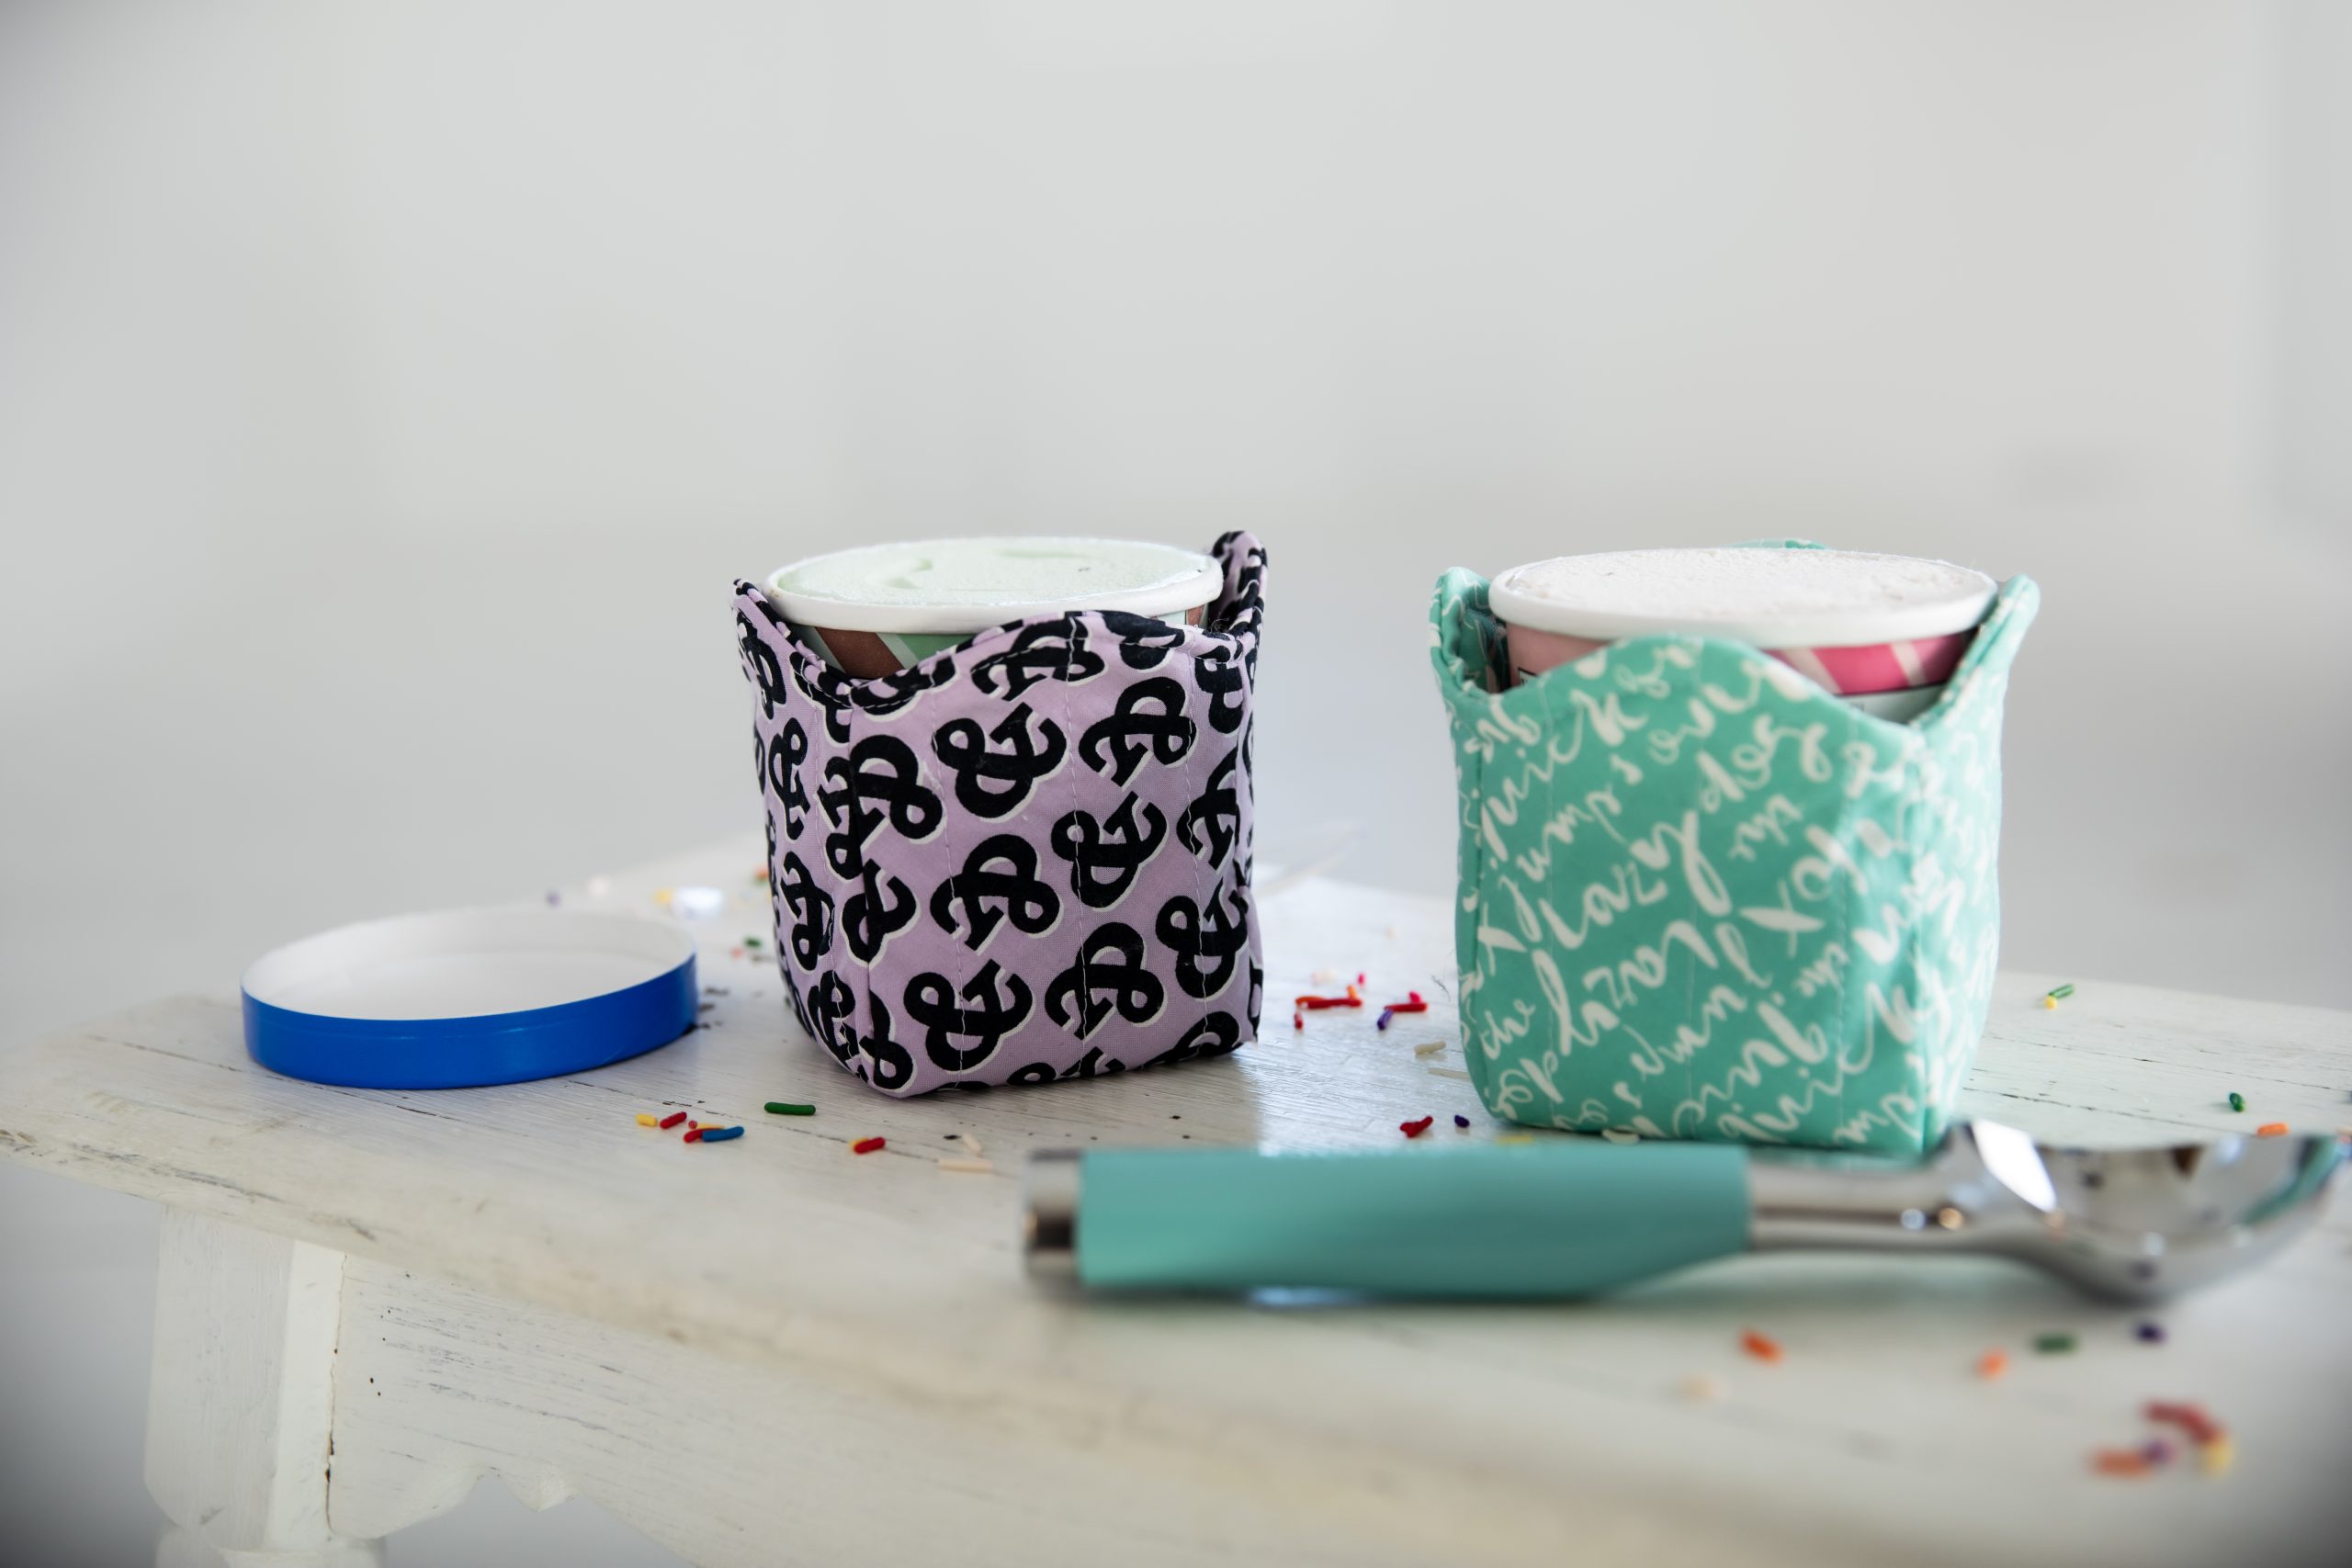
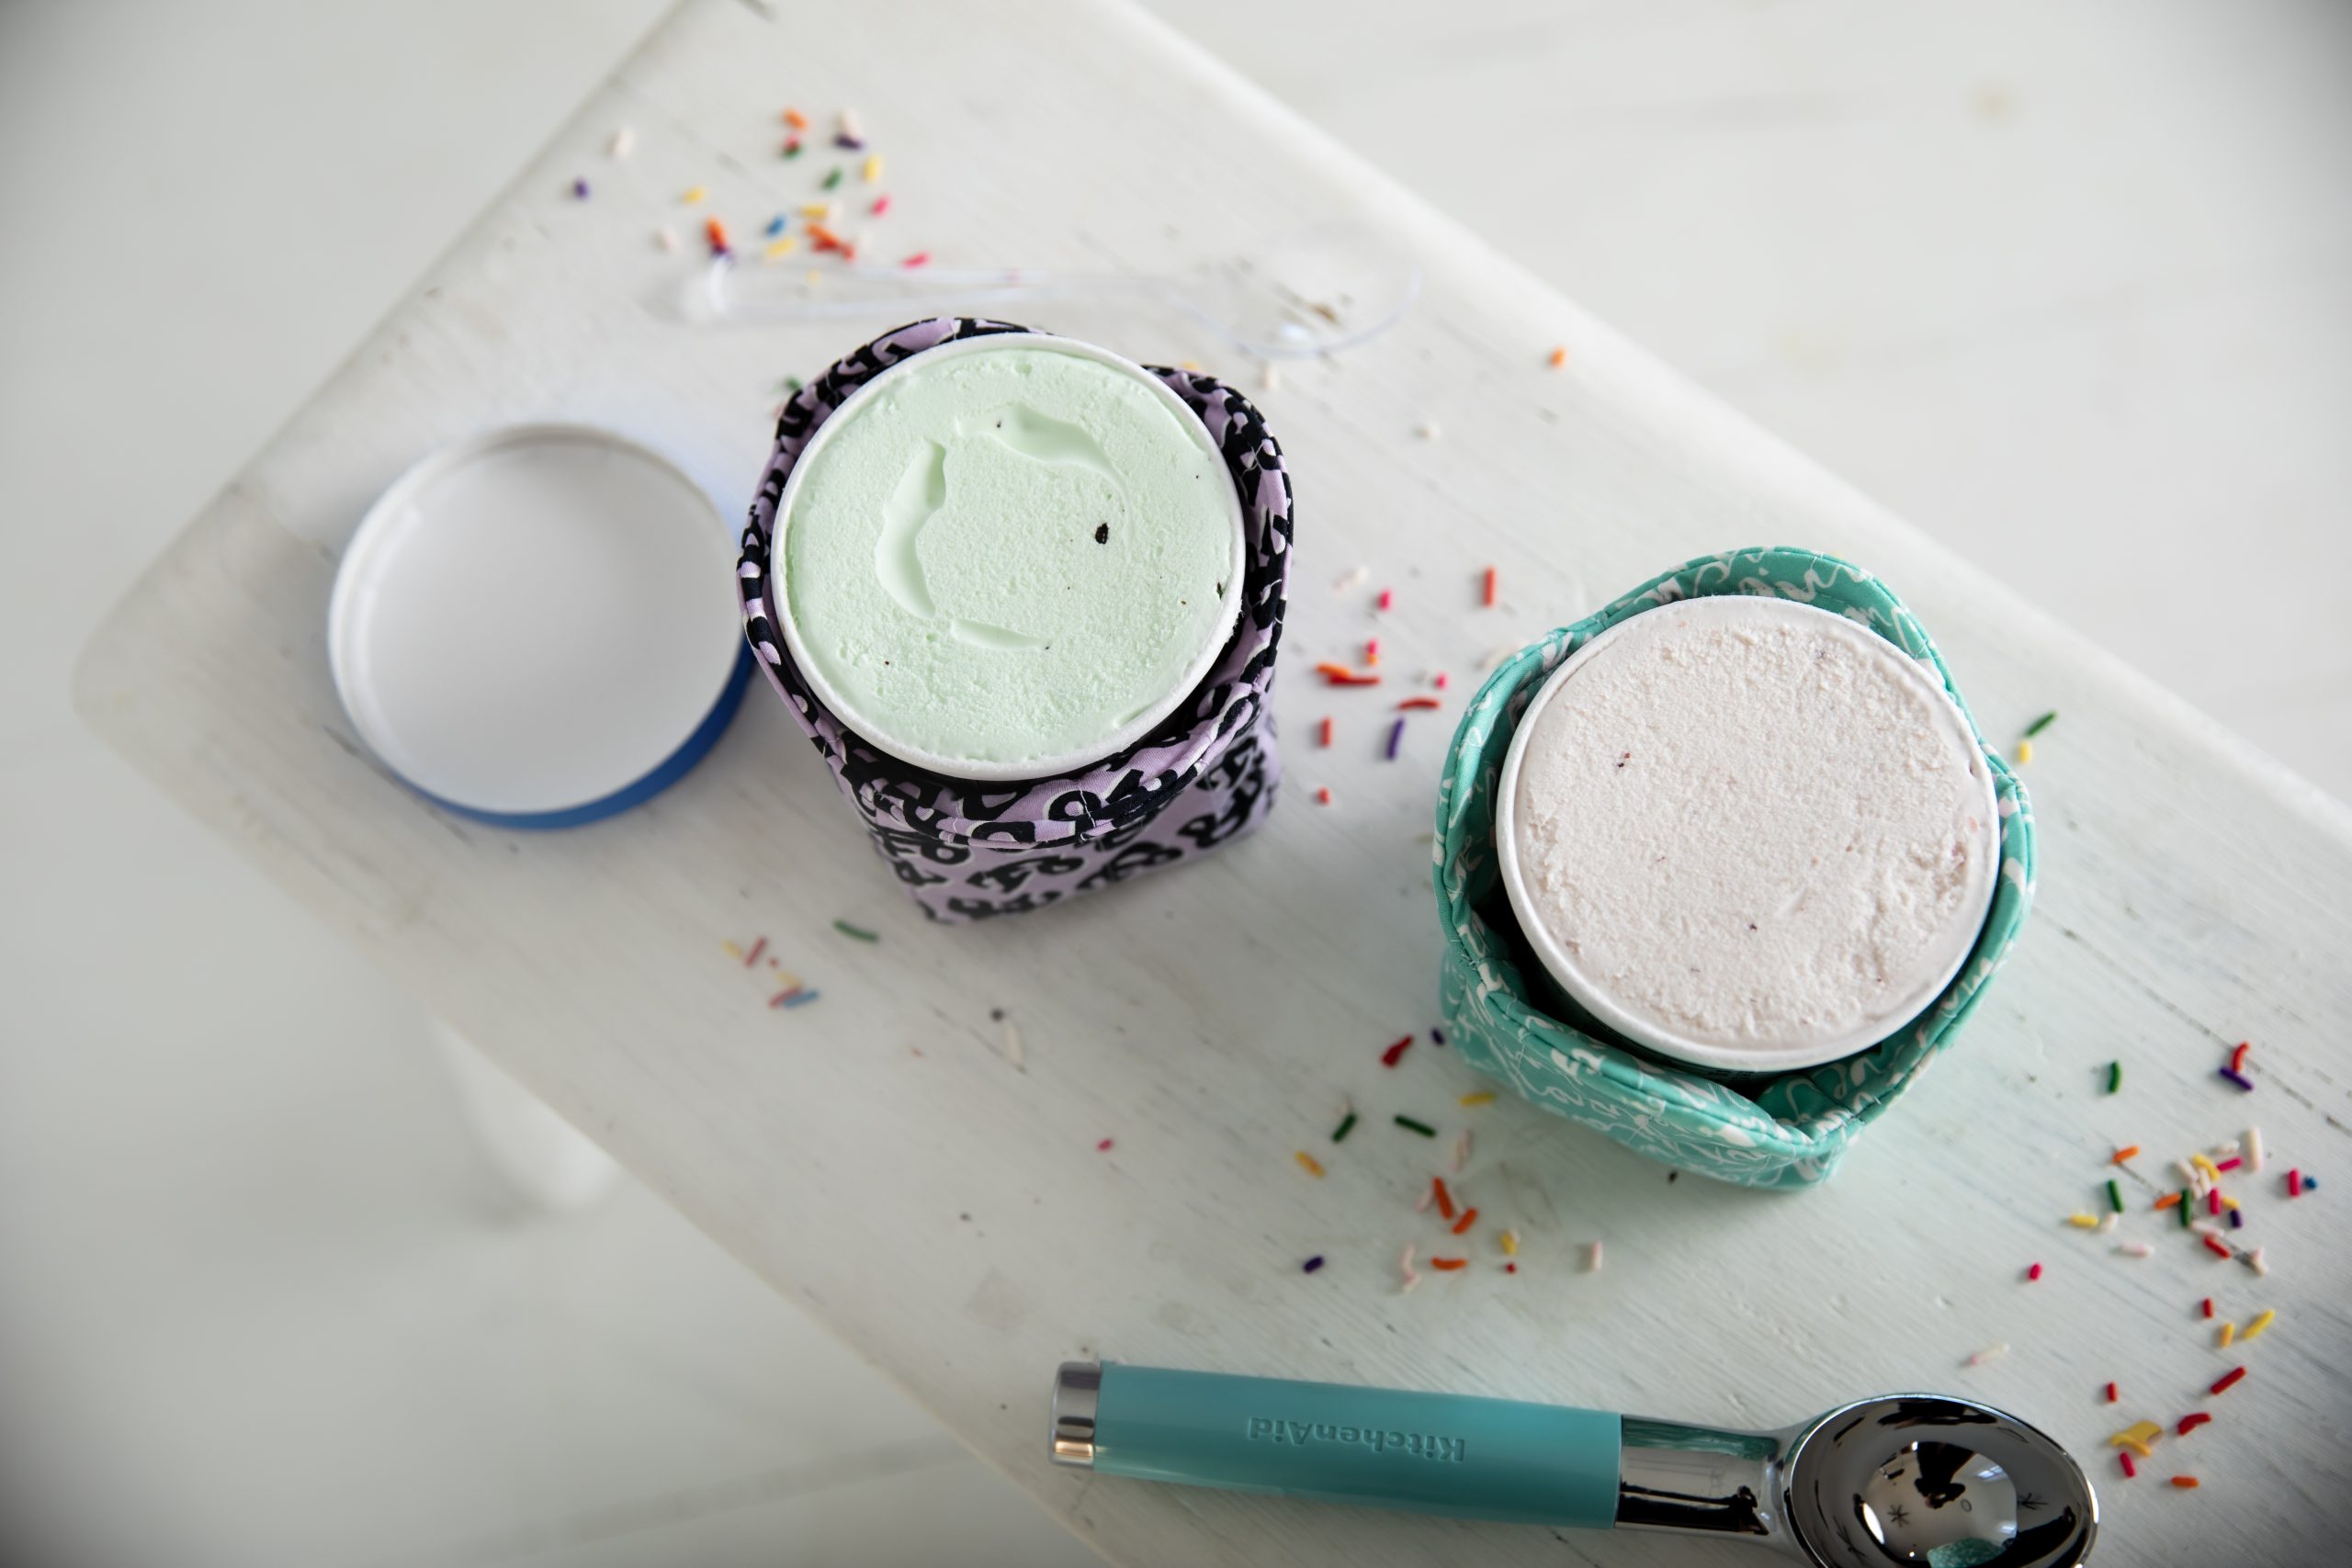
Is anything cozier than curling up in front of the TV after a long day and eating your favorite flavor of ice cream? Keep your hands warm while enjoying your sweet treat with these brilliant ice cream cozies from Stephanie Woodson. Made with a half yard of brightly colored quilting cotton, this ice cream cozy pattern is beginner-friendly and can be made in 2 hours, so get ready to whip up a batch of these kitchen quilting projects as stocking stuffers for everyone in your family.
Skill Level: Beginner
Approximate Time: 2 hours
Finished Size: 4 inches wide X 4 1/4 inches tall
Seam Allowance: 1/2” included
Materials:
- 1/2 yard of quilting cotton
- 1/2 yard of batting
- Coordinating thread
- PDF Template – This is located at the bottom of this page. See printing instructions below.
Tools:
- Iron
- Sewing machine
- Scissors
- Rotary cutter
- Acrylic quilting ruler
- Hera marker or other quilting line marking tool
PRINTING INSTRUCTIONS:
To download the PDF template, click on the download button at the bottom of the page. We recommend opening your download using Adobe Acrobat.
Cutting Instructions:
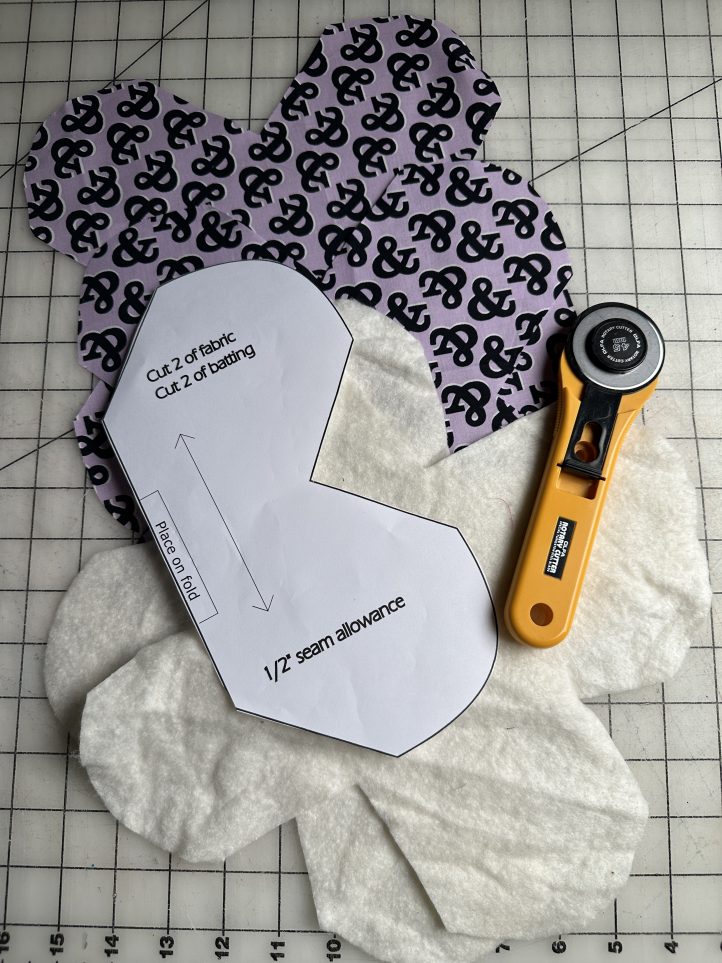
- Cut (2) pattern pieces of quilting cotton, paying attention to any directional prints.
- Cut (2) pattern pieces of batting.
Sewing Instructions:
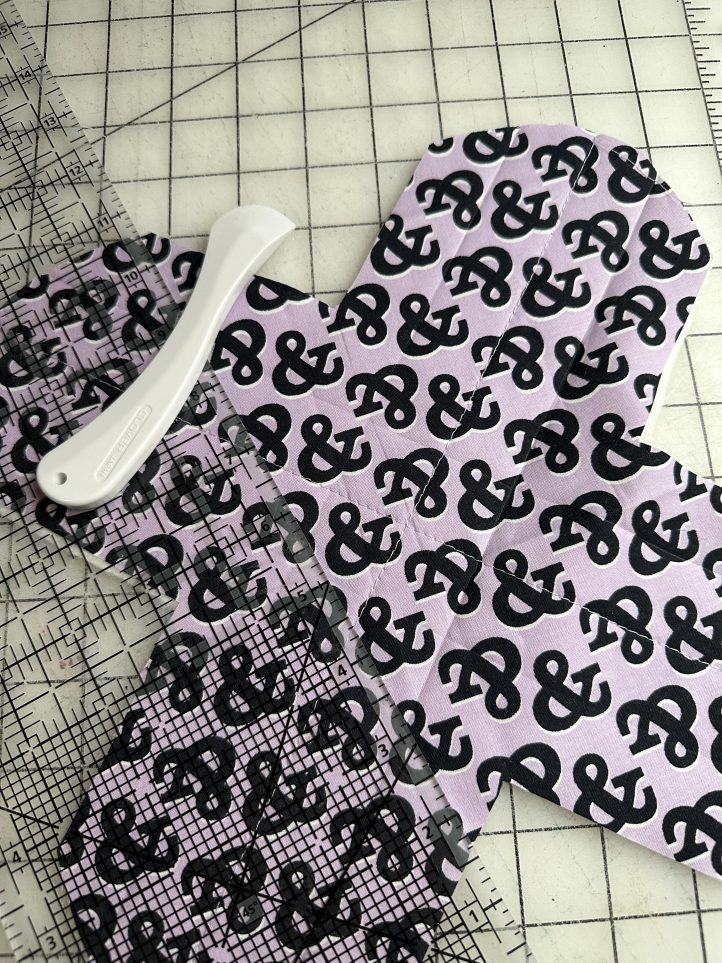
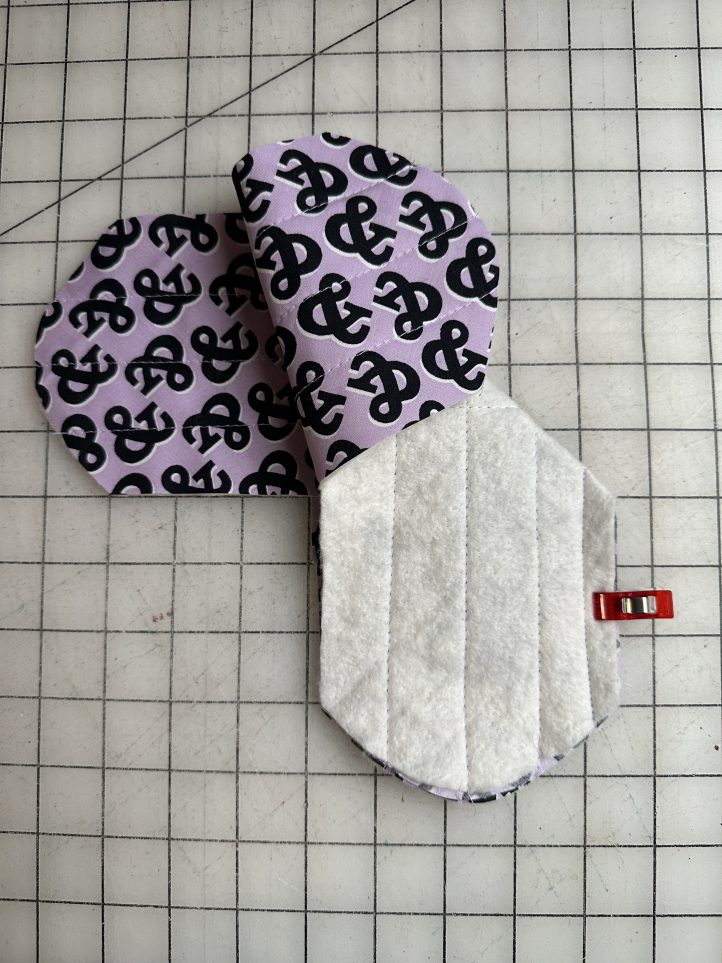
- Lay one pattern piece, right side up, on top of the matching batting. Mark quilting lines and quilt as desired. Repeat for the second pattern piece.
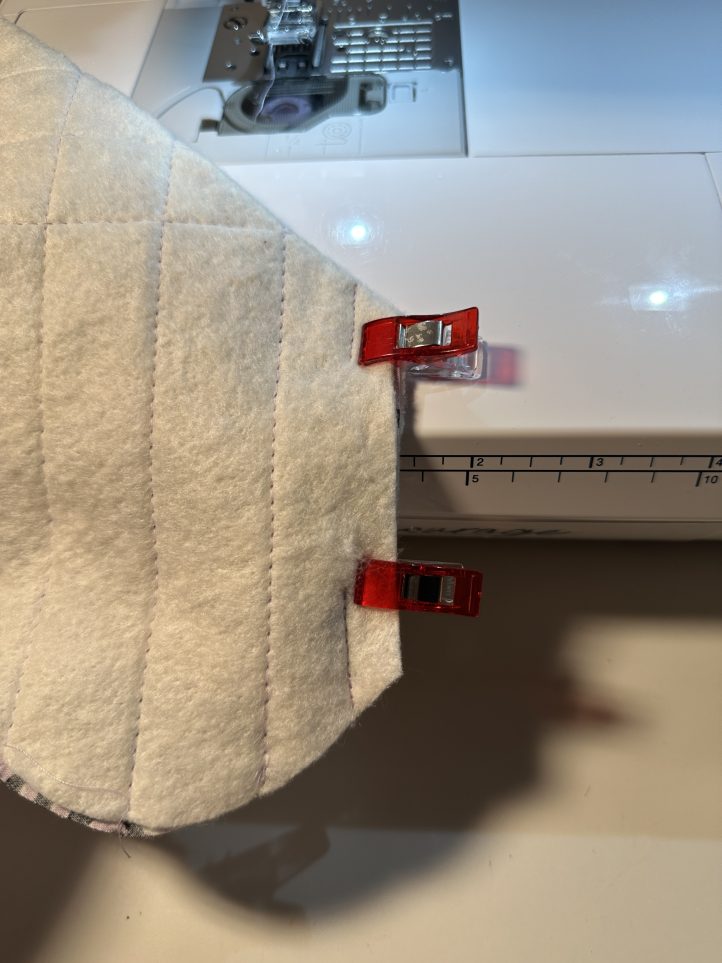
- Fold one set of short, straight edges, right-sides together, and clip or pin.
- Using a 1/2” seam allowance, sew the edges together leaving a gap roughly 1 1/2” wide. Be sure to take a few stitches to stop and start at both ends of seams to secure the stitches.
- Sew the remaining 3 short, straight edges together, forming a box. For the second pattern piece, sew all 4 straight edges together (no gaps) to form a second box.
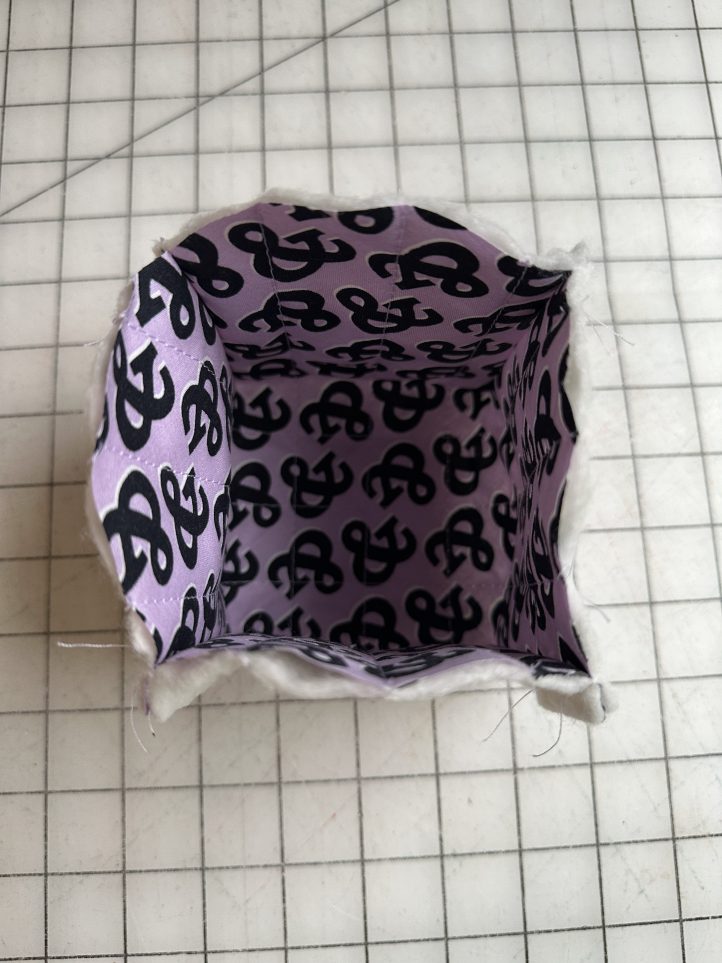
- Press all seams open with an iron.
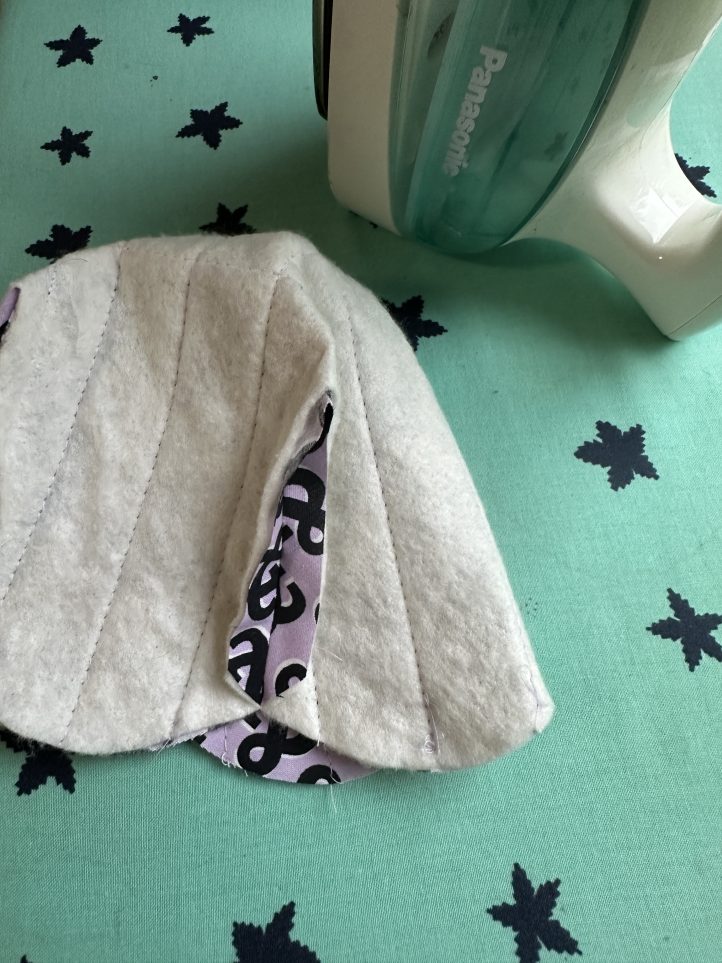
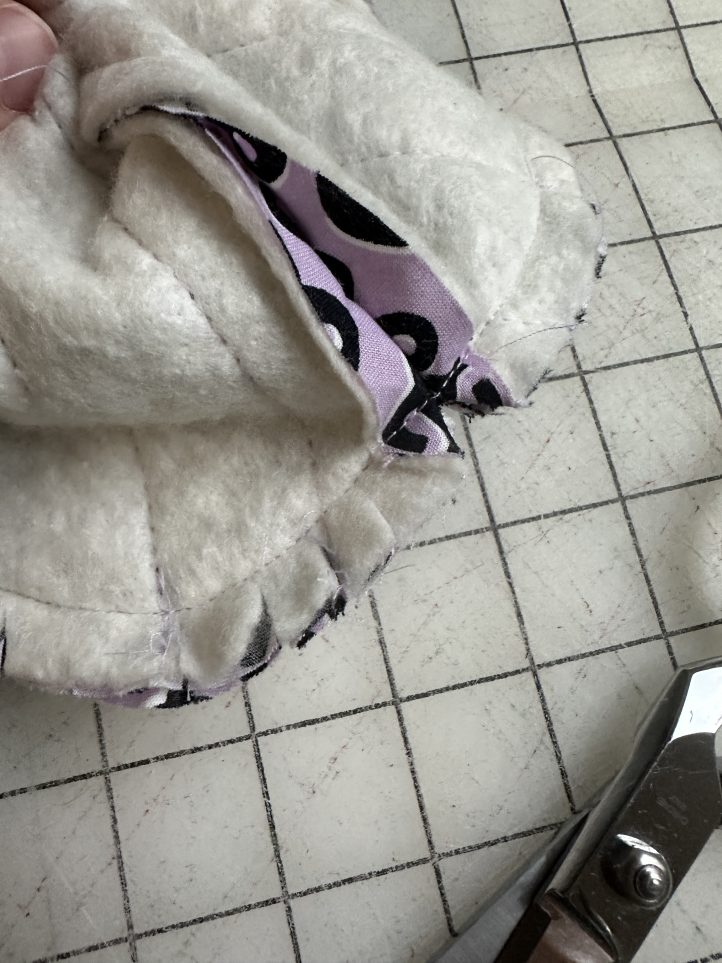
- Turn one pattern piece right side out and nest it inside the other, so right sides are facing each other. Adjust so all the side seams and curves are matching and pin or clip.

- Sew the top curves with 1/2” seam allowance, all the way around.
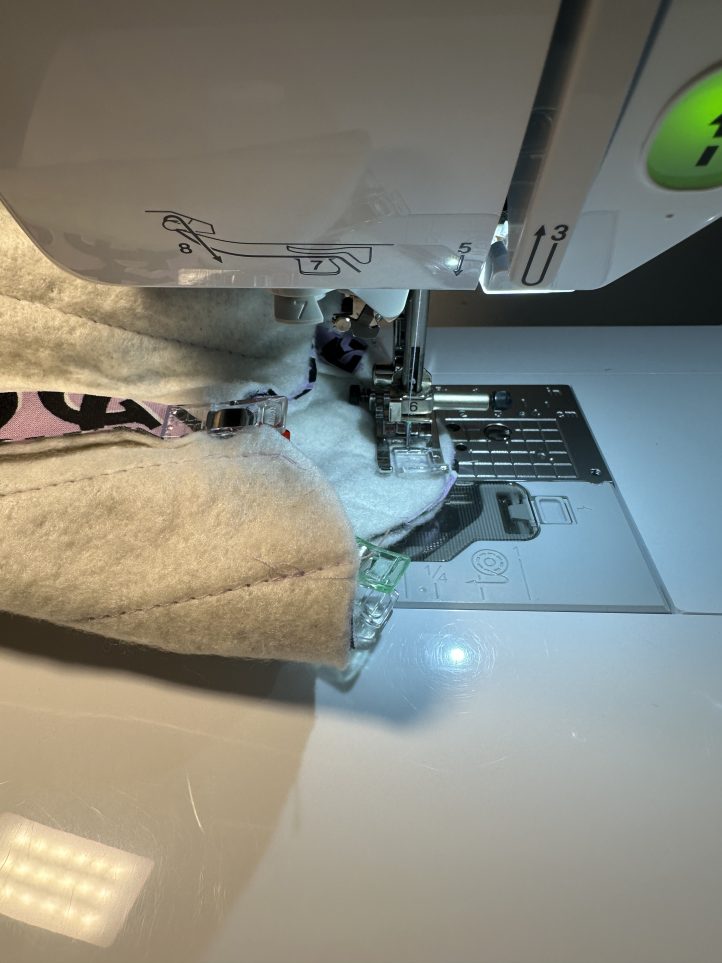
- Clip along the seam allowance, making sure not to cut through the stitching, all the way around.
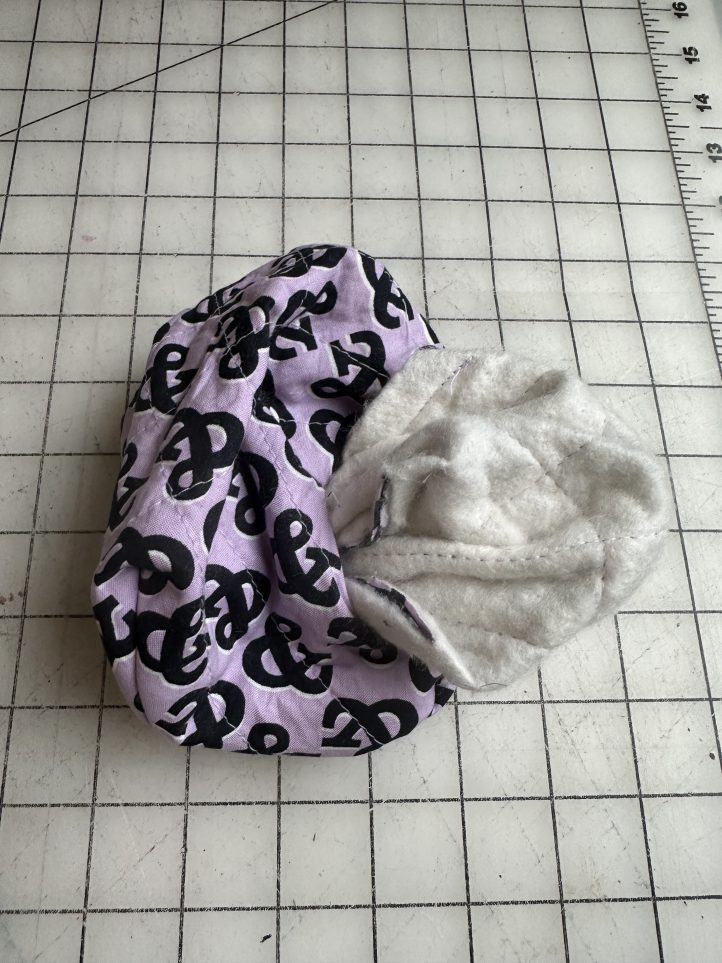
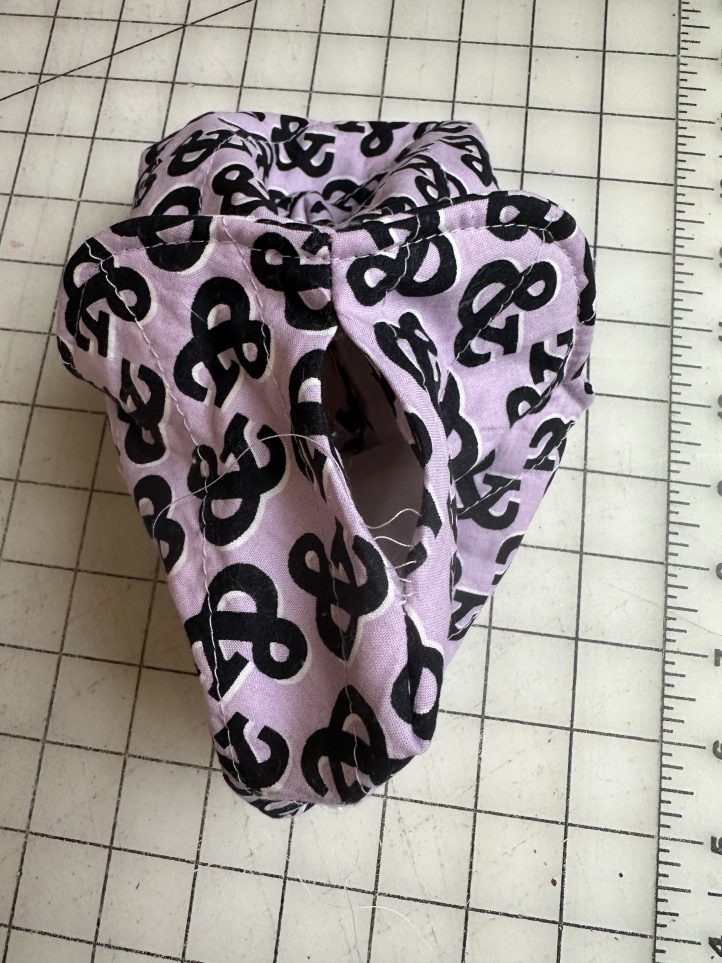
- Gently pull the interior piece through the gap left in the short side back in Step 3. Push out all corners and edges carefully from inside the gap. Press seams with an iron if desired.
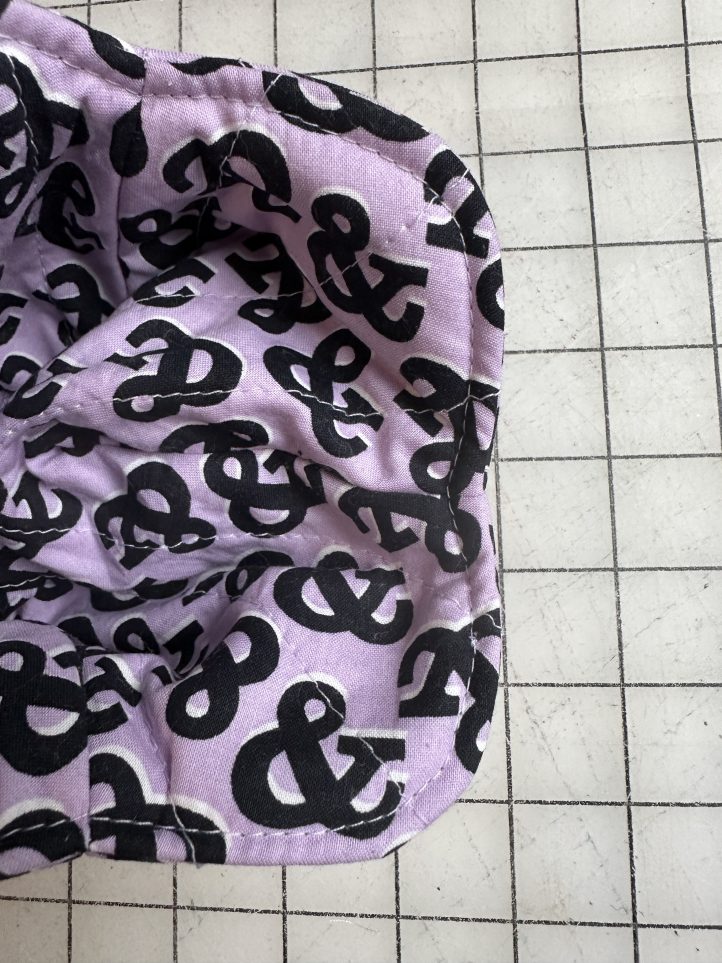
- Hand sew the gap opening shut with a ladder stitch or press together and machine stitch closed.
- Topstitch around the top seam if desired; this is strictly for aesthetics.

where is the download button, I can’t find it I want the template for this pattern that you have given me
Hi Brenda! The download button is located at the bottom of the pattern page and is available for our premium Gold Club members. Please let us know if we may further assist you. Thanks! – Ashley, We Like Quilting