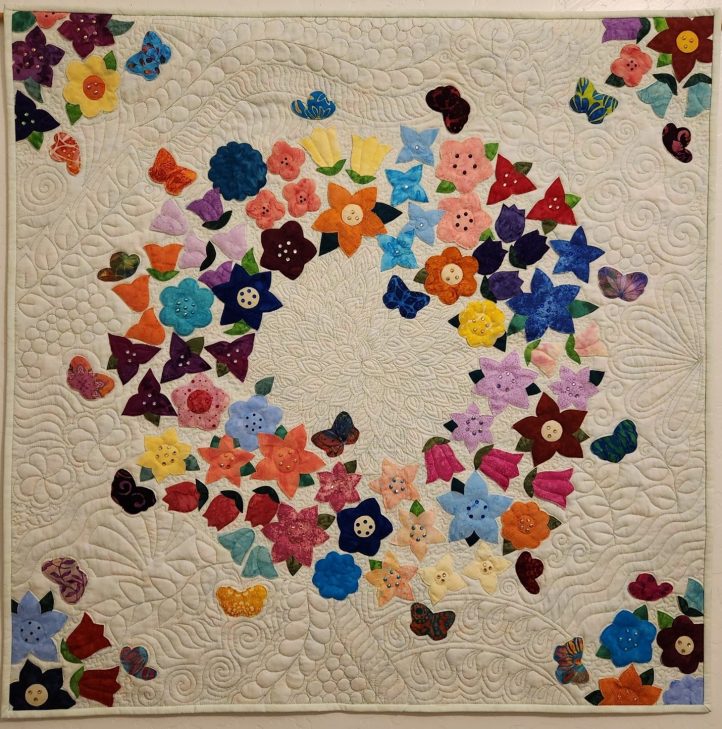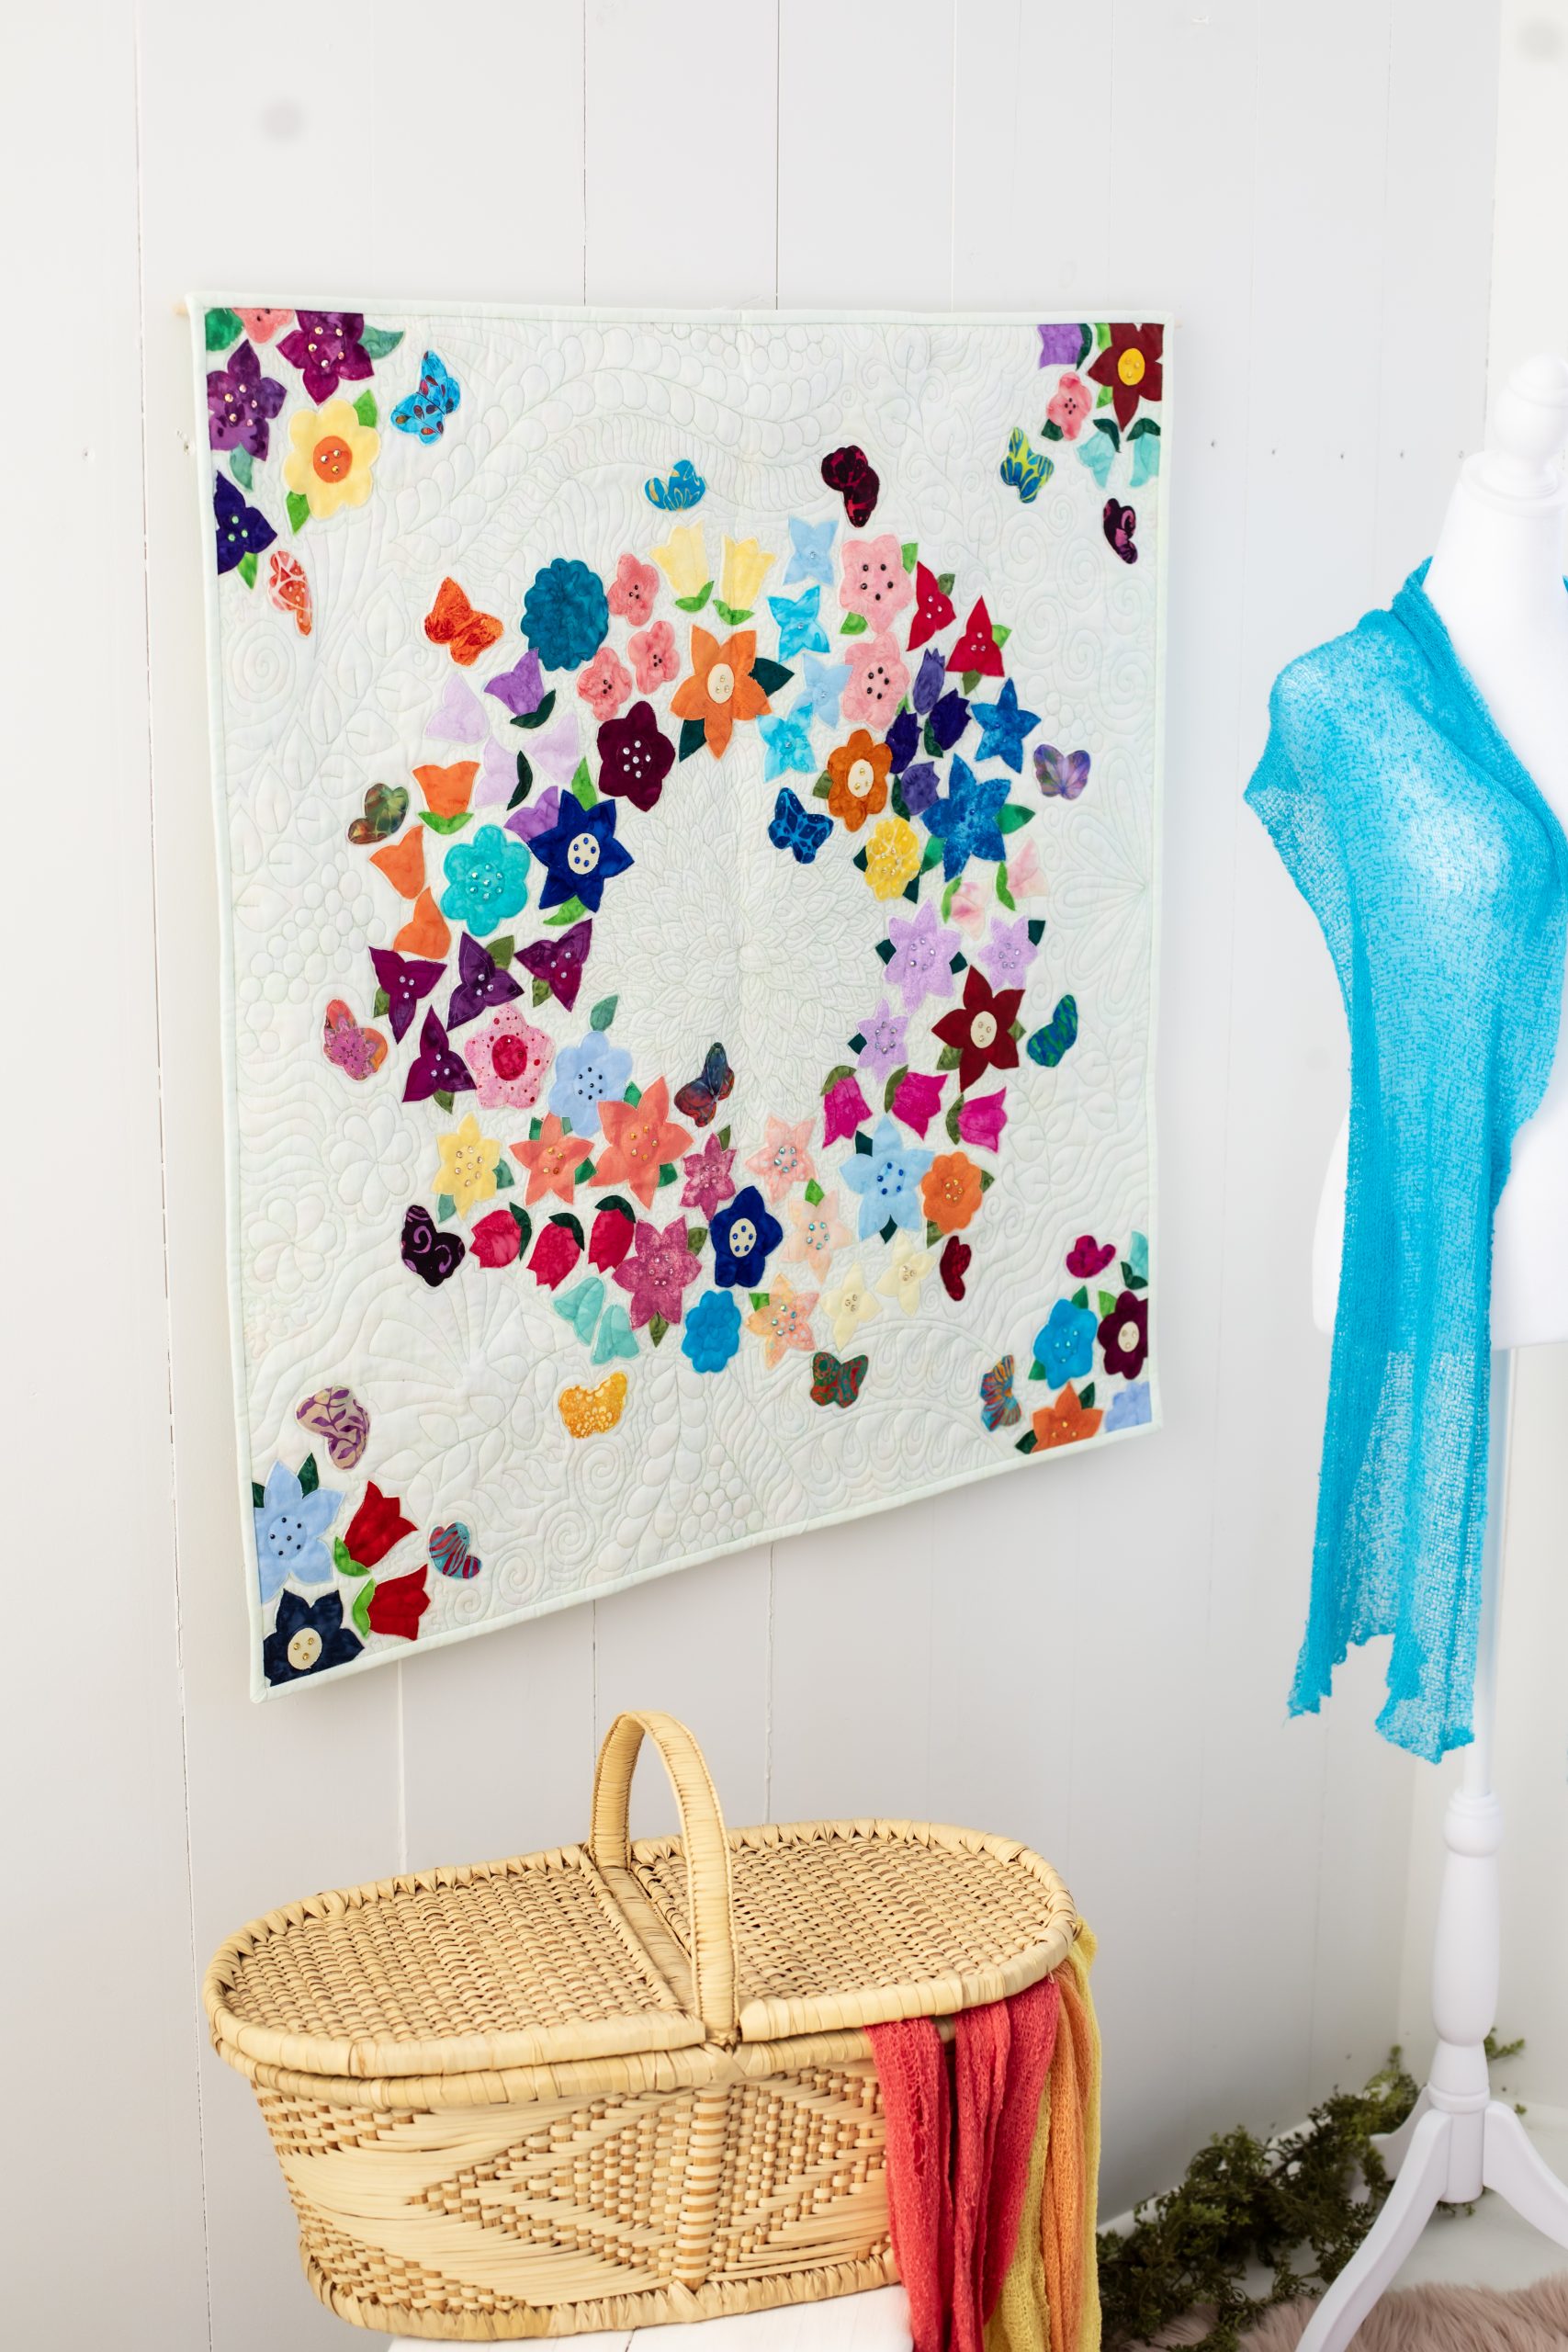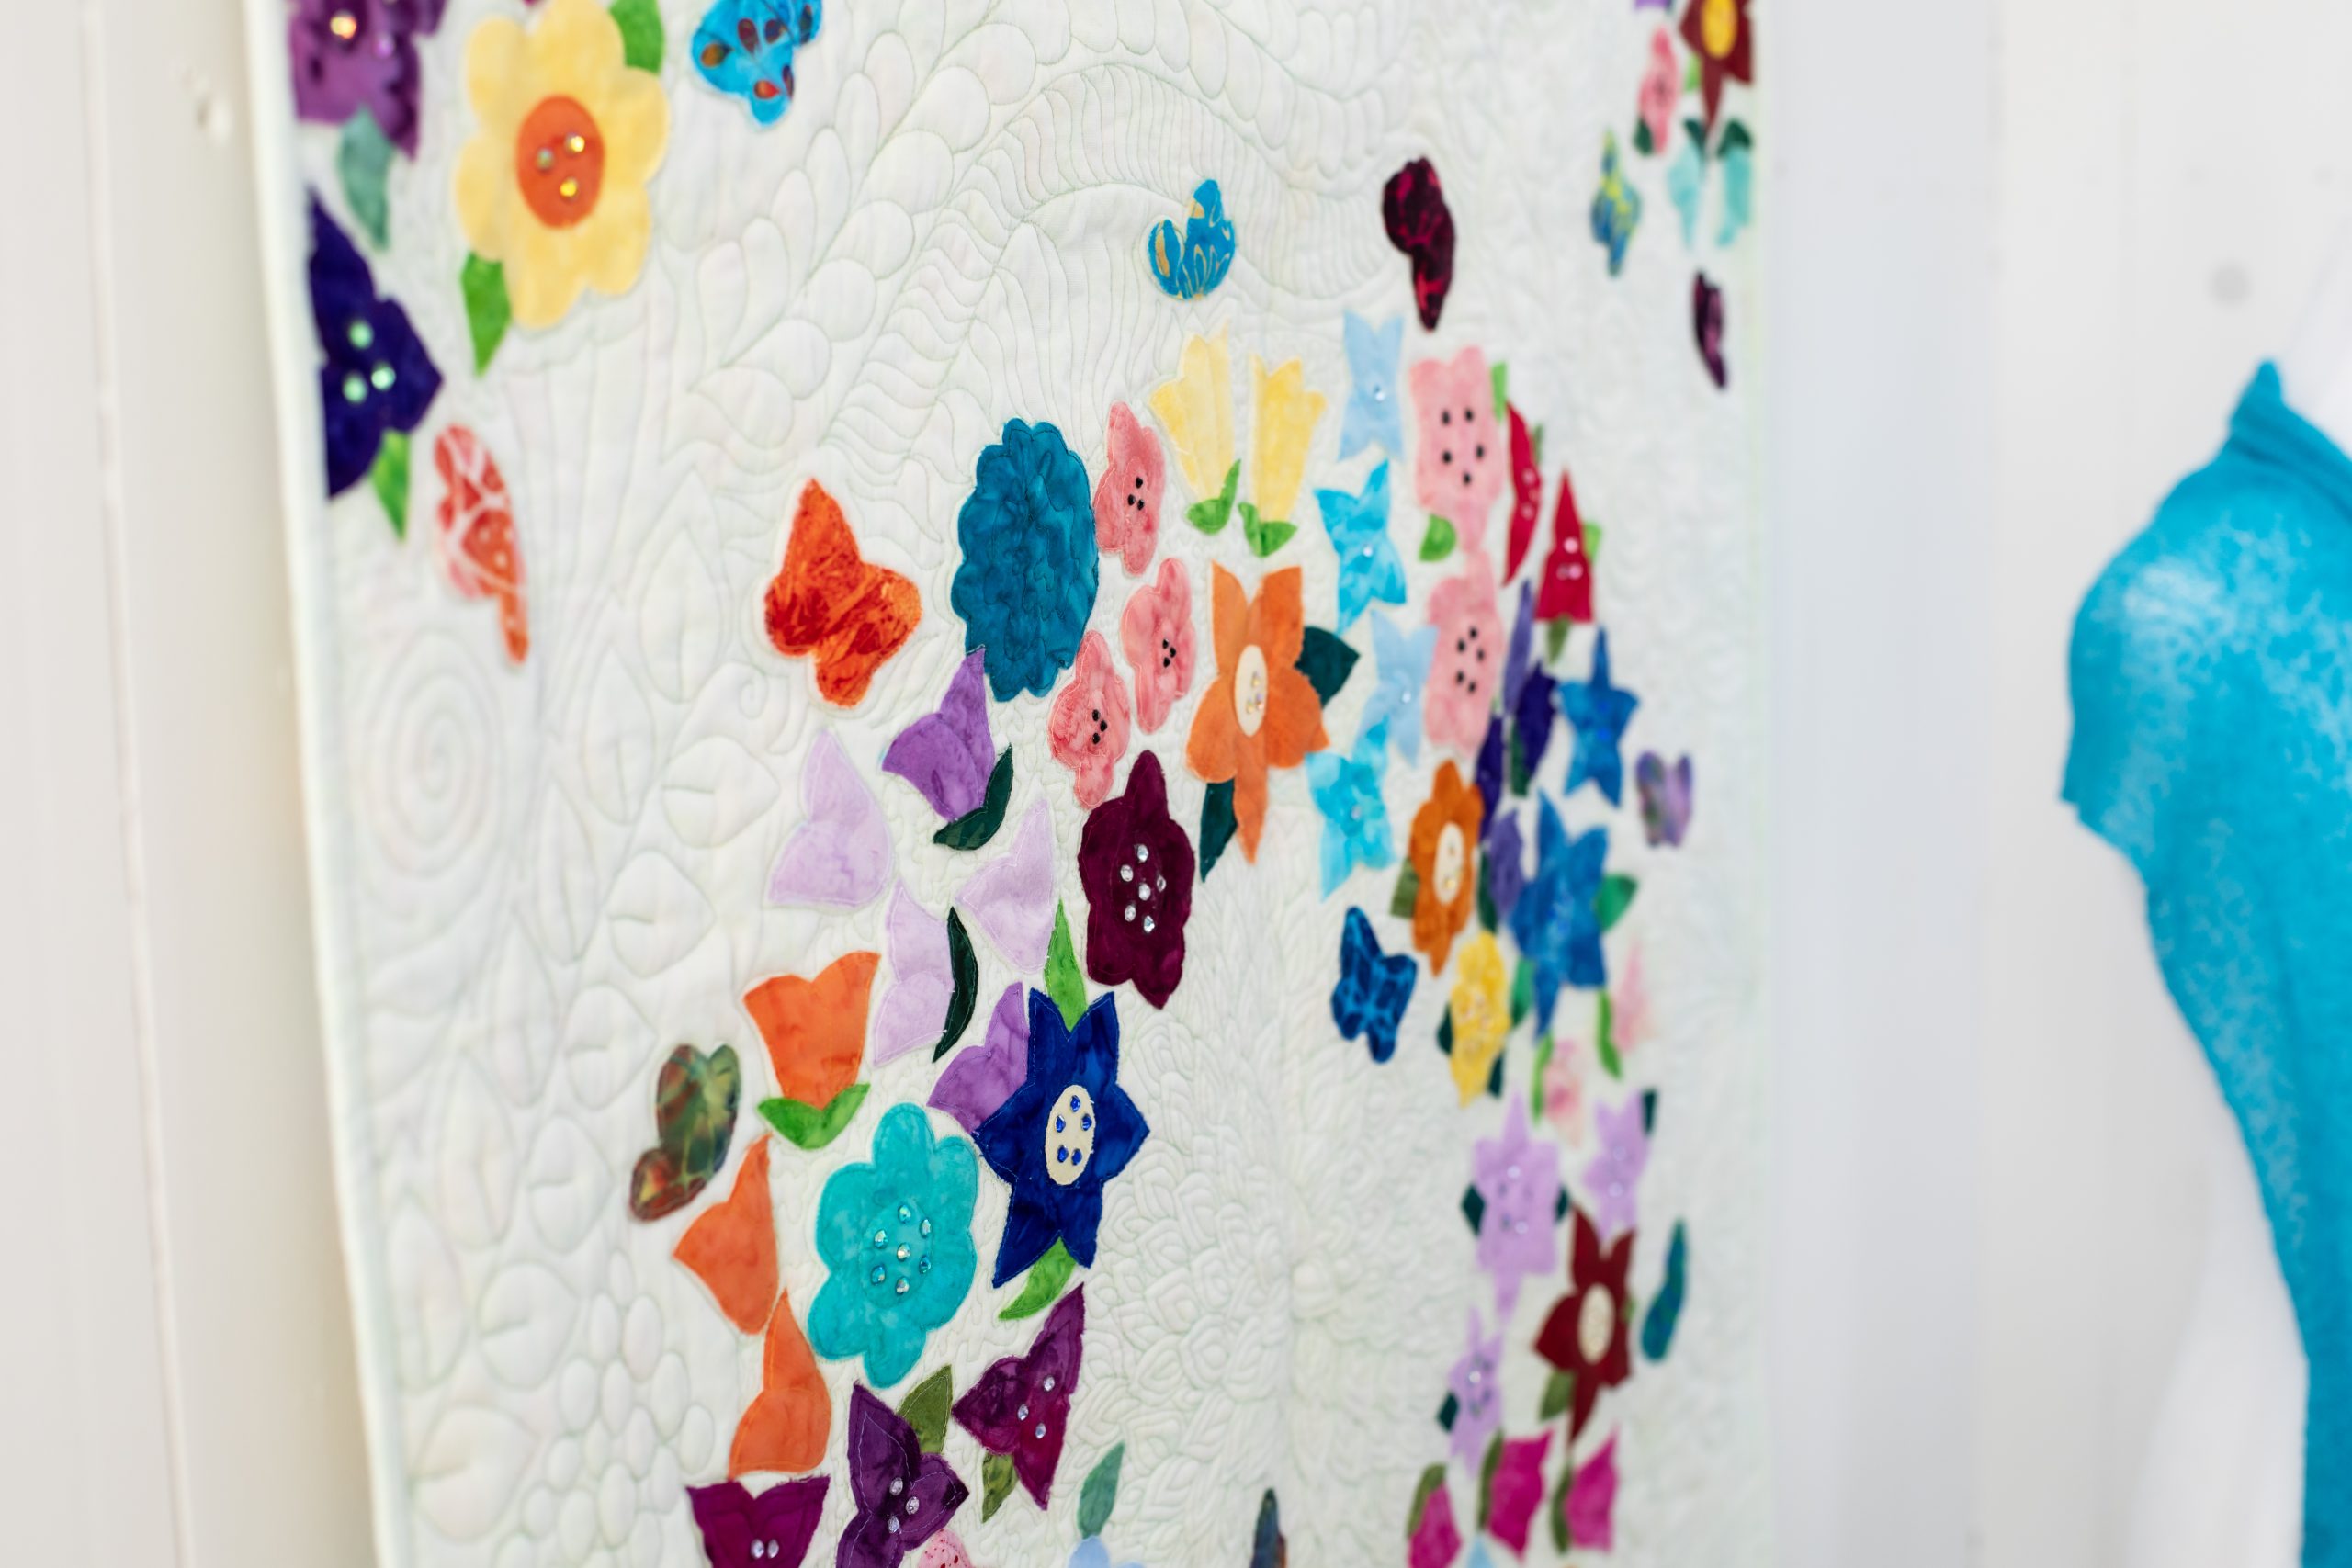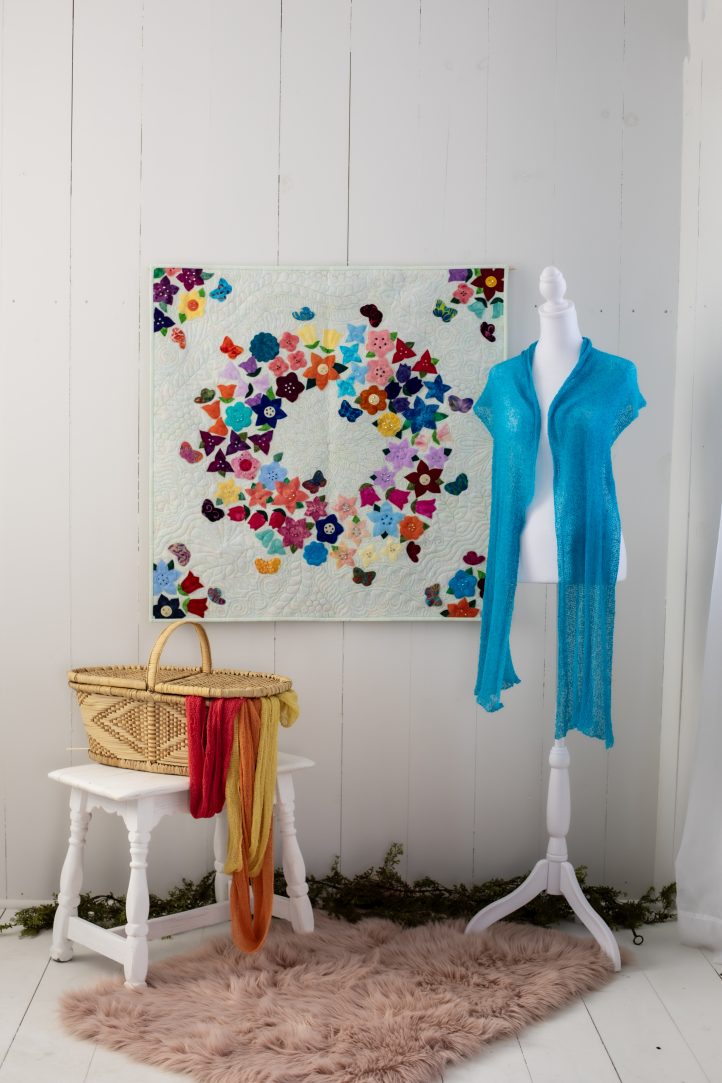
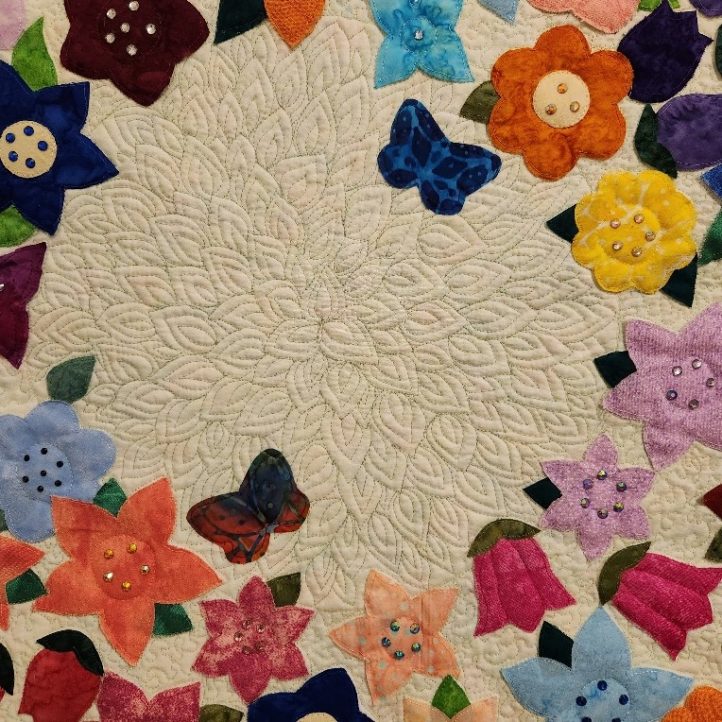
Create your own floral fantasy with delicate applique butterflies and flowers. Designed by Sujata Ryan, this gorgeous spring wall hanging pattern features butterflies fluttering around a ring of blossoms, as well as free motion details and colorful rhinestones. Finish your quilted wall hanging by adding a hanging sleeve to the back, so that you can easily display your design above your mantel, in your sewing studio, or in your foyer.
Skill Level: Intermediate to advanced
Finished Size: 36 in. x 36 in.
Time for Completion (Times will vary depending on how many appliques are included and how densely quilted the top is):
- Cutting out appliques – 2 to 4 hours
- Raw-edge stitching of appliques – 2 to 3 hours
- Quilting around the flowers and quilting the top – 4 to 20 hours
- Attaching hanging sleeve and binding – 2 hours
- Total: 10 to 29 hours
Materials:
- Fabric Requirements:
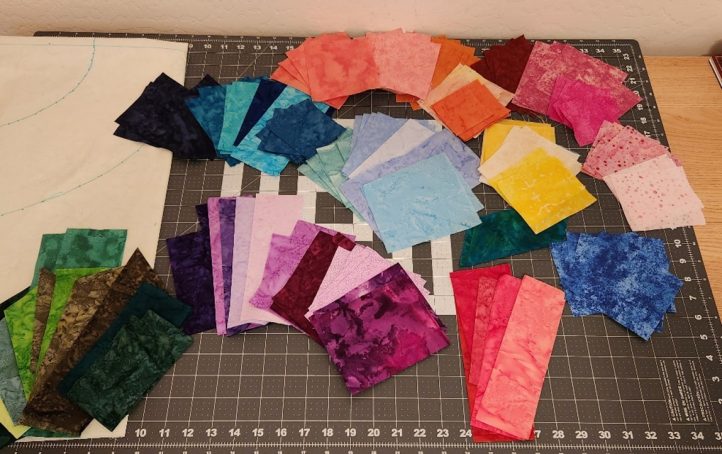
- For the flowers and butterflies: If purchasing yardage: 1/8 of a yard of 7 colors (red, orange, pink, yellow, green, blue, purple), or a variety of scraps can be used
- For the quilt top, binding, and hanging sleeve: 2 yd. light green, cream, white or light beige fabric
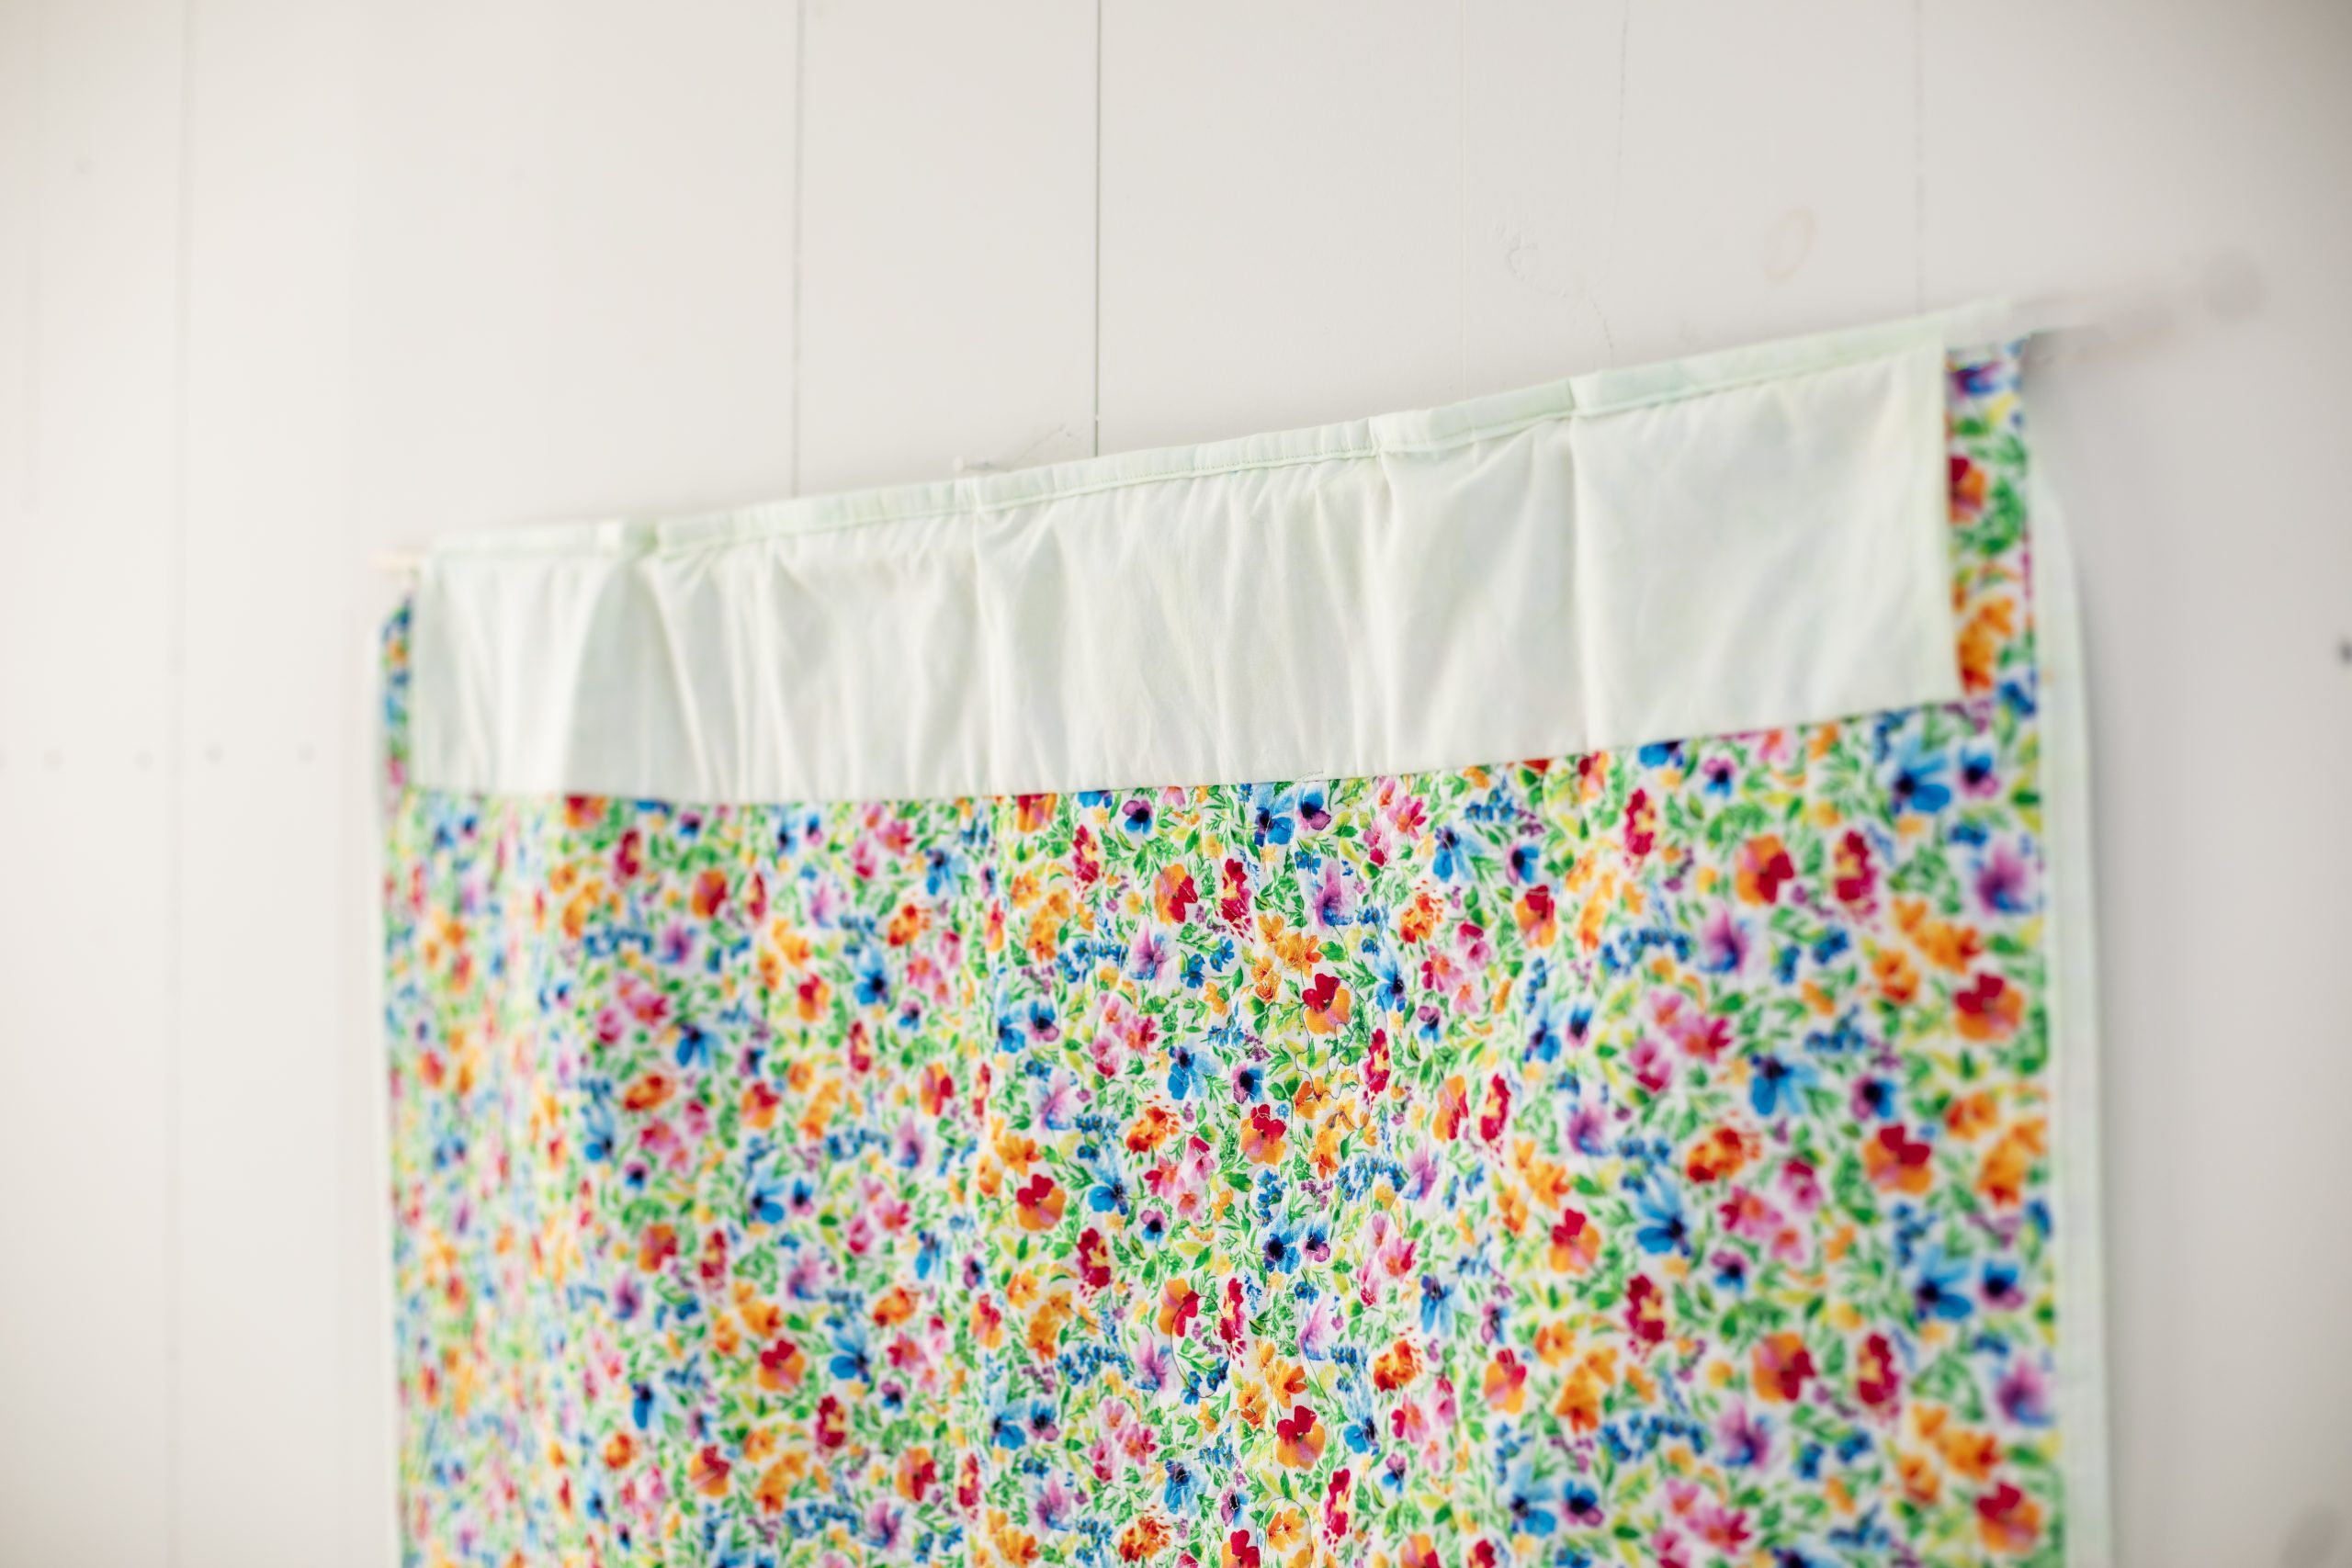
- For the backing: 1-1/4 yd. floral fabric
- For the batting: 45 in. x 45 in. square of batting
- Fusible web (like Wonder Under) – 3 yds.
- Sharp applique scissors
- Cardstock
- Free-motion quilting foot
- Optional: Walking foot
- Optional: Glue-on rhinestones in a variety of colors
- PDF Templates – These are located at the bottom of this page. See printing instructions below.
PRINTING INSTRUCTIONS:
To download the PDF templates, click on the download button at the bottom of the page. We recommend opening your download using Adobe Acrobat.
FABRIC SELECTION:
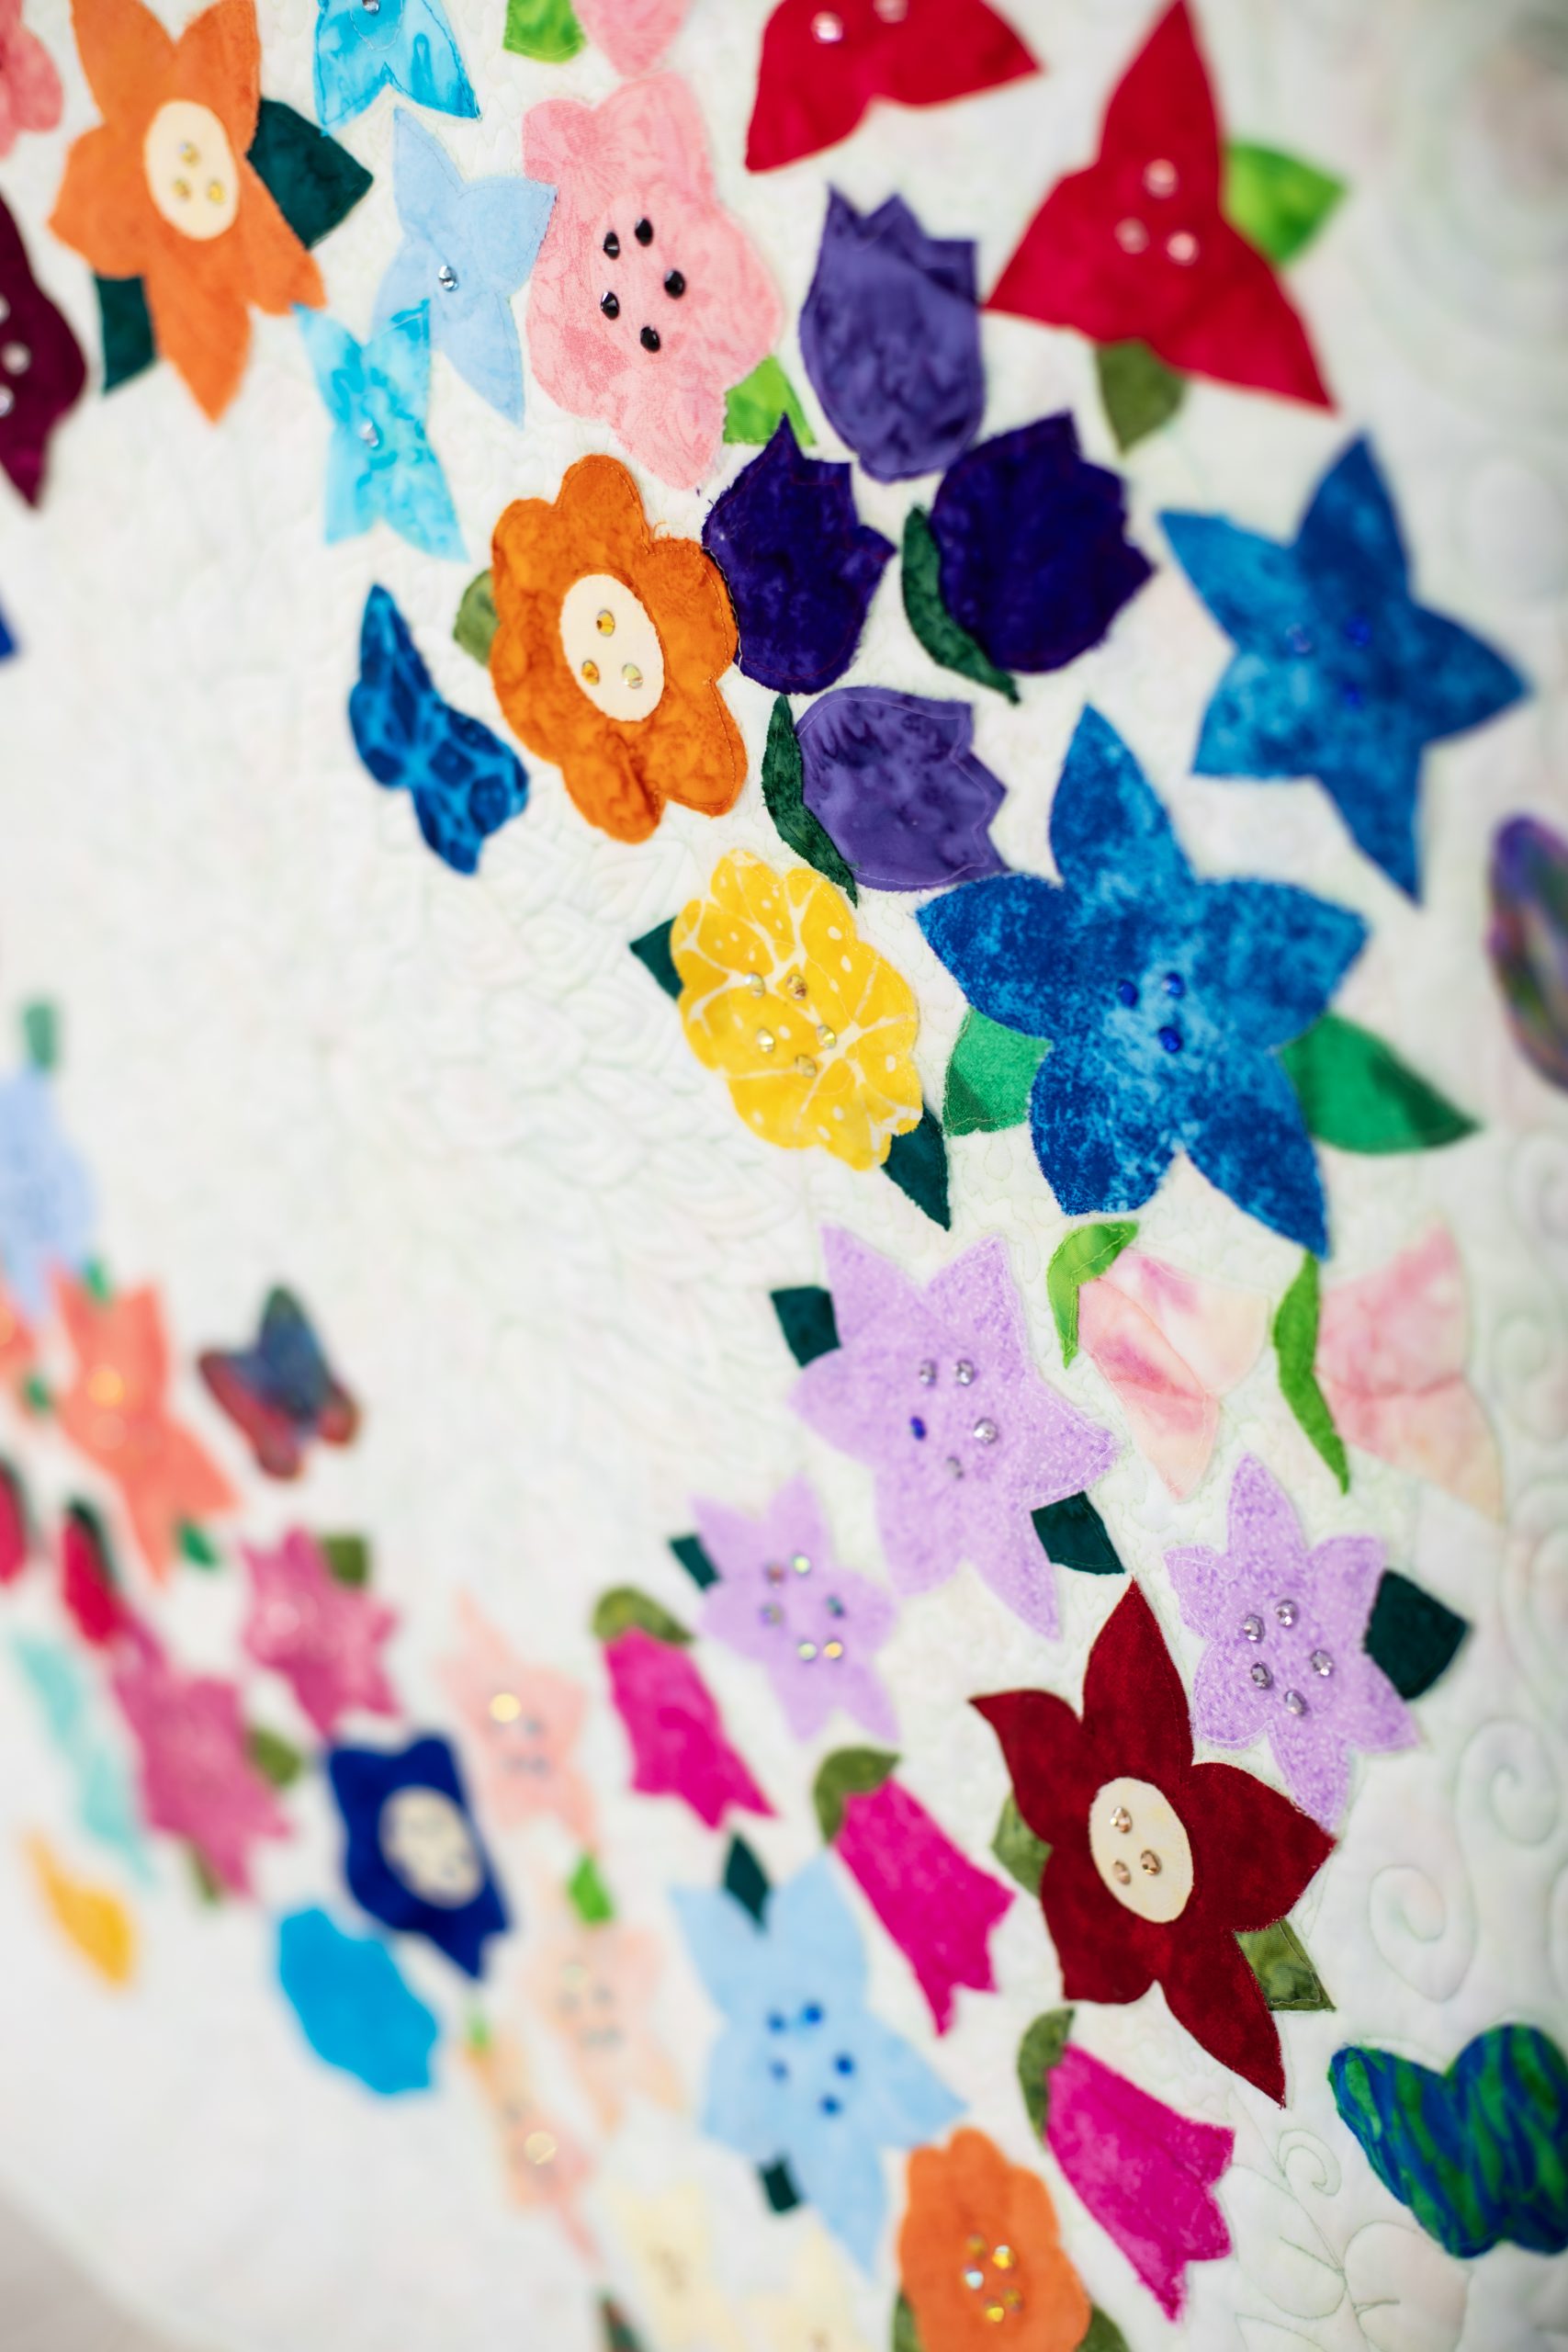
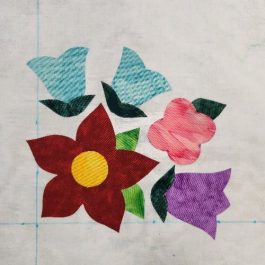
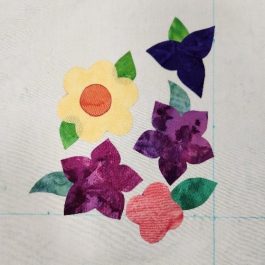
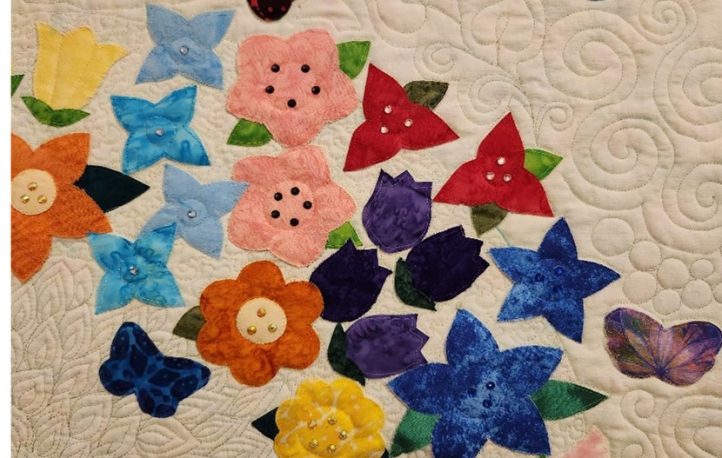
A variety of colors help enhance the appearance of the flowers in this quilt. Scrap fabrics can be useful since the appliques can be cut from squares measuring 3 in. x 3 in. or 4 in. x 4 in.
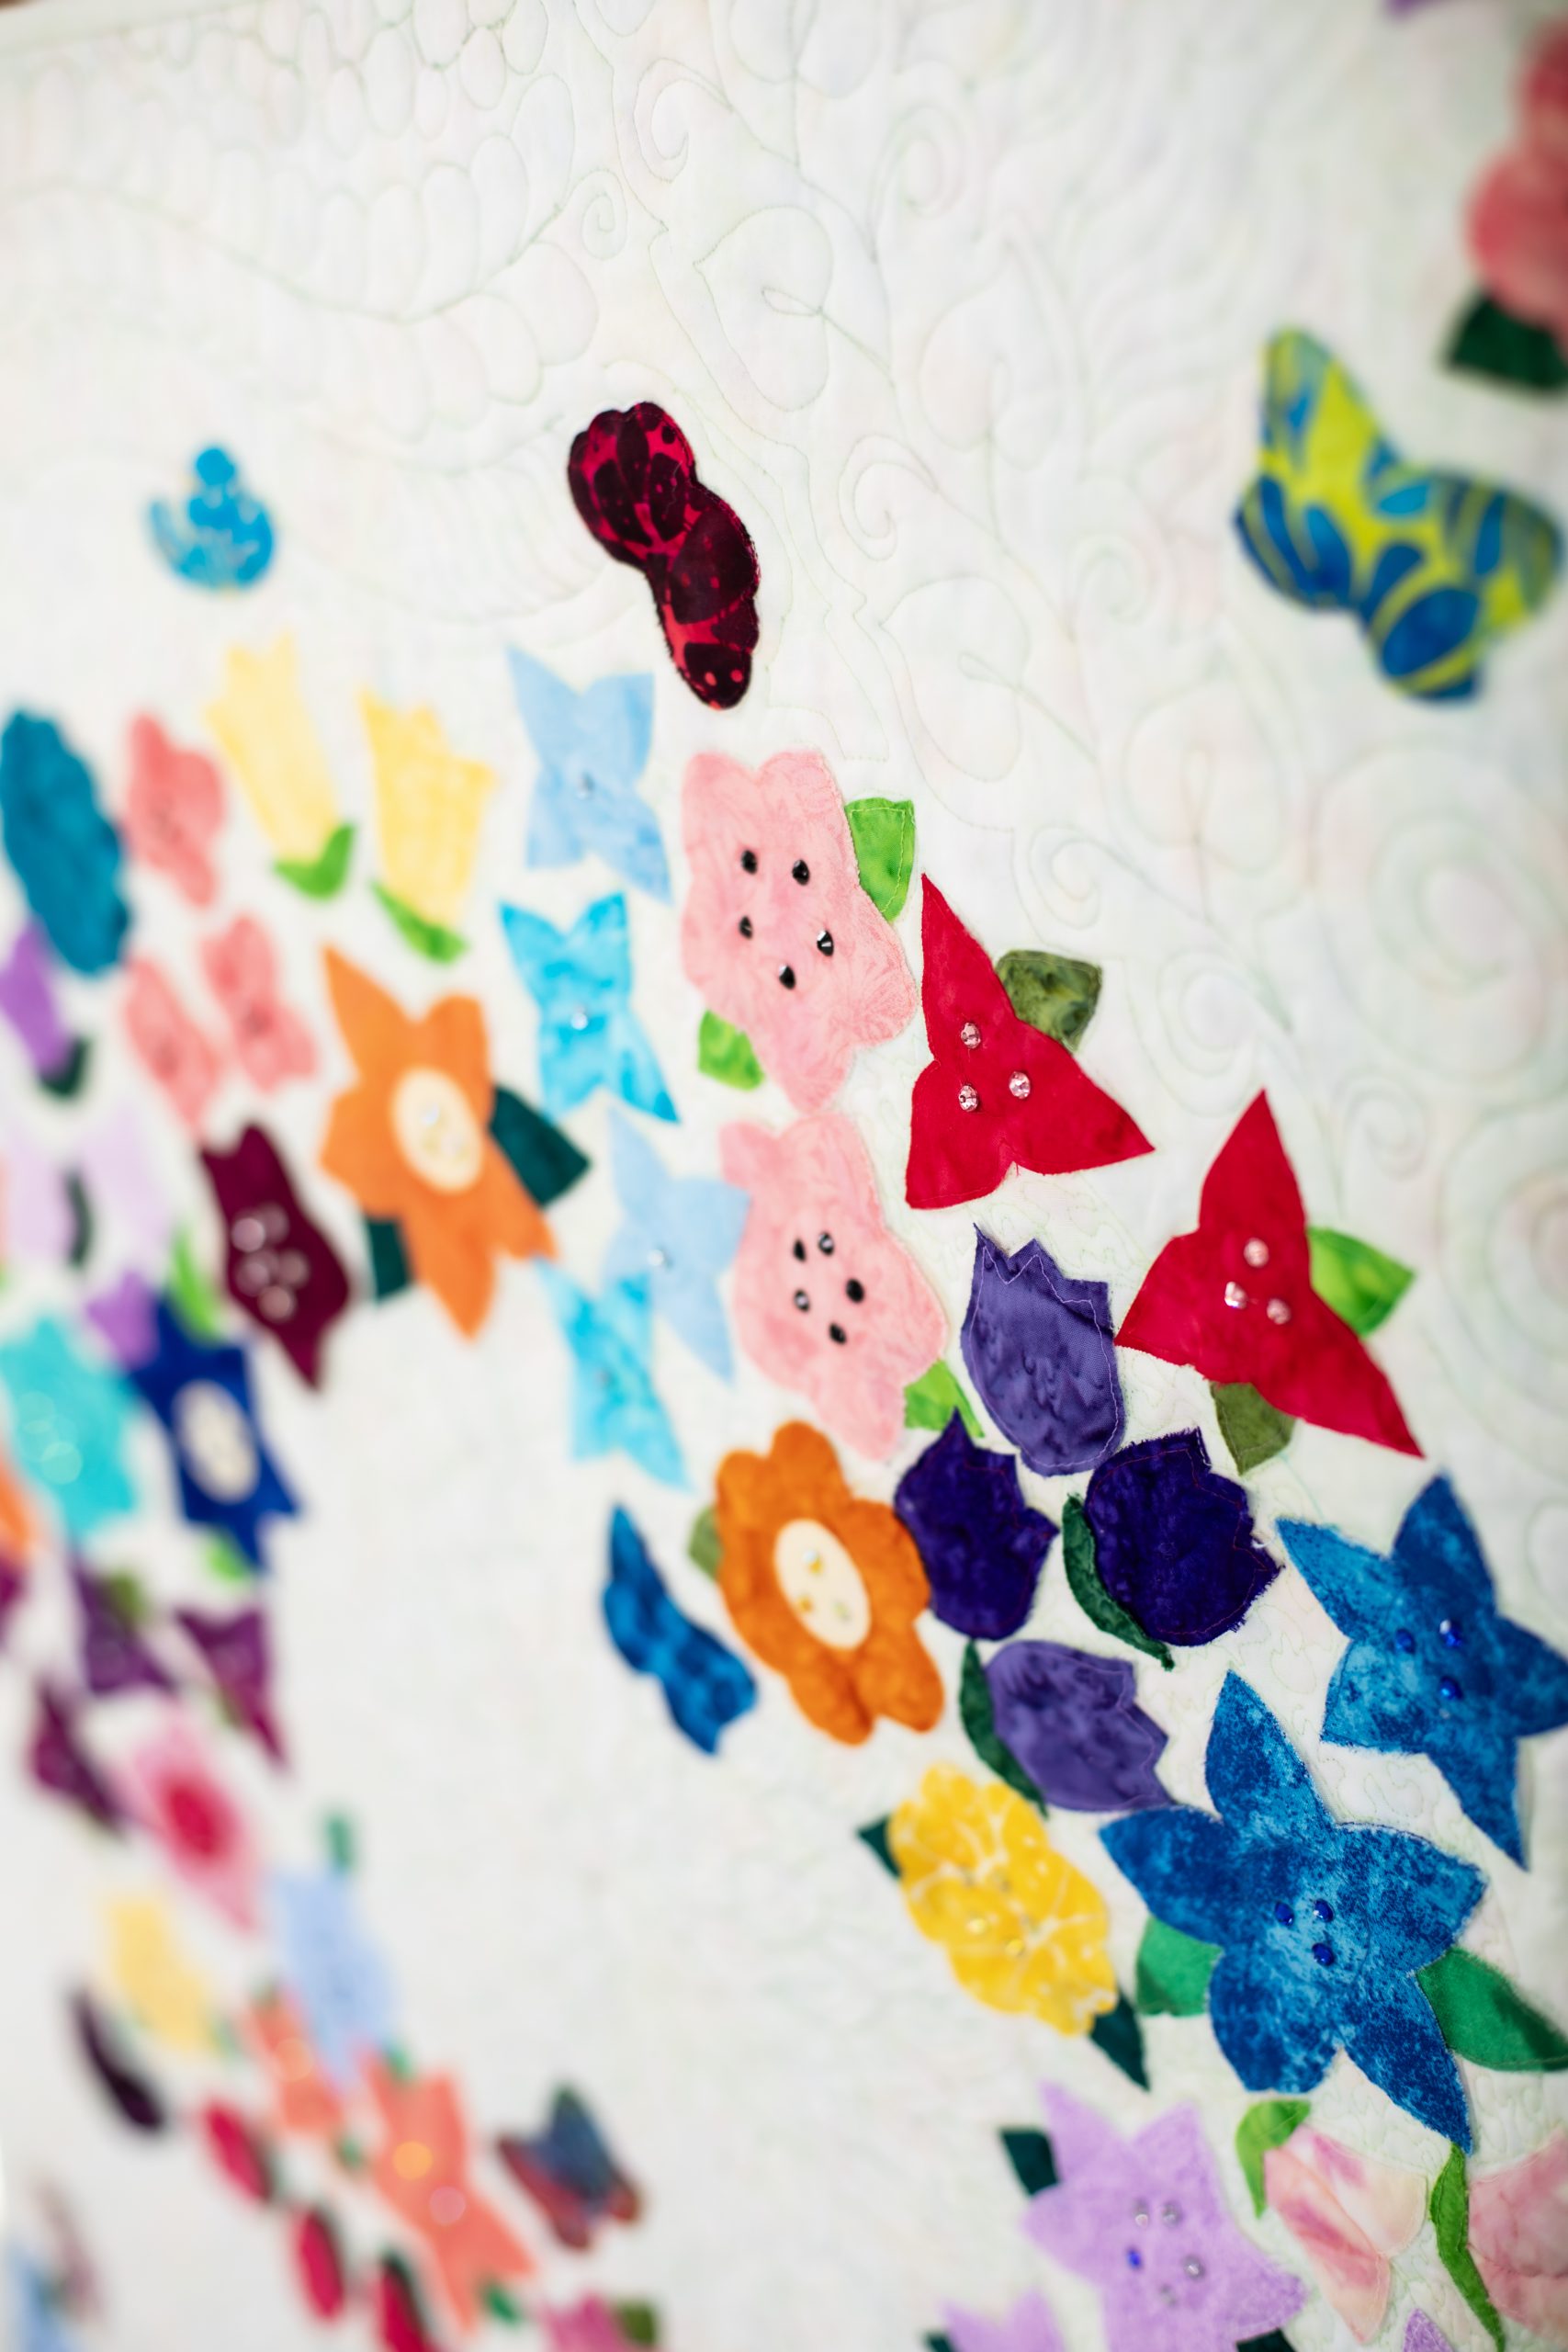
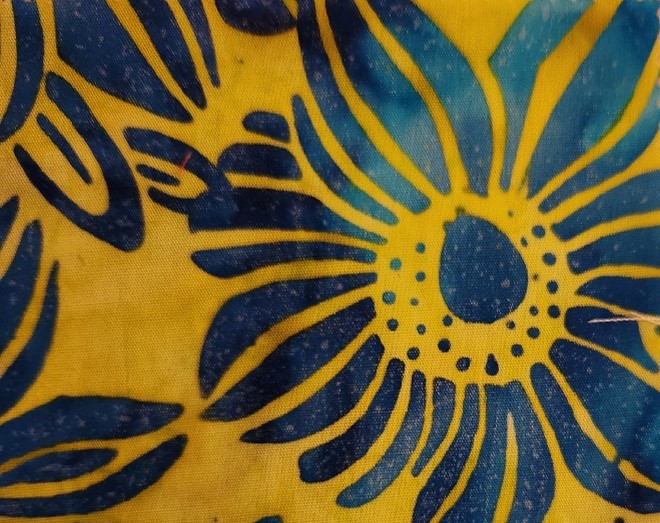
For a harmonious look, choose fabrics with subtle prints, like tone on tone abstract designs, batiks, or geometrics. A wide variety of colors adds visual interest to the quilt.
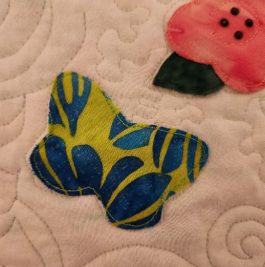
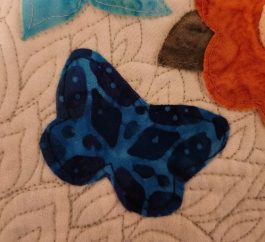
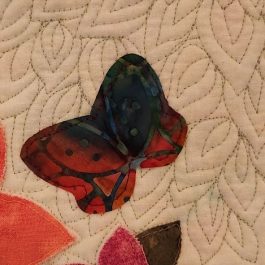
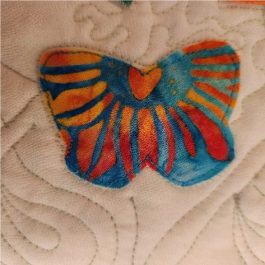
The butterflies can be cut from bolder print fabrics so they stand out more.
Piecing Instructions:
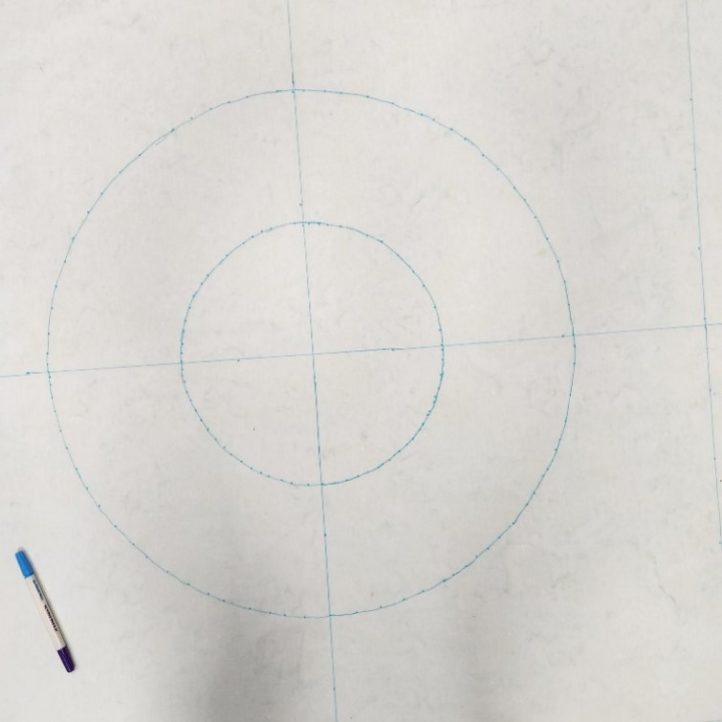
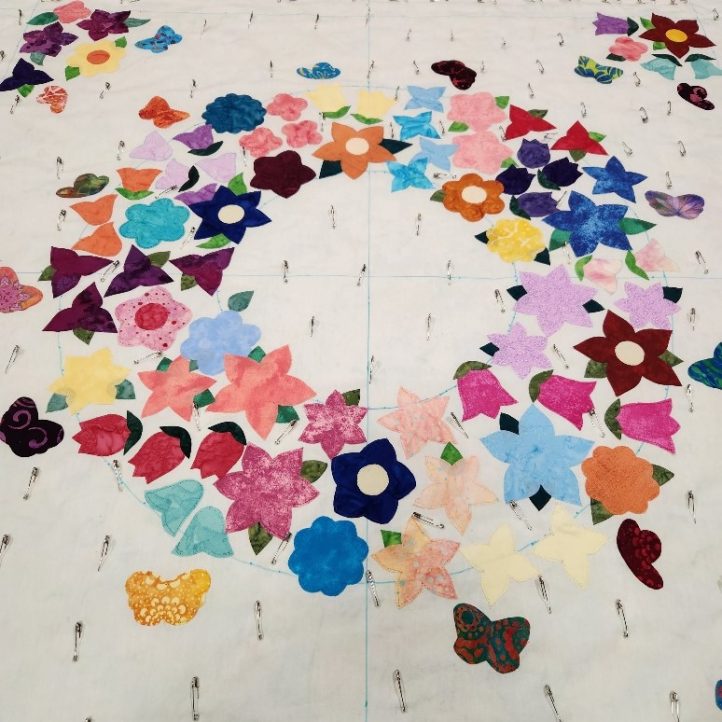
- Prepare the quilt top. From the quilt top fabric, cut a square about 44 in. x 44 in. Using a washable marker, draw lines to divide the top in half vertically and horizontally. Position a ruler with the zero at the center of the lines. Mark points 6 inches and 12 inches away from the center. Turn the ruler while keeping the zero end at the center and mark the points again. Continue turning the ruler and marking the points, creating dots for an inner circle and an outer circle. Connect the dots. The circles do not need to be perfectly round. They are just placement guidelines for the flowers.
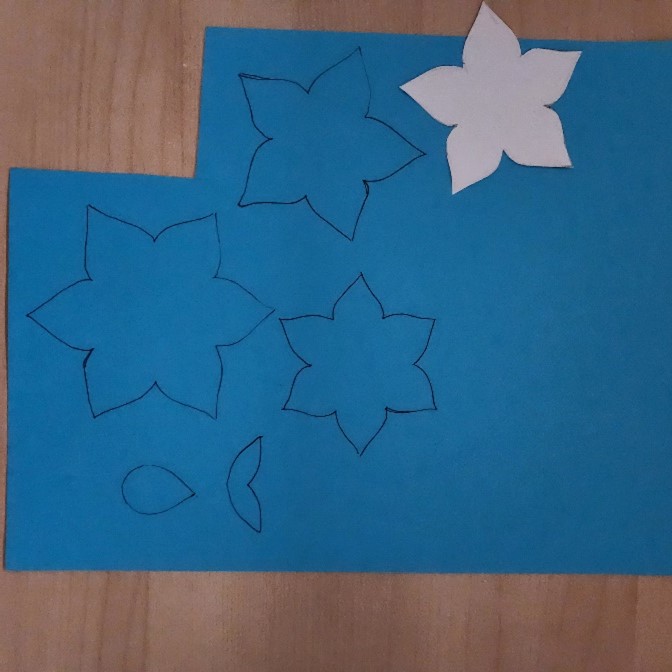
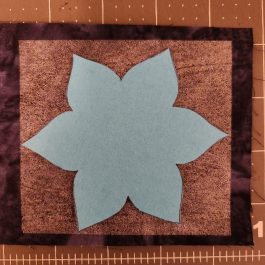
- Prepare the applique pieces. Print the applique PDF templates for flowers and leaves. Cut out the motifs and trace them on cardstock. Cut these pieces out carefully. They will be traced on the fabrics used for the flowers and butterflies.
- Prepare the applique fabrics. The applique fabrics will have a fusible web (like Wonder Under) adhered to the back of them. If many fabrics are being used, cut the fabrics into 4 in. x 4 in. squares for larger flowers, or 3 in . x 3 in. squares for smaller flowers and leaves. Cut the fusible web into pieces slightly smaller than 4 in. square or 3 in. square (to ensure they will fit fully on the back of each fabric square.)
- Tip: If possible, use an old rotary cutting blade to cut paper-backed fusible webs on a rotary mat, to speed up the cutting process.
- If fewer fabrics are being used, cut rectangles 4-3/4 in. x width of fabric. Cut fusible web to match. Each rectangle will provide 6 flowers. Cut more rectangles and web as needed to create the desired number of flowers.
- In the example quilt, there are about 15 flowers in each quarter circle, and about 5 flowers in each corner for a total of about 80 flowers (and some leaves) needed.
- The top can also feature fewer flowers spaced further apart, as desired.
- Following the manufacturer’s directions, iron the fusible web to the wrong side of the fabric pieces. Remove any paper backing.
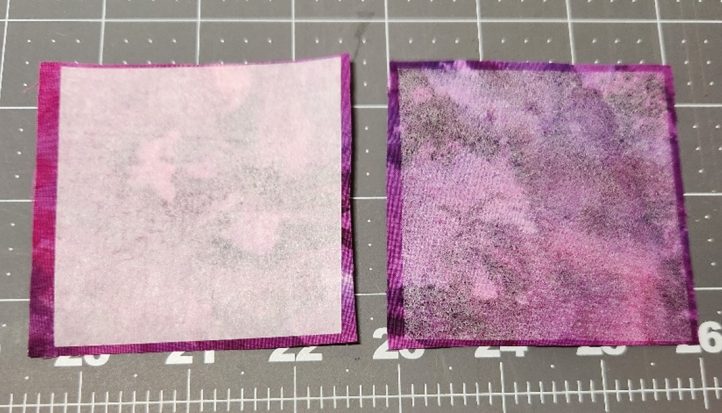
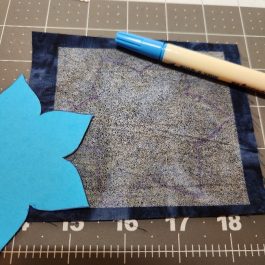
- Trace each flower shape on the WRONG SIDE of each fabric piece, tracing onto the fusible web. Cut out with sharp scissors.
- Tip: For the smoothest curves, avoid closing the scissors all the way when going around curves. Closing only partway ensures a smoother edge.
- Tip: For the smoothest curves, avoid closing the scissors all the way when going around curves. Closing only partway ensures a smoother edge.
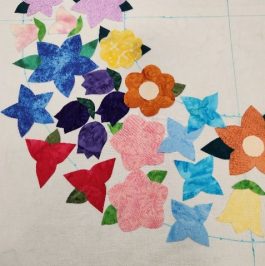
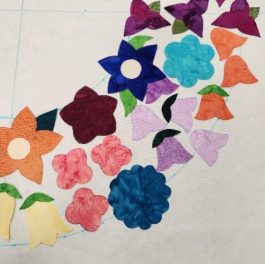
- Fuse the appliques in place. Place flowers, leaves, and butterflies onto the quilt top within the ring drawn in the beginning, doing one-quarter of the circle at a time. When satisfied with the placement of appliques within a section, fuse them in place following the manufacturer’s directions. Then stitch each applique following the directions in Step 5, stitching one quarter of the quilt top at a time.
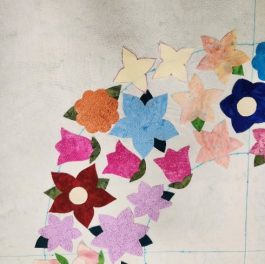
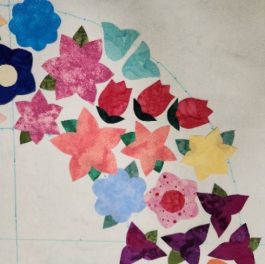
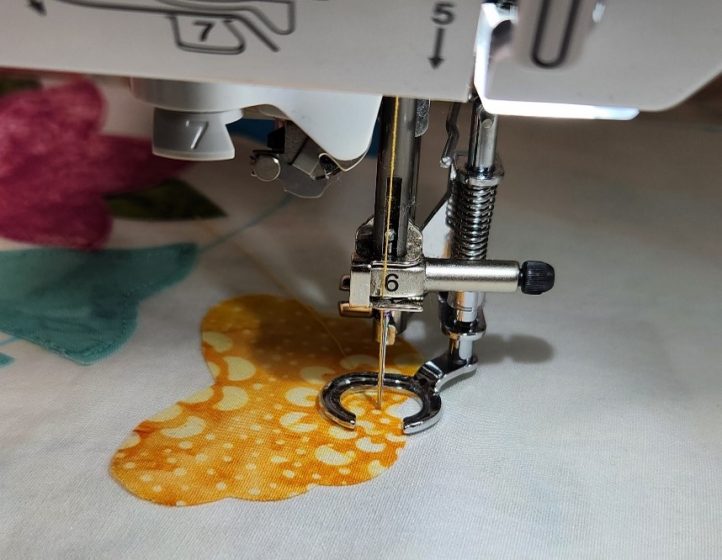
- Stitch appliques in place using free-motion stitching. Set the sewing machine up for free-motion sewing: Attach the free-motion foot and drop the feed dogs. Stitch very close to the raw-edge of each piece, about 1/8 inch from the edges. If stitching with the presser foot on, pivot frequently along curves and at corners and points. Complete each quarter of the quilt top. Place appliques in each corner, overlapping some pieces over the edges of the quilt. Fuse and stitch each set of corner pieces in place.

- Layer the quilt top with batting and backing fabric. Use safety pins or spray glue to hold the quilt top, batting, and backing together.
- Quilt the top as desired. Suggestions include:
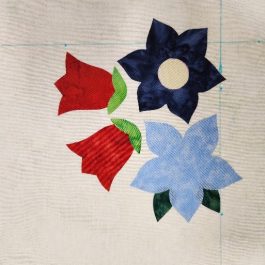
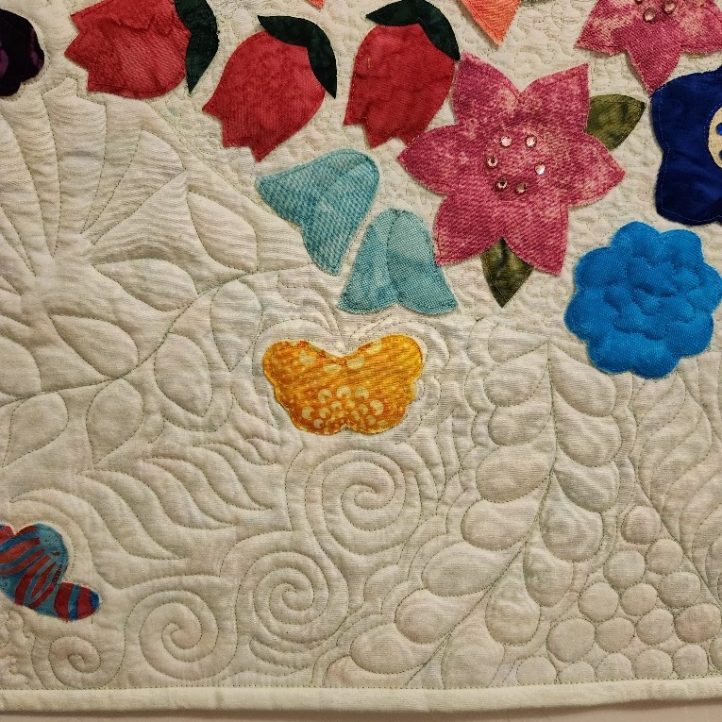
- Quilt around each applique using free-motion quilting (or pivoting frequently with the presser-foot on) to provide a raised, 3D effect for each piece.
- Quilt meandering lines of leaves, plumes, vines, etc. in the open areas.
- Fill the areas between the meandering lines with swirls, pebbles, curving zig-zags, etc.
- Fill the central circle with radiating leaves. Applique a butterfly or two within the central circle.
- If quilting with the presser foot on, stitching parallel lines in different directions within the open areas of the top may be the most efficient way to quilt the top.
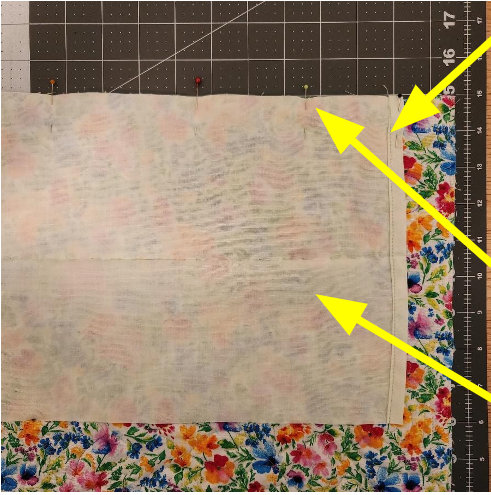
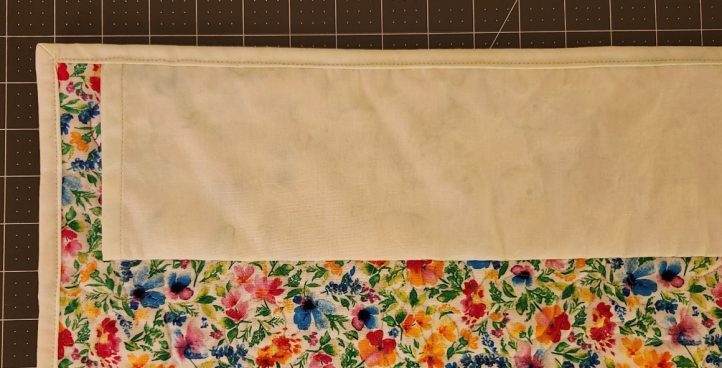
- Add a hanging sleeve to the back. Cut a piece of the remaining quilt top fabric 8 in. x 35 in. Fold each short edge under by 1/4 inch. Press. Turn under once more, press again. Stitch near the fold, forming a hem. Fold the strip in half lengthwise, so it is 4 in. x 36 in. Press the long folded edge, then open it flat again. Pin the top of the strip to the top of the back of the quilt. Pin the bottom edge in place. Do a running stitch along the fold line, taking care not to stitch through to the front of the quilt. Fold the bottom of the hanging sleeve up to the top quilt edge. Re-pin the sleeve in place. Stitch in a 1/4 inch seam so this stitching will be covered by the binding.
- Trim and bind the edges. Cut 5 pieces of the remaining quilt top fabric 2-1/2 in. x width of fabric for the binding. Bind the quilt using any standard method of binding. Remove any markings from the quilt top by wiping with a damp cloth or spraying with water and wiping gently, taking care not to rub the raw edges of the appliques with too much force.
- Add optional rhinestones for embellishment. Follow the manufacturer’s directions to glue rhinestones into place, in the centers of the flowers, using petal arrangements to help with placement of the rhinestones.

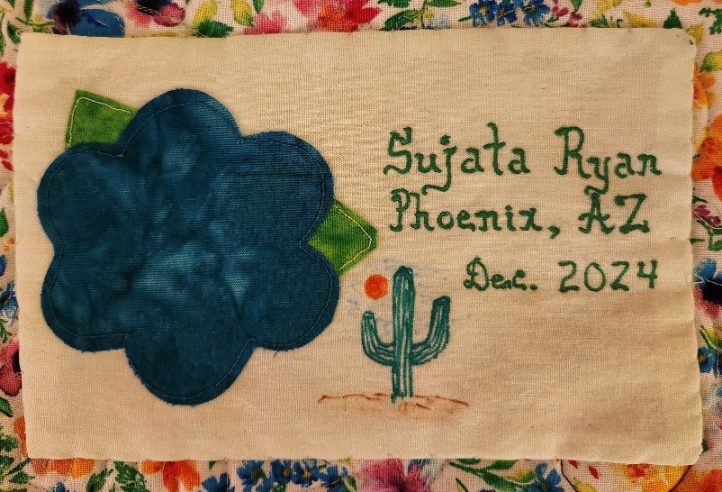
- Make a name patch for the quilt. Cut two pieces of the remaining quilt top fabric 3-1/2 in. x 5 in. (or to desired size). Using fabric markers, write your name, place, and date of completion on one piece of fabric. Include any leftover applique flowers, if desired. Sew the two pieces right sides together, using a 1/4 inch seam allowance and leaving an opening for turning on one of the 5 in. sides. Trim the corners. Turn right side out and press the opening closed. Pin in place. Stitch in place by hand.
The Fluttering Floral Fantasy Wall Hanging Pattern is now finished!