A rush of satisfaction comes from completing a quilt, sewing that last stitch, snipping those last threads. But take a few more minutes to make your masterpiece complete by creating a label for it with your name on it!
The creators of many beautiful heirloom quilts from yesteryear remain a mystery to us because they did not sign their work with their names. Quilts with labels give a glimpse of who made them, the times in which the quilt-maker lived and the celebrations, milestones and other important details of the quilter’s life.
A label can range from a basic patch with a name and date to a decorative creation in its own right. Using fabric markers, hand or machine embroidery and hand or machine applique, a label can be a beautiful addition to the quilt. Developing a signature font or motif can personalize your label and make it uniquely your own!
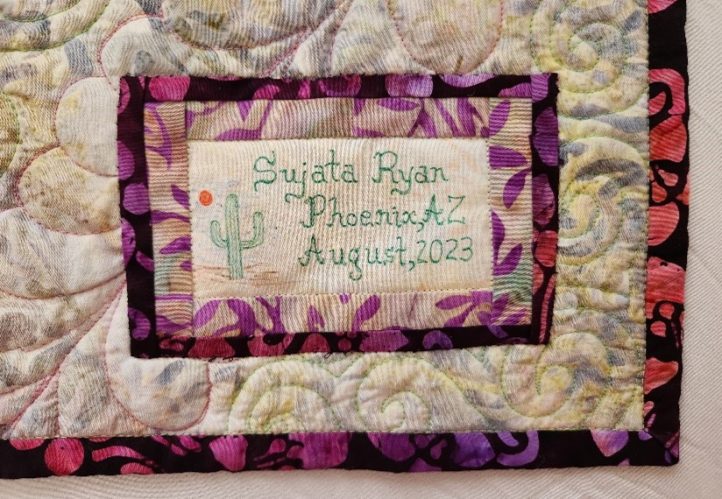
Photo provided by designer.
What to Include in the Label
Most quilt makers include their name, place and date of completion as basic information. You can add the title of the quilt, a special occasion the quilt was made for and the name of a gift recipient and a personalized message to them. Separate labels for dedications and celebrations can be added, too.
Constructing a Label
Here are some common materials needed:
- Solid light color cotton to coordinate with the colors of your quilt
- Fabric markers (permanent ink)
- Air soluble/disappearing marker
- Ruler
- Scissors or rotary cutter/mat
- Scraps of fabric from the quilt
- Optional: Embroidery thread for hand- or machine-embroidery
Choices in Fabric Markers
The most important requirement in a fabric marker is it should be permanent or color-fast when dry so it will not bleed or smudge if the label gets wet.
Other options include:
- Acid-free and/or archival ink, to avoid damage to the quilt over time
- Non-toxic ink if children or pets could have access to the markers
- Broad or fine tip
- Range of colors. A basic set of 6 to 8 main colors is sufficient but it can be fun to have more colors in your set to get creative with!
How to Create a Label
Decide on the dimensions for the label based on the content. For the basics (name, place and date of completion) a rectangle 4 in. x 2-1/2 in. should work well. Increase the dimensions if more content is to be included.
Photo provided by designer.
Add 1/2 inch to each dimension (to provide a 1/4 inch seam allowance on each side). In the example, the rectangle to cut out is 4-1/2 in. x 3 in.
Use the air soluble marker to draw lines across the label for writing your name, place and date of completion and any other information you want to include.
- Tip: It can be helpful to add middle and top lines to keep the size of your letters uniform as you write (think back to elementary school primary writing paper!).
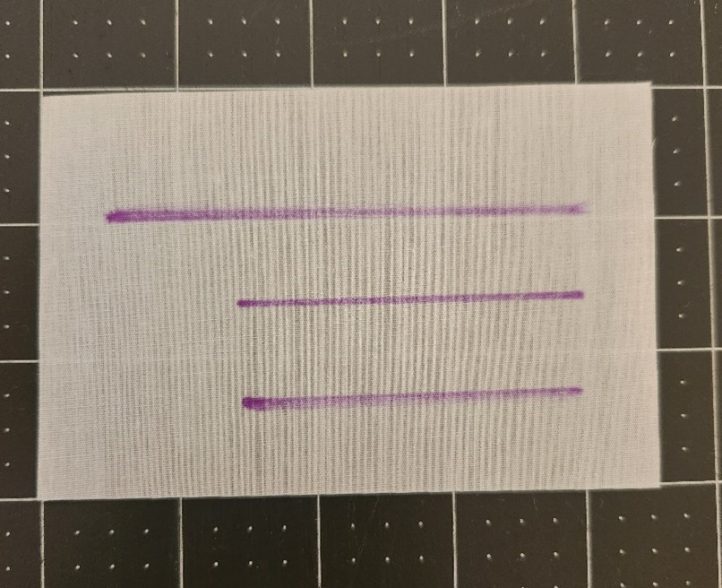
Photo provided by designer.
Count the letters in the information for each line along with spaces in between them and any punctuation marks. This will help you plan how many characters you need to include on each line.
For example, for my information, I would have:
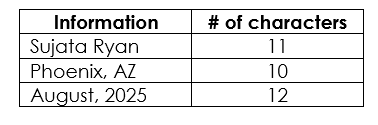
With a CLOSED marker, practice writing your information on each line to get a rough idea of how big or small to write. You can mark starting and stopping points with your air soluble marker, too, to guide placement of the letters.
When you are satisfied with your plan of how large to write, use your fabric markers to write your information in whatever colors you have chosen.

Photo provided by designer.
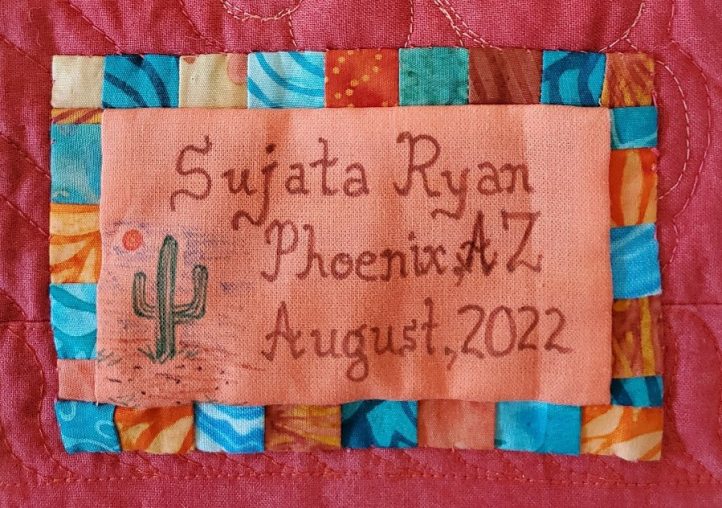
You can use your regular printing or cursive style or experiment with fancier styles of writing!
If you like, include a logo (a small picture, a symbol, any graphic associated with you!) to your label.
For example, all of my quilt labels include a saguaro cactus and the desert sun as a connection to my home in Phoenix, AZ.
Photo provided by designer.
Allow your label to “cure” for 24 hours for the inks to dry and for the air soluble pen to disappear. Then heat set the label by pressing it with a hot dry iron.
Meanwhile, embellish your label in different creative ways and prepare it for sewing!
Embellishing and Preparing the Label for Sewing
TURN UNDER THE EDGES
The most basic option for attaching the label is to press under 1/4 inch on each label edge. Pin it to the quilt front or back in the chosen location and stitch it to the quilt by hand using a slip stitch.
CREATE A FABRIC FRAME
Cut leftover strips of a fabric used in the quilt top 3 inches longer than each label dimension and 3/4 to 1 inch wide.
In the example, for a 4-1/2 in. x 3 in. wide label, cut 2 strips 7-1/2 in. long and 2 strips 6 in. long, and 3/4 in. wide.
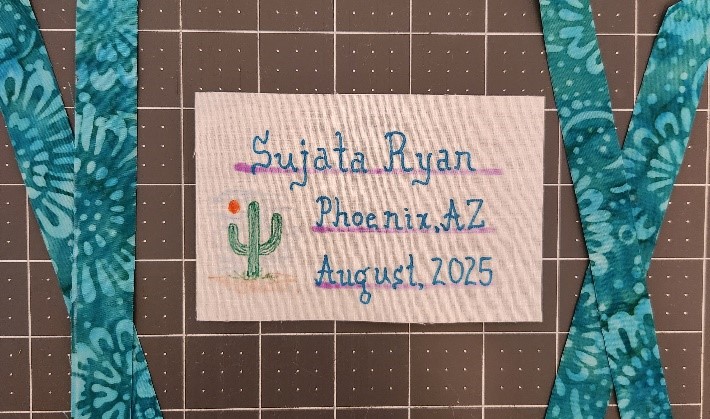
Photo provided by designer.
Stitch a border strip to the top and bottom edge of the label.
Press seams away from the label.
Trim the edges even with the label edges.
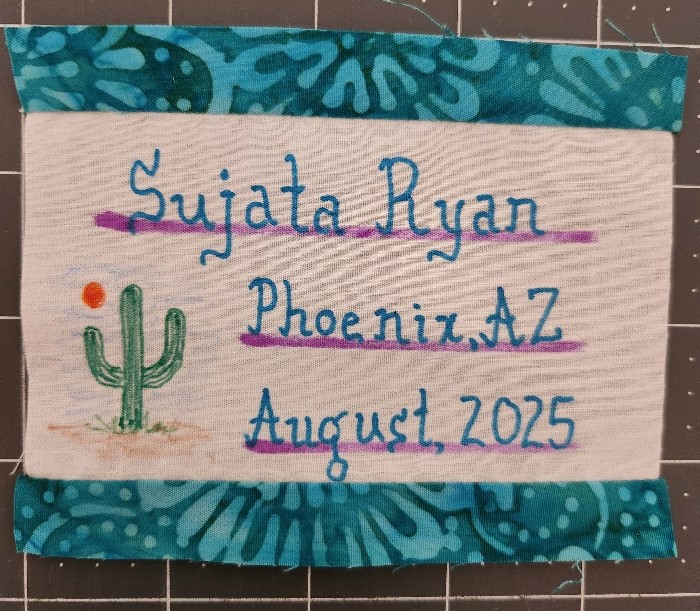
Photo provided by designer.
Repeat with the strips on the left and right sides.
Cut a piece of lining fabric to match the size of the label and border.
Place the lining and label right sides together. Stitch in a 1/4 inch seam on all sides, pivoting at the corners.
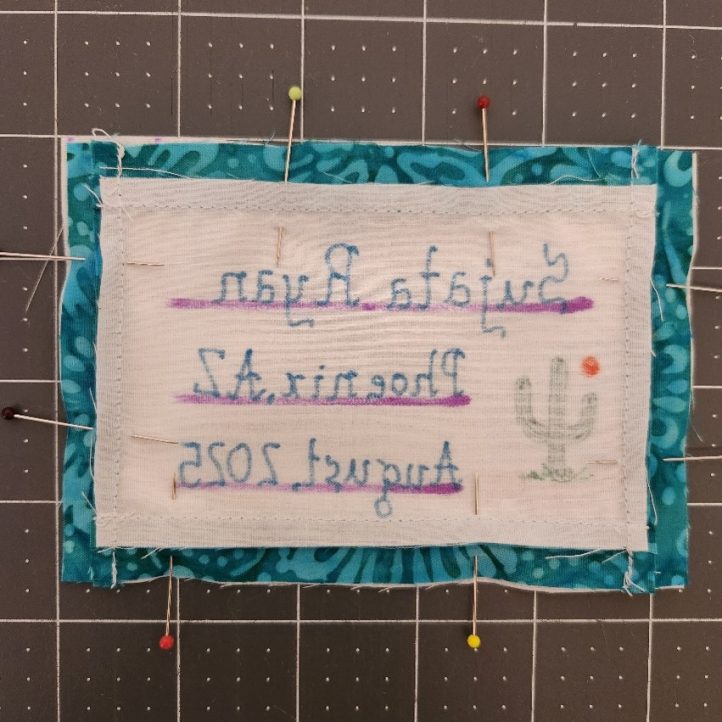
Photo provided by designer.
Trim the corners on the diagonal, to reduce bulk when turning right side out.

Photo provided by designer.
Make a small opening through only the lining, taking care not to cut the label.
From the opening, cut a horizontal slit about 1-1/2 in. long.
Turn the label right side out through the slit. Form the corners using a sewing stiletto or other tool to help turn them all the way out.
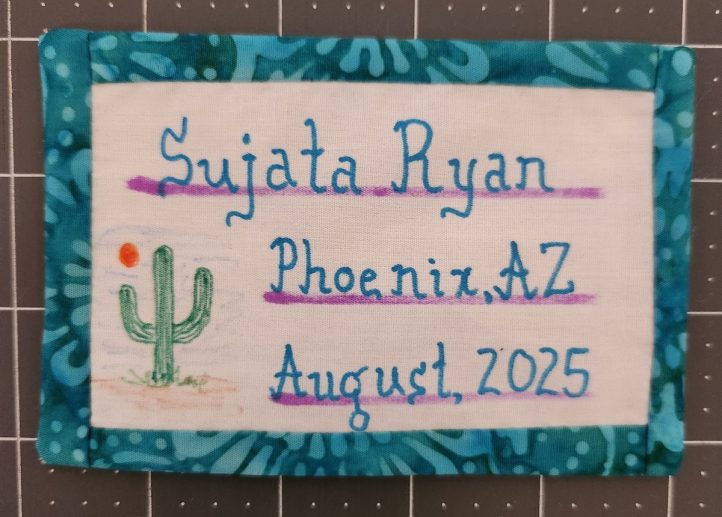
Photo provided by designer.
Press the label edges carefully, rolling the seam edges to the back.
Avoid pressing the air soluble marker lines to prevent heat setting them. (After the air soluble marker lines have disappeared, press the label with a hot dry iron to heat-set the fabric markers.)
Sew the finished label by hand to the location chosen on the quilt, using matching thread and a slip stitch.
OTHER POSSIBILITIES FOR EMBELLISHMENT INCLUDE:
Double Borders for the Label
Repeat the addition of quilt fabric strips around the label, cutting the lining piece to match the label with two borders.
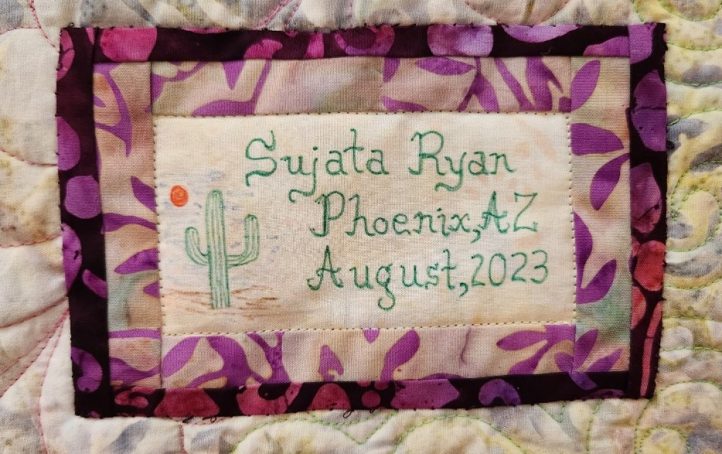
Photo provided by designer.
Pieced Borders for the Label
Use leftovers from strip-sets or create a small strip-set and cut into 3/4 inch wide strips to use as border strips for the label.
Photo provided by designer.
Whimsical Shape for the Label
Use a whimsical shape, like a paisley or flower, or whatever could coordinate with the theme of your quilt.
Hand- or machine-applique can be used to attach the label.

Photo provided by designer.
Include an Applique on the Label
Repeat an applique from the quilt top on the label, too.
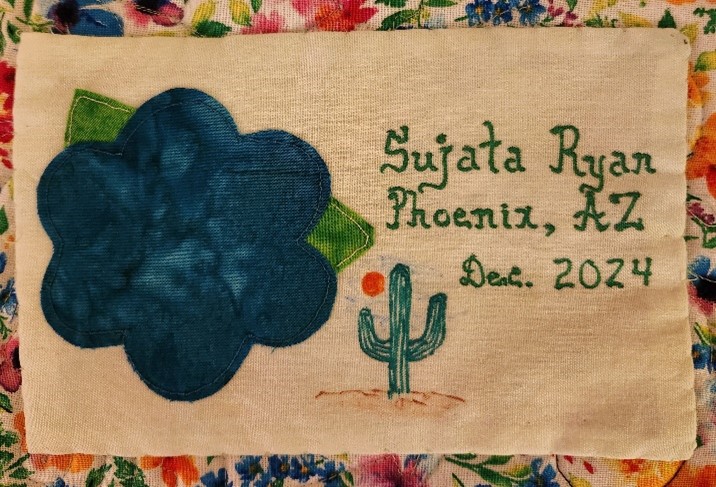
Photo provided by designer.
Add Charms, Beads, Rhinestones, Etc.
Add findings by hand-sewing them onto the label or use a permanent glue to hold them in place.
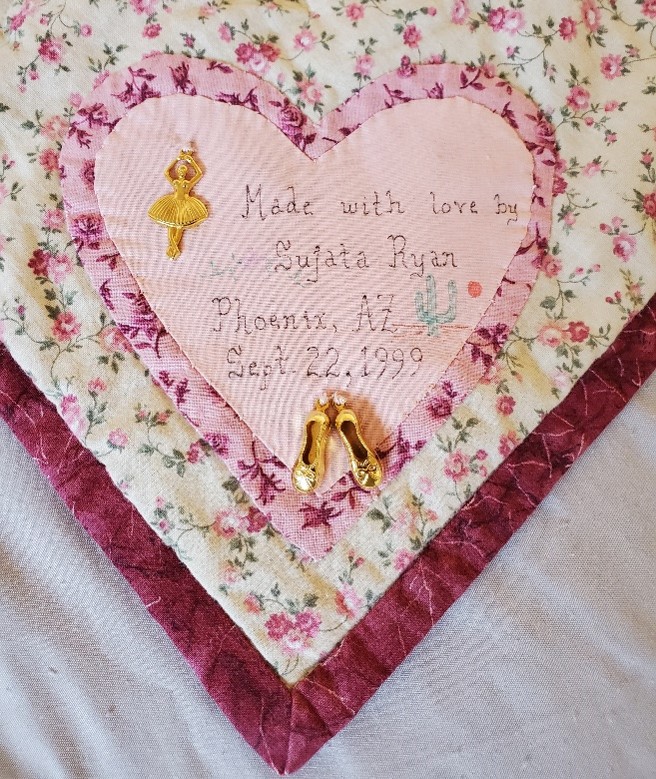
Photo provided by designer.
Personalized Messages
Write a personal message to a gift recipient and include it on the back.
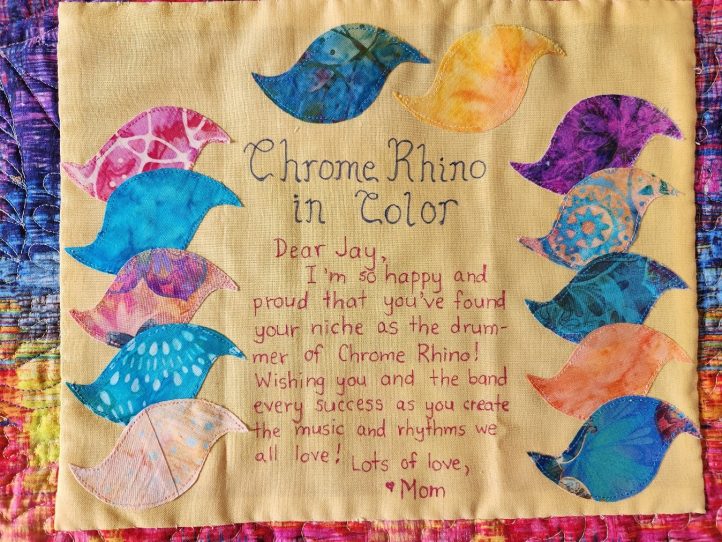
Photo provided by designer.
Summarize milestones, accomplishments or other commemorations in a label for the back.

Photo provided by designer.
Where Should the Label Be Located?
If sewing the label onto the front of the quilt, consider the bottom right corner where artists usually sign their names. Pin the label in the desired location and stitch into place by machine-stitching along the label edges through all thicknesses or by slip stitching invisibly by hand.
If sewing the label onto the back of the quilt, pin the label in the desired location and slip stitch into place by hand.
An Artist Always Signs Their Work!
Now your quilt is complete, proudly displaying your name and information, capturing the moment for generations to come!
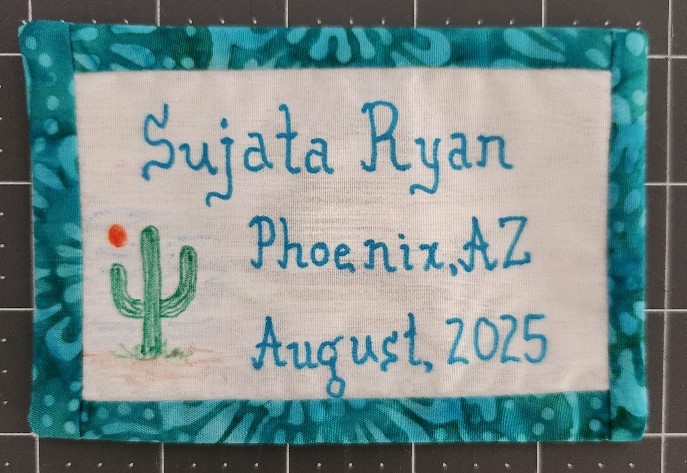
Photo provided by designer.
I love this!