
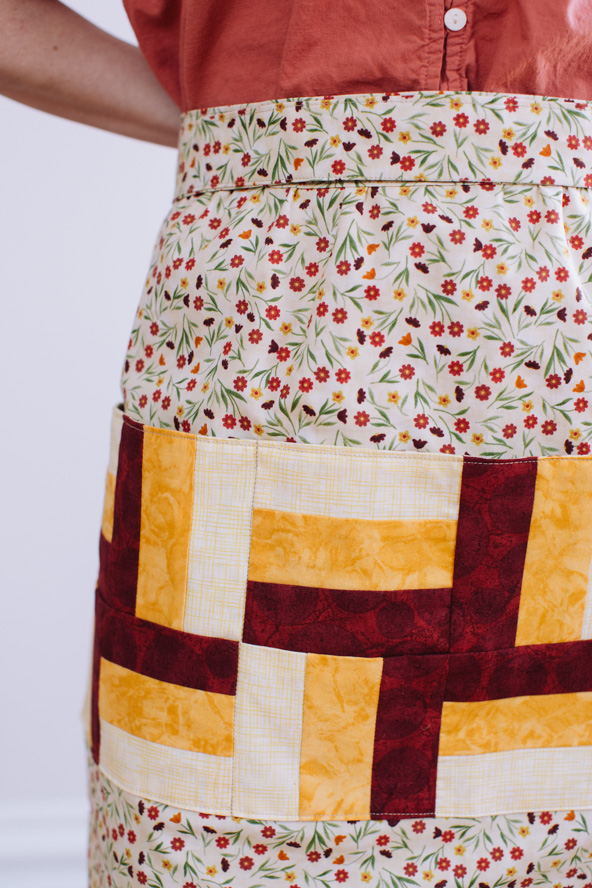
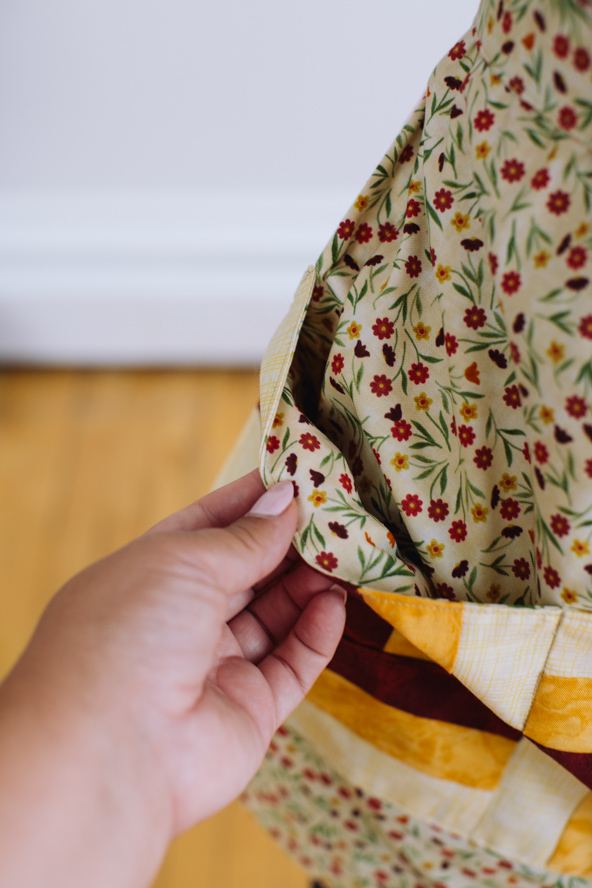
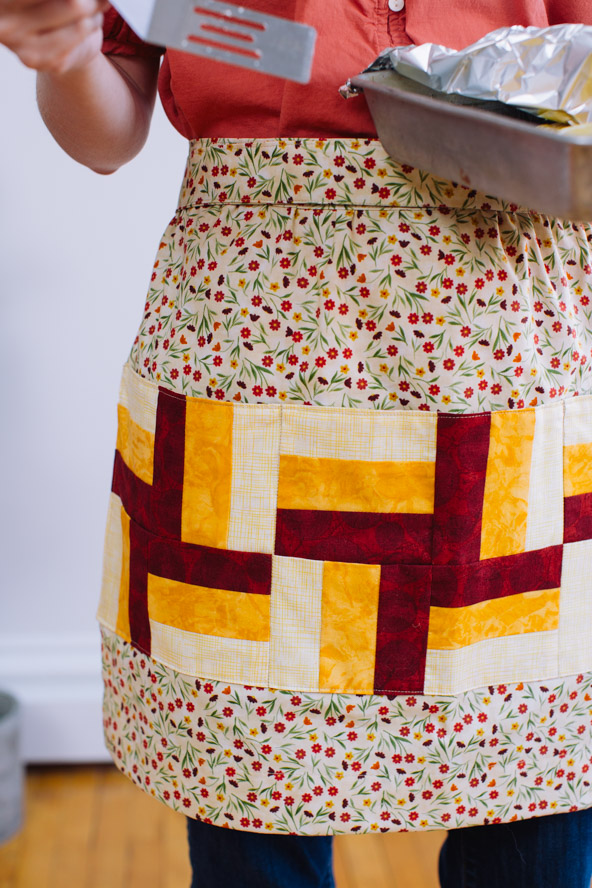
Love entertaining for the holidays? Then this patchwork quilted apron needs to be added to your “to-make” list ASAP! Beautiful and functional, this half apron pattern features a large pocket to hold your necessities while you cook and bake, as well as a simple tie-back closure. Make this quilted apron pattern as a thoughtful, handmade hostess gift for friends and family this holiday season.
Finished Size: 18” wide at top, 27” wide at hem, 18” long from top of waistband to hem
Materials:
- 1 1/4 yd cotton fabric for apron
- 3 contrast colors for pocket – 1/2 yd each of three cotton prints. If you want to use precut strips, you will need 2 of each color, and you will need to trim the width to 2”.
Designer Notes:
- 1/4” seam allowances allowed unless otherwise noted.
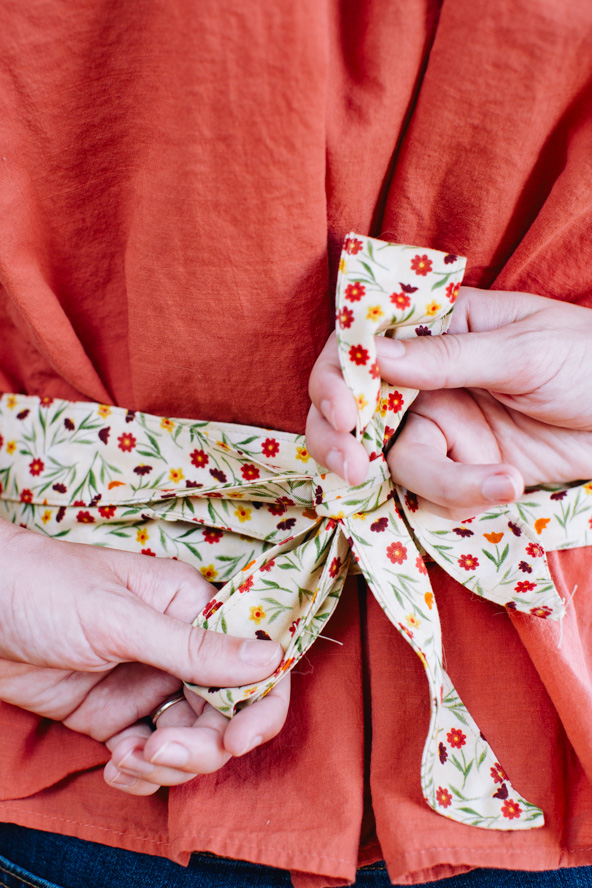
- Directions are for an extra long tie so the apron can be tied in the front. If you prefer the more traditional tie in the back look, you can easily make the tie shorter.
Cutting Instructions:
Out of apron print:
- Base – 31” wide x 19” tall
- Pocket lining – 27 1/2” wide x 9 1/2” tall
- Ties – 3 (for ties shown) or 2 (for tie in the back) strips 4” wide x full width of fabric, trim off selvedges.
For pocket:
- Cut 2 strips 2” x full width of fabric out of each print, trim off selvedges.
Sewing Instructions:
POCKET:
- Stitch each set of 3 strips together in the same color order. The designer used dark, then medium, then light.
- Press seams to darker side.
- Cut the assembled strips into 5” squares – you will need 12 total.
- Assemble 3 sets of four blocks as shown in photo.
- Assemble 3 completed blocks in a row as shown in photo.
- With right sides together, stitch Pocket to Pocket Lining, leaving a 3” opening along one short side for turning.
- Clip corners, turn right side out, and press, pressing under the seam allowance at the opening.
- Topstitch near the fold along one long side – this is now the top of the Pocket.
APRON:
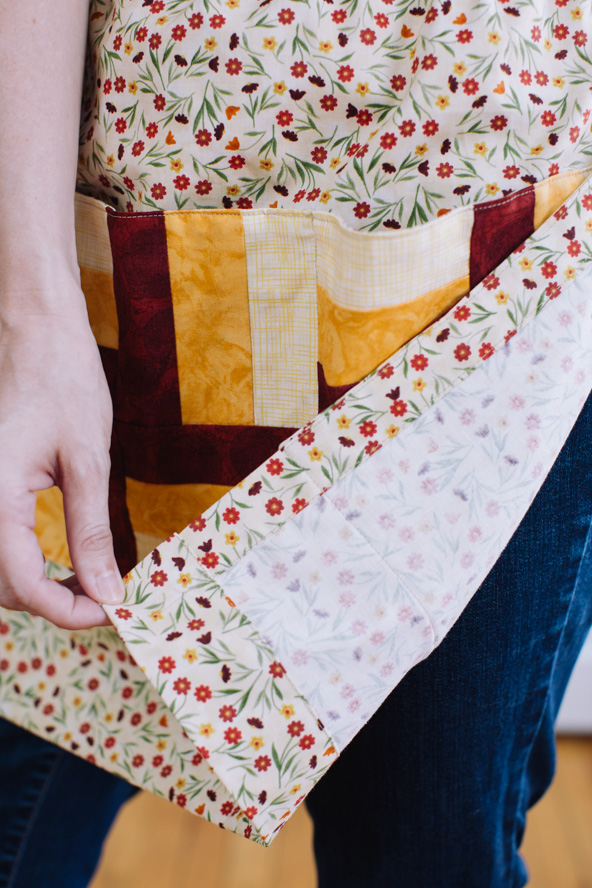
- Turn under 1/2″ for fold along sides and bottom. Then turn each side hem under 1″ and the bottom hem 2″. Topstitch hems in place.
- NOTE: Before finishing the side hems, double check that it will finish at the exact same width as your pocket. If you need to adjust the apron width, now is the time.
- Baste 2 gathering lines across the top.
TIES:
- Stitch Tie pieces together along short edges.
- Mark the center.
- Mark 9” either side of the center mark – this 18” is the opening you will leave.
- With right sides facing, fold Tie in half lengthwise.
- Cut a 90 degree angle on each end.
- Using a 1/2” seam allowance, sew tie from each outer edge to mark for the opening.
- Clip corners, turn right side out, and press, pressing under the seam allowance at the opening.
ASSEMBLY:
- Place Pocket right side up on top of right side of Apron, leaving 4” from bottom of pocket to bottom hem.
- Topstitch into place on three sides (leaving the top open), closing the turning opening as you stitch.
- Topstitch top to bottom of Pocket along the seam lines where the three blocks were joined.
- Mark center of top of apron and gather it down to 18”.
- Insert gathered top of Apron 1/2” into the opening on the Tie, matching the center marks, and pin into place.
- Topstitch all the way around the Tie.


How do I get the magazine with this pattern
Hi Christine! We Like Quilting is a digital-only magazine and is only available online on our site. To sign up for a Gold Club membership, click on “Gold Club” under the “Clubs” tab on our homepage. Please let us know if you have any questions. Have a great day! – Ashley, We Like Quilting