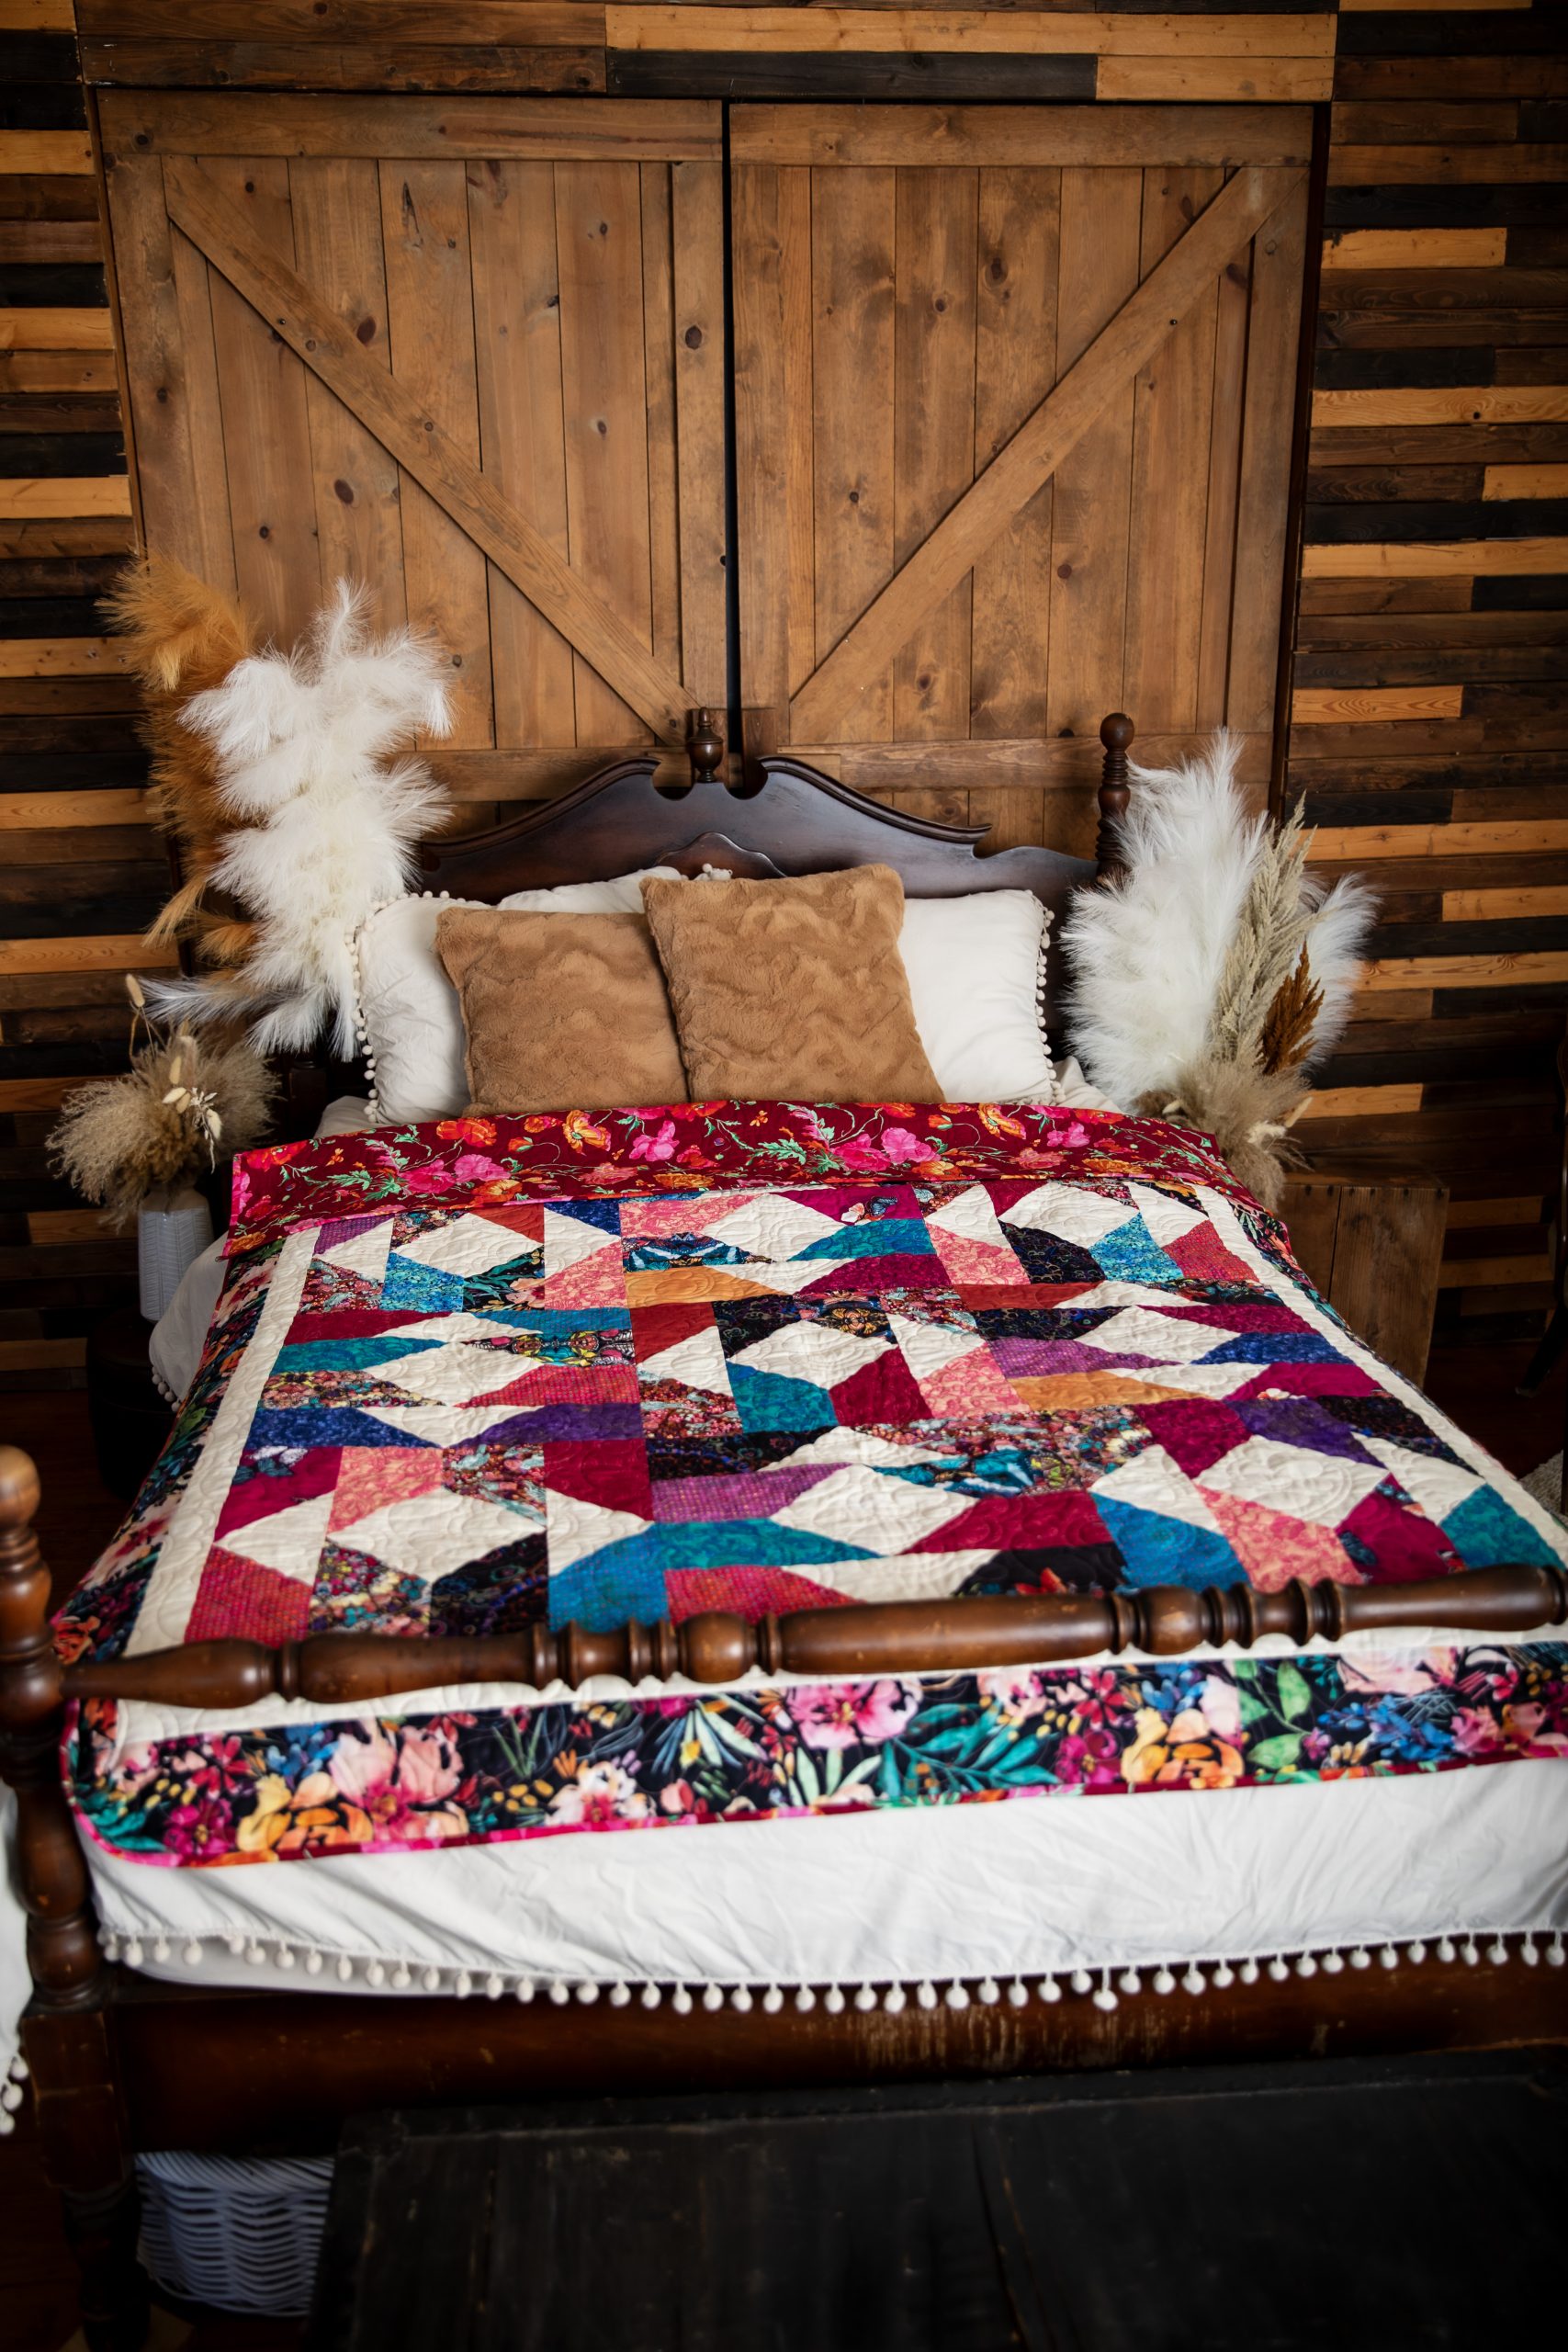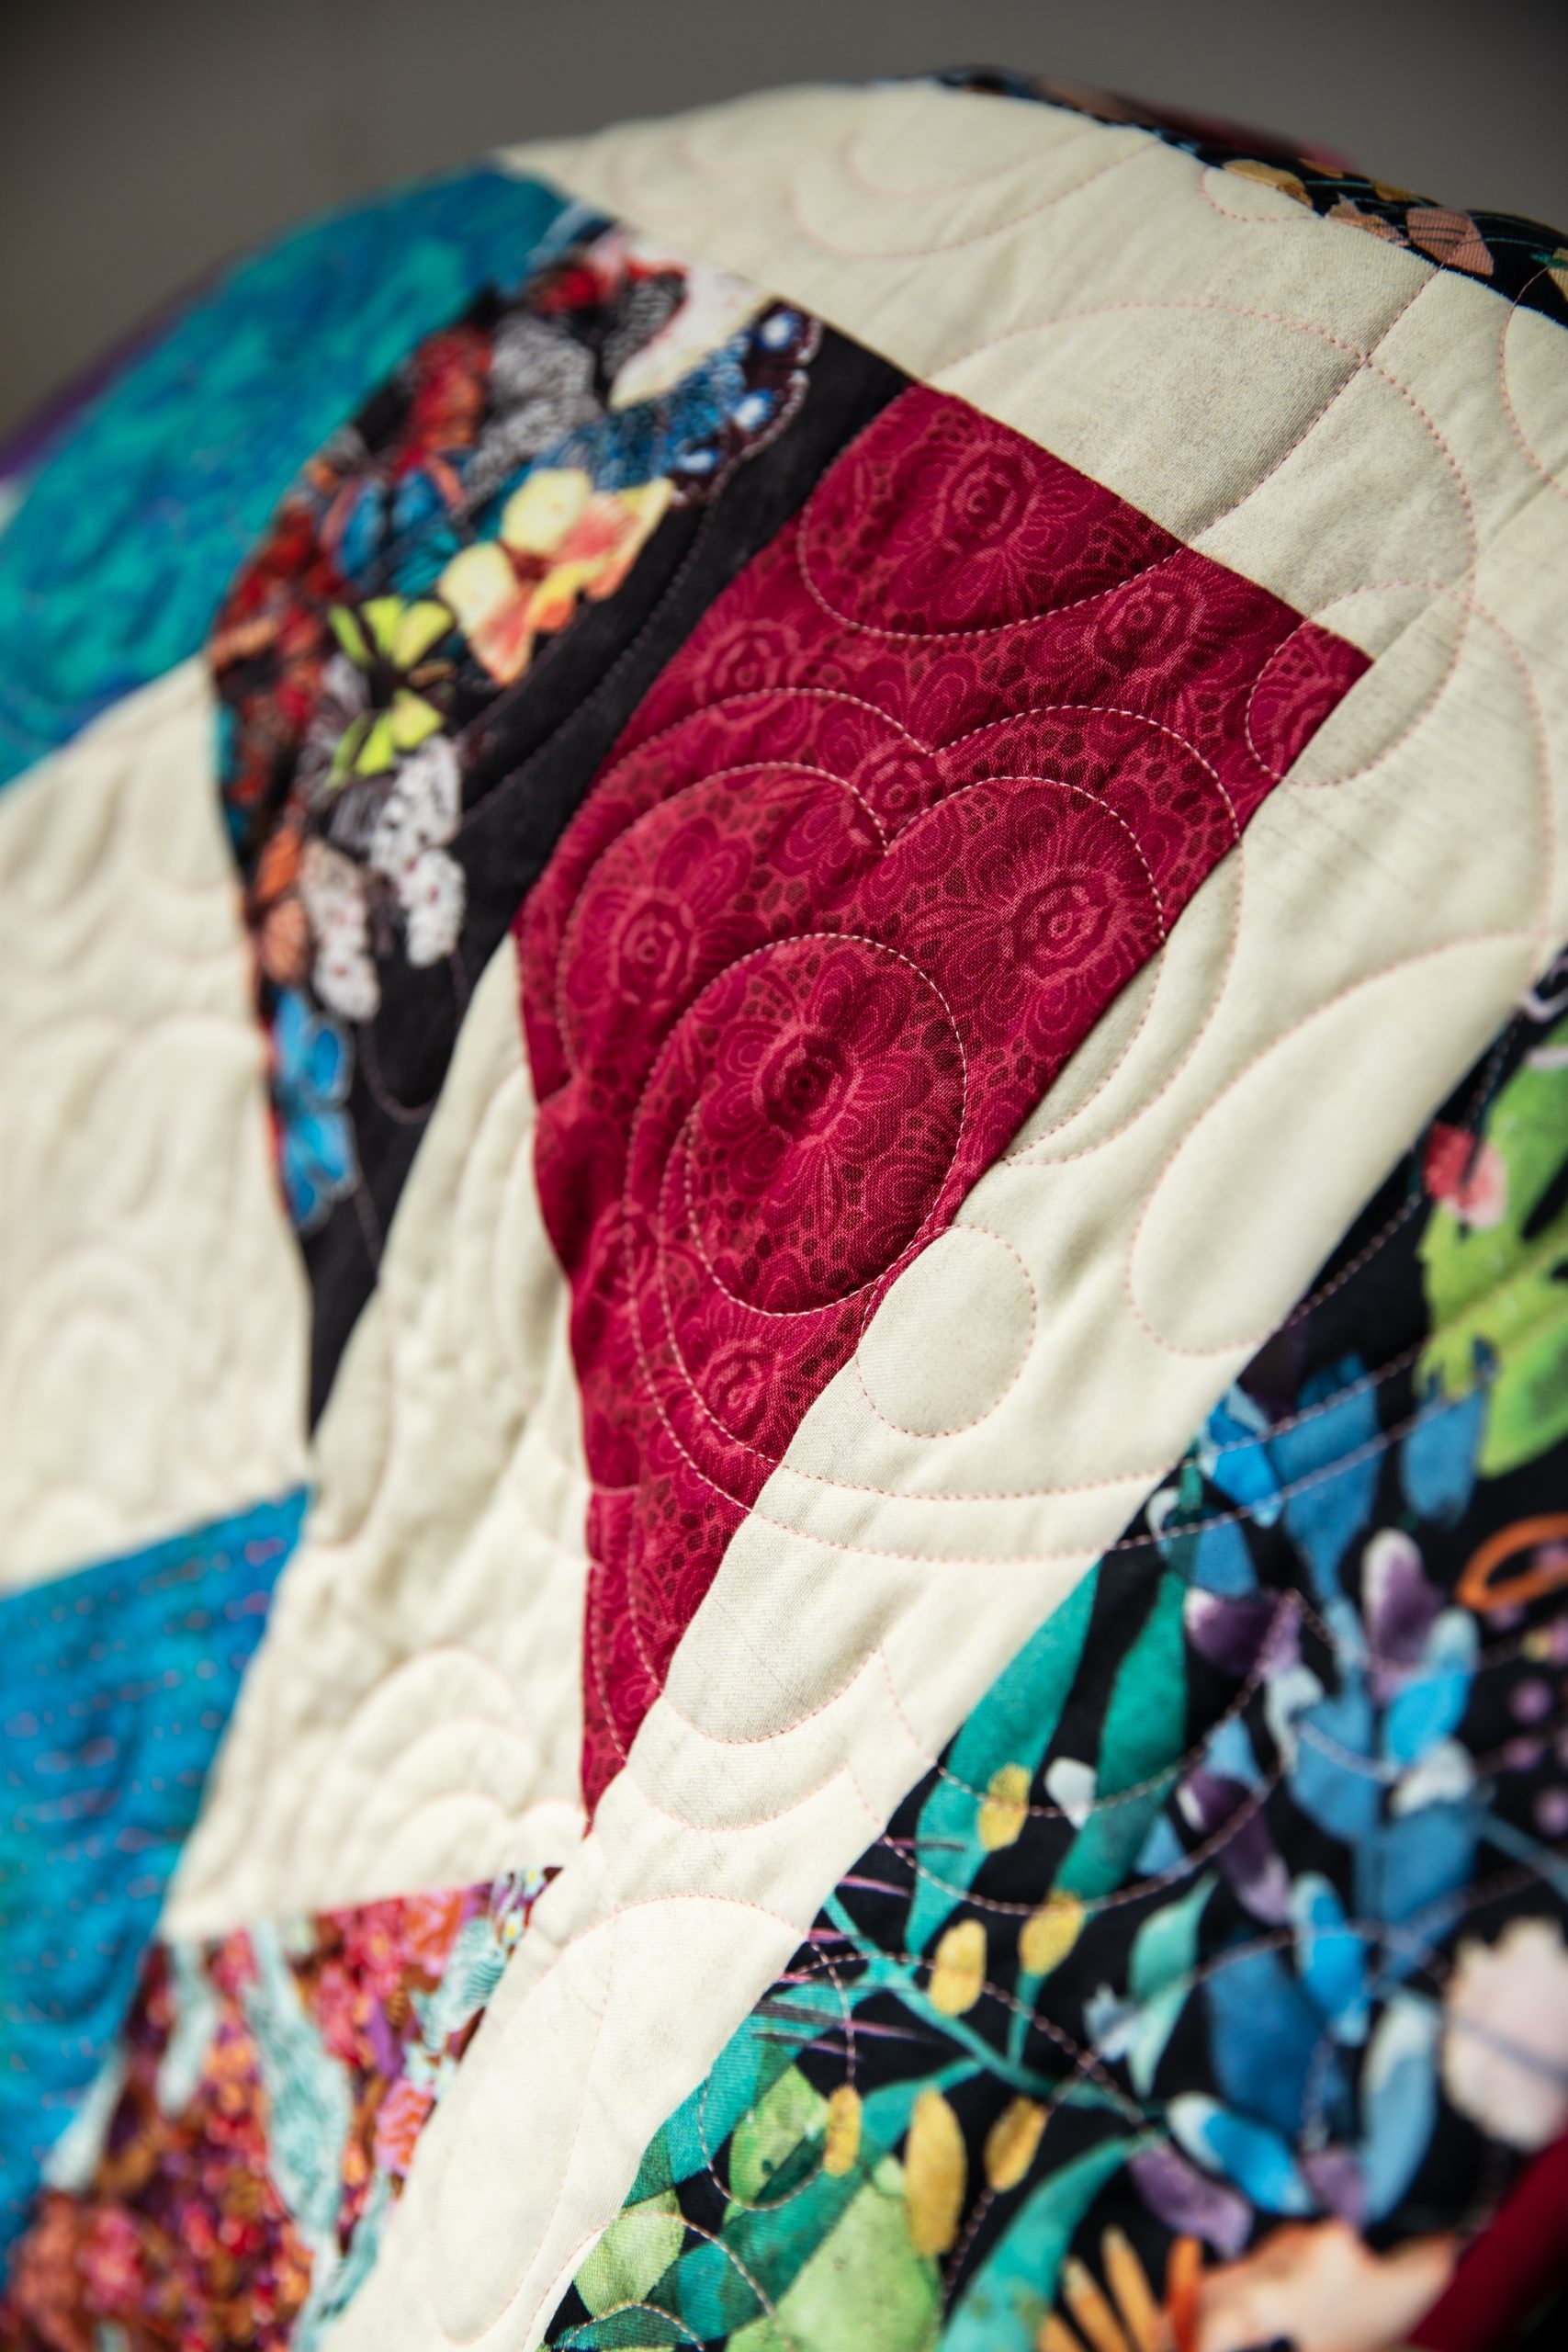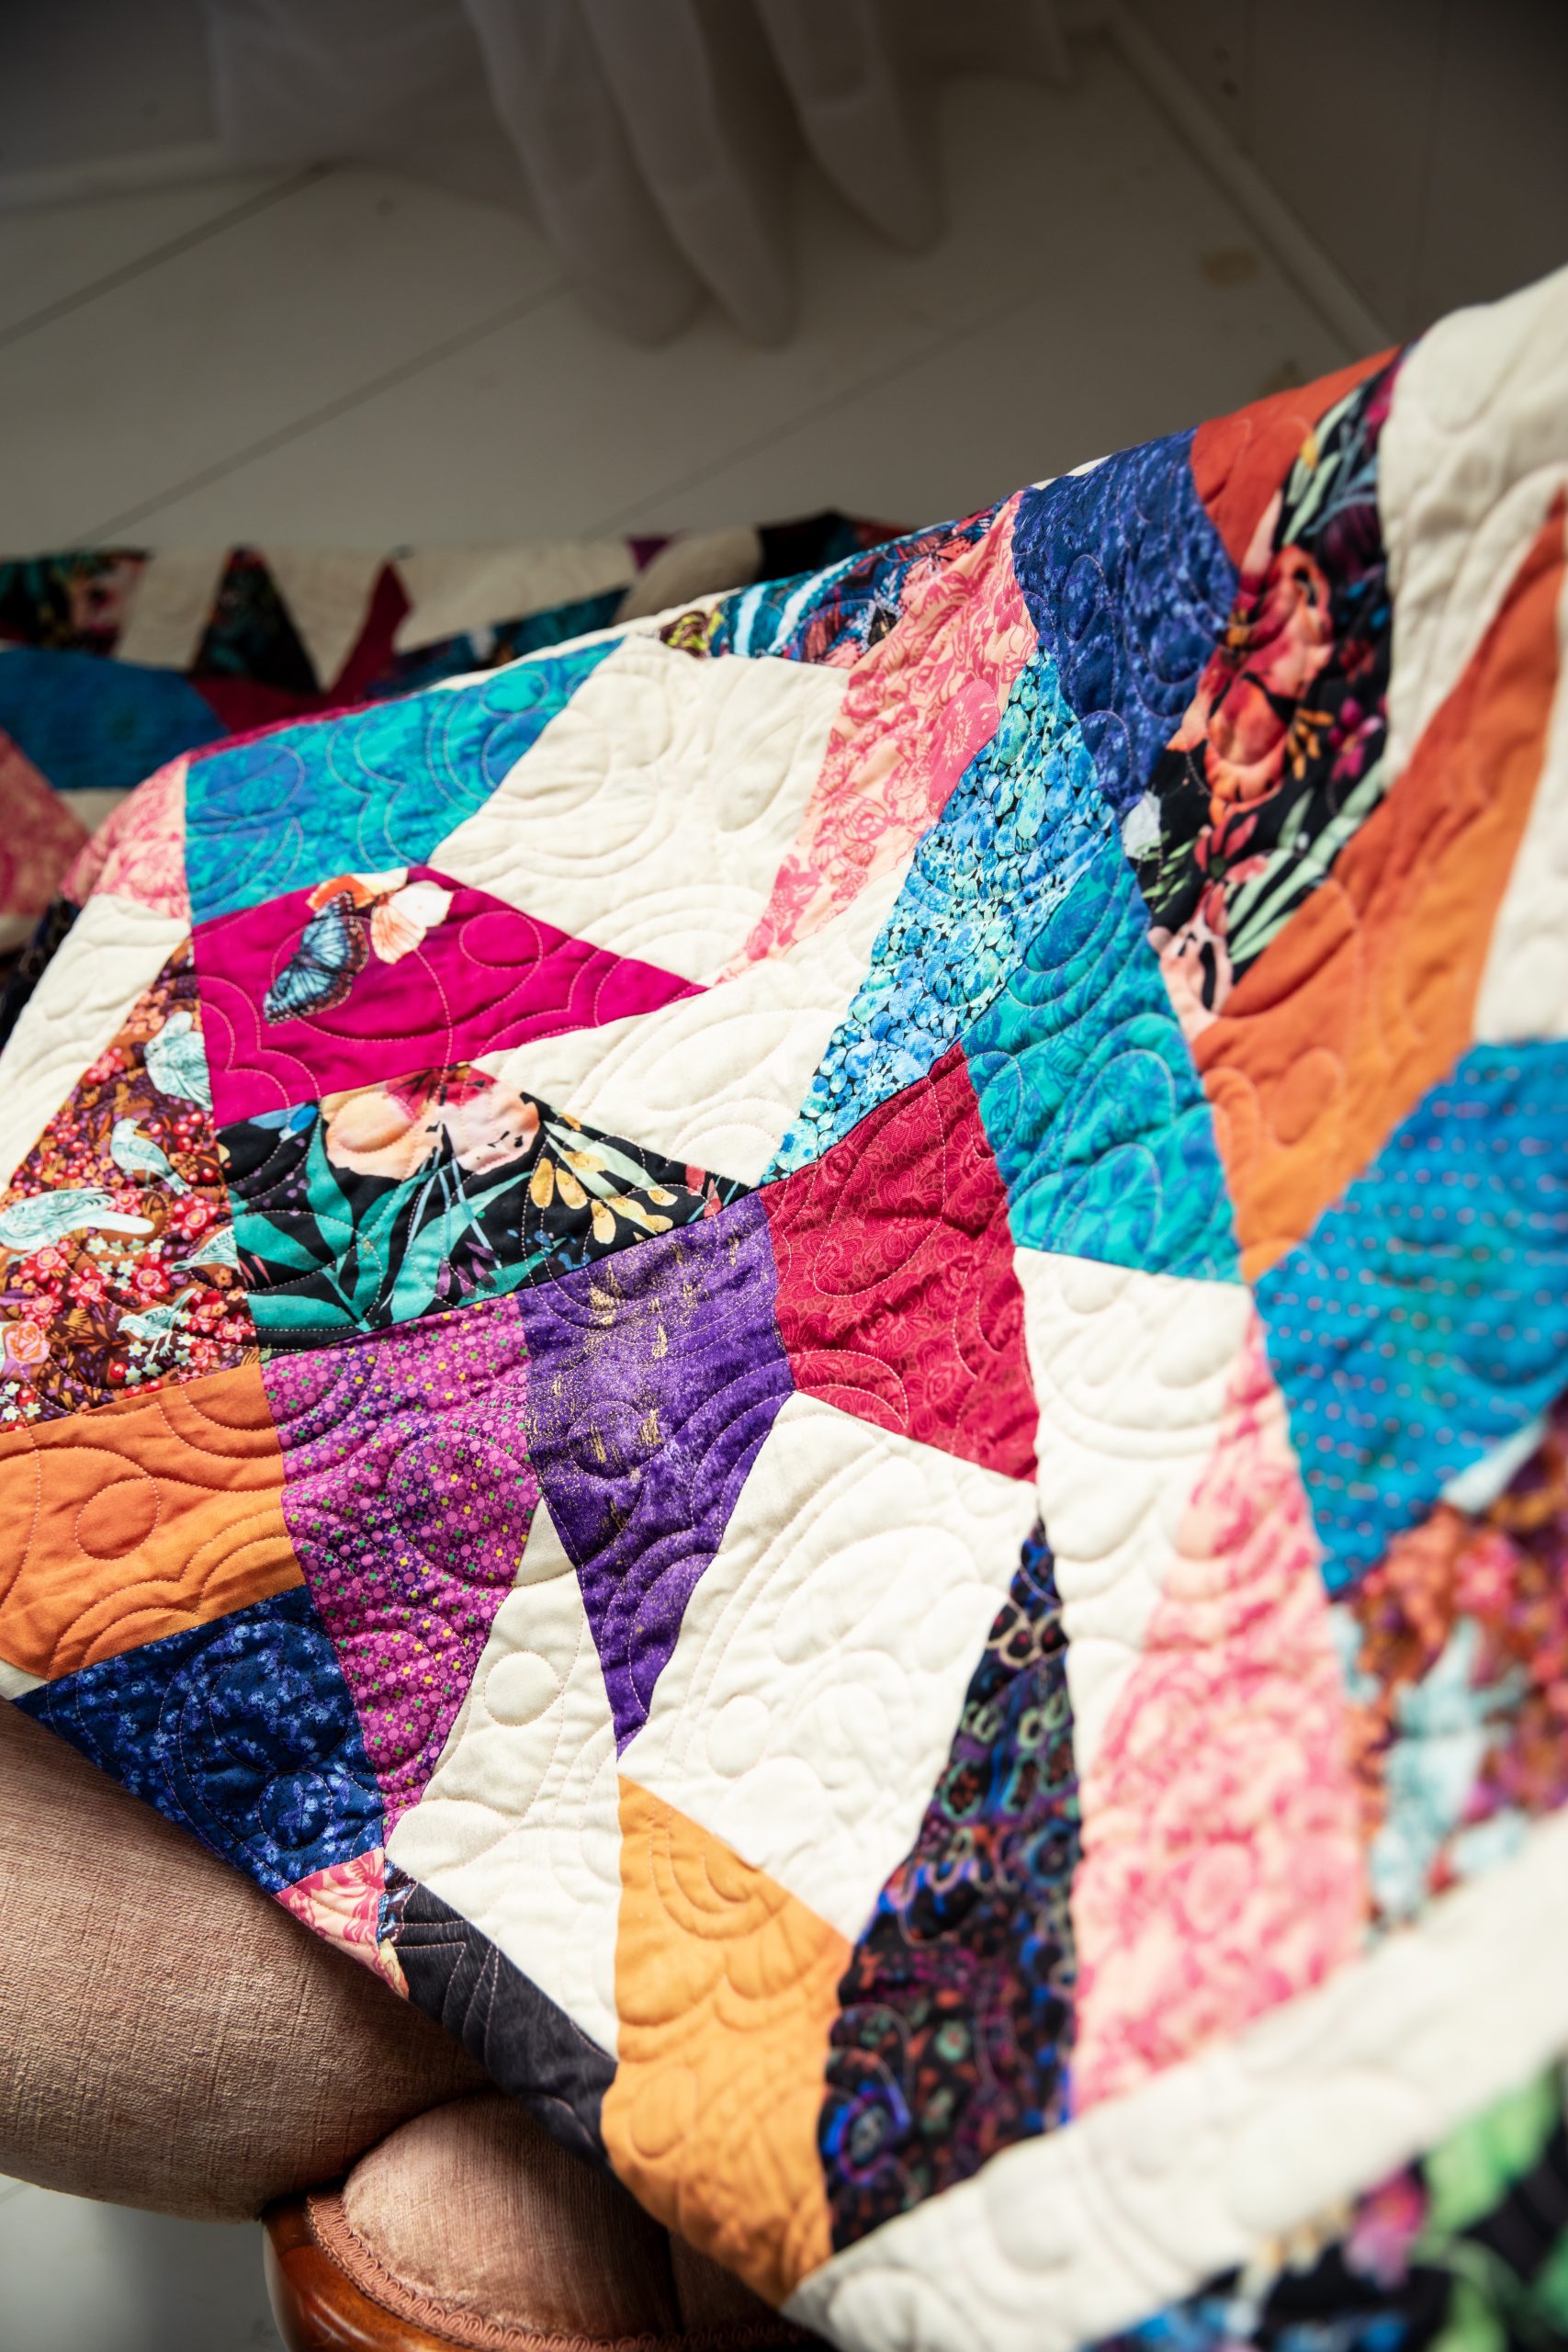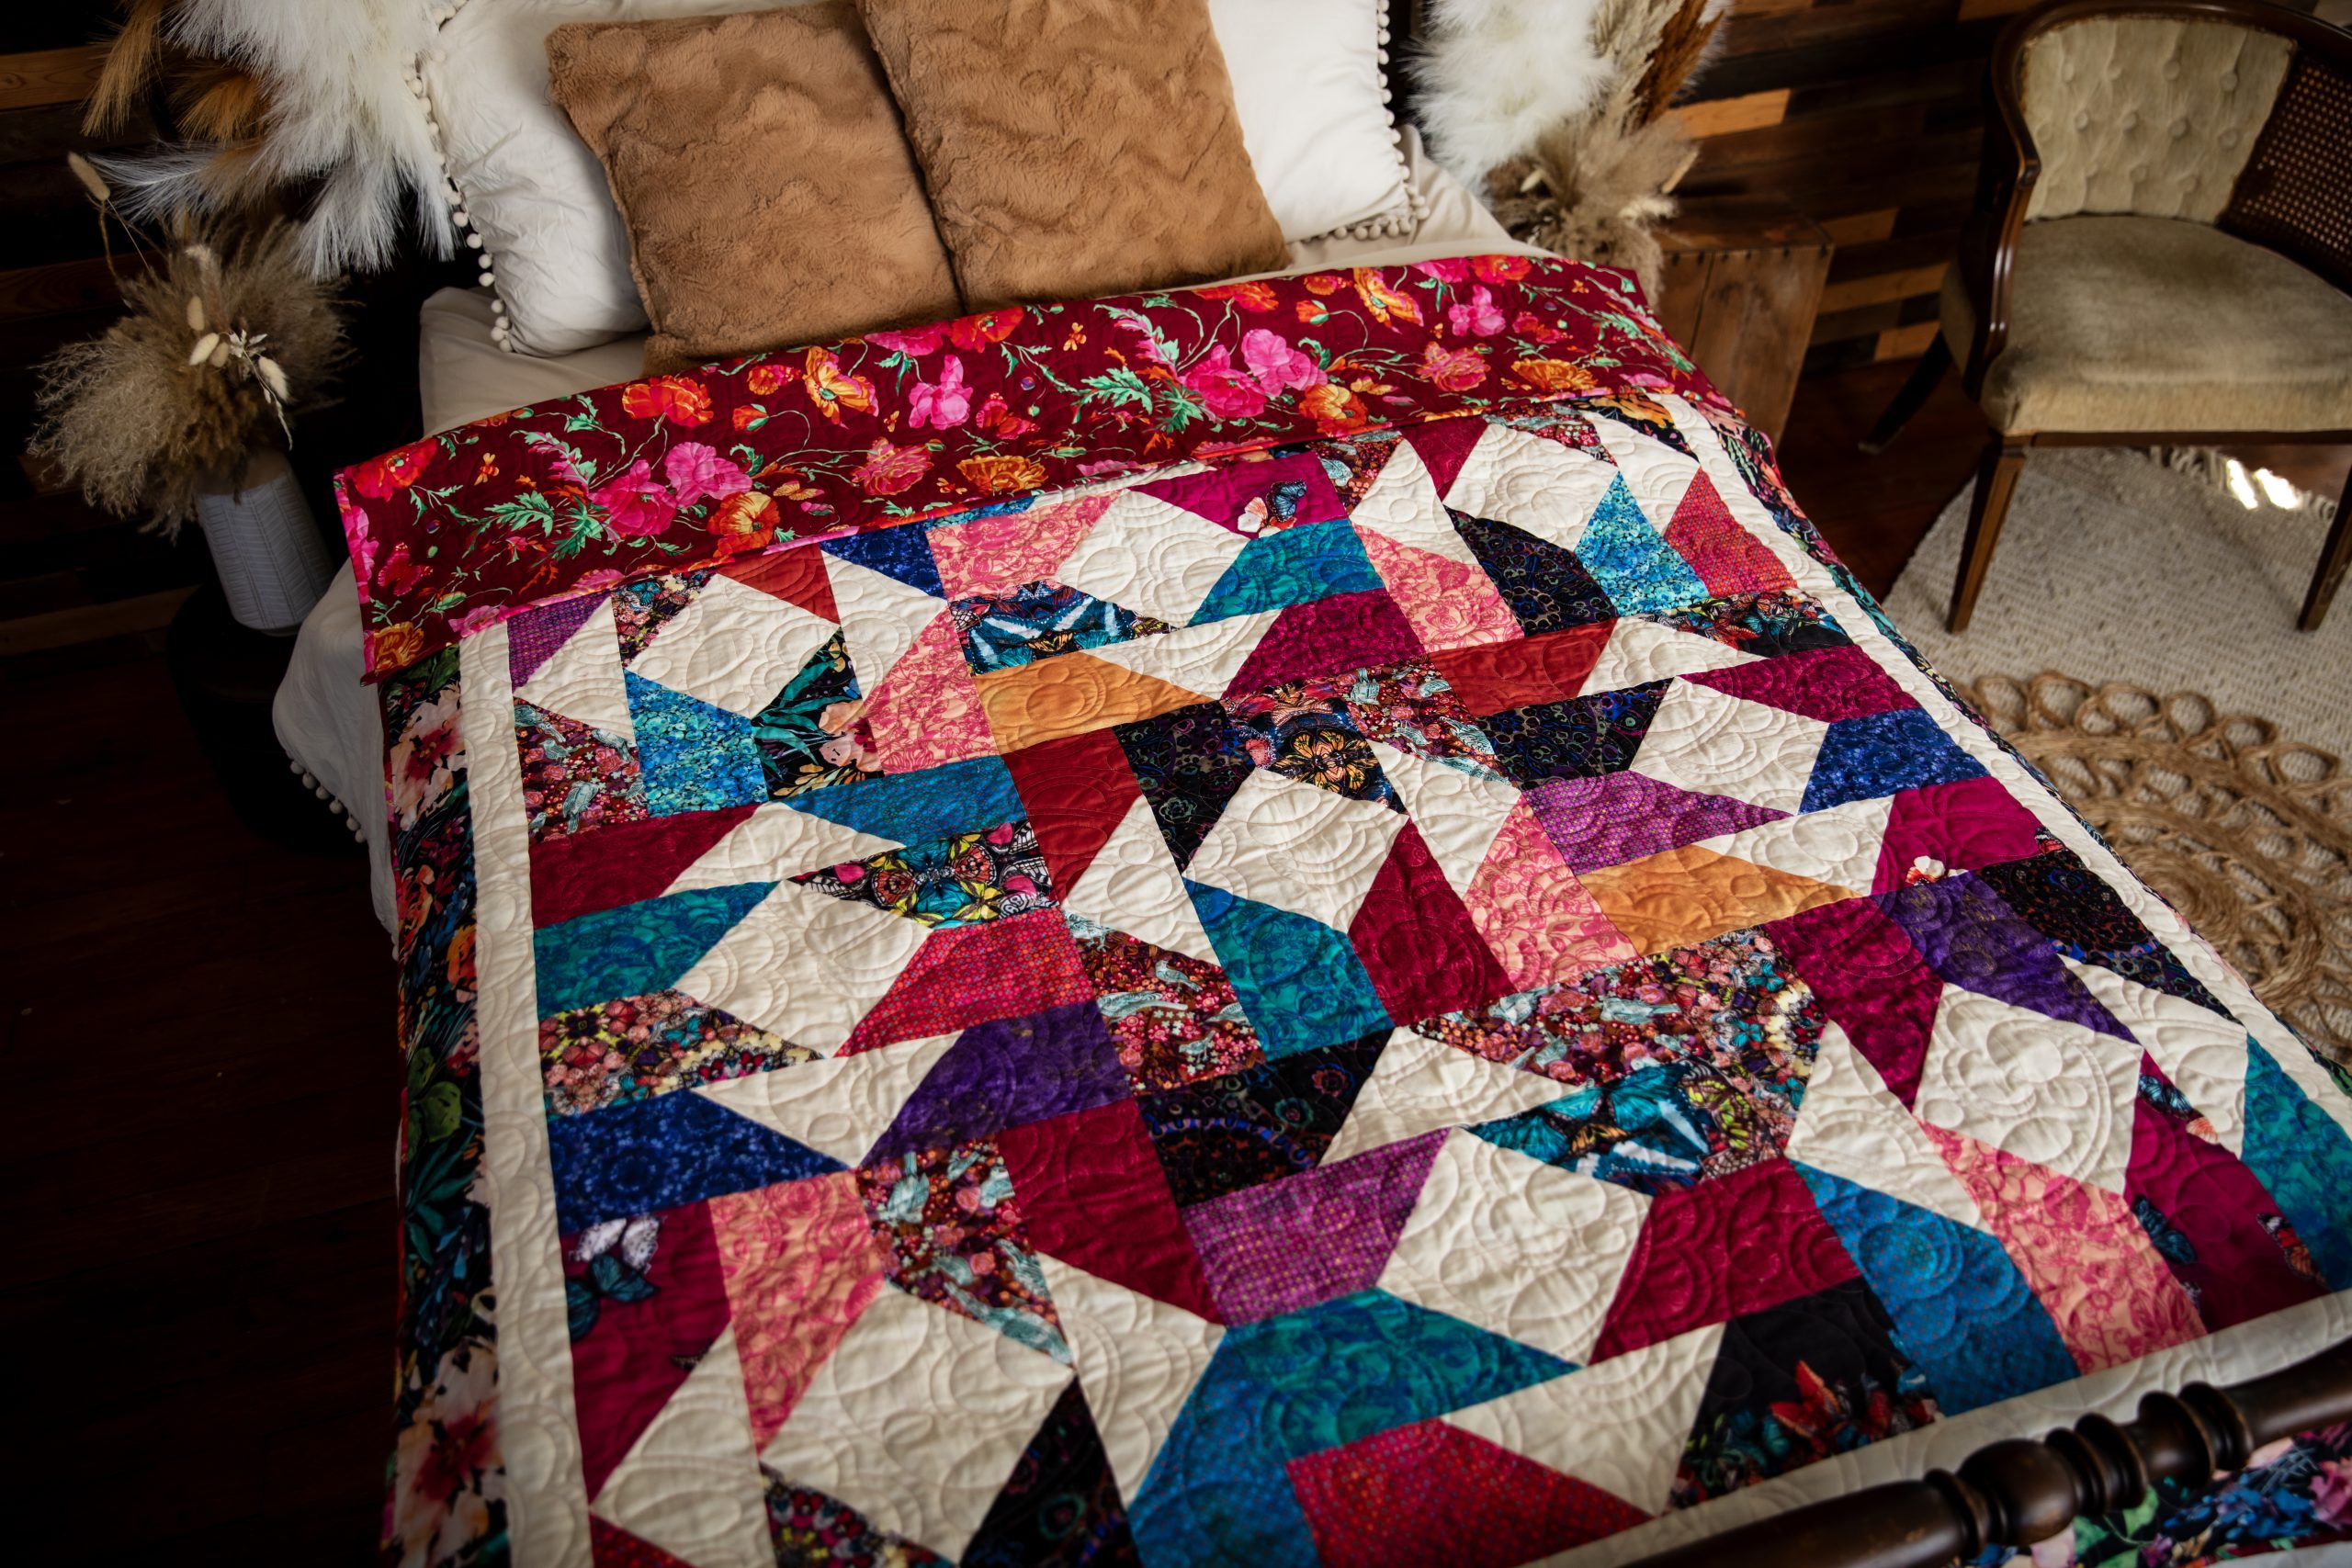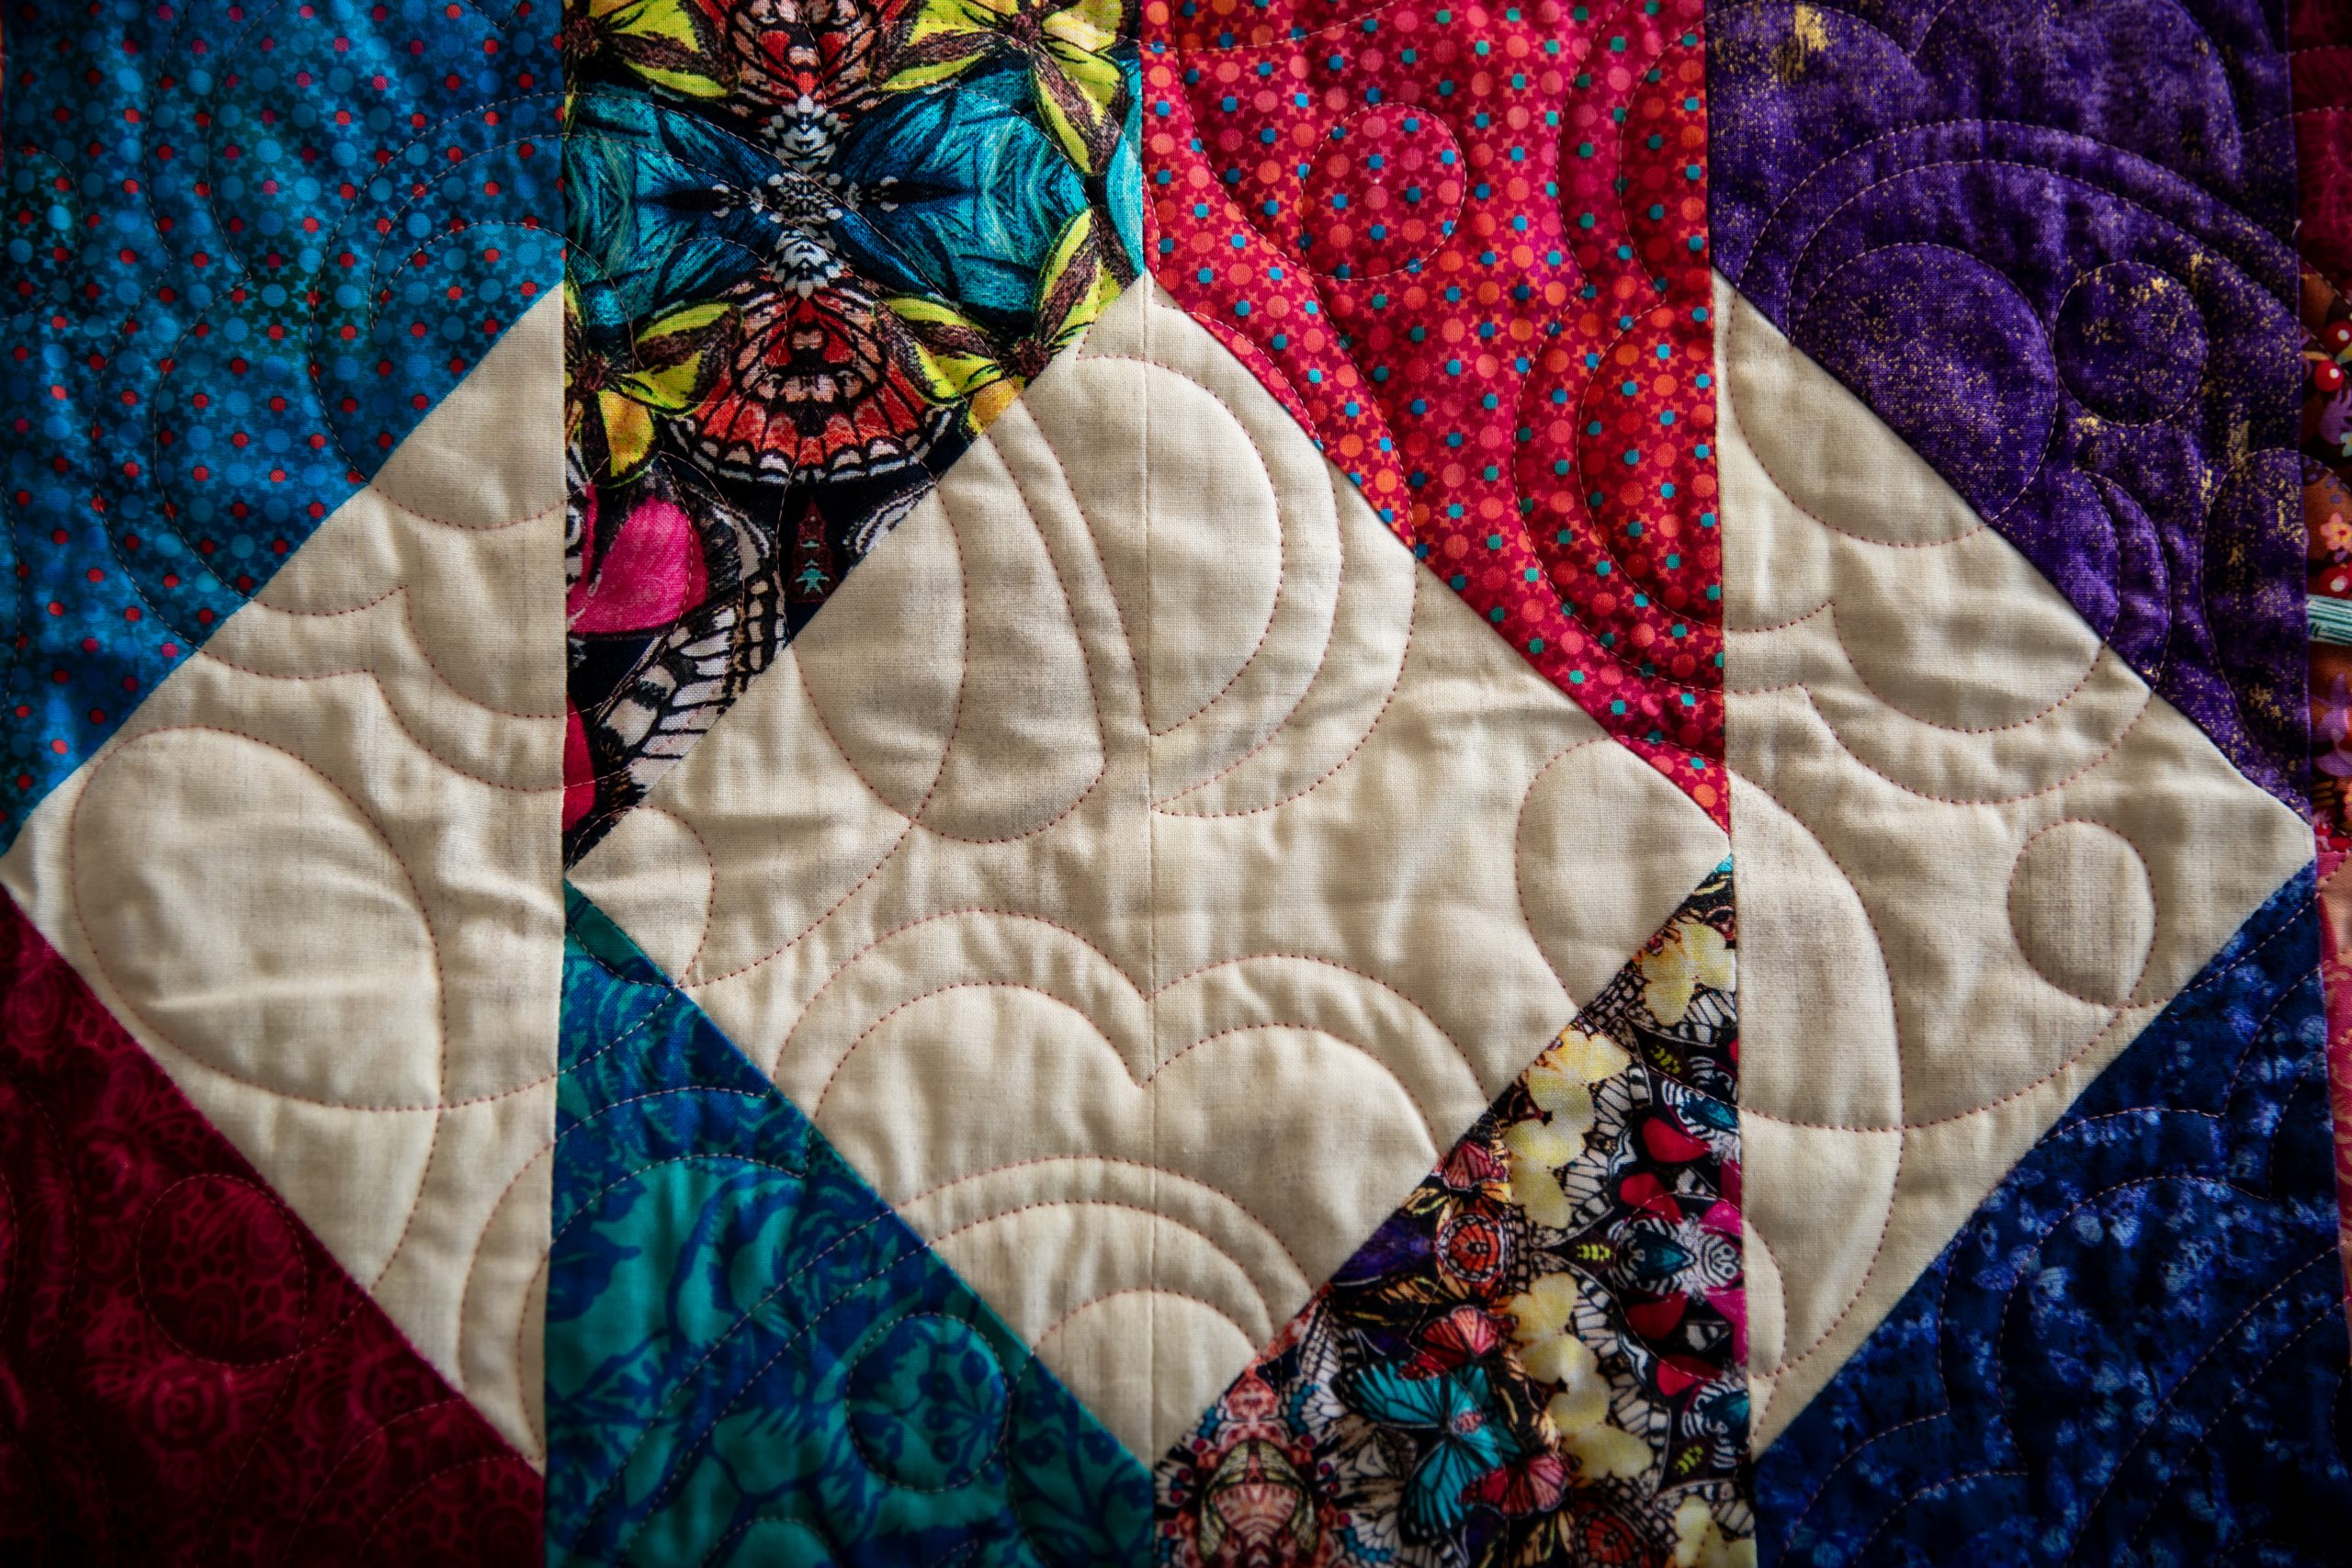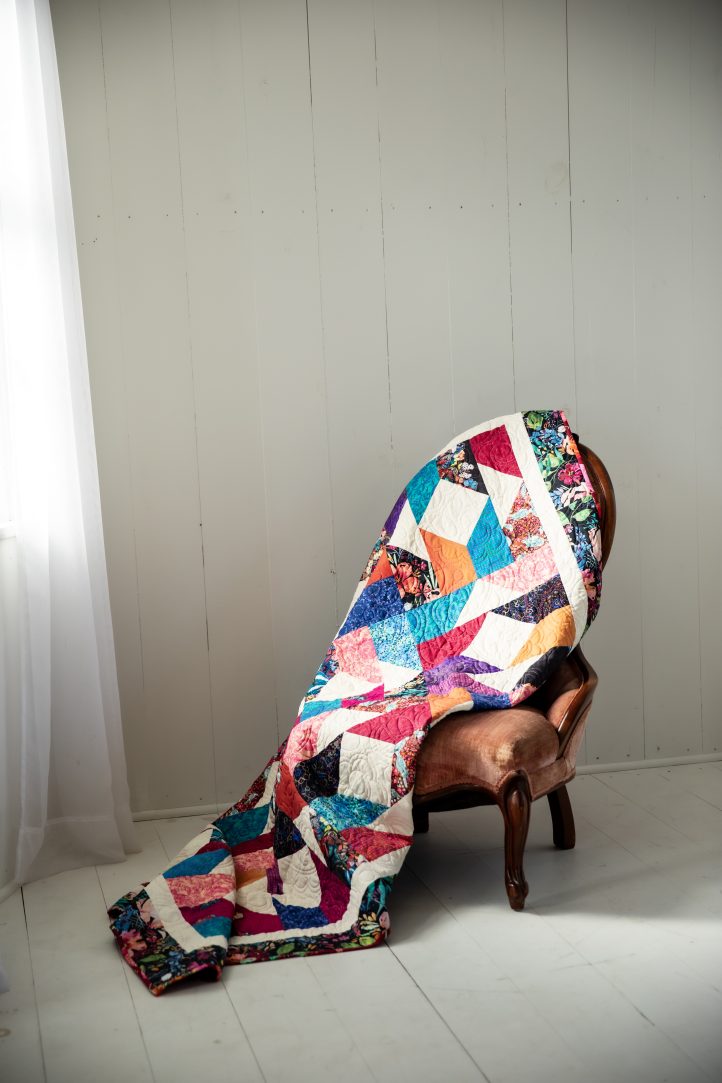
Gather your fabric scraps or fat quarters in rich blues, purples, and pinks to create a quilt in colors of a winter sunrise. Designed by Megan Farrell, this quilt pattern features a modern arrow design in eye-catching colors combined with soft, creamy white. The designer has included measurements for multiple quilt sizes, so that you can sew a baby quilt in trendy neutrals for your next baby shower and a bold throw quilt to give your home a burst of bright colors.
Abbreviations:
- RST = Right Sides Together
Designer Notes:
- Border, Back, and Binding fabric not included as it depends on how you will complete the project. Borders are very personal in a scrappy quilt.
- Pattern written with Fat Quarters, but could be done scrappy.
Fabric and Cutting Instructions:
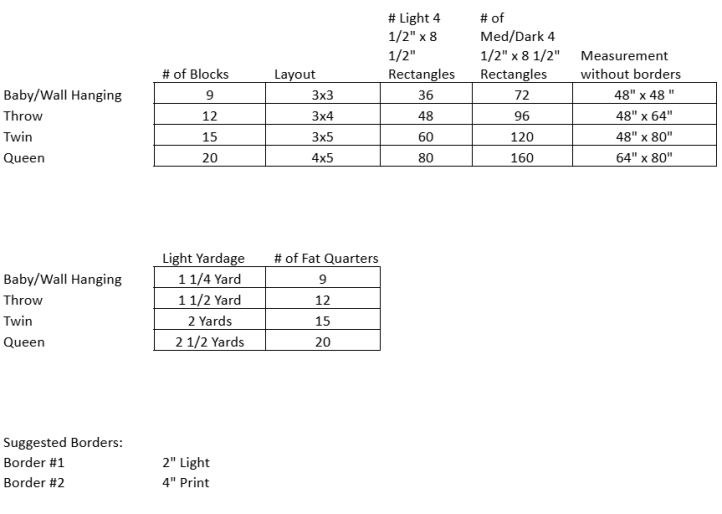
Piecing Instructions:
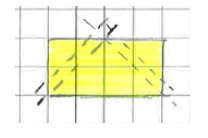
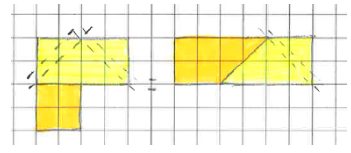
- On all Light 4 1/2 inches x 8 1/2 inches Rectangles, mark the back side. You will draw your line from the bottom corners to the middle top on a 45-degree angle. On the outside of each line (toward the top corners), draw a second line 1/2 inch from the first line.
The following steps will be completed for each Light Rectangle; this will create one Arrow.
- On the left side of the light rectangle, put right sides together with one of your Med/Dark rectangles. The Med/Dark rectangle will be placed at a 90-degree angle compared to the Light rectangle. Sew on your first line from the middle of the light rectangle towards the middle of the med/dark.
- Once the first line is sewn, sew on the second line (1/2 inch from first line).
- Cut with scissors or a rotary cutter between the two lines. By completing the second line and cutting it away, the process yields a “fall off” half square triangle.
- Press med/dark away from the Light.
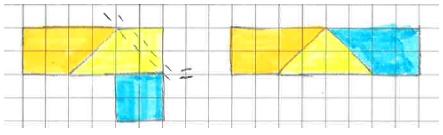
- On the Right side of the light rectangle, put right sides together with one of your Med/Dark rectangles. The Med/Dark rectangle will be placed at a 90-degree angle compared to the Light rectangle. Sew on your first line from the middle of the light rectangle towards the middle of the med/dark.
- Once the first line is sewn, sew on the second line (1/2 inch from first line).
- Cut with scissors or a rotary cutter between the two lines. By completing the second line and cutting it away, the process yields a “fall off” half square triangle.
- Press med/dark away from the Light.
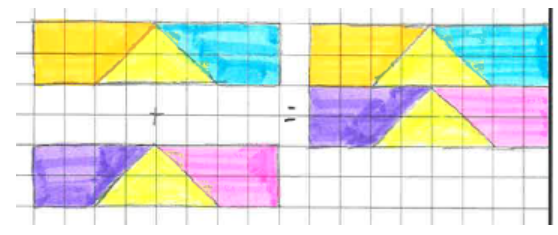
Once all Arrows are complete, it is time to construct your Block:
- Each block uses four completed arrows. Sew them into pairs. The pairs will be sewn with the “arrows” going in the same direction. (The point of one arrow will be sewn to the bottom of the second arrow).
- Once pairs are complete, you will sew the pairs together, and the “bottoms” of the arrows will be connected.
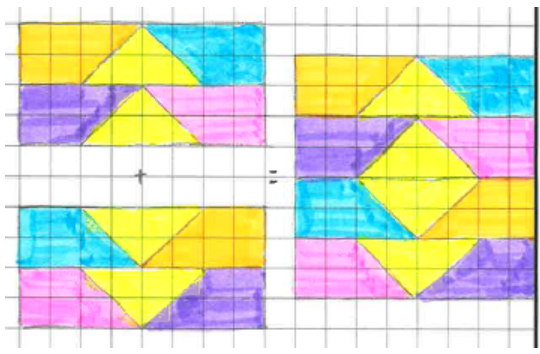
Block should be 16 1/2 inches, finished 16 inches.
For block layout, blocks can go all the same direction, or they can be rotated.