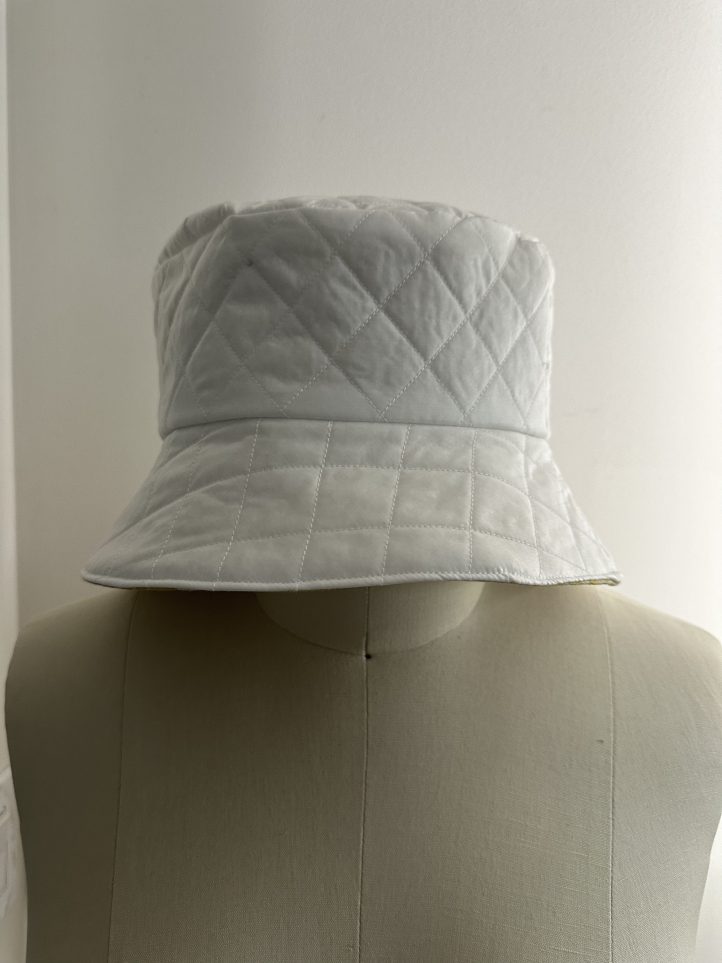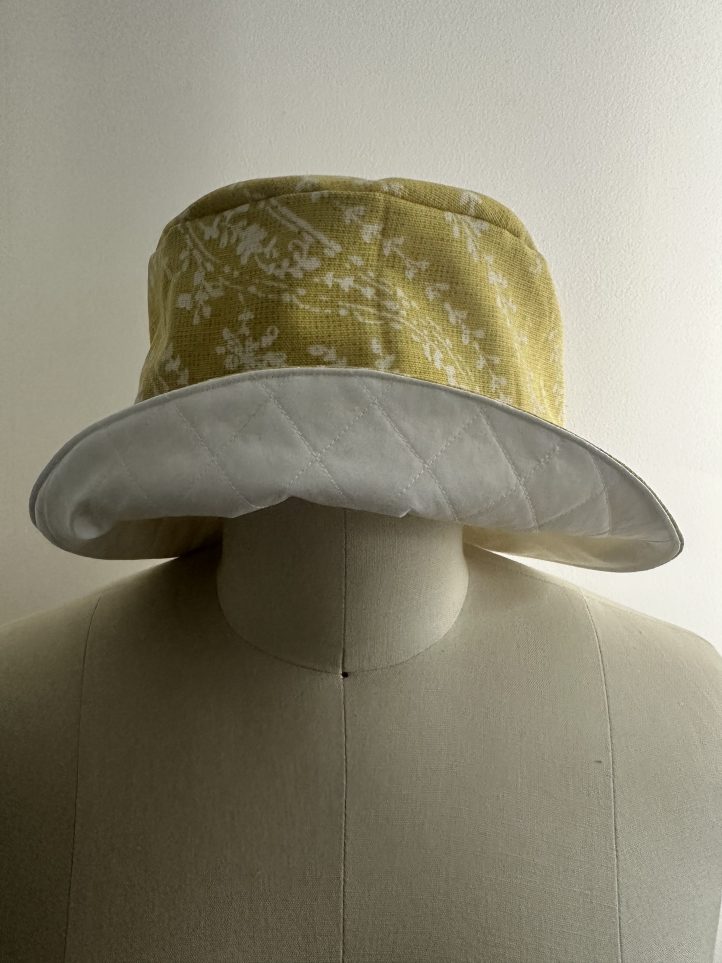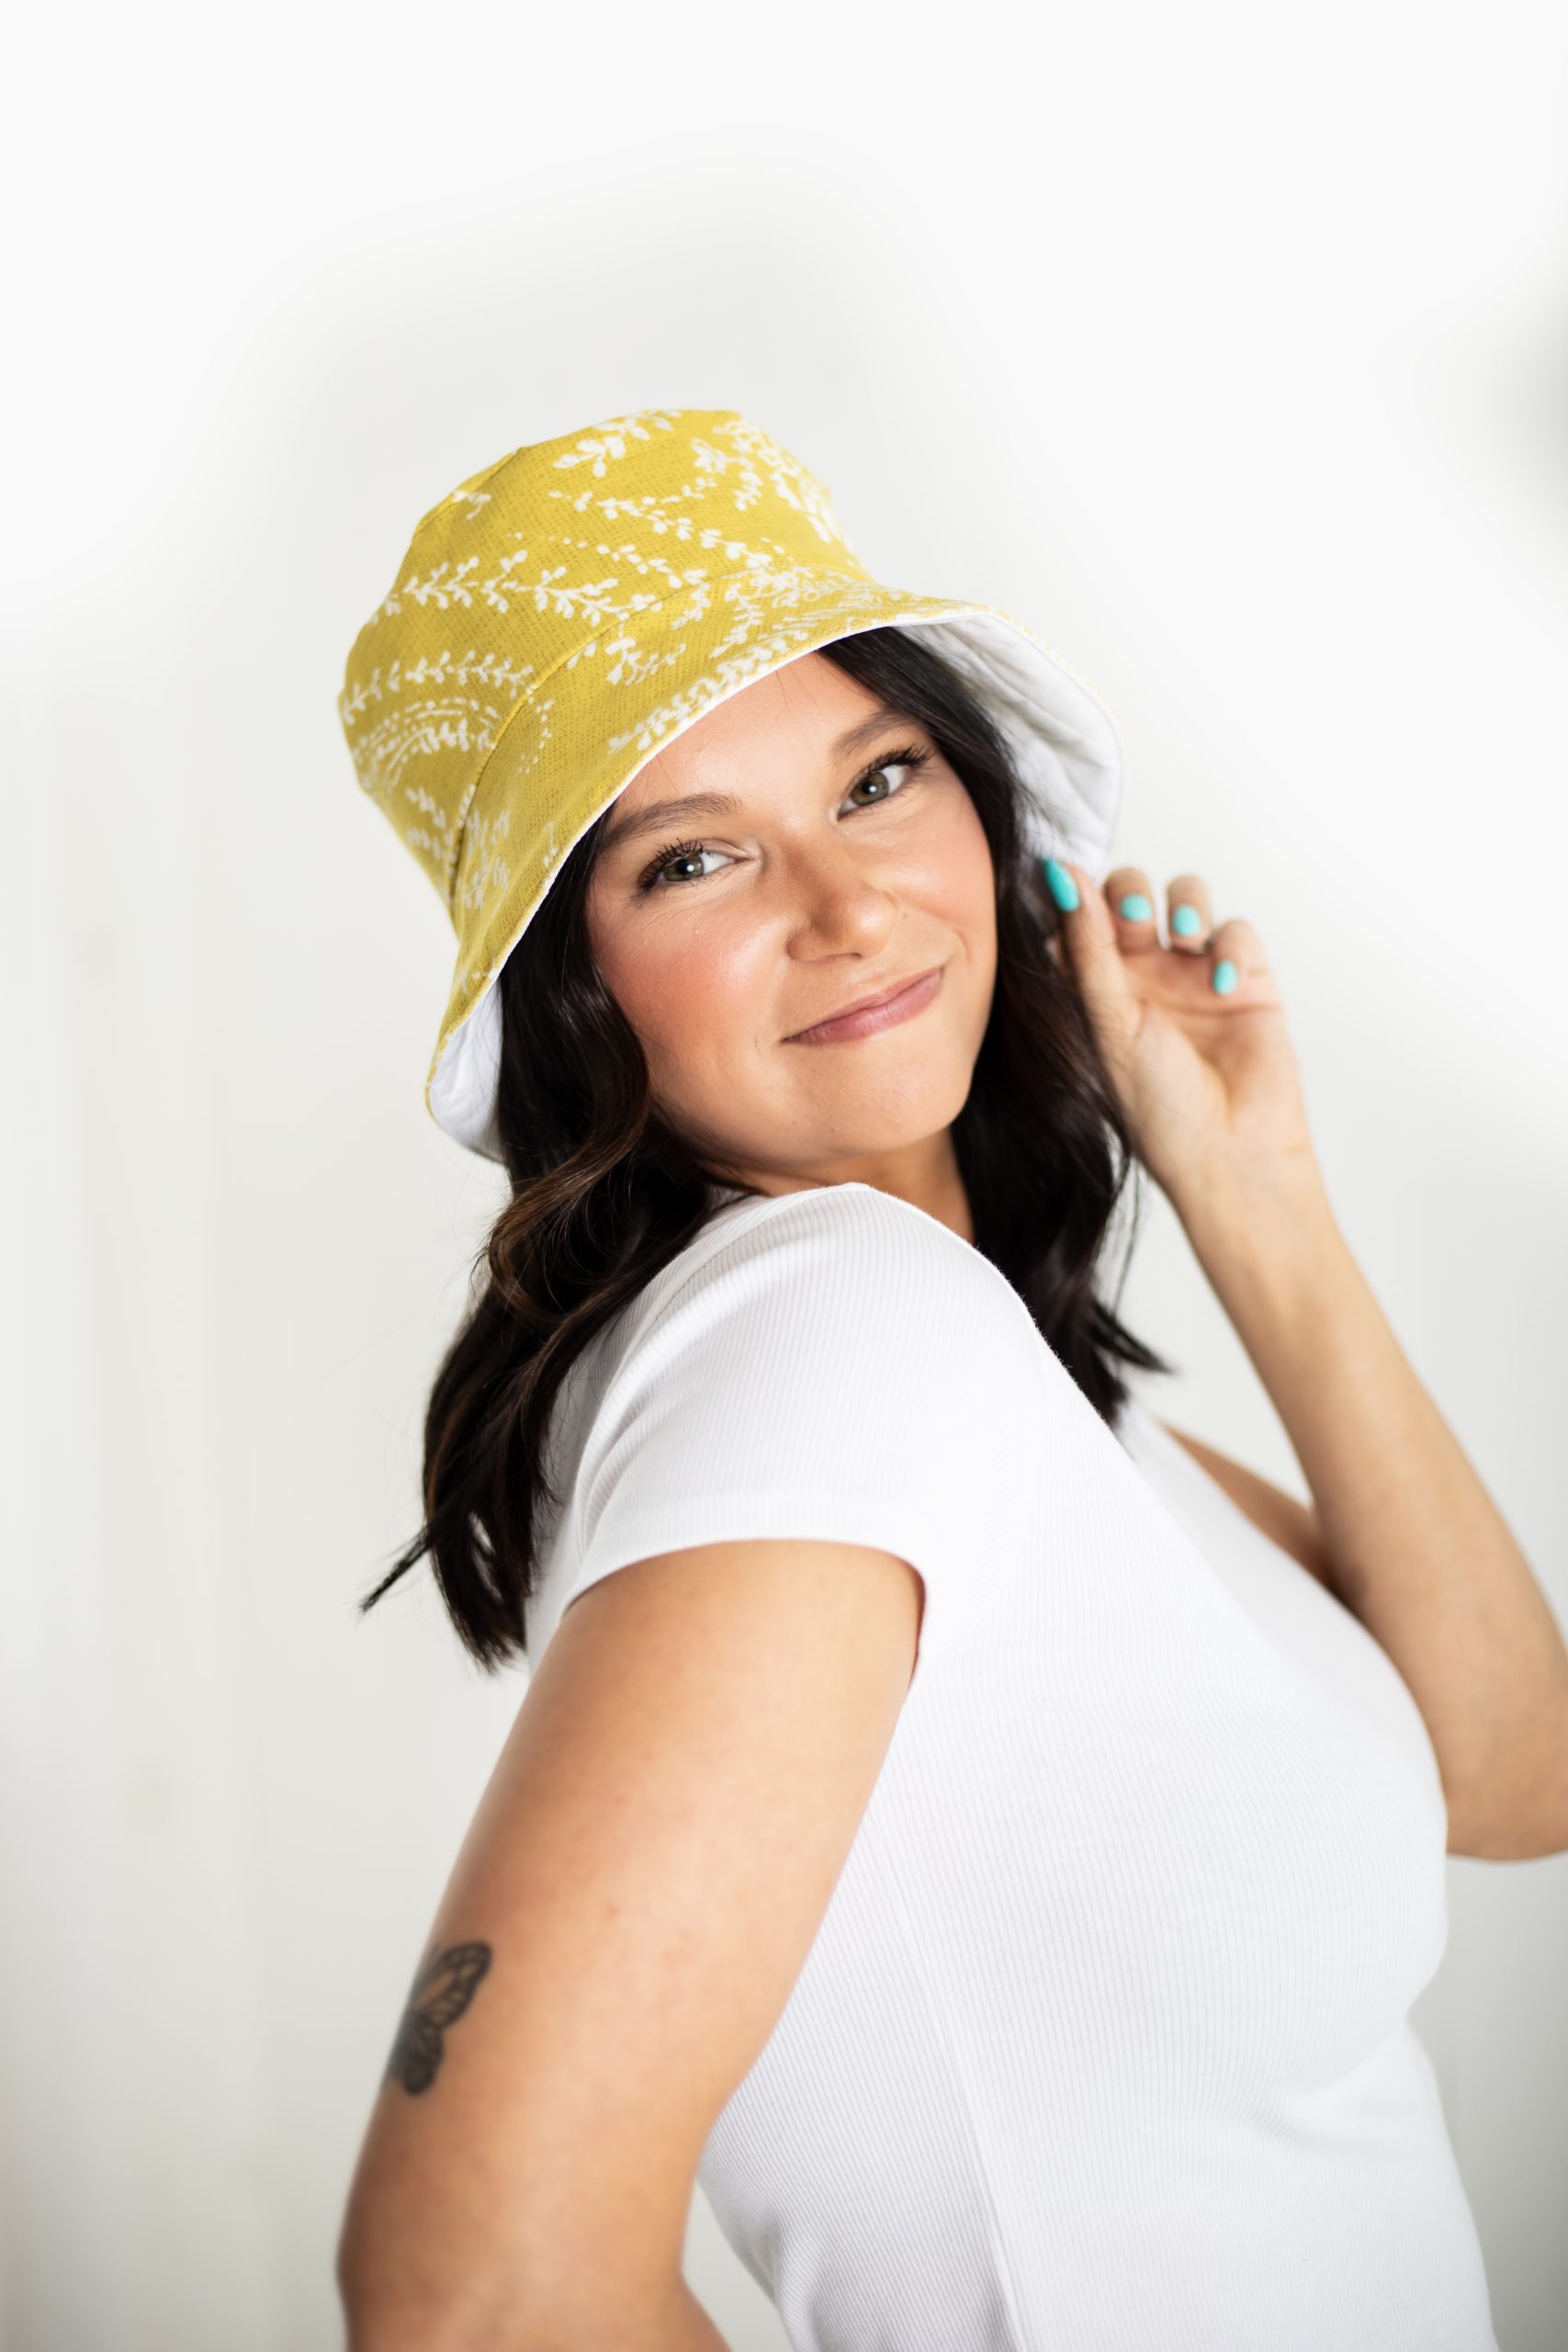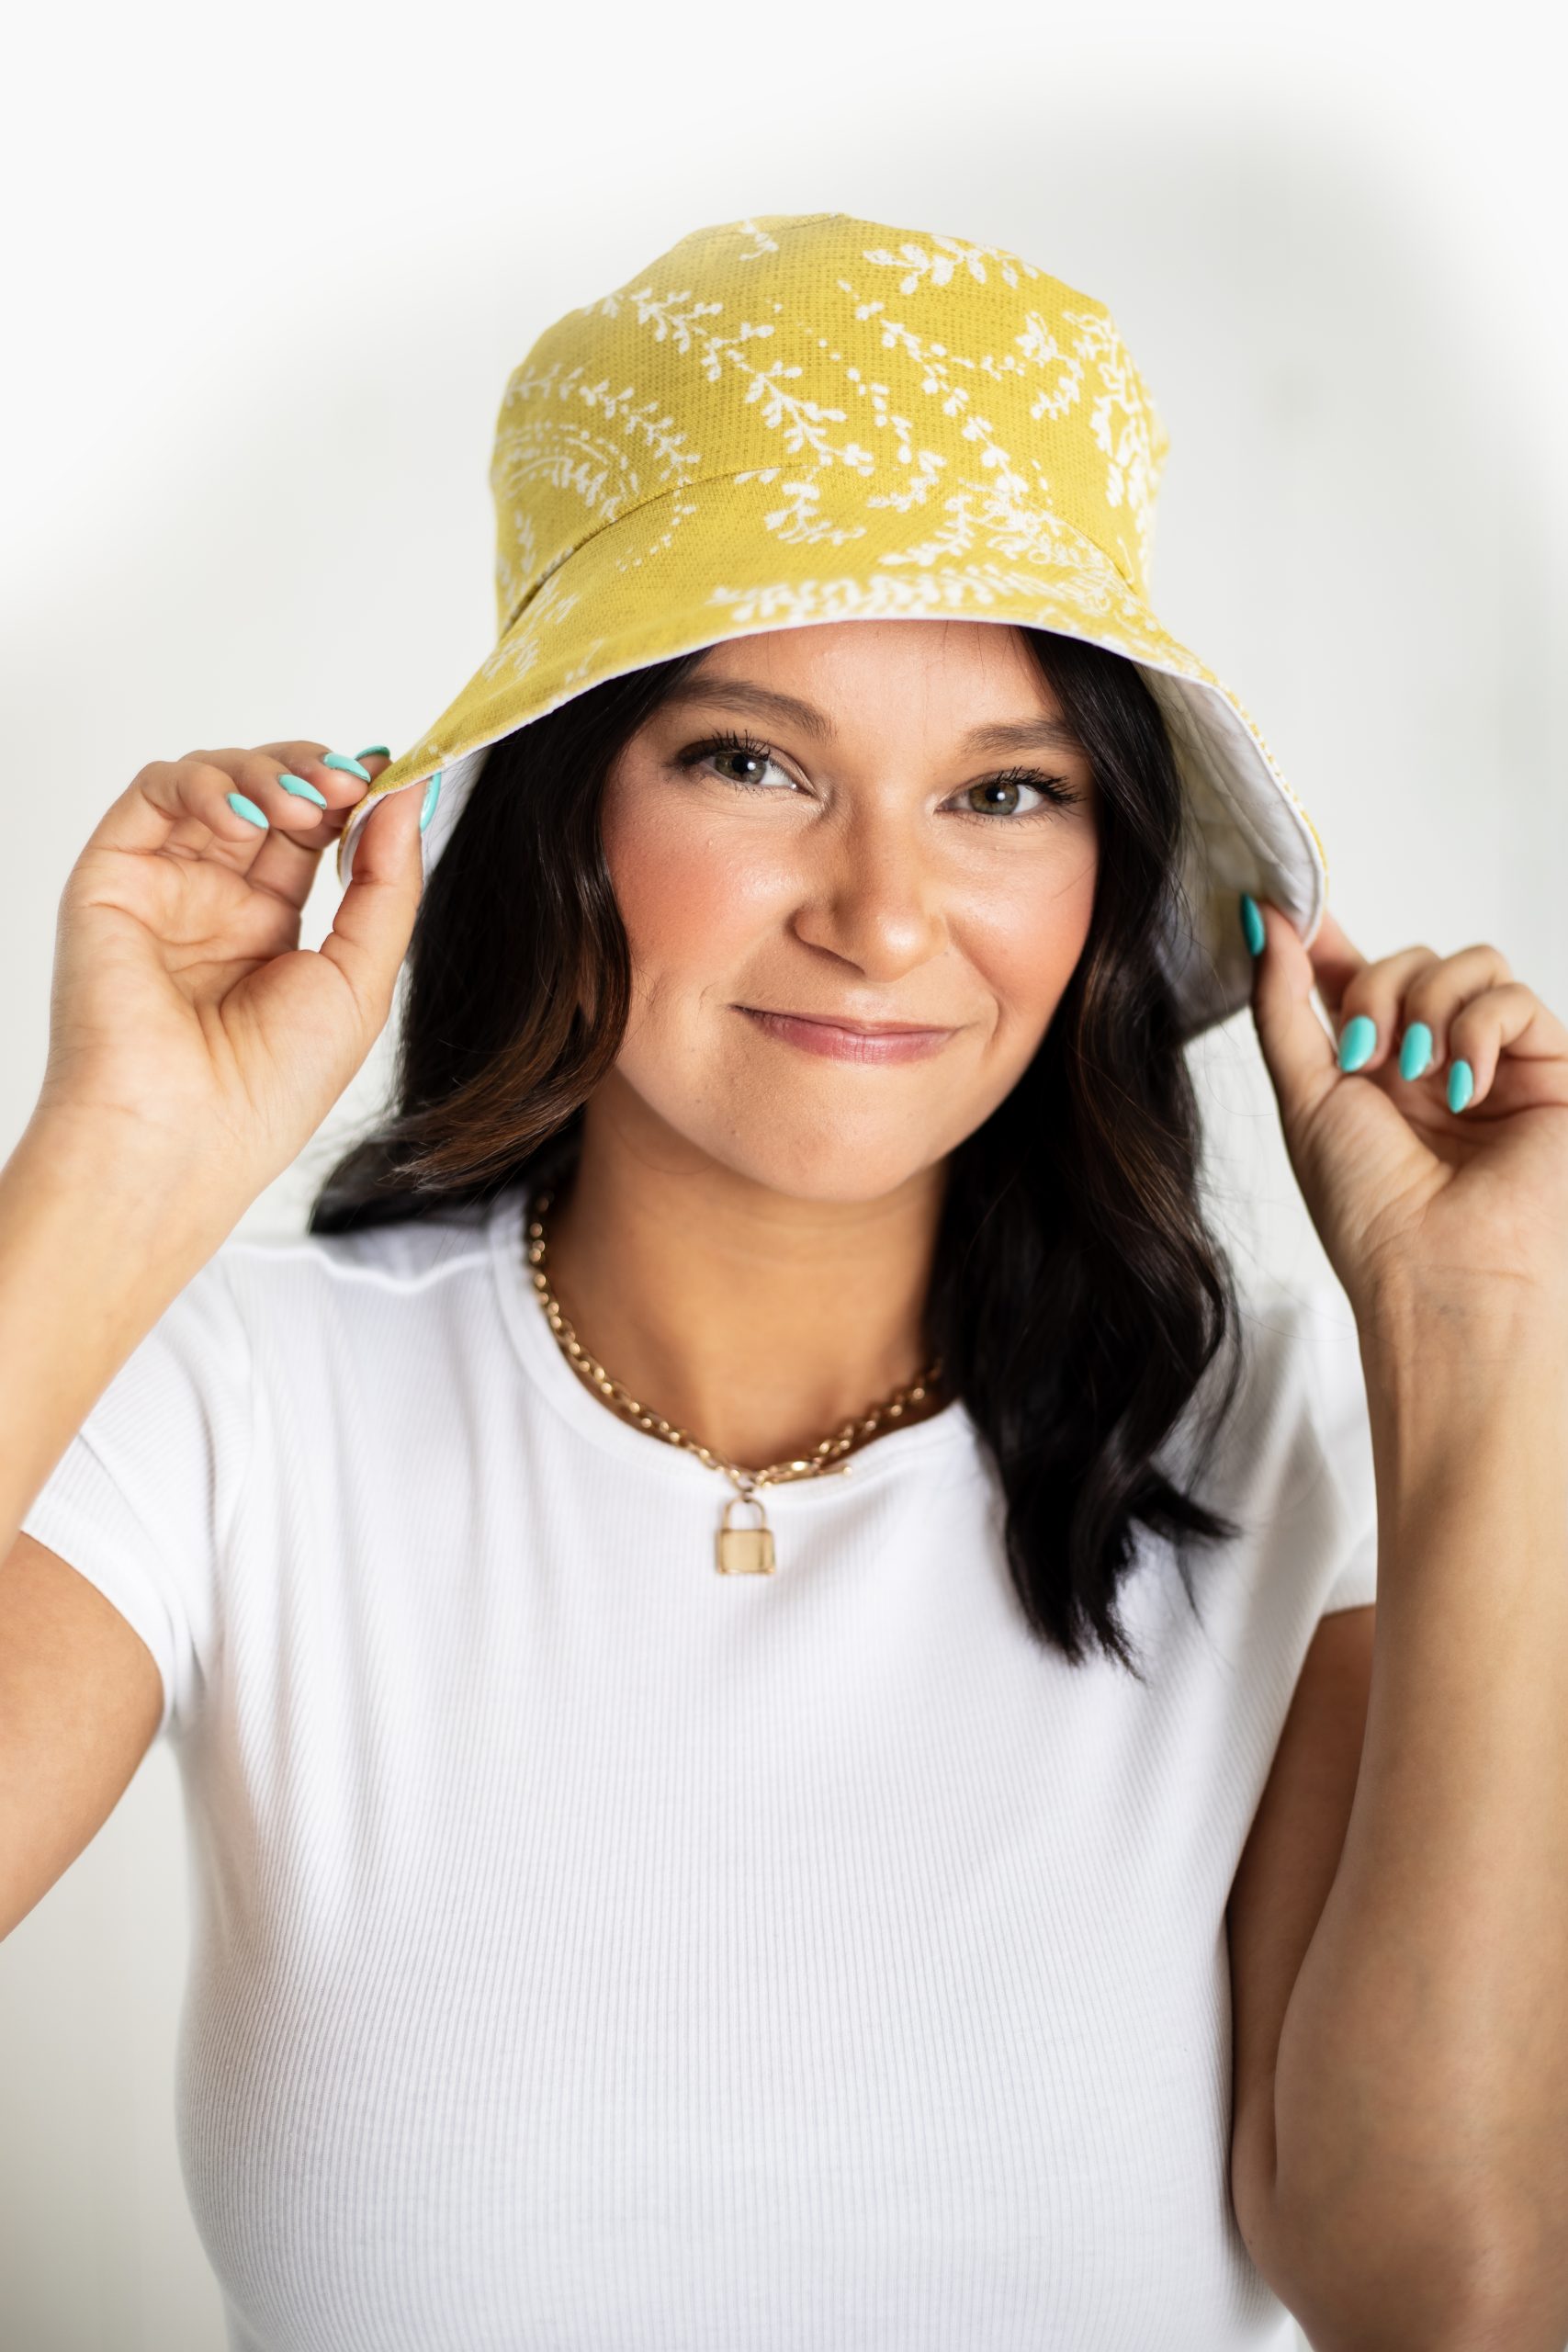
One trend from the 90s that we hope never goes away: Bucket hats! A delightful summertime accessory, this quilted bucket hat pattern is reversible and features canvas on one side for sunny weather and nylon ripstop for rainy days. This self-drafted hat pattern is made using your personal measurements, so that you’re guaranteed a perfect fit. Complete your beach day look with this bucket hat pattern made in your favorite colors or match your hat to your go-to bathing suit.
Skill Level: Easy
Seam Allowances: 1/2”
Materials:
- 1/2 yard of nylon ripstop fabric
- 1/2 yard cotton canvas
- 1/2 yard fusible fleece
- Large piece of paper for drafting
Instructions:
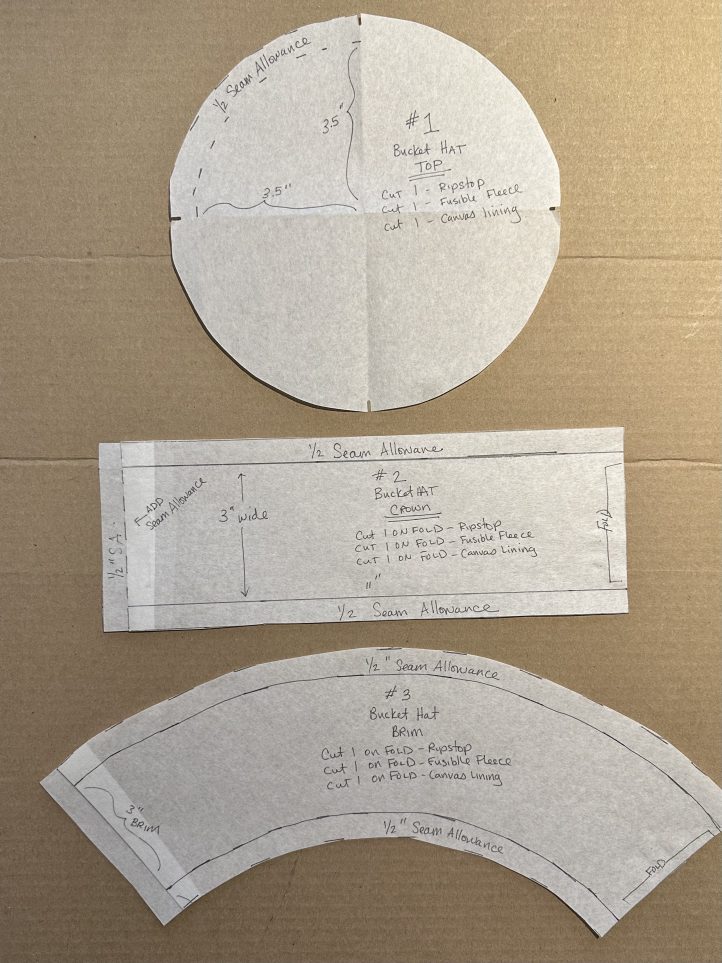
- Draft your bucket hat pattern – You need to draft 3 pattern pieces. The Hat Top, Hat Crown and Hat Brim.
- HAT TOP:
- Measure your head circumference: Example 22” (Use your personal head circumference measurement).
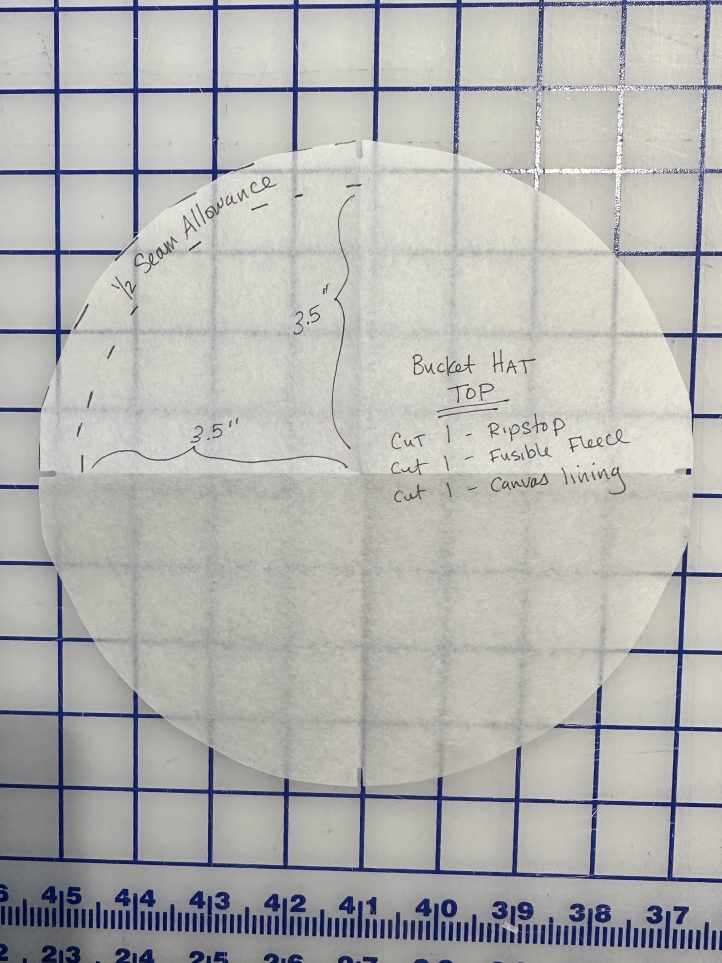
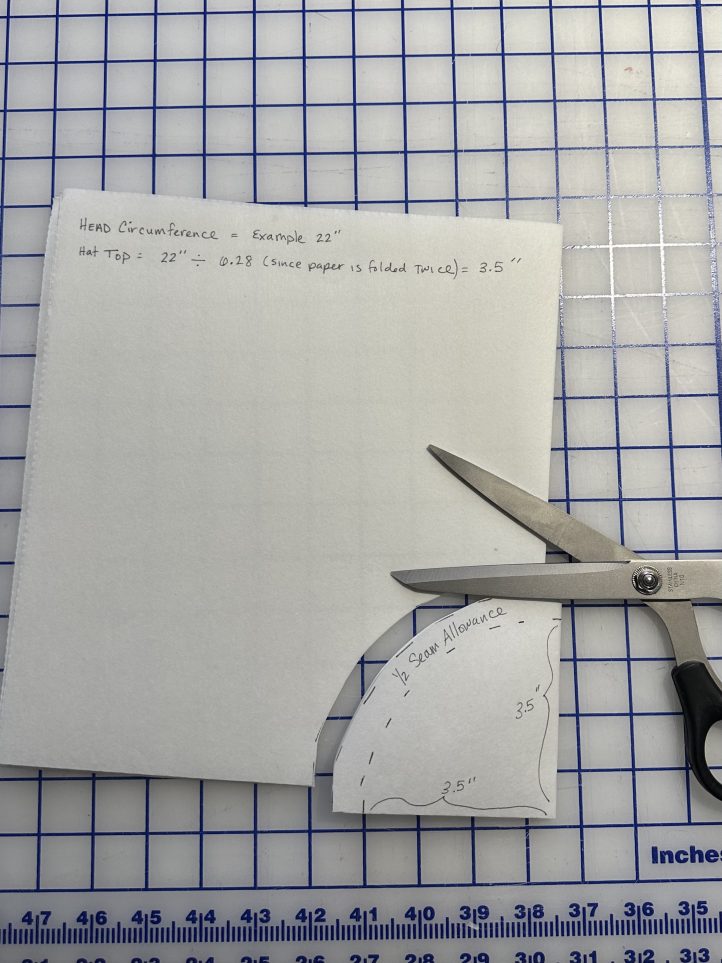
- Fold a large piece of paper twice. To draft the Hat Top, take 22” (Head circumference) divided by 6.28 = 3.5”.
- Along the two sides from the folded corner, mark 3.5” up on both sides.
- Draw a curved line (1/4 of a circle since folded).
- Add 1/2” seam allowance and cut out circle (See images below).
- HAT CROWN:
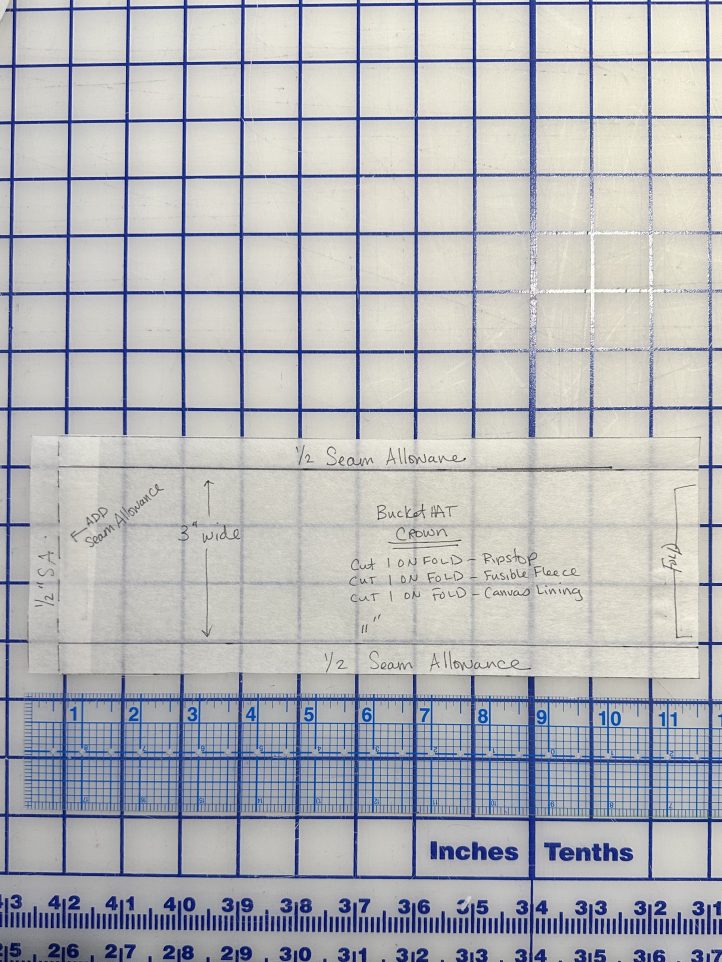
- Divide head circumference by 2: Example 11”.
- Draw a rectangle using that calculation.
- The height of the crown will be 3”. You can adjust this measurement to fit personal preferences.
- Add 1/2” seam allowance on three sides. The Hat Crown piece will be cut on the fold. (See image below).
- BUCKET BRIM:
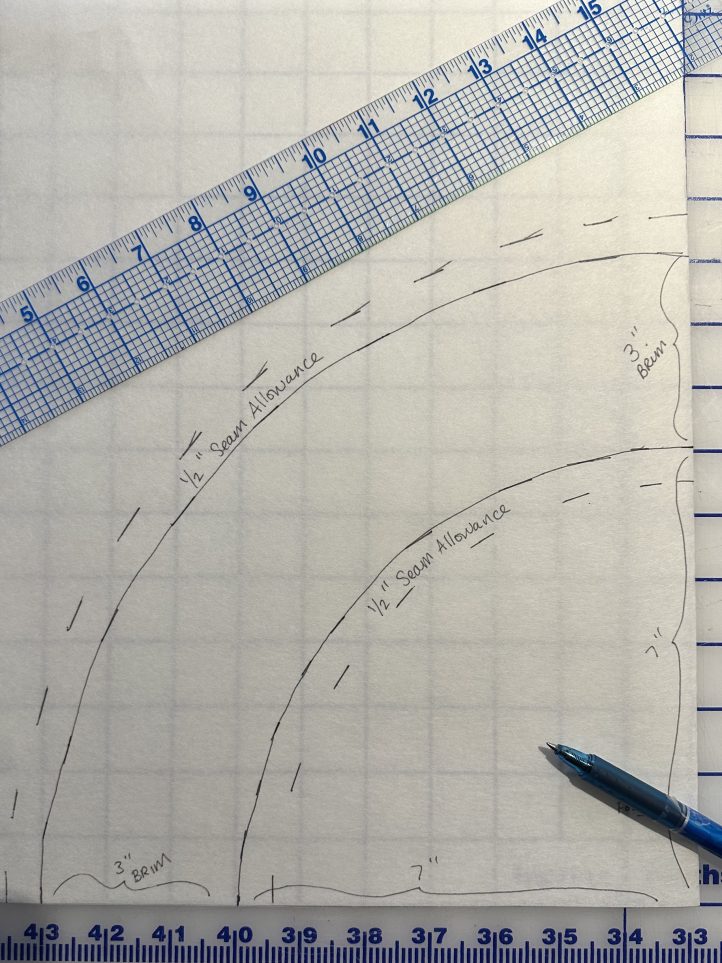
- Divide head circumference by Pi (3.14) and mark on a single folded piece of paper.
- Decide the brim width you would like and mark from the previous curve. = Example = 7” Add 3” to that curve for the brim and then a 1/2” seam allowance. See images below).
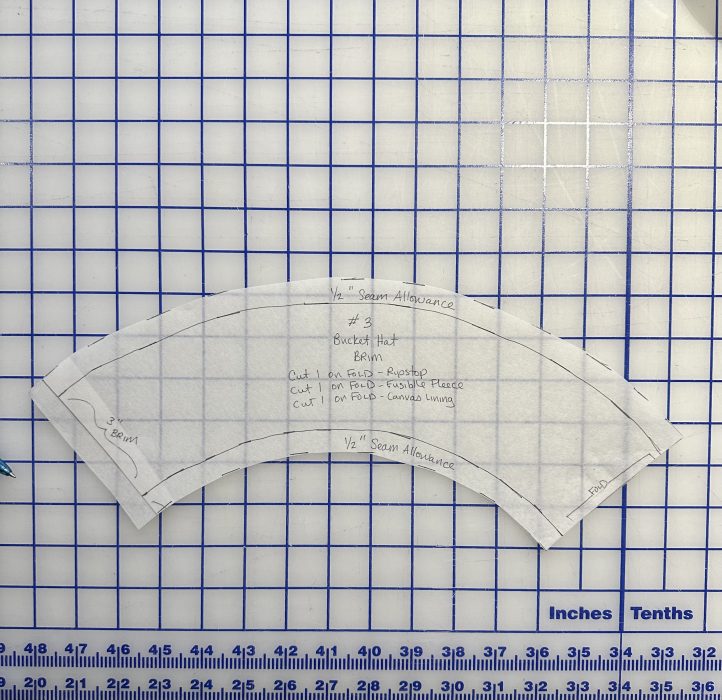
- Those are your three pattern pieces.
- HAT TOP:
- Cut out Paper pattern pieces and corresponding fabric pieces.
- Hat Top – Cut 1 from ripstop. Cut 1 from fusible fleece. Cut 1 from Canvas Lining (See image below).
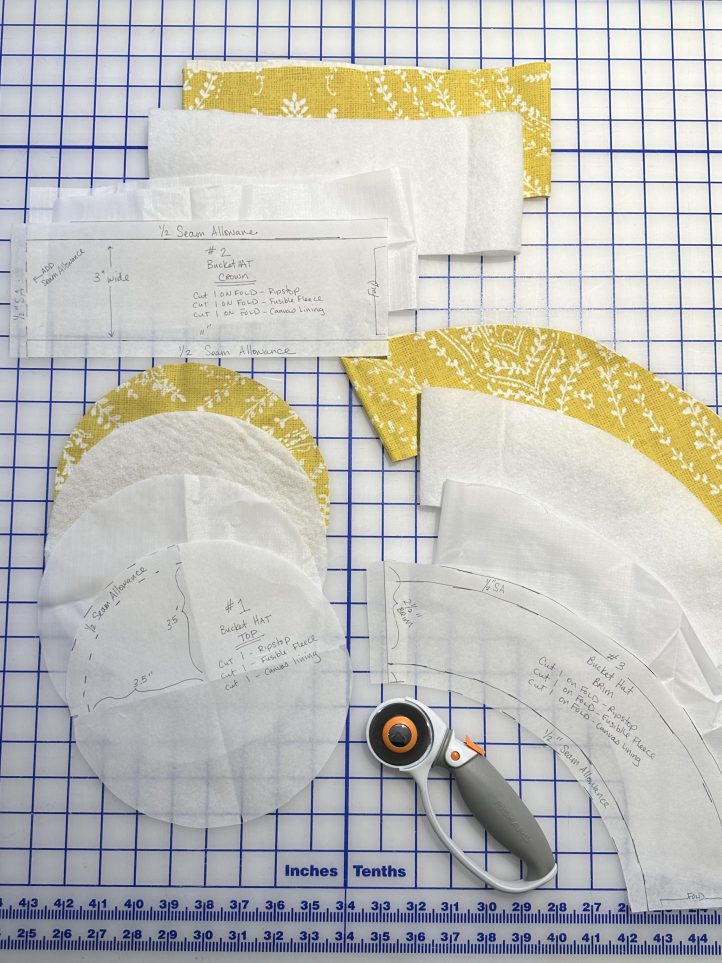
- Hat Top – Cut 1 from ripstop. Cut 1 from fusible fleece. Cut 1 from Canvas Lining (See image below).
- Fuse the fusible fleece to all the nylon ripstop pieces. (TIP: Use a pressing cloth – neither material likes direct contact with the hot iron).
- Using a heat erasable pen or other marking tool, draw your quilting stitch lines. Example: 1” apart horizontal and vertical lines on the top, Crown and Brim. (See images below).
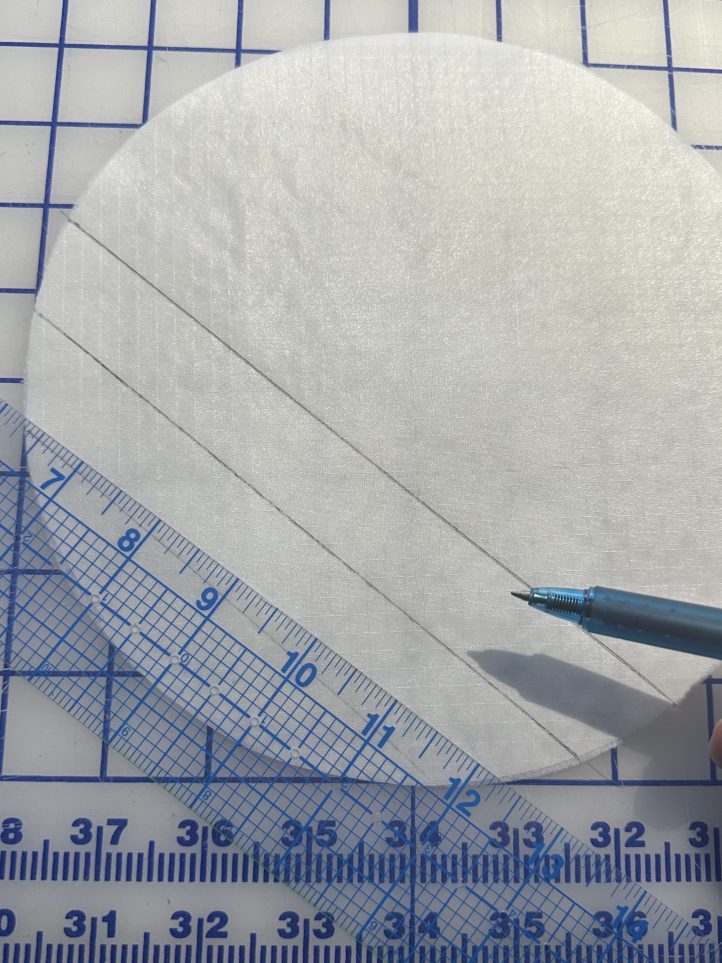
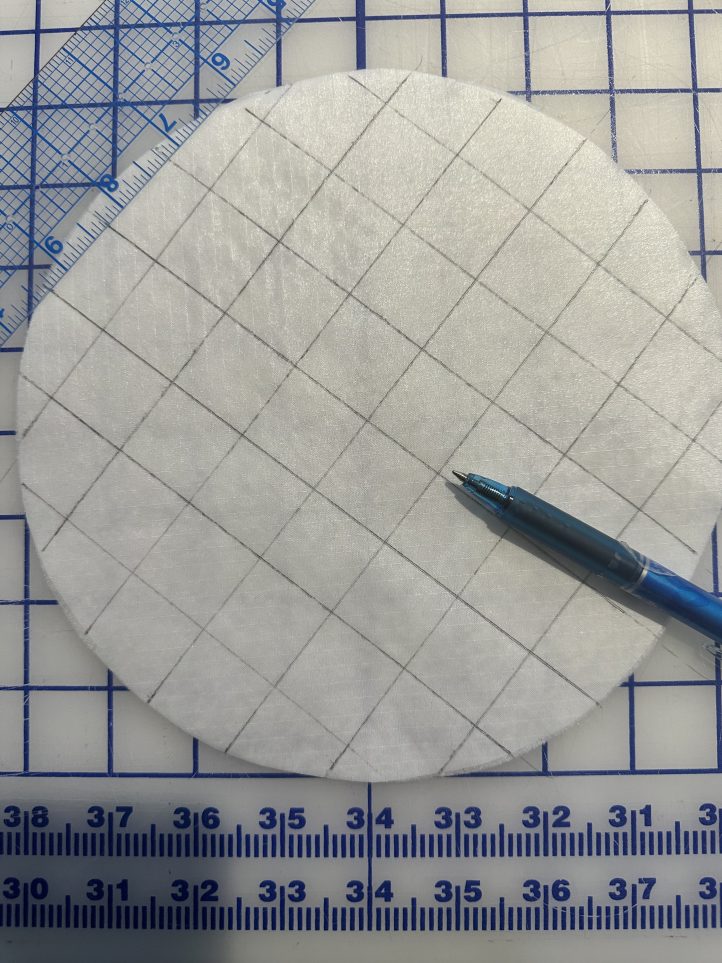
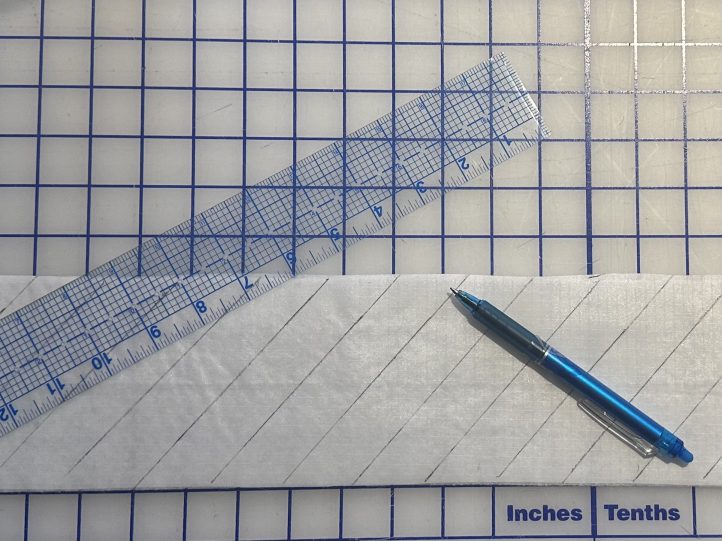
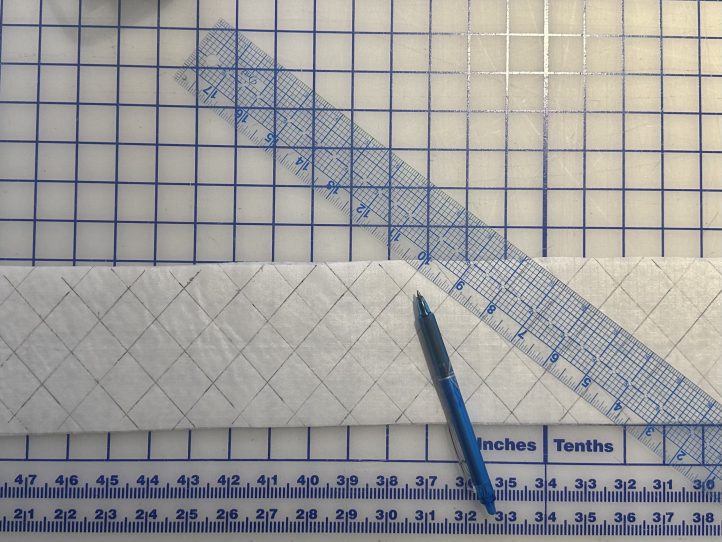
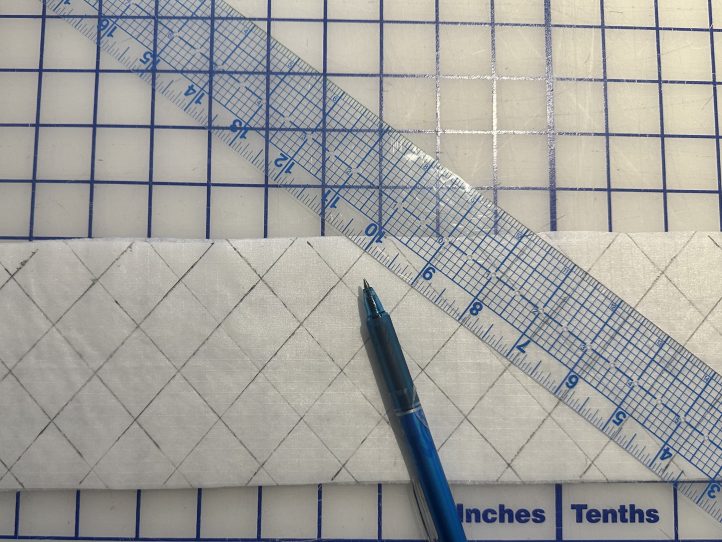
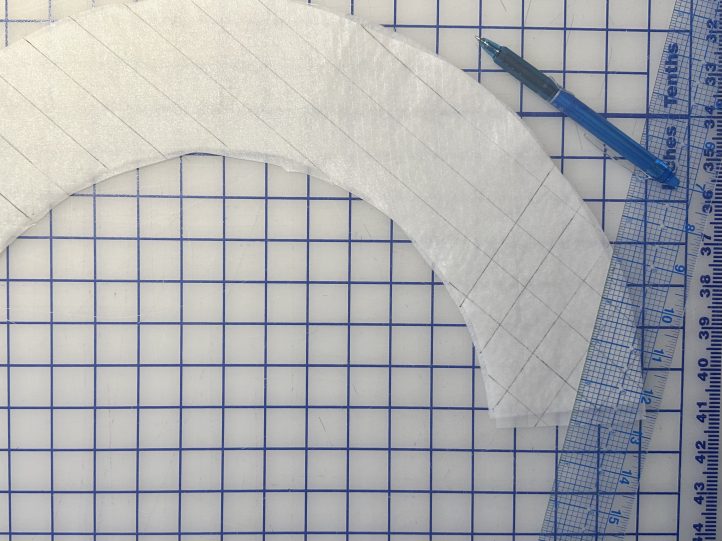
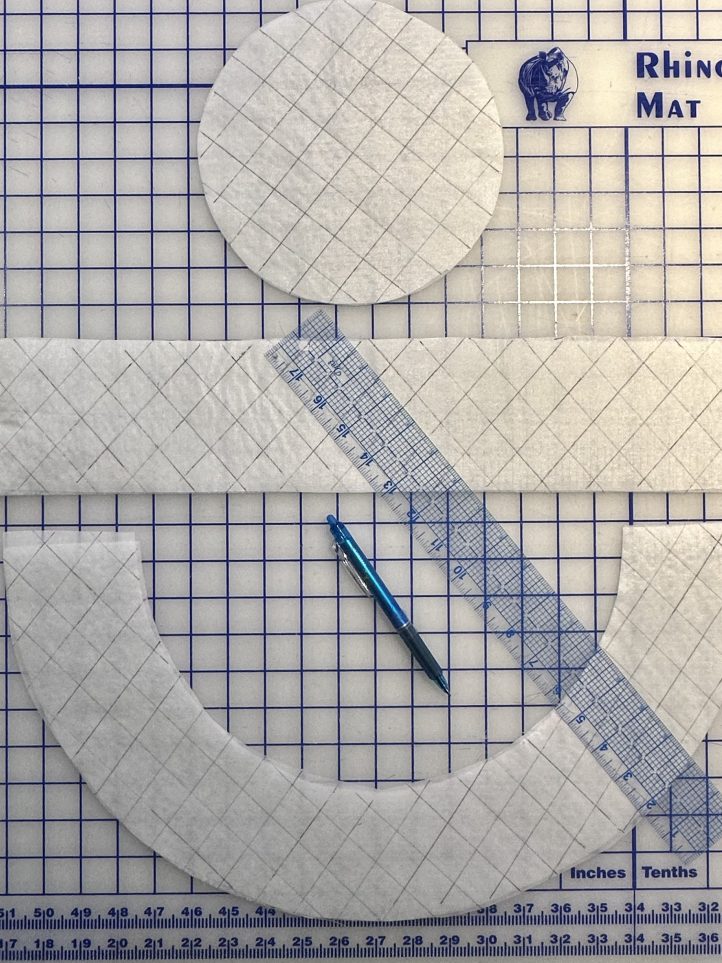
- Stitch all marked lines. These are now your main hat pieces.
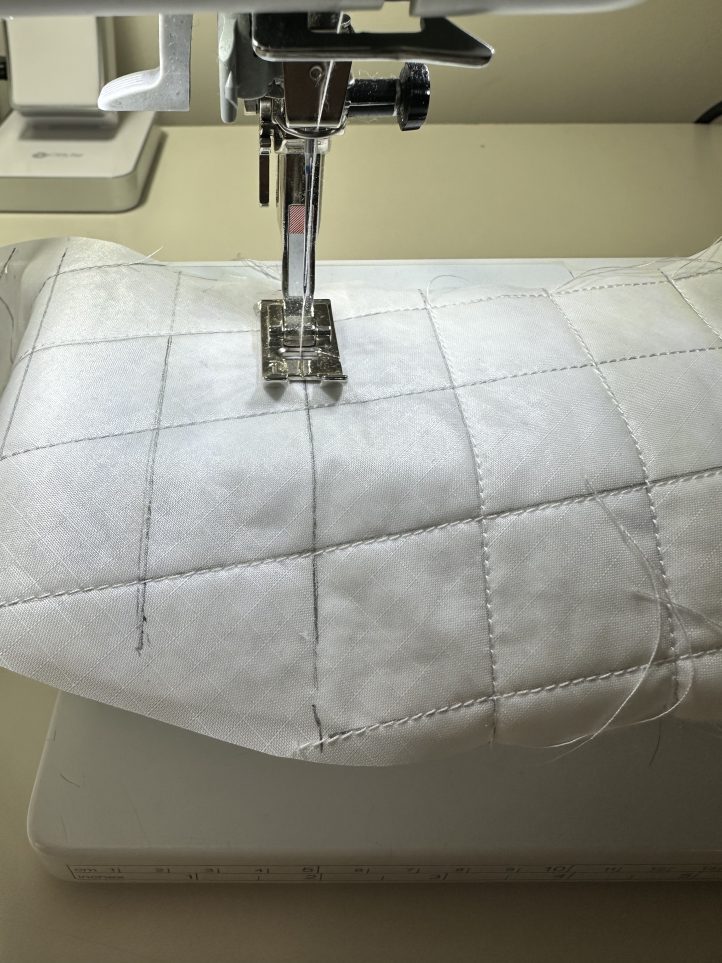
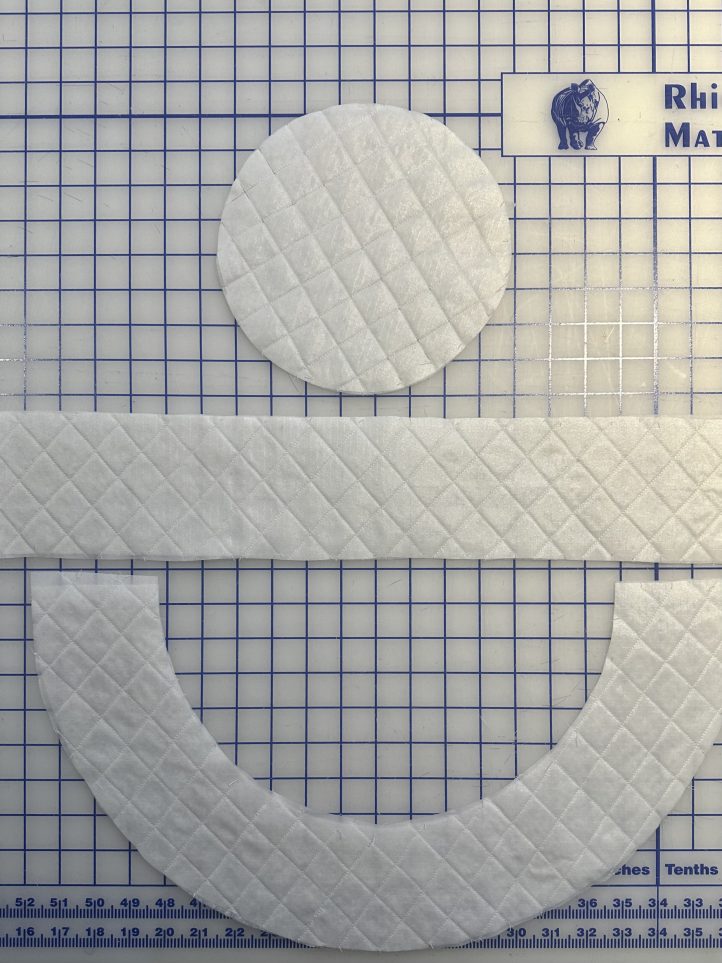
- Pin and sew short ends of crown right sides facing.
- Pin and sew main hat top to crown with right sides facing.
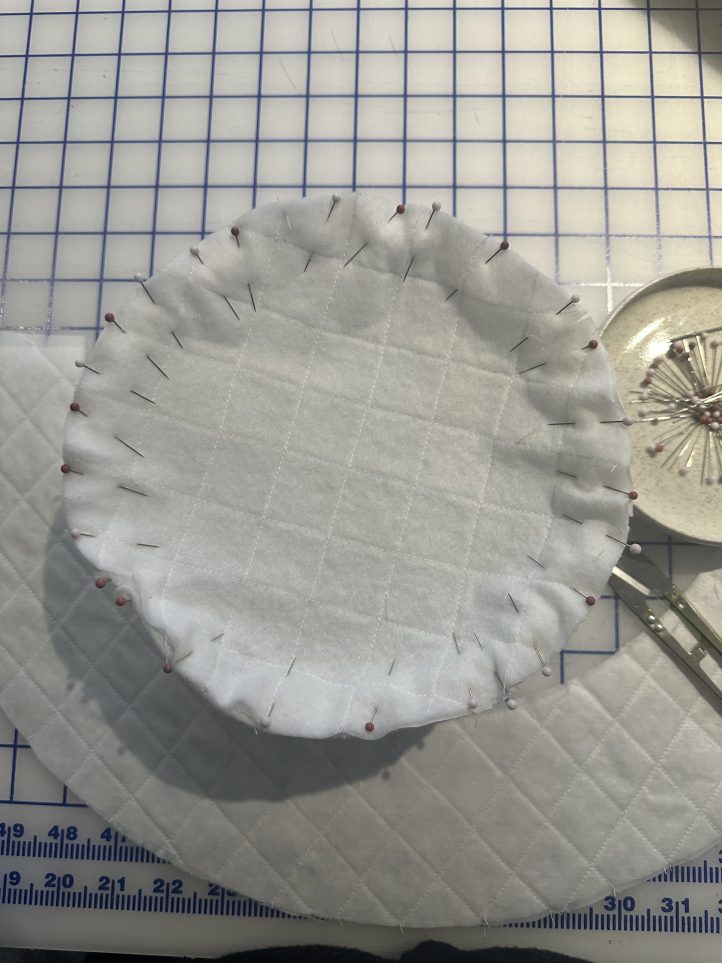
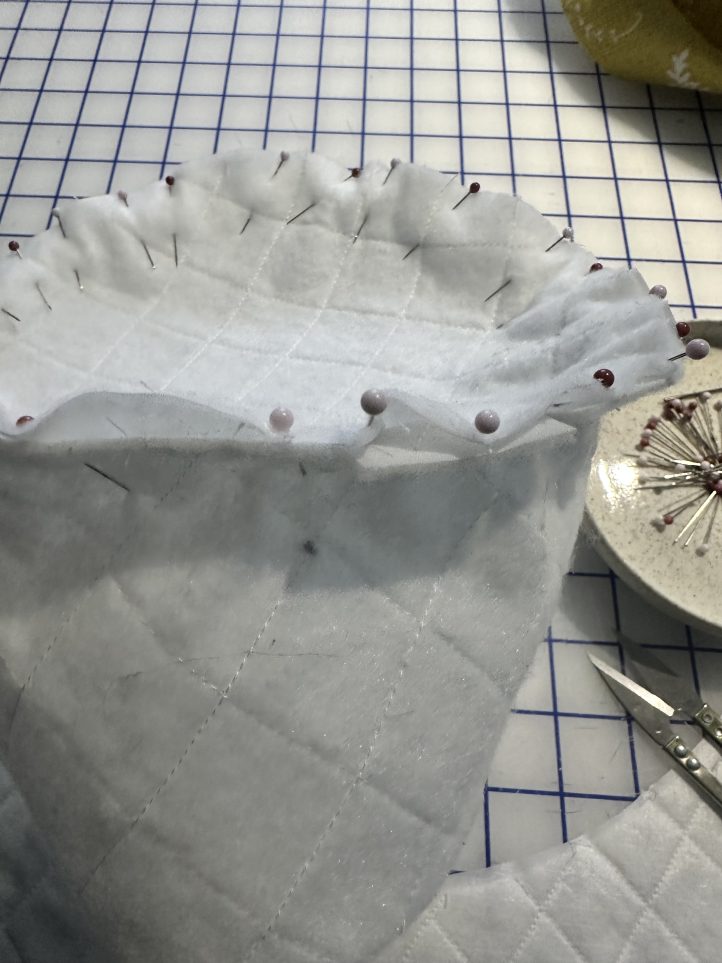
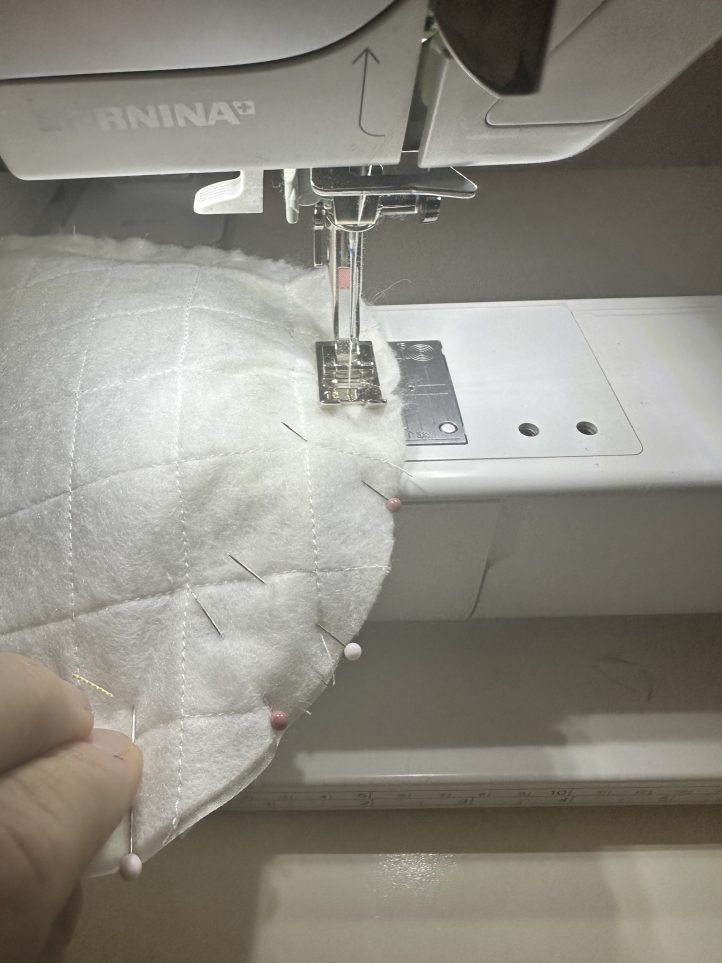
- Pin and sew short ends of brim right sides facing.
- Pin and sew hat crown to brim right sides facing.
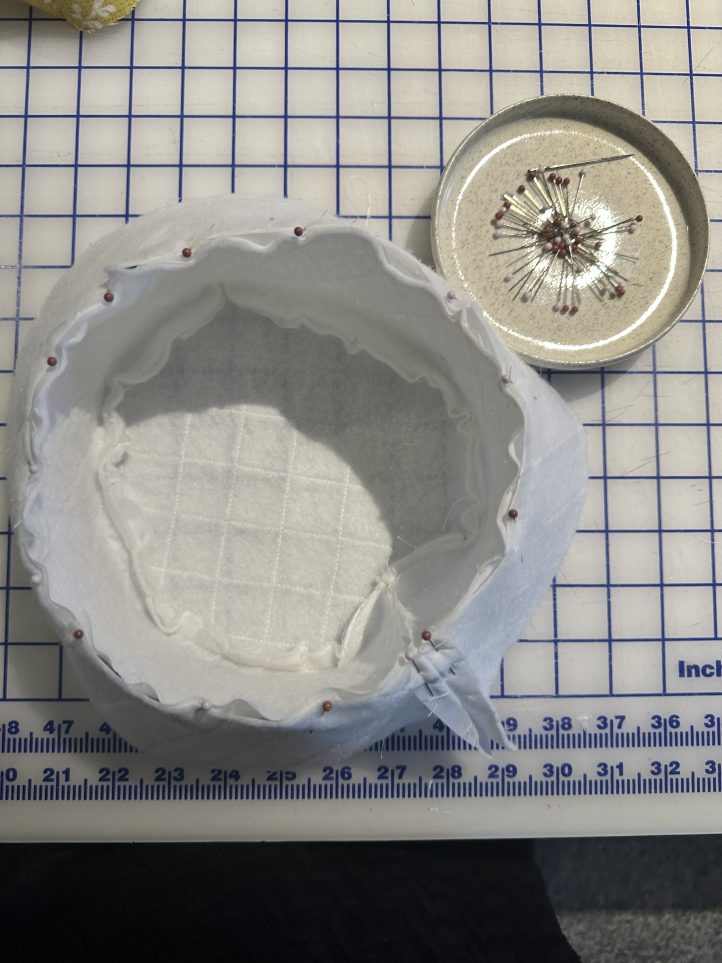
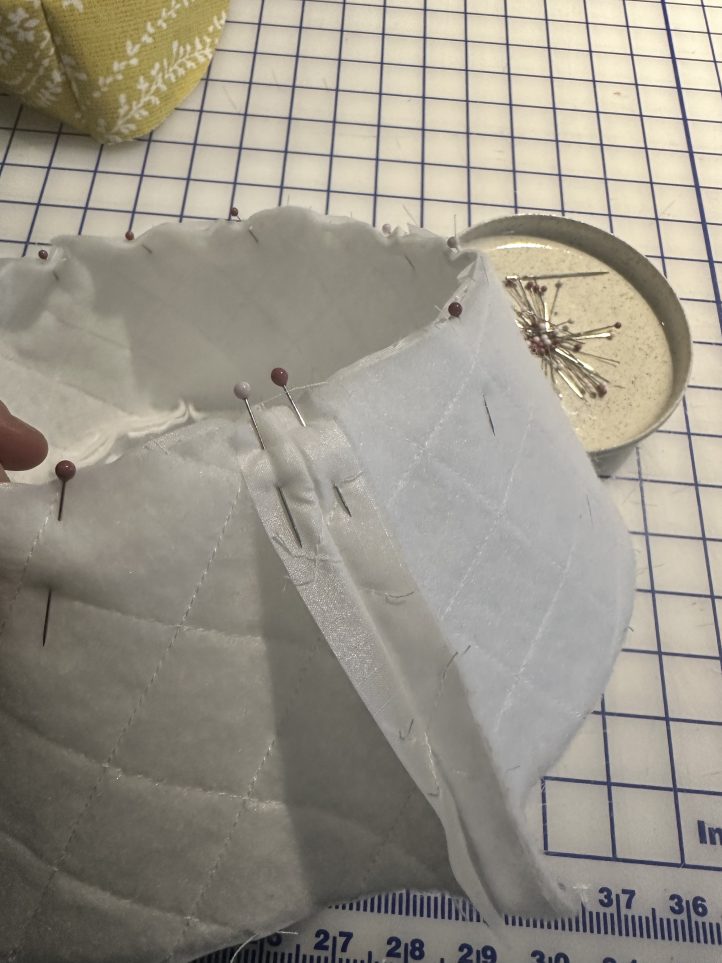
- Repeat Steps 5-9 with the lining pieces.
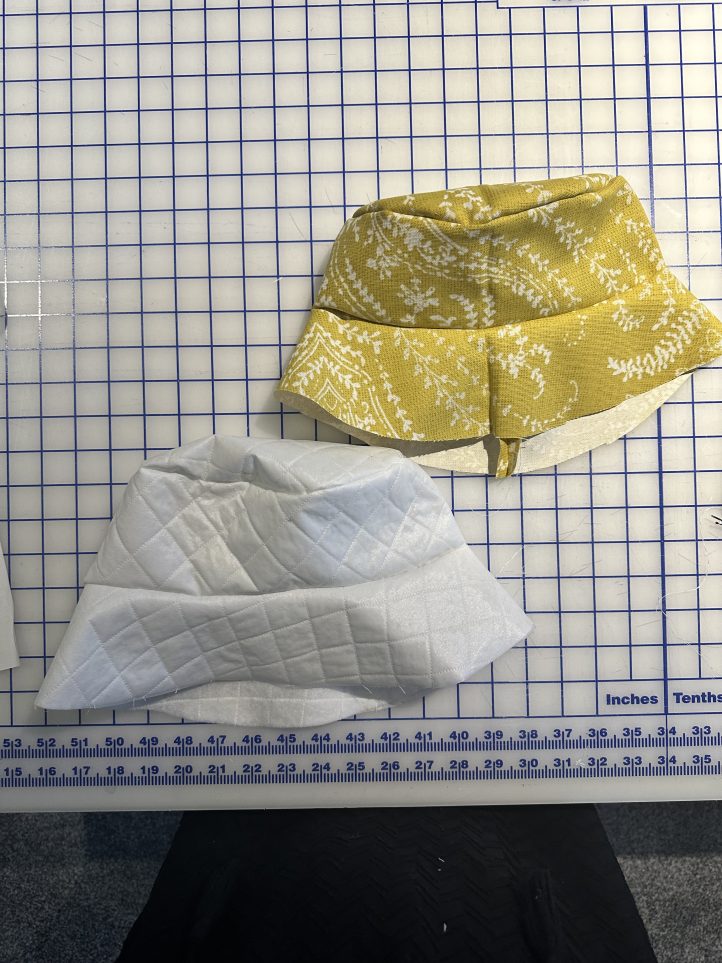
- Place the main hat and lining right sides together. Pin and sew the raw edges of the main brim and lining brim together; leaving a 3 inch opening for turning.
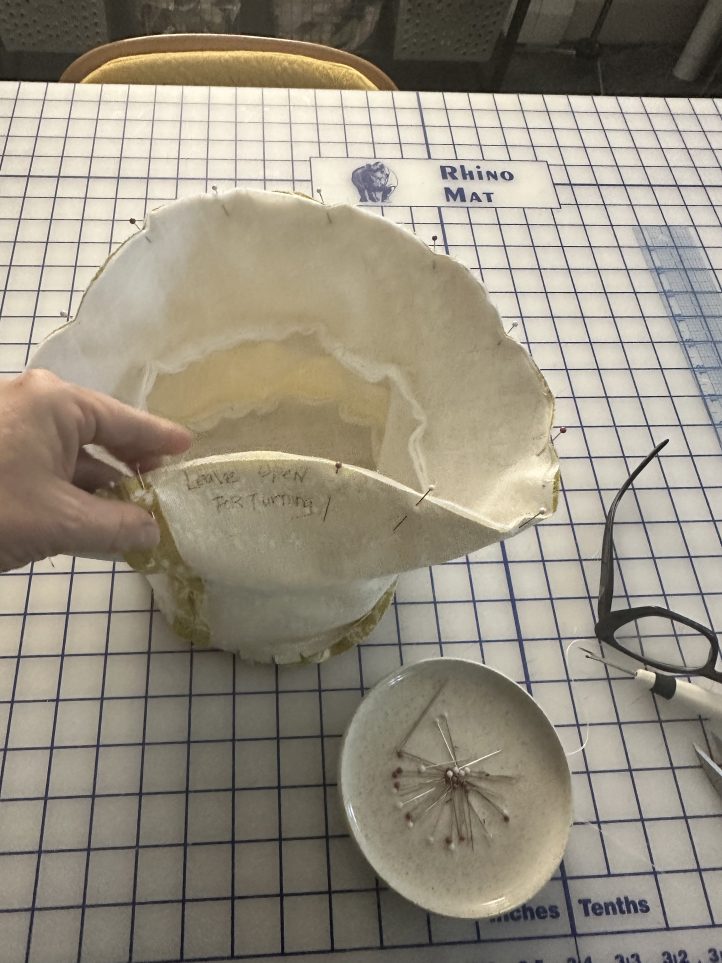
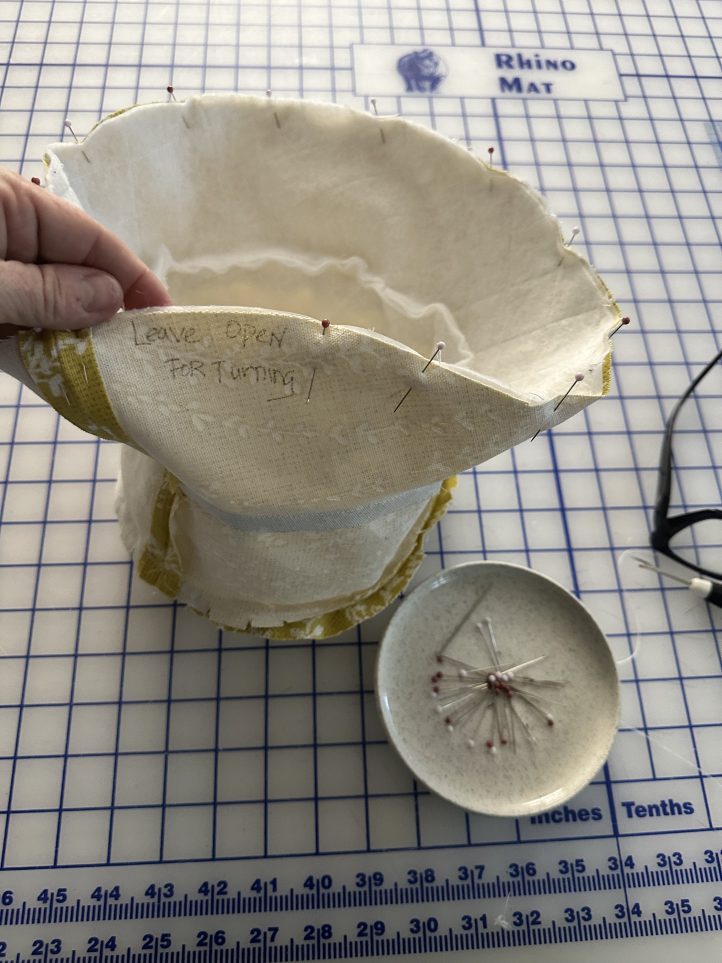
- Turn right side out and press.
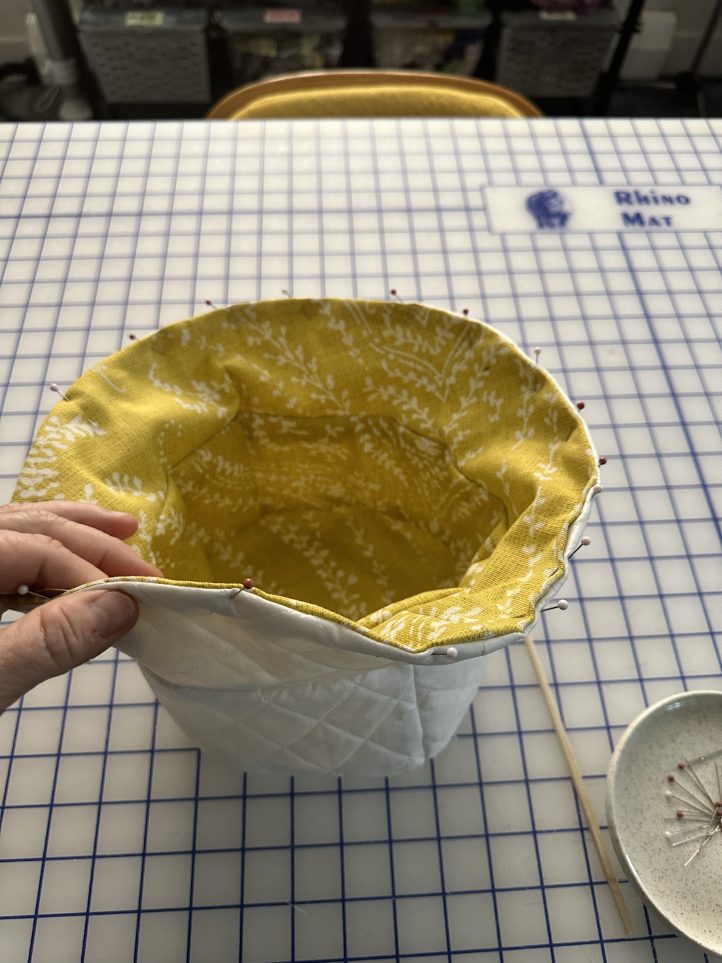
- Topstitch around brim edge being careful to capture the raw opening and sew it closed.
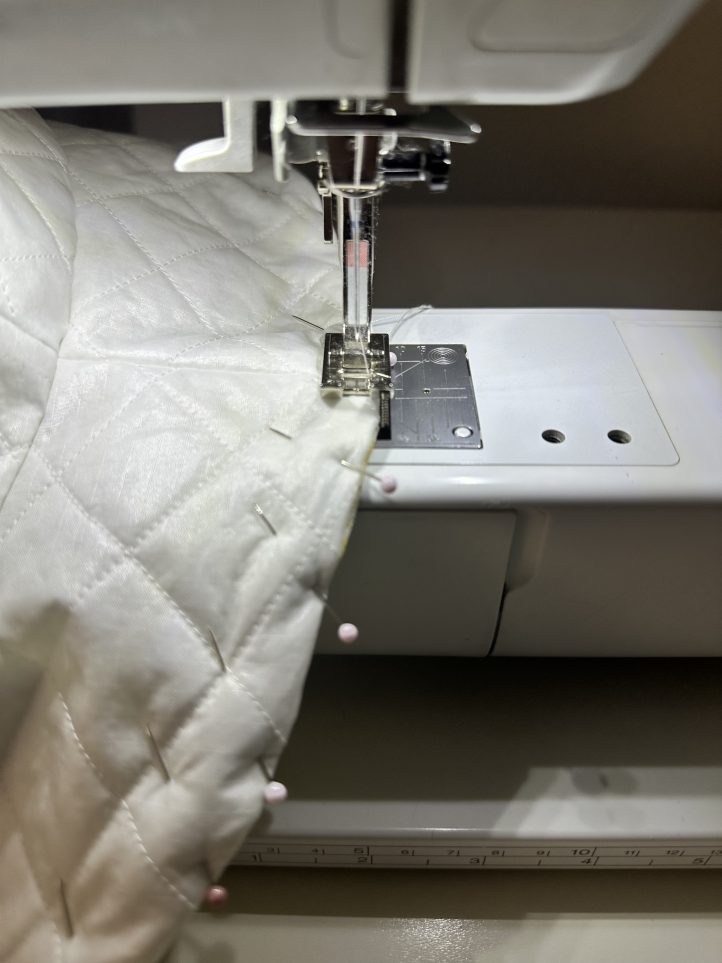
- Wear and Enjoy!
