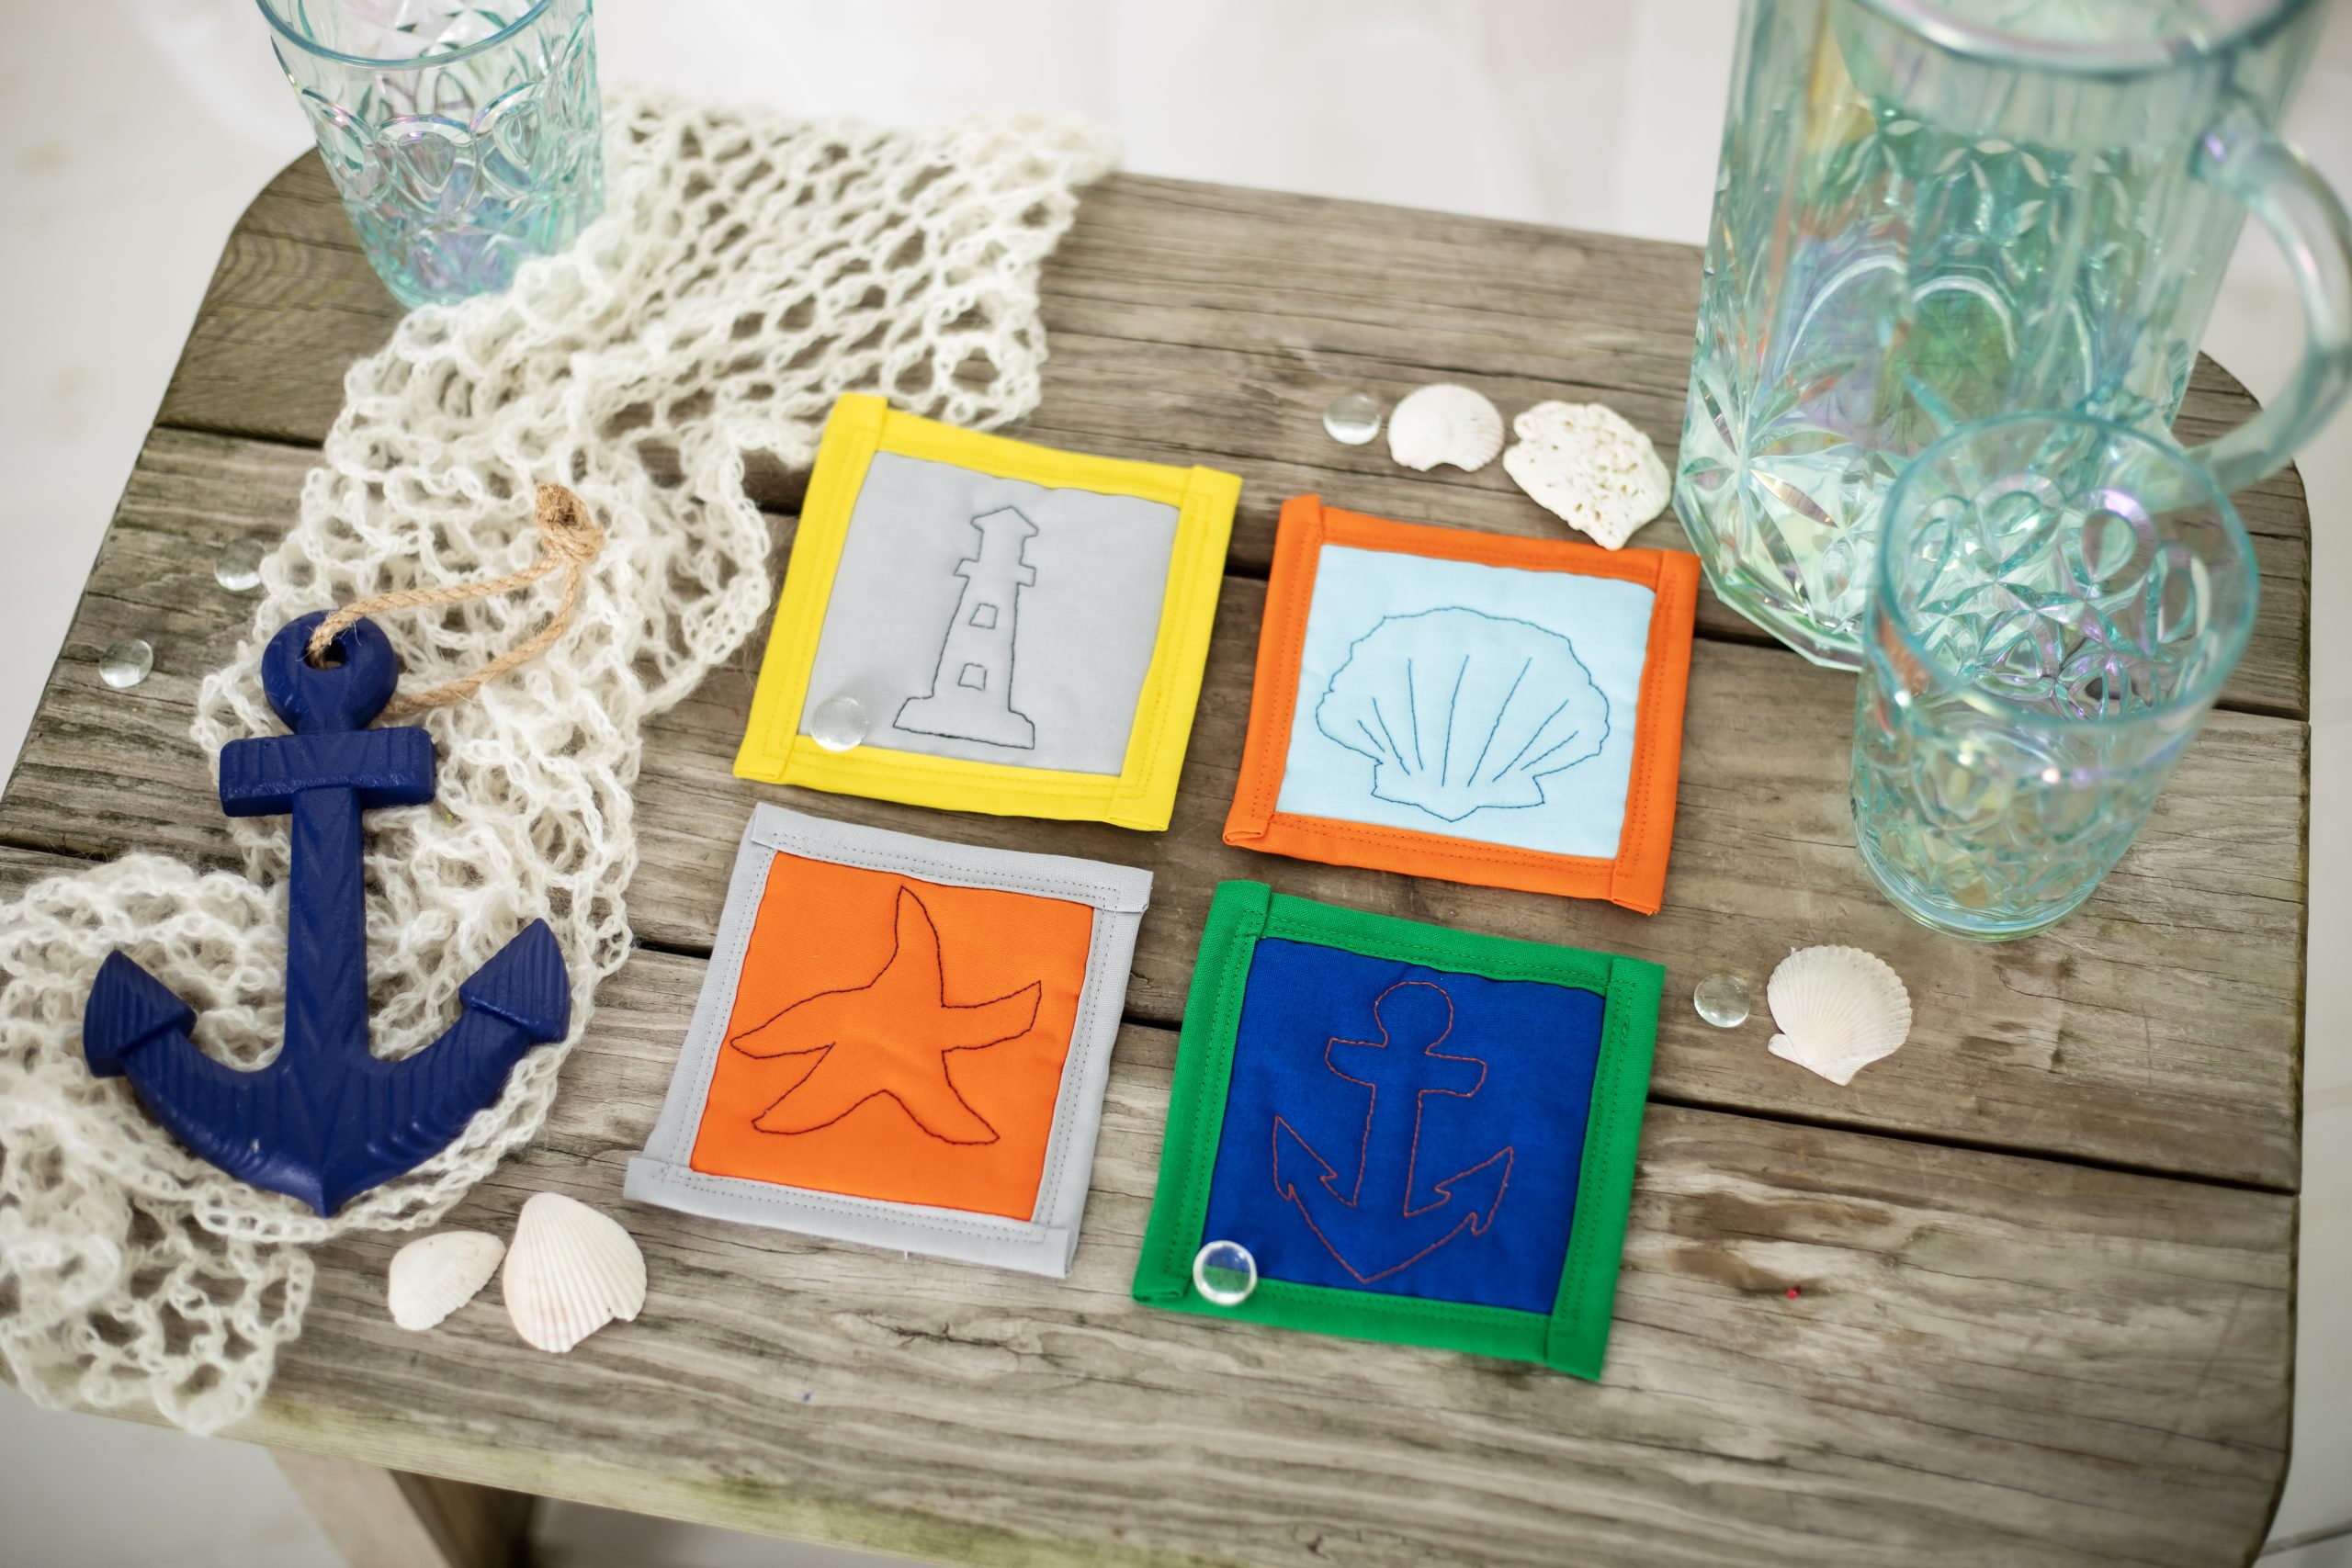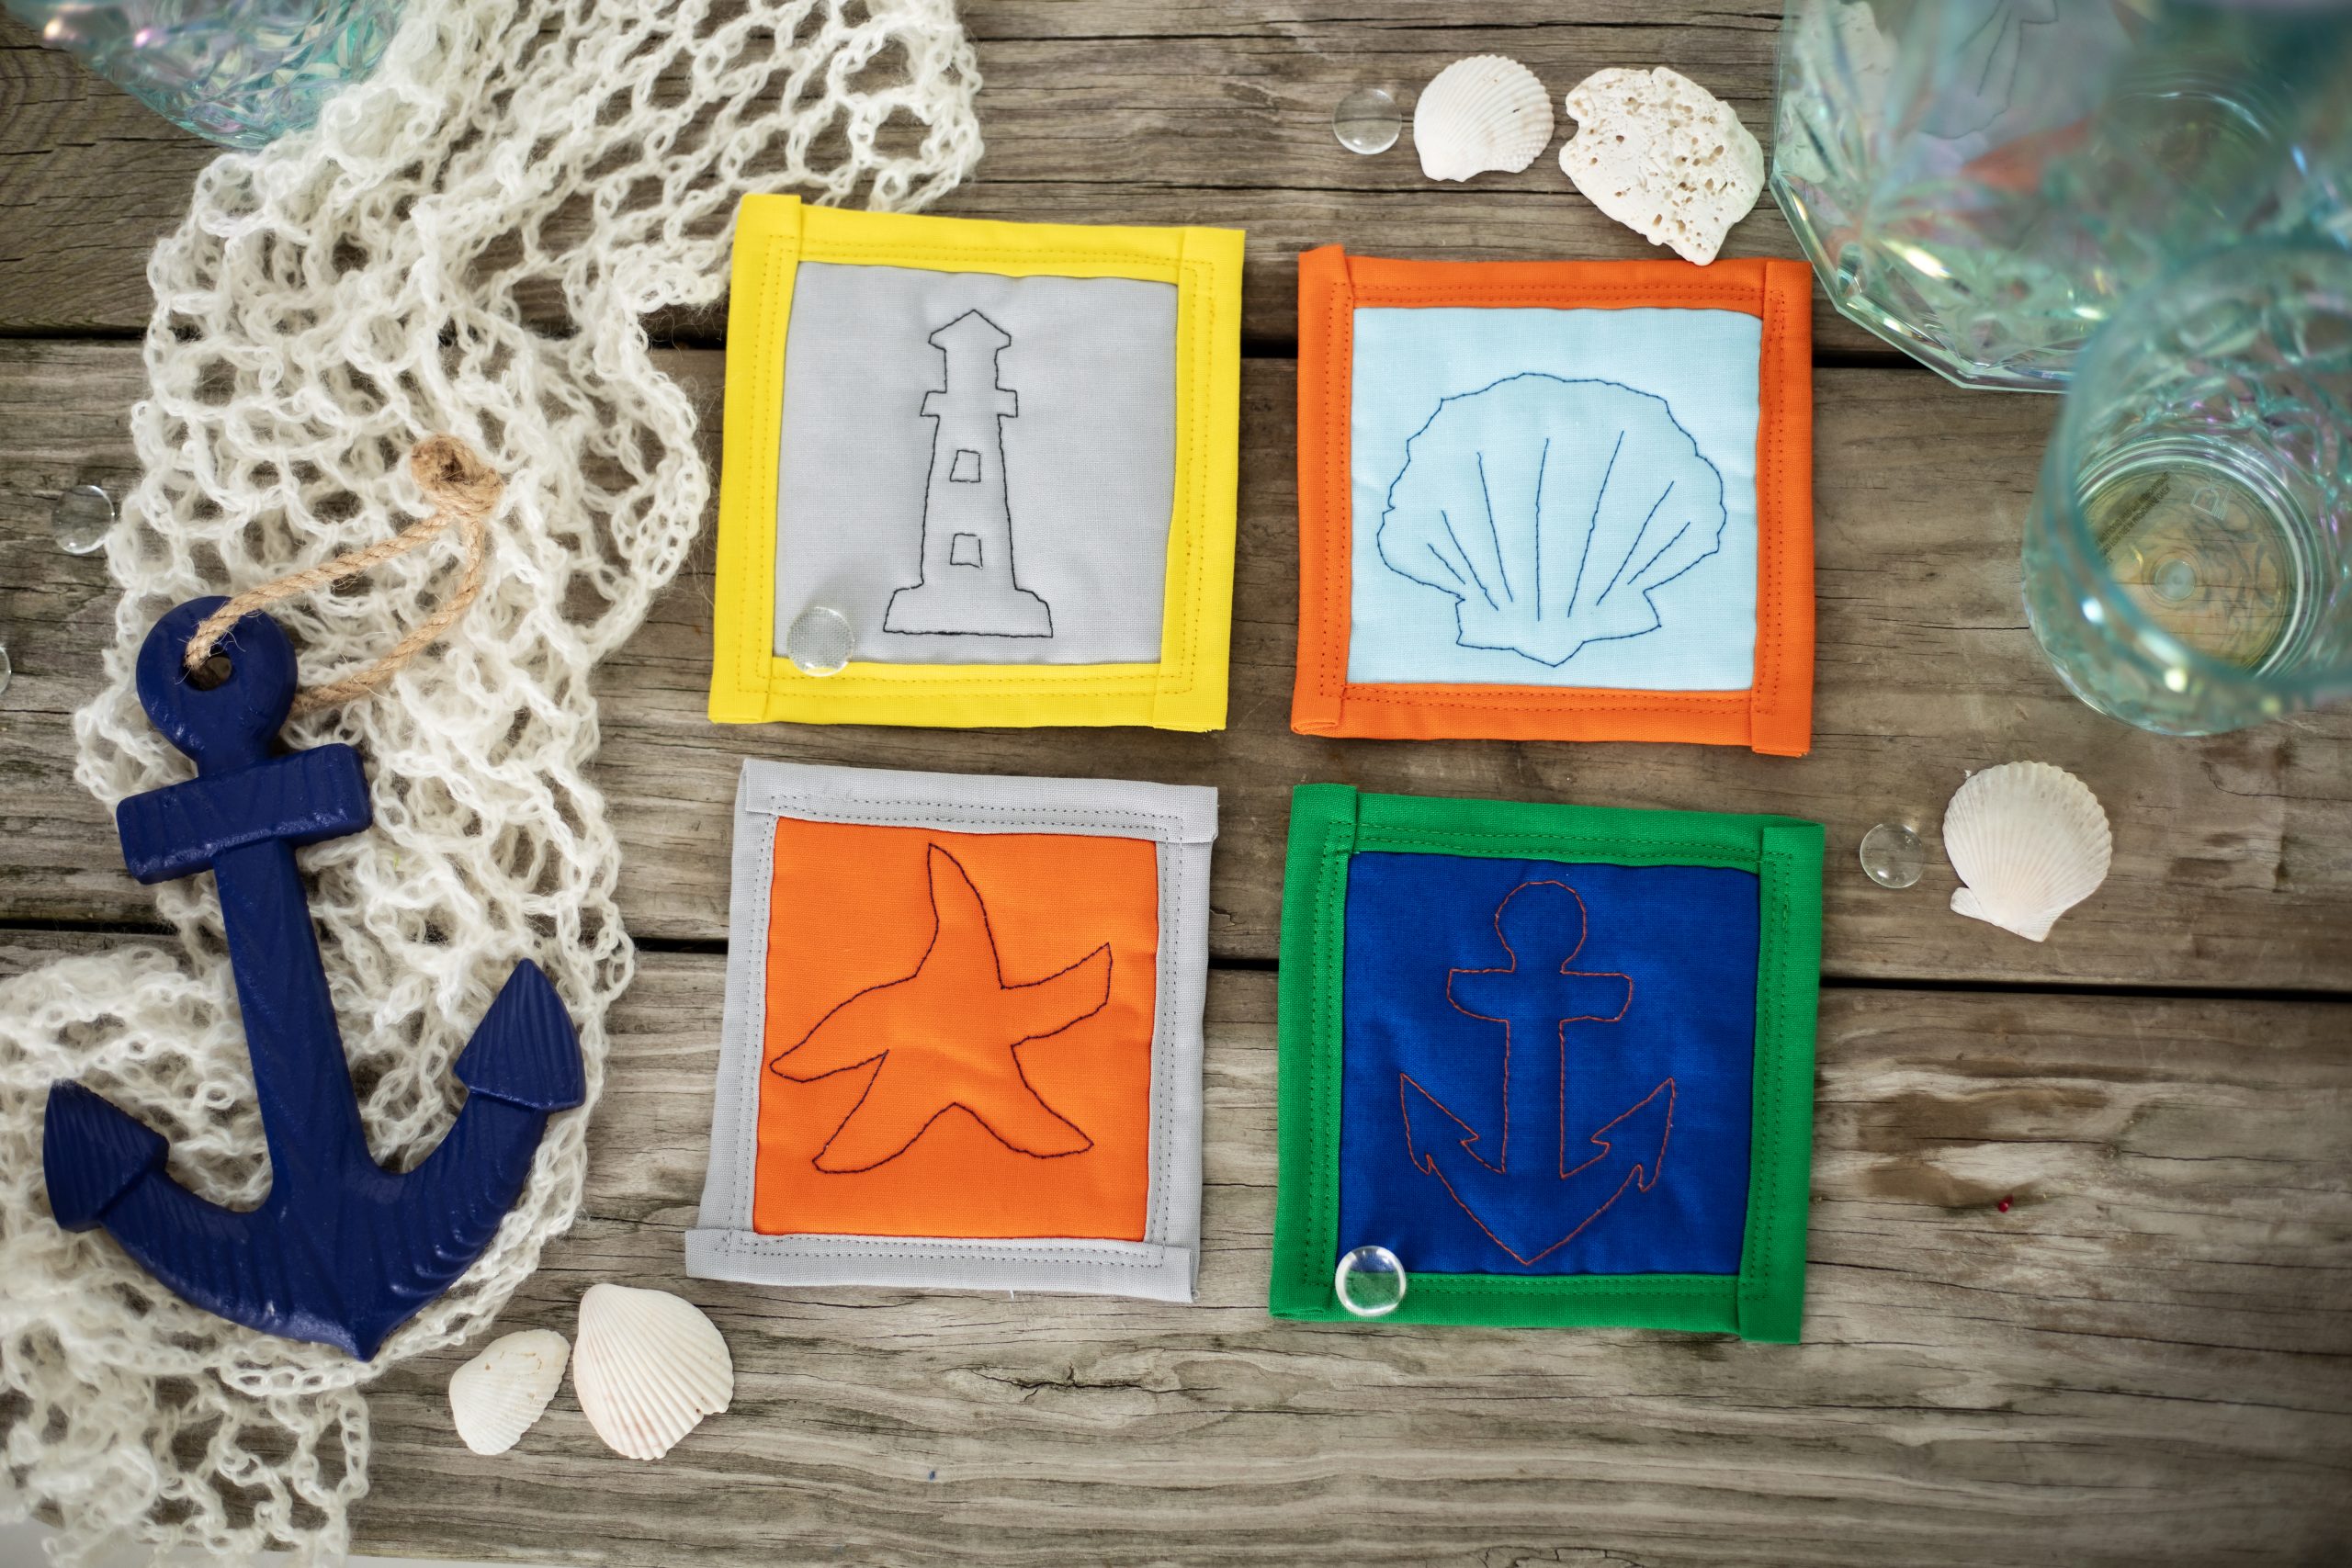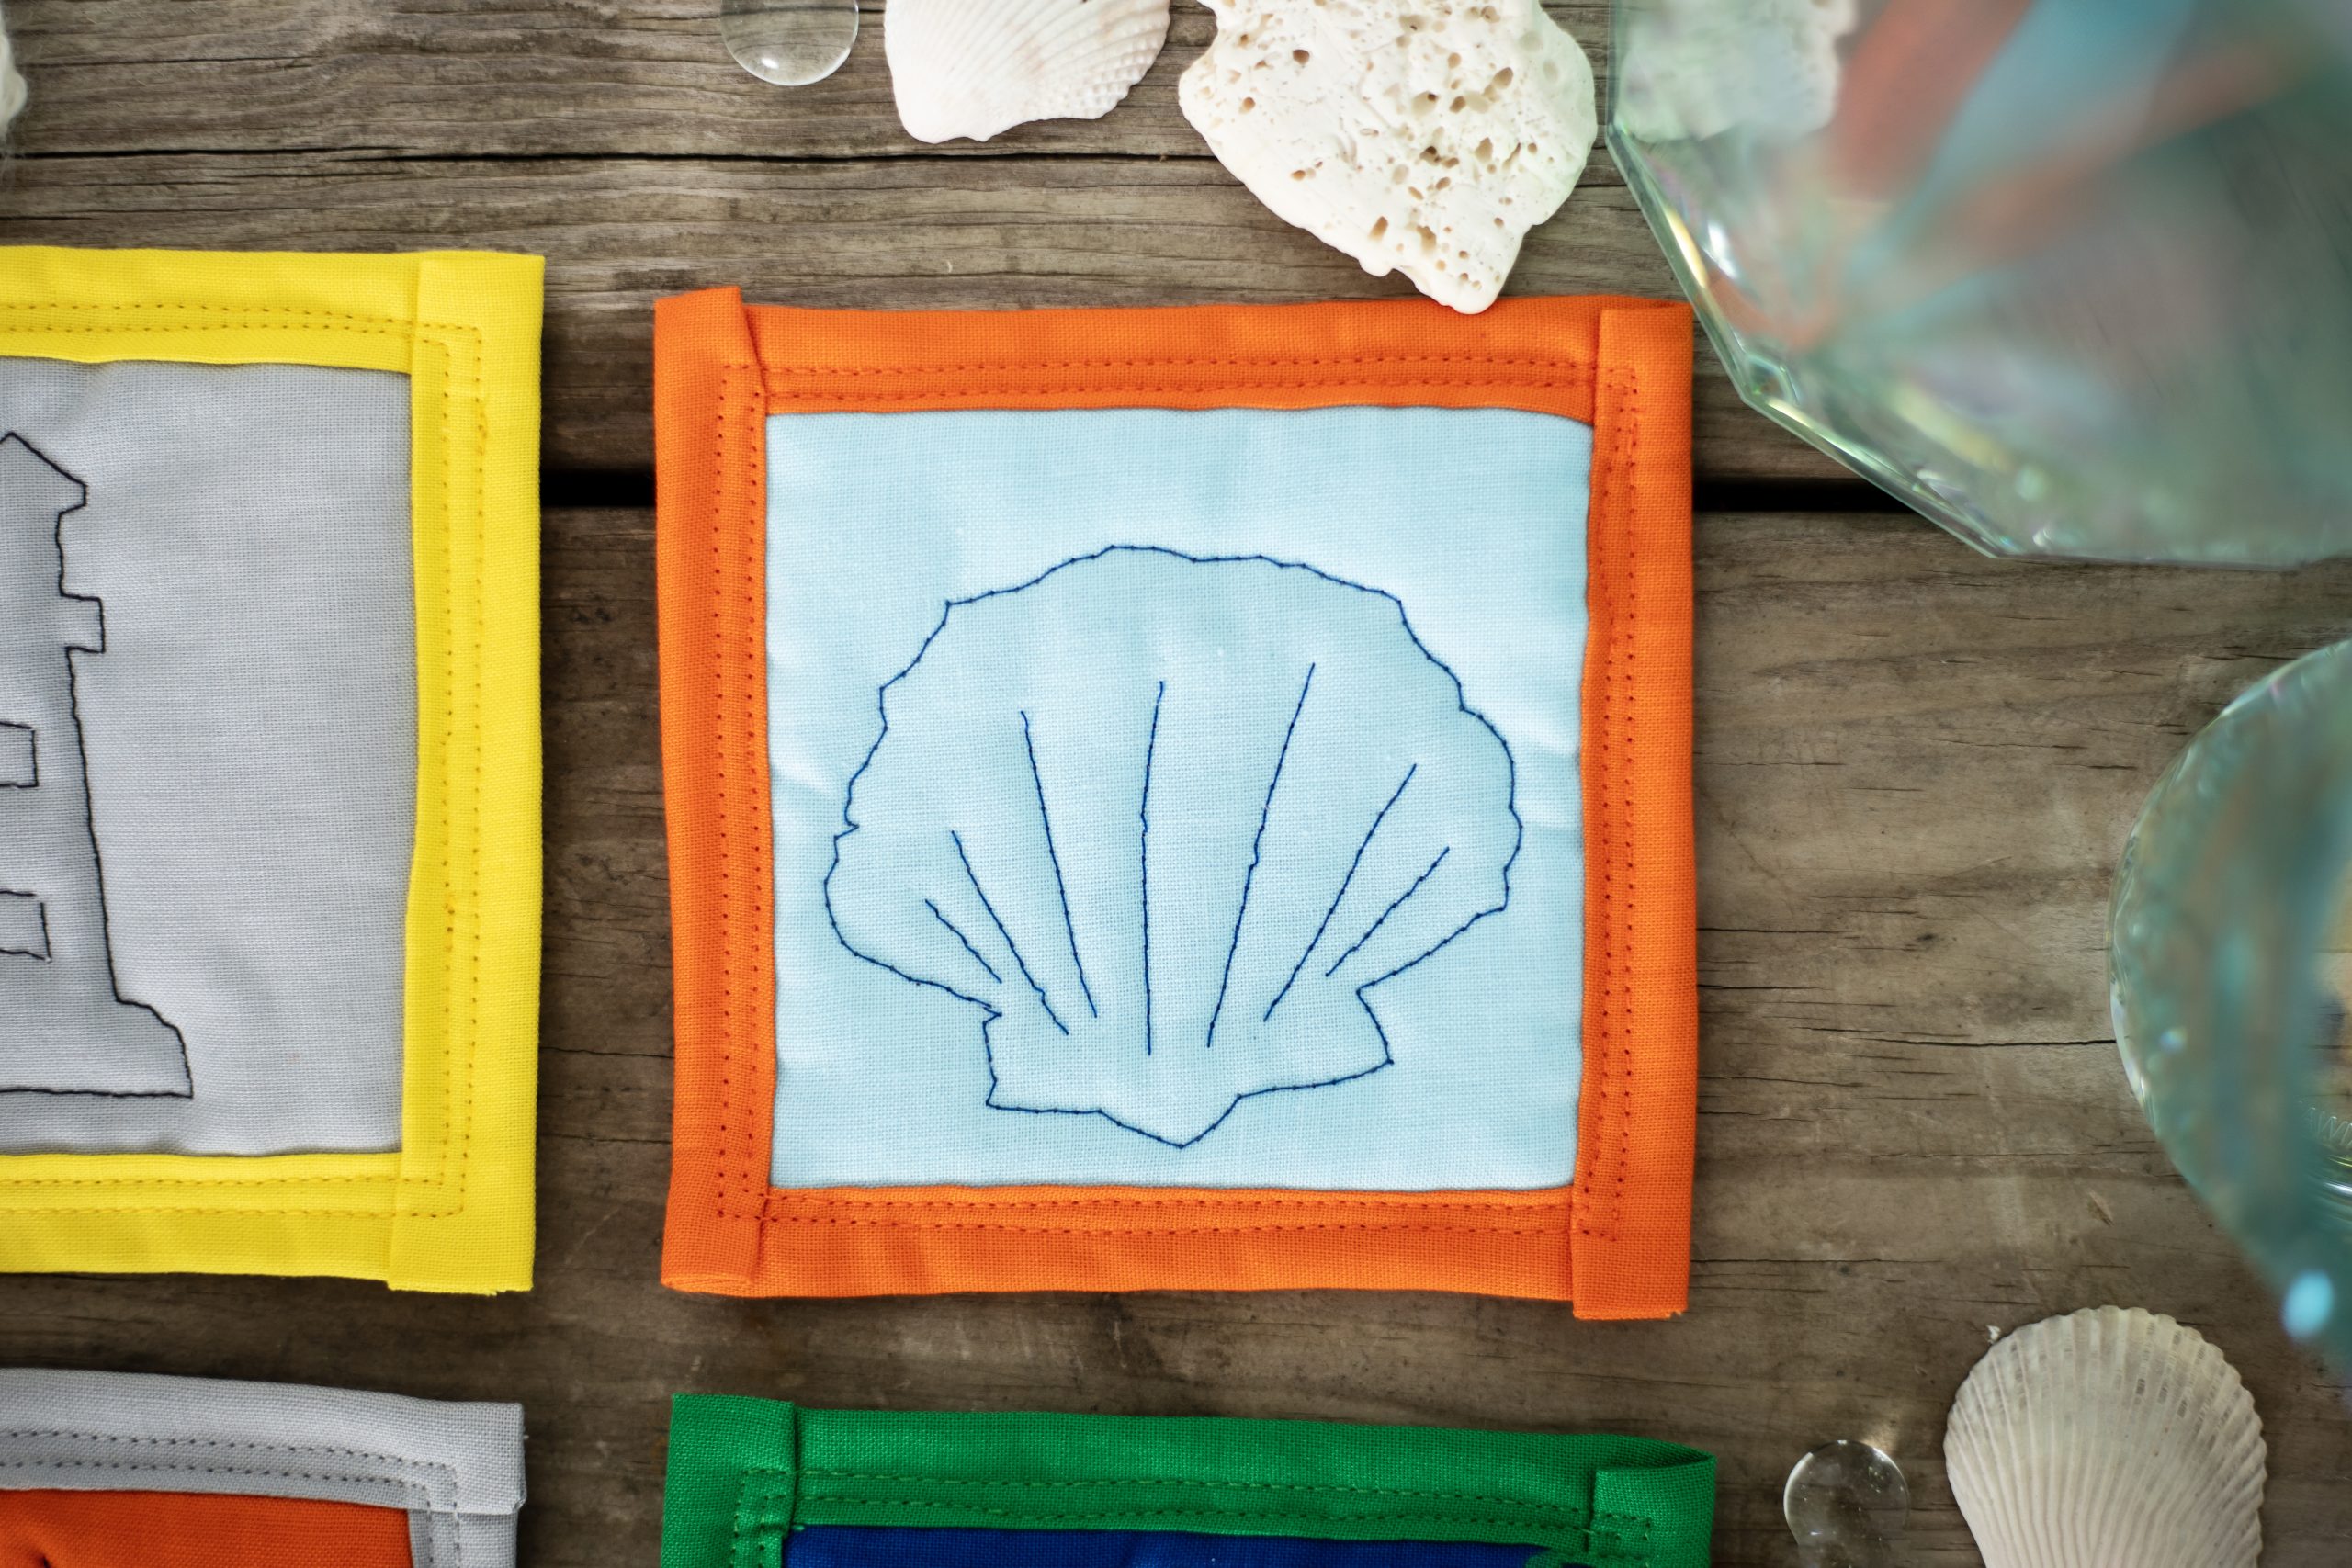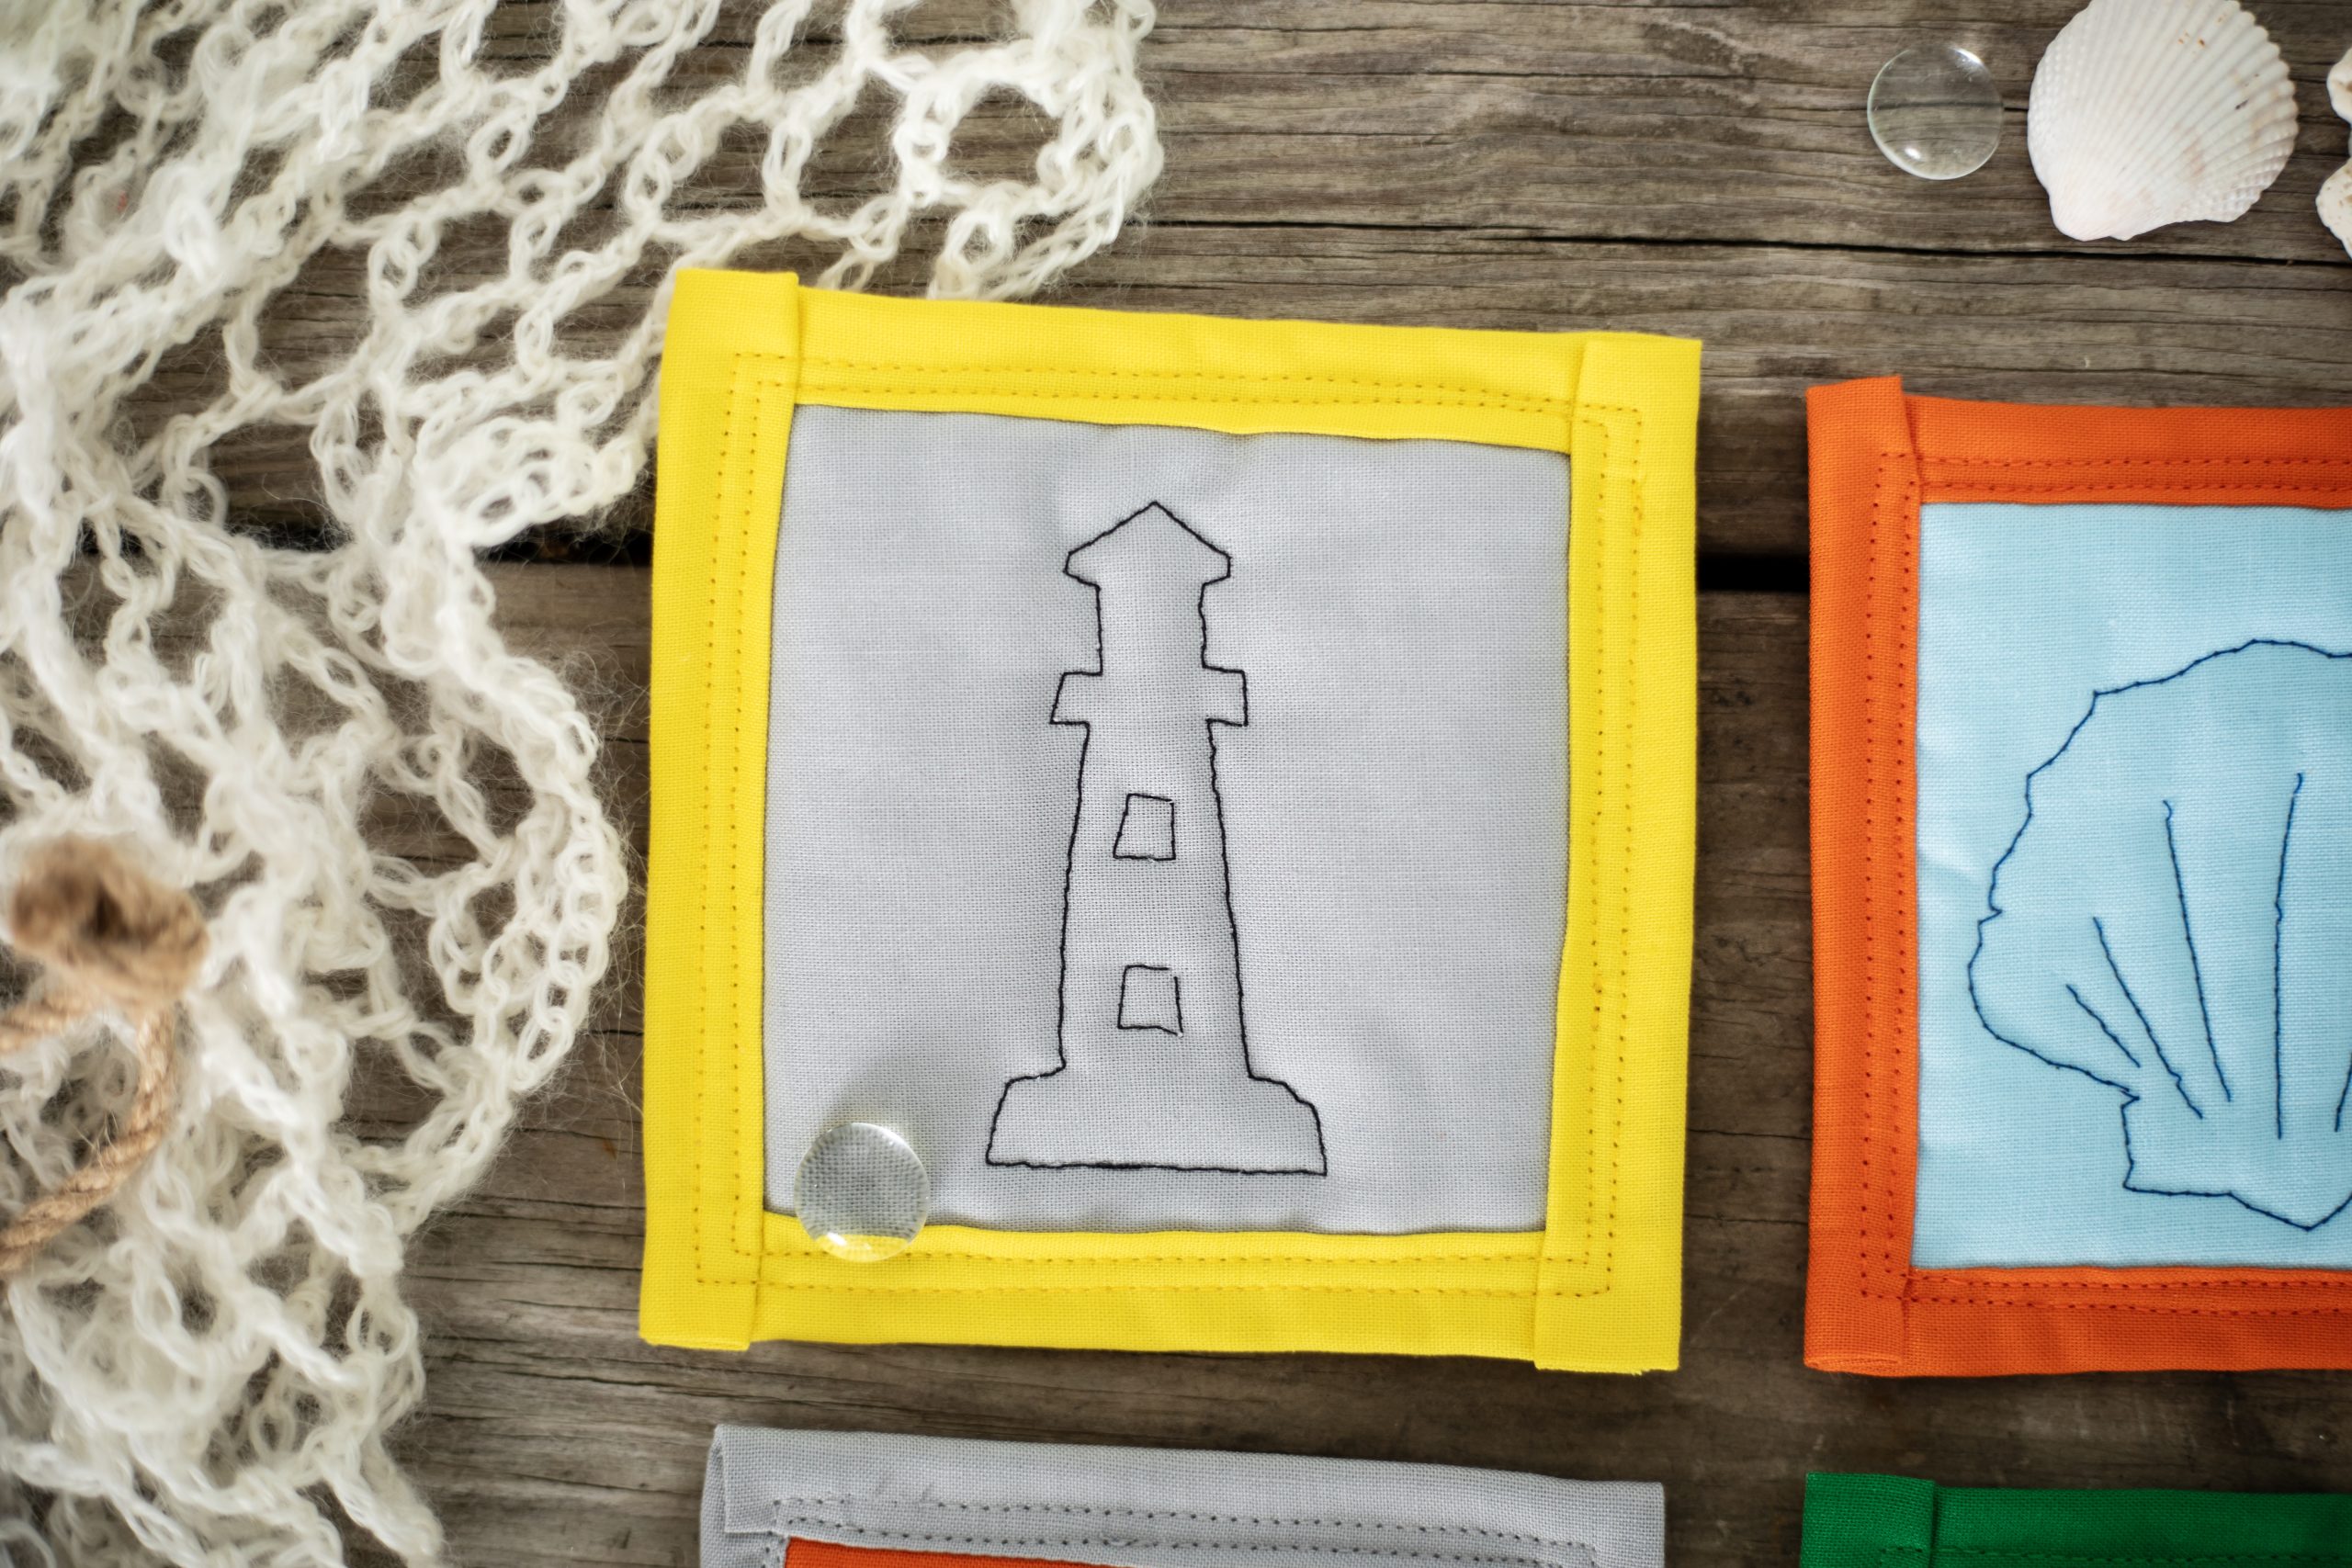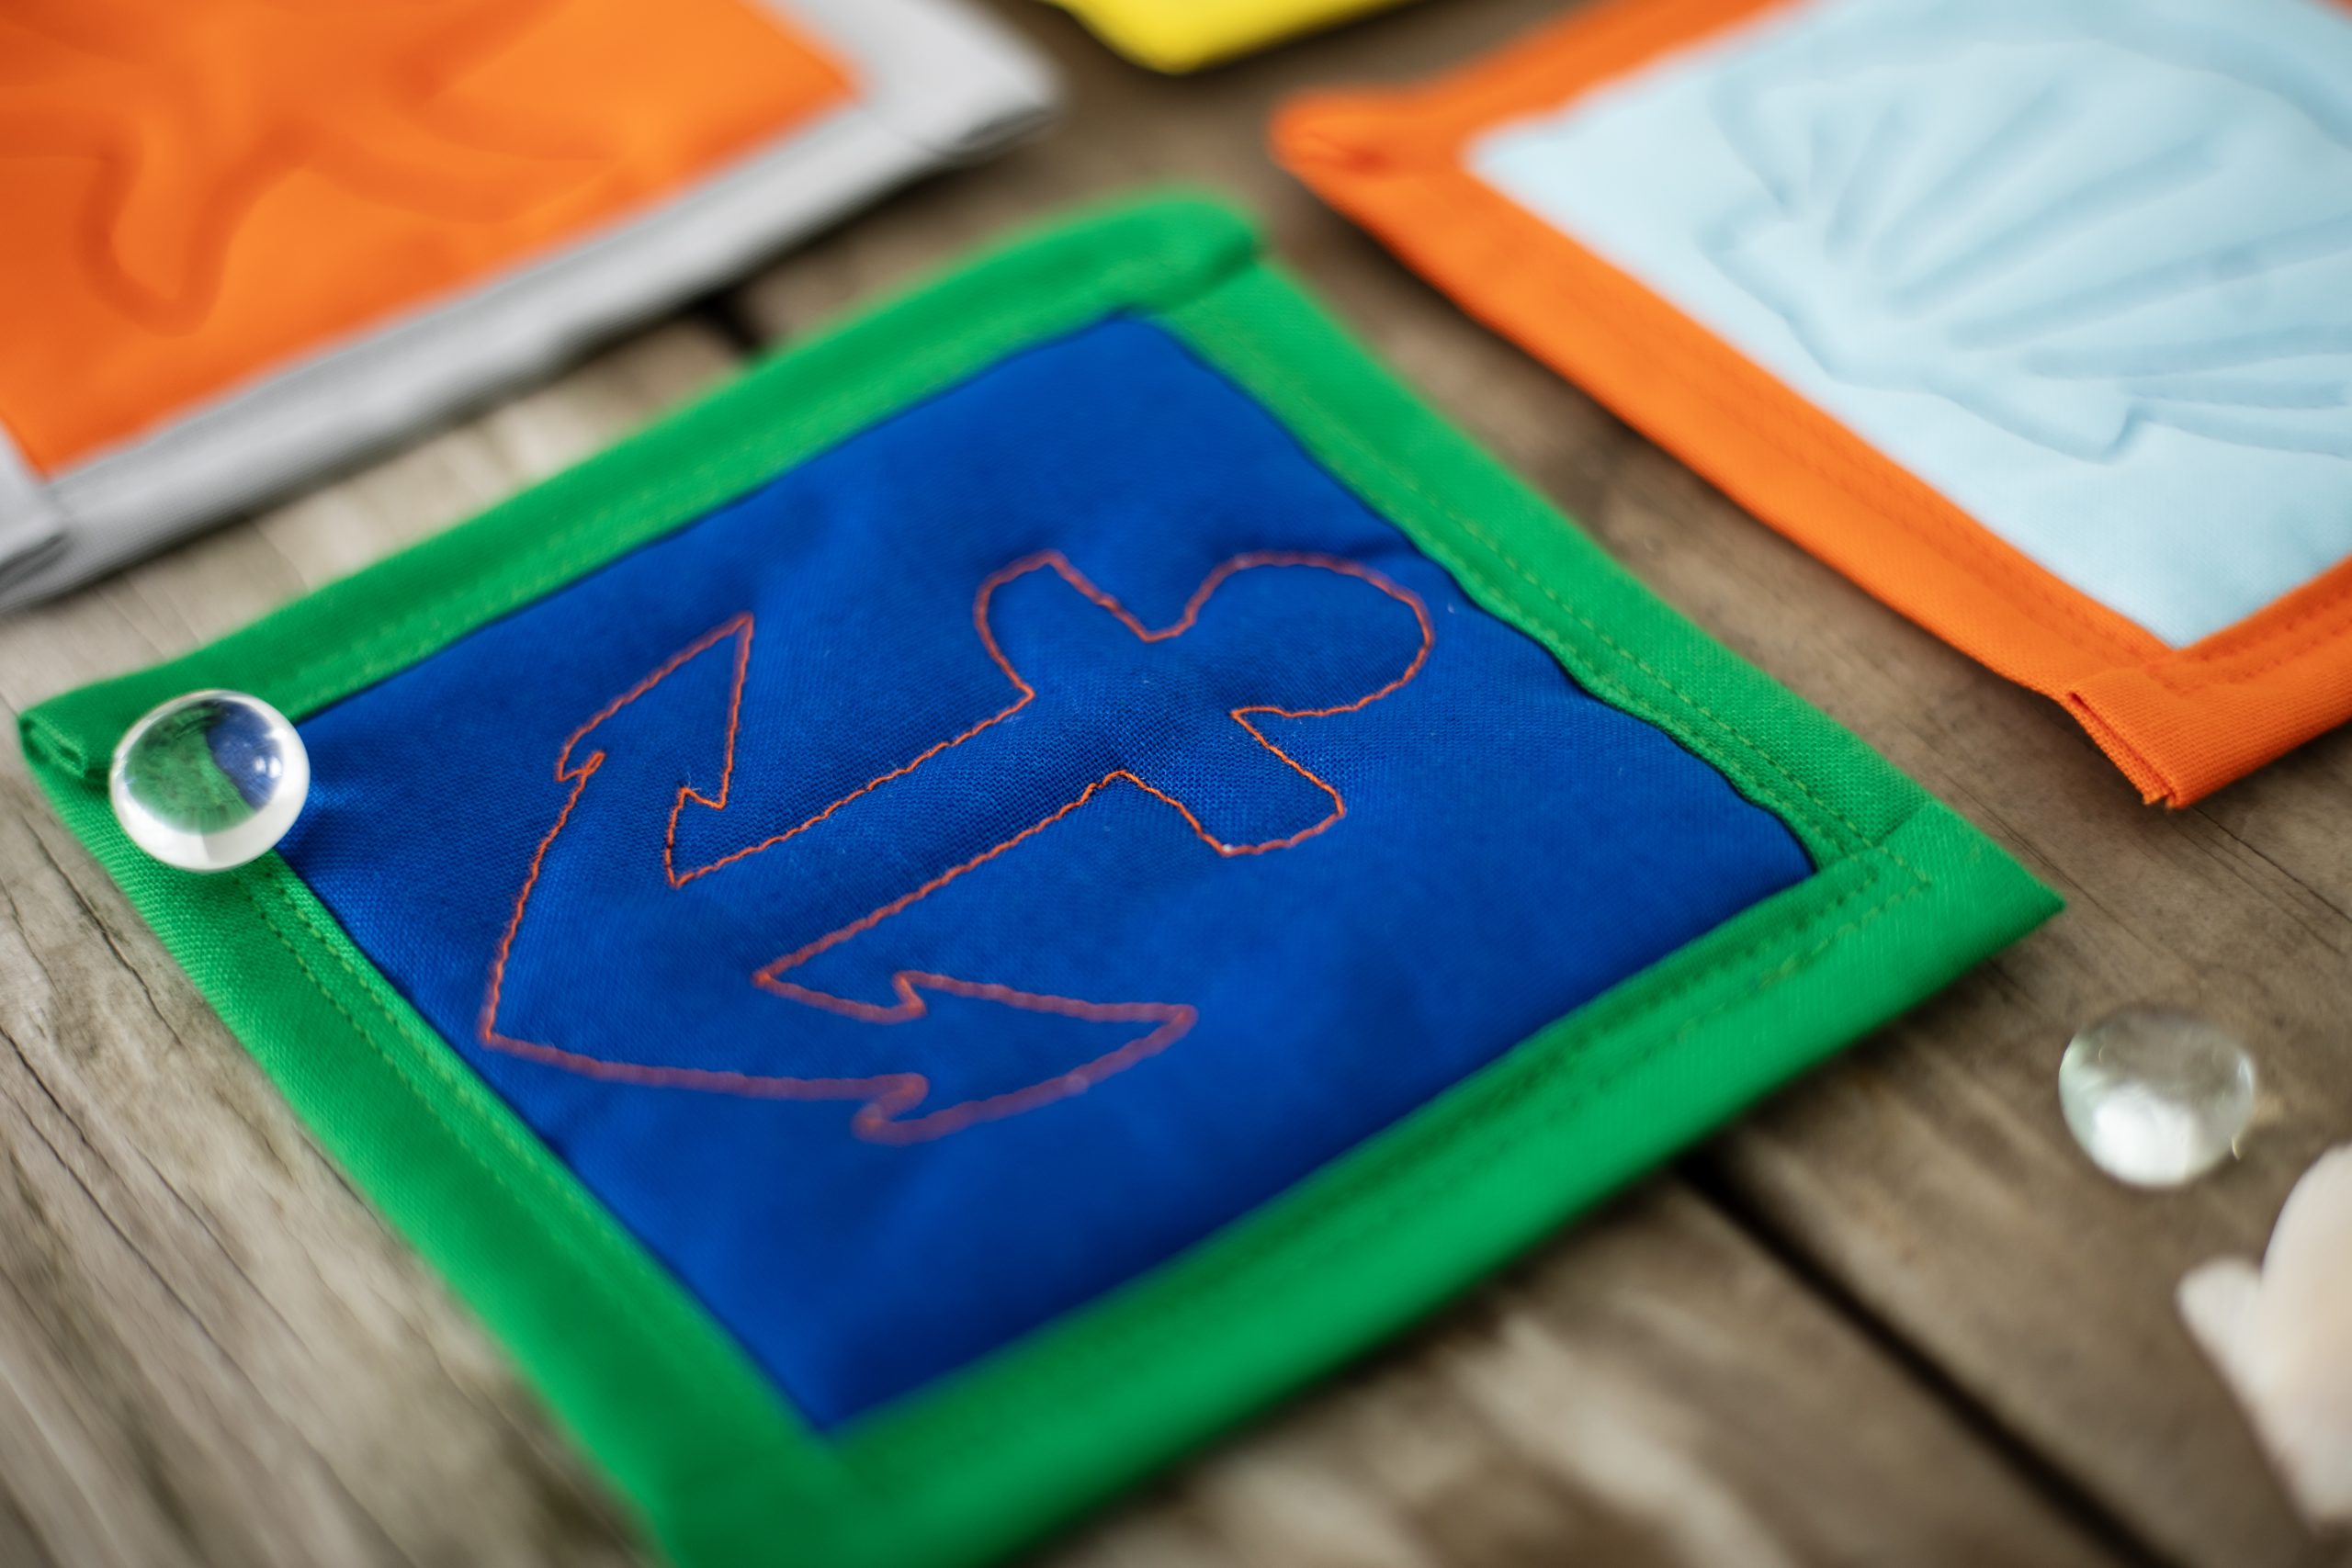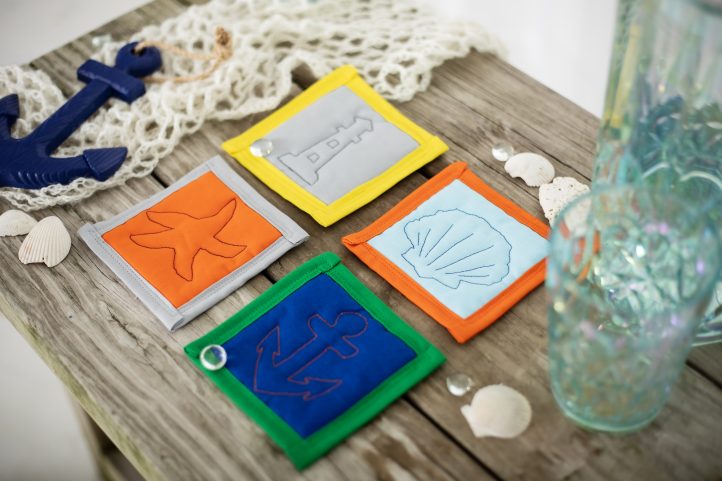
Ahoy there, quilters! Add a nautical touch to your home with these playful nautical quilted coasters, made in bold color combinations. Featuring four oceanic-inspired designs, these quilted coasters are fun, functional, and made with basic cotton fabrics. These beginner-friendly quilting projects also make great gifts for your friends who love boating, coastal vibes, or making annual treks to the seashore.
Materials:
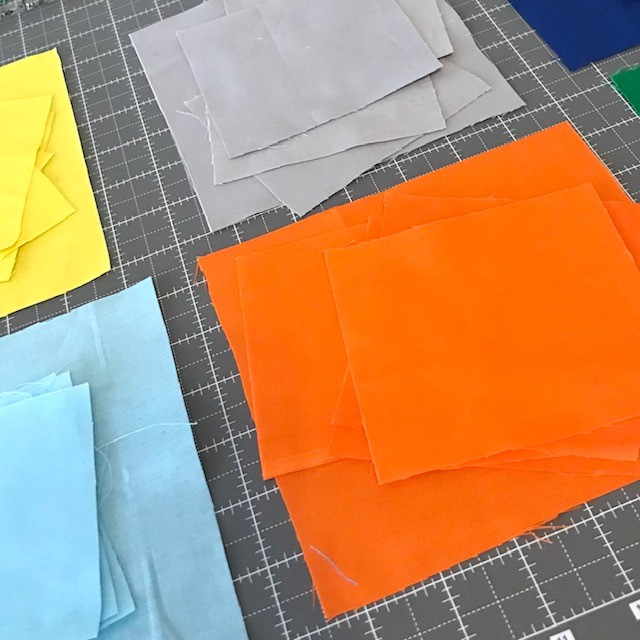
- Cotton quilting fabric (three squares that are no larger than 7” (inches) were cut out per coaster)
- Polyester quilt batting
- Polyester all-purpose thread (in matching and contrasting colors to the fabrics)
- Fabric scissors
- Rotary fabric cutter tool and mat (optional)
- Small sewing scissors
- Sewing clips (or pins)
- Printer paper
- Paper scissors
- Sewing machine
- PDF Templates – These are located at the bottom of this page. See printing instructions below.
PRINTING INSTRUCTIONS:
To download the PDF templates, click on the download button at the bottom of the page. We recommend opening your download using Adobe Acrobat.
Instructions:
- Print out the four square nautical template shapes (available to download). Cut out the templates and square shapes in paper. They are each 4.25” square in size.

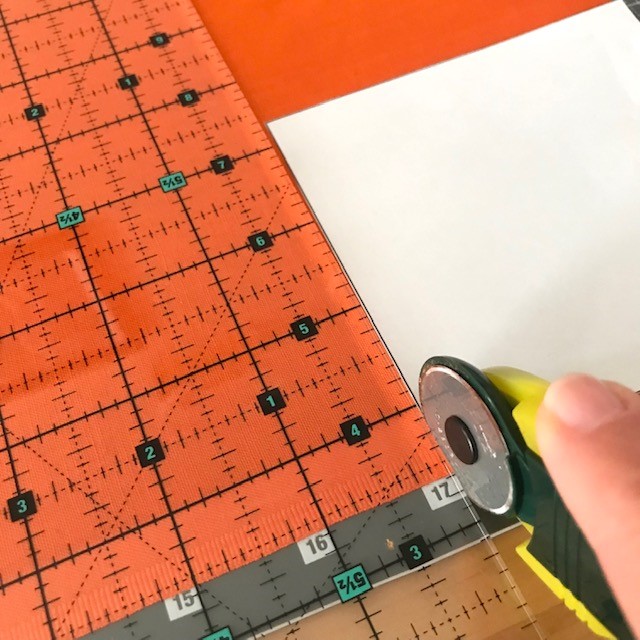
- Using the 4.25” square template shape, cut out two pieces of cotton fabric. This will be the front panel of the coaster. A rotary cutter and mat were used here but this can also be done with fabric scissors. Clip or pin around the edges if needed before cutting.
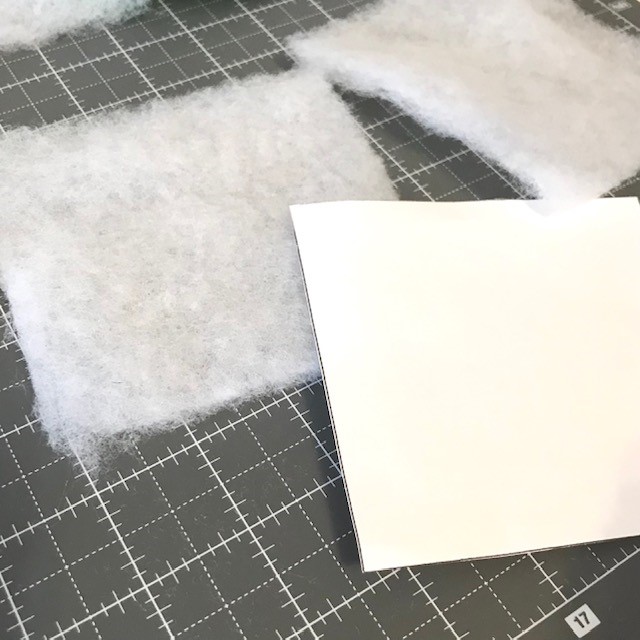
- Cut out a piece of the polyester quilt batting in the same 4.25” square size.
- Cut out one more piece in a contrasting color cotton fabric that is 6.5” square. This will become the back panel and front border trim of the coaster.
- Stack the following pieces on top of each other: a small square cotton piece on bottom, then the quilt batting, then another small square cotton piece, and then a paper template on top. Clip (or pin) around the edges to hold the layers together.

- Now to sew! We will use a straight stitch with a length setting of 3 for the whole project. For this step, the needle should be in a central position. In a thread color that contrasts the fabric, carefully sew in the nautical shape in the center of the square. Take your time and go slowly to try to follow the shape. It doesn’t have to be perfect, and if you want to leave out some of the more detailed inner lines that is fine too! Don’t cut off the threads too short.

- Flip the coaster over. Gently pull on the long back threads to get the long thread ends on the front the come through (so they are all on the back now). Tie them off together and trim the excess, leaving some length so they stay knotted.

- Next, slowly remove the paper from the front. Peeling off a little bit at a time is then best method and will keep the stitches from coming loose. Holding down the panel will also give more control and you can roll away any little bits of paper that remain with your fingers. If any threads are visibly loose from the front, pull them taught from the back of the panel.

- With the sewing machine needle now in the right position, sew all around very close to the edge of the square. This will secure all three layers together.

- Using fabric scissors, clean up around the coaster to remove any extra batting, fabric, and thread pieces.

- Next, place the coaster panel face up and centered on the larger square piece in a contrasting color. There should be about 1” of the larger fabric showing all around the quilted panel.

- Starting from the top, fold the excess part of the larger fabric in half and then down again so it forms a border on the inner square. The trim is approximately 1/2” deep when folded down and should totally cover the stitches around the edges of the coaster. Clip (or pin) to hold it. Do the same for the bottom.

- Fold the sides of the border in using the same method. Clip all around to keep it secure.

- On the machine, sew a stitch line all around the border trim very close to the inner edge. For this and the next step, use a matching thread color to the trim so it is less visible. The needle should be in the left position and the right edge of the coaster lined up with the presser foot.

- Sew another similar line a little further out from the first. This time the needle was in the central position. Trim off any excess threads.

- Repeat Steps 2-15 for the other three designs. The finished coasters will be approximately 4.5” square.
Care: Keep the coasters flat and allow them to dry when not in use. Hand wash if needed.

