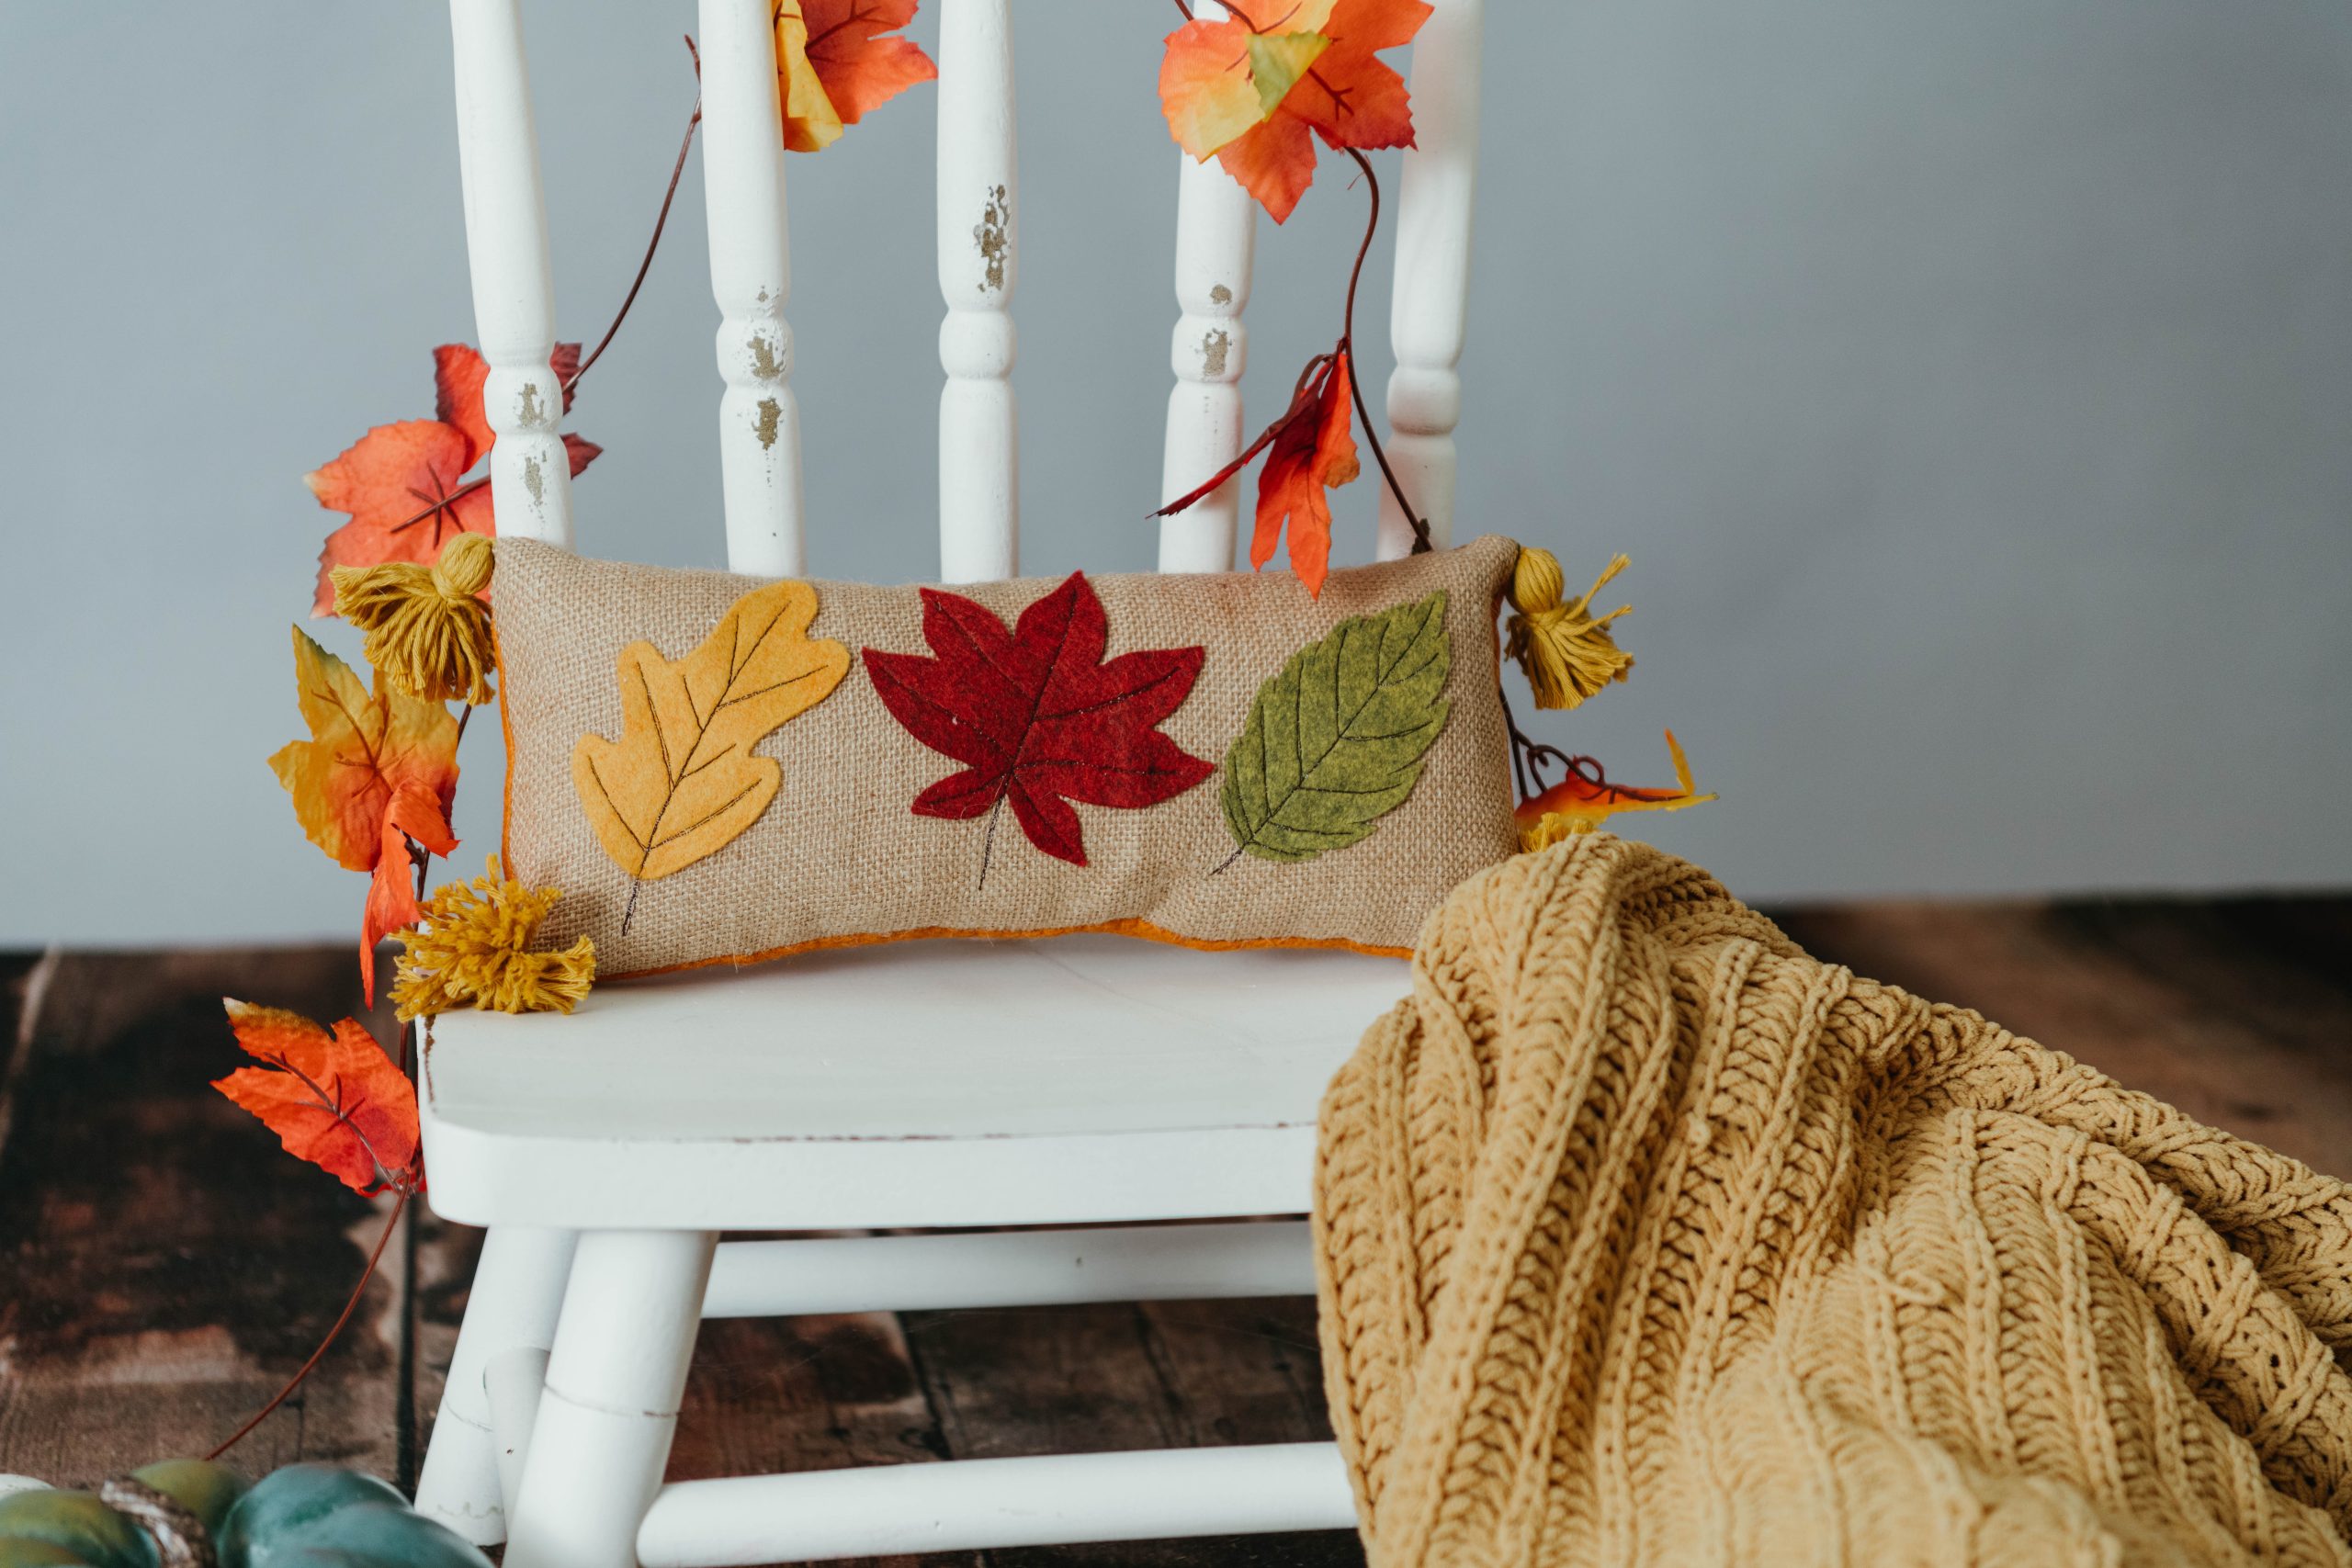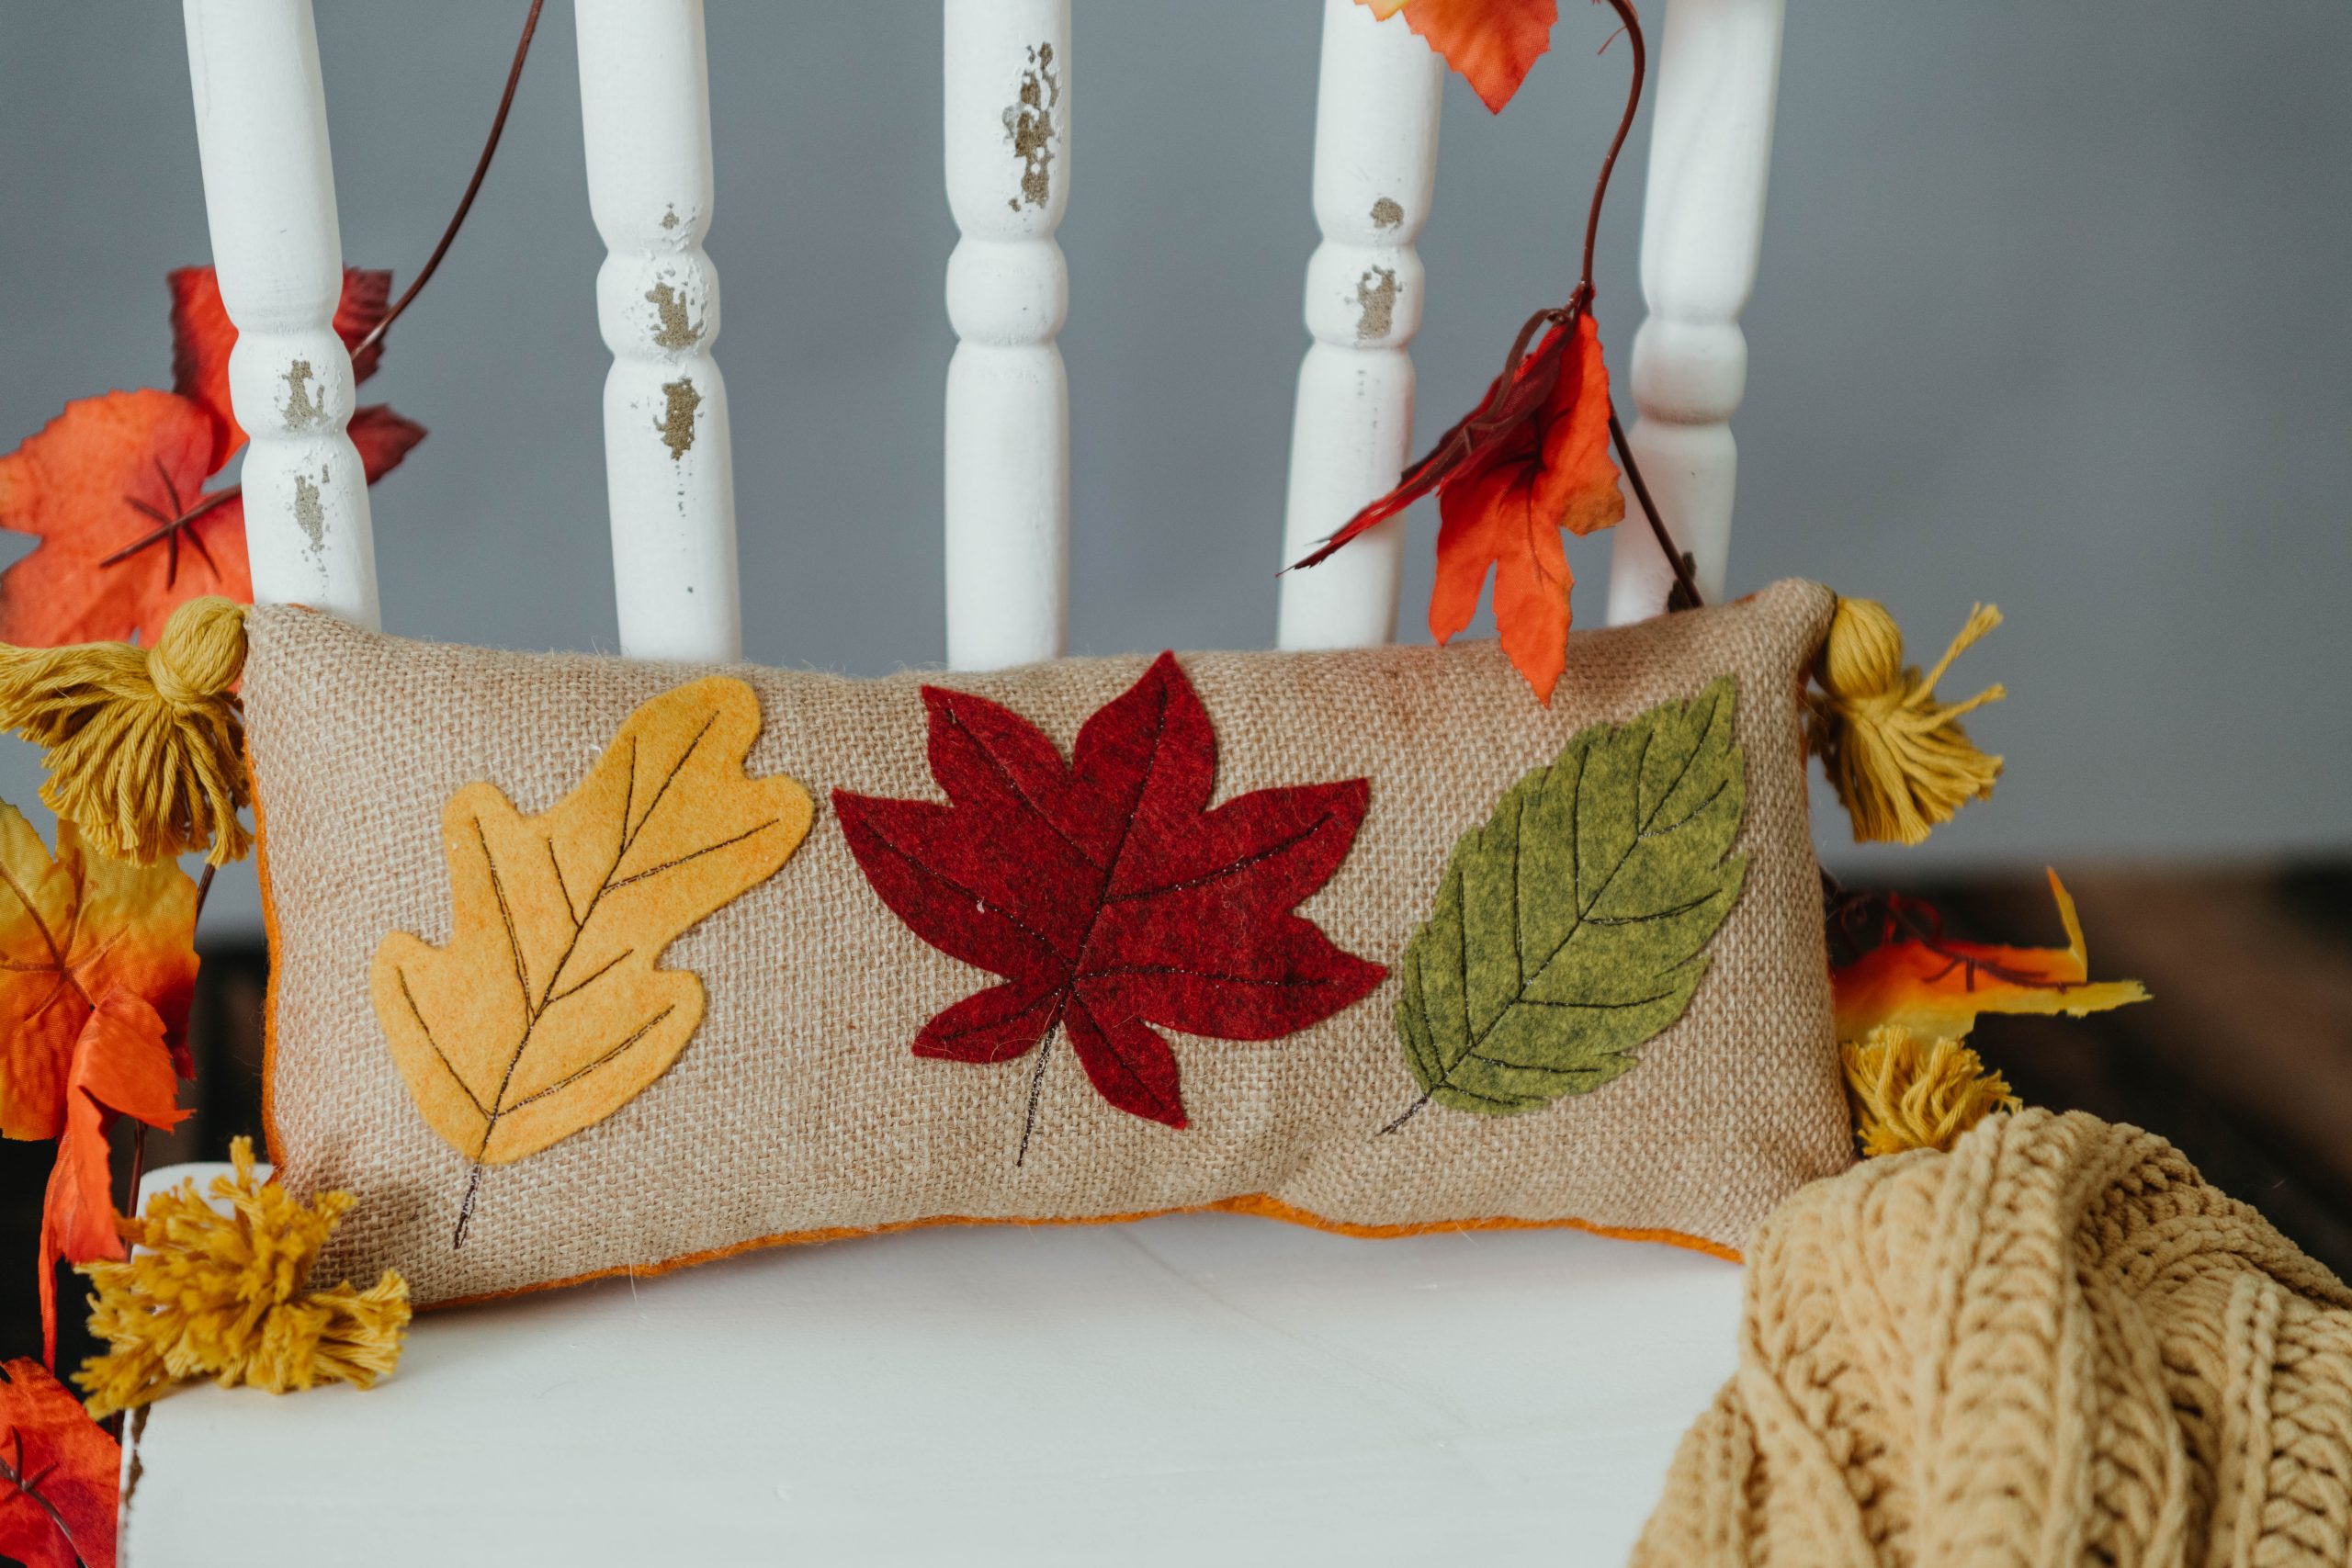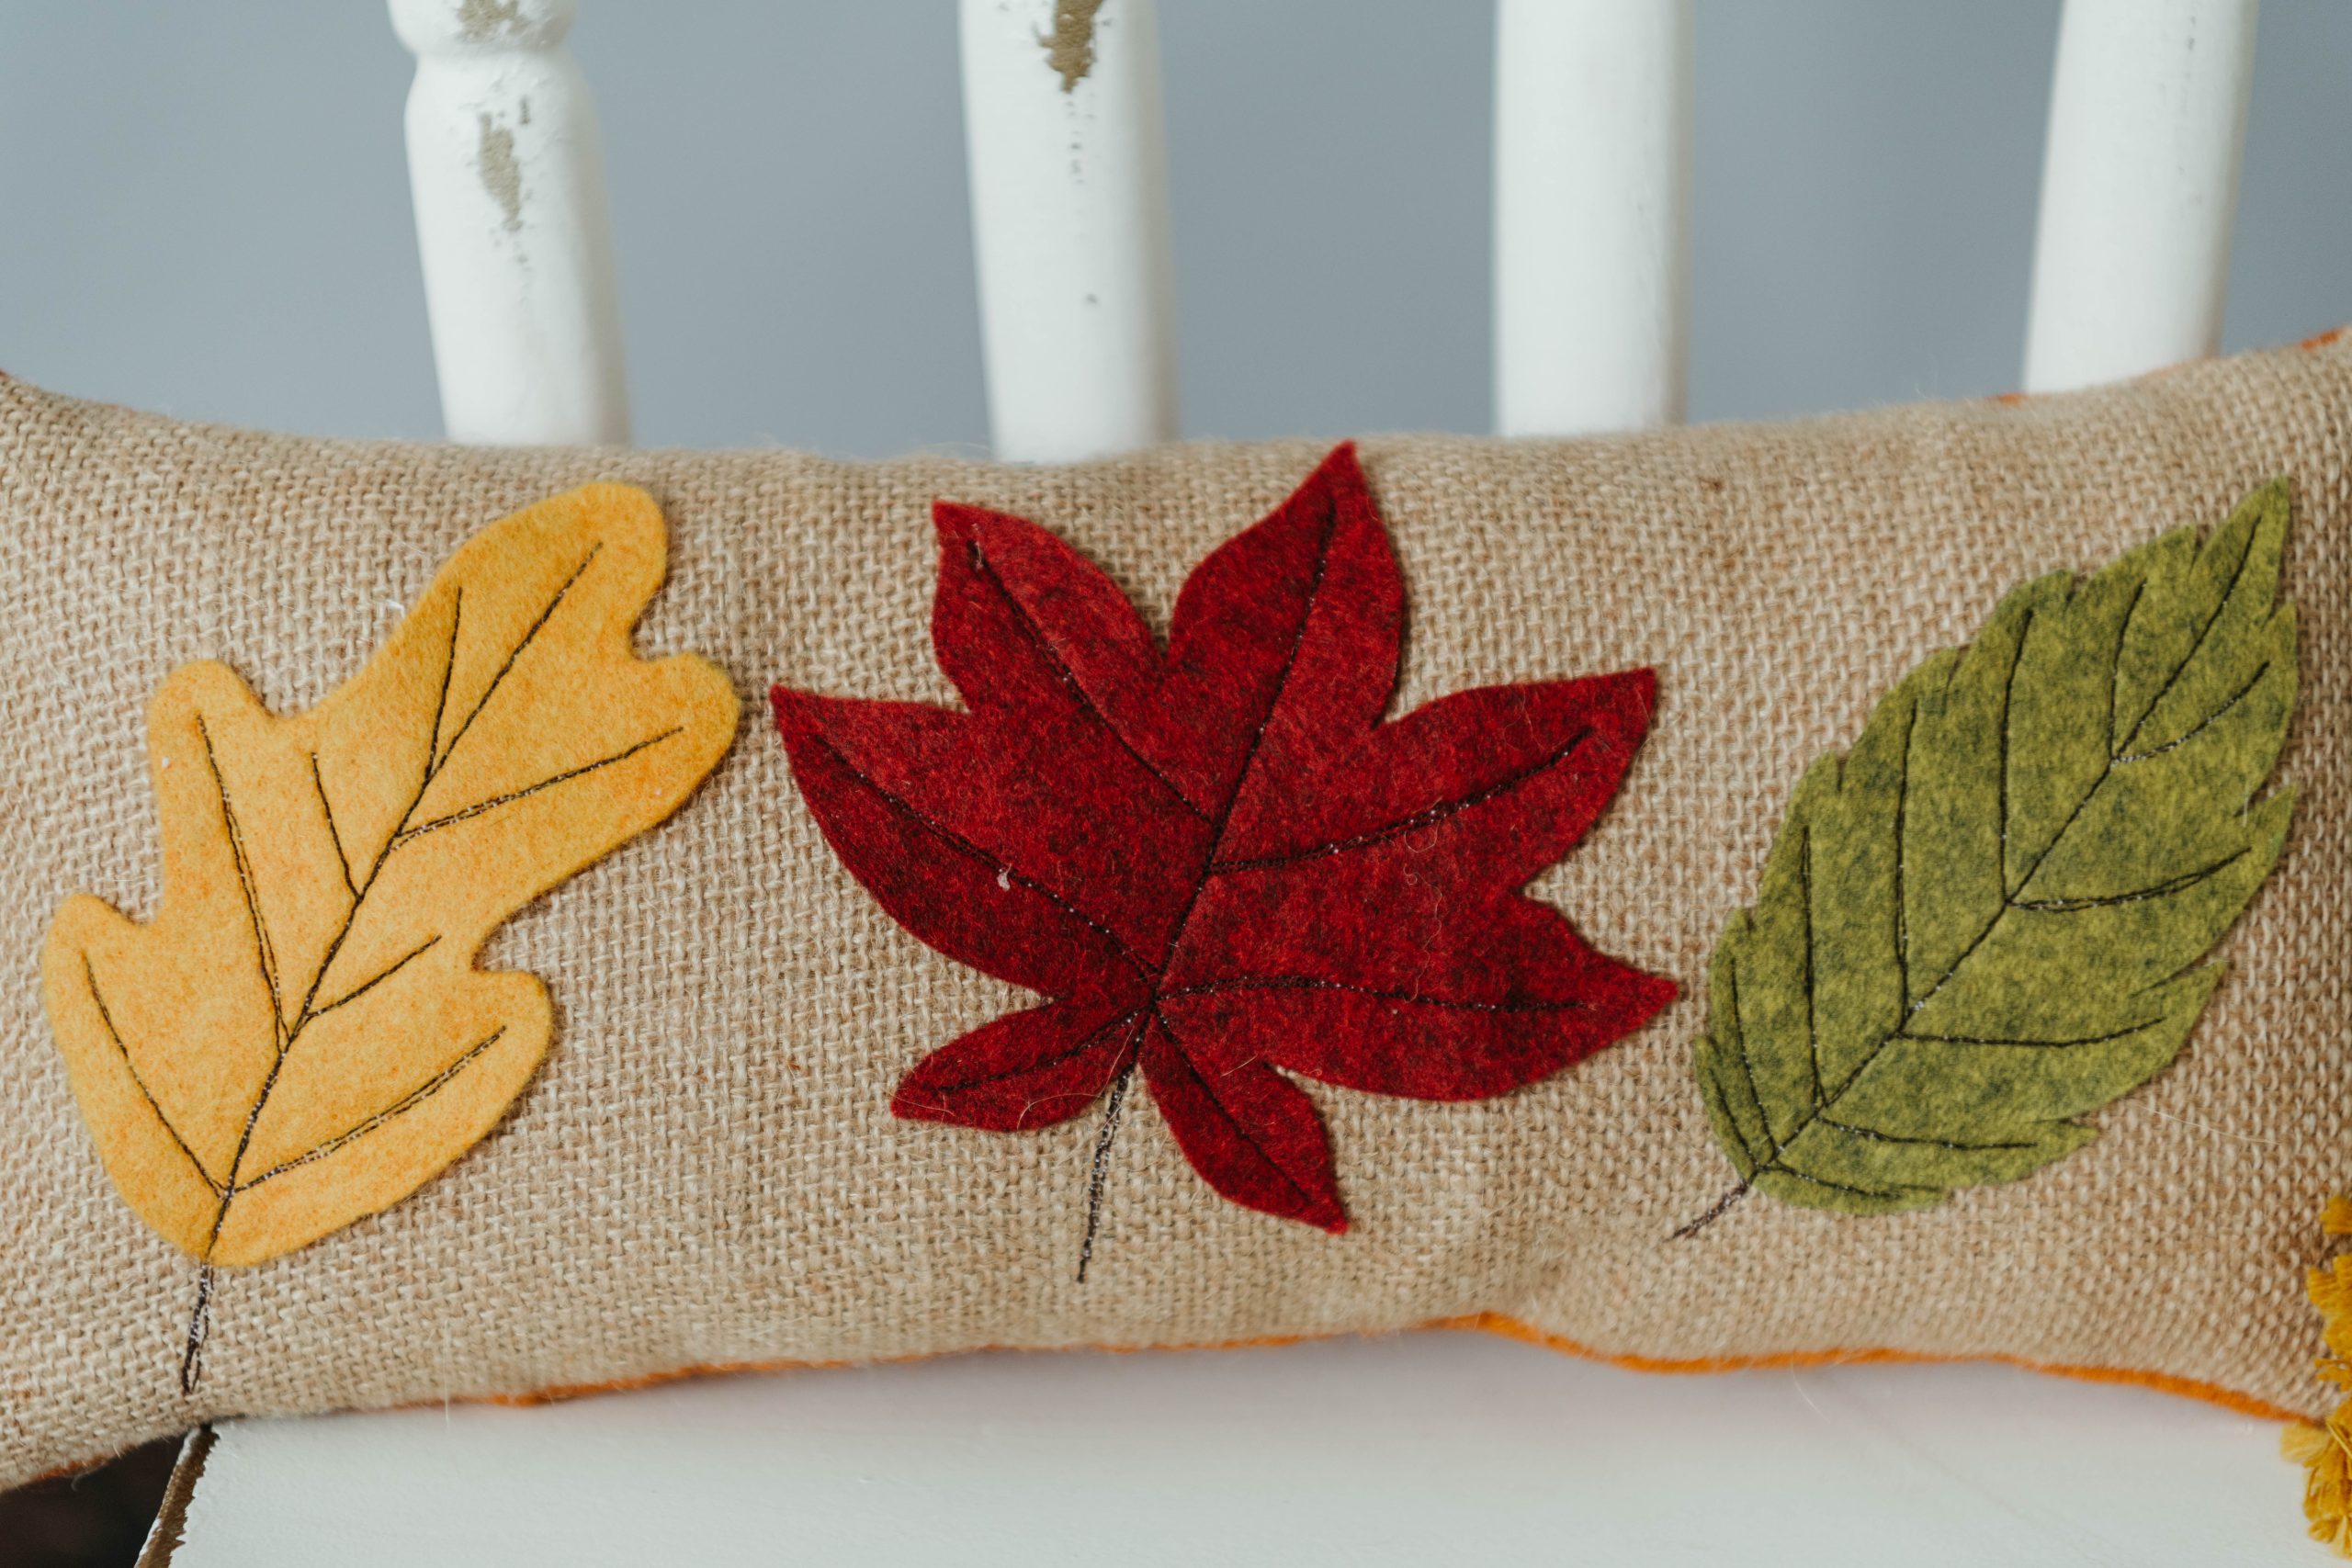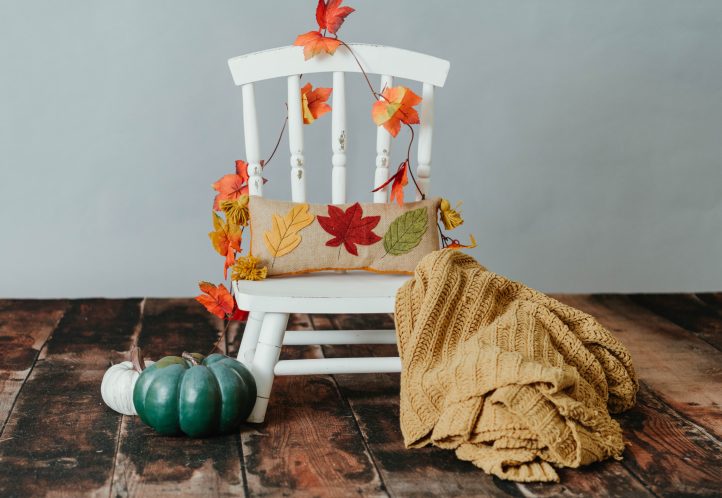
Craft a delightful fall cushion just in time for the changing of the leaves with this pattern from Debbie von Grabler-Crozier. Using a fat quarter of natural jute, this rustic fall cushion pattern features three autumn leaves in wool felt and uses free motion embroidery to create the leaves’ veins. Finish your throw pillow with some playful yarn tassels and add this quilted design to your porch swing or favorite armchair as a simple, understated fall accent.
Designer Note: Seam allowances are all 1/4” and have already been added.
Materials:
- Fabric:
- Fat quarter natural jute (Hessian) fabric
- Wool felt in three fall colors
- TIP: Go for natural wool felt if you possibly can. The polyester mixes are simply too bright.
- Fat eighth wool felt extra for the cushion back
- FQ fabric to make the cushion insert
- Interfacing:
- Fat eighth thin fusible woven interfacing. The designer used G740 by Vlieseline, which is a whisper thin cheesecloth weight.
- Polyester wadding to fill the cushion
- Cotton yarn to coordinate with one of your wool felt colors
- Tassel maker. Debbie used the large (turquoise) one by Clover MFG.
- Clear drying glue suitable for fabric
- Coordinating threads for all fabrics and trims
- Scissors
- Fabric marking tools
- Zipper foot
- PDF Templates – These are located at the bottom of this page. See printing instructions below.
PRINTING INSTRUCTIONS:
To download the PDF templates, click on the download button at the bottom of the page. We recommend opening your download using Adobe Acrobat.
Cutting Instructions:
From the jute fabric:
- 1 piece 15” wide x 7” tall for the front exterior panel
From the wool felt:
- 1 piece 15” wide x 7” tall for the back exterior panel (from the fat eighth)
- A small collection of leaf motifs using the PDF template download
From the cushion insert fabric:
- 2 panels 15” wide x 7” tall for the cushion insert
From the G740 interfacing:
- 1 piece 15” wide x 7” tall for the front exterior panel interfacing
Piecing Instructions:
PREPARATION:
- Because the cushion is a slightly strange size, it is easier to make our own insert (and it is really easy). Pin or clip the cushion insert panels right sides together and sew right around the perimeter, leaving a turning gap in the base (one long side).
- Clip across the corners to reduce bulk and turn the cushion casing the right way out. Use a chopstick or similar tool to carefully poke the corners out so that they are sharp.
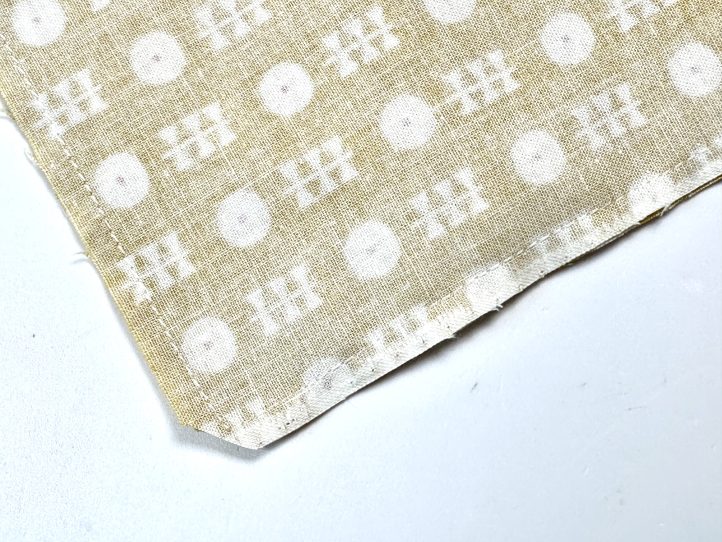
- Stuff the insert well with the polyester toy filling and close the turning/ stuffing gap.
- Interface the jute fabric with the interfacing. TIP: This ensures that the fabric doesn’t fray quite so much, as it makes it less see-through and it stabilizes it for the embroidery process.
- Lay the leaves onto one of the jute fabric front panel in a line keeping them away from the edges.
- When you are happy with the leaf placement, lightly glue the leaves to the cushion. Place your glue towards the center of the leaf.
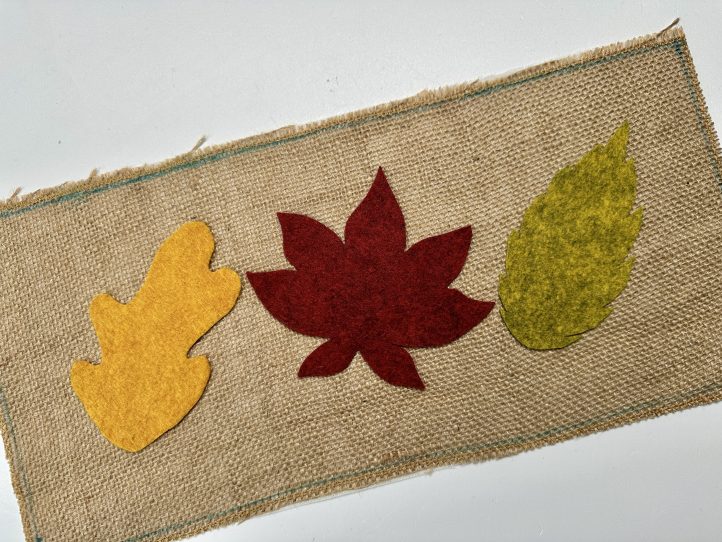
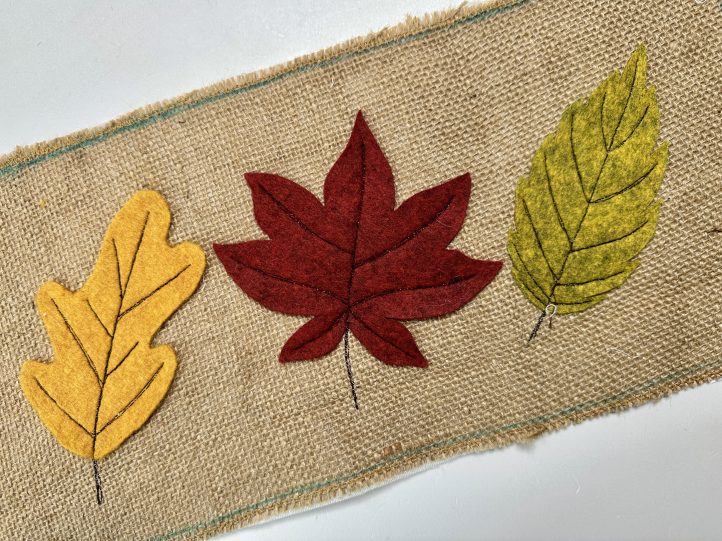
- Set your machine up for free motion embroidery. This varies from model to model so check your manual. The main thing is to either set the stitch length to zero or drop the feed dogs. And you will need to use a darning foot in most cases. TIP: The designer has used a dark brown thread to get a nice sketchy effect on the leaves.
- Stitch the veins only on the leaves. Not stitching around the edge allows them some dimension, which looks more natural.
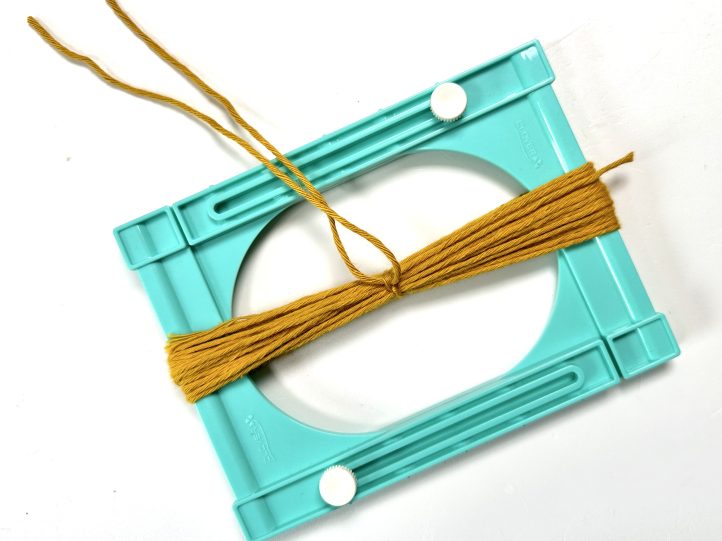
- Make four tassels using the tassel maker. Set the tassel maker on the smallest setting. Wind the cotton yarn 20 times around the tassel maker. Tie the ‘waist’ and remove the tassel from the maker. Fold the tassel in half and tie it about 3/4” down from the top. TIP: When you tie the waist, leave a long enough tail to attach it to the cushion.
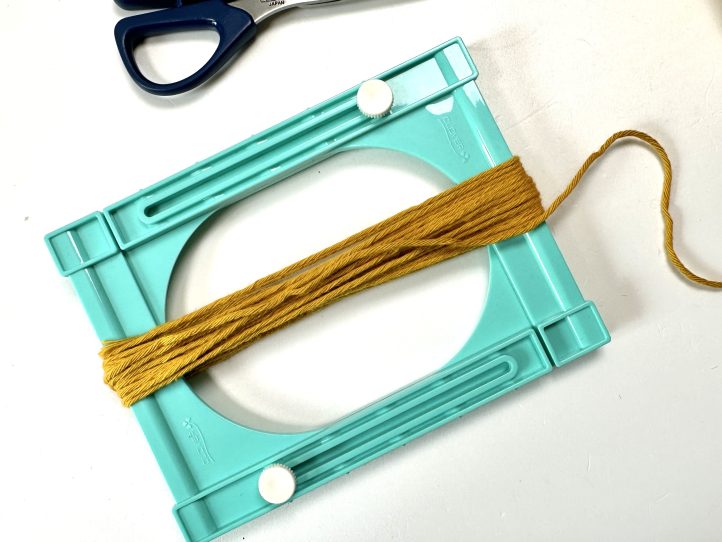
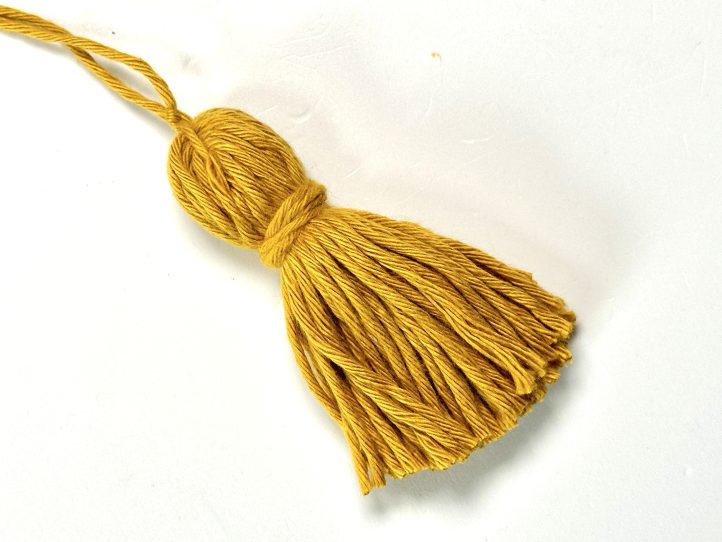
- Make another three of these.
MAKING:
- Attach a tassel to the four corners of the cushion front. TIP: A narrow zig-zag stitch is really useful for holding the tassels in place and then Debbie used her zipper foot in the next step to attach the backing. This gets in nice and close and stops the tassels from being too floppy.
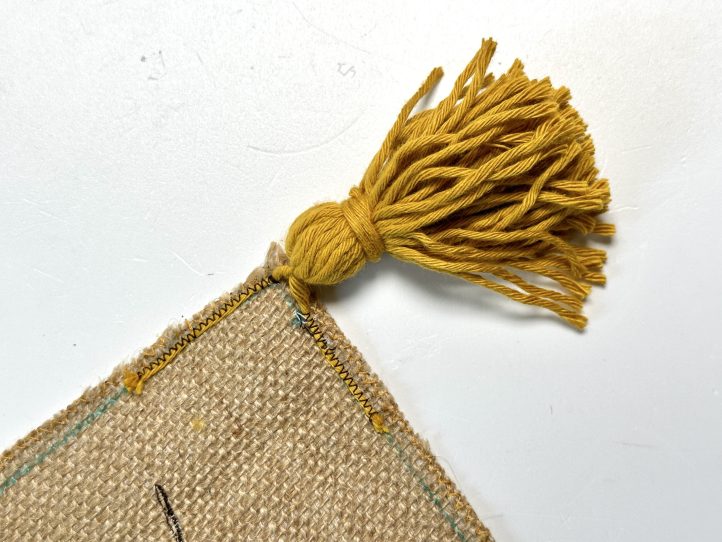
- Pin or clip the front and back panels, right sides together. The tassels will be down between the two layers. Sew right around the edge, leaving a gap in the bottom edge of about 5” to turn the right way out and insert the cushion.
- Turn the cushion cover right way out and use the tassels to gently pull the corners out so that they are nice and neat.
- Insert the cushion and close the gap at the base of the cushion.

