All photos in this article are provided by the designer.
Designer Note: Seam allowances are all 1/4” and have already been added.
Materials:
- Fabric: (Note: My lovely fabrics are all by Art Gallery Fabrics.)
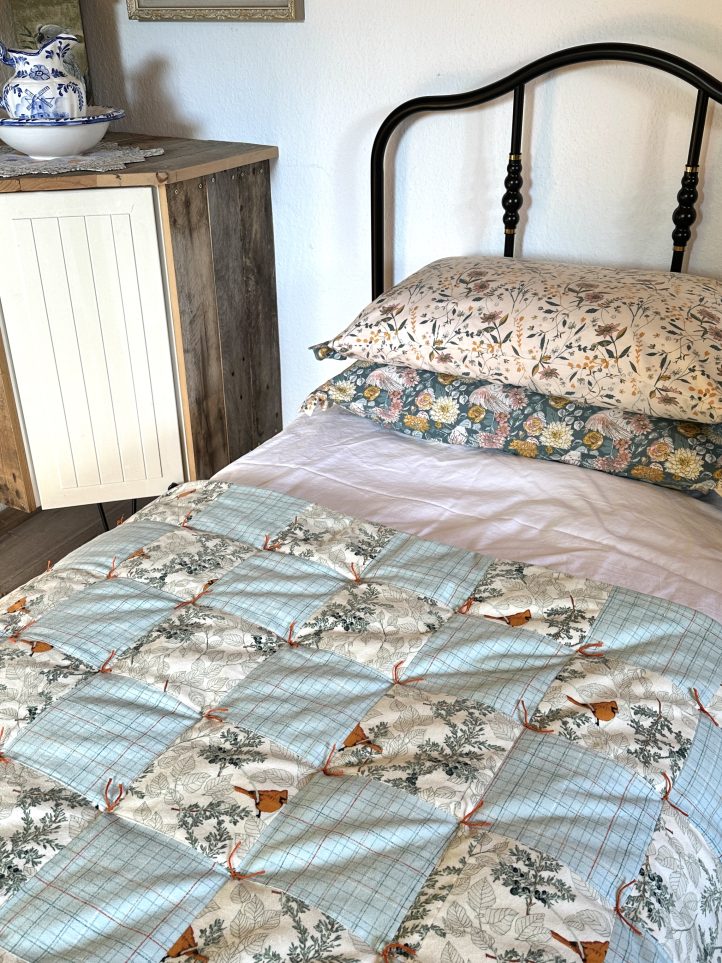
- 5 1/2 yds. flannel fabric for the backing and patchwork. I love Juniper Grove Cream by Sharon Holland (Juniper collection).
- 2 1/4 yds. flannel for patchwork on the quilt front. My choice is Lined Seed Bed Soft from the Grow and Harvest collection by AGF.
- Interfacing:
- 61” R200 high loft batting (Vlieseline)
- Large, sharp darning needle
- 50g ball cotton yarn in a color to coordinate and compliment your fabric colors.
- Coordinating threads for all fabrics and trims
- Scissors
- Fabric marking tools
- Walking (dual feed) foot
Cutting Instructions:
From the backing fabric:
- 1 piece measuring 61” tall x Width of Fabric
- 1 piece measuring 61” tall x 25” wide
From both flannels:
- 110 pieces 6 1/2” square
TIP: You will be alternating the squares so you need 55 of each.
From the batting:
- 1 piece 61” sq.
Piecing Instructions:
MAKING:
The Quilt Top:
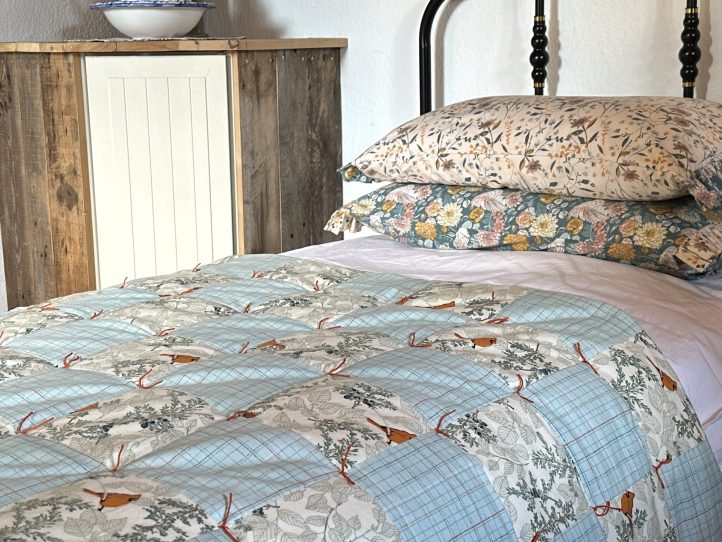
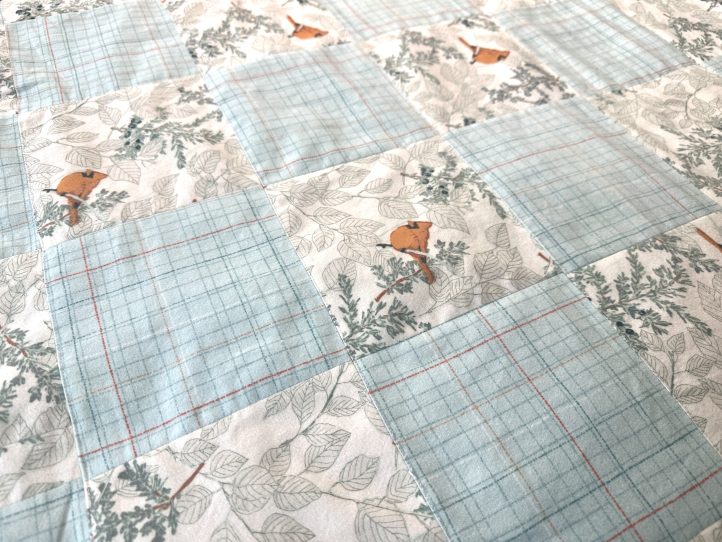
- Join the squares to make the quilt top in strips of 11. Alternate patterns between the two fabrics and press.
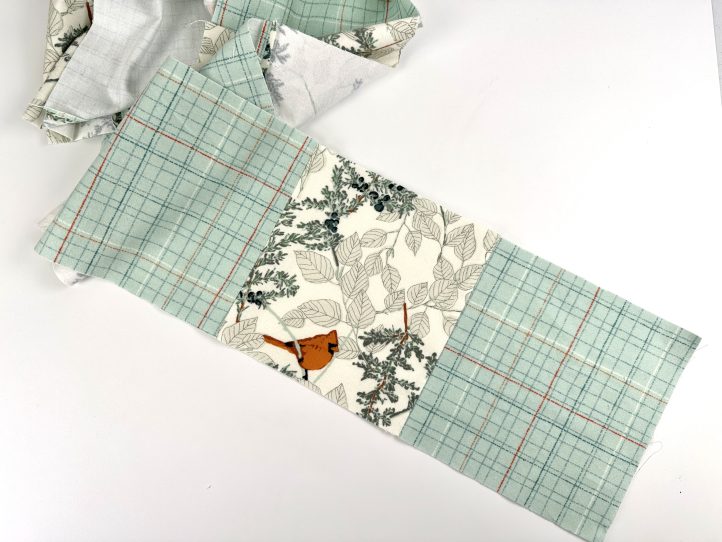
- TIP: Flannel seems like quite a robust fabric but it often doesn’t hold the seams very well. Pressing the seams to the side and then topstitching very narrowly (1/8”) works to strengthen them.
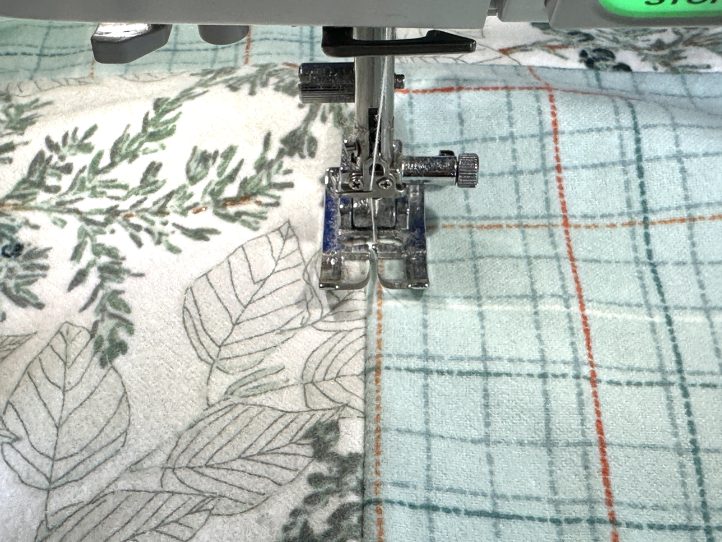
- Join the rows of 11 together so that they form a rectangular quilt top (11 squares wide and 10 rows deep) making sure that the intersections are as perfect as possible. Topstitch narrowly along the rows.
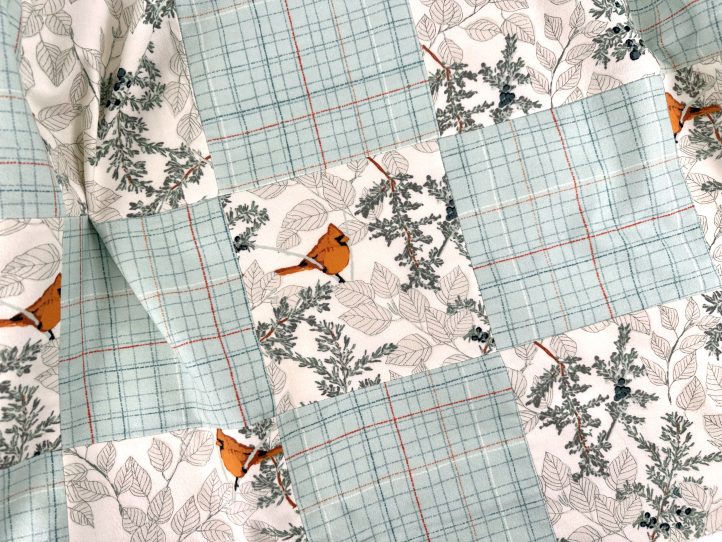
- TIP: If the intersections are slightly off, the ties will hide small sins, which is quite satisfying when you are starting out.
- Press the patched quilt top.
The Backing:
- You will have one large and one smaller piece of backing fabric. Join these together (increasing the seam allowance to 1/2”) to make one large piece 60” sq. and press the seam to the side and topstitch narrowly.
Adding the Batting:
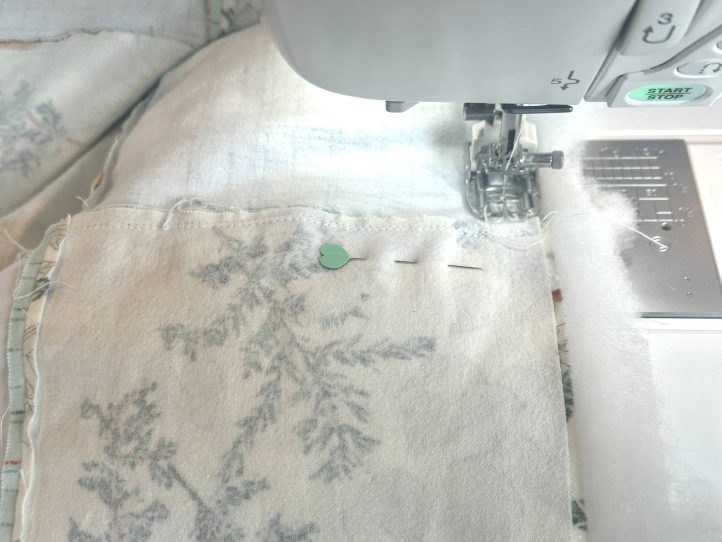
- Place the pressed backing fabric and the pressed quilt top together, right sides facing, and center both of these onto the batting with the wrong side of the backing facing the batting.
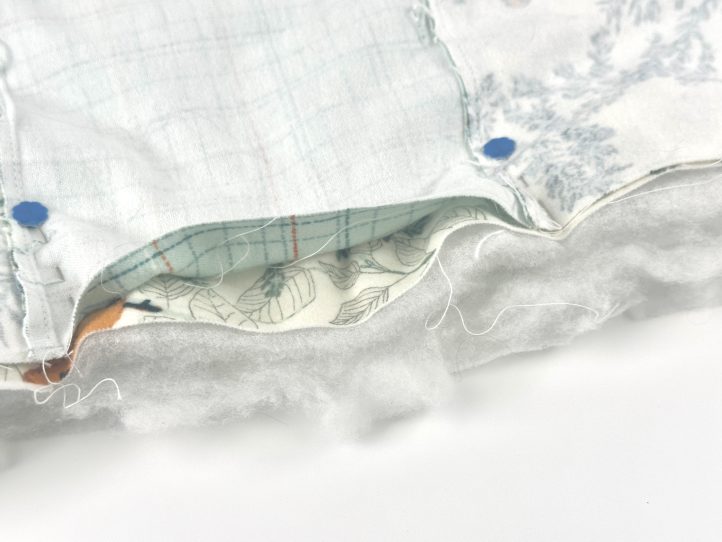
- Pin well all around.
- TIP: This is quite a big and floofy quilt and it needs to be stabilized so that you can sew it. If you do not have enough pins, seriously consider hand tacking so that the layers cannot move as you sew.
- Swap to a walking (dual feed) foot and increase your seam allowance to 1/2”.
- Sew all around the edge of the quilt, removing the pins as you go and leave a turning gap in the bottom edge. This turning gap must admit the whole quilt so it needs to be about 3 squares wide.
- Trim the batting back to the fabric edge if necessary and clip across the corners.
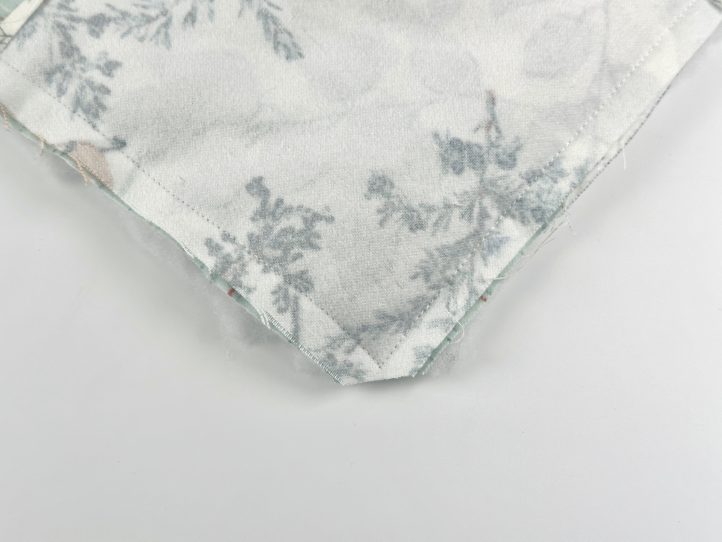
- Turn the quilt out through the turning gap and close the gap.
Tying the Quilt:
- Time to turn to our tutorial below!
- Tie the quilt as you see in those step photos below.
How to Hand Tie a Quilt with Yarn
There are a few ways to quilt. Quilting in this context refers to laminating three layers (two of fabric and a layer of batting ‘sandwiched’ in between) together to create warmth and durability.
If you have come this far, you will almost certainly seen and been awed by the beautiful creations with intricate designs both machine and hand quilted. And these skills have been around for quite a while.
But just in case you have been a little overawed by all of this mastery or are simply worried that your machine may not be up to the task, there is actually another way.
Have you heard of hand tying a quilt? With ‘normal’ cotton yarn?
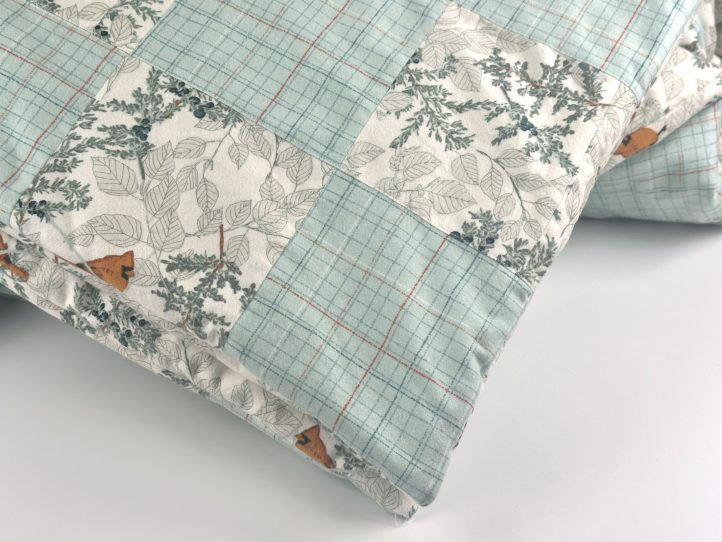
Hand tied quilts are especially suitable for beginners because they are easy to do. And they can be much quicker than the other alternatives. We have the pattern above for a wonderfully warm flannel quilt and it is big enough to snuggle under and all hand tied.
Advantages of Hand Tying a Quilt
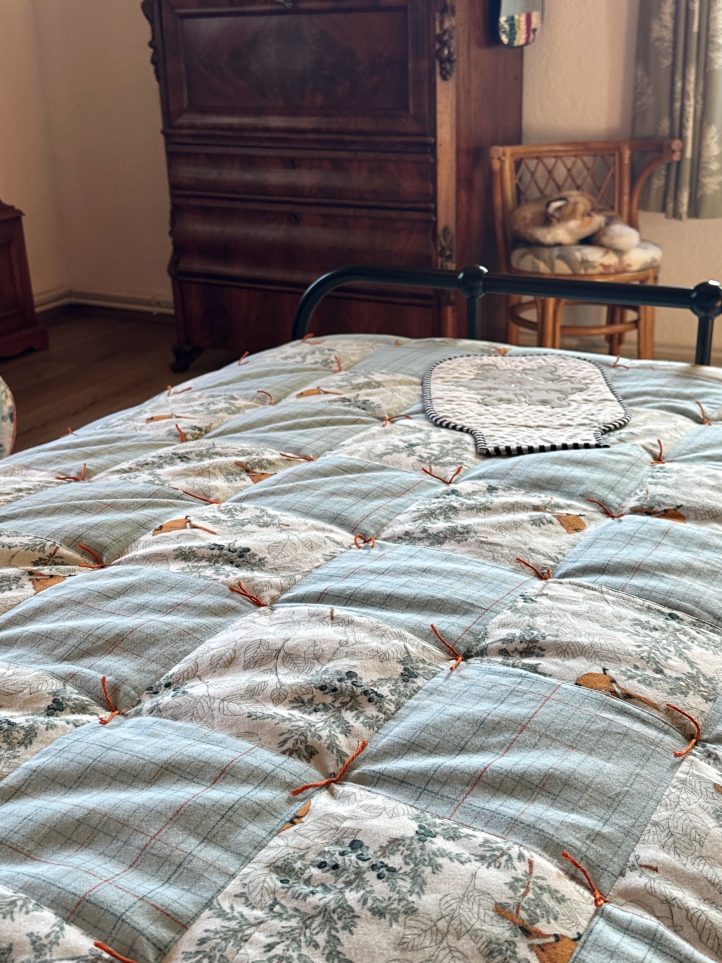
So what advantages does hand tying offer? Apart from being quicker and easier, you mean? Well, they can also be wonderfully warm. Hand tying usually means more space between the layers, which fills up with air thanks to the high loft batting, and our bodies warm this air to make the softest and downiest feeling quilt.
I am using Vlieseline R 200 batting, which is both lofty and also has a whisper thin cover on the top and bottom of the loft layer, which helps the batting to pass easily under the needle of your sewing machine. We need to do a little bit of machine sewing initially and you don’t want a fluffy batting getting caught in the works as you sew.

The pattern will give you all of the particulars to make our lap quilt and this tutorial is designed to focus on what is different to usual- the actual tying process.
Tying Your Quilt with Yarn
So you will have your quilt pieced, sewn and turned the right way out.
Close the turning gap and we are ready to tie!
TIP: If the thought of making a large quilt terrifies you, make a smaller one for a beloved fur baby until you get your eye in.
Lay the quilt out on a large surface with the right side facing up.
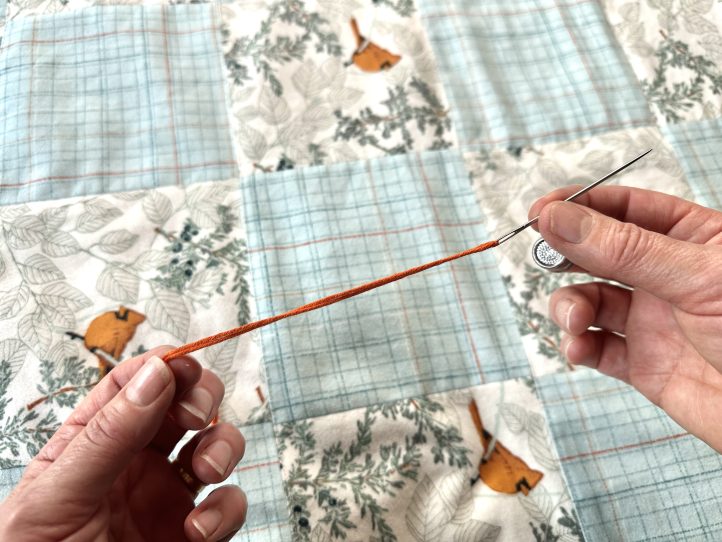
Cut a piece of your chosen yarn (which is about 12” long) and thread the yarn onto a sharp needle with a large enough eye to pass the yarn through.
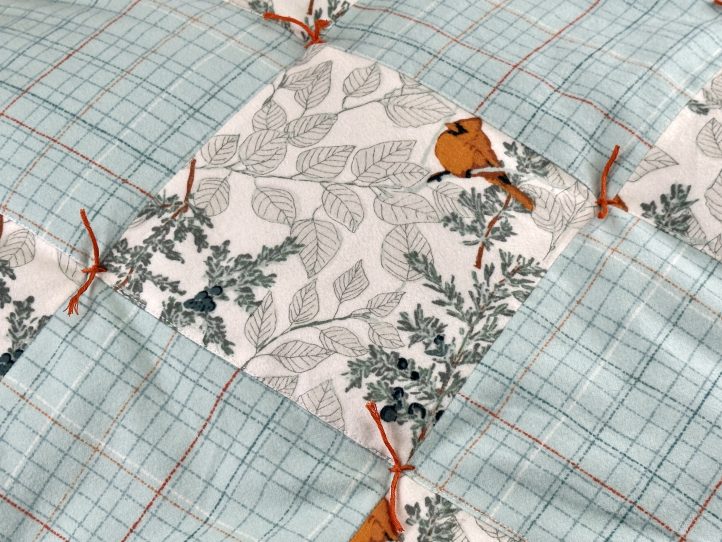
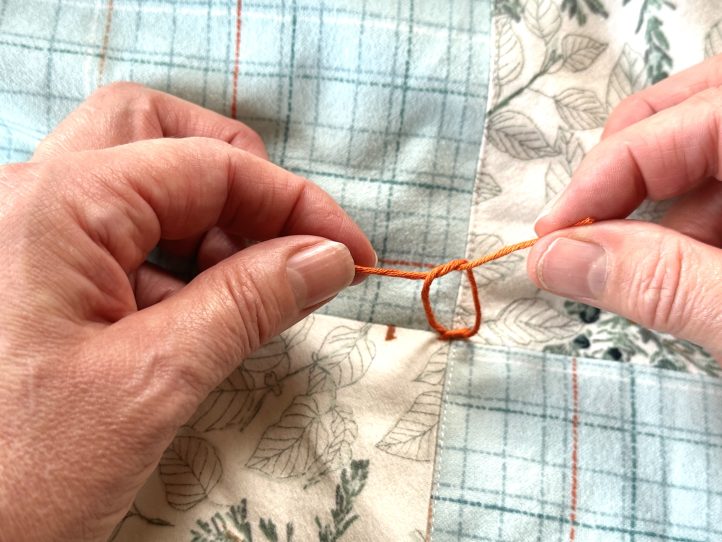
Now bring the yarn down at the intersection of the first four patches.
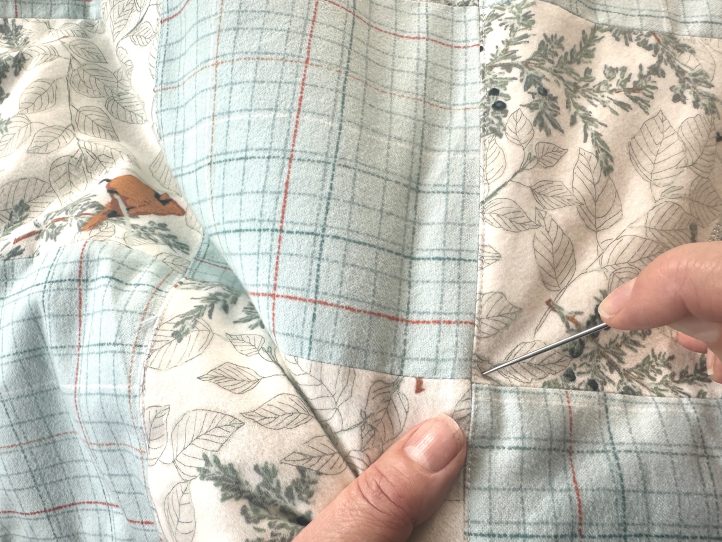
Come up again to the other side of the intersection about 1/4” away from where you went in.
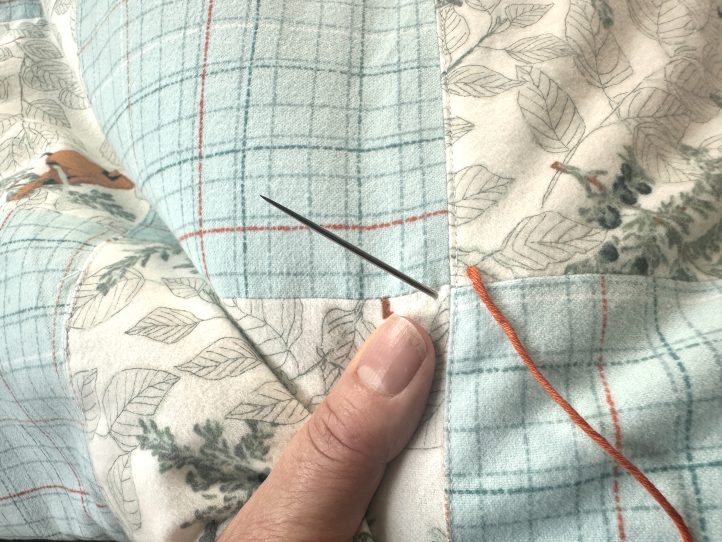
Pull the yarn through leaving enough to tie and secure with a double knot.
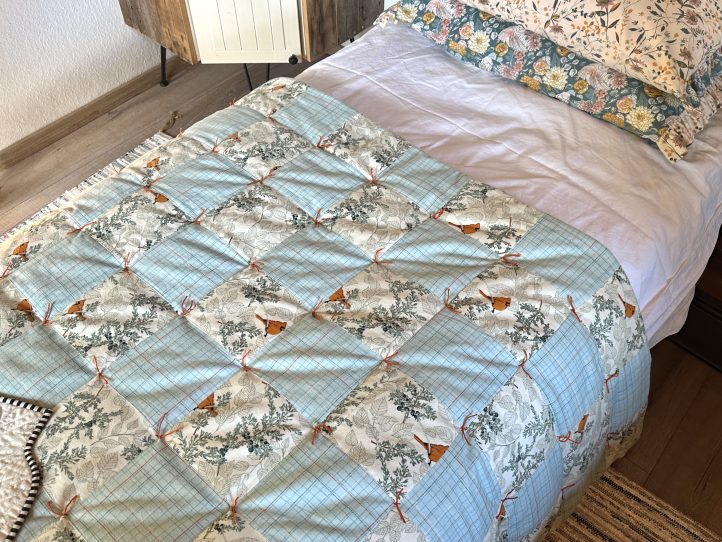
Trim back to however long you want the ties to be. Mine are about 1” long.
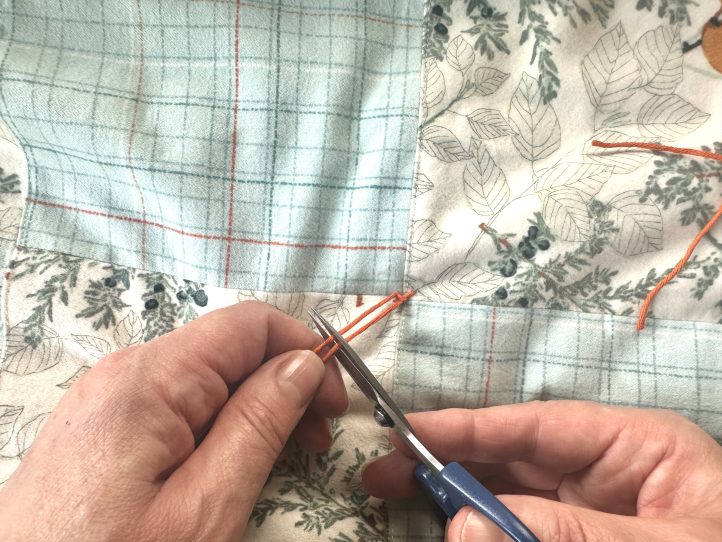
TIP: If the ties are trimmed too short, they can come undone. You can also put a drop of Fray Stopper or similar invisibly drying glue onto the knot if you are worried.
Repeat this until all of the intersections between the squares have a tie.
That’s it! No binding or anything. This quilt is made in the bagged out style, which is a great way to make a quilt that you need in a hurry.