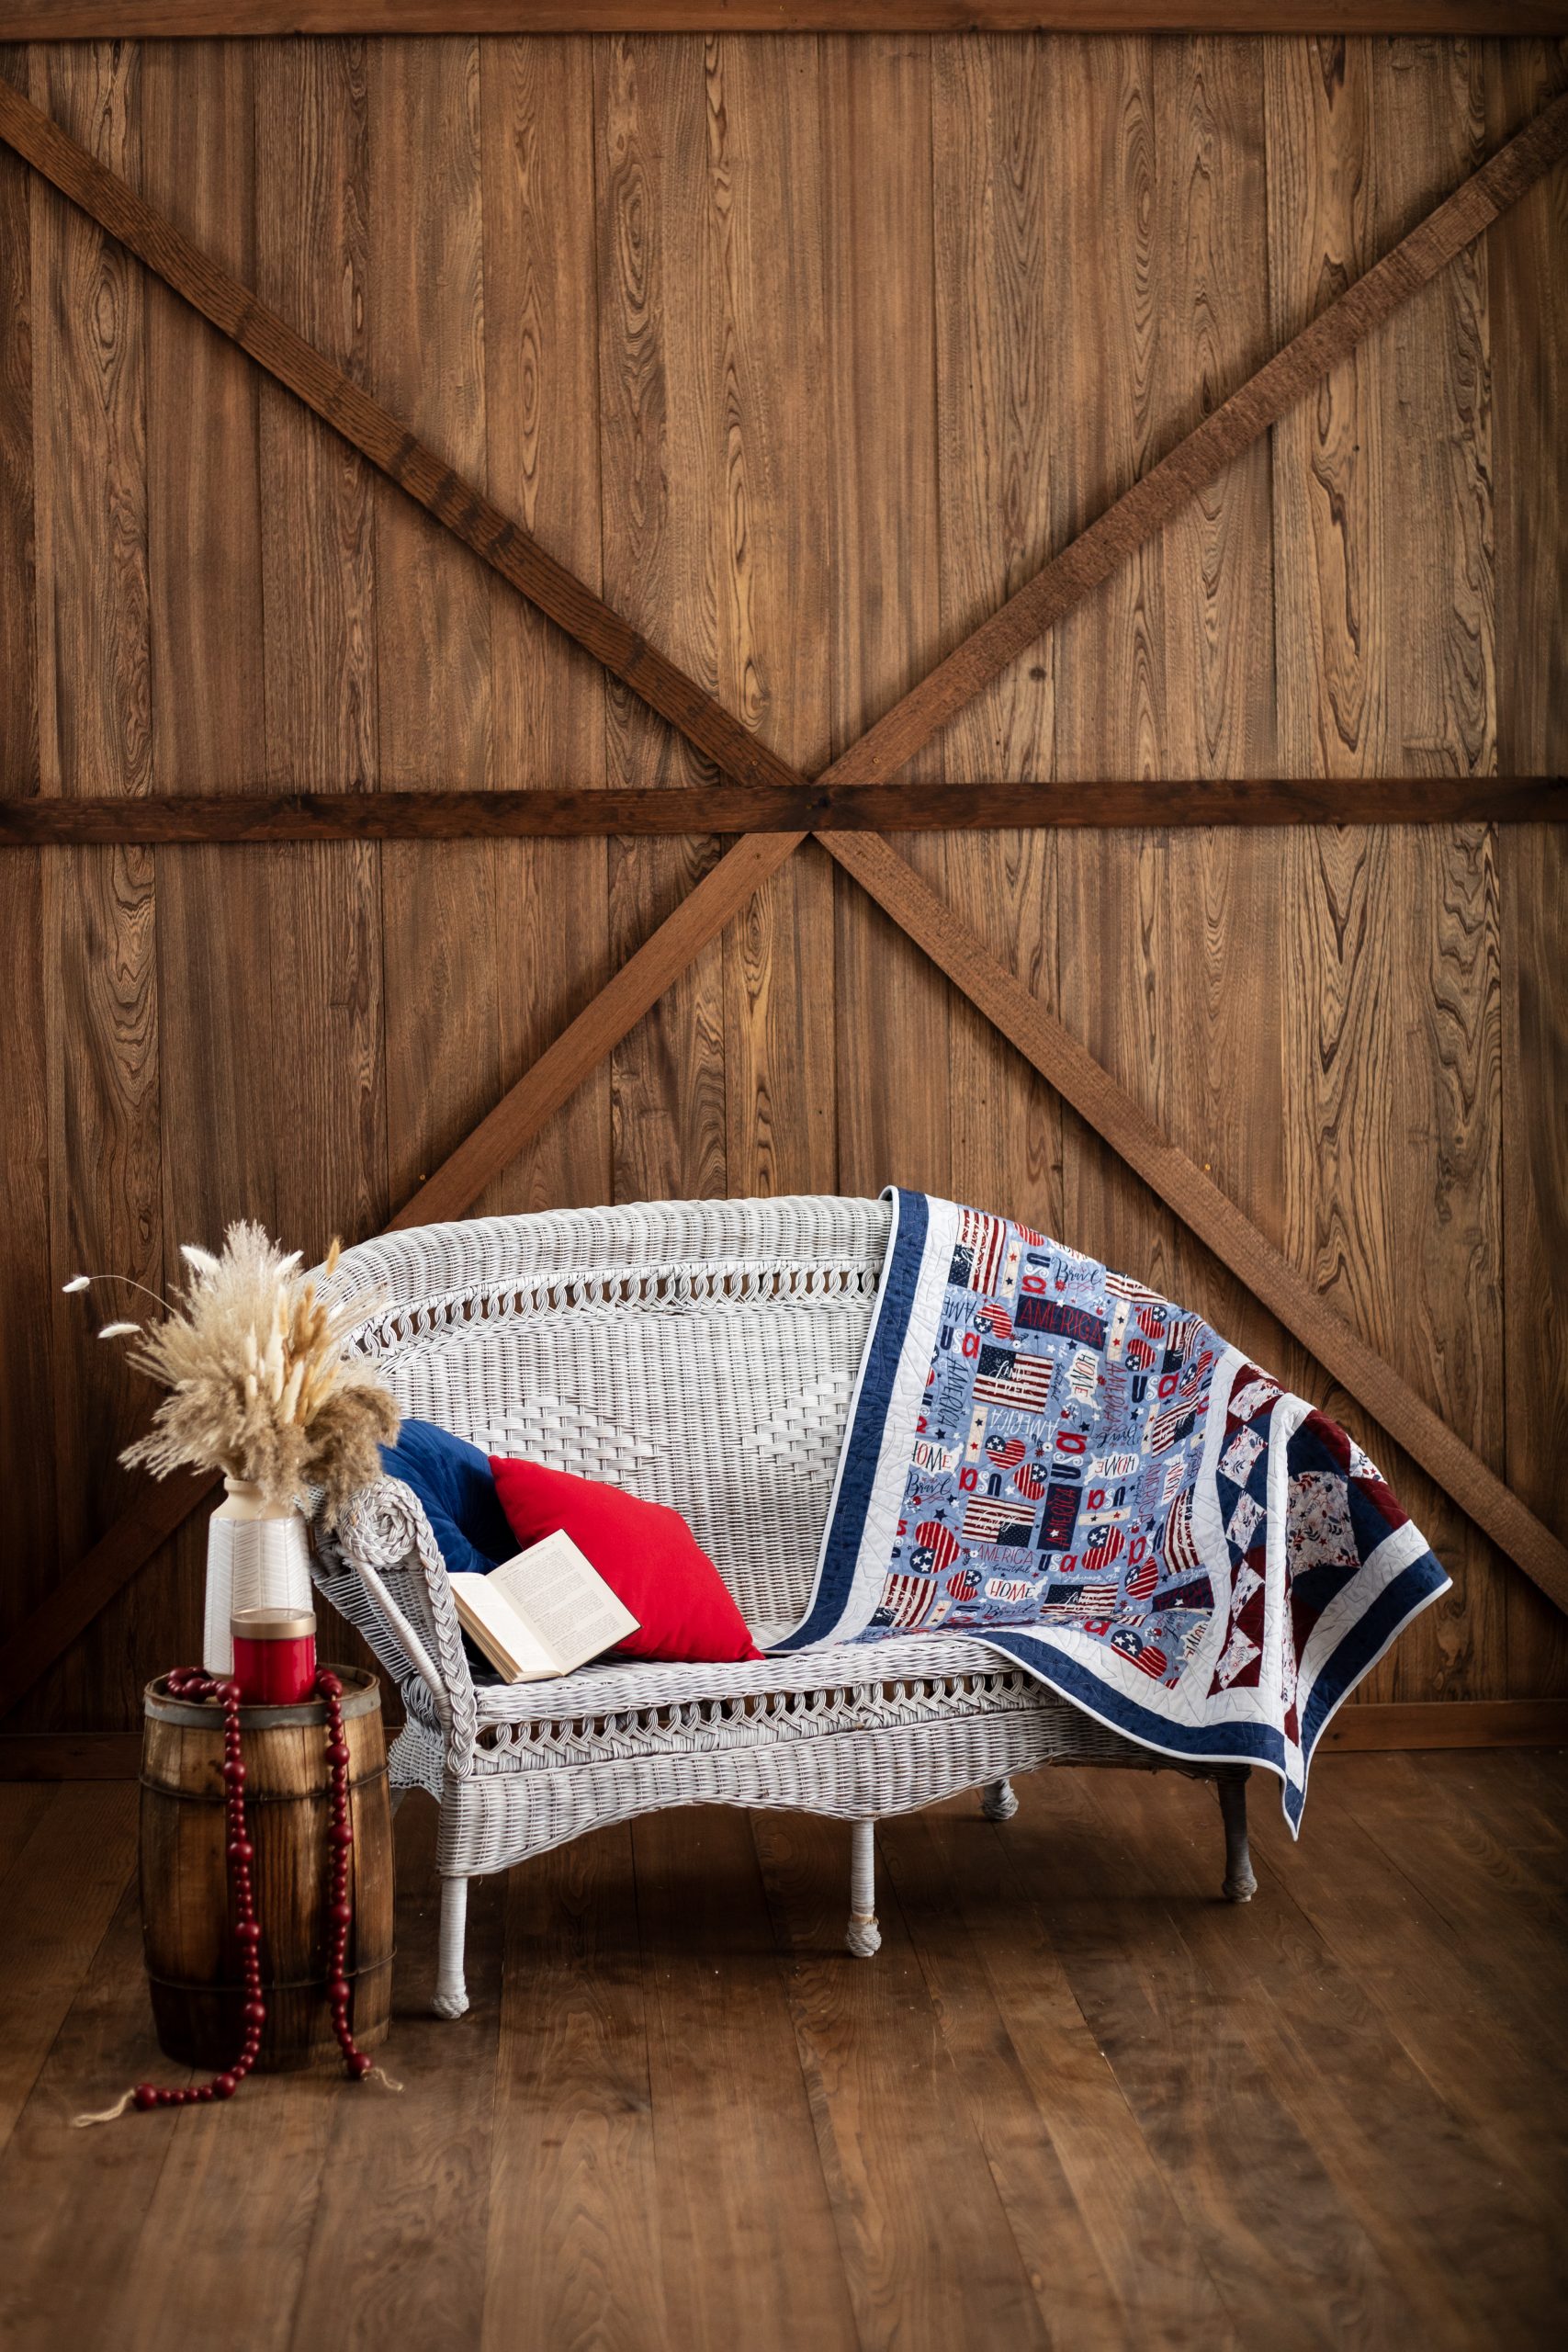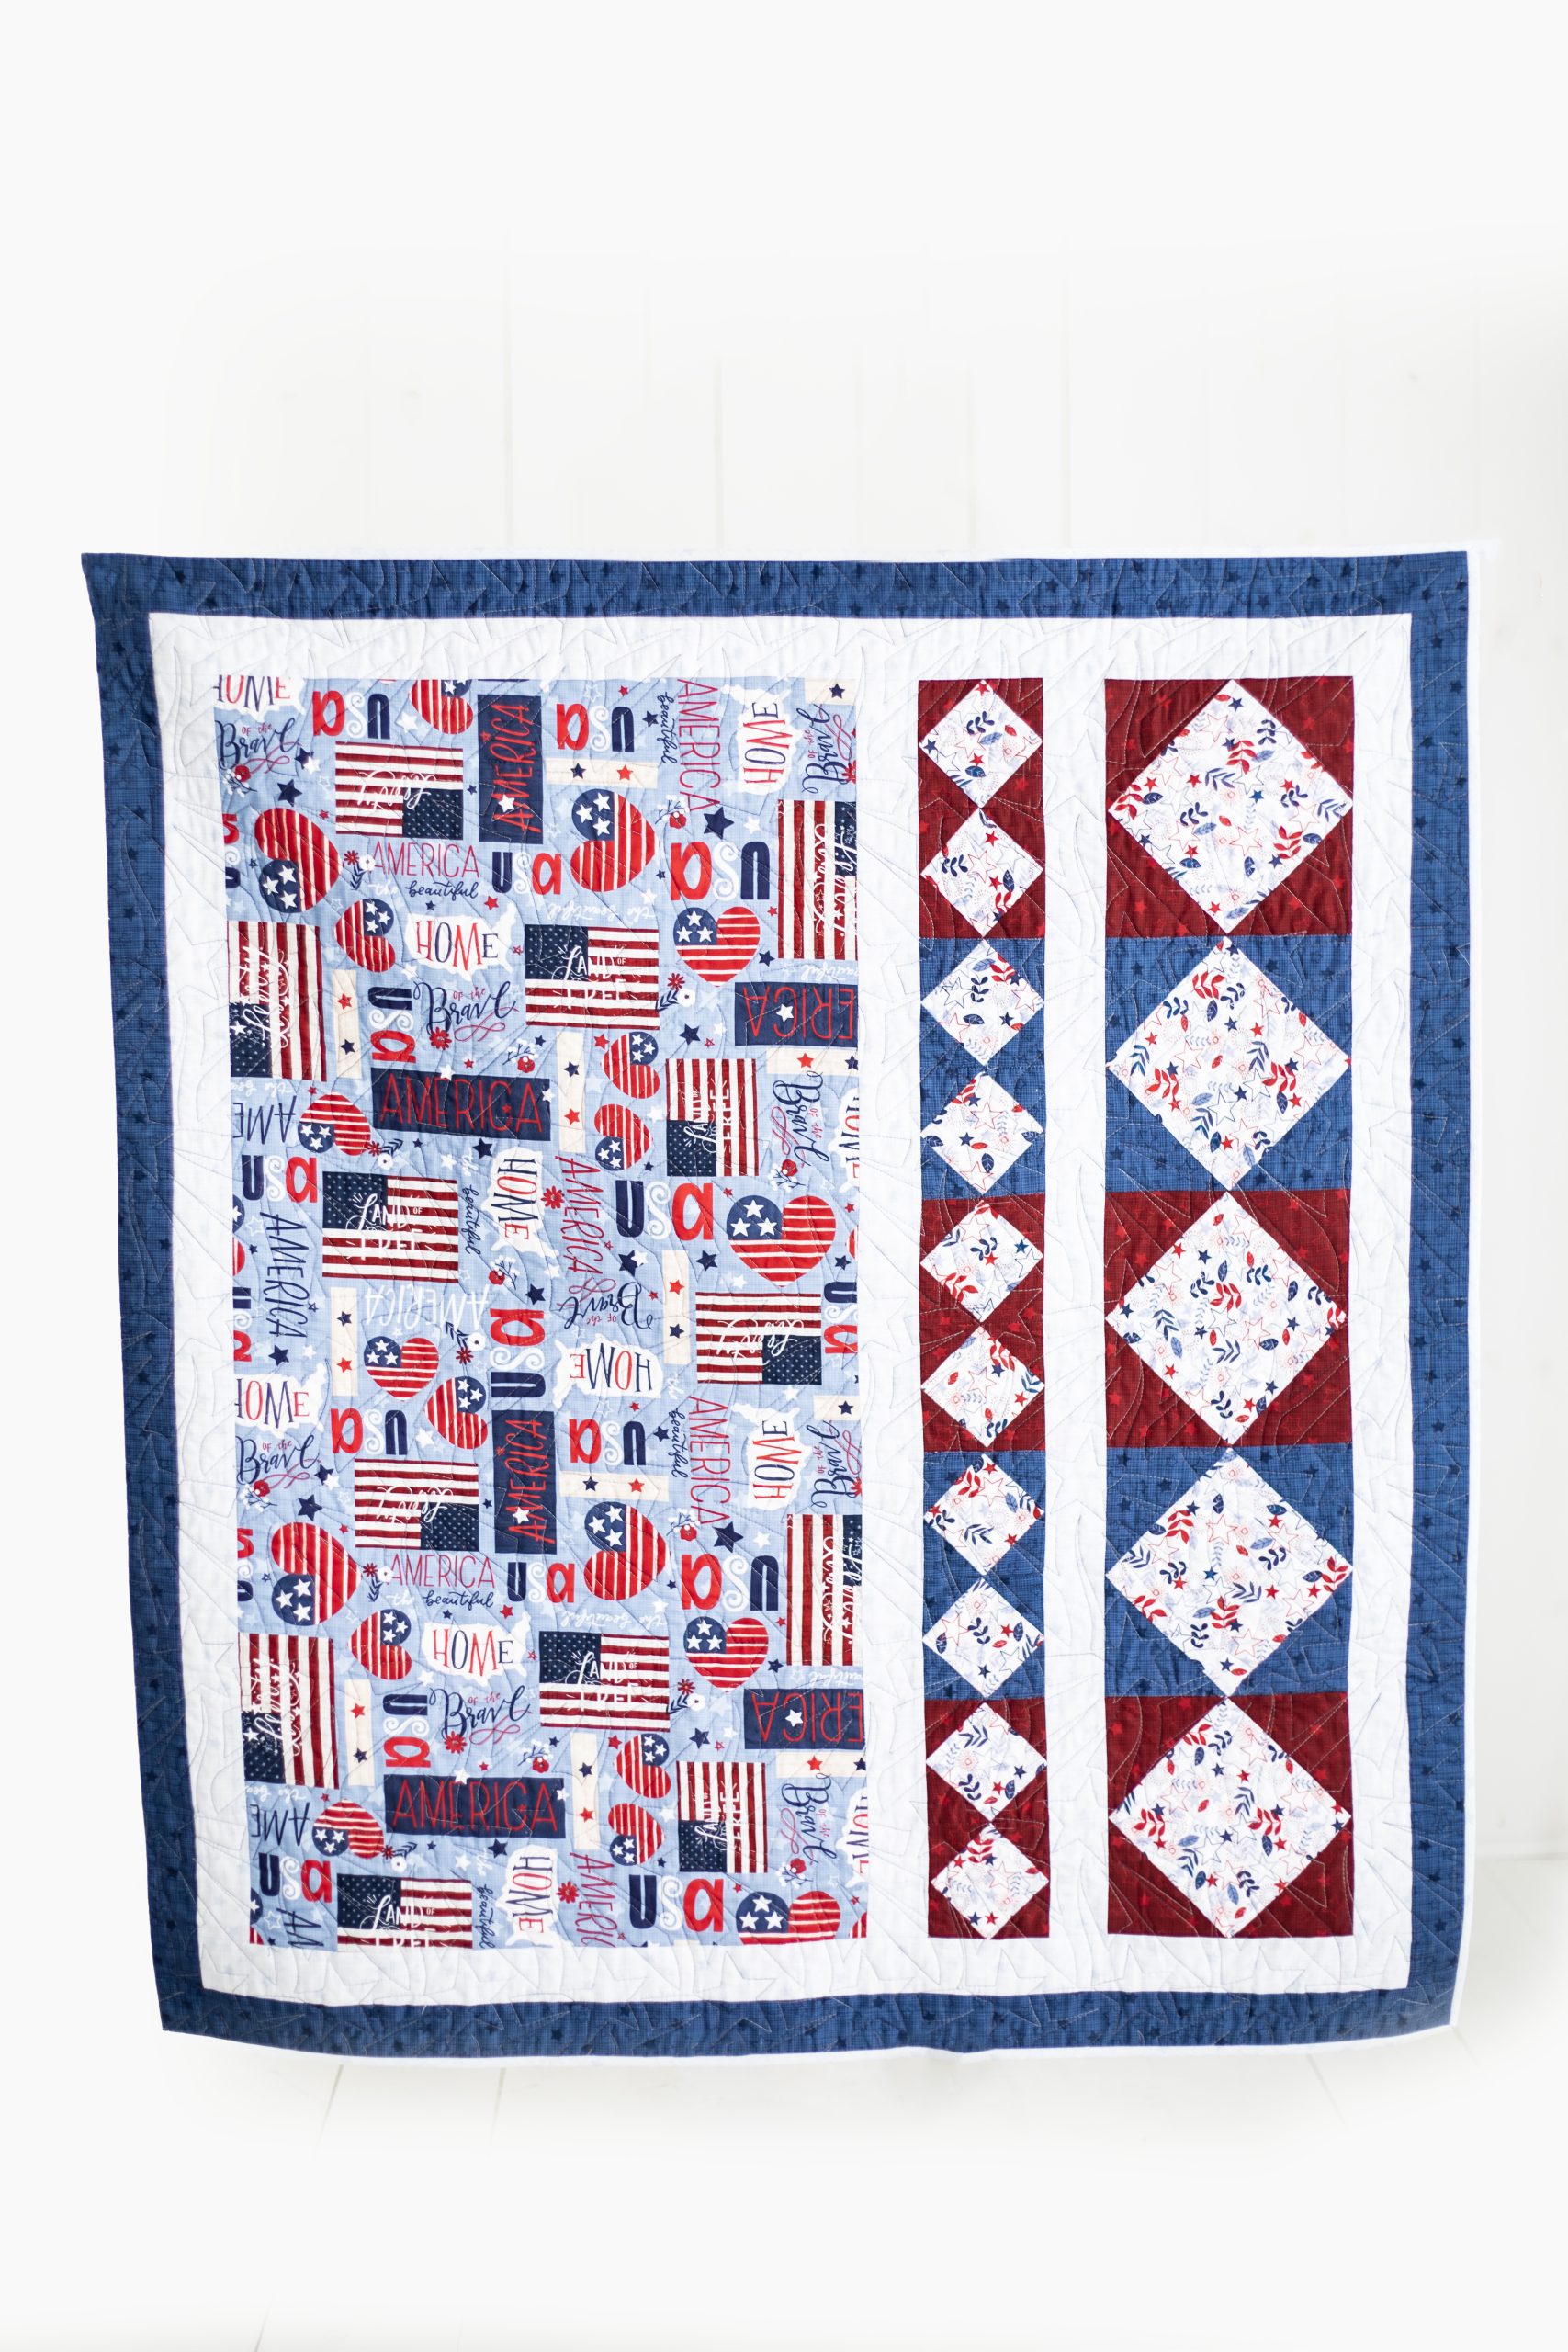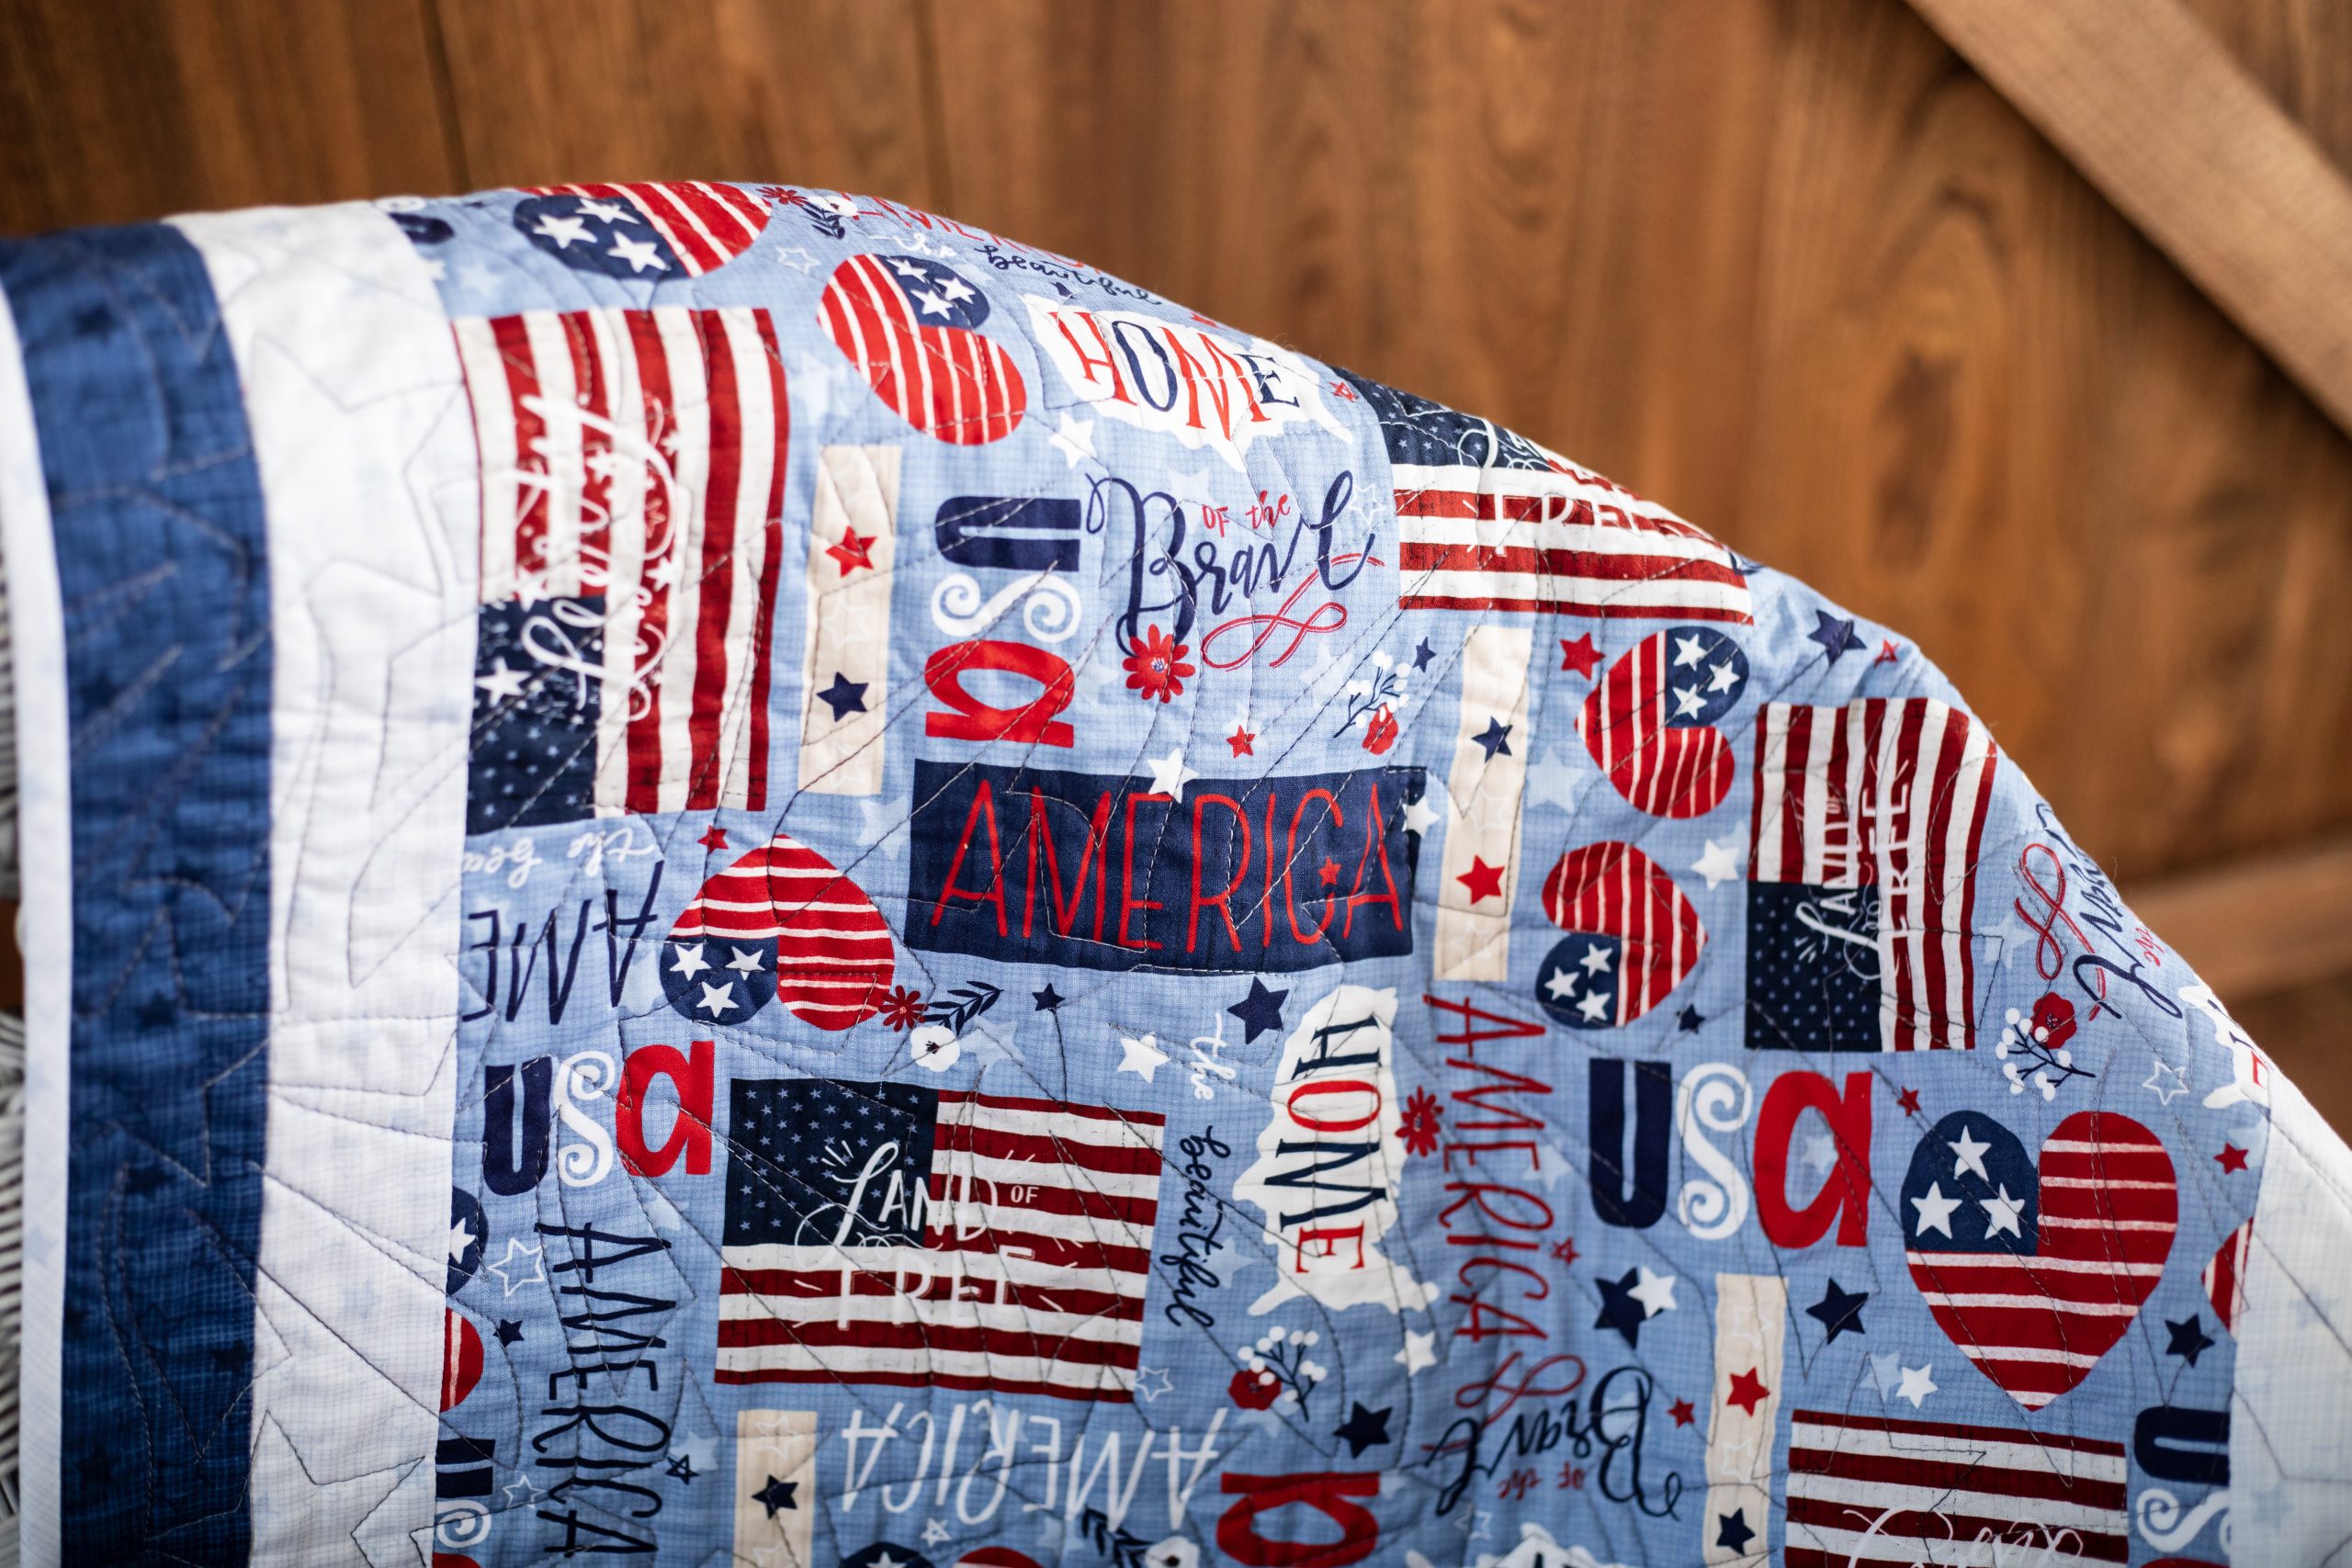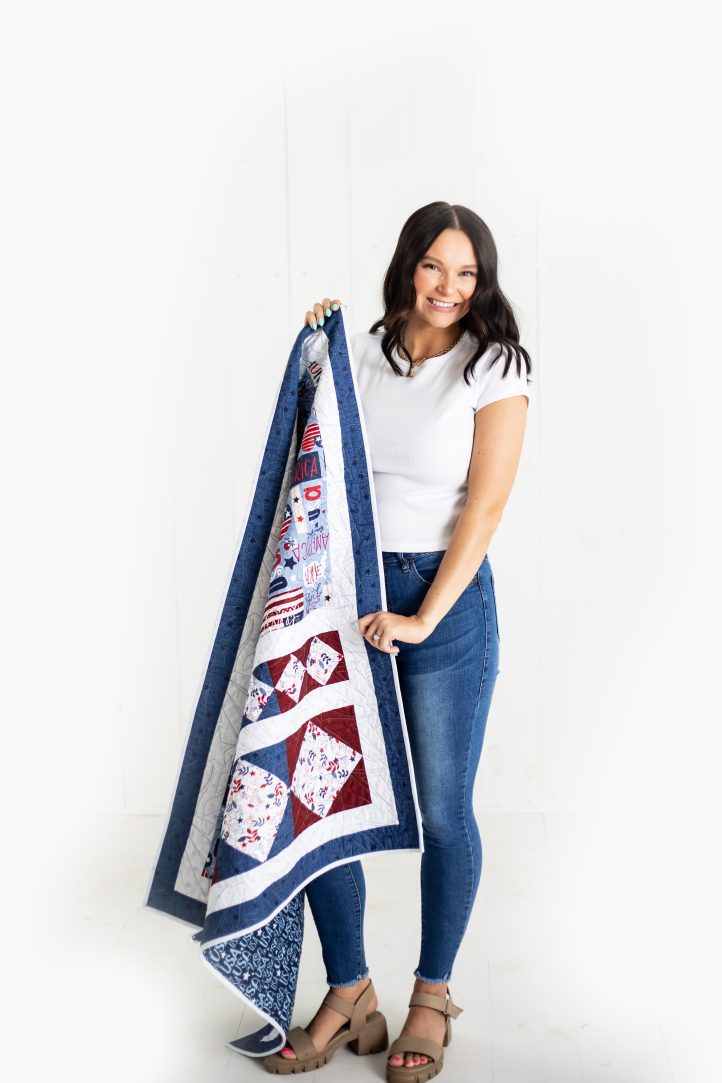
Celebrate the birth of our nation by designing a beautiful panel quilt made with fun, patriotic prints! A perfect 4th of July project, this Dutch tiles quilt pattern features two rows of square in a square blocks (small and large) and is a great way to show off any prints that you’ve been saving up. The main focus of this quilt is the large fabric panel that features a cheerful and eye-catching USA print, that is completed by inner and outer borders in coordinating colors.
Finished Size: 44-1/2” x 48-1/2”
Designer Note: Please read pattern before starting your project.
ADDITIONAL COLORWAYS:
The designer has provided fabric information for the sample shown, as well as additional colorways as inspiration for our readers!
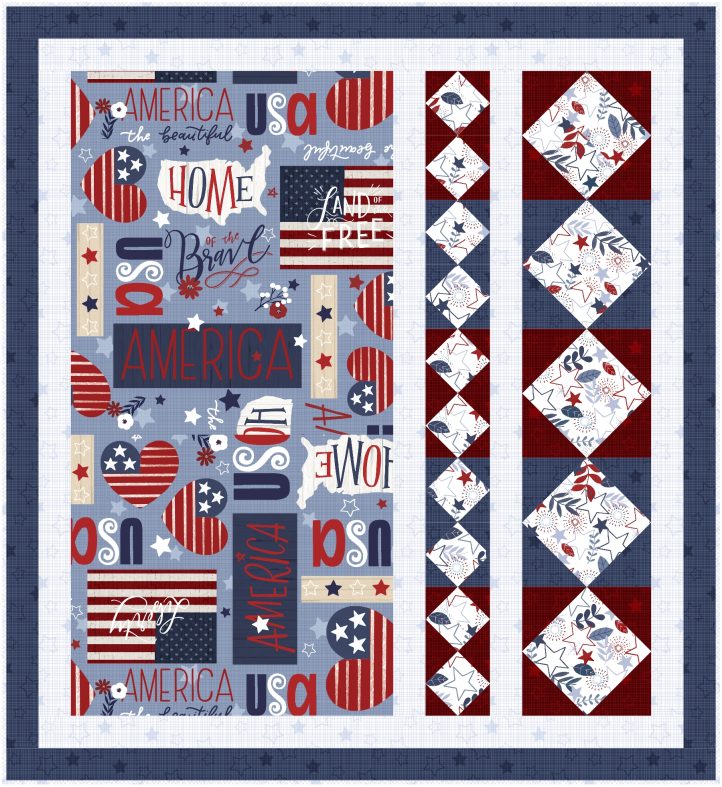
America the Beautiful by P&B Textiles
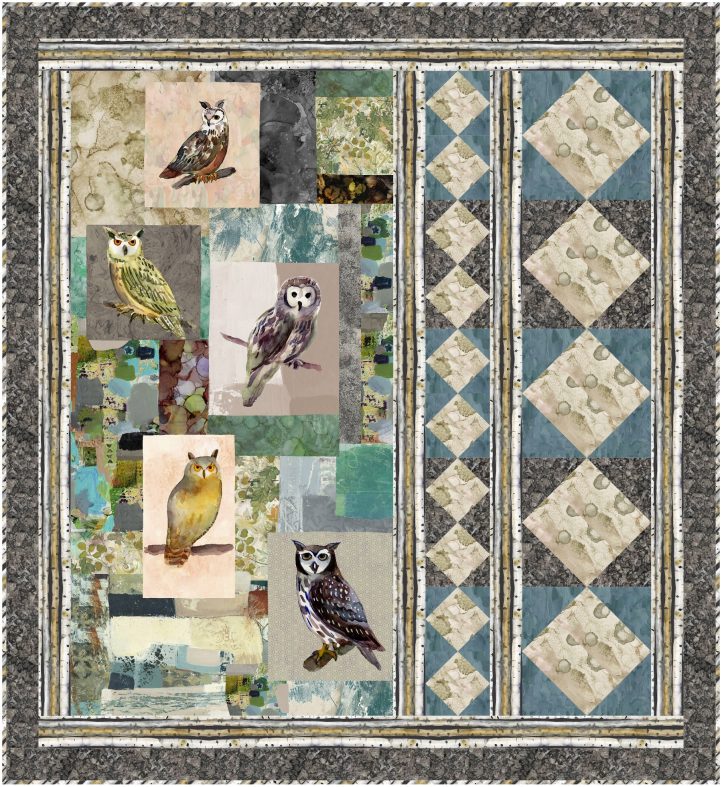
Wild Wonder by Clothworks
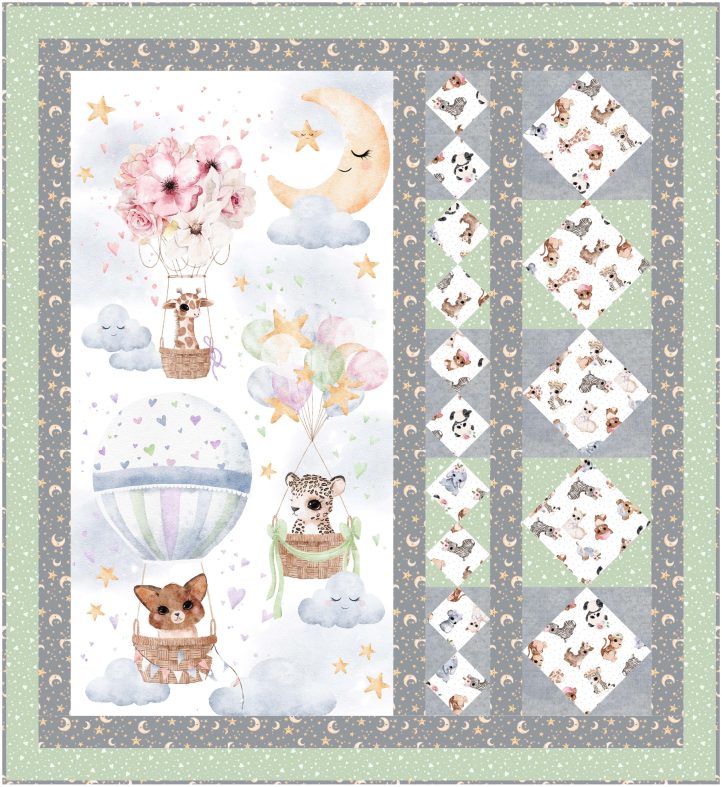
Animal Babies by Michael Miller
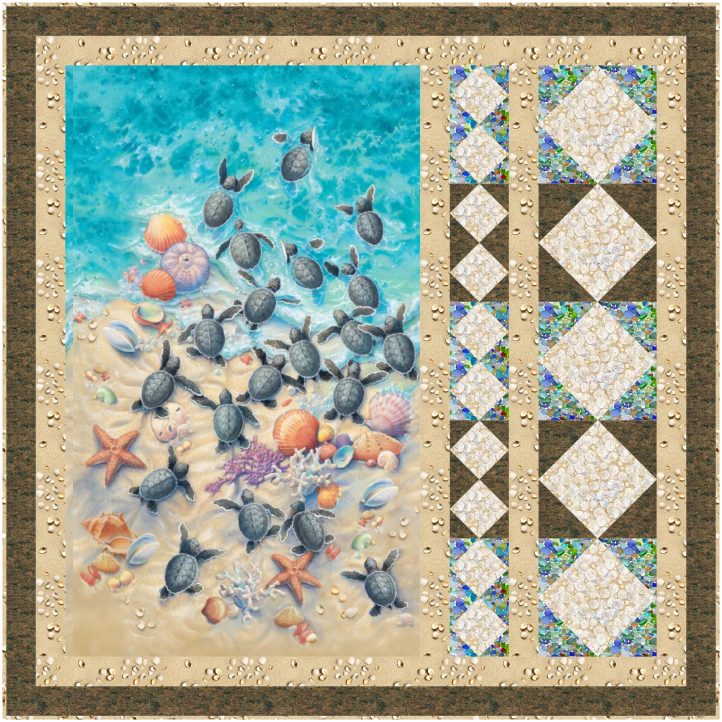
Race to Safety by Elizabeth’s Studio
PATCH SUMMARY:

HST = half square triangle
Note: Do not cut from this summary. Patch descriptions refer to fabric sizes/shapes used to construct patches, not the finished sizes/shapes.
A: 6-1/4” square: 5 A1
B: HST cut from 5” square: 12 B2, 8 B3
C: 3-3/8” square: 10 C1
D: HST cut from 3” square: 24 D2, 16 D3
Fabric estimates are based on useable fabric width (selvage to selvage) of at least 42”. Add yardage if you prewash your fabrics or are fussy-cutting.
Cuts across the width of fabric are indicated as WOF (Width Of Fabric). Some cuts are lengthwise (LOF-parallel to selvage) to enable LOF border cuts; fabric does not stretch on the lengthwise grain, preventing distortion. The outer border in this pattern is cut WOF to save fabric; if you’re cutting from a larger fabric piece, LOF cuts are recommended.
The letter in patch labels (see Patch Summary) refers to the patch. The number refers to the fabric from which the patch is cut. For example, A1 is an A patch cut from Fabric 1.
Note: Fabric 5 is 20-1/2” wide in this pattern but a panel/large scale print that is more or less than this could be used; just adjust the borders to accommodate that difference.
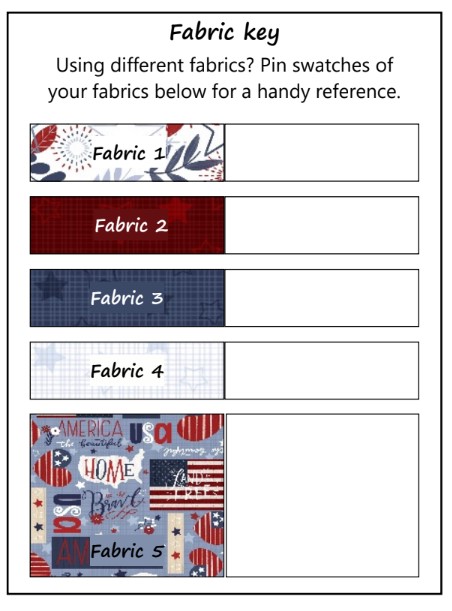
Fabric Requirements and Cuts:
- Fabric 1: 3/8 yard
- A1: Cut WOF [1] 6-1/4” strip. From this, cut [5] 6-1/4” x 6-1/4” squares. (*See note.)
- C1: Cut WOF [1] 3-3/8” strip. From this, cut [10] 3-3/8” x 3-3/8” squares. (*See note.)
- * Note: Remember the image will be at a 45 degree angle in the completed quilt.
- Fabric 2: 3/8 yard
- B2: Cut WOF [1] 5” strip. From this, cut [6] 5” x 5” squares. Cut each square in half diagonally to make 12 HSTs.
- D2: Cut WOF [1] 3” strip. From these, cut [12] 3” x 3” squares. Cut each square in half diagonally to make 24 HSTs.
- Fabric 3: 3/4 yard
- Outer border: Cut WOF [5] 2-1/2” strips.
- D3: Cut WOF [1] 3” strip. From these, cut [8] 3” x 3” squares. Cut each square in half diagonally to make 16 HSTs.
- B3: Cut WOF [1] 5” strip. Cut each square in half diagonally to make 8 HSTs.
- Fabric 4: 1-1/4 yards
- Sashing strips and inner border: Cut lengthwise of fabric [6] 2-1/2” strips.
- Binding: From remaining fabric, cut enough 2-1/4” or 2-1/2” bias or straight of grain strips (your preference) to join and make about 196” binding.
- Fabric 5: 20-1/2” x 40-1/2” rectangle
- The fabric width can be more or less than 20-1/2” (see notes). But the length needs to be that of the block and sashing strips (see Step 4) in order to align with them. Remember you’ll lose 1/4” of the image on all sides to the seams.
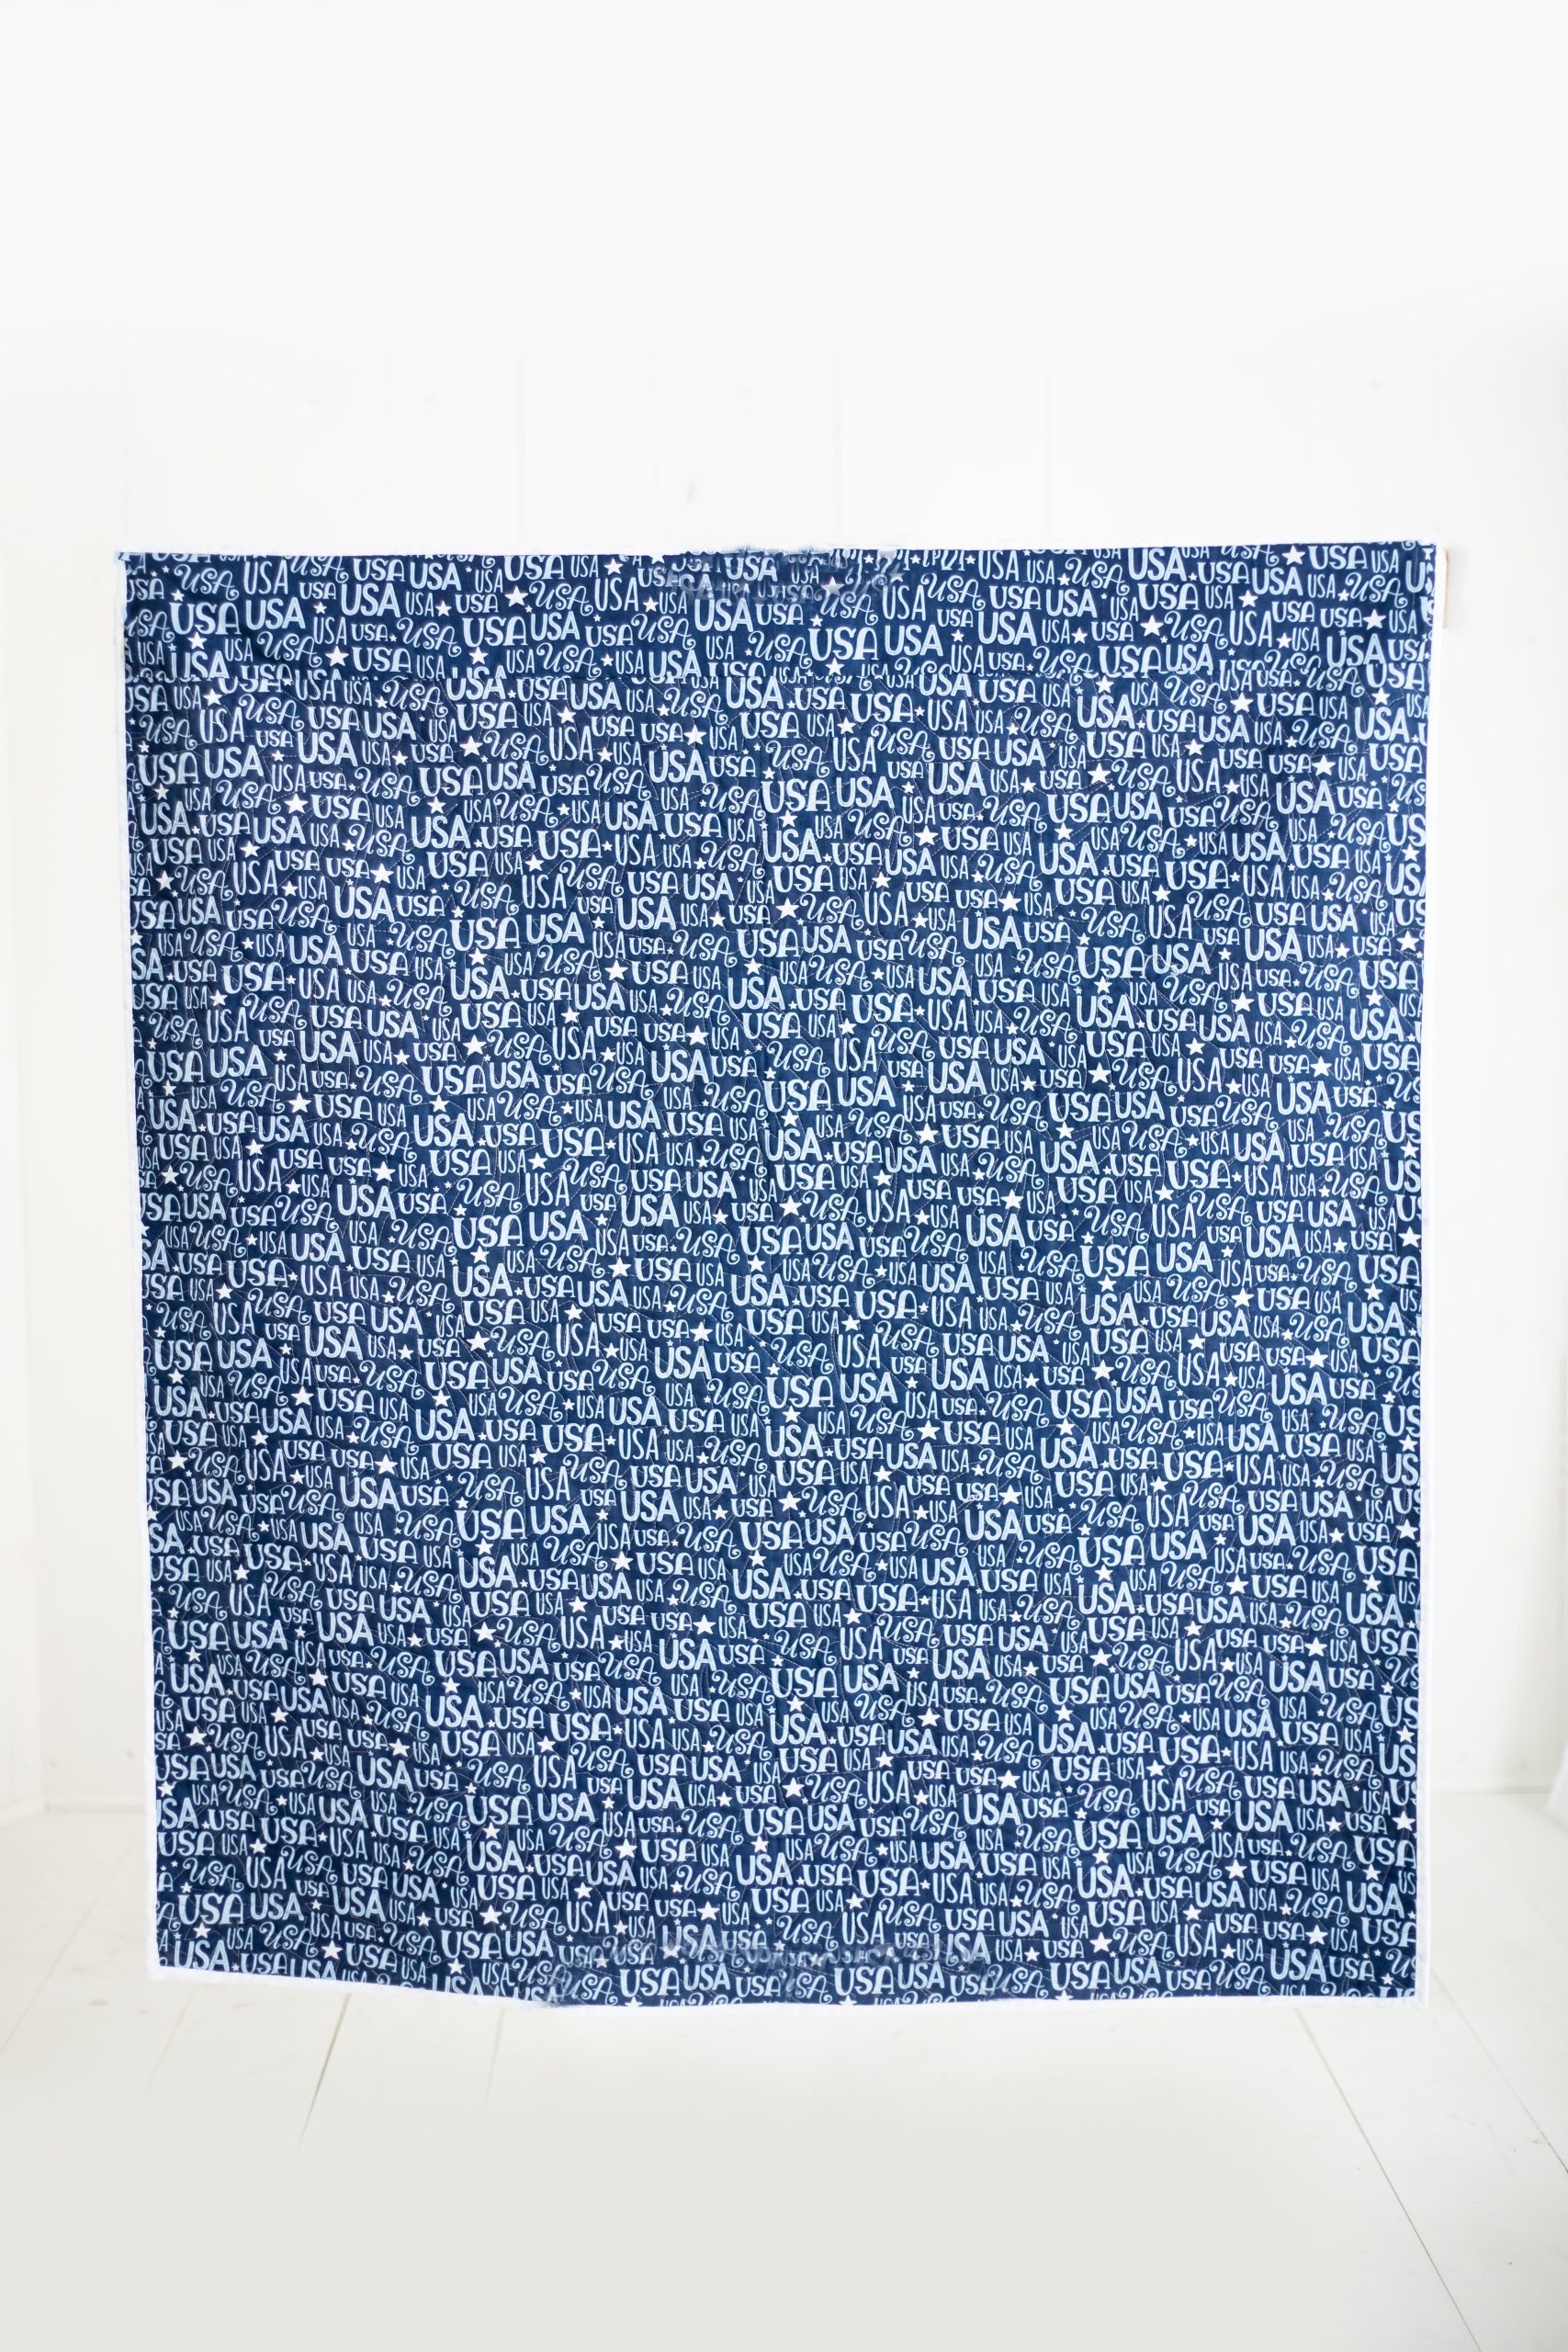
- Backing: 3 yards
- A 52-1/2” x 56-1/2” backing provides 4” extra on all sides, recommended for longarm quilting. Cut fabric into two equal lengths, join to make a 54” x 83-1/2” backing. (length will be more if fabric is wider than 42”). Remove selvage before sewing seam to prevent puckering.
Instructions:
All seams are 1/4”. Press seams per instructions or open.
- Sew B to opposite sides of A, then B to remaining sides of A as shown to complete Blocks 1 and 2. Trim to 8-1/2” x 8-1/2”.

- Join Blocks 1 and 2 as shown. Press seams toward Block 2 or open.

- Sew D to opposite sides of C, then D to remaining sides of C as shown to complete Blocks 3 and 4. Press first seams toward C, second seams toward D. Trim blocks to 4-1/2” x 4-1/2”.

- Join Blocks 3 and 4 as shown. Press seams in either direction or open.
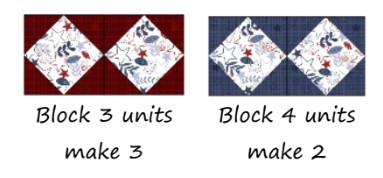
- Join units as shown. Press seams toward Block 4 units or open.

- Join units as shown. Press seams toward Block 4 units or open.
- Measure rows made in Steps 2 and 4. Cut the Fabric 5 panel/patch, 2 sashing strips, and 2 side inner border strips to that length; should be exactly or close to 40-1/2”. Combine as shown. Press seams toward sashes/border.

- Measure quilt center crosswise. Cut 2 top and bottom inner border strips to that length. Sew to quilt top and bottom. Press seams toward border.
- Combining border strips to make lengths needed: Measure quilt center lengthwise. Cut 2 outer border strips to this length. Sew to quilt sides. Measure quilt center crosswise. Cut 2 outer border strips to this length. Sew to top and bottom of quilt. Press seams toward border.
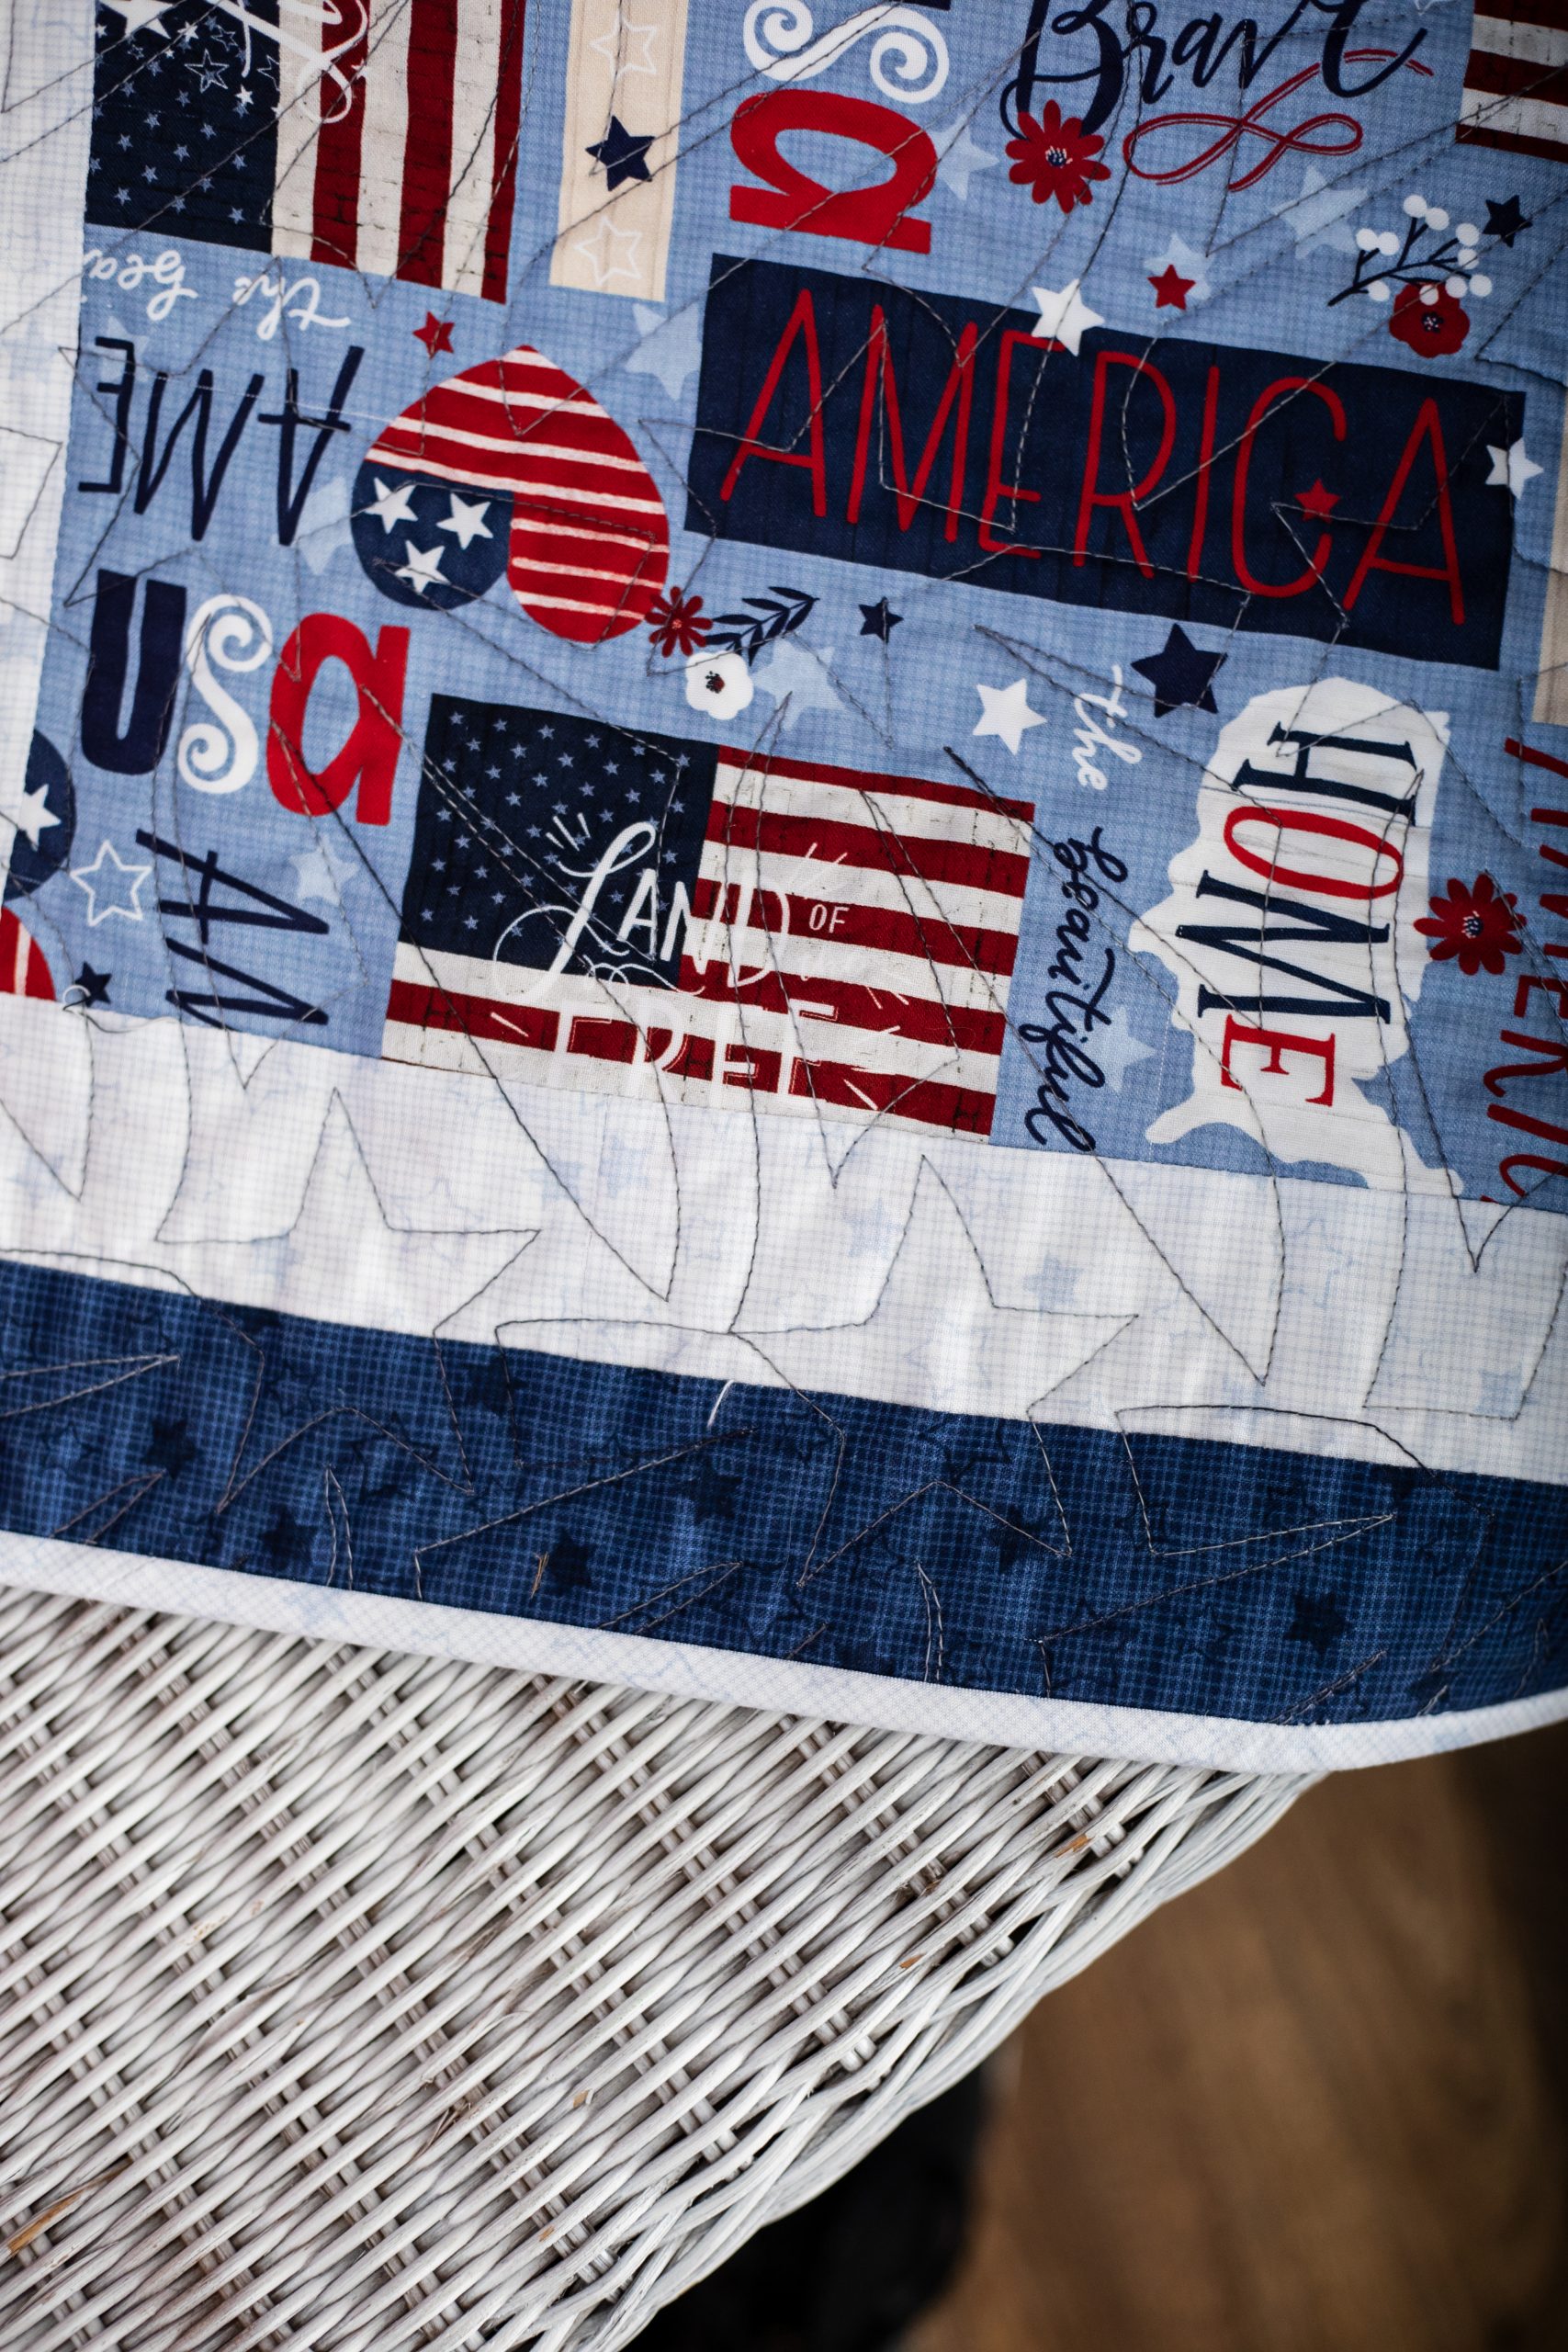
- Layer top, batting and backing. Quilt as desired. Bind quilt with Fabric 4 binding strip.
This pattern was tested by Jan Graham. Thank you!

