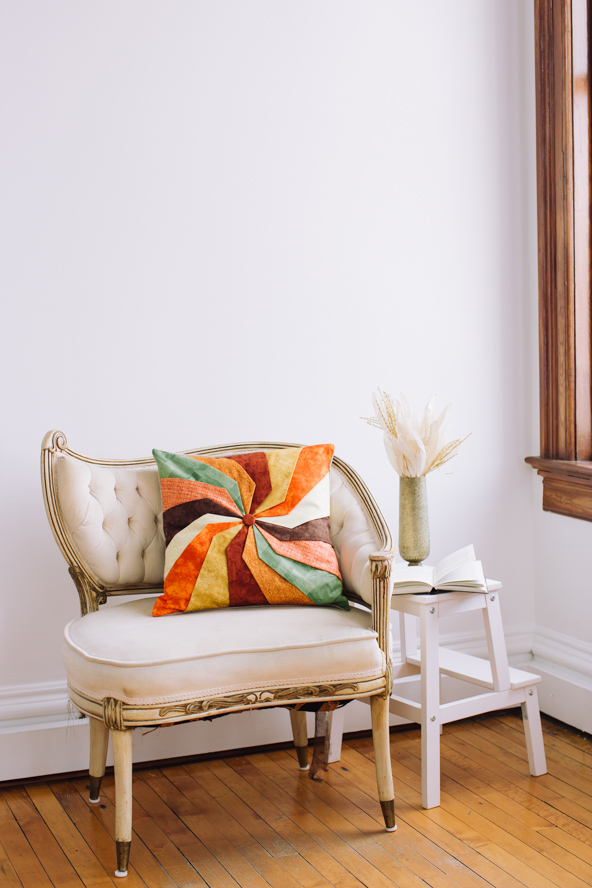
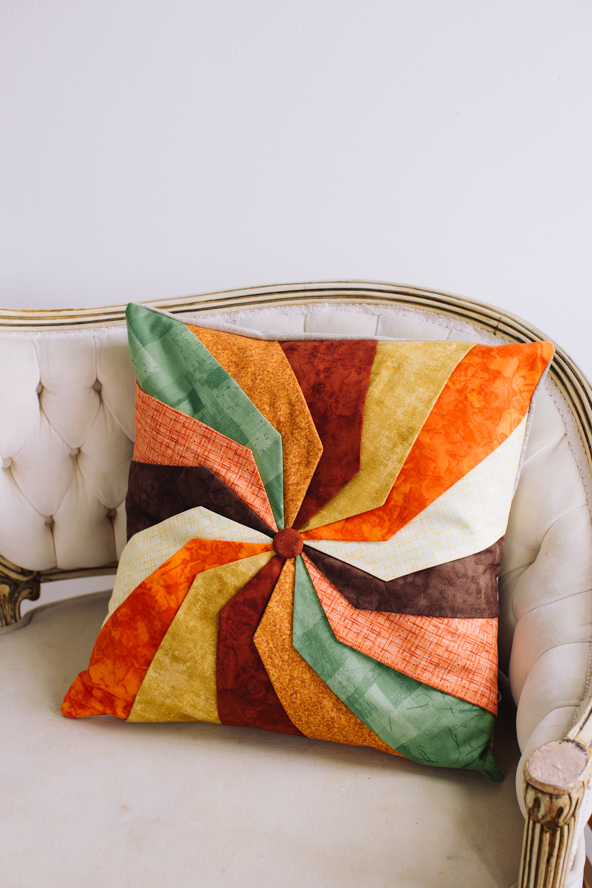
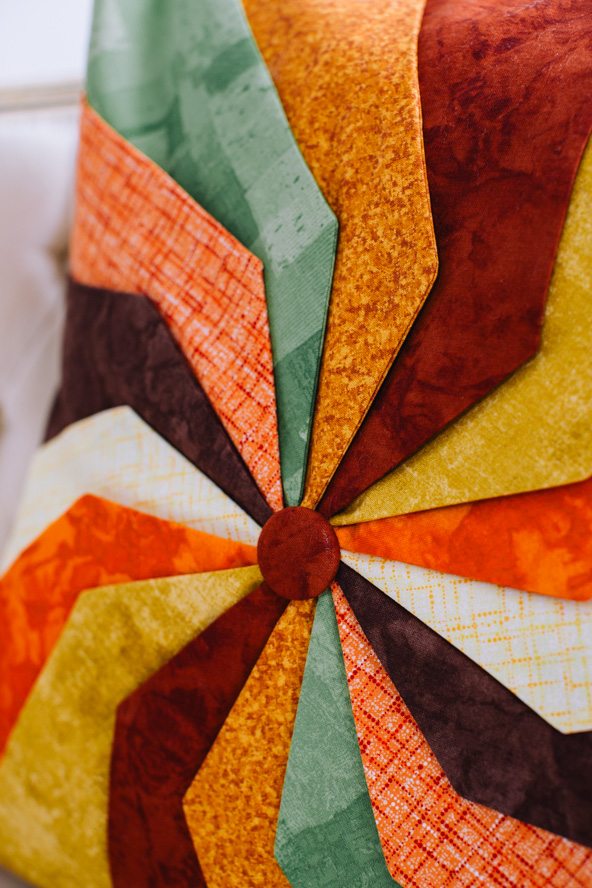
Brighten up your living space this fall with a beautiful pointed panel pillow made with fat quarters. Finishing at an 18” square, this throw pillow pattern uses a rich autumnal color palette in 16 pointed panels. You can finish your throw pillow with Velcro or snaps to securely finish the envelope closure. Make this pattern in fun fall prints for holidays like Thanksgiving or red, white and green for Christmas!
Finished Size: 18” square
Materials:
- Pointed panels – 8 fat quarters or 2 yds of quilting cotton in desired prints
- Backing fabric – 3/4 yds upholstery weight linen or linen blend fabric
- 18” pillow form (see Designer Notes if you prefer 16”)
- Covered button w/kit, size 45/ 1 1/8”
- Tailor’s chalk or other fabric marking tool
- Optional: Velcro or snaps to secure envelope closure.
- PDF Template – This is located at the bottom of this page. See printing instructions below.
PRINTING INSTRUCTIONS:
To download the PDF template, click on the download button at the bottom of the page. We recommend opening your download using Adobe Acrobat.
Designer Notes:
- The designer used 8 fat quarters and cut four panels out of each by folding so the 18” sides met and pinning the template so each point faced away from each other. If you have a limited amount of your chosen fabric, you could also use a solid neutral to back each panel instead of the front fabric.
- Pointed Panel template does NOT have the seam allowance included. Add 1/4” seam allowance for an 18” pillow or if you would prefer a 16” pillow, use the template as drawn.
- There will be excess fabric at the end of all the panels except the ones you use on the diagonals.
- When assembling the Front, the designer did not topstitch the center points until about 1” from the center. It was easier on the machine, and left a little room to maneuver to make the center look perfect.
Cutting Instructions:
- Using provided template, cut 32 pointed panels (see Designer Notes) out of quilting cotton.
- Cut one 19” square for Front and two panels 19” wide x 13” for Backs (see Designer Notes pertaining to 16″ pillow if preferred) out of backing fabric.
- Out of a quilting cotton scrap, following manufacturer’s instructions, cut a circle for the covered button.
PREPARE PANELS: MAKE 16
- With right sides facing, sew each panel together with its mate or lining, using a 1/4” seam allowance, leaving the short straight side open
- Clip each point, turn right side out, and press.
PREPARE BACKING FABRIC:
- Topstitch a 1 1/2” hem along one long side of each Back, turning under 1/2” seam allowance.
- On Front, using a straight edge, mark a diagonal line from top right to lower left corner, a diagonal line from top left to lower right corner, and a centered line top to bottom and side to side.
PREPARE COVERED BUTTON:
- Follow manufacturer’s instructions.
Sewing Instructions:
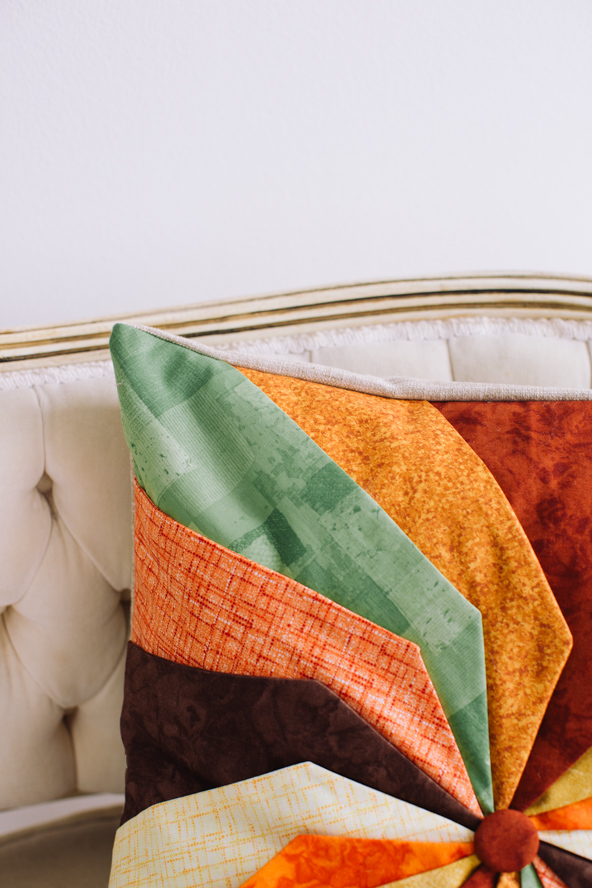
- Take 1 panel and line it up on the Top so the point is almost to the center mark where all your lines intersect, (leaving about a dime sized space open for the button) and the center of the short straight edge lines up with any diagonal line. Topstitch along the right hand fold beginning about 1” from the point, all the way to the end of the backing fabric (see Designer Notes).
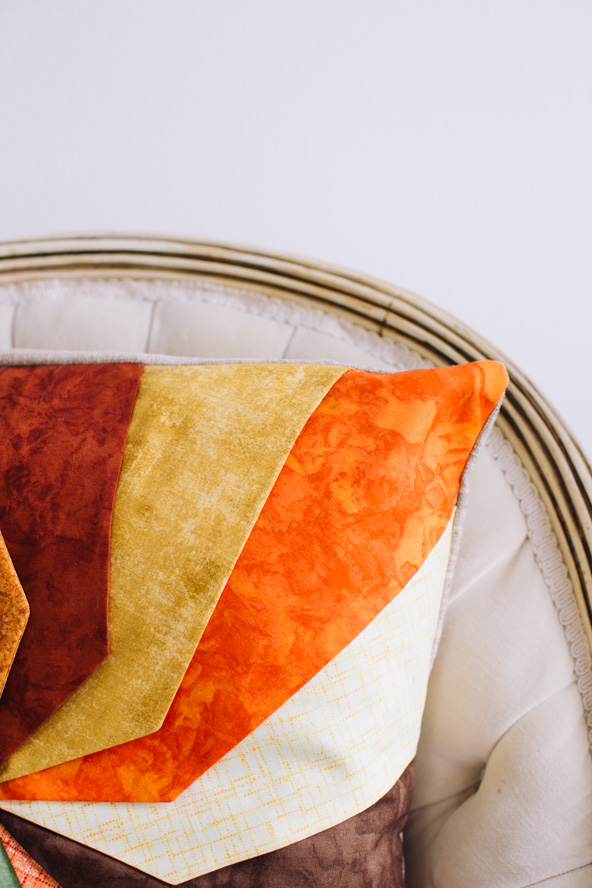
- Each subsequent panel overlaps the one below. The designer used marked lines to confirm placement of every other panel (the four corners, and the top, bottom and both sides) and centered the panels in between. Pin and stitch each panel separately, and for the last panel, you can lift the first panel out of the way so you don’t topstitch through two.
- Square off the Top so that the excess panel fabric is all trimmed away.
- Using a hand sewing needle and thread, tack each point to the Front around the dime sized center space.
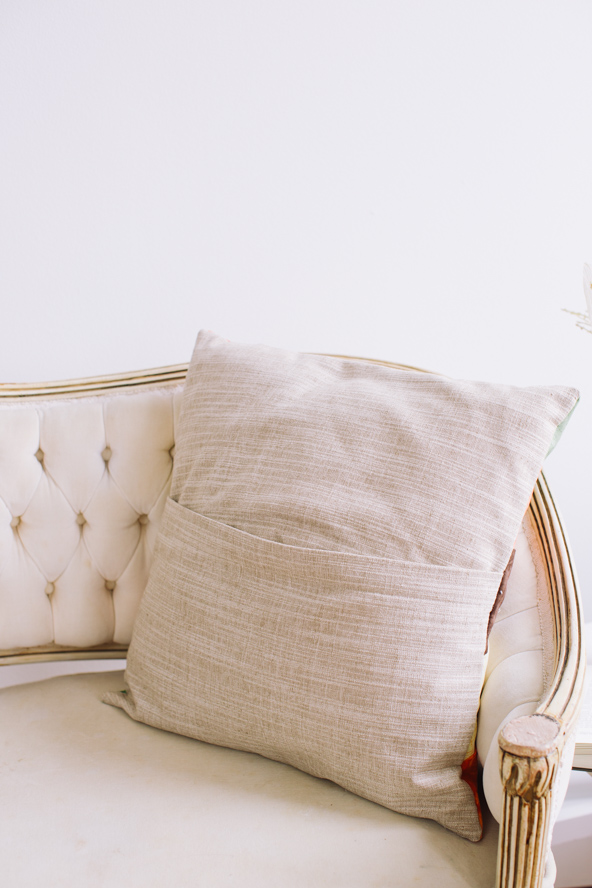
- Place the assembled Top right side up, then the two hemmed Back panels right side down, overlapping the hemmed edges to create an opening for the pillow form.
- Sew around the entire pillow with a 1/2” seam allowance.
- Clip the corners and turn the pillow cover right side out using the hemmed opening.
- Sew the button into place in the center of the Front.
- Optional: Add closures to the envelope overlap.

This will be my first one or four matching. Have bought my daughter a subscription as well because she wants to learn and I thought this would be the perfect gift
Hi Linda! Thanks so much for your comment. We hope you and your daughter enjoy We Like Quilting 🙂 Have a great day! – Ashley, We Like Quilting
so cute, can’t wait to try it.