All photos in this article are provided by the designer.
String quilting is a wonderfully joyful and forgiving way to create a quilt. By stitching together narrow strips of fabric, usually from your scrap stash, you can craft colorful, eye-catching blocks bursting with personality. And the good news? String quilting is beginner-friendly, while still offering plenty of scope for more experienced quilters to experiment with unique designs. In this article, we’ll share handy tips and tricks to help you make the most of this scrap-friendly technique.
So, grab your scrap basket and let’s explore how to turn those leftovers into something truly stunning!
What Is String Quilting?
At its core, string quilting is the art of stitching narrow fabric strips—usually 2 1/2 inches wide or less—onto a foundation base. The strips are sewn side by side until the foundation is covered, then trimmed into neat, uniform blocks that can be pieced together into a quilt.
It’s a fantastic way to use up your fabric scraps while adding texture and depth to your projects. Each block is a colorful memory quilt of past makes, and no two will ever look the same. The beauty of string quilting lies in its simplicity — you don’t have to match seams perfectly or plan every piece. It’s all about play!
Getting Started: Supplies and Setup
You don’t need much to start with string quilting — that’s part of what makes it so appealing.
FOUNDATION OPTIONS:

You can use either paper or fabric foundations:
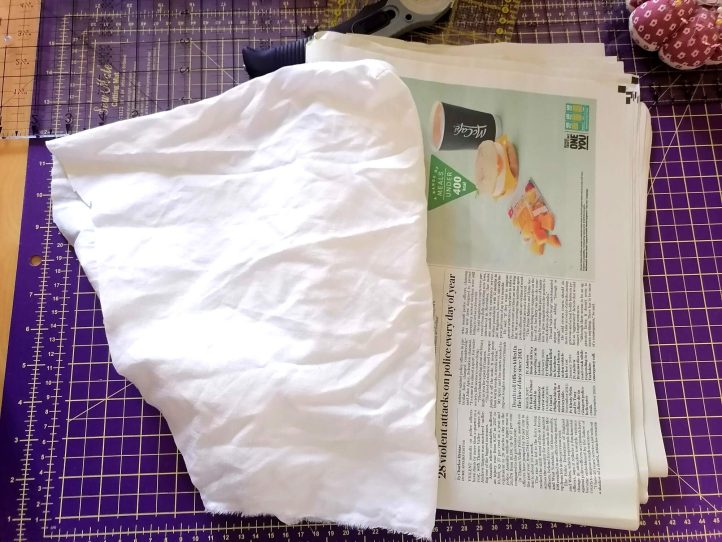
- Paper foundations (like copy paper or phone book pages) are easy to tear away once your block is finished.
- Fabric foundations (like muslin) stay in place, adding a little extra structure to your quilt.
Note: If you want to make it even easier, you can buy ready-cut foundation papers in bulk!
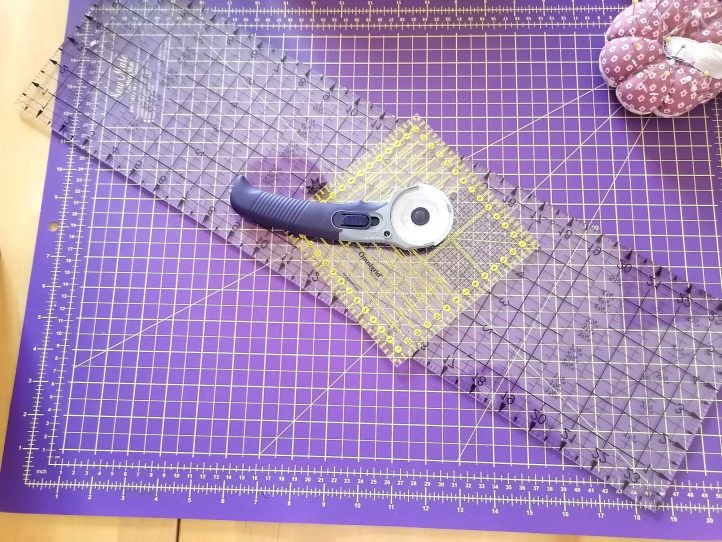
ESSENTIAL TOOLS:

A rotary cutter, ruler, sewing machine, and a good iron are all you need to get started — oh, and of course, a healthy stash of colorful scraps!
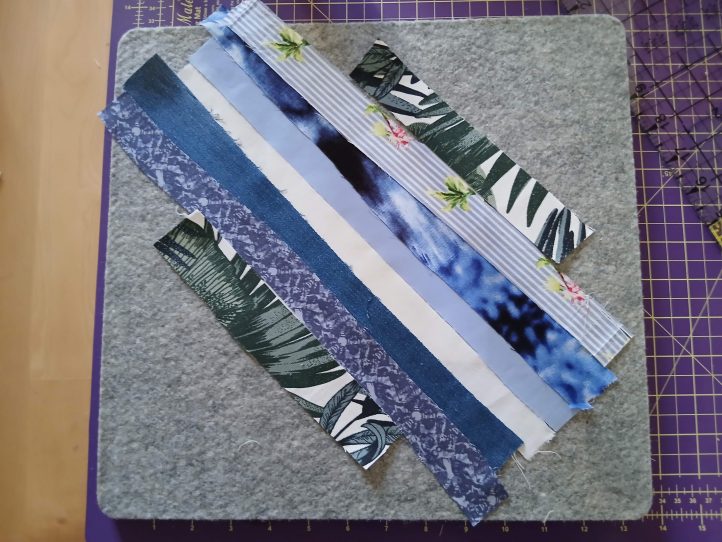
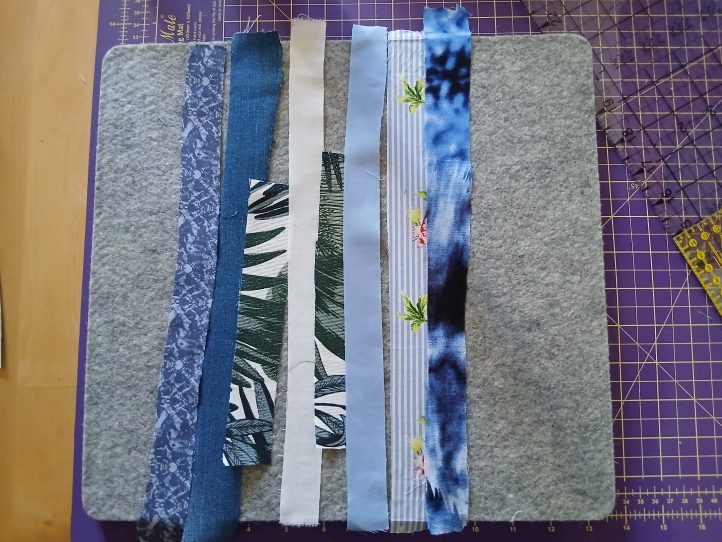
CHOOSING YOUR STRINGS:
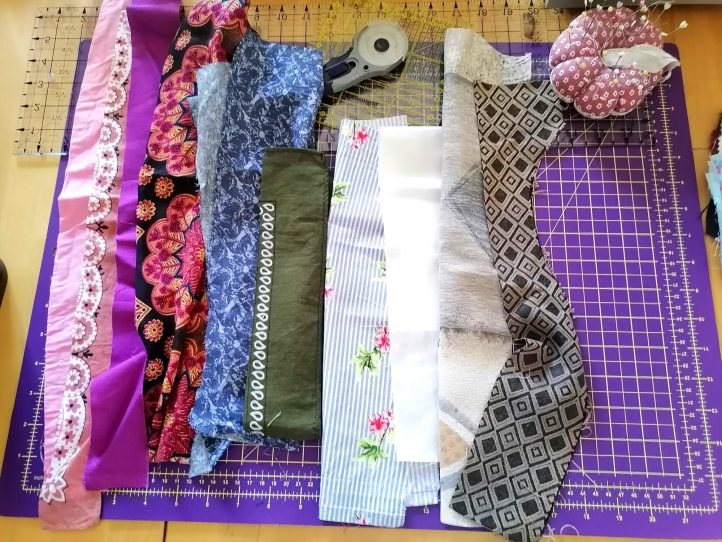
Your strips don’t all have to be the same width. Try mixing straight, angled, and uneven strips to add more visual interest. The fun of string quilting is in the freedom — there are no strict rules, just creativity.
Tips for String Quilting Success
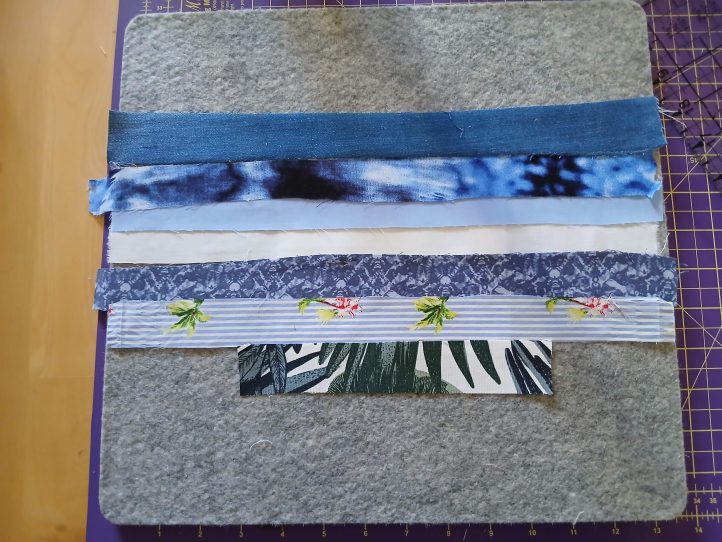
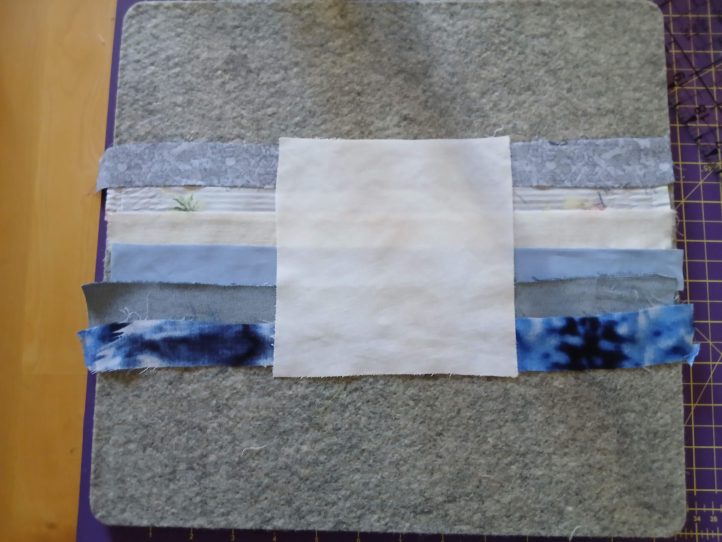
Prep like a pro. Before you start stitching, take a few minutes to sort your scraps. Organize them by color, size, or fabric type so you can easily grab what you need. Use a foundation to stabilize your blocks and keep your strings wide enough to avoid stretching or fraying.
Needle know-how. Use a fresh needle suitable for your fabric (a universal 80/12 is a good all-rounder). Try using leaders and enders to prevent thread tangles, and press your seams open to reduce bulk.
Balance your colors. Mix lights, darks, solids, and prints to keep your blocks lively. Think of it like painting with fabric — variety is what makes string quilts shine!
Trim as you go. After adding each new strip, give the block a quick trim to keep things neat. This helps your blocks fit together perfectly later.
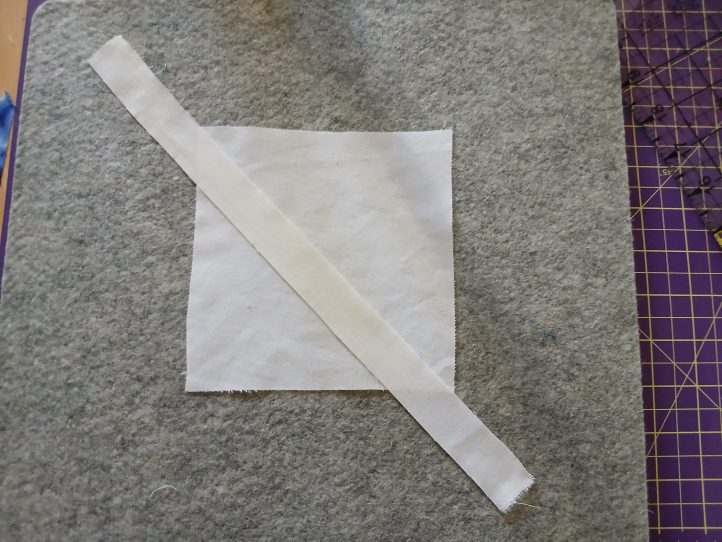
Play with angles. Not every strip needs to be straight! Try sewing diagonally across your foundation for a more dynamic look.
Design Tricks to Try
Start with a bold center. Begin your block with a strong center strip — something bright, contrasting, or patterned. It anchors your design and draws the eye in.
Organize your scraps. Pre-cut a batch of strings before you start sewing. It makes the process faster and keeps your workspace tidy.
Experiment with color. Try sorting your strips into warm (reds, oranges, yellows) and cool (blues, greens, purples) tones, or alternate light and dark fabrics for bold contrast.
Play with layout. When your blocks are done, rotate them to create fun designs — diamond, chevron, starburst, or even log cabin–style layouts all work beautifully. The same blocks can look completely different just by changing the arrangement!
Common Mistakes and Fixes
- Using flimsy paper that tears too easily. Fix: Try sturdier paper or switch to fabric foundations for extra support.
- Forgetting to shorten stitch length. Fix: Set your machine to 1.5-1.8mm so paper foundations tear away more easily.
- Trimming without checking seam allowances. Fix: Always double-check your 1/4 inch seams before cutting.
- Using a dull blade. Fix: Keep your rotary cutter sharp and square up your blocks as you go.
- Ignoring grainlines. Fix: Keep an eye on fabric direction to prevent stretching or distortion.
- Skipping pressing. Fix: Press each strip before adding the next to achieve smooth, crisp seams.
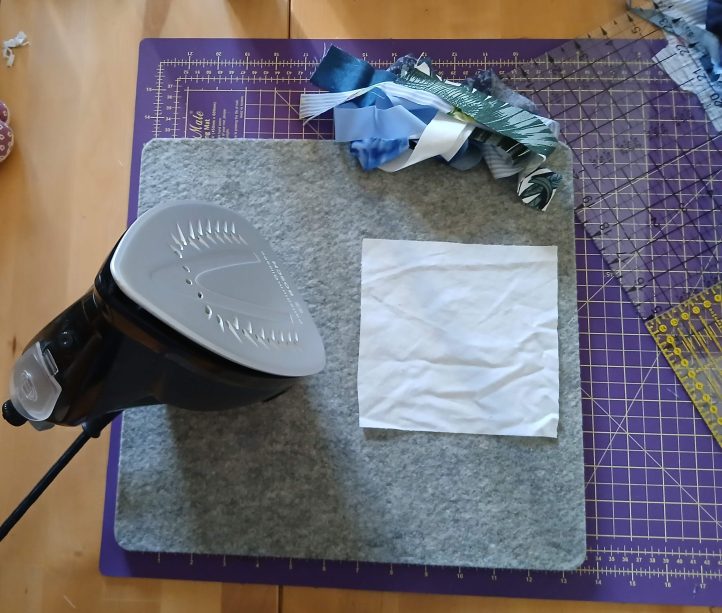
Note: A wool pressing mat is ideal for achieving smooth seams!
Project Ideas for Beginners
If you’re just starting out, small projects are a great way to practice string quilting techniques without committing to a whole quilt. Try one of these ideas:
- String-pieced potholders: Quick, colorful, and perfect for gifts.
- Table runner: A fun way to experiment with layout and color.
- Simple String Block Quilt: Stitch together a handful of blocks for a cheerful lap quilt or wall hanging.
Once you get the hang of it, you might find yourself saving every last scrap for your next project!
We hope we have inspired you to try string quilting and to see scraps not as leftovers, but as opportunities. With a bit of creativity and a few clever tricks, you can turn even the smallest pieces into something stunning. Whether you’re making a humble potholder or a full-size quilt, string quilting is a reminder that sometimes the most beautiful quilts are born from the simplest pieces of fabric.