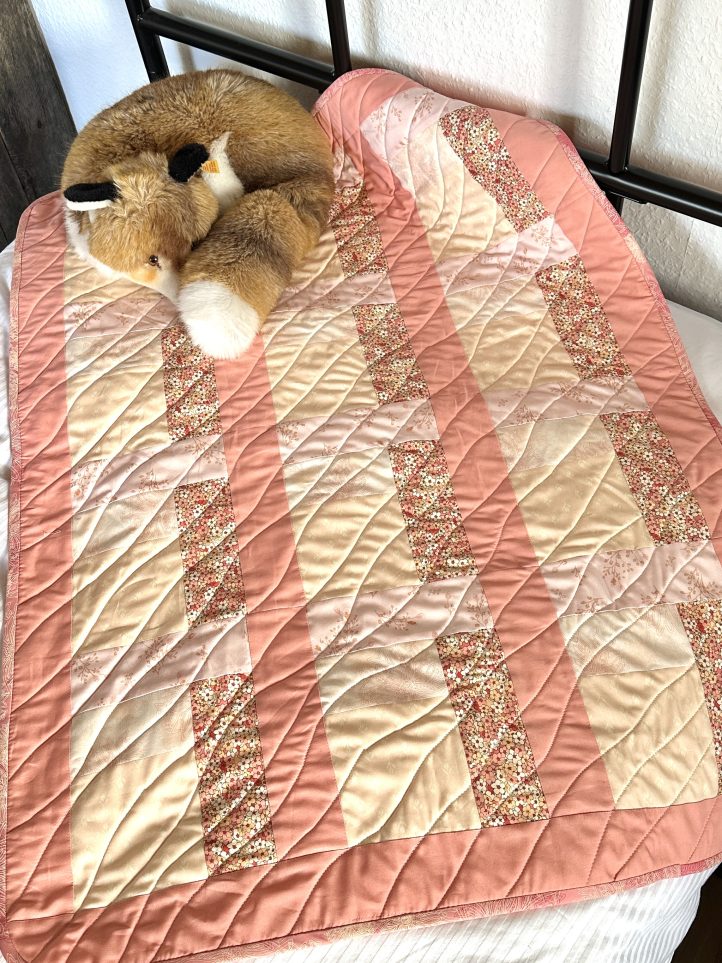
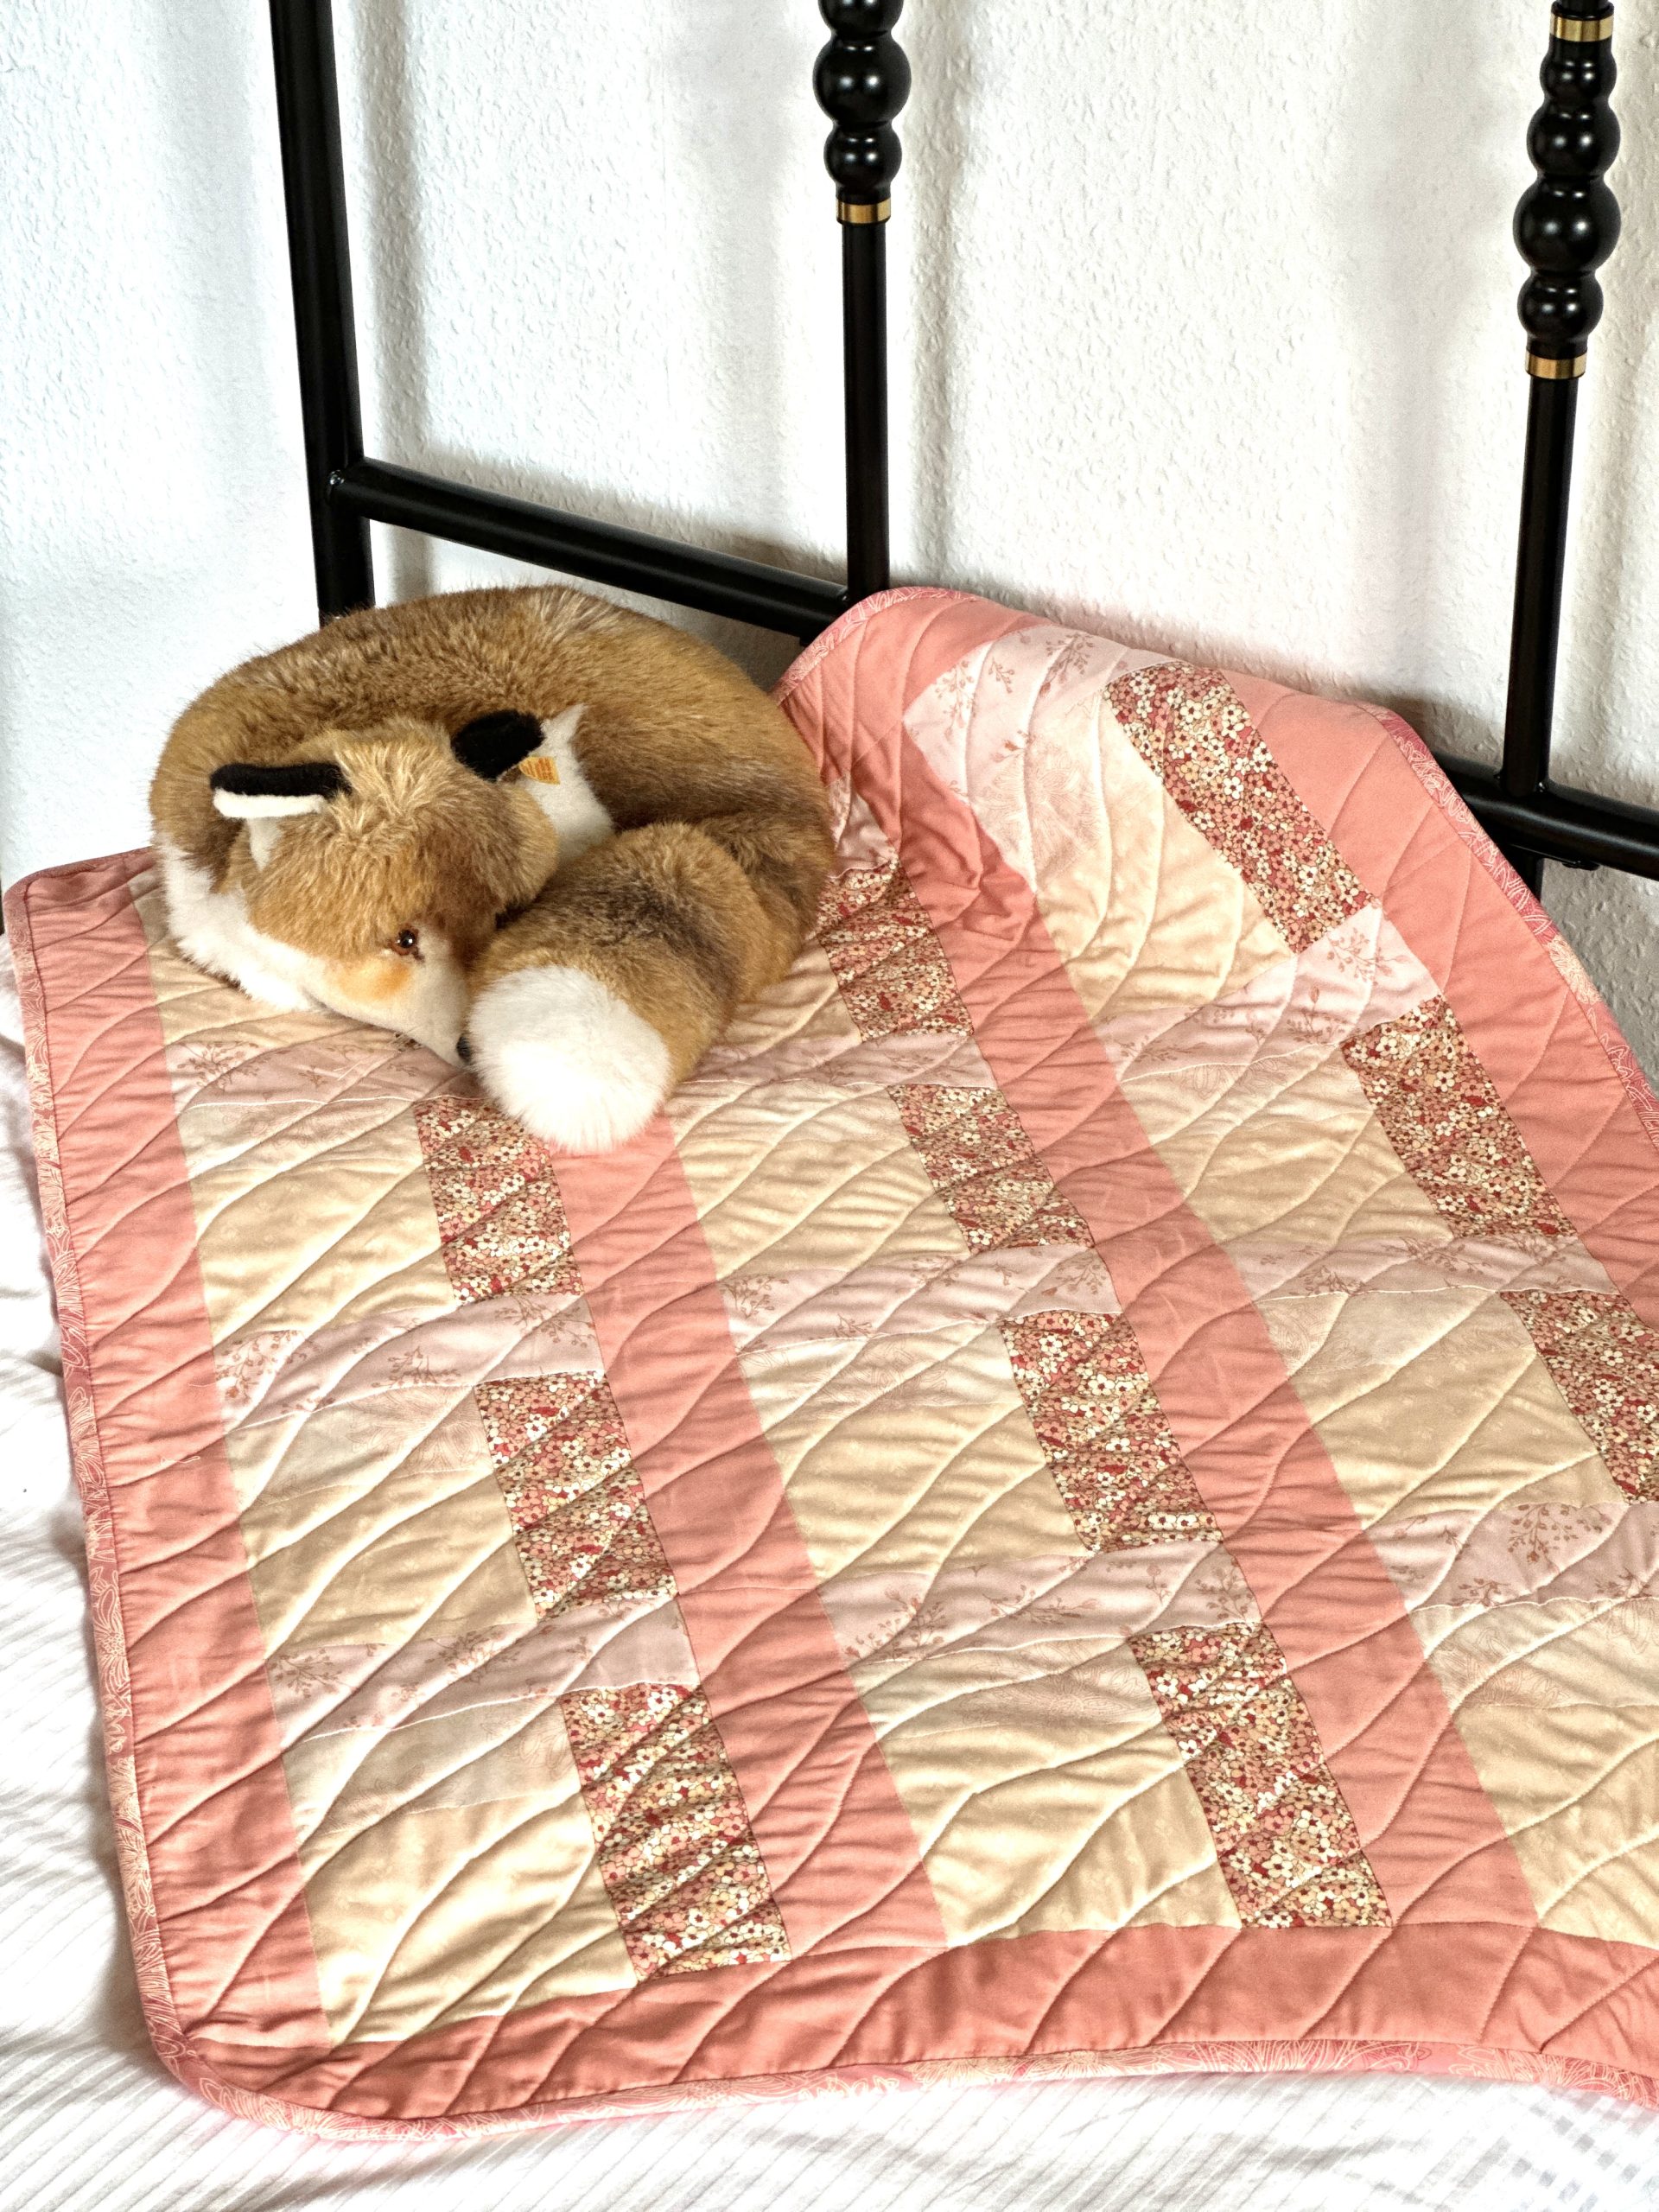
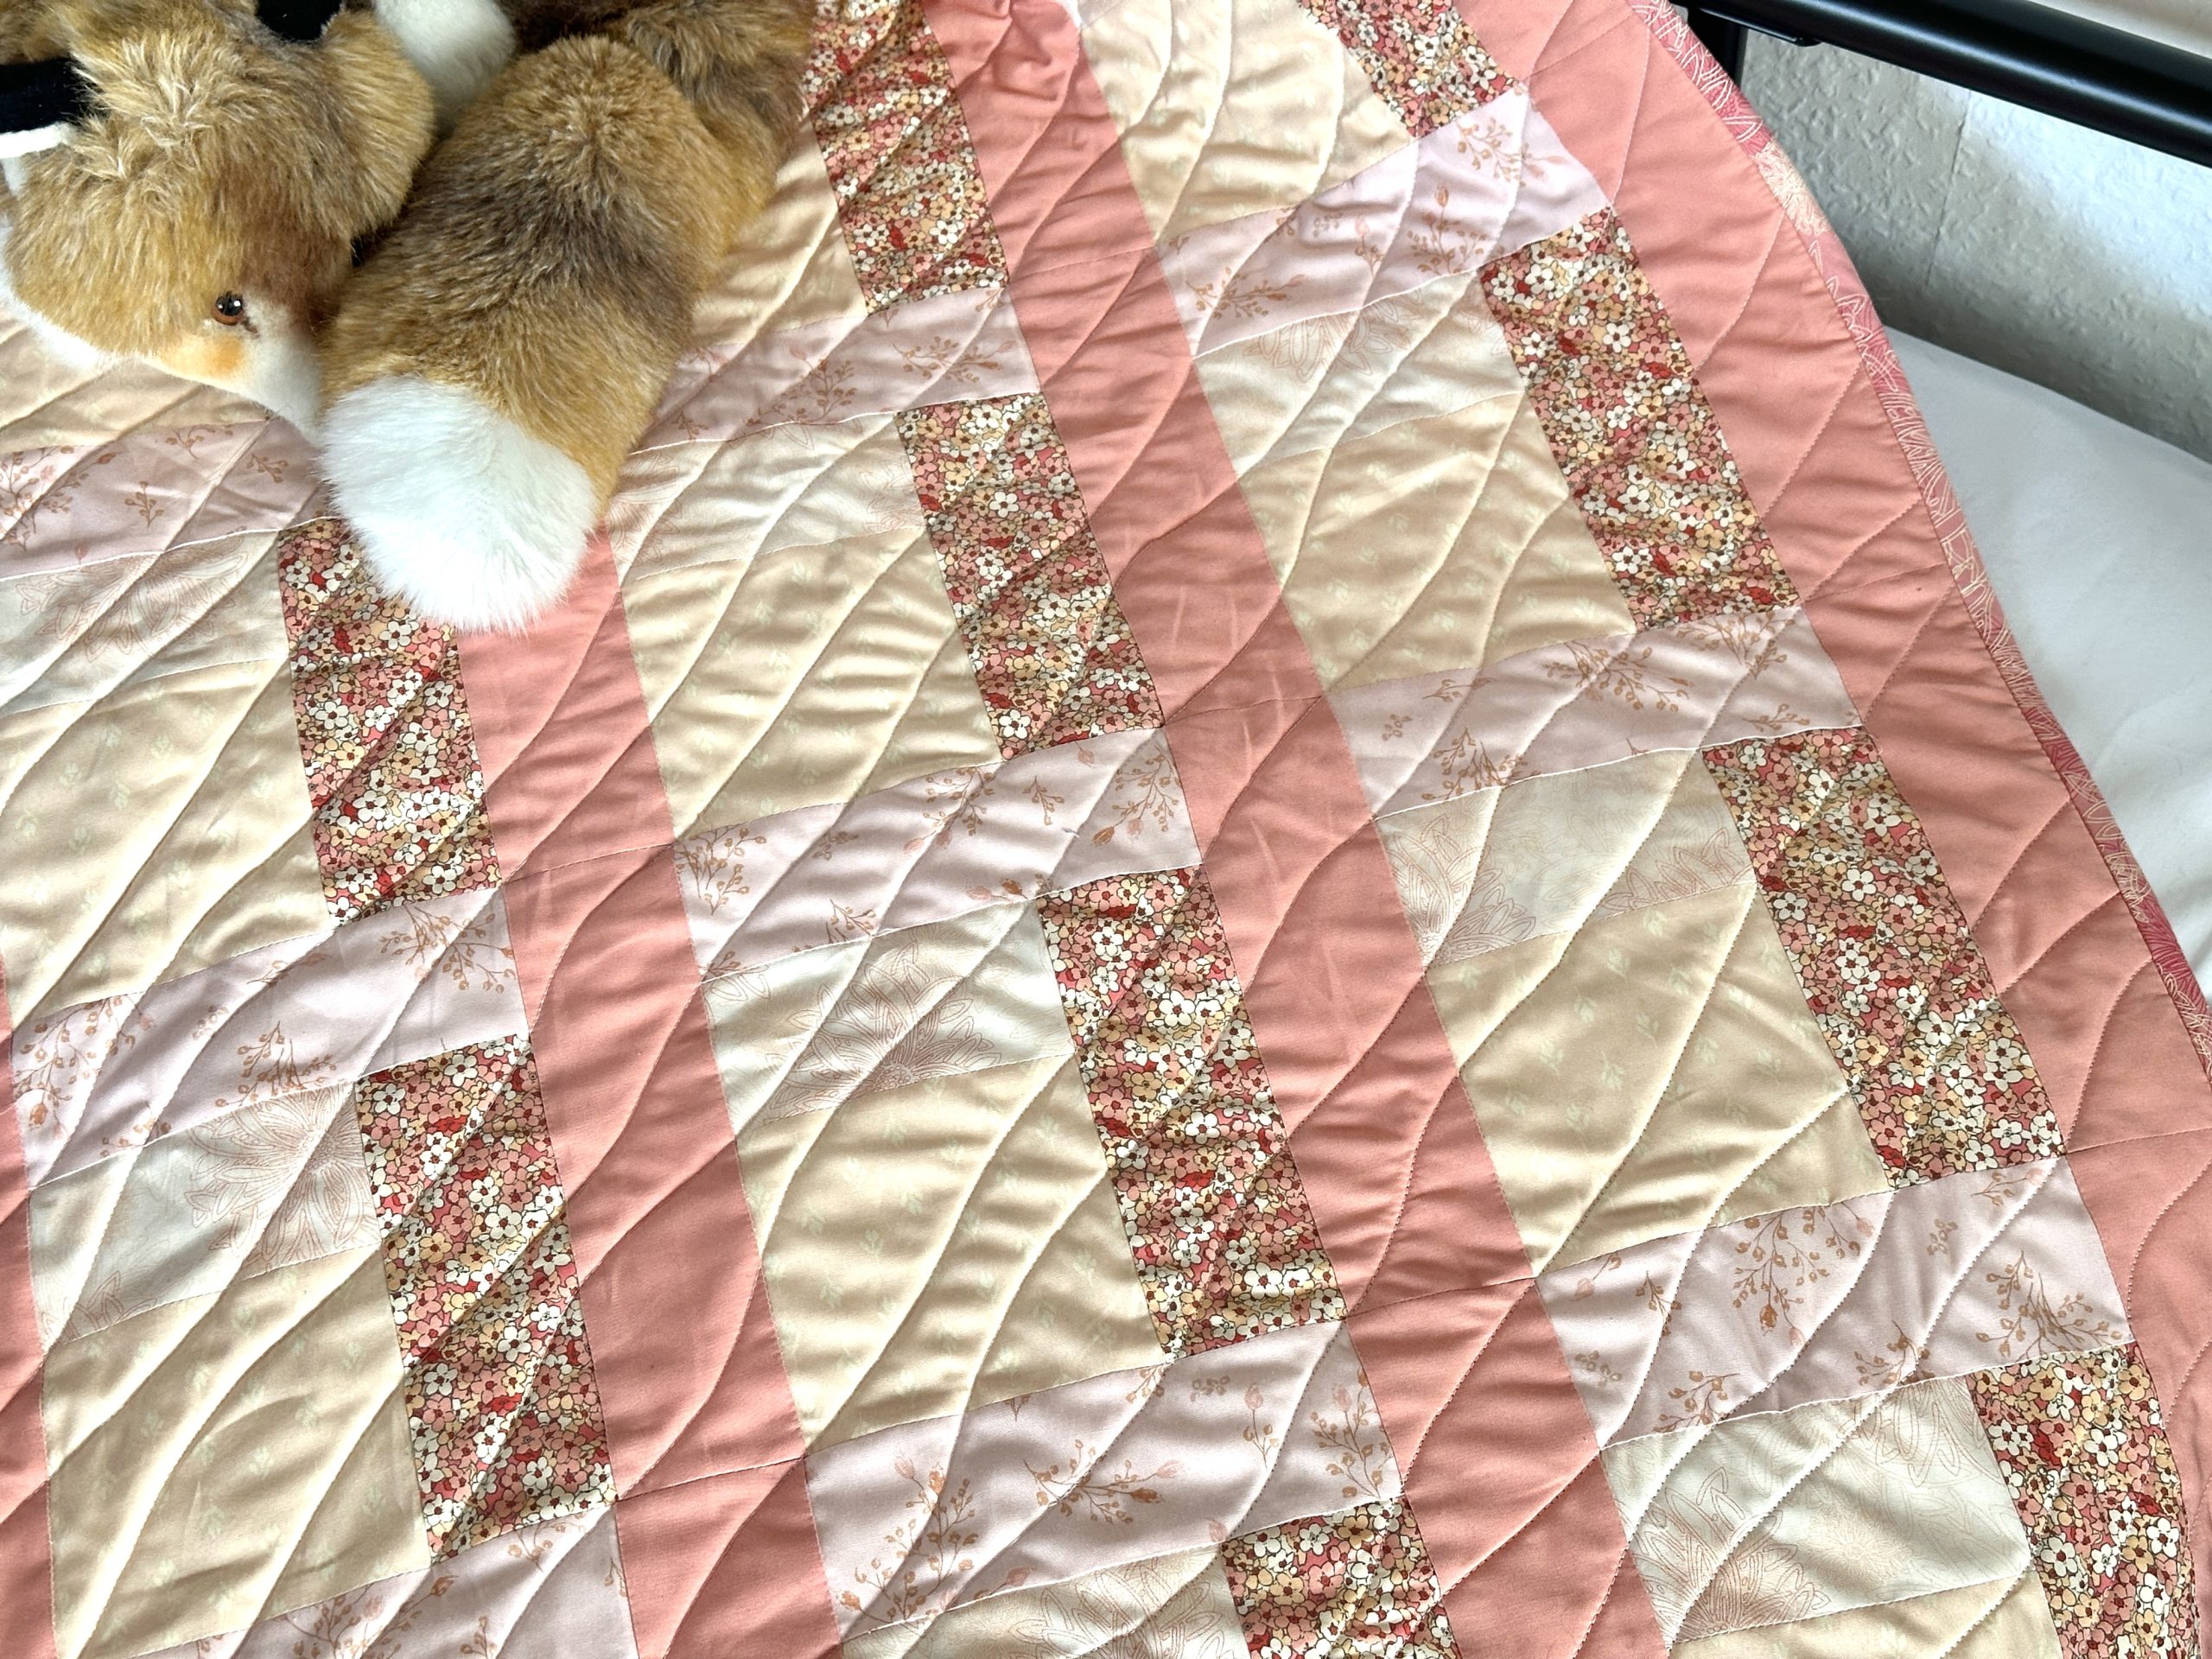
Sew the newest member of your family a sweet homemade gift with this new pattern from Debbie von Grabler-Crozier. Made in delicate shades of spring pink, this baby quilt pattern features a modified version of the classic log cabin block and mixes classic solids with precious floral prints. A thoughtful handmade gift for your next baby shower, this small baby quilt is an easy project for new quilters to expand their skills.
Designer Notes: Seam allowances are all 1/4” and have already been added.
Materials:
- Fabric: (Note: All fabrics are all by Art Gallery Fabrics [AGF].)
- 1/4 yd. strip floral fabric- Debbie loves Harvest Blush from the Year in Petals collection by Bonnie Christine for AGF.
- 1/4 yd. blender 1- The designer chose Ballerina from the Floral Elements collection by AGF.
- 1/4 yd. blender 2- The designer chose Floral Slumber from the AGF Bedtime Stories collection.
- 1/4 yd. blender 3- This time, Wisp Bliss from the Haven collection by Amy Sinibaldi collection for AGF was used.
- 1/2 yd. solid- The designer chose Blossomed from the Pure Elements collection for AGF.
- 1 1/2 yds. blender fabric for the backing and binding- Debbie has chosen Blush from the Floral Elements collection for AGF.
- Interfacing:
- 1 yd. #279 cotton mix batting by Vlieseline
- Scissors
- Fabric marking tools
- Extra feet for your sewing machine (walking foot, for example)
Cutting Instructions:
From the hero floral:
- 12 squares 4 1/2” sq.
From blender 1:
- 2 strips 2 1/2” wide x WOF (width of fabric)
From blender 2:
- 2 strips 2 1/2” wide x WOF
From blender 3:
- 2 strips 2 1/2” wide x WOF
From the solid:
- 3 strips 2 1/2” wide x WOF
- 2 strips 2 1/2” wide x 25” for the top and bottom sashes
- 1 strip 2 1/2” wide x 33” for the left hand side sash
From the backing and binding fabric:
- 1 piece 29” wide x 37” tall for the backing panel
- Bias cut tape 1 1/2” wide and joined to make a continuous piece 130” long
From the interfacing:
- 1 piece 31” wide x 39” tall for the batting
Piecing Instructions:
PREPARATION:
Make the Bias Tape:
- Press the seams of the bias tape open to reduce bulk and fold the tape wrong sides together along the whole length. Press to obtain a center crease.
- Unfold and re-fold the two long raw edges to the center crease (also wrong sides together) and press again.
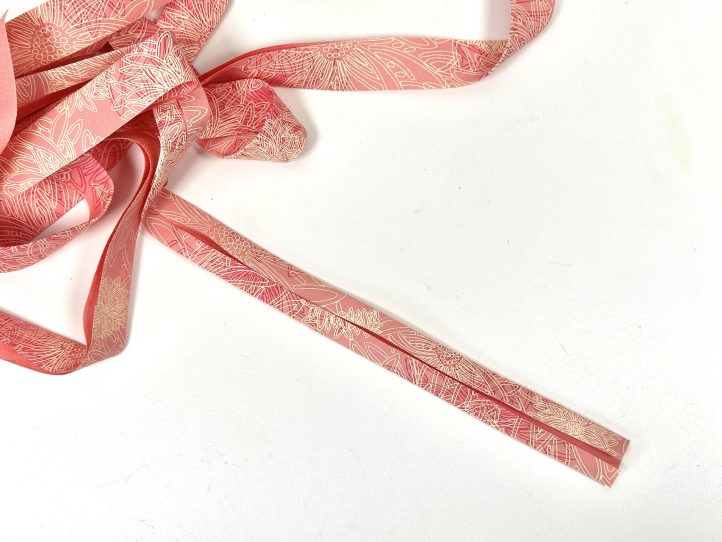
- Fold along all of the creases so that the raw edges are hidden, and roll the tape until it is needed to keep it neat.
Make a Log Cabin Block:
TIP: This log cabin block is a little different in that you do not need to worry about the length of the strips. They only have to be long enough, and then they will be trimmed to size as you work. This will create some shorter lengths that you can use in another project. Perhaps a matching cushion?
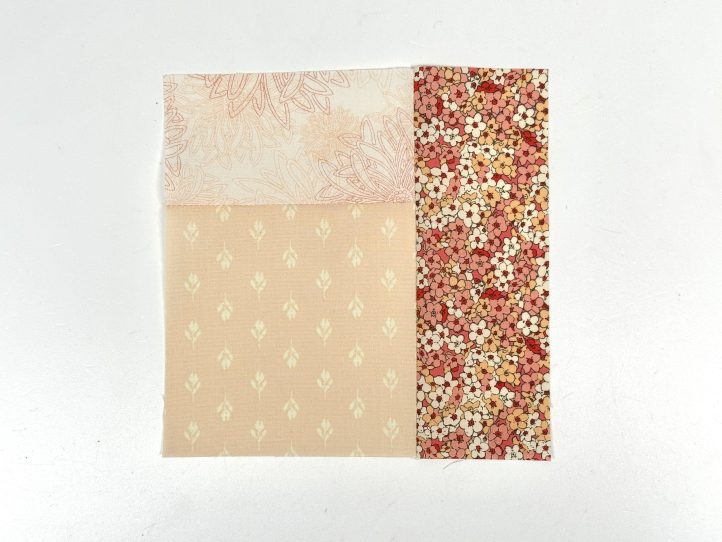
- Begin with a floral square and blender 1 in a long strip. Attach the blender to the square. TIP: This block is suitable for and easy to chain piece as an alternative.
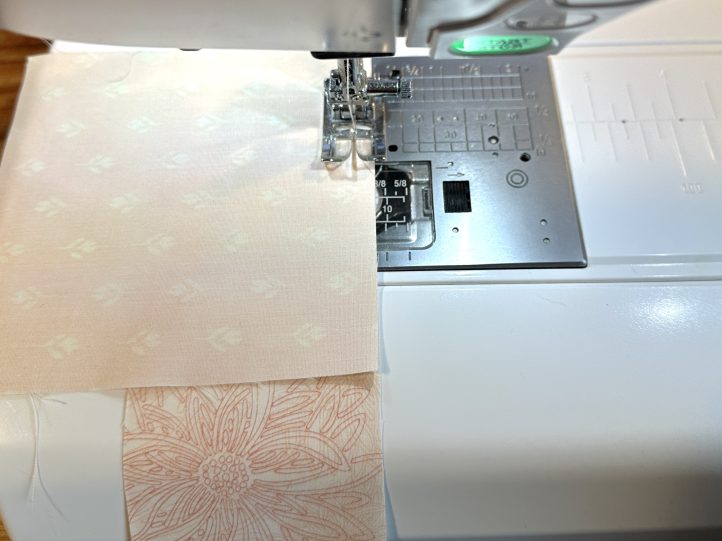
- Trim the strip level with the square.
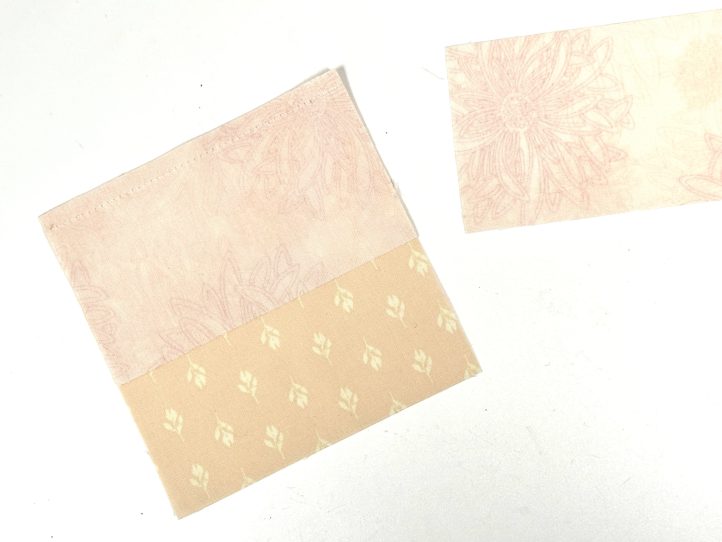
- Bring in the next blender (2) and attach that to the right hand side and trim.
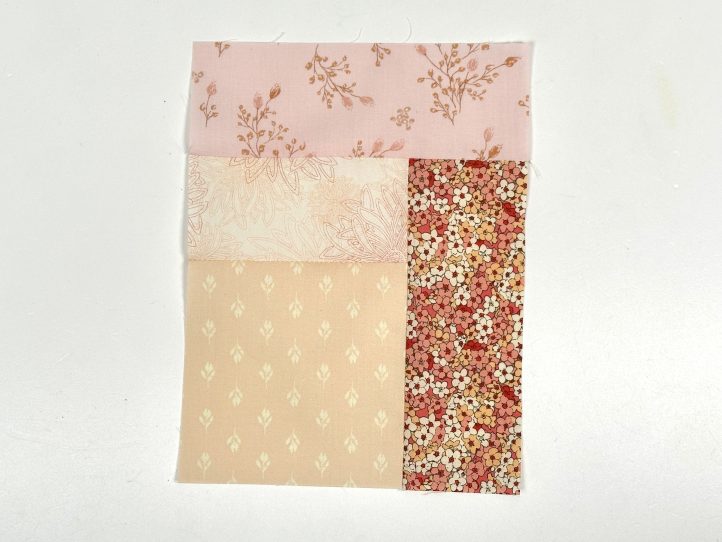
- Add the next strip (blender 3) to the side of the block and trim.
- Another blender (4) goes to the top and then finish with a solid on the right hand side.
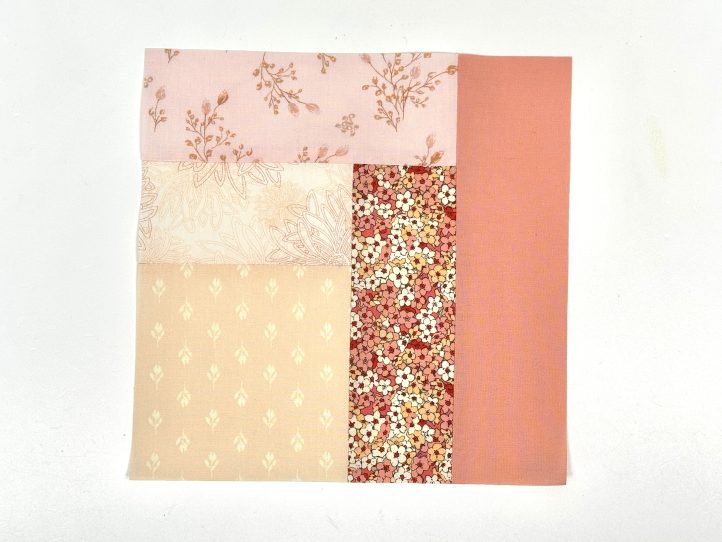
- Trim and square the block. It should be 8 1/2” sq.
- Make another 11 of these blocks exactly the same. Trim and press all of the blocks.
MAKING:
Construct the Quilt Top:
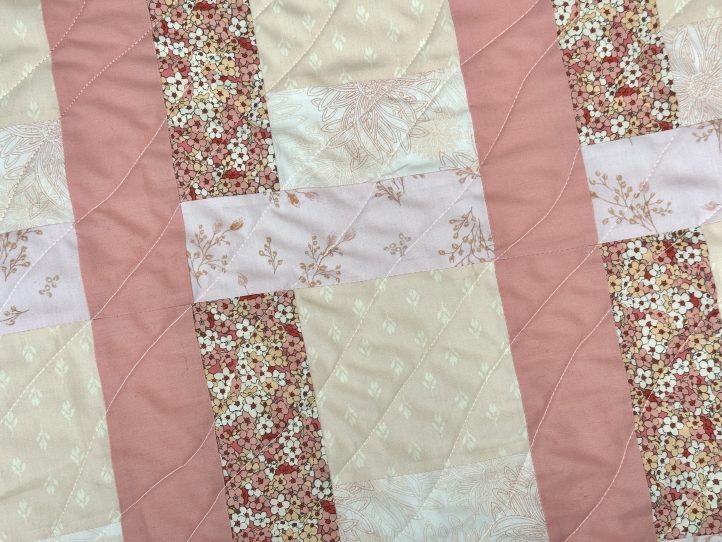
- The quilt top is three blocks wide and four deep. Join three blocks and press the joining seams open.
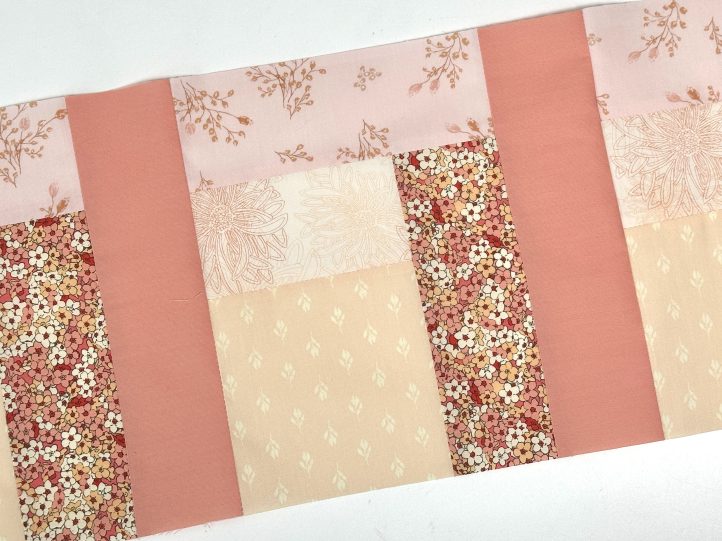
- Make four strips of three and then join them all together. Press. TIP: This style of log cabin quilt has an advantage for beginners- you only have to match the seams on the one side- the right hand side seams need to match as perfectly as possible. This makes it a lot easier to be precise.
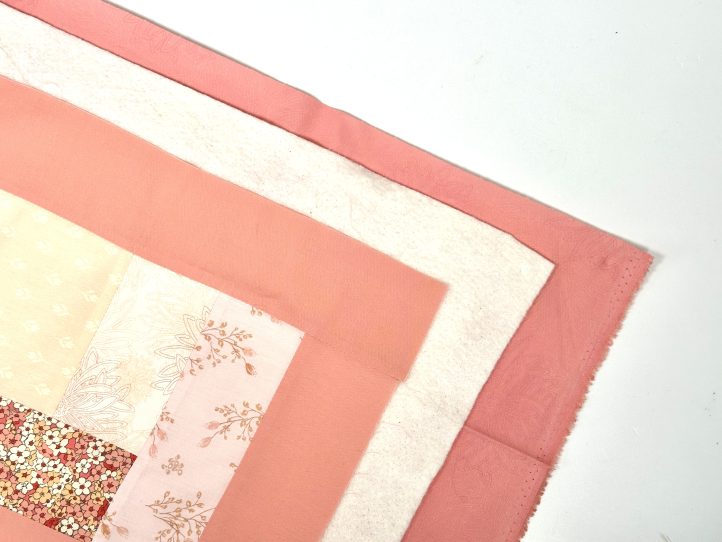
- Add the left hand side sash and then one to the top and bottom to surround the quilt with a solid border. TIP: No extra solid sash is needed on the right hand side because the solid border is formed by the actual quilt blocks.
Make the Quilt Sandwich:
- Lay the pressed backing fabric, right side down, onto a large flat surface and center the batting on top. There will be some overhang of the backing fabric.
- Pin the pressed quilt top, right side up, centrally onto the batting.
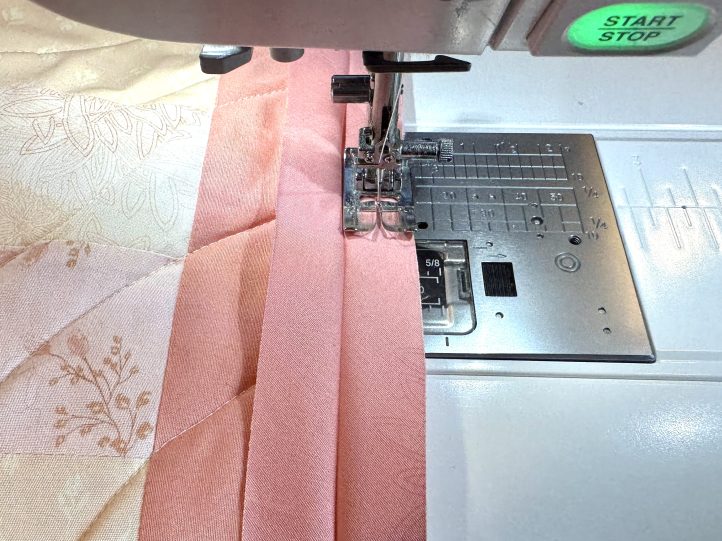
Quilt:
- Set your machine up to quilt by lengthening your stitch length and attaching the walking (dual feed) foot.
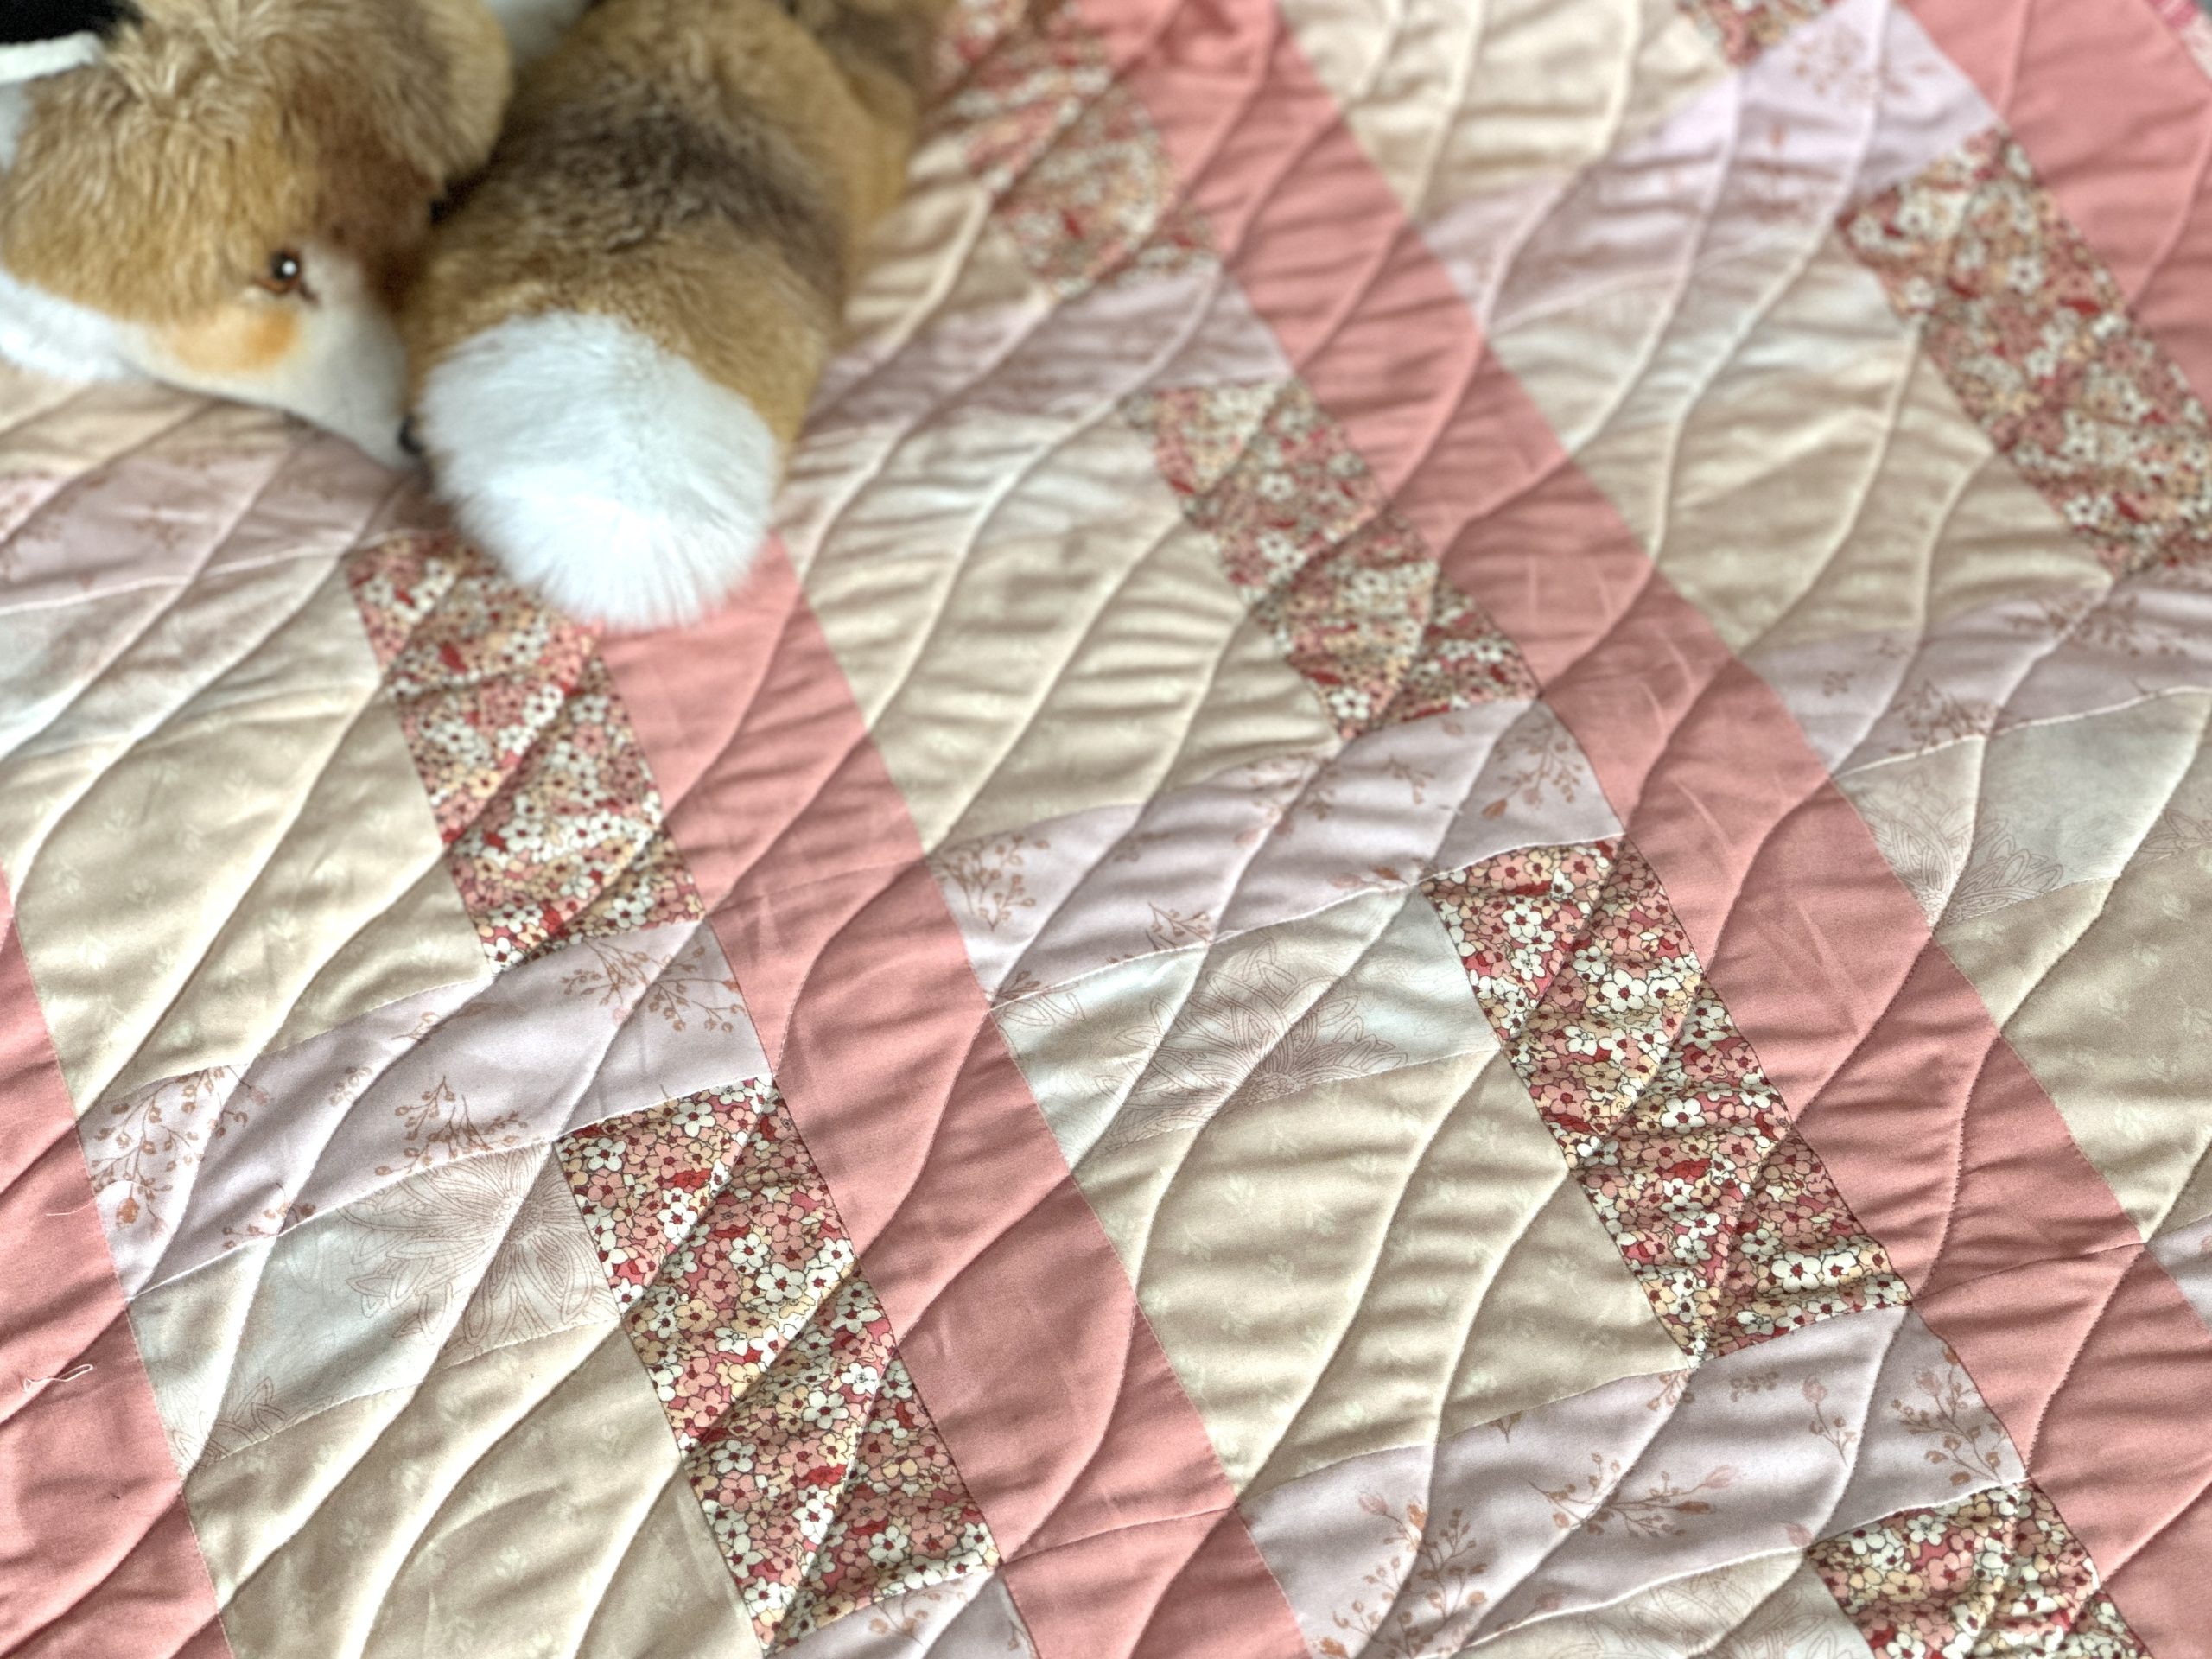
- Quilt with your favorite pattern. TIP: The designer loves a random diagonal wave pattern. It is super easy to do and almost impossible to get ‘wrong’.
- Simply start with a random wave across one corner.
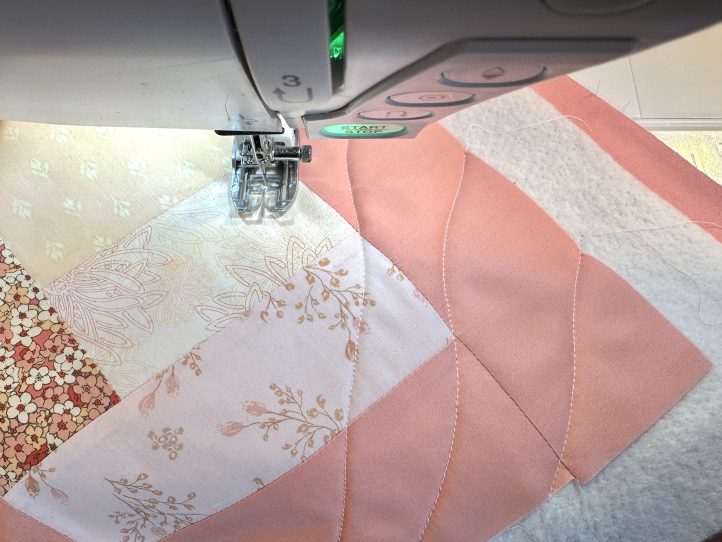
- And then keep doing this, being very careful to be random and not allow a pattern to form. TIP: This quilt is also a really great pattern to hand quilt, old school style.
Finish:
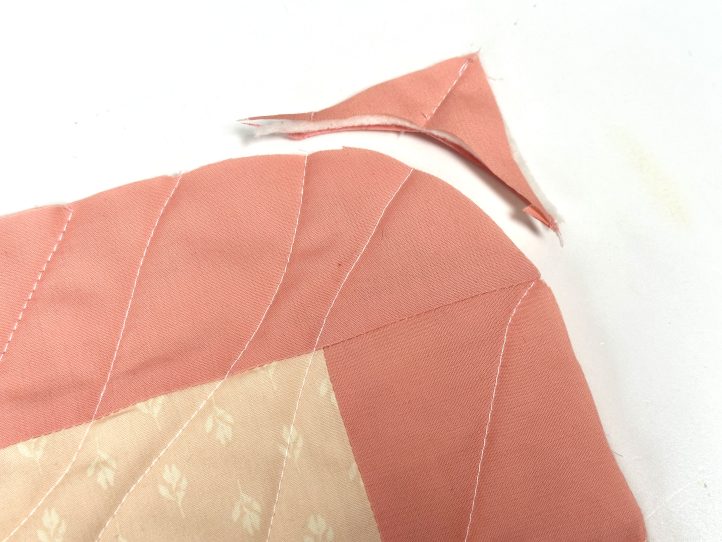
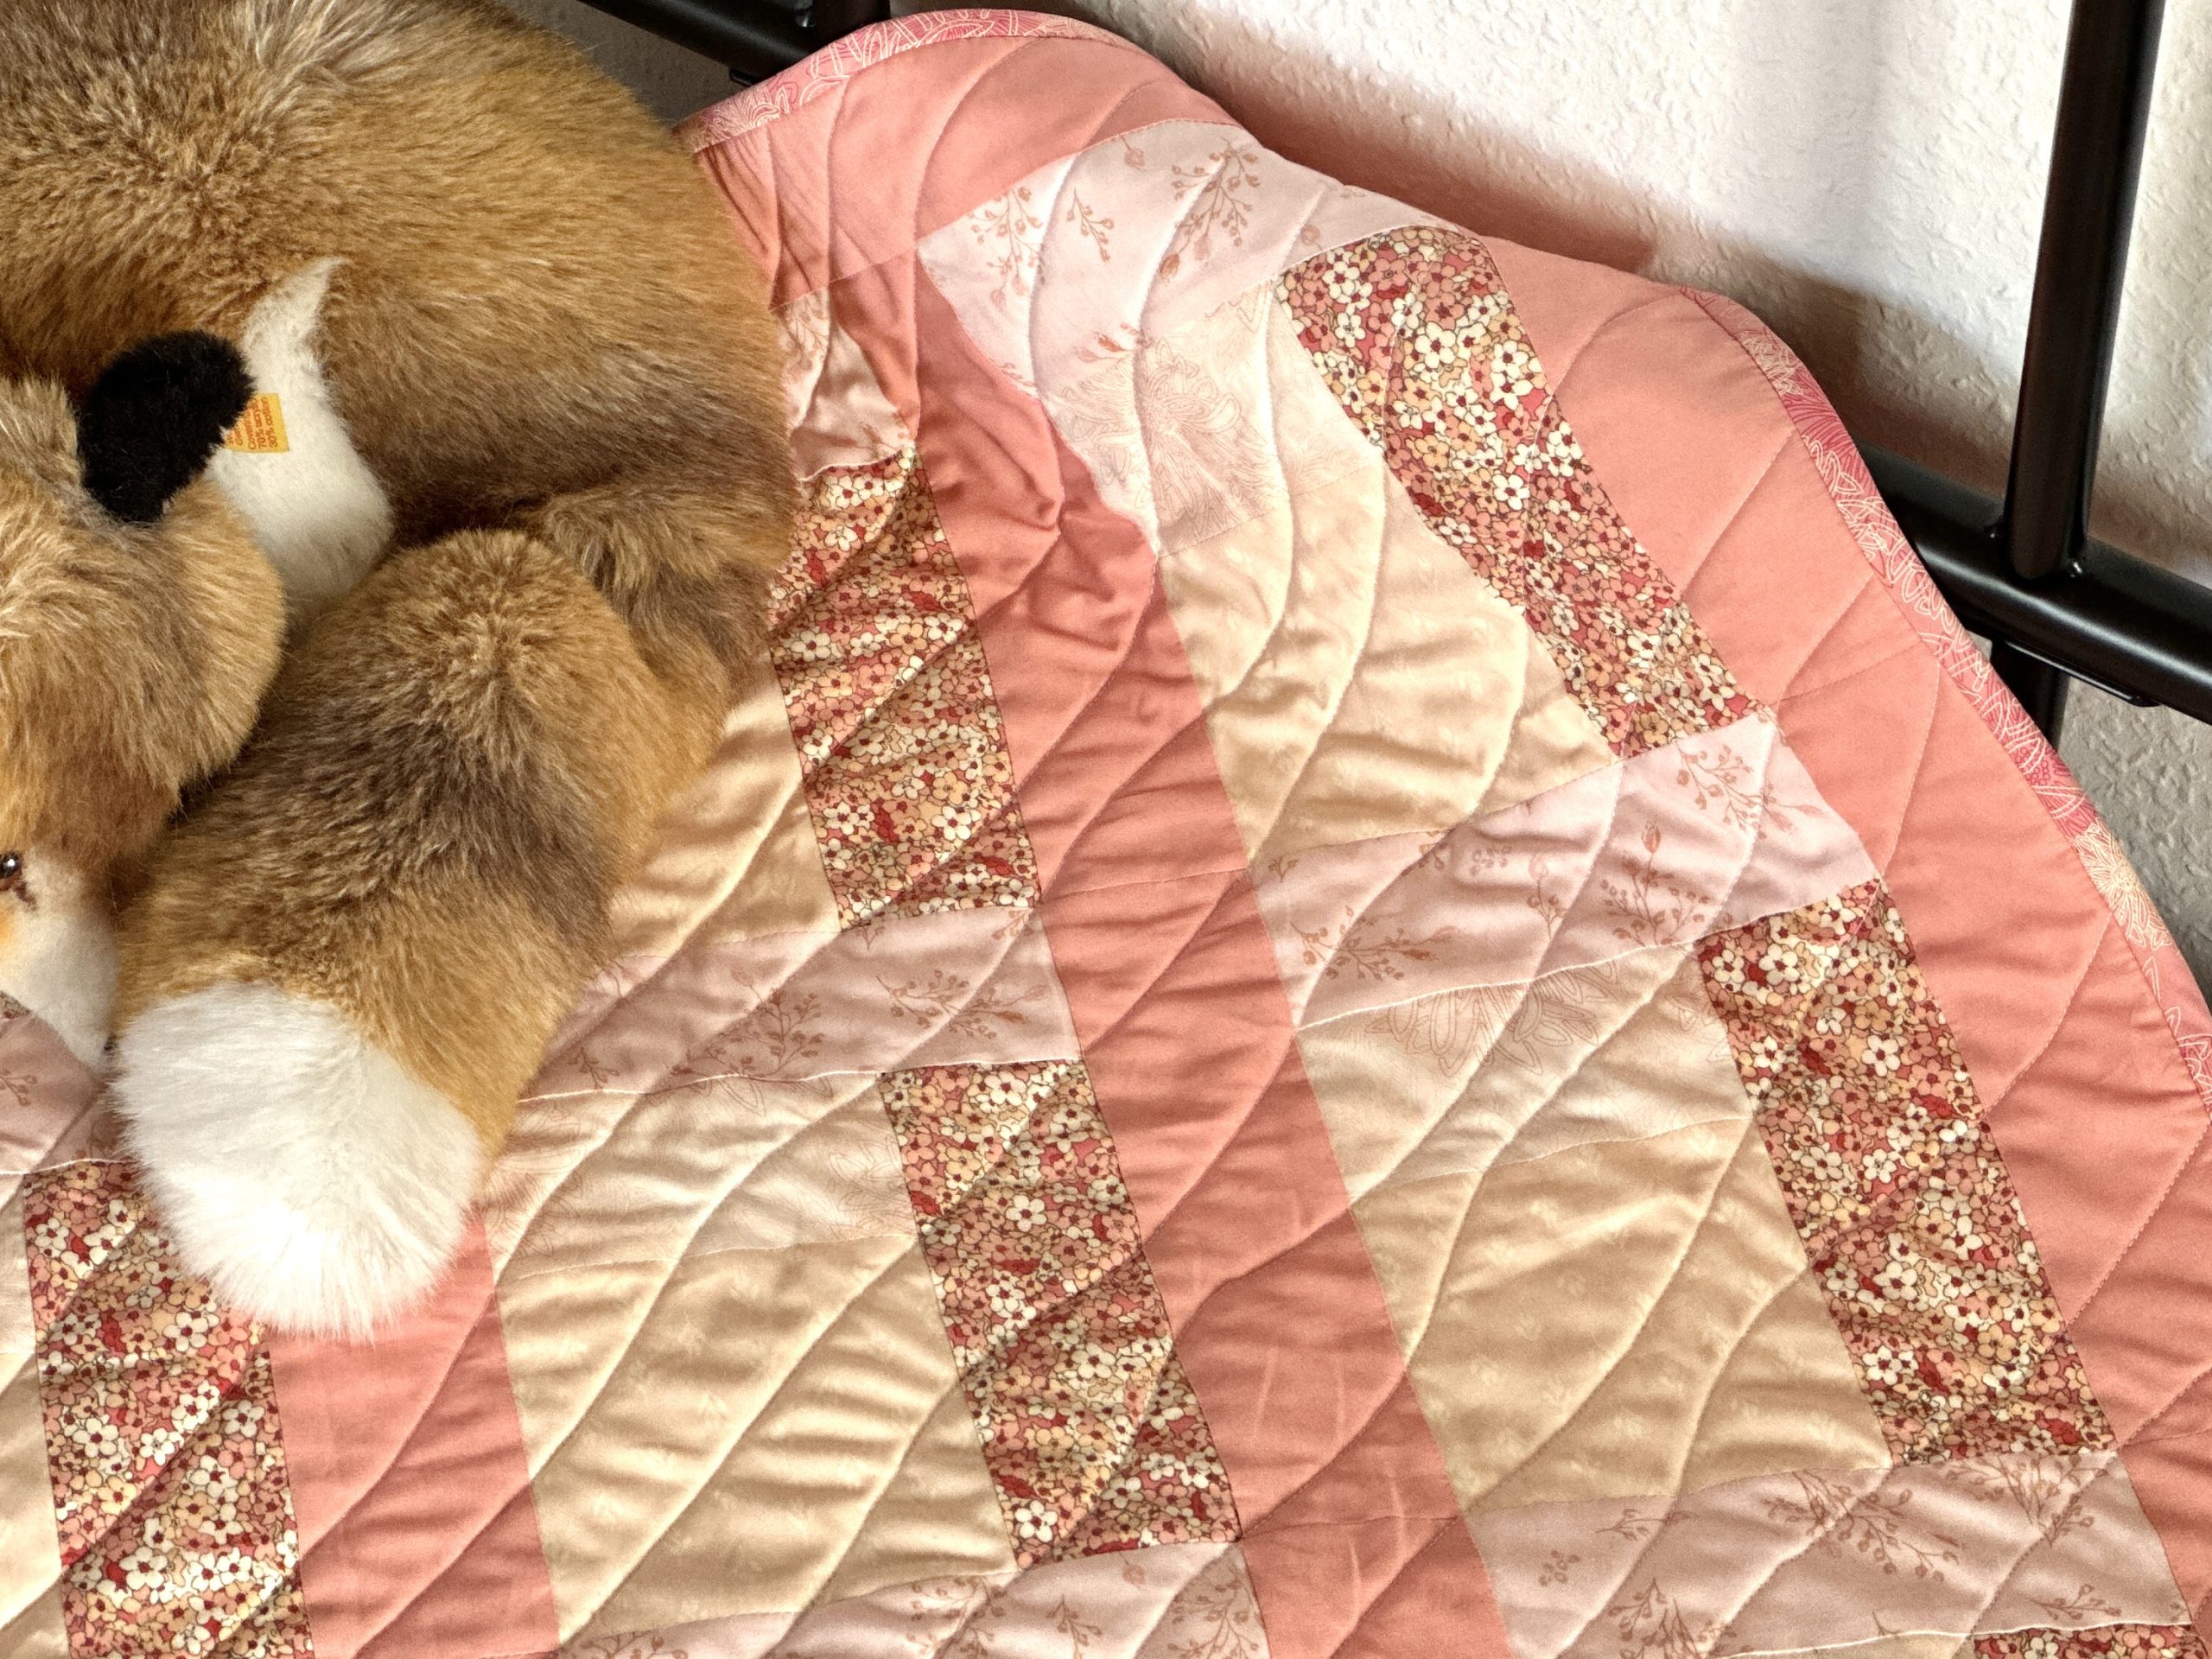
- Trim and square the quilt and round the corners. This is super easy to do, and all you need is a coffee cup or something similar to trace around. Trace the cup and cut the corner out.
- Bind with the bias tape.
Looking forward to doing this precious quilt