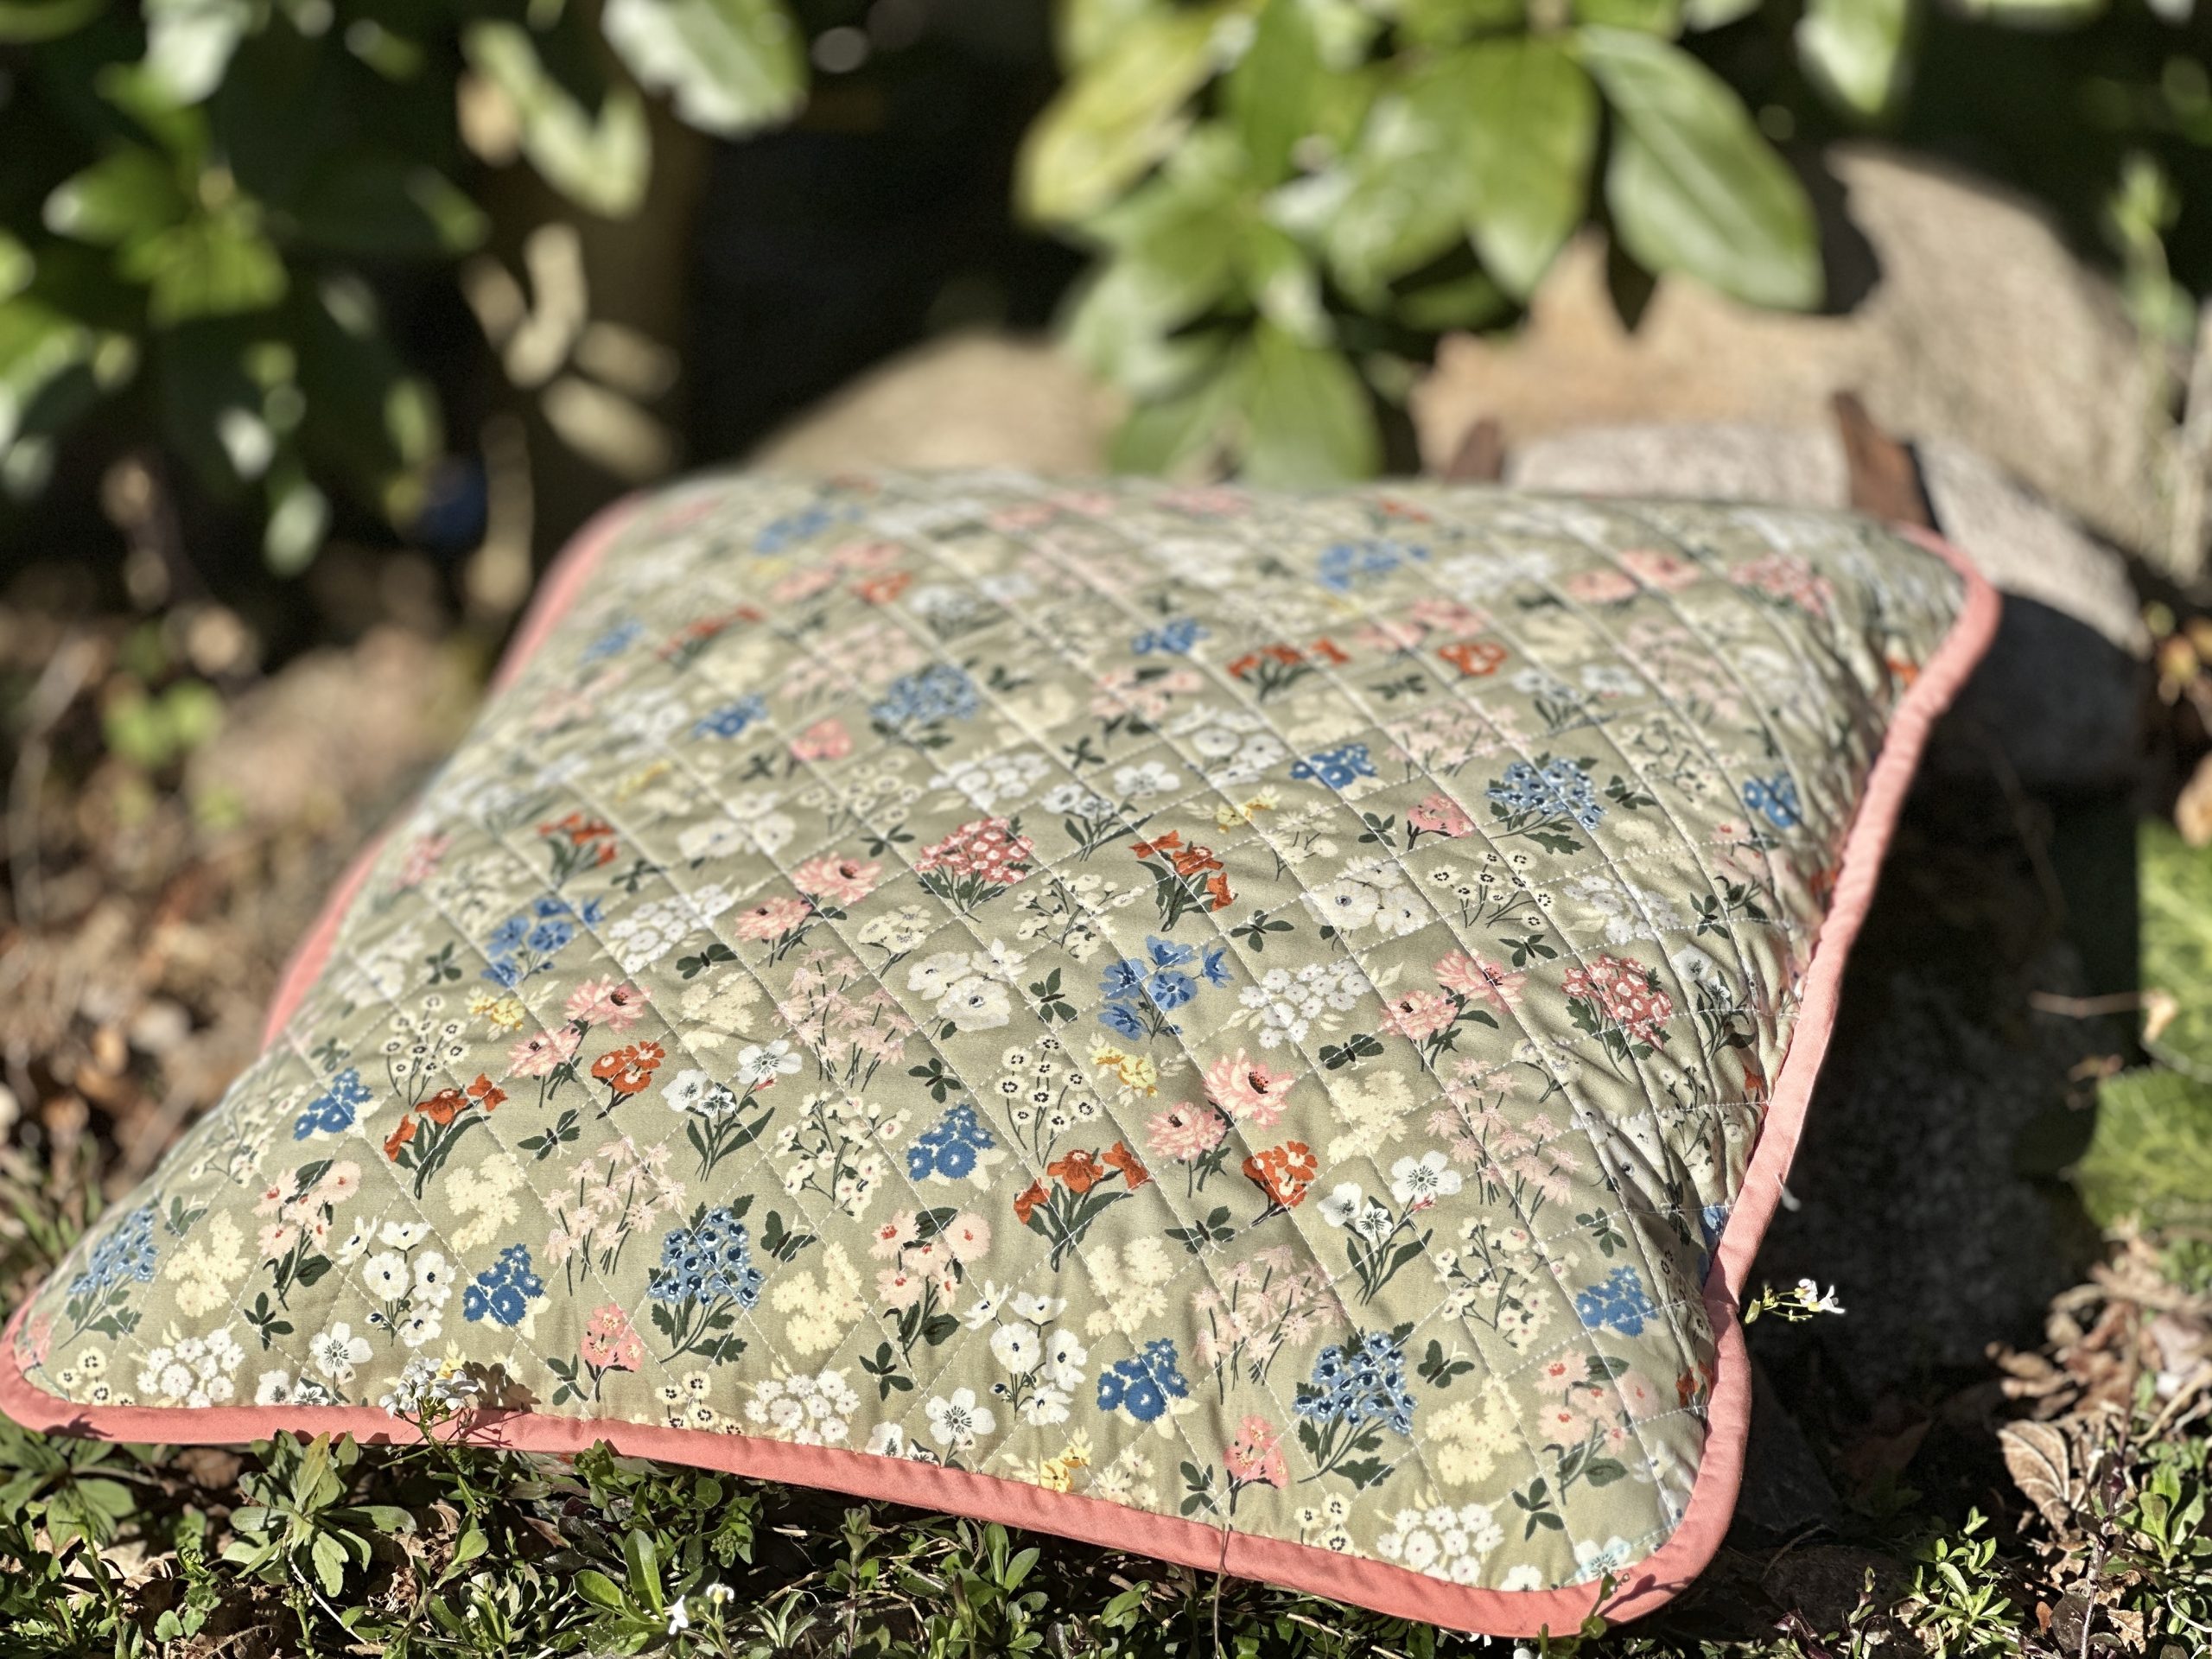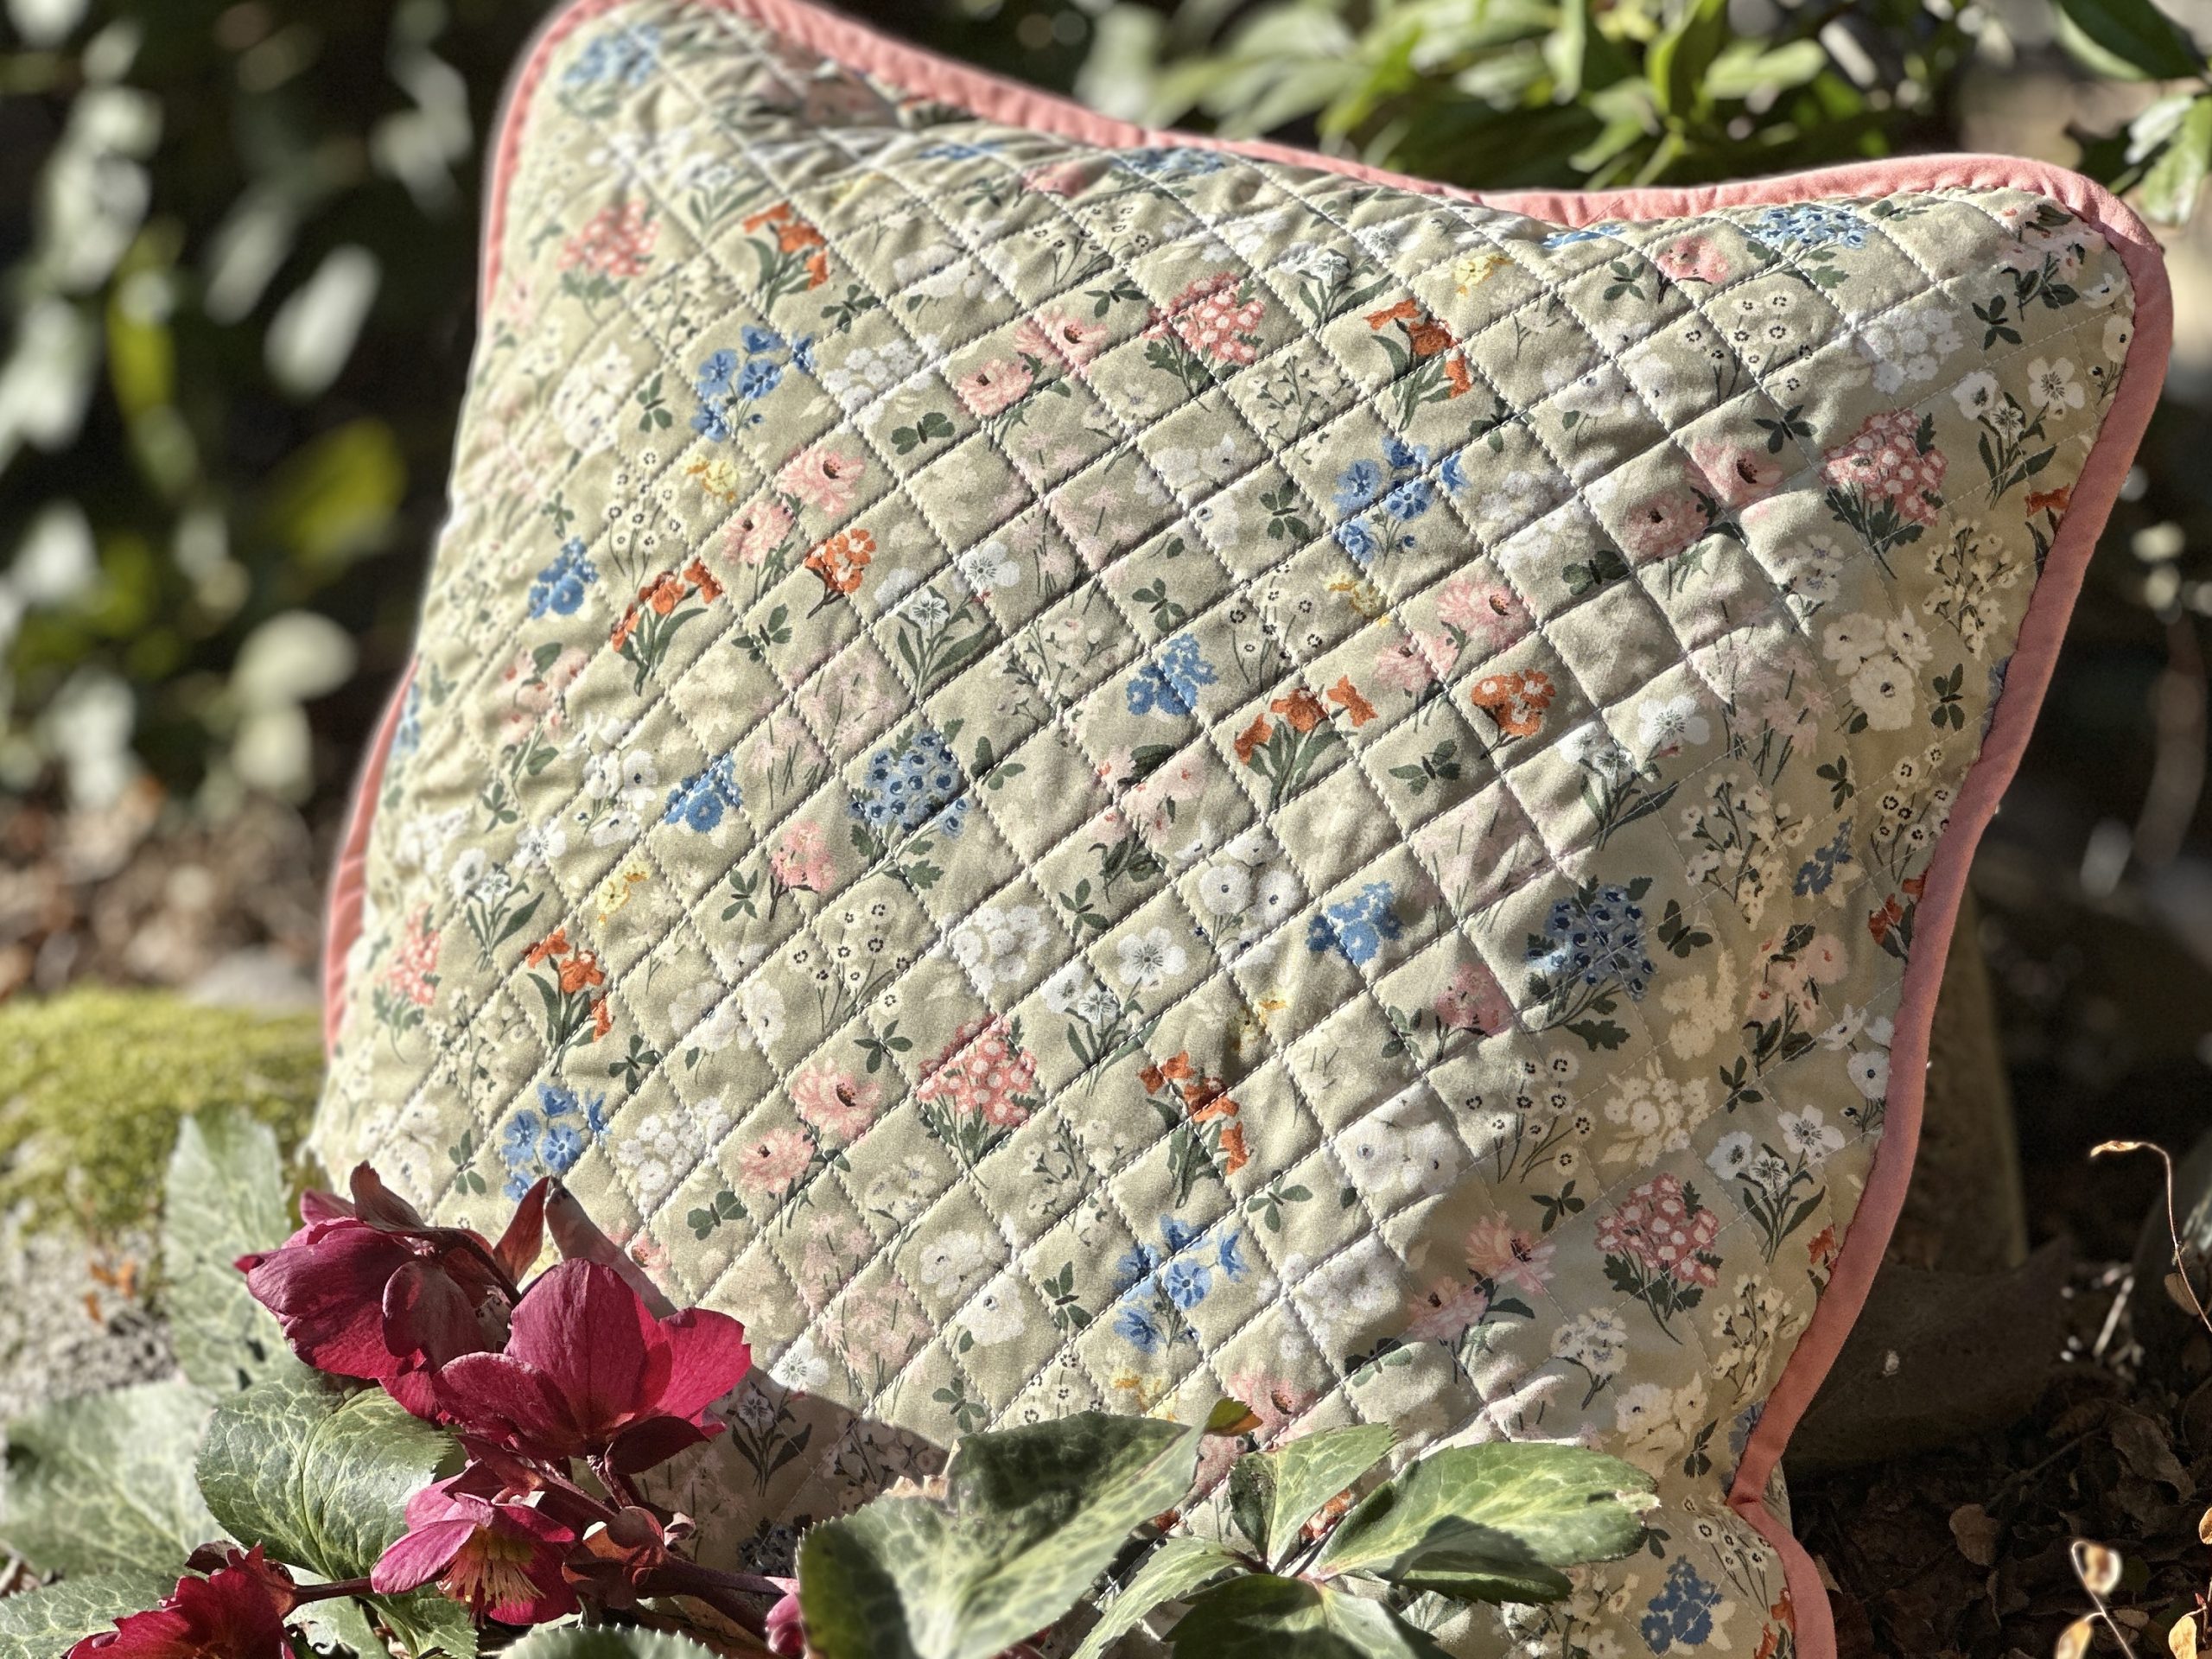
Update your front porch or sunroom with a beautiful floral quilted cushion with this pattern from Debbie von Grabler-Crozier. This whole cloth quilting project is ideal for quilting beginners and walks readers through adding a lapped zipper to the back of your cushion. Gorgeous prints are perfect for this pattern (such as the delicate floral design used in our sample), so if you’ve been saving up a stunning fall or winter print, start sewing your cushion cover today.
Designer Note: Seam allowances are all 1/4” and have already been added.
Materials:
- Fabric: (Note: All fabrics are by Art Gallery Fabrics.)
- 3/4 yd. floral fabric for the exterior. The designer loves Bountiful Garden Day from the A Year in Petals collection by Bonnie Christine for AGF.
- FQ (Fat Quarter) coordinating blender. Debbie used Ballerina from the Floral Elements collection by AGF.
- Interfacing:
- 3/4 yd. #279 80/20 cotton mix batting (Vlieseline)
- 1x 18” zipper
- 1x 20” cushion insert
- Coordinating threads for all fabrics and trims
- Scissors
- Fabric marking tools
- Extra feet for your sewing machine (zipper foot and walking foot, for example)
Cutting Instructions:
From the floral fabric:
- 1 piece 20” square for the front panel
- 2 pieces 20” wide x 10” tall for the back panels
- 1 piece 2 3/4” wide x 20” long for the zipper lap
- 2 pieces 2” square for the zipper end tabs
From the coordinating blender:
- Bias tape cut 1 1/2” wide and joined to make a continuous 81” length
From the interfacing:
- 1 piece 22” square for the front panel batting
- 2 pieces 22” wide x 12” tall for the rear panel batting
Piecing Instructions:
PREPARATION:
Make the Bias Tape:
- Press the joins on the bias tape open to reduce bulk and fold the bias tape in half lengthways with the wrong sides facing. Press to make a long center crease.
- Open out and re-fold the long raw edges to the center crease and press again. Fold so that all raw edges are hidden in the folds and roll until needed to keep it neat.
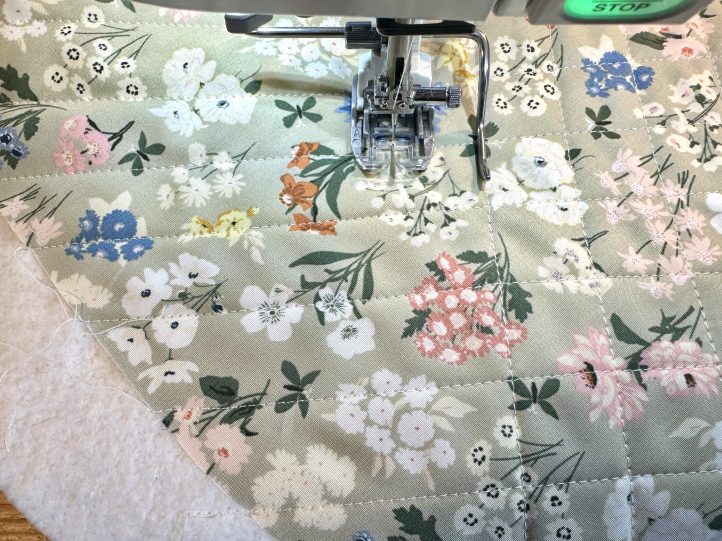
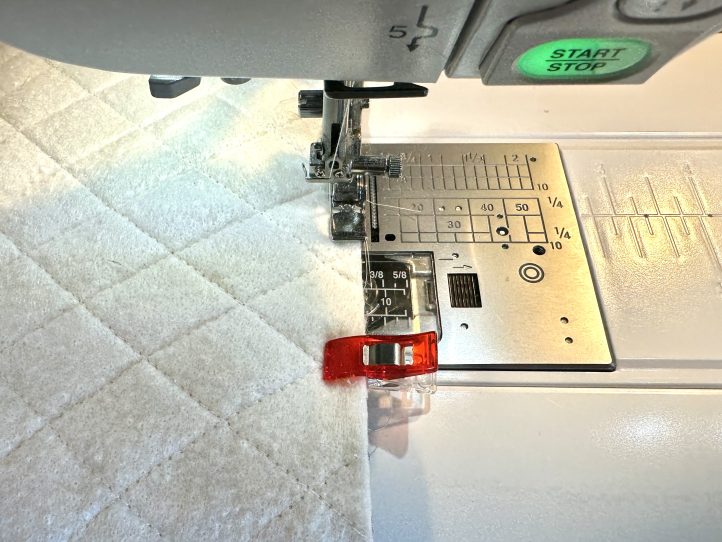
Quilt the Panels:
- Lay any one of the exterior panels onto its piece of batting onto a flat surface and center with the right side facing up.
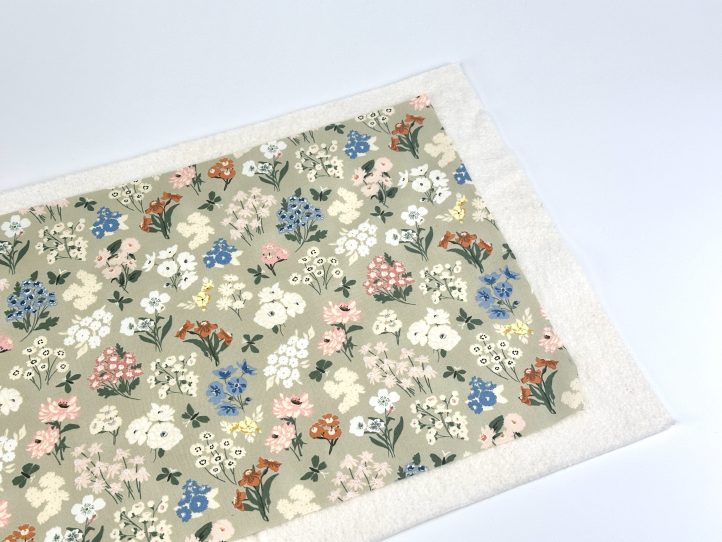
- Pin the panel onto the batting so that no movement is possible in any direction.
- TIP: This is a double (rather than the usual three) layer quilting project. But I still use my walking (dual feed) foot because I need the spacer bar for the next bit.
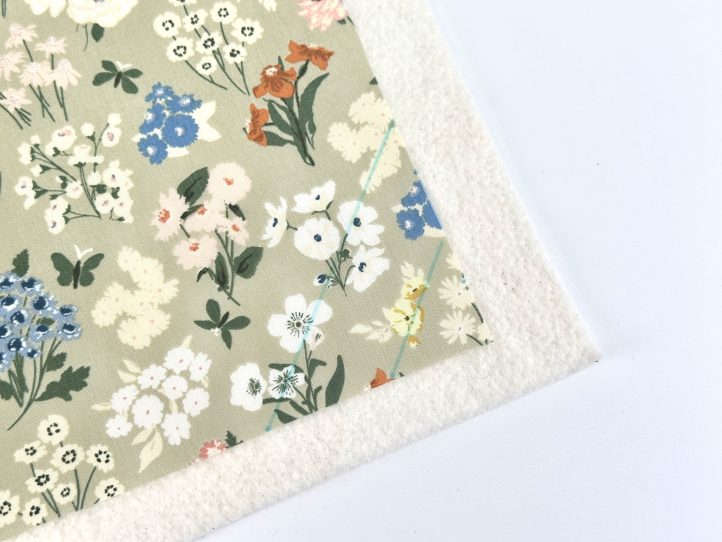
- Draw two vertical lines, 1” apart, diagonally across one bottom corner of the panel.
- Set your machine up for quilting and use the appropriate foot and the spacer bar. Quilt along that first line.
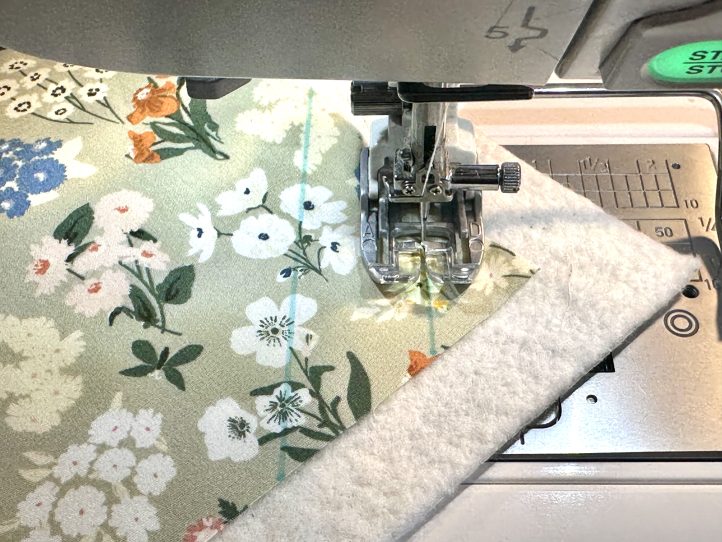
- Now move the needle to the second line and align your spacer bar onto the first.
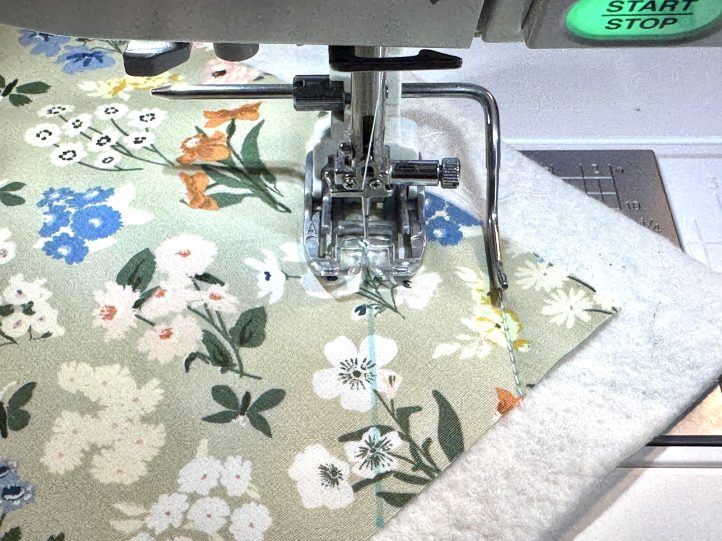
- TIP: This ensures that you do not need to draw any more lines in this direction. It is quicker and it saves your removable marker ink.
- Quilt right across with lines 1” apart.
- On the other bottom corner, draw another two lines 1” apart and repeat for this direction to achieve a diamond grid pattern.
- The other panels are quilted in a similar way.
- Draw the first lines as before and proceed to quilt as you did the front.
- Trim the batting back to the fabric edge on all pieces.
MAKING:
Construct the Back Panel:
- Strangely, the back panel has slightly more construction than the front because of the lapped zipper. Fold one side of the zipper end tabs over by 1/4” to the wrong side and press.
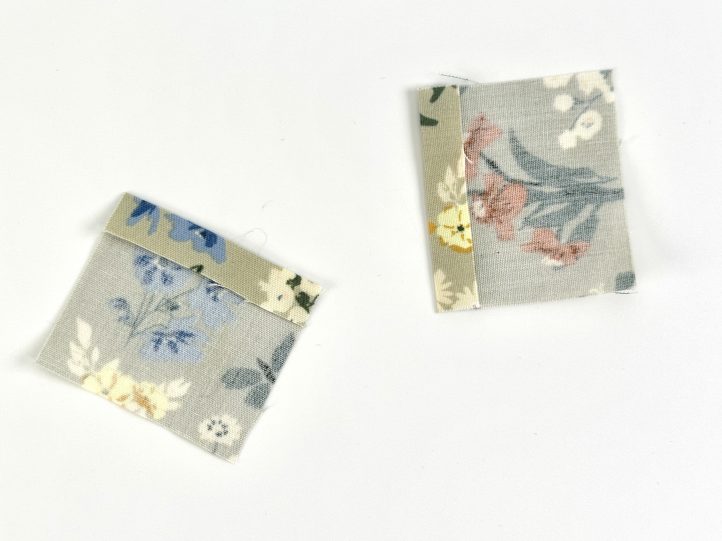
- Topstitch these to the ends of the zip, right side facing up and with the folded edge facing in towards the zip on each end.
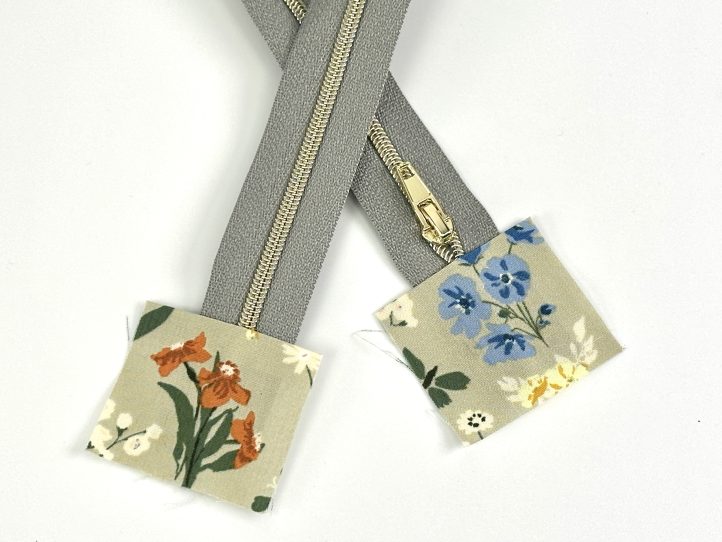
- Trim to the width of the zipper tape and to give the zipper an overall length of 20”.
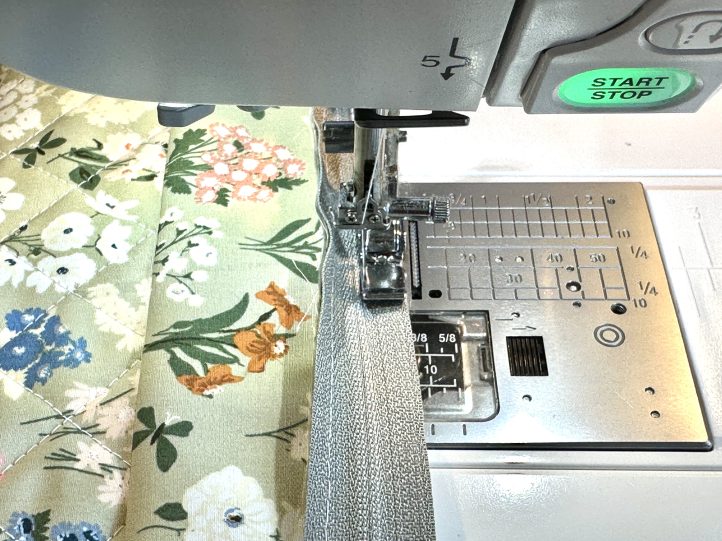
- Fold the zipper lap in half lengthways with the wrong sides facing and press. Lay this over the zip with the raw edges facing the top edge of the zipper tape.
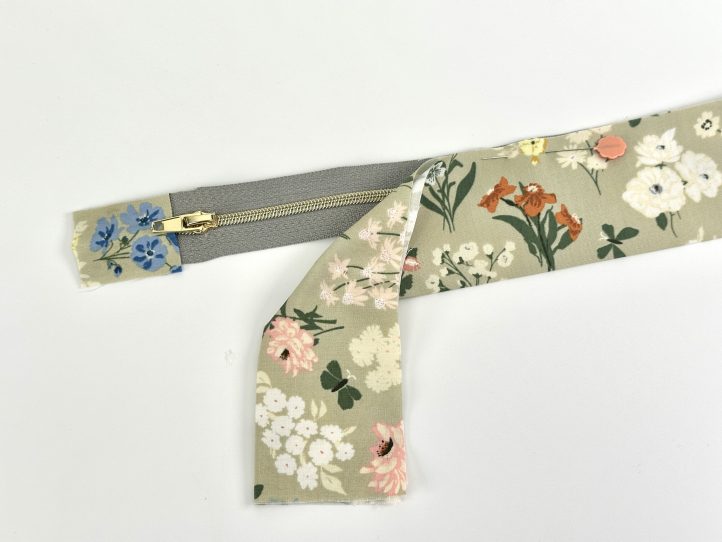
- Machine baste it to the top of the zip.
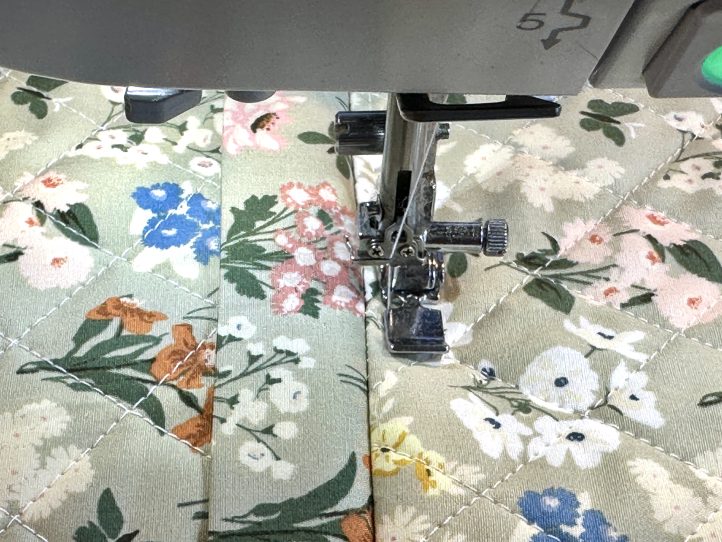
- Lay the zipper unit onto the top edge of the lower back panel and attach.
- Fold everything out the right way with the zipper lap up and topstitch below the zip.
- Put the zipper lap back down and baste both ends to the sides of the panel.
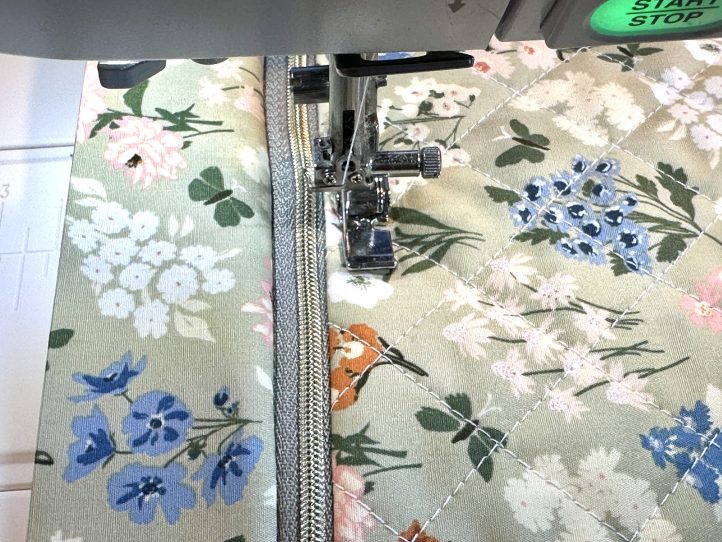
- Lay the bottom edge of the top quilted panel, right sides together, onto the top edge of the zip (there are a few layers there now, so sew slowly) and attach.
- Fold the top panel the right way up and topstitch along the zip.
- TIP: Make sure that the zip is nice and flat underneath, as this topstitching seals the edge of the zipper tape and hides the raw edge of the quilted panel.
Finishing:
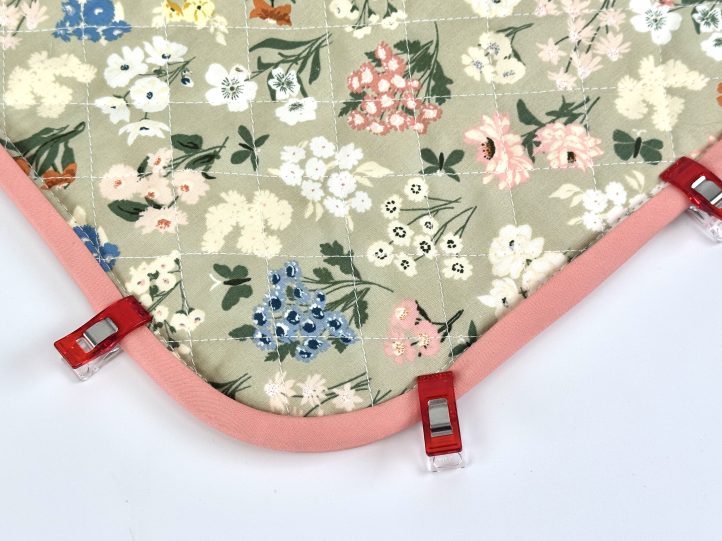
- Lay the back panel onto the front panel with the wrong sides together and pin or clip.
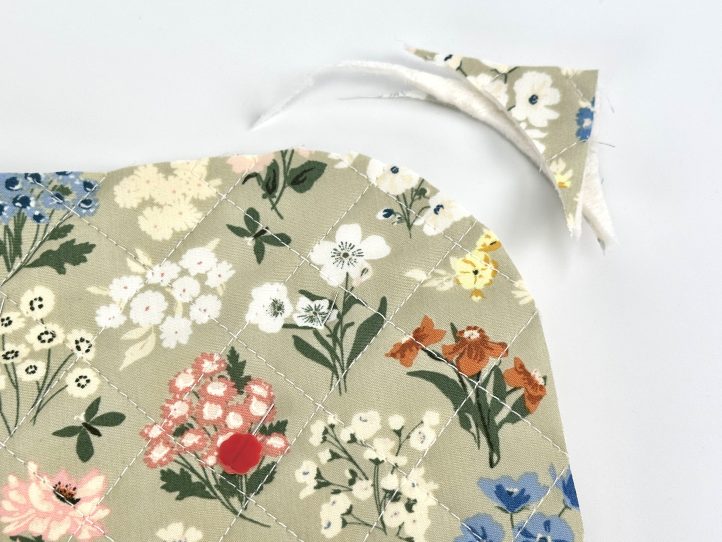
- Round the four corners (trace around an upturned coffee cup and cut out) and sew right around the edge.
- Bind the edge with your bias tape.
- Place the cushion insert inside.
- TIP: This is an unlined cover, but it can still be washed as needed.