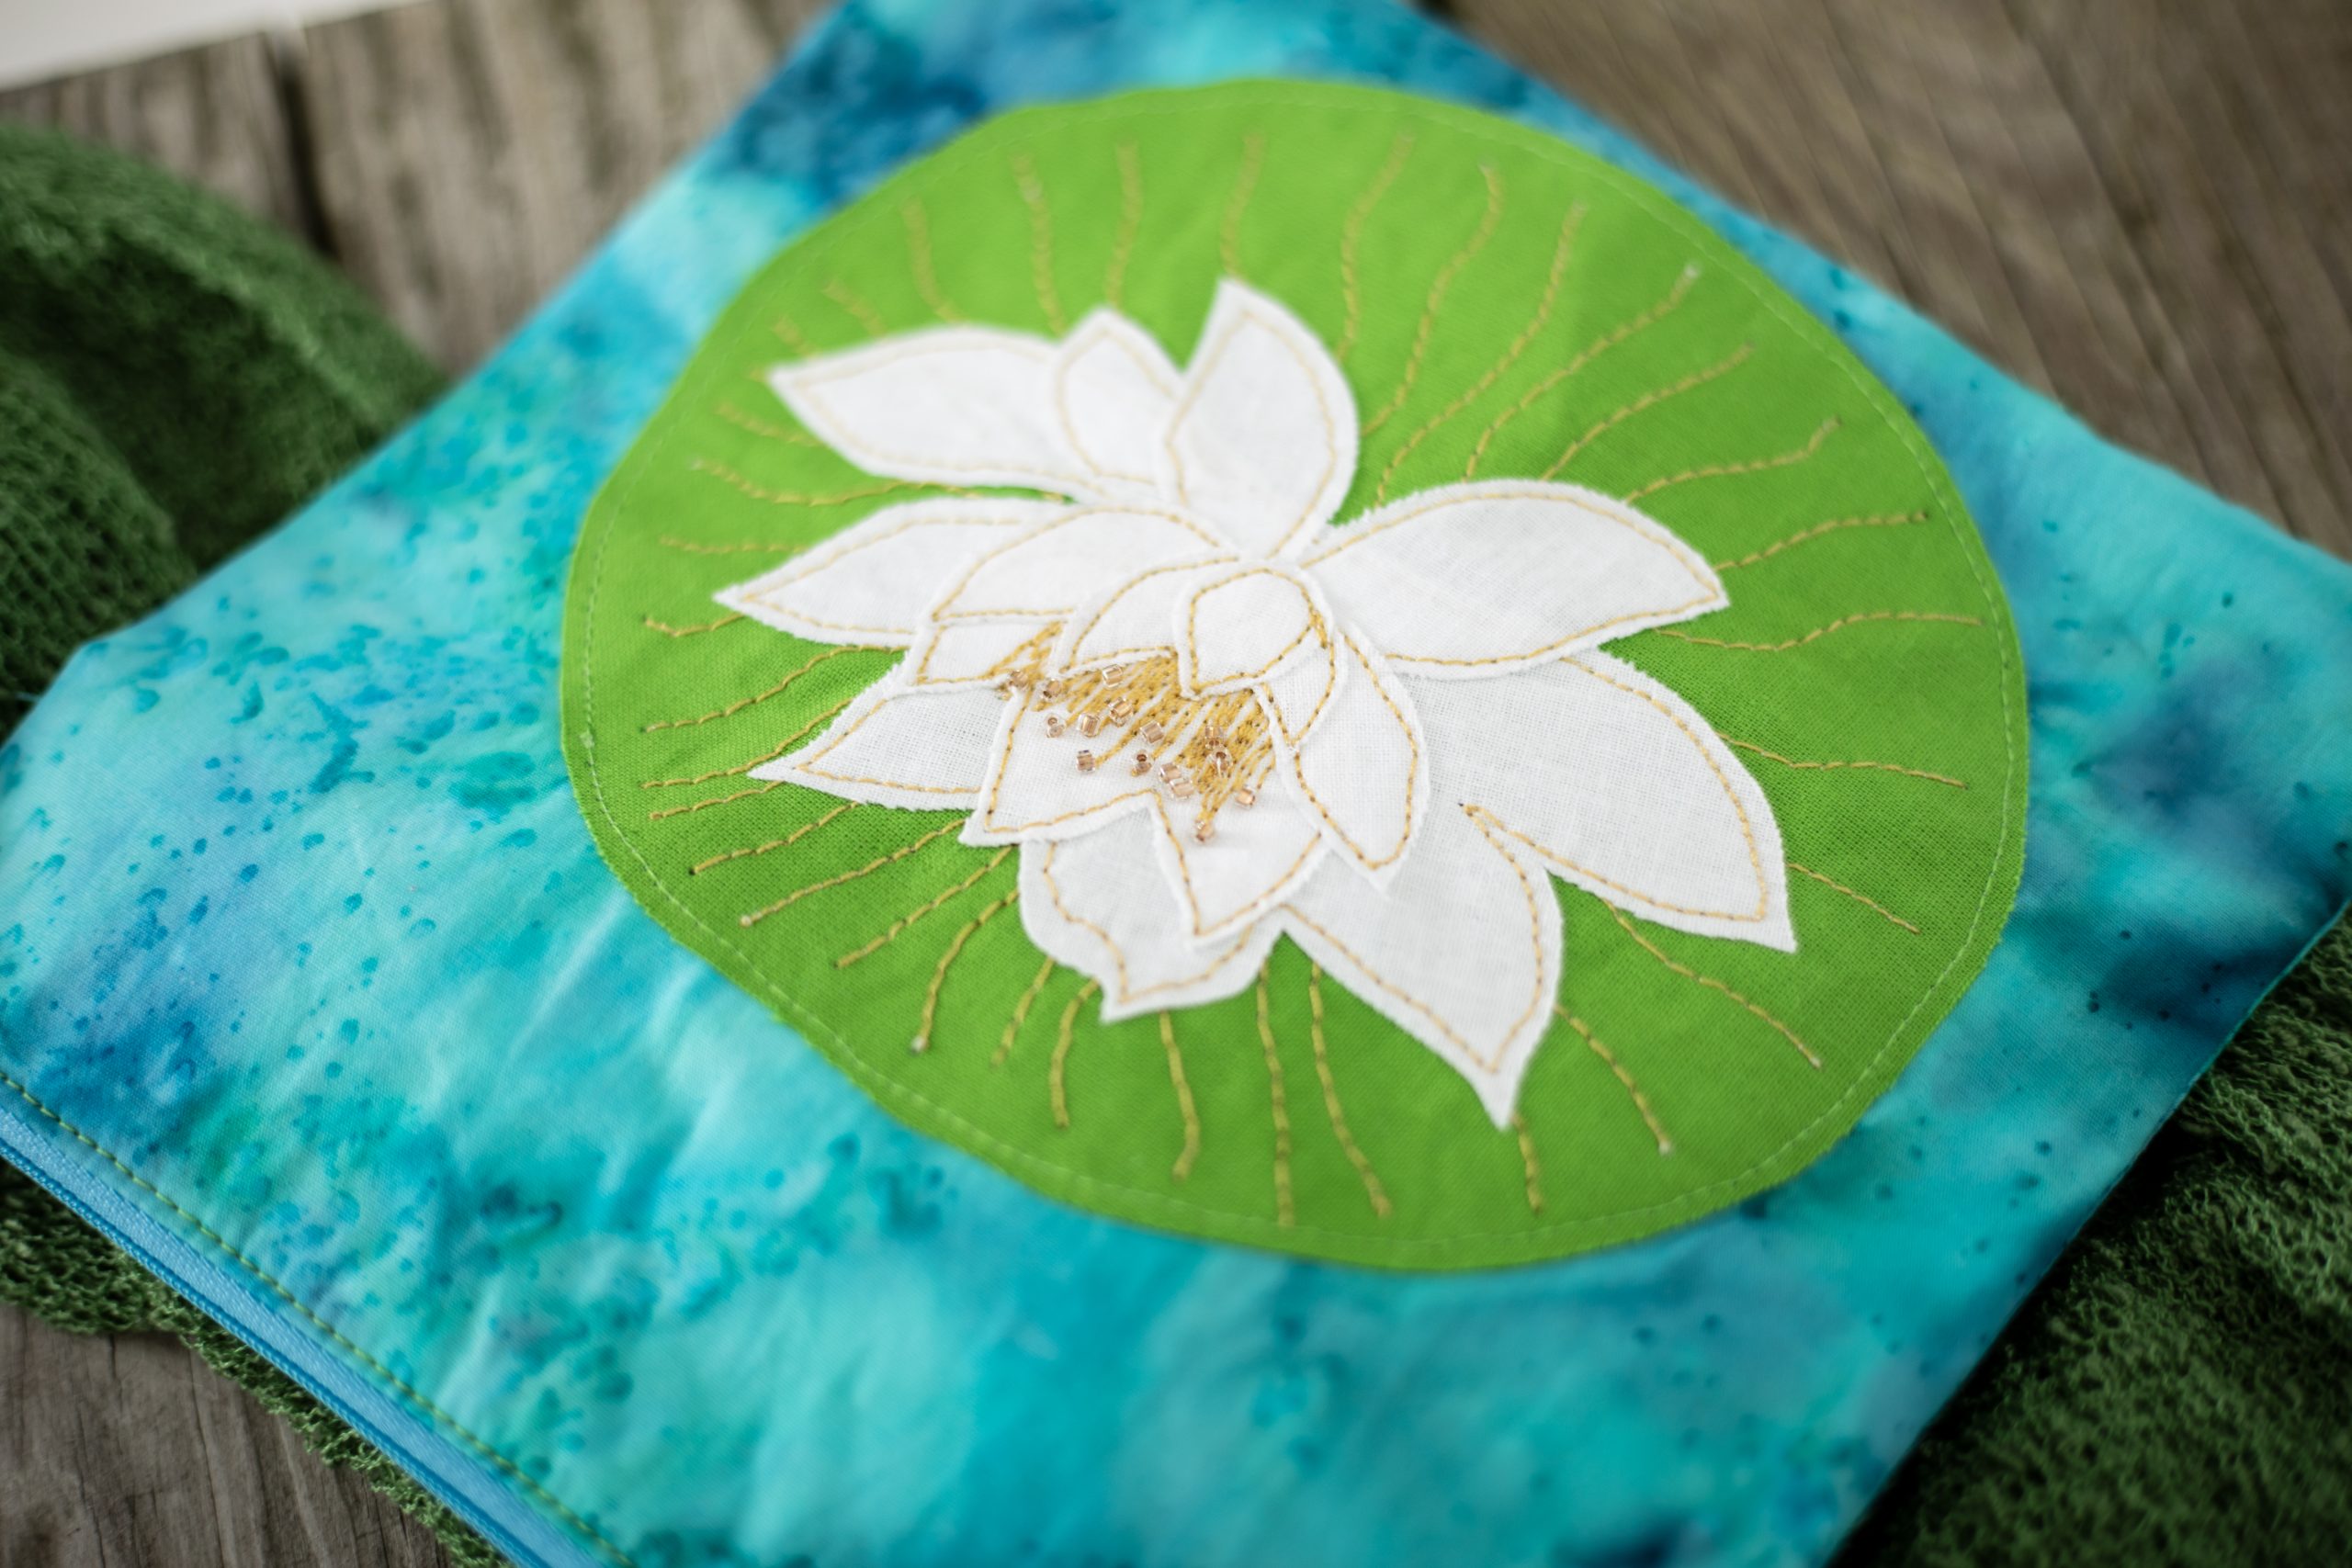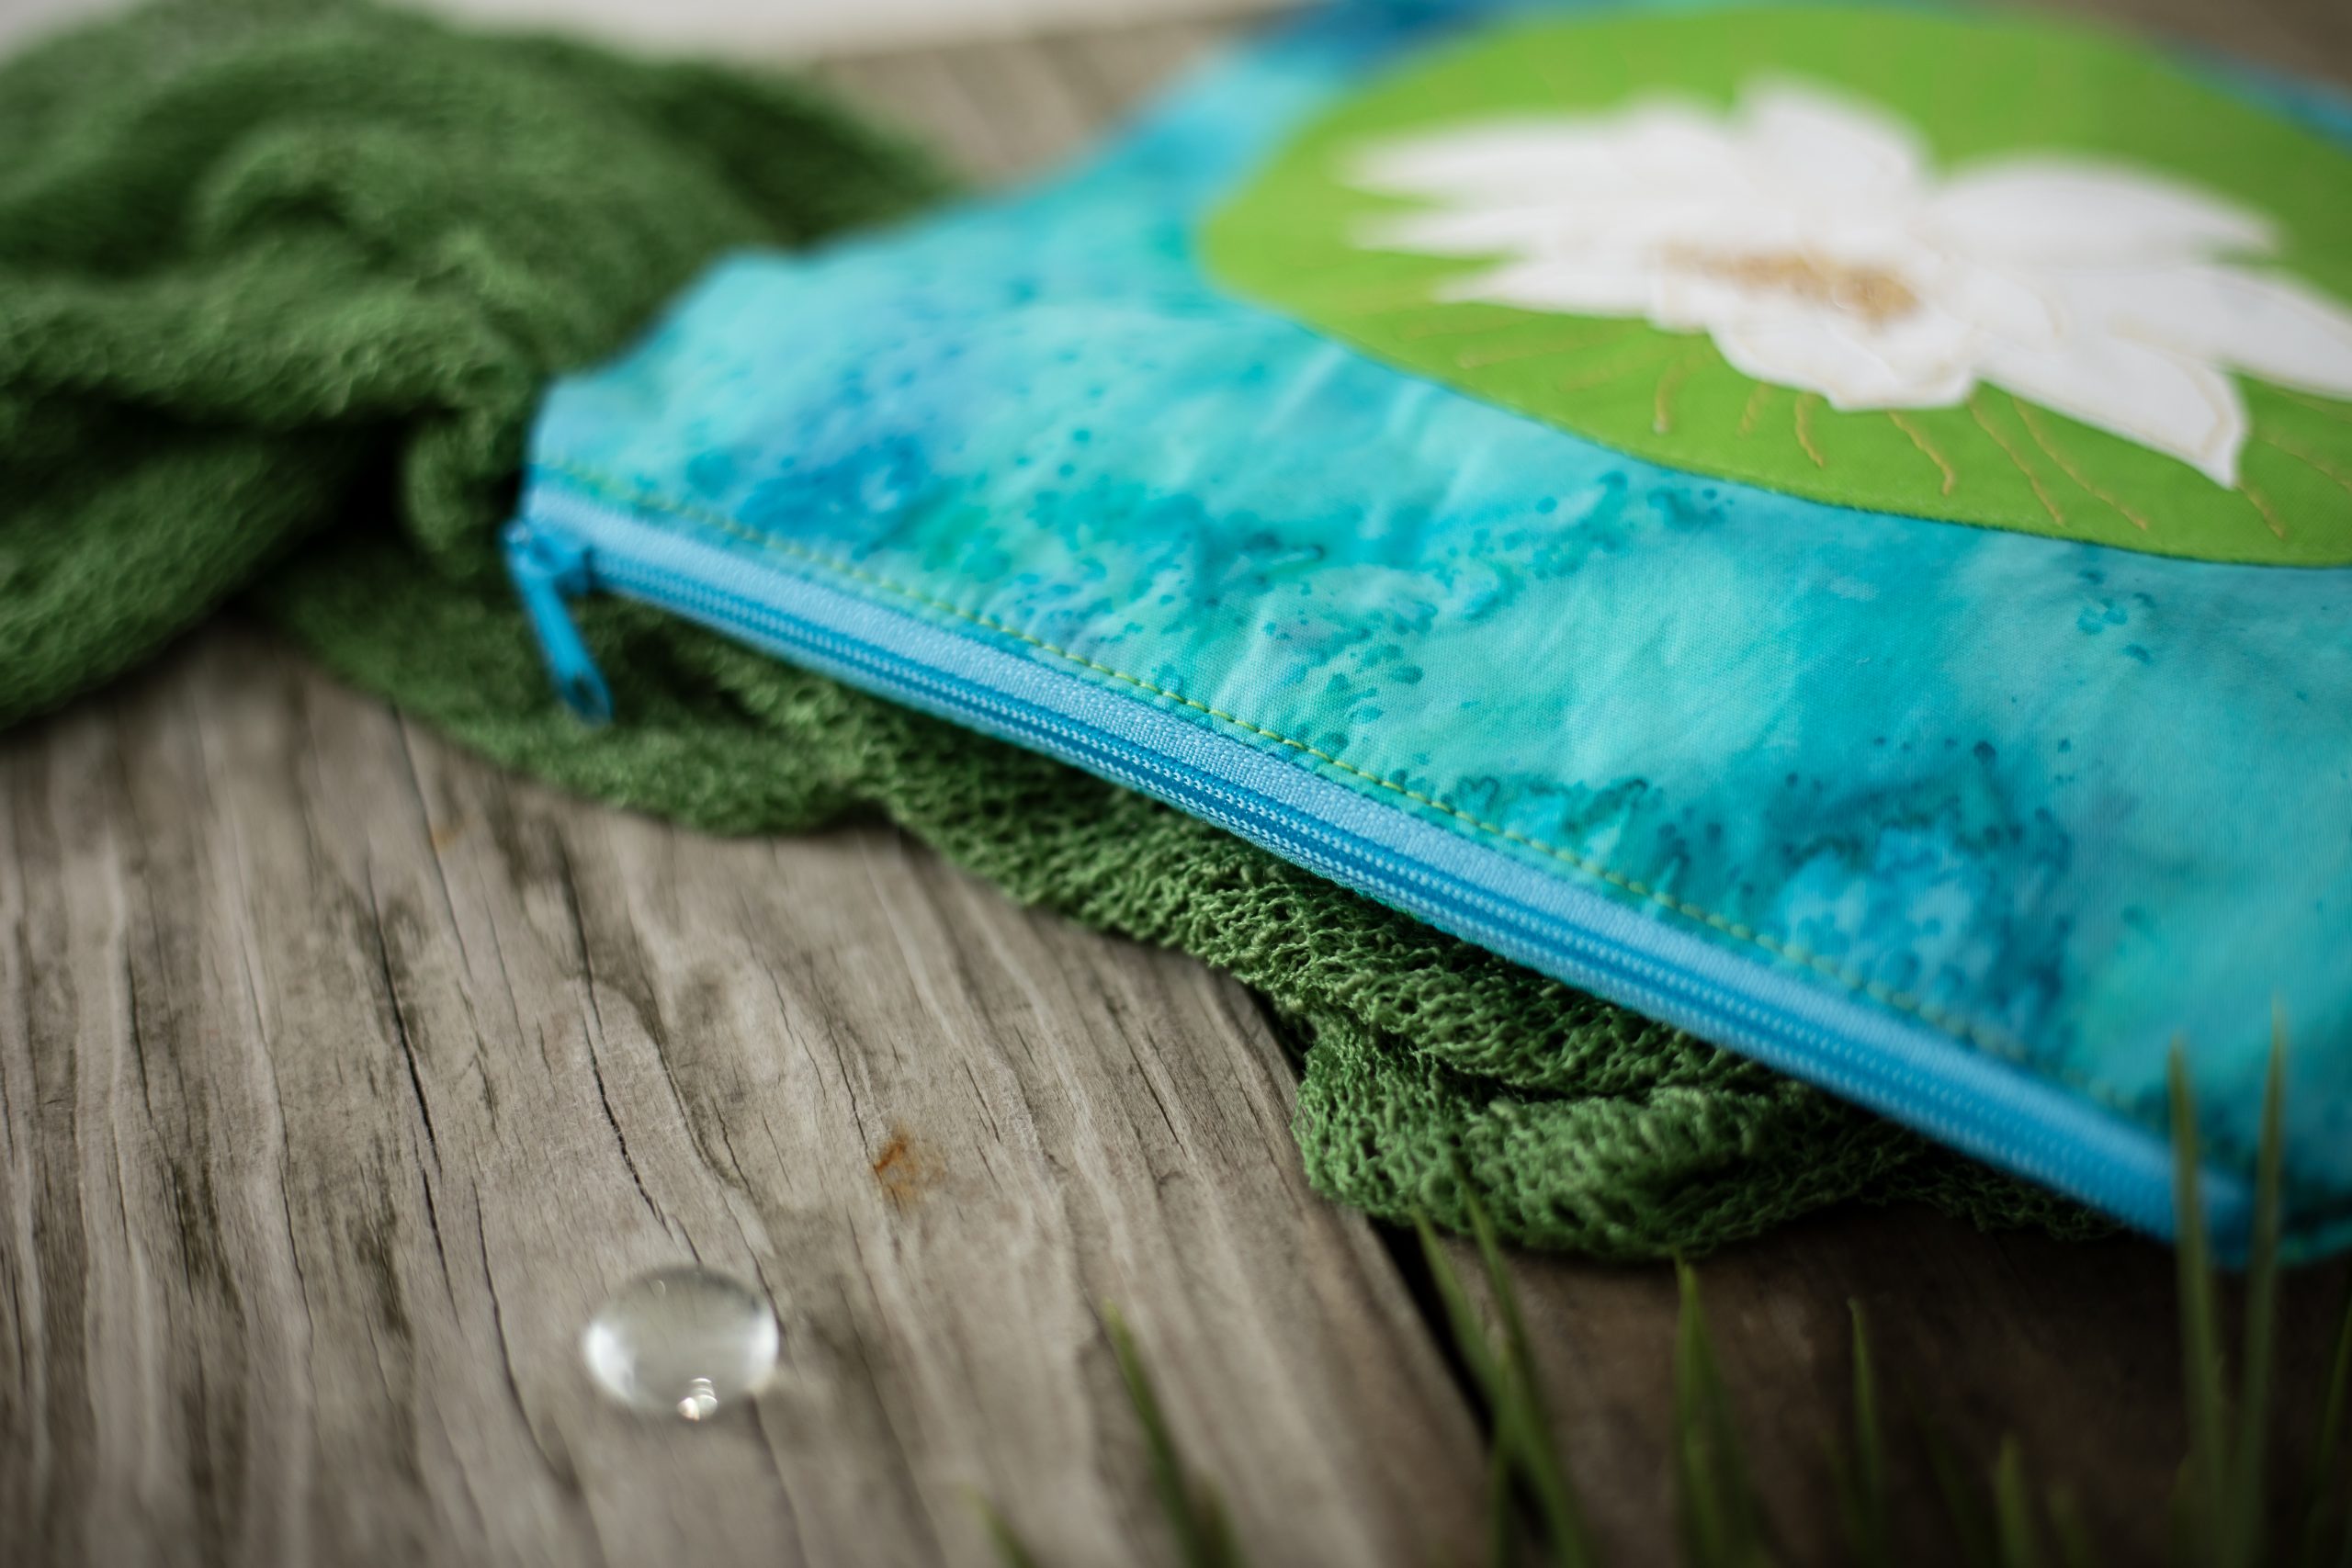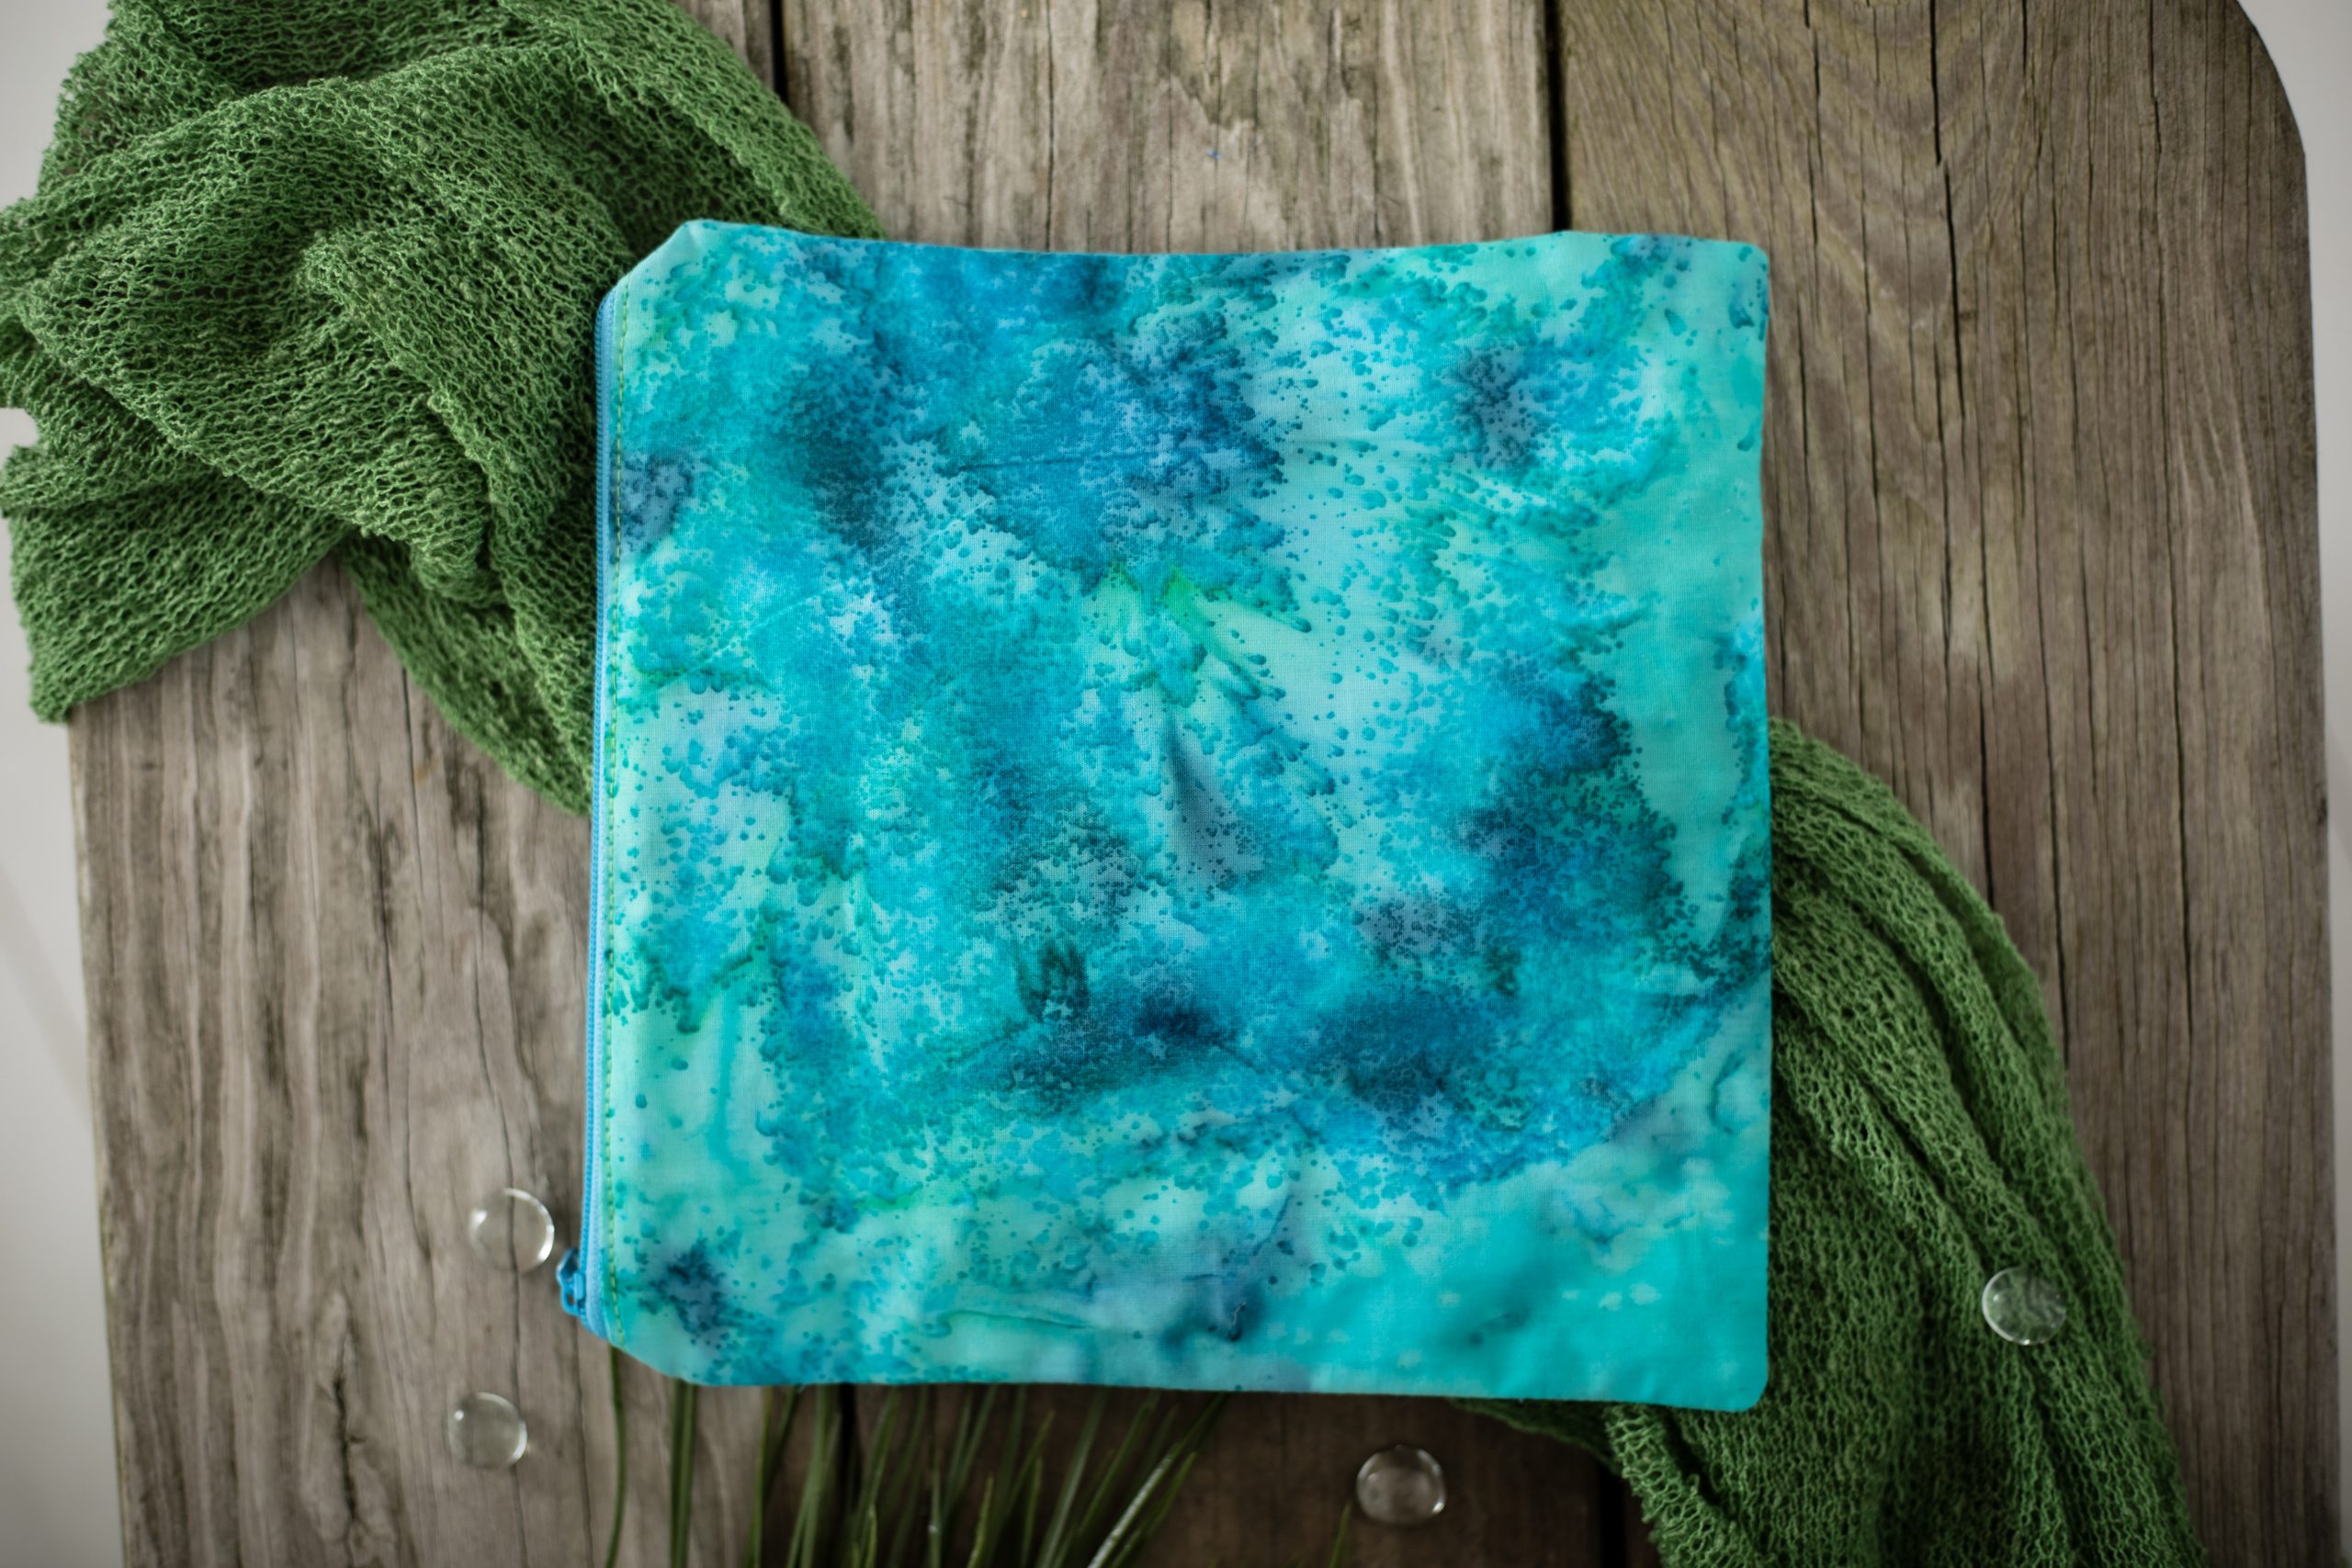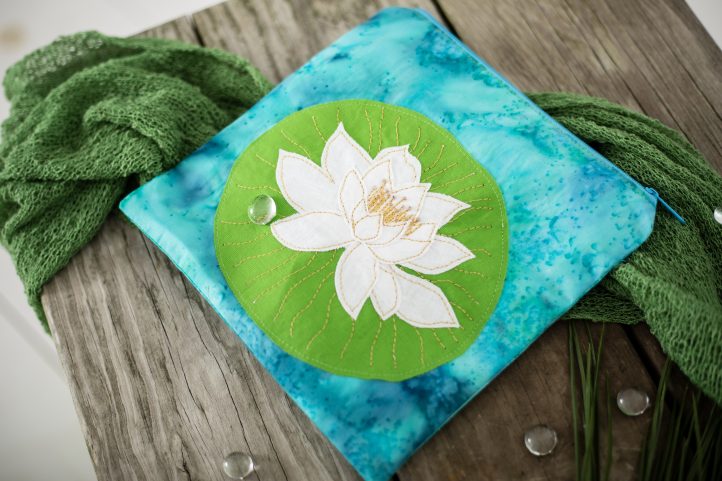
Store your jewelry, makeup and other necessities in a beautiful bag finished with lovely free motion embroidery details. Featuring a gorgeous water lily design, this FME project uses blue batik fabric to give the illusion of a water lily floating on a peaceful pond. Finish your bag by adding delicate seed beads to give your small quilting project a smattering of glittering gold details.
Skill Level: Easy
Seam Allowances: 1/4″
Finished Size: 8 1/2” x 8 1/2”
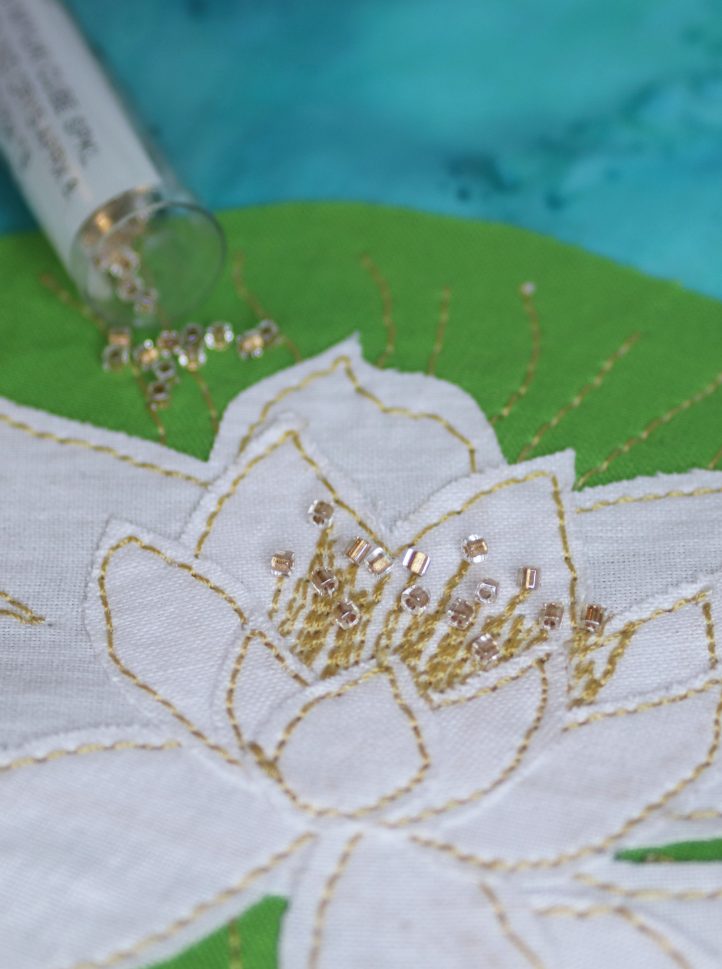
Designer Note: By tying each seed bead off at the back of the work before moving onto the next, you can ensure that even if one bead falls off, it won’t take the rest of them with it!
Materials:
- Fabric: Blue batik cotton, 1 yard; green cotton and white cotton, fat quarter of each
- Sewing thread: White, yellow, green
- Zipper: 9”
- Fusible webbing: 1/2 yard
- Fusible interfacing: One fat quarter
- Gold seed beads
- PDF Templates – These are located at the bottom of this page. See printing instructions below.
Tools:
- Rotary cutter and mat
- Pencil
- Iron
- Ruler
- Pins or clips
- Sewing machine
- Sewing needle
- Beading needle
- Free motion embroidery foot
PRINTING INSTRUCTIONS:
To download the PDF templates, click on the download button at the bottom of the page. We recommend opening your download using Adobe Acrobat.
Instructions:
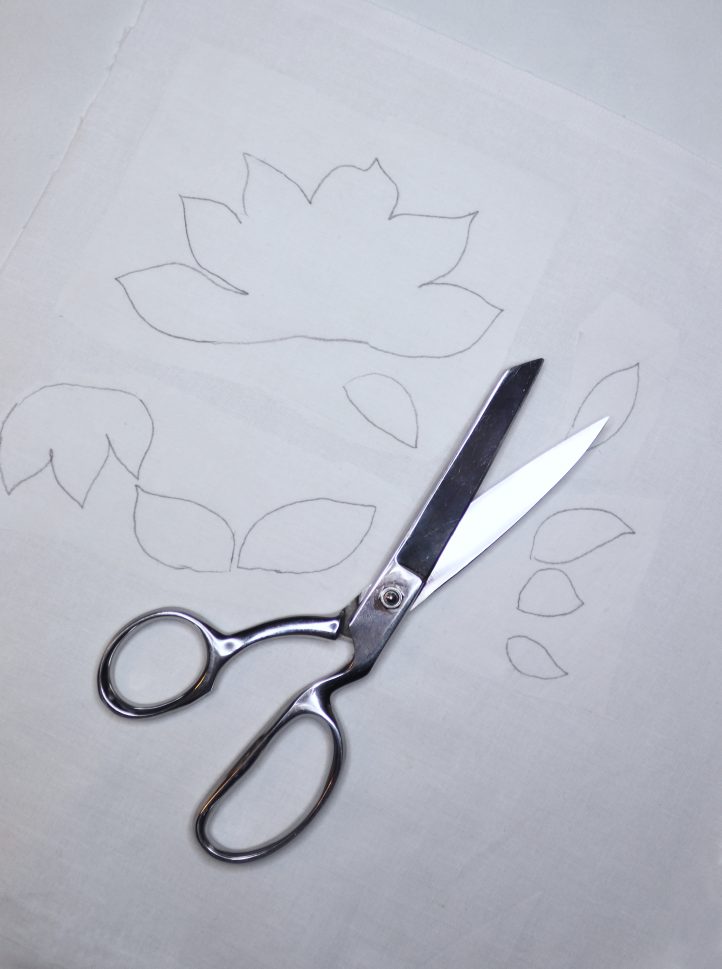
- Begin by downloading and printing the templates. Back your white and green fabric with fusible webbing, then use the templates to cut the petals from the white, and the lily pad from the green. Next, cut four 9” squares from your batik fabric. Place three aside for now, then back the fourth with a 9” square of fusible interfacing. This piece is your bag front.
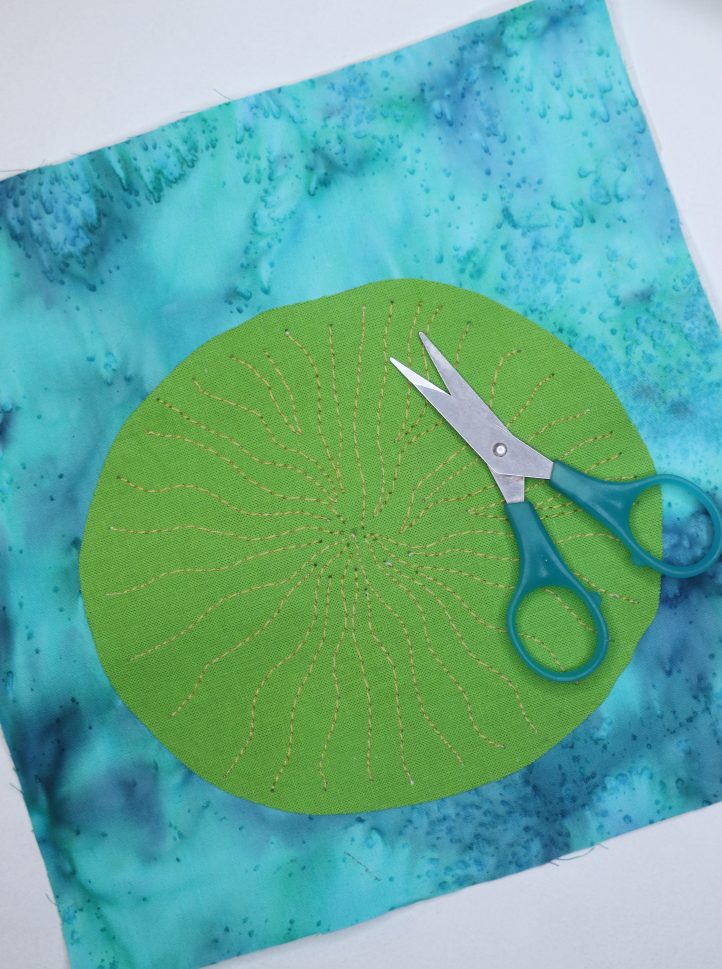
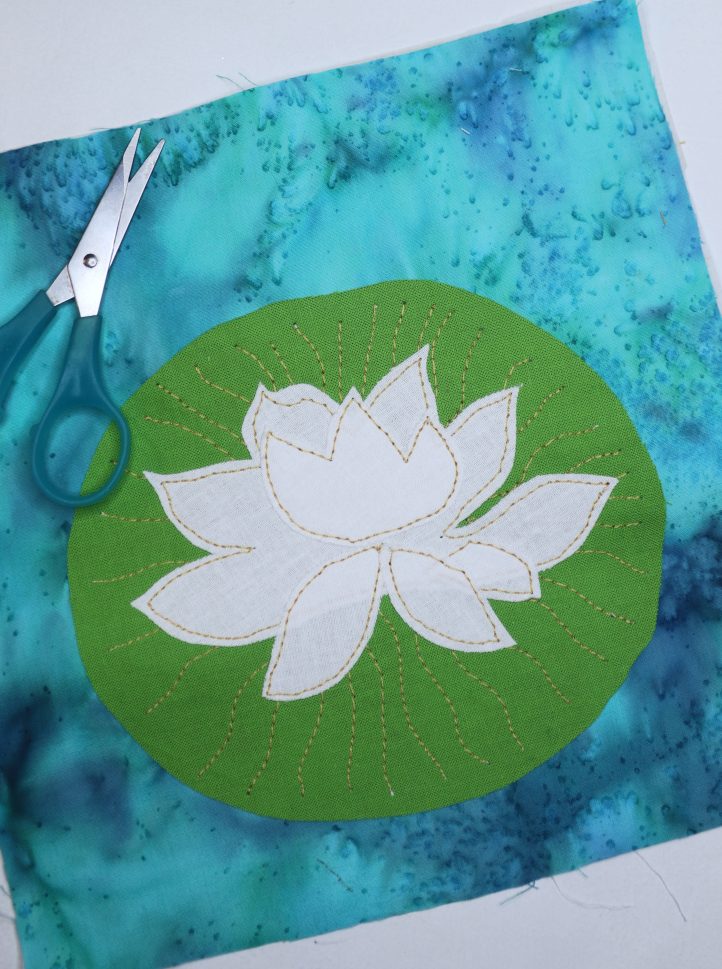
- Lay your bag front piece out flat with the fabric facing up. Peel the backing paper from the green lily pad, then place it on the fabric and press to secure. Fit a free motion foot onto your sewing machine, and lower the feed dogs – this will allow you to move the fabric freely beneath the needle in any direction to ‘draw’ with the thread. Work a series of free motion lines on the lily pad in yellow thread, radiating out from the center. Then, work a line of green stitching just inside the outer edge.
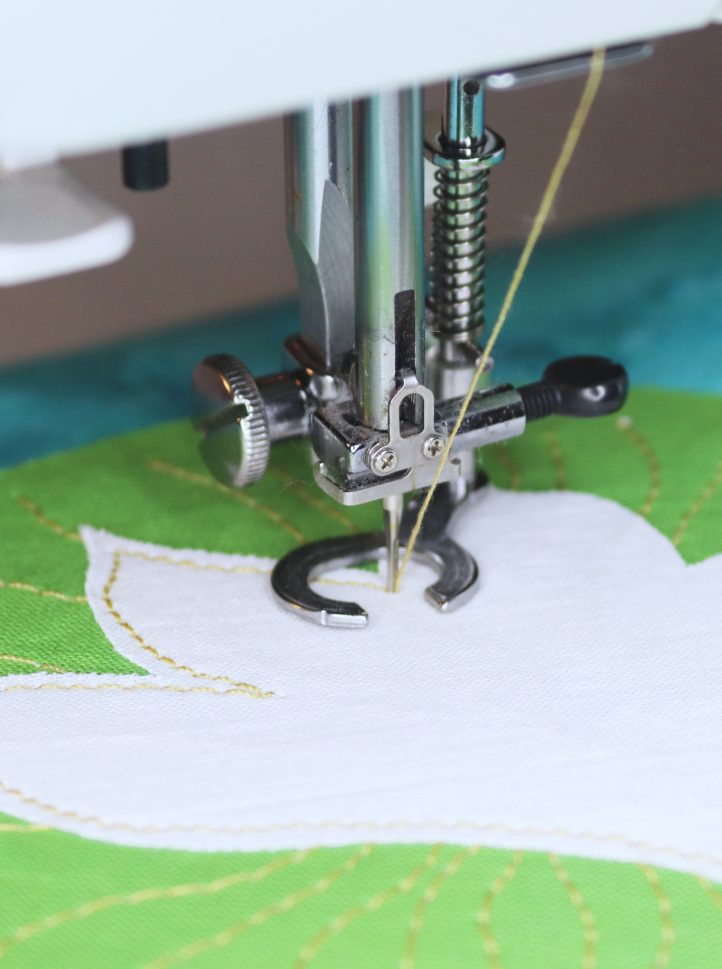
- Now, peel the backing from Petal 1 and place it on top of the lily pad, using our photos for reference. Once you’re happy with its position, use a warm iron to fuse it into place. Take the work back to your sewing machine and using yellow thread, work a line of stitching just inside the outer edge of the petal, to fix it in place and decorate it.
- Repeat Step 3 to add Petals 2, 3, 4, and 5 in the same way. Add the pieces one-by-one and fuse them onto the flower, then embroider around the edge of each petal in yellow thread before moving on to the next. You can refer to our layering guide for details on how and where each petal fits together.
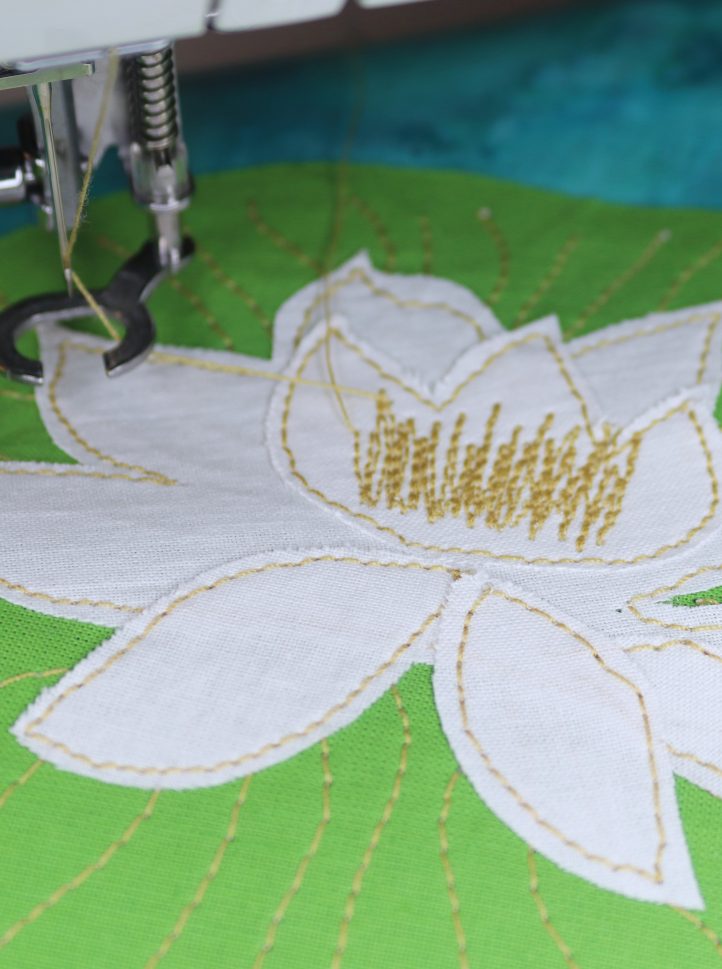
- Time to add some details! Work a series of back-and-forth free motion zig zags across the center of the flower. Then, carefully layer Petals 6, 7, 8, 9, and 10 on top of the stitched center, again referring to the layering diagram for guidance and embroidering around the edge of each one in turn.
- Thread a fine beading needle with white cotton thread and hand stitch a collection of gold seed beads onto the tops of the zig zag flower center, making sure to tie each one off securely at the back of the work before moving on to the next. You’ve now completed your appliqué design!
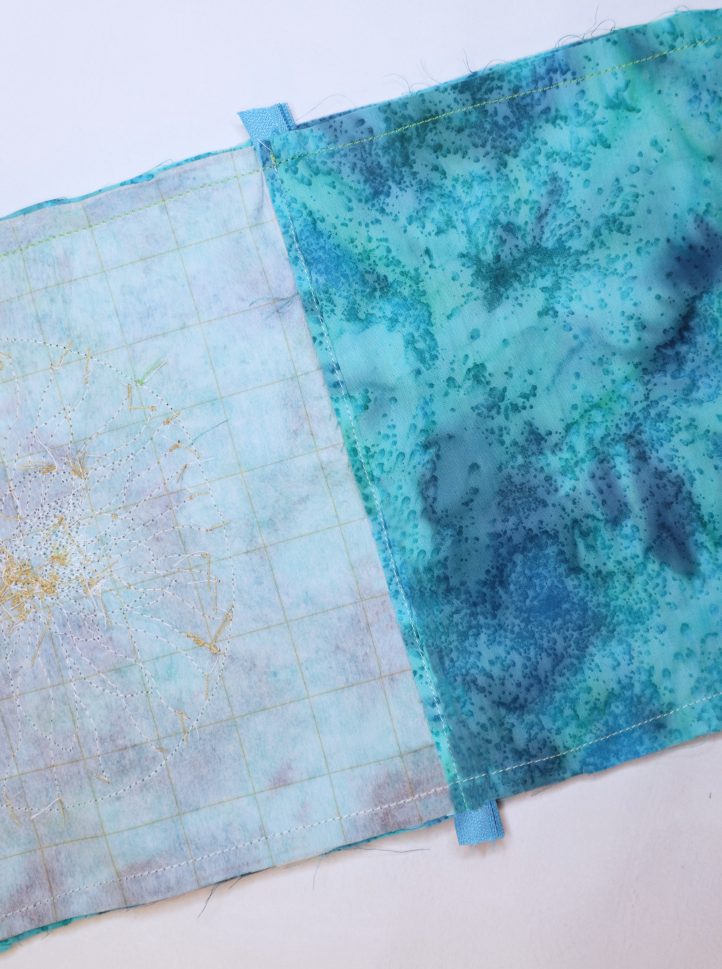
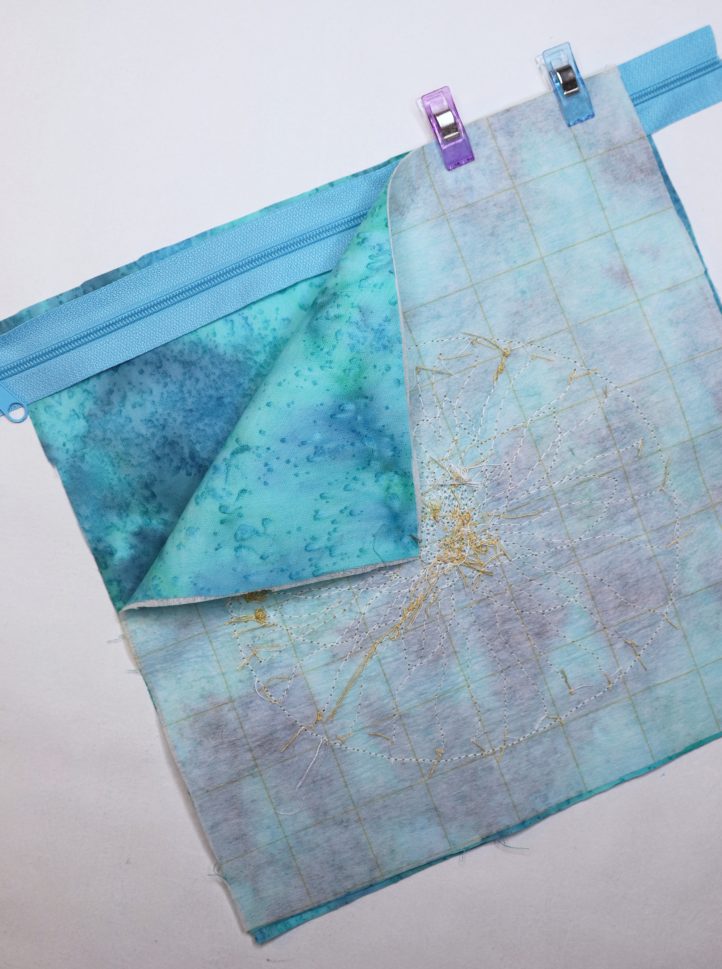
- Now it’s time to create the bag. Lay one of your spare 9” fabric squares down with the right side facing up – this is your first lining piece. Place a 9” zipper along the top edge, again with the right side facing up. Then, lay your embellished bag front piece on top with the right side facing down. Clip or pin the three layers together, then sew along the top edge. Repeat to stitch the remaining two fabric squares to the opposite edge of the zipper in the same way. Turn the fabric right sides out along the seam line, press, and top stitch along the seam, 1/8” in from the edge of the fabric.
- Lay the fabric down and clip the layers together so that the two bag outers are on one side (with their right sides facing), the zipper is in the middle, and the two lining pieces are on the other side, again with right sides together. Open the zipper by a few inches, so you can get into the bag once it’s turned out. Due to the top stitching you just worked, the zipper tape should naturally ease towards the lining. Stitch all around the edge of the work with a 1/4” seam allowance, leaving a 3” gap in the bottom of the lining. Turn the bag out through this gap, then press. Stitch the gap in the seam closed, then push the lining inside the outer bag and close the zipper to finish.
