
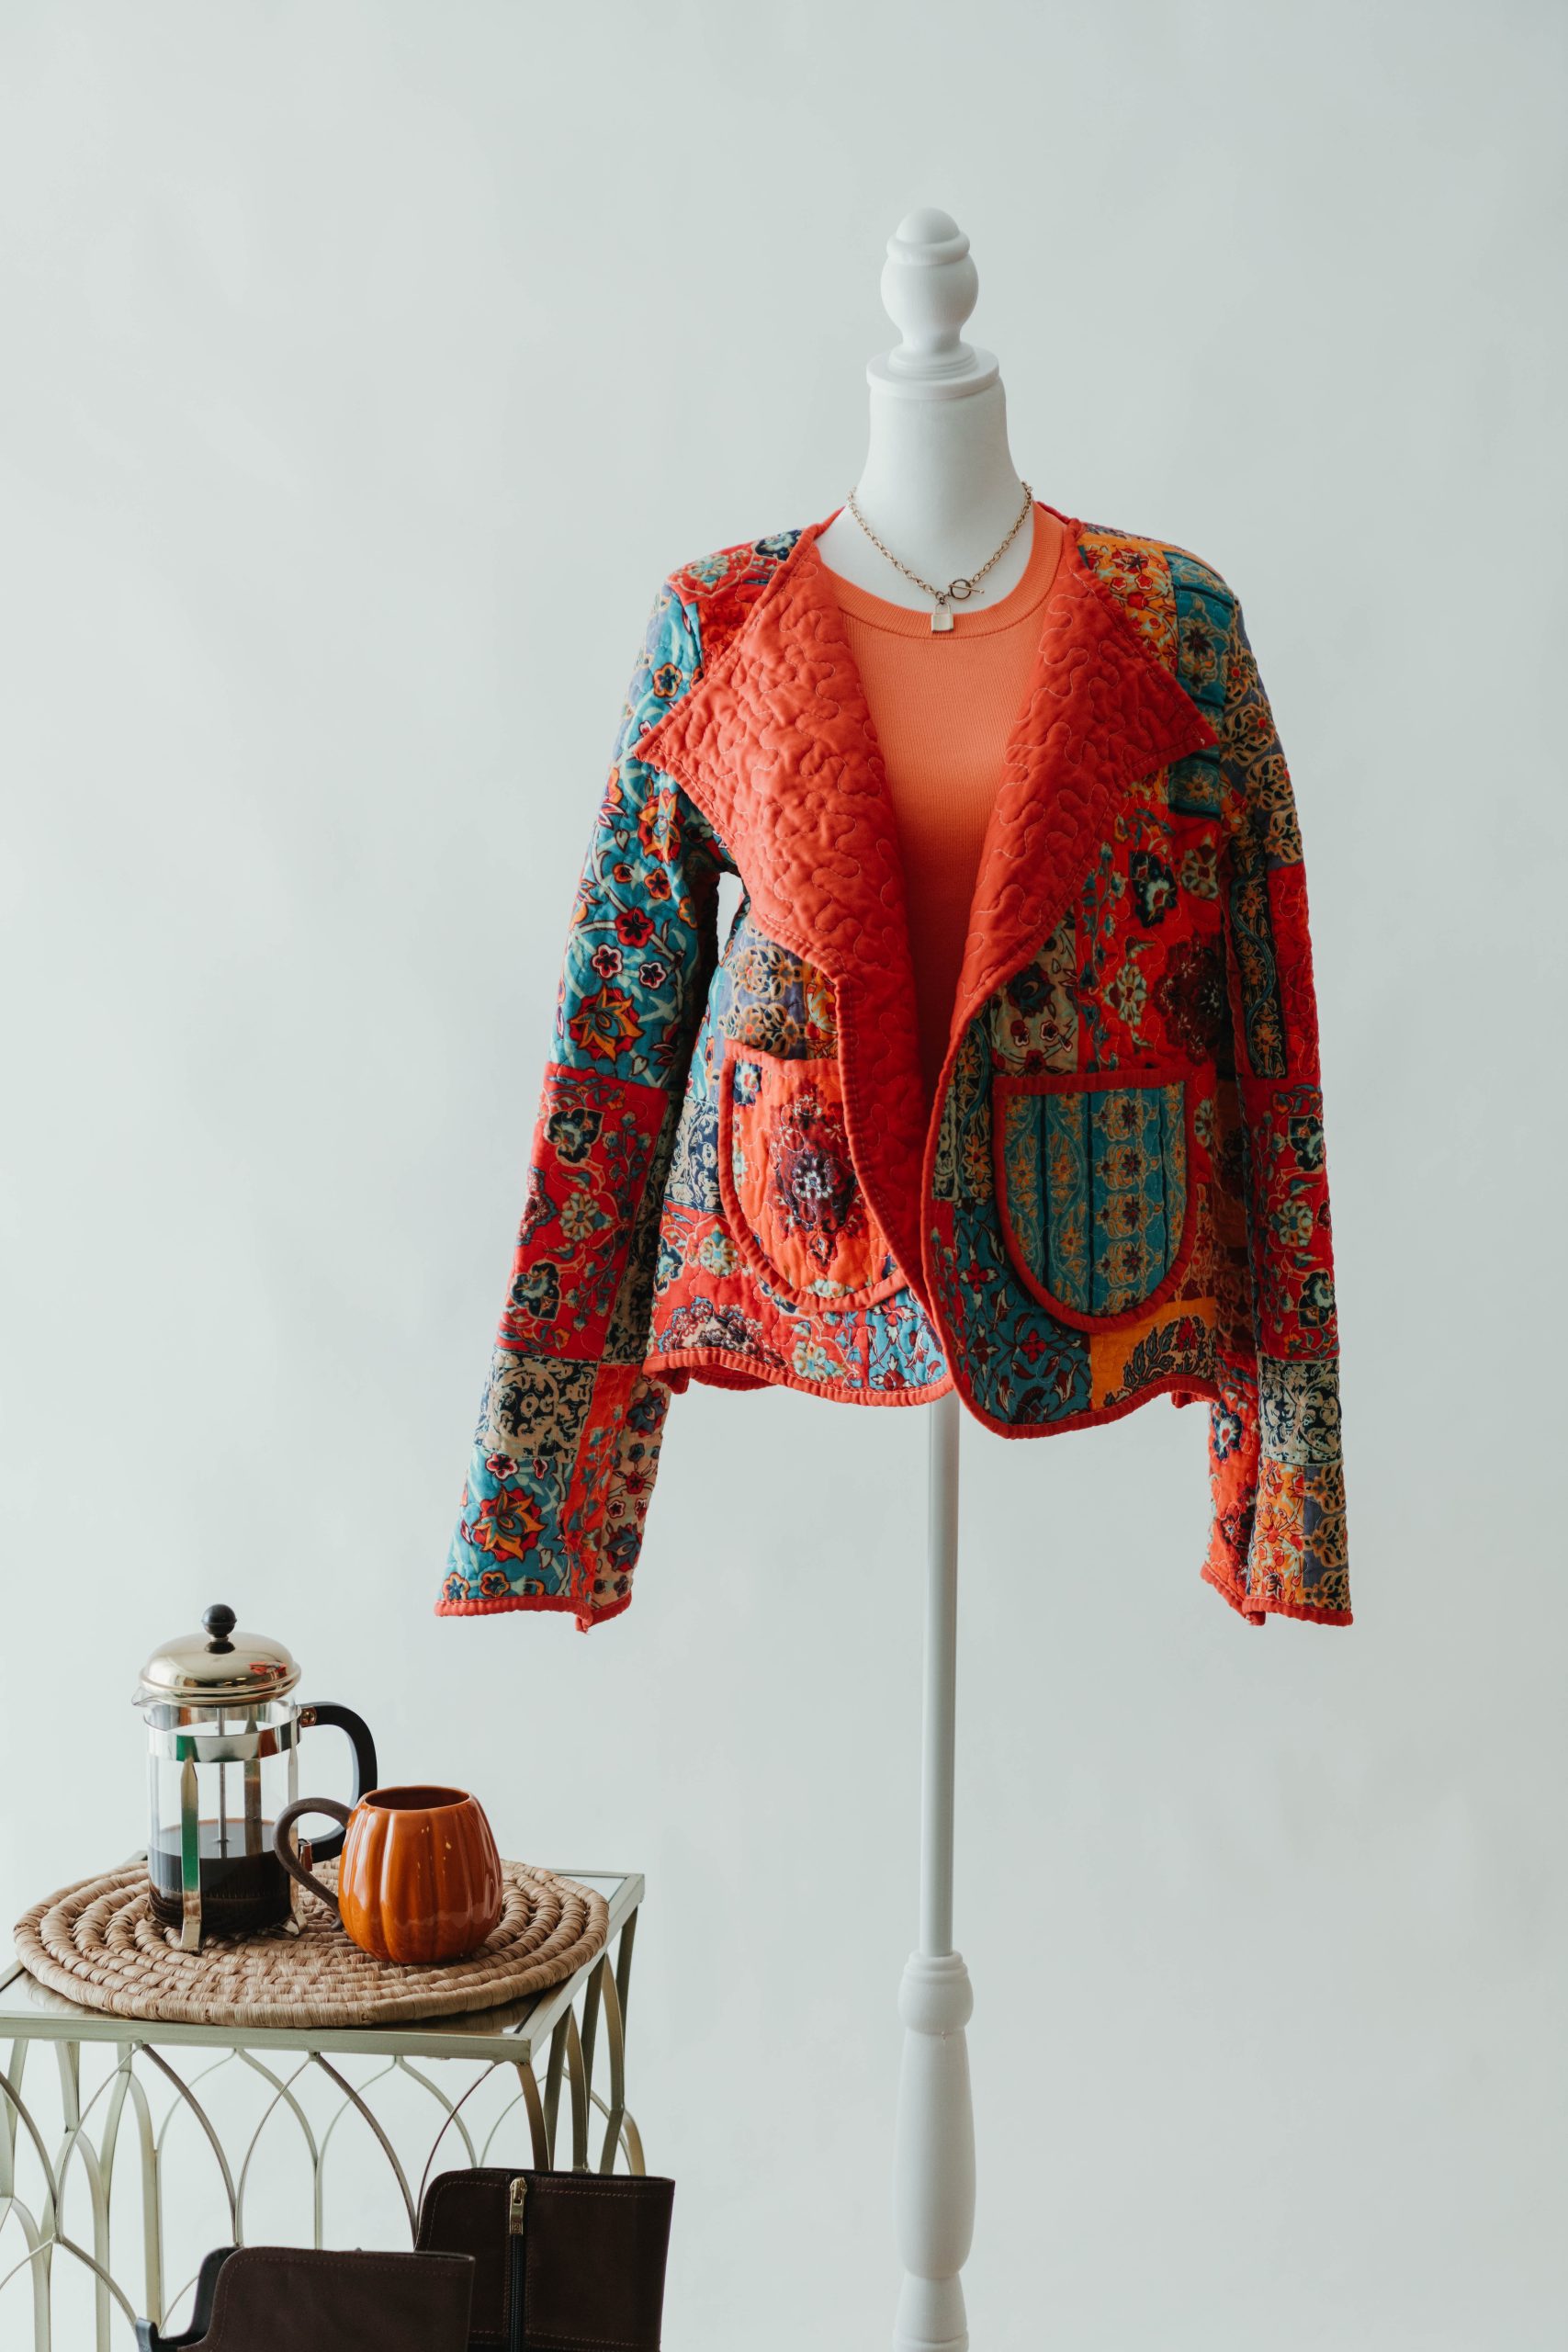
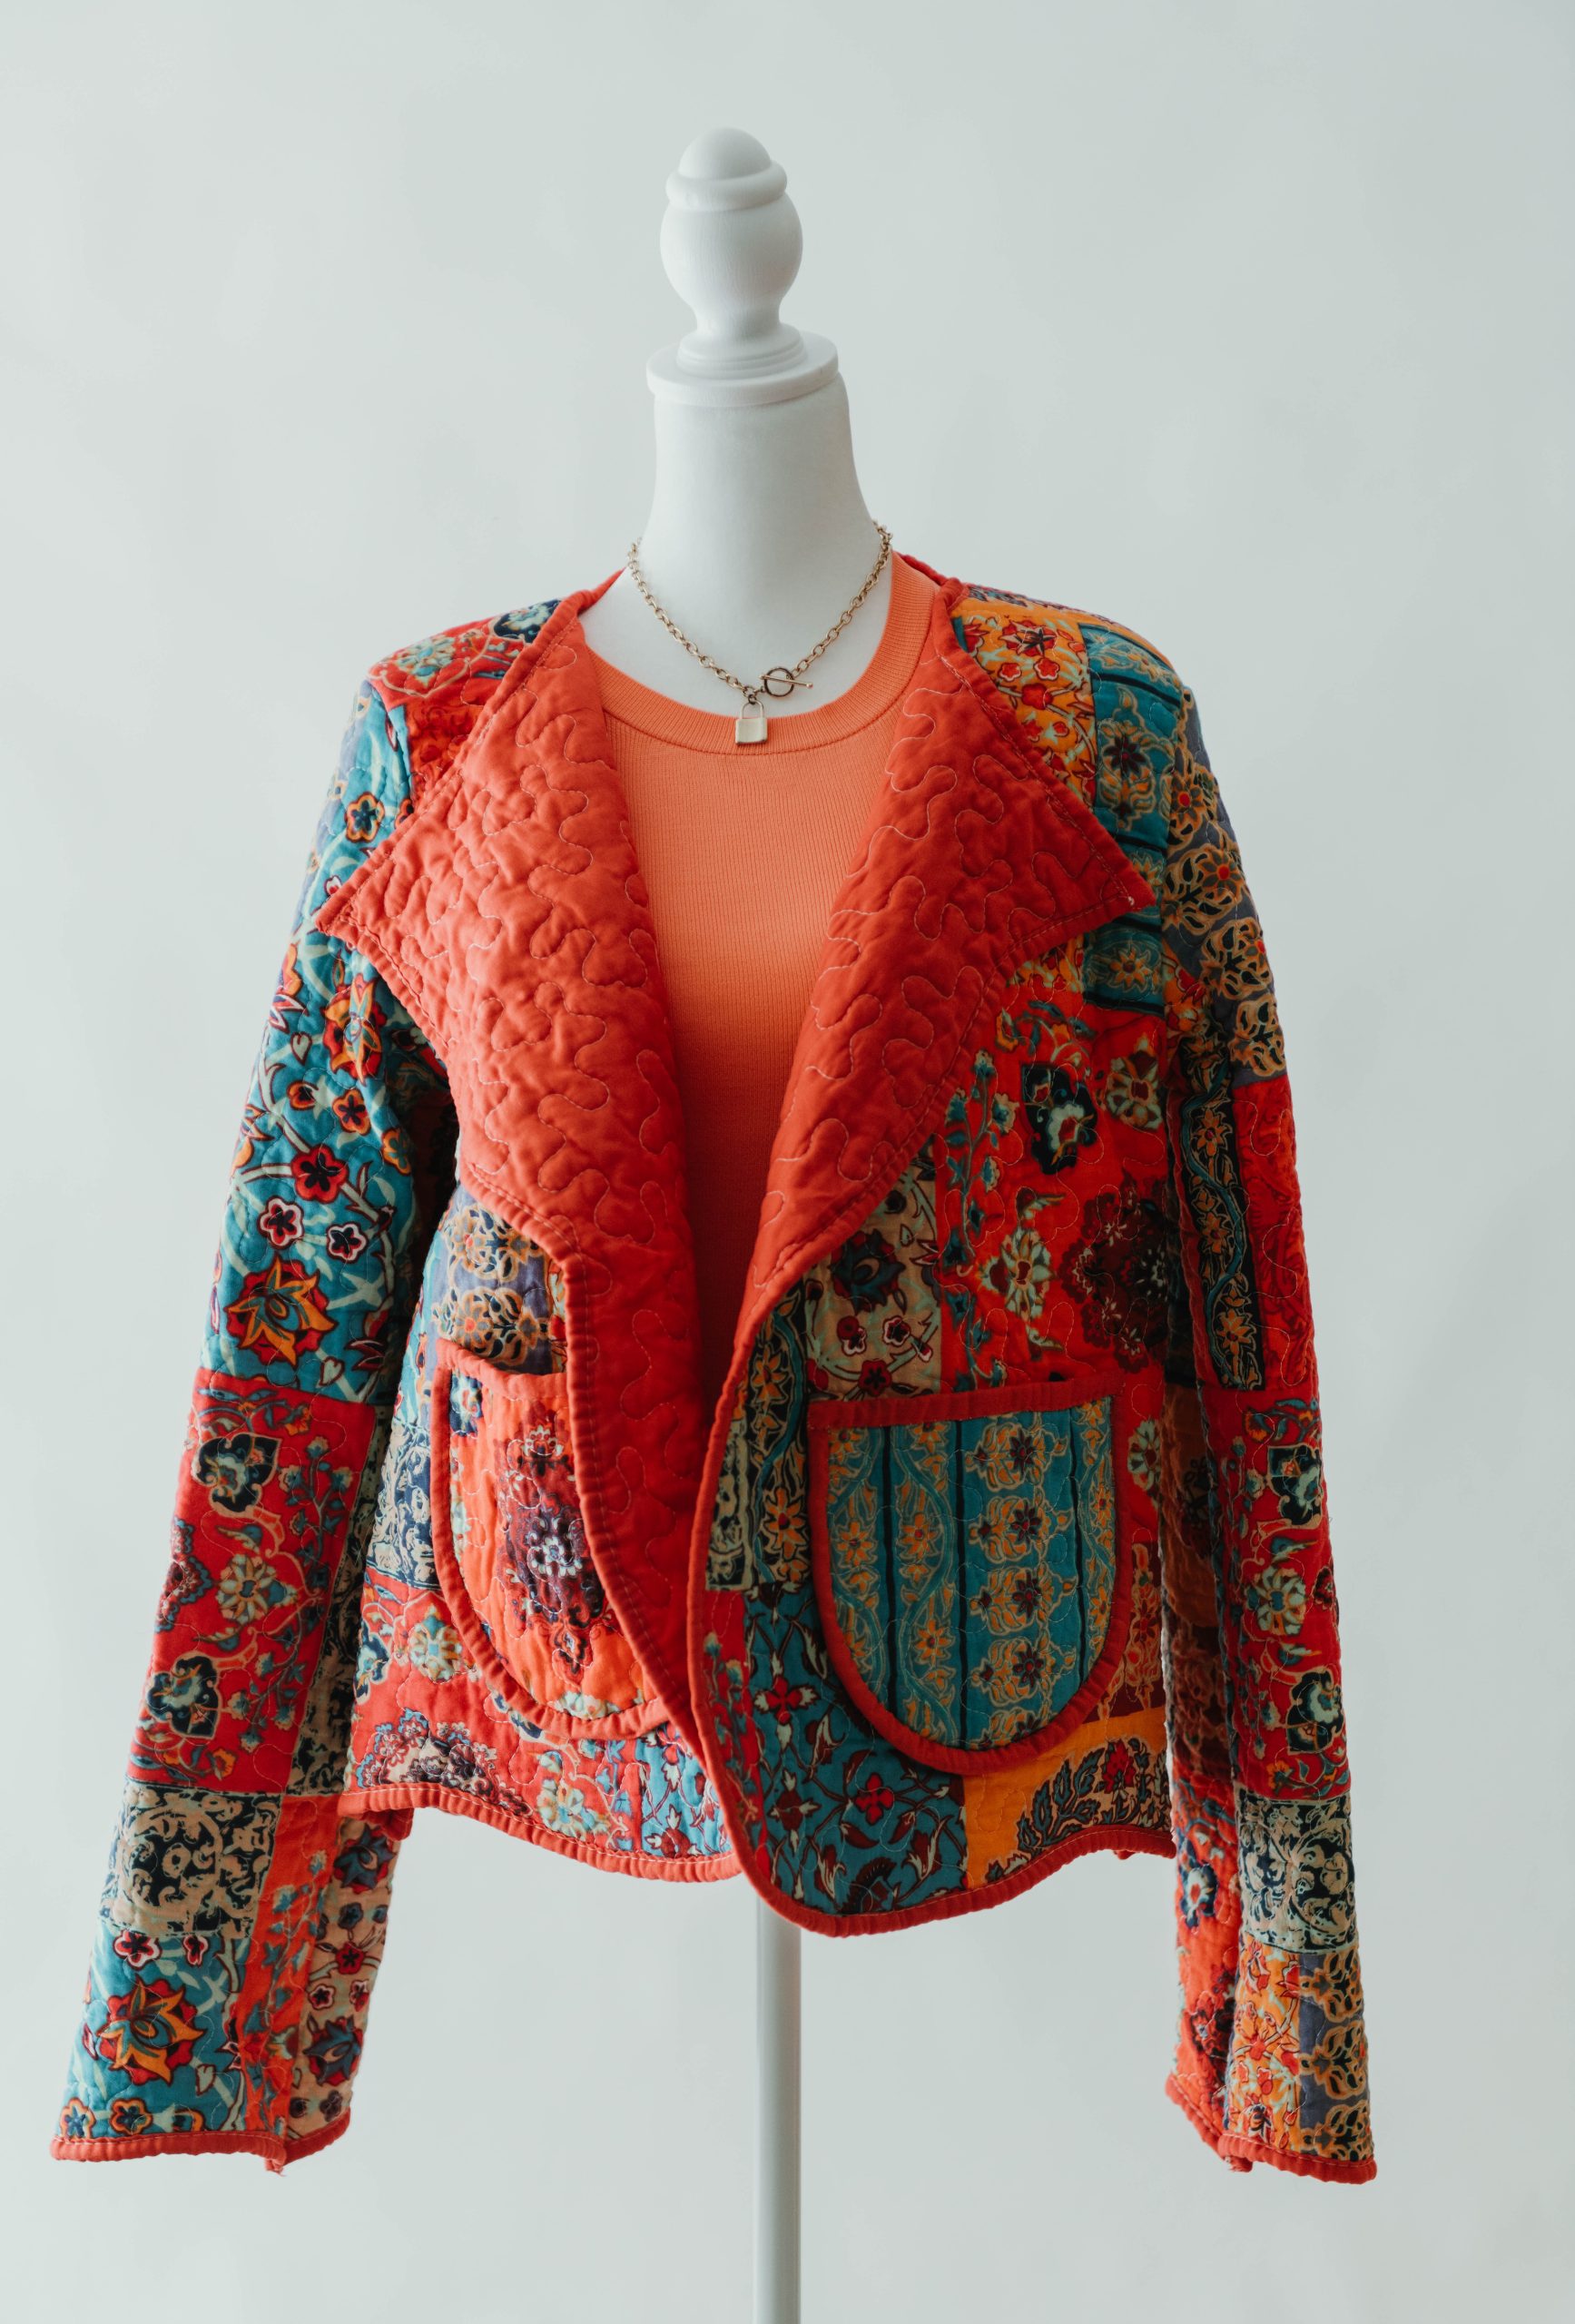
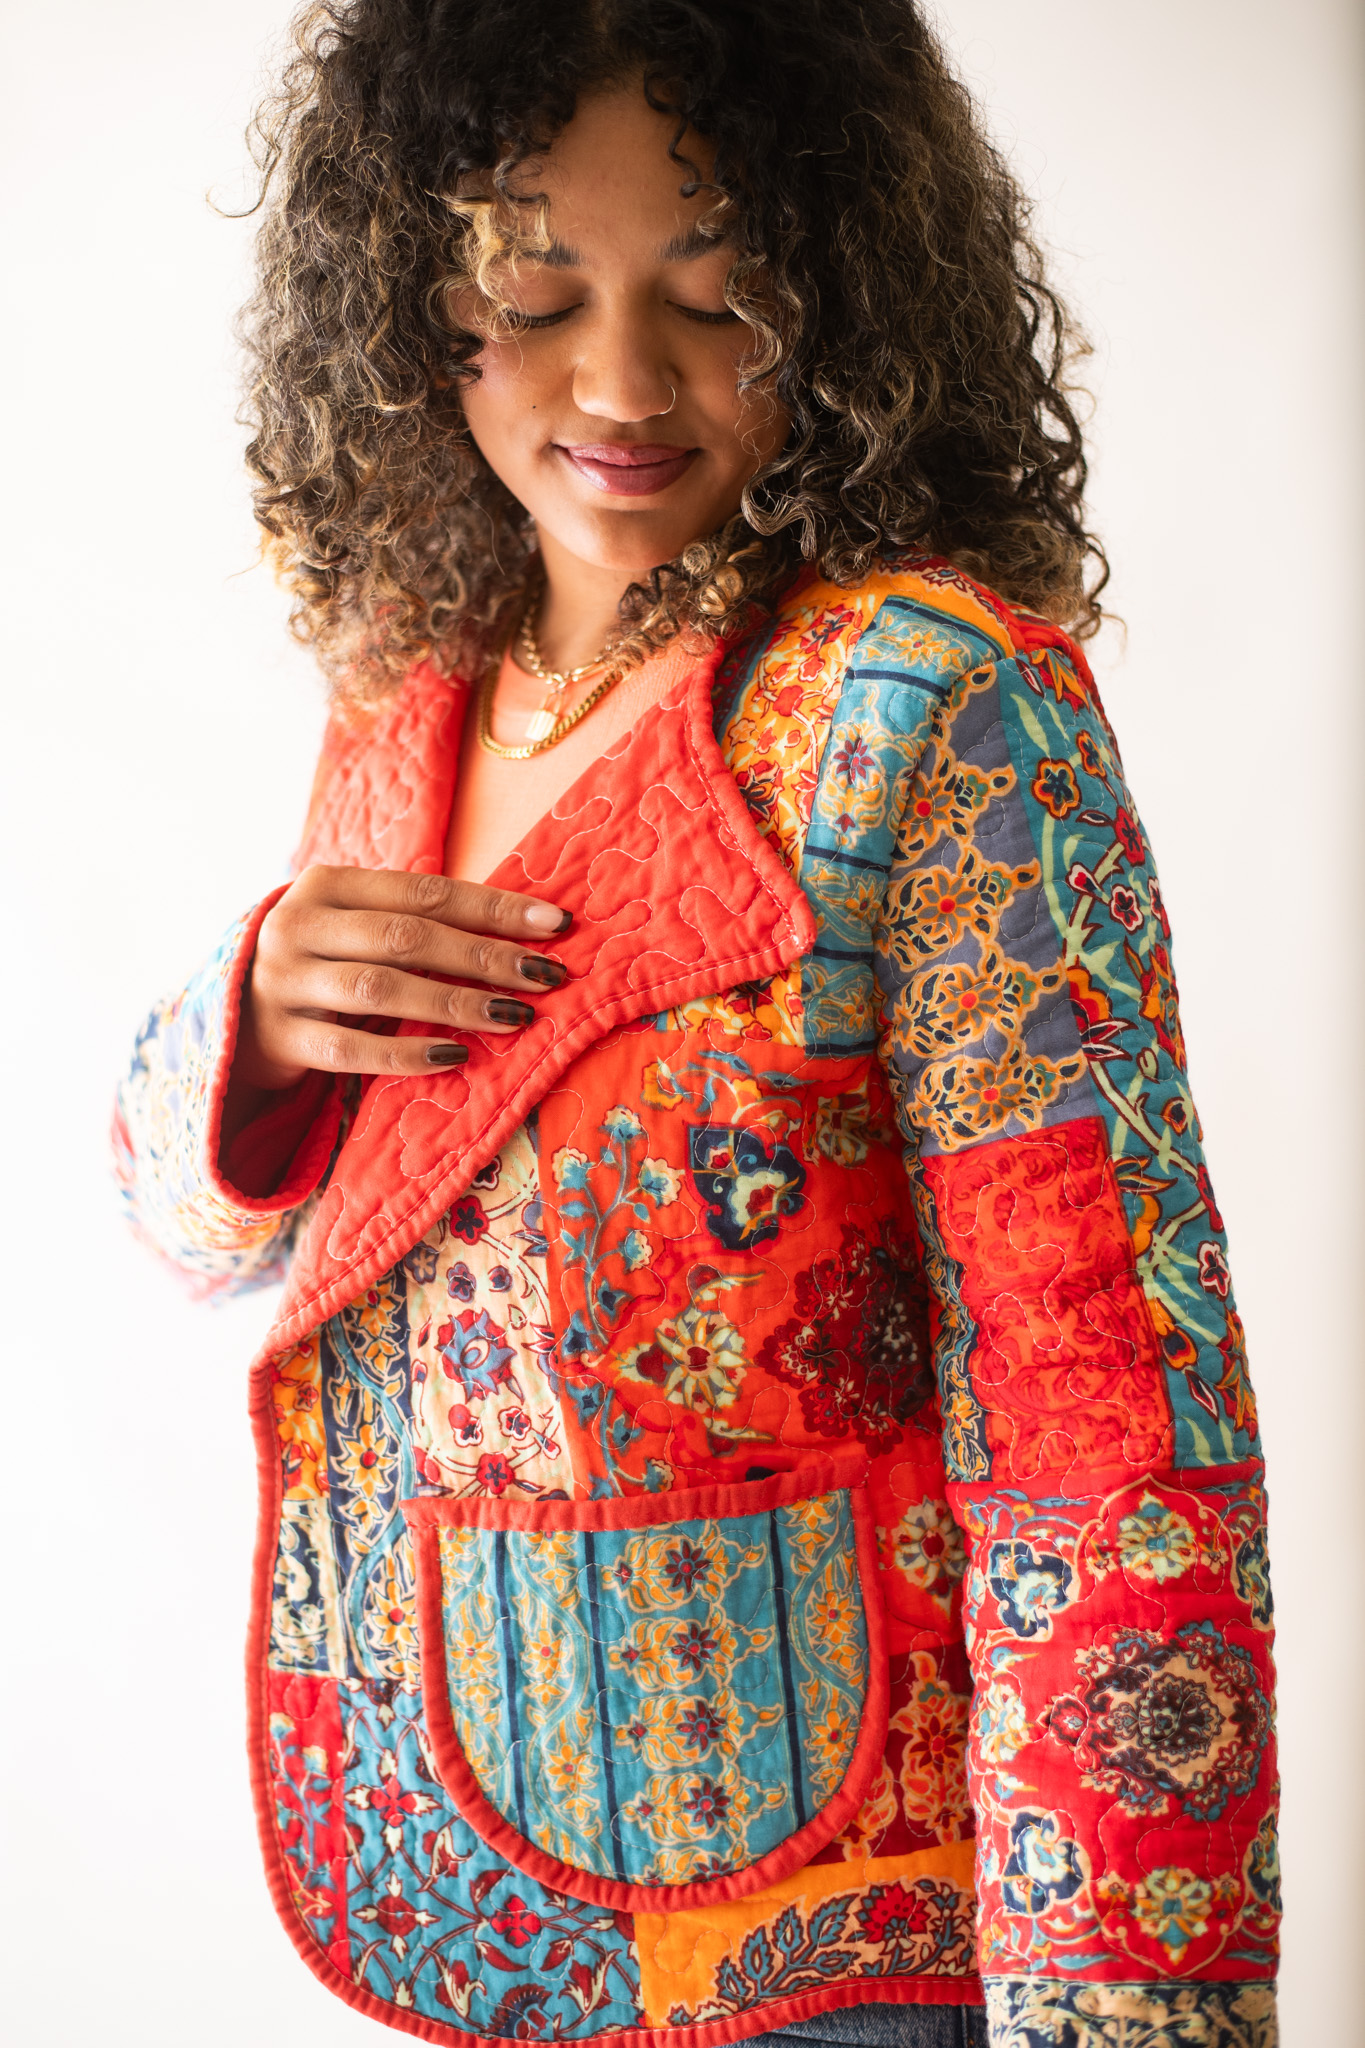
Let your quilting creativity soar with a fun and thrifty refashioning project to add to your closet this winter! This quilt-to-jacket refashion walks you through the process of upcycling a thin quilt into a pretty Vera Bradley-inspired jacket. In a world that’s focused on buying the latest fads, why not save yourself money by hitting up your town’s thrift store to create a custom-fit jacket that complements your personal style? Wear your own DIY quilted jacket with your favorite pair of jeans or layered over a light-weight sweater dress for a fab late fall look.
Skill Level: Easy
Seam Allowances: 3/4” total across French seams
Finished Size: Custom
Designer Note: We used French seams throughout this project, to keep our edges neat. One of the joys of using a quilt to create a garment is that it’s already lined – but regular seams will leave the raw edges of the fabric and the internal batting exposed. Not only do raw edges look messy, but they can fray and come undone over time, too. Typically, French seams will use a 1/4” or 3/8” seam allowance on their second pass – but we’ve maximized ours up to 1/2” to account for the thicker layers. You can adjust your seam allowance to suit the thickness of your quilt – just make sure to add or subtract the amount when cutting your pattern pieces, to achieve a good fit.
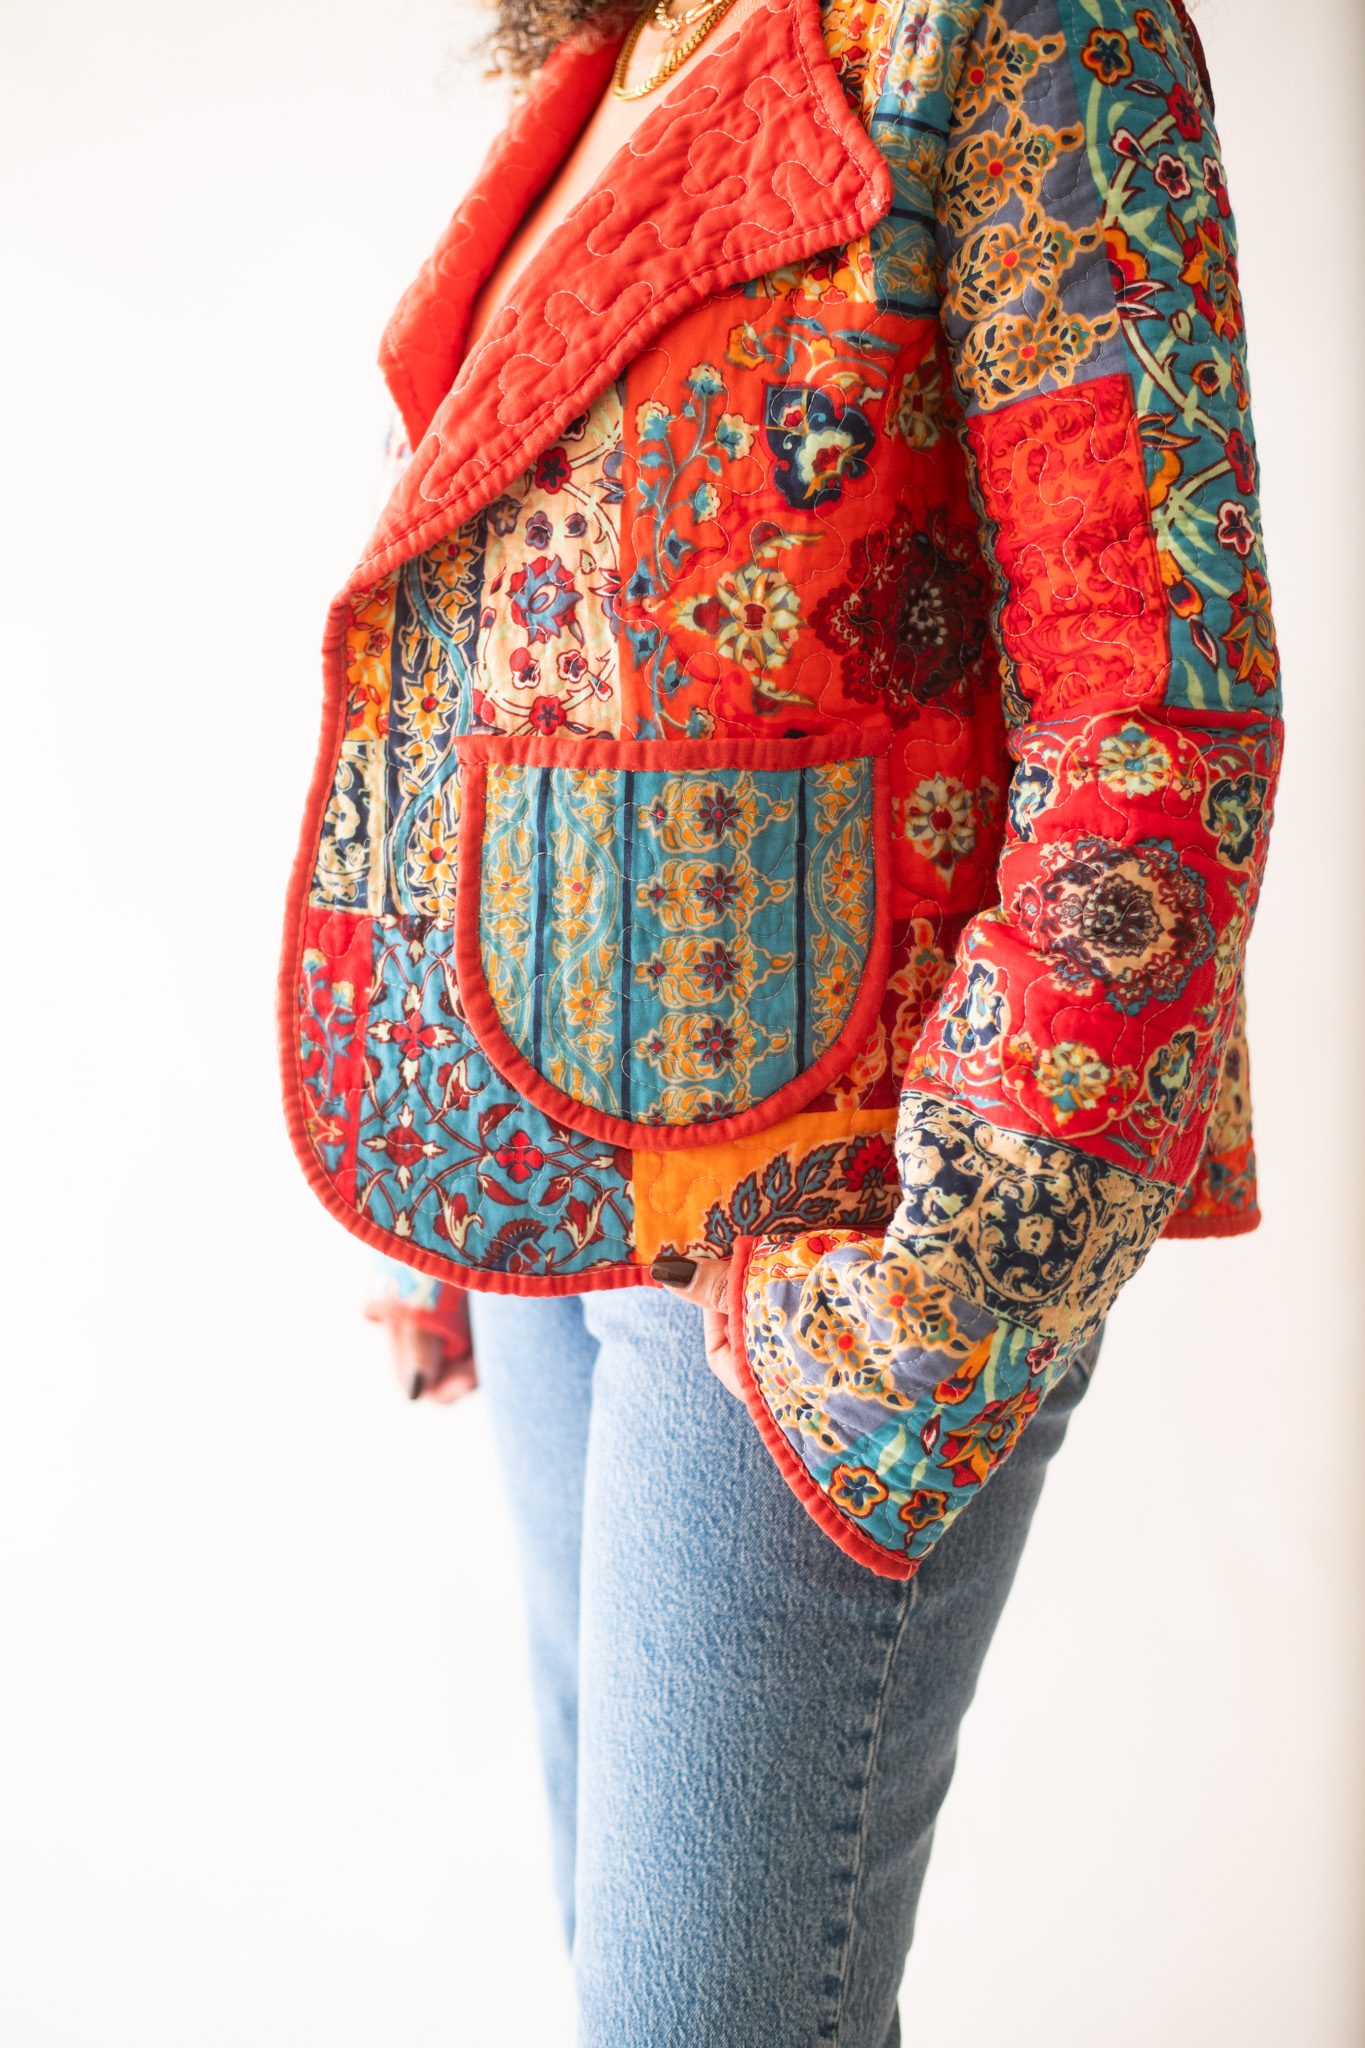
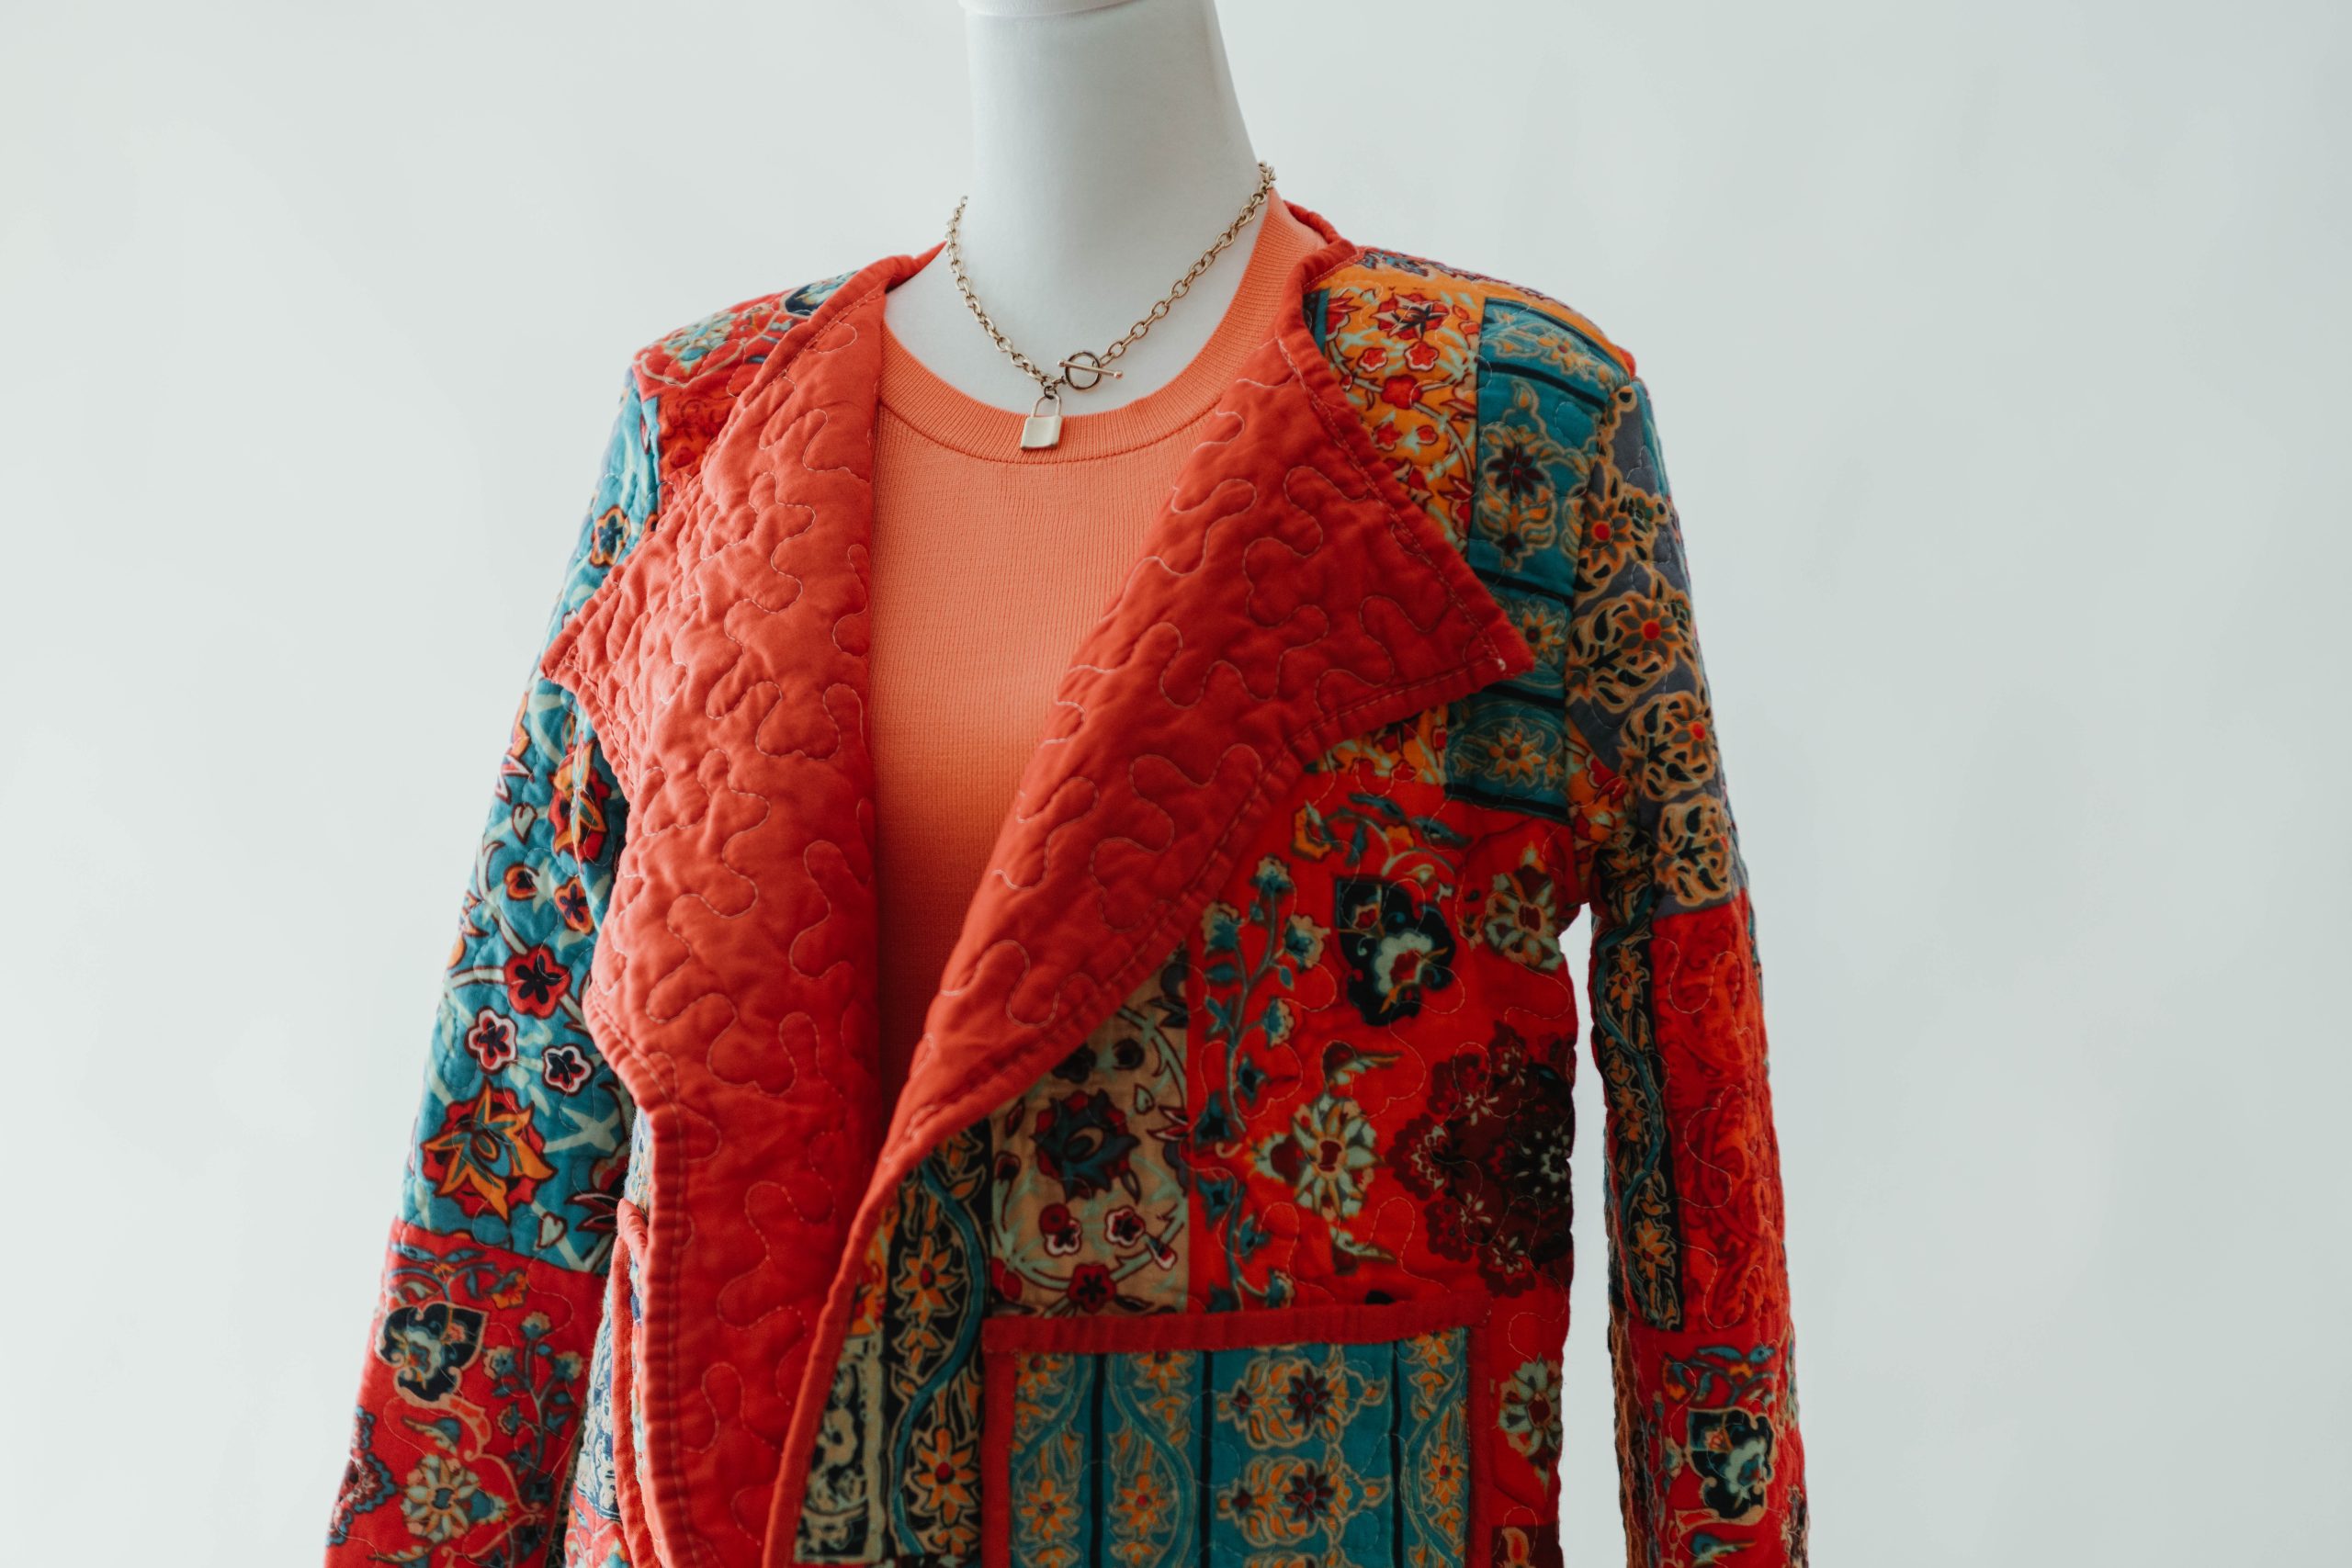
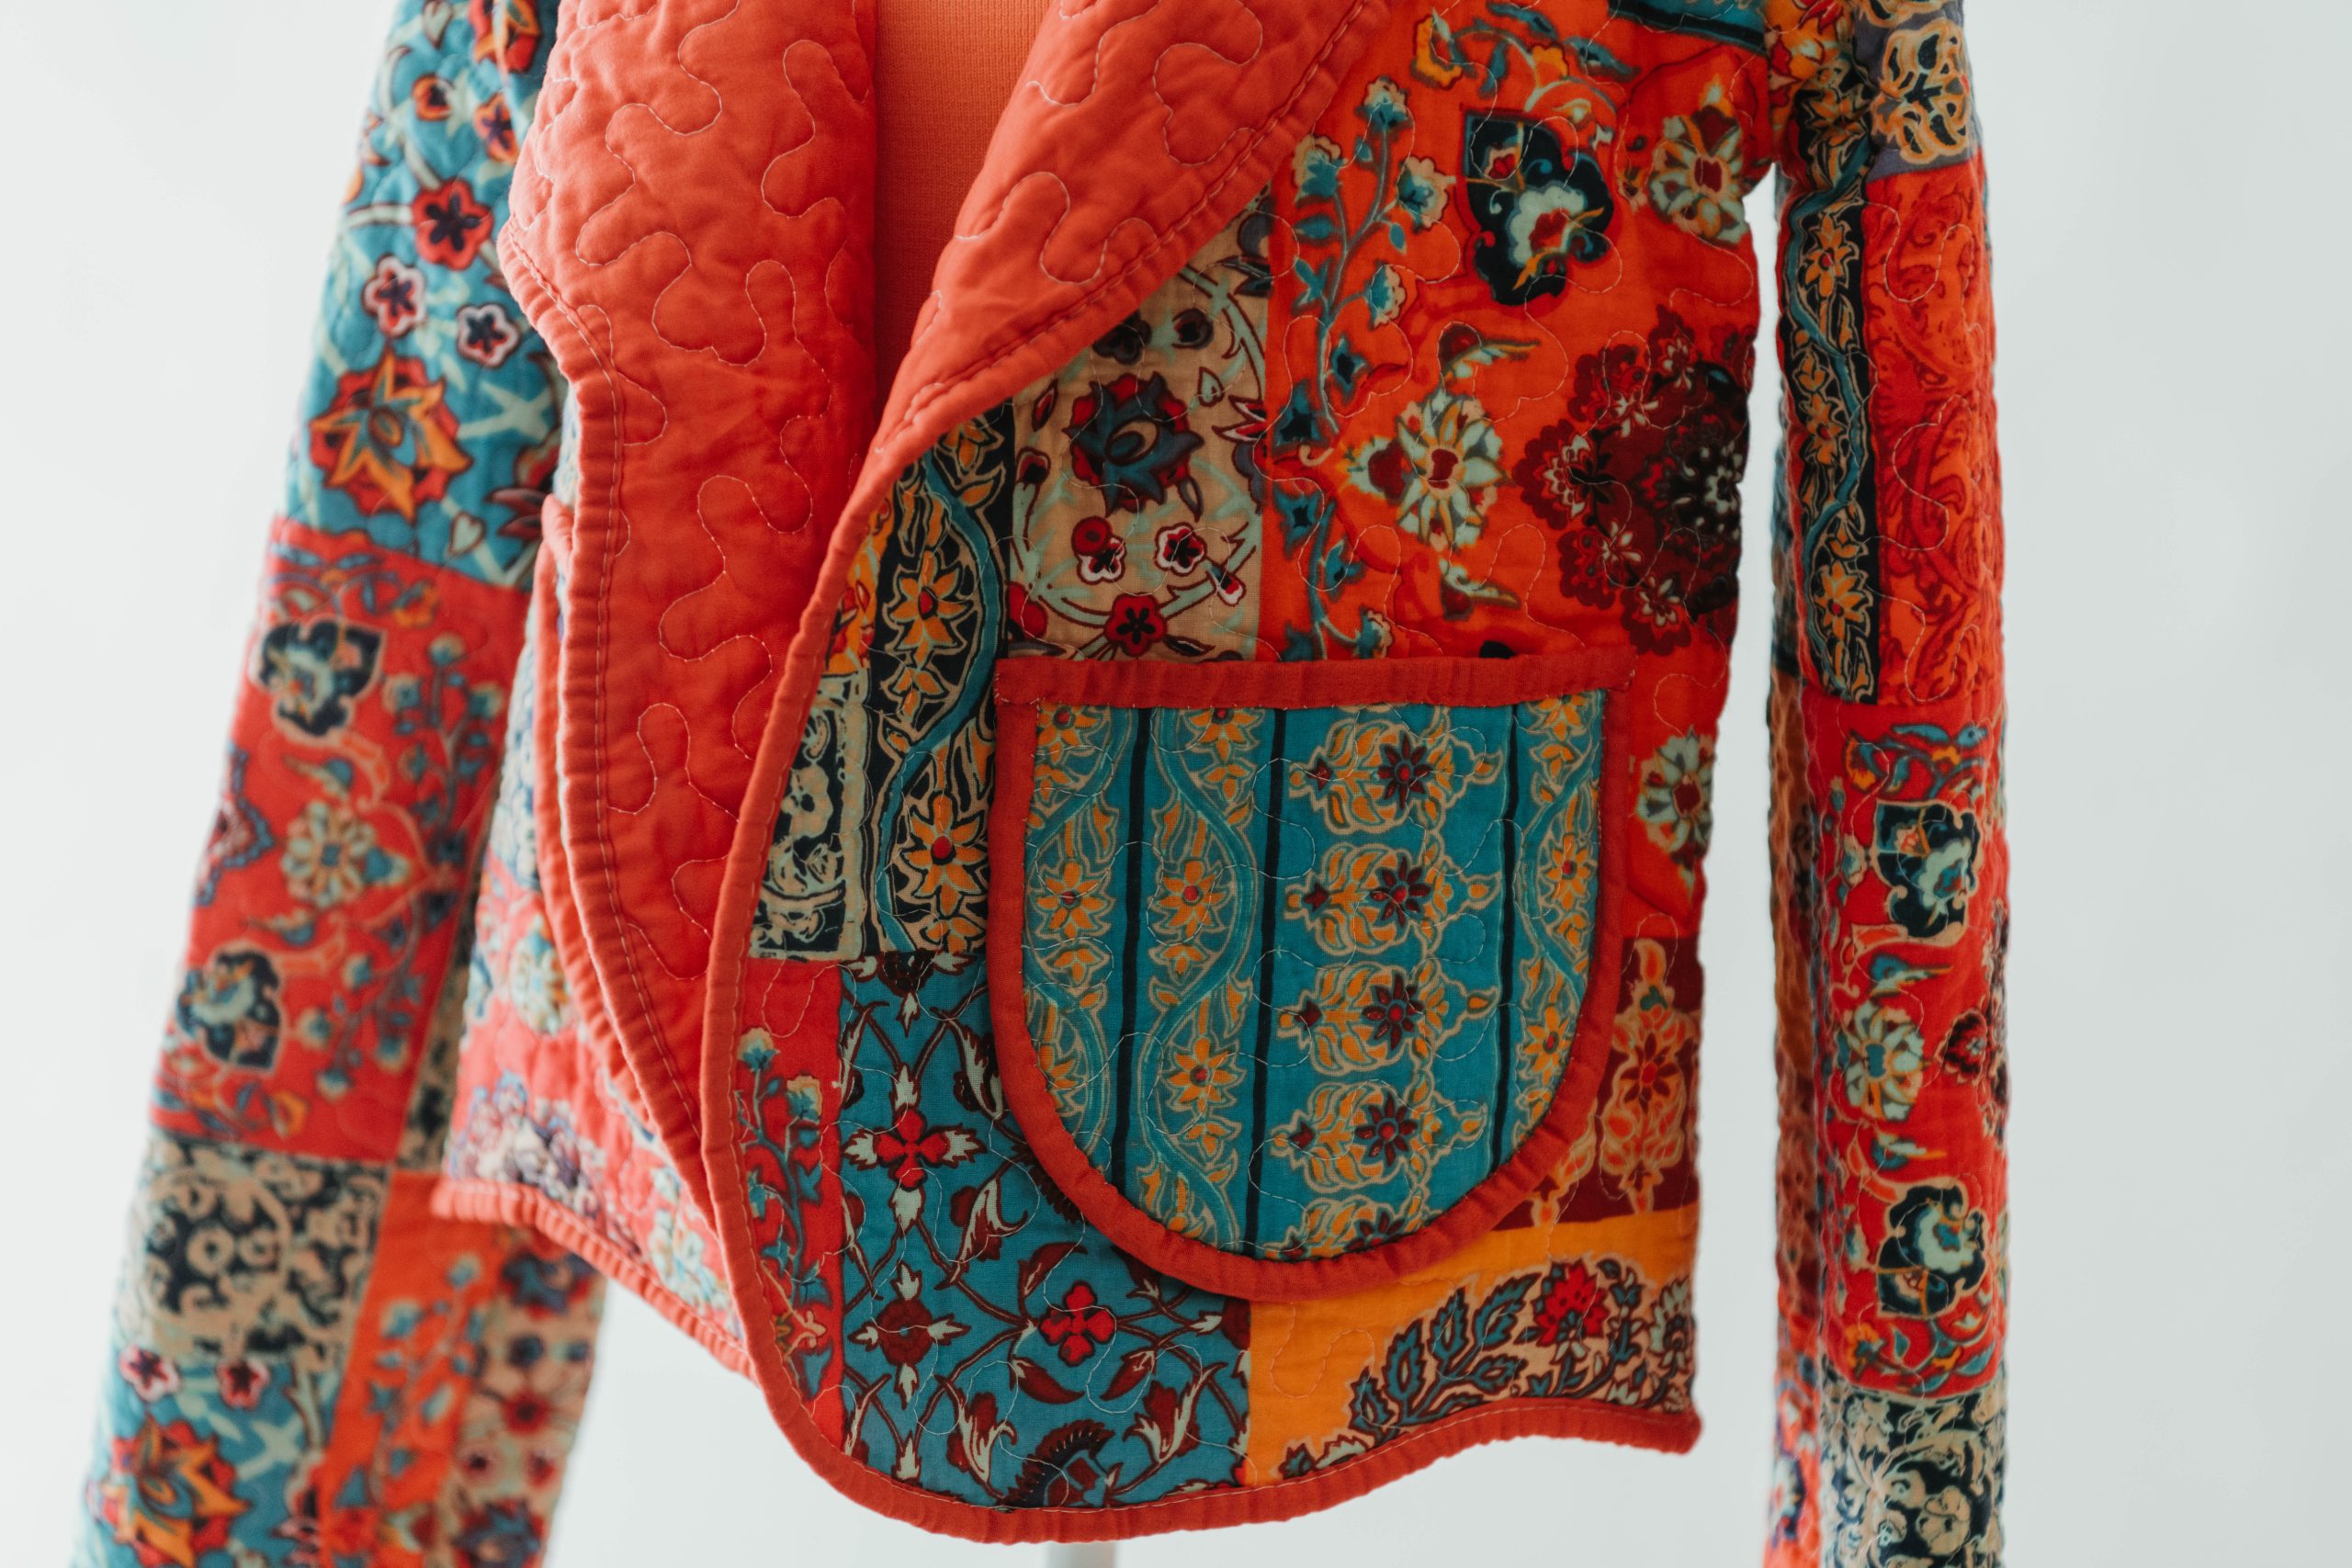
As a quilting fanatic, it’s all too easy to find yourself with stacks of finished projects and nowhere to display them. Sometimes there just isn’t room! It feels like such a shame to leave all those gorgeous patchworks locked up in storage – so why not re-purpose them, instead? In this project, designer Sophie Tarrant shows us how to upcycle an unwanted quilt into a cute, cropped, boxy-fit jacket with handy front patch pockets. When choosing a quilt for this project, try to pick one that isn’t too thick – the thinner the layers, the easier it’ll be to transform them into a wearable garment. Have fun, and don’t second-guess yourself too much when sewing this design – it’s all about experimentation and making the most of what you’ve got already! For more of Sophie’s tips and tricks for transforming old quilts into wearable pieces, don’t miss this handy guide!
Materials:
- Quilt: At least double-sized
- Sewing thread: To match your quilt fabric colors
- Scrap paper
- A simple jacket that fits you well
Tools:
- Scissors
- Pencil
- Pattern paper or butcher paper
- Seam ripper
- Tape measure
- Pins or clips
- Sewing machine
- Sewing needle
Piecing Instructions:
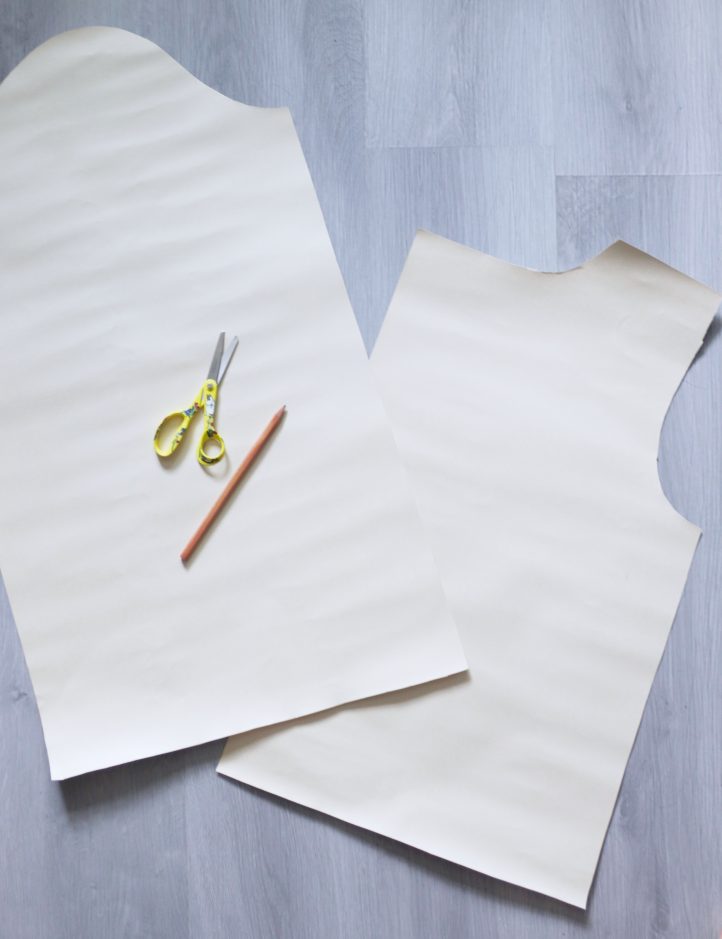
- Begin by drafting your pattern. To do this, take an existing jacket that fits you well, and lay it out flat onto sheets of newspaper, wallpaper, or another large scrap paper piece. The simpler the design of your original jacket, the better – we opted to use a cropped, boxy-fit coat that would be simple to construct and didn’t need darts or any other fussy design elements. For the main body of the jacket, you’ll need three pattern pieces – the front, the back (cut on the fold), and the sleeve. Draw around each part of your original jacket, making sure not to include the seam allowance, and check the resulting pattern pieces against your measurements – outerwear typically needs at least 5” of ease to comfortably fit over other garments, so your pattern pieces must take this into account. We’re also going to be working French seams that use a total of 3/4” seam allowances, so you need to make sure you add enough for those, too. Once you’ve drawn your pieces, make a quick mock-up of each one using scrap fabric and pin them together to check the fit. Alternatively, if you’re not confident drafting your own pattern, you can use a simple, boxy-fit pattern of your choosing, instead.
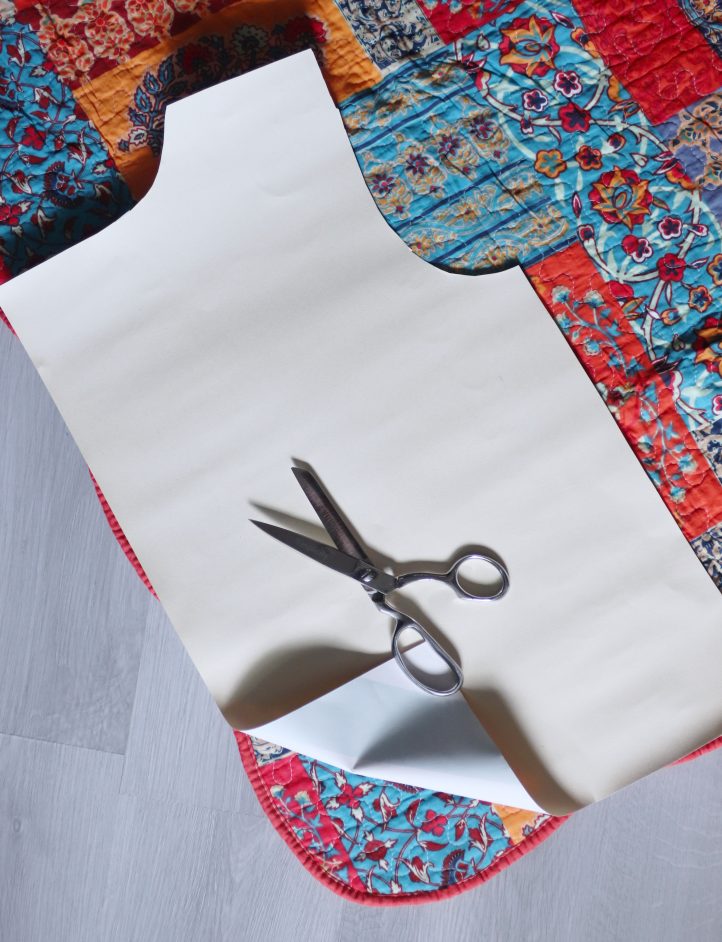
- Once you’re happy with your pattern, it’s time to cut out the various pieces. Lay your quilt out flat and take a good look at how it’s made. Is the binding in good condition? Are there any stains, rips, or tears on the fabric? If so, try to avoid these areas. We’ll start by cutting the two front pieces. Place your pattern onto the quilt, taking the time to position it so the bottom corner of the front pattern piece is aligned with one of the corners of the quilt. This allows you to use the existing binding as your edging along the bottom and front edges of the jacket – not only saving yourself time and effort, but keeping the finish neat and authentic, too. Pin the pattern piece into place, then cut it out. Flip the pattern over so that you are mirroring your previous cut and repeat to cut another front piece from a different corner of the quilt. Then, cut one back piece on the fold (positioning it so that the bottom edge is aligned with the bound edge of the quilt) and two sleeves (placing these so each cuff edge lays along a bound edge of the quilt, too). Place the rest of your quilt aside for now – we’ll need it again in a later step, so don’t discard it!
- Now it’s time to start constructing your jacket. Lay your back piece out flat, with the right side facing down. Place one of your front pieces on top of it with the right side facing up, aligning them along the shoulders and side edges. Pin or clip the pieces together along the shoulder, then work a straight machine stitch along the edge with a 1/4” seam allowance. It may seem strange to stitch your pieces together with the right sides facing out, but there is a method to this madness – we’re about to work French seams!
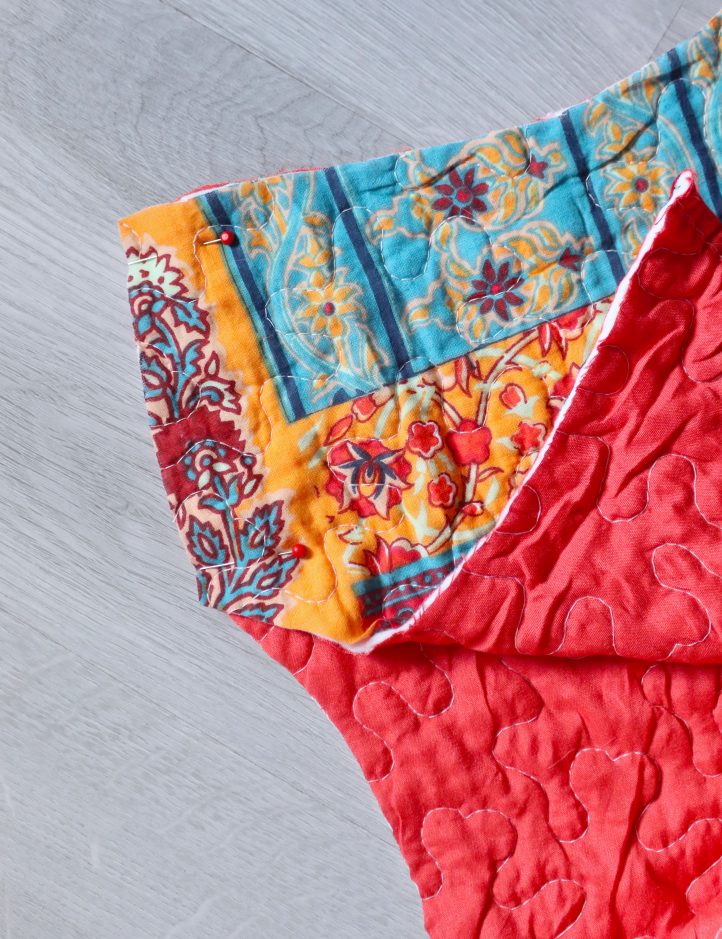
- French seams are the ideal choice for non-lined jackets like this, as they conceal the raw edges of the fabric within a double stitched edge. This not only looks neater but keeps the fabric and batting from fraying, too. To work a French seam, take the 1/4” seam allowance you just worked along the shoulder and trim it down to half the size. Fold the garment back so that the pieces are right sides together, then stitch again, this time leaving a 1/2” seam allowance. The raw edges of the fabric should now be neatly concealed within the French seam. Repeat Steps 3 and 4 to sew the second shoulder seam in exactly the same way.
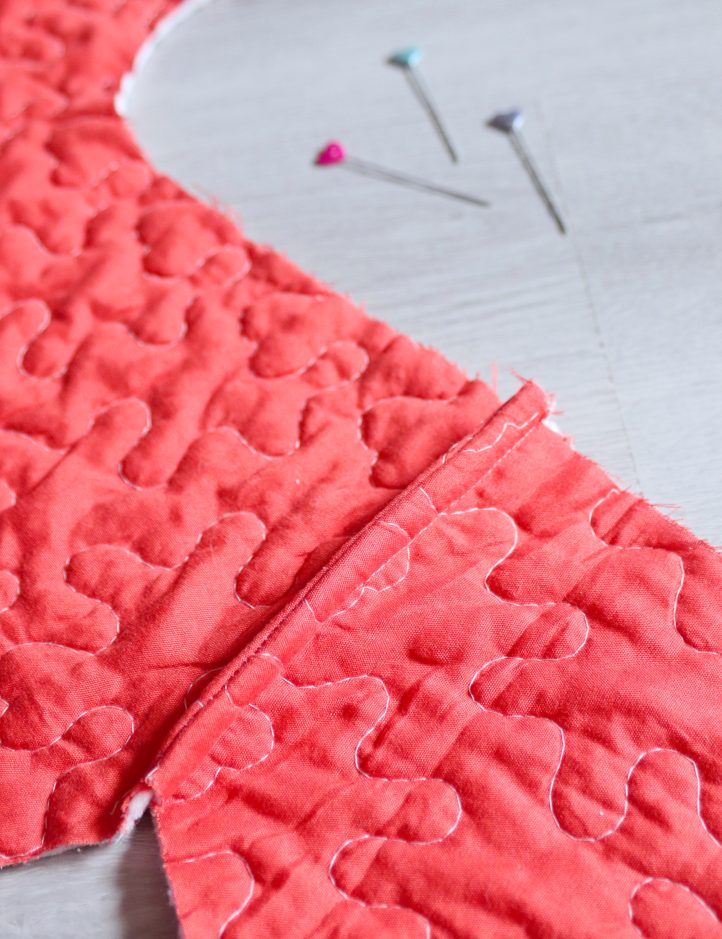
- It’s now time to attach the sleeves. Open out your front and back pieces and lay them flat with the right side of the fabric facing down. Clip or pin the head of the first sleeve into position along one armhole, with the right side facing out once again. It might take a little easing to get the pieces to fit exactly – and you might find that starting in the middle of the sleeve head and working outwards in both directions makes the process easier. Once in position, machine stitch all along the head of the sleeve with a 1/4” seam allowance.
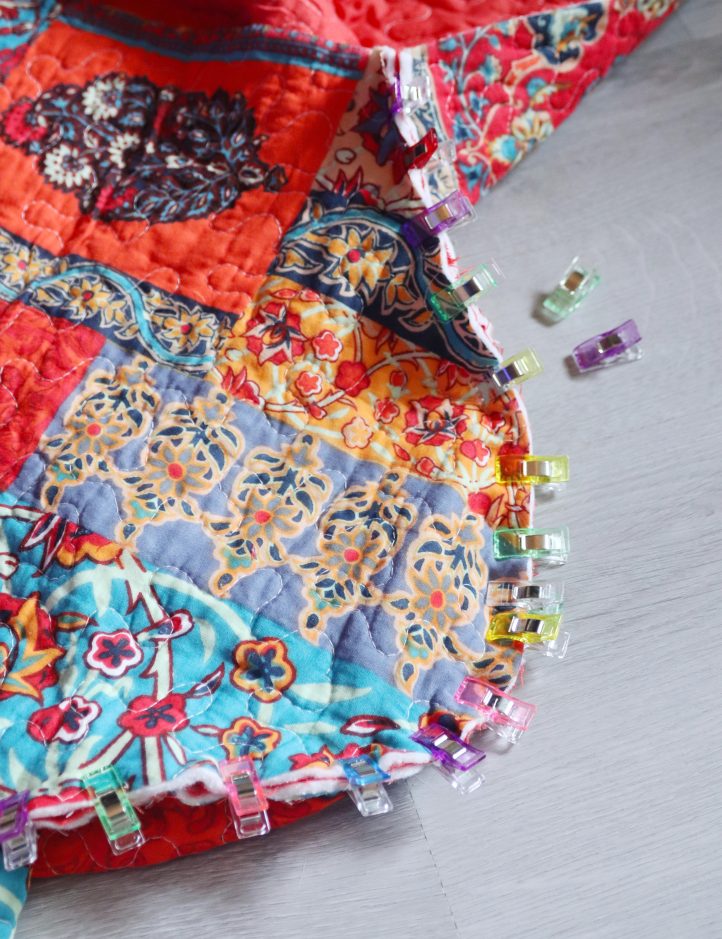
- As before, we’re going to work a French seam to keep the garment neat. Repeat the same steps as described in Step 4, trimming the seam allowance down to half the size and then folding and stitching the pieces with right sides facing, leaving a 1/2” seam allowance. Repeat Steps 5 and 6 to add the second sleeve in the same way.

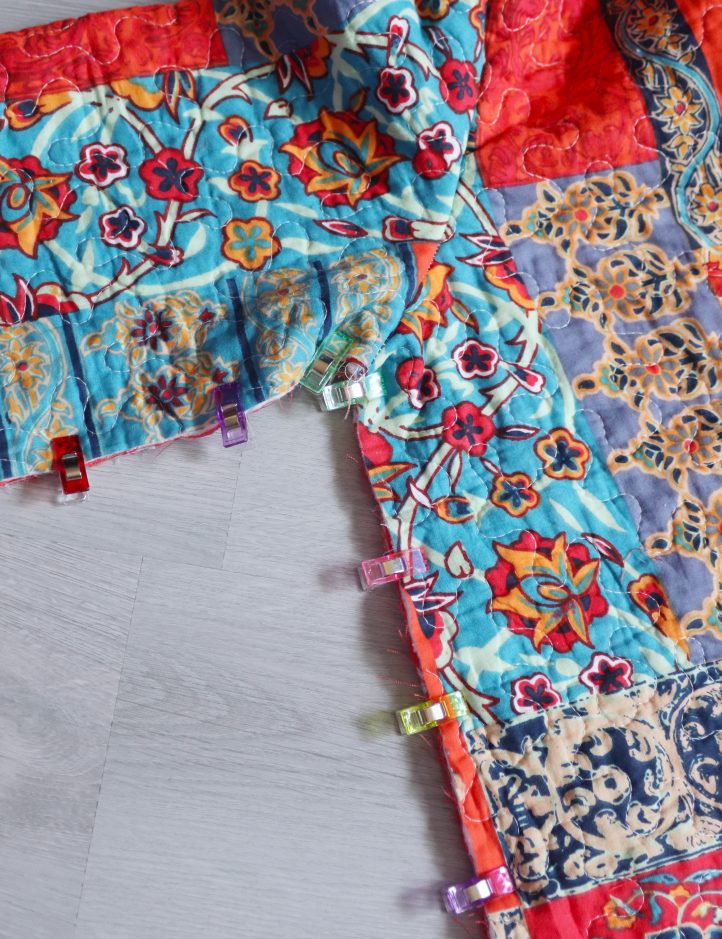
- Lay the jacket out flat, then fold the two front pieces down over the back with the right sides facing out. The side edges of the back and front pieces should align, as well as the long bottom edge of each sleeve. Pin or clip into position, then stitch this edge closed, leaving a 1/4” seam allowance. As before, finish each side with a 1/2” French seam. You’ve now created your basic jacket!
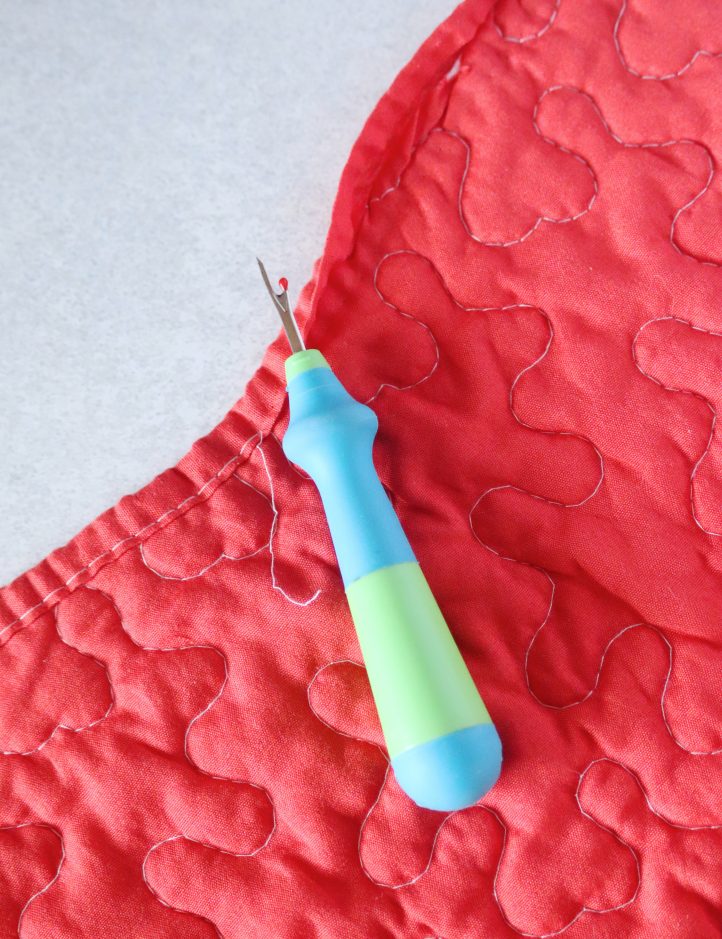
- It’s time to add some finishing touches. Measure the neckline edge of your jacket. Add 1” to this number, then unpick that much binding from the remaining quilt leftovers using a seam ripper tool. Try to keep the binding in good condition – work slowly and carefully, and don’t pull or rip at the fabric.
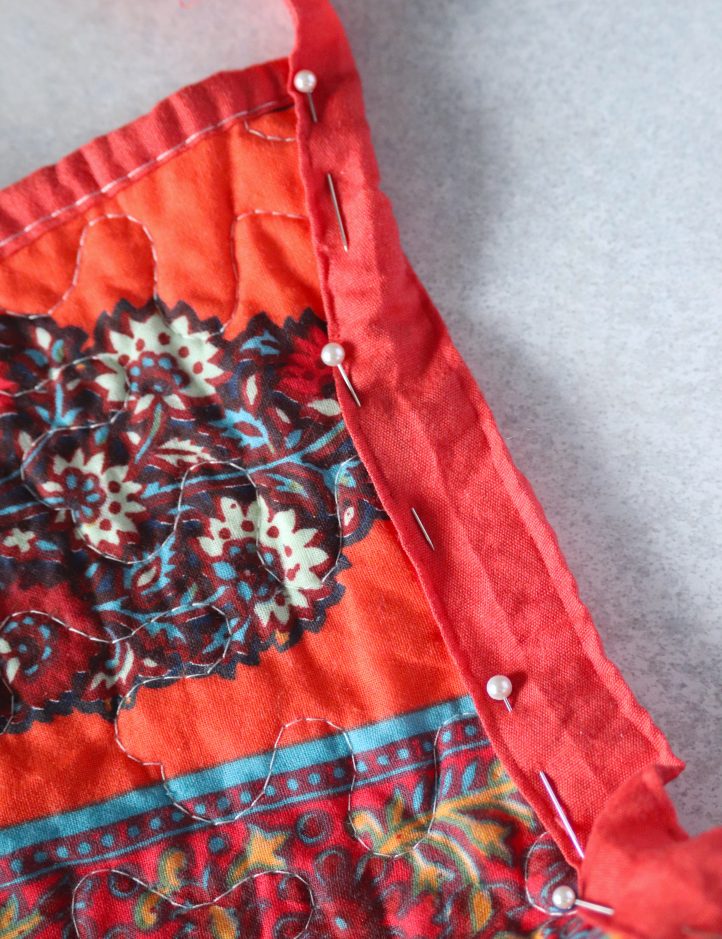
- Once you’ve unpicked your binding, carefully pin it along the raw edge of the neckline, working on the right side of the fabric. Align the fold that runs down the middle of the binding with the edge of the neckline, so it can wrap around neatly. Stitch the binding into place down the long, pinned edge, then wrap the rest of the binding over and hand stitch it into place on the inside of the jacket, to keep it secure. Fold each short cut edge under by 1/2” and stitch into place, to keep the corners neat.
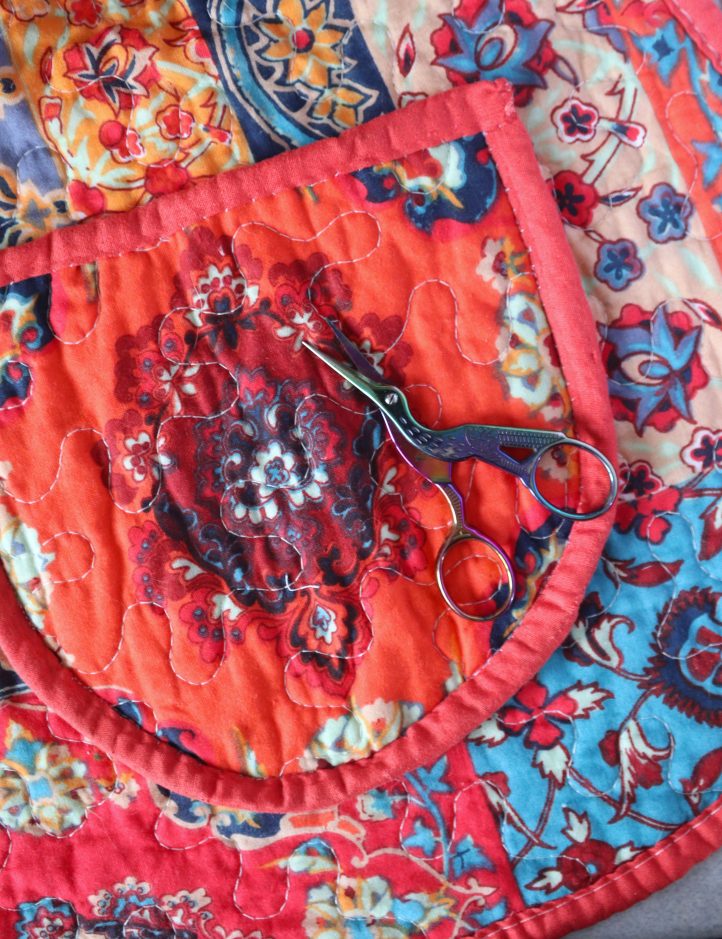
- Finally, it’s time to add some pockets. Sketch a pocket shape out onto a piece of paper or trace your favorite pocket shape from your jacket or another garment of your choice and use it to cut two pieces from the remaining quilt scraps. As above, measure out how much binding you’ll need to edge each pocket and salvage that much from your quilt – you’ll need to cover both the curved bottom edges of each pocket, and the straight top edges. Stitch the curved edge binding into place first, then add the straight edges, folding the short cut ends of each piece under to keep them looking neat.

- Lay your jacket out flat. Place each pocket piece onto the front of the jacket and adjust the positioning until you’re happy with how they look. Pin into place, then stitch-in-the-ditch along the curve of each pocket’s bound edge to secure them. Make sure to leave the top straight edge open – don’t accidentally sew those up, too! You’ve now completed your jacket, complete with handy pockets.

What a beautiful jacket – thank you very much!
For me this is a little too red – I will make it with black, white and grey colours.
Best
Marianne
Soooo cute! I’d like it a little longer and am hoping to get this made this winter. Thanks for sharing!
Thanks so much for your kind comment, Cindy! Have a great day 🙂 – Ashley, We Like Quilting