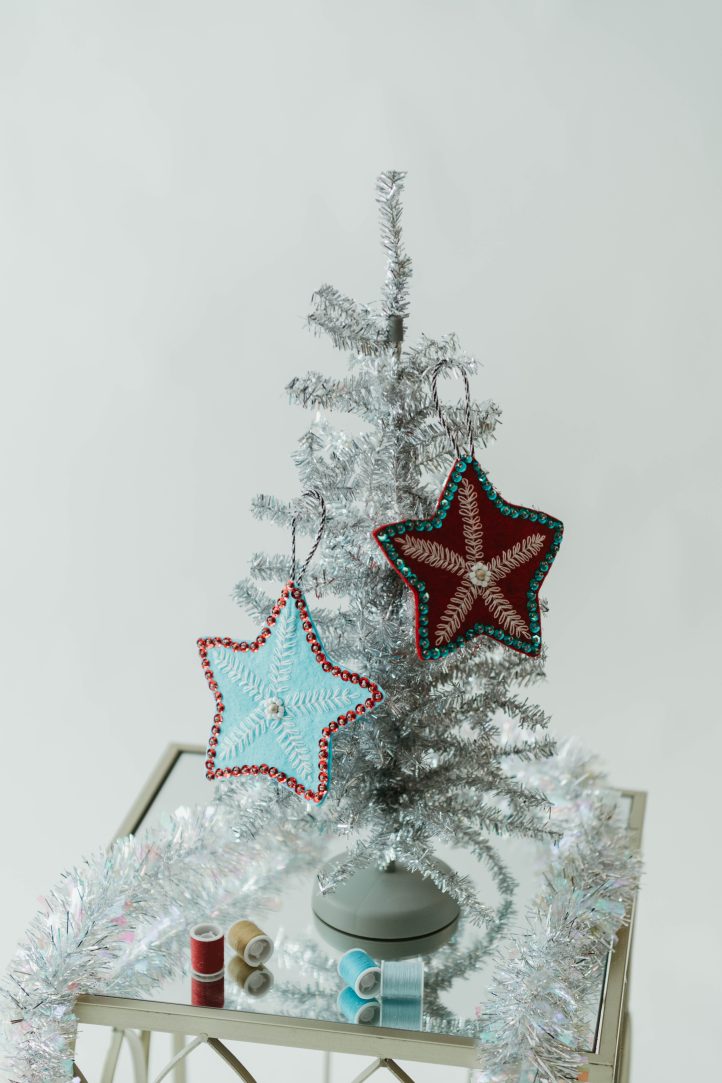
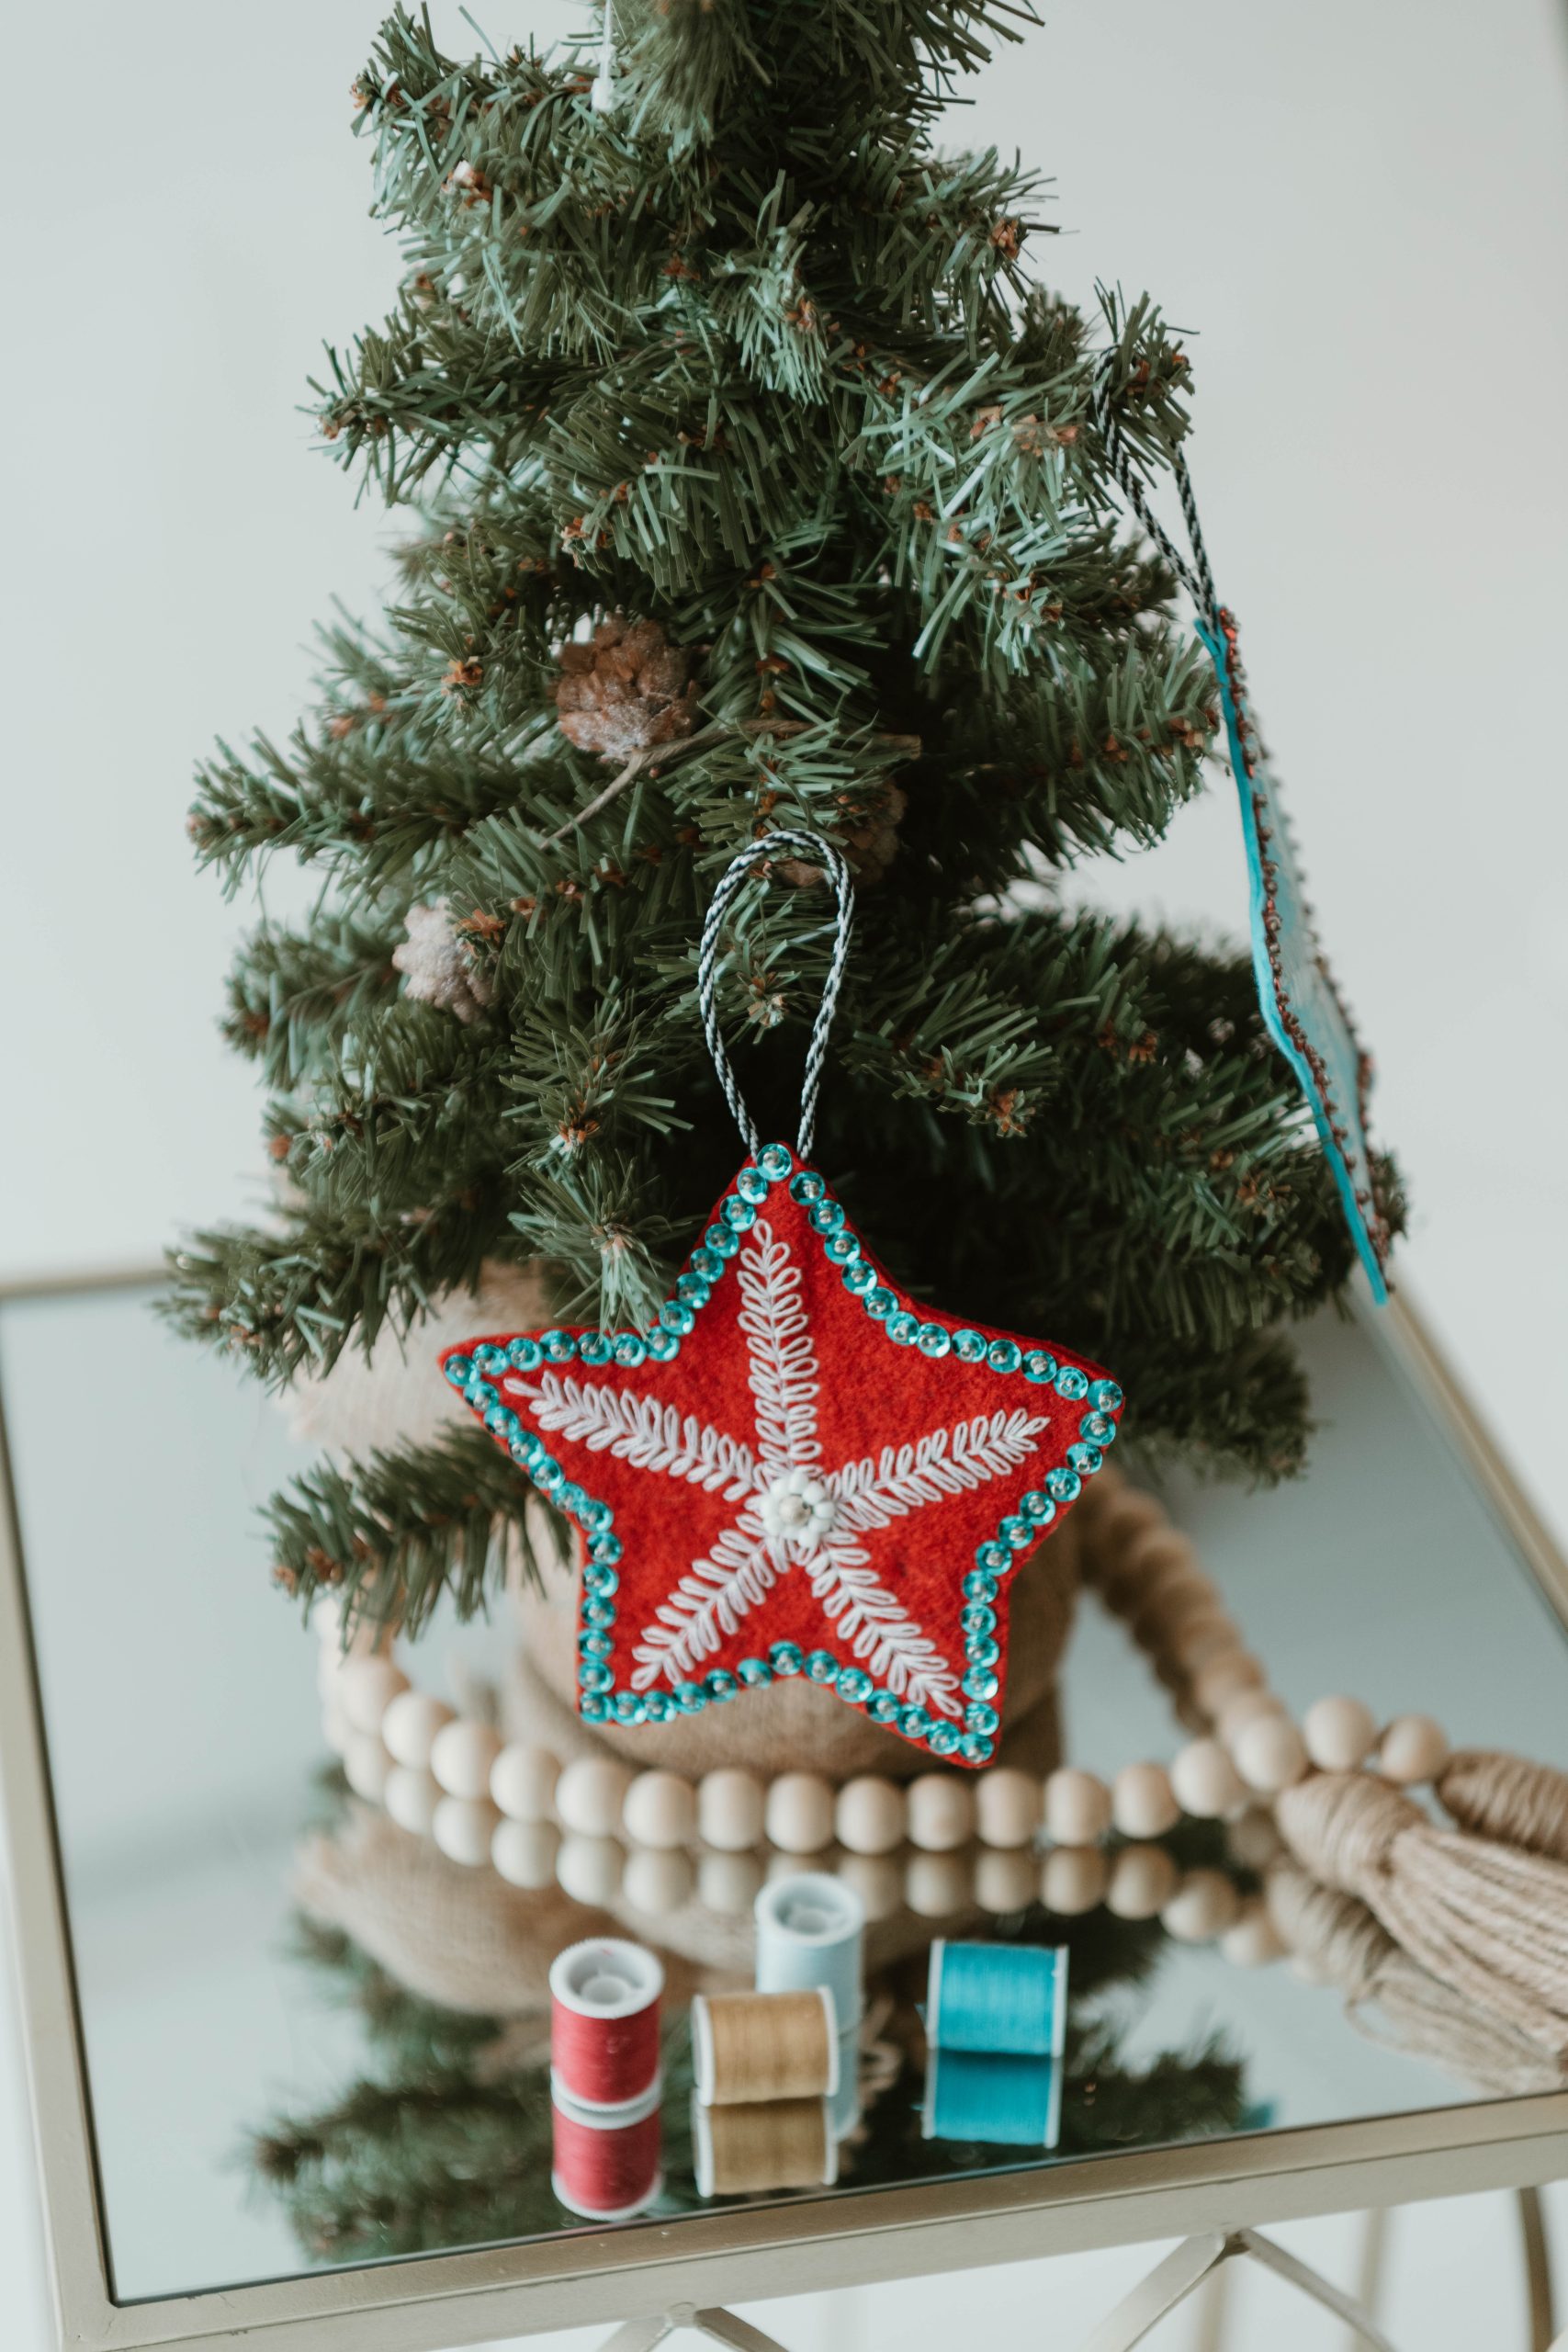
Make your Christmas tree shimmer with a field of sparkling star ornaments! Designed by Debbie von Grabler-Crozier, this quilted ornament pattern shows you how to create wool felt stars in your favorite color palette to adorn your tree this year. Finish your sewn stars with sparkling seed and stardust beads and decorative ribbon or twine and gift them to your family and friends this holiday season. Embroidery details complete this fabric ornament pattern to give the effect of winter frost against a vibrant background.
Materials:
- Fabric:
- 4x 7” squares pure wool felt. The designer has chosen two turquoise and two red.
- Sequins: Red, turquoise
- (2) 1/4 inch (6mm) stardust beads- silver
- (1) (1/16 inch) 2mm glass seed beads- white
- Embroidery floss- white
- Ribbon or cord to hang the ornament
- Clear drying glue suitable for fabric
- Coordinating threads for all fabrics and trims
- Scissors
- Embroidery hoop
- Fabric marking tools
- Good needles (including a beading needle small enough to pass through the holes in your chosen beads)
- Thimble
- PDF Template – This is located at the bottom of this page. See printing instructions below.
PRINTING INSTRUCTIONS:
To download the PDF template, click on the download button at the bottom of the page. We recommend opening your download using Adobe Acrobat.
Piecing Instructions:
- Use the template to draw a star onto each of the pieces of felt but do not cut them out.
- TIP: These ornaments are both stars, and both use the same decoration but in different ways so that they form a set but are still unique.
- Place the felt into a hoop, centering the design well, and pull it tight without distorting before tightening the hoop.
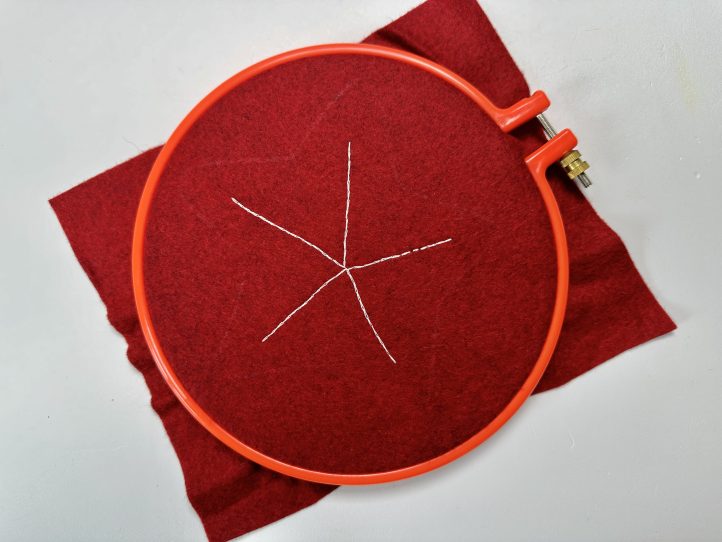
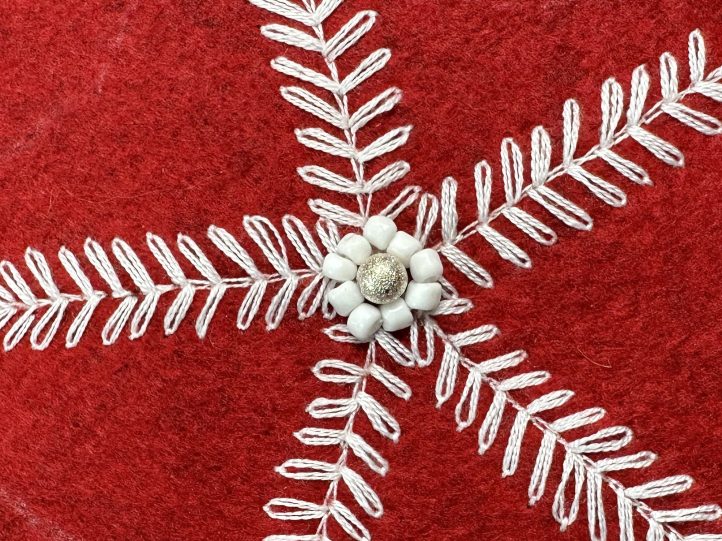
- Sew the center motif using two strands of embroidery floss and a back stitch to start.
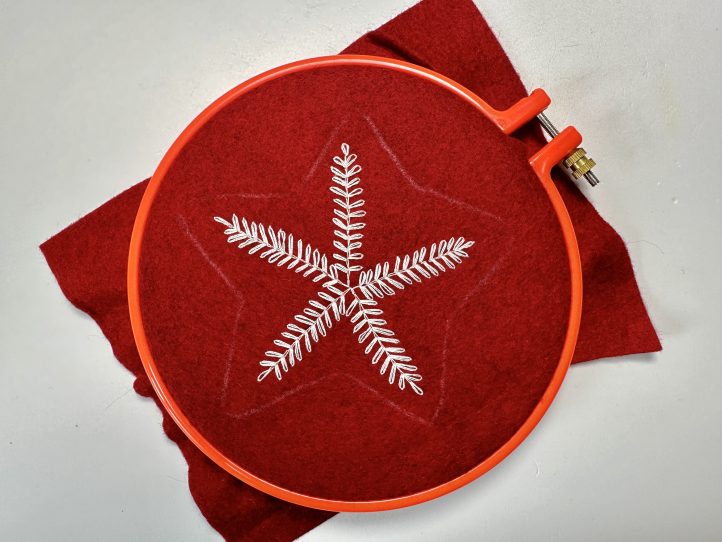
- Add Lazy Daisy Stitches to form the leaves on both sides of each backstitch arm. These are also worked with two strands of thread.
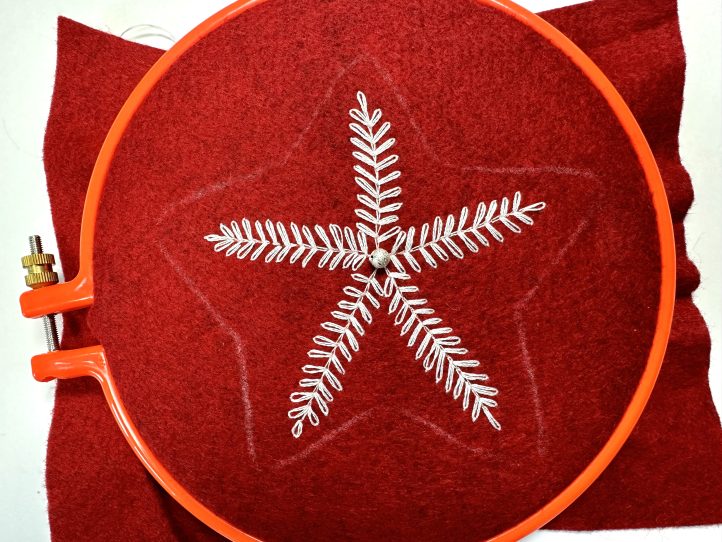
- Next attach a stardust bead to the center of the motif and add a circle of glass seed beads around it.
- To add the sequins and seed beads to the perimeter of the star, choose sewing thread as close to the color of the beads as possible (white thread is best with silver beads) and bring the thread to the front of the work, hiding the knotted end in the back. Thread a sequin and a bead onto the needle.

- TIP: Use red sequins and a silver bead on the turquoise star and turquoise sequins and a silver bead on the red.
- Take the thread back down through the sequin using the bead to stop everything falling apart and move about 1/4” over before bringing it back to the front and repeating the process right around the edge of the star.
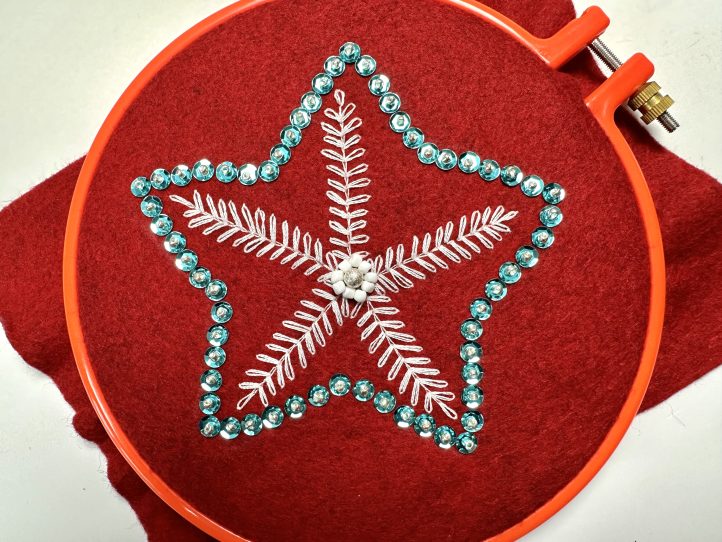
- Take the embroidered motif out of the hoop and cut the star out.
- Cut a piece of cord about 7” long and fold it in half. Lightly glue it to the top star arm about 1 1/2” in. Allow it to dry.
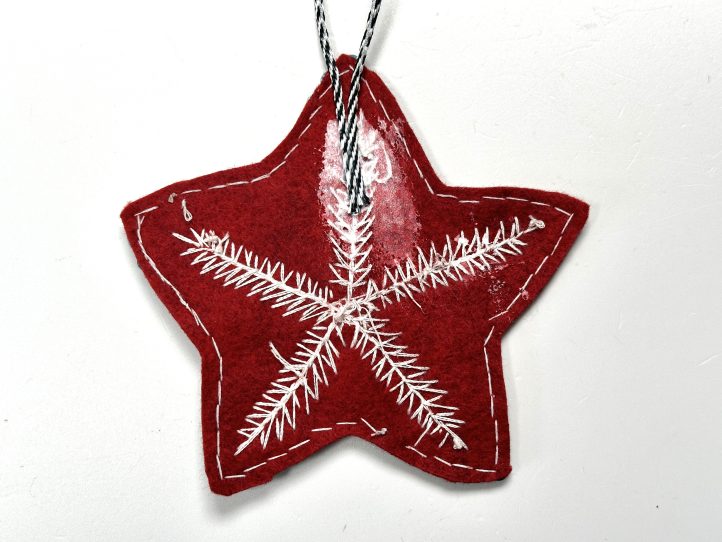
- TIP: These stars are quite hand drawn and folk arty and hand made by design so check the template to see which is the top star arm.
- Add glue to the back of the entire star and lay it onto a piece of felt of the same color. Allow it to dry.
- TIP: Gluing is not only quick, but it also slightly stiffens the felt, making the ornament more robust.
- Cut the star out.
- Repeat all of this for the other ornament, swapping the colors as suggested.

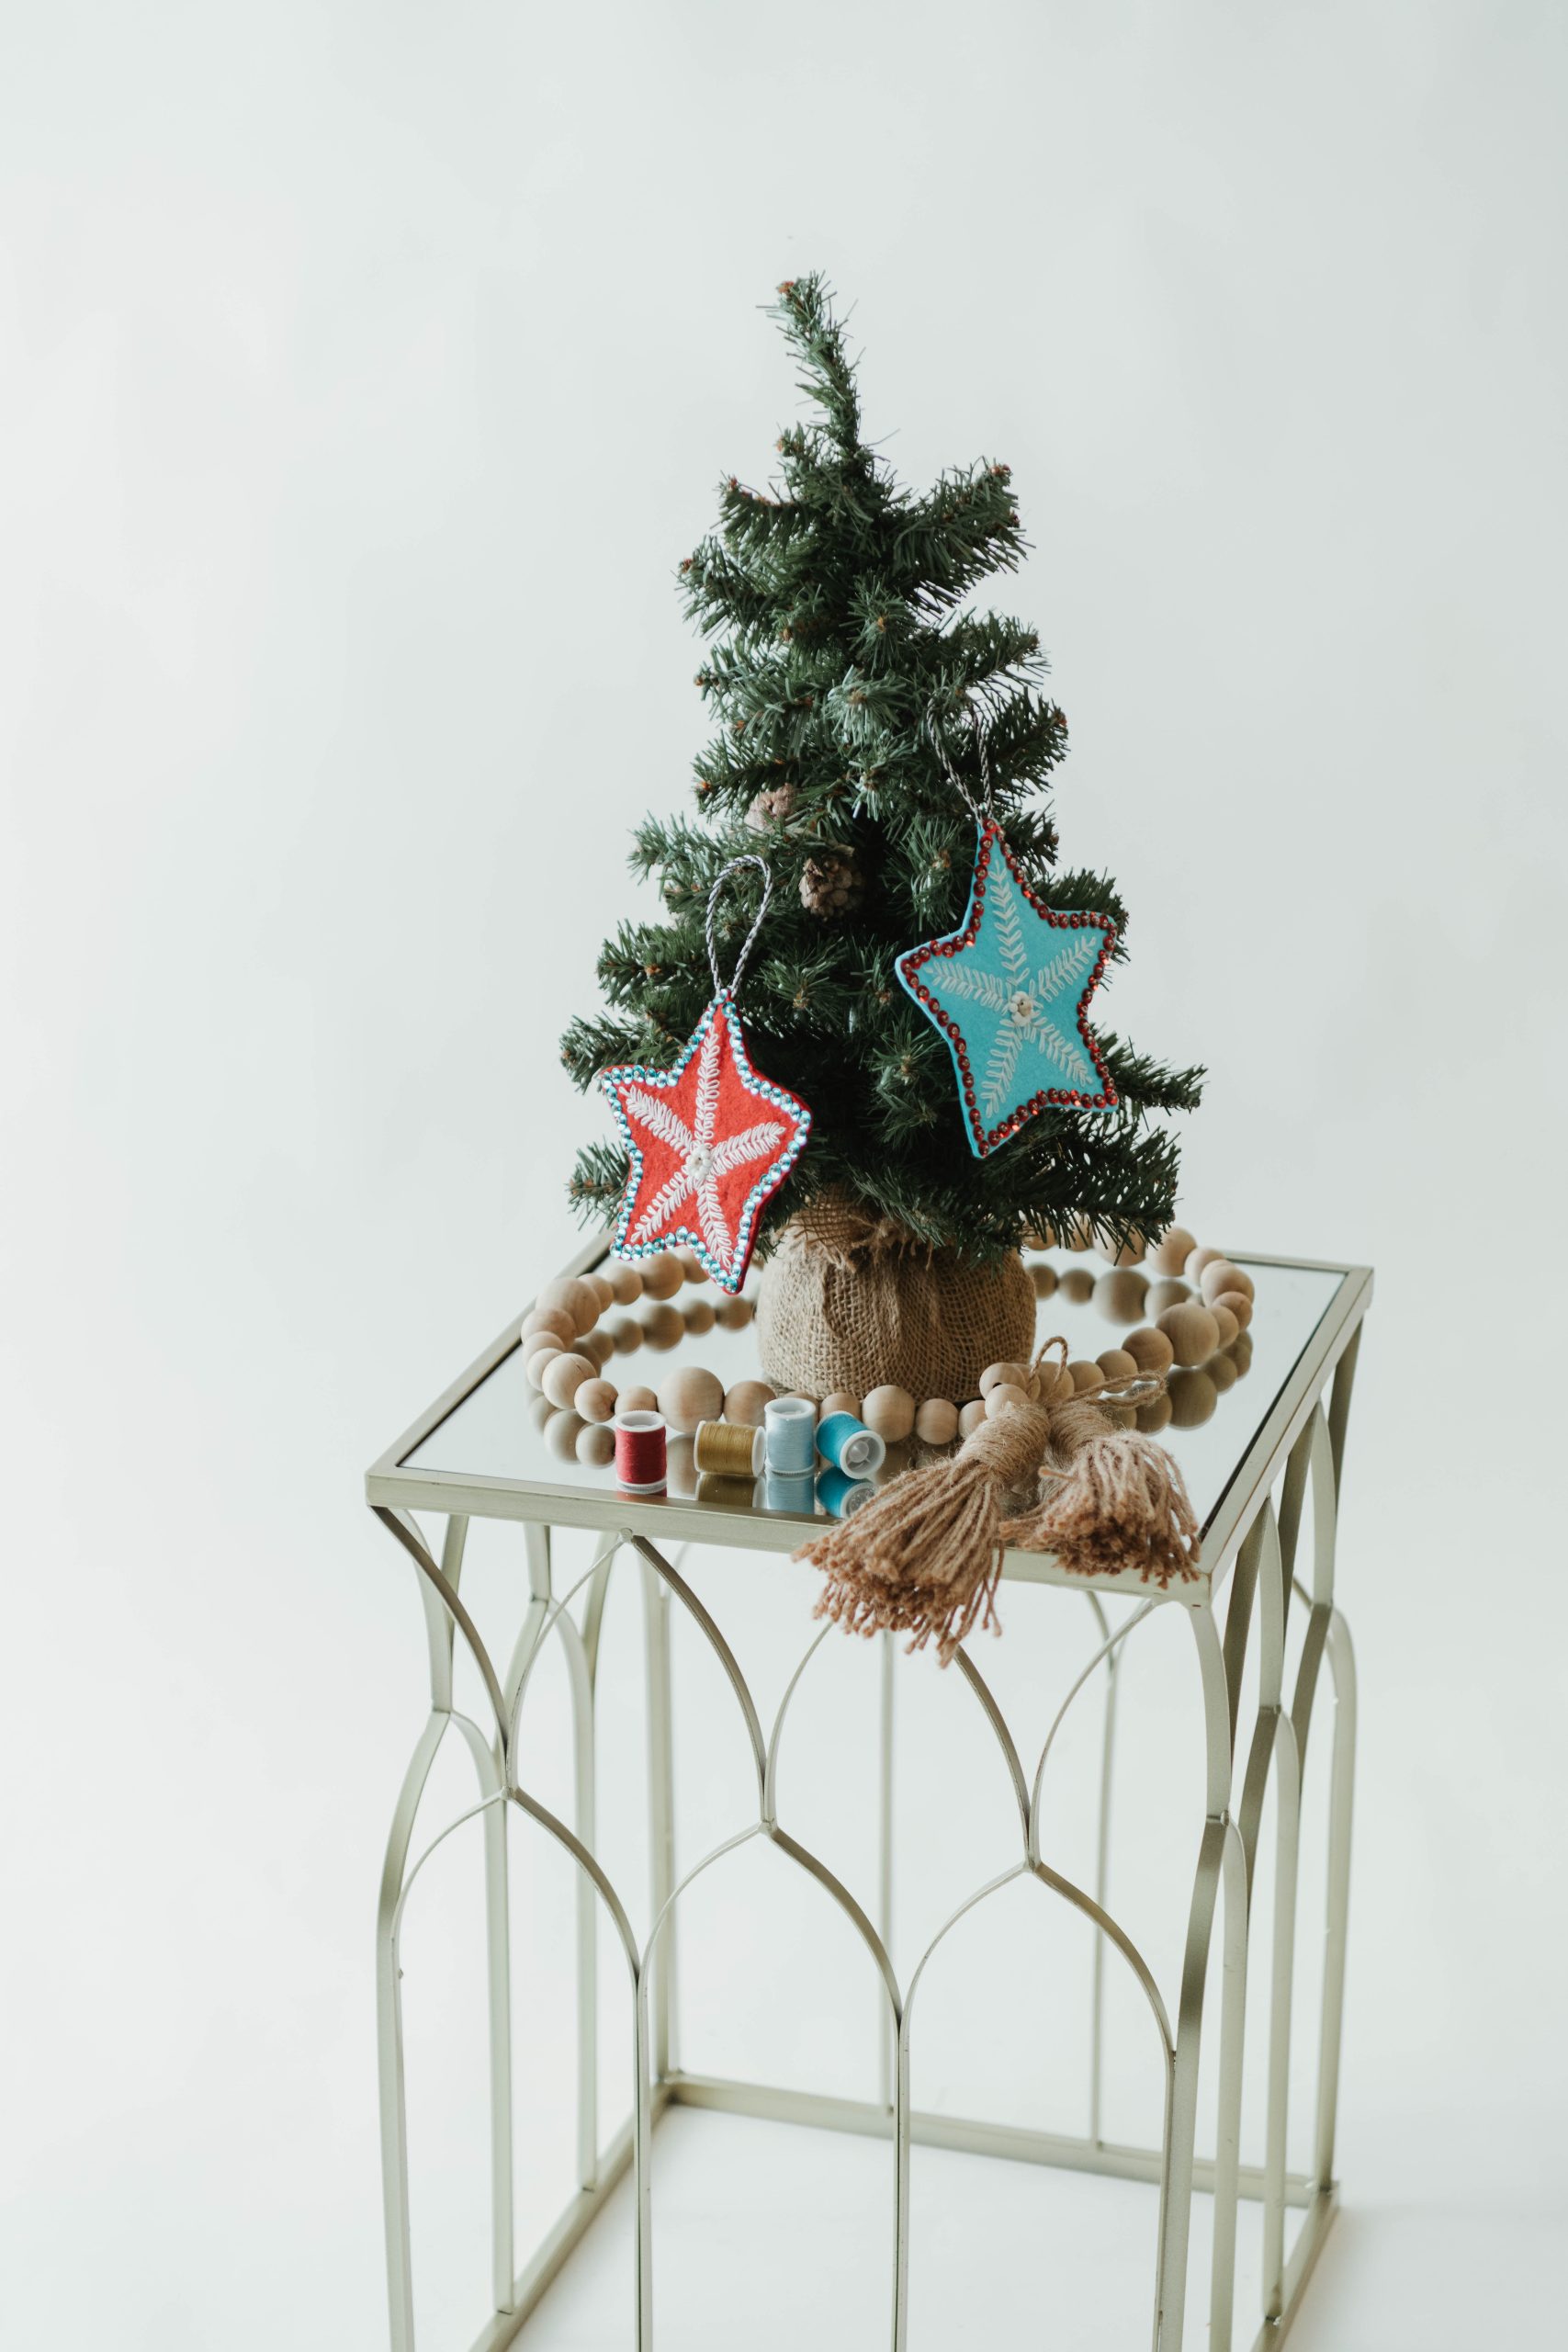


This would be really pretty hanging in the center of a wreath.
Love that idea, Dianne! Thank you for sharing 🙂 – Ashley, We Like Quilting