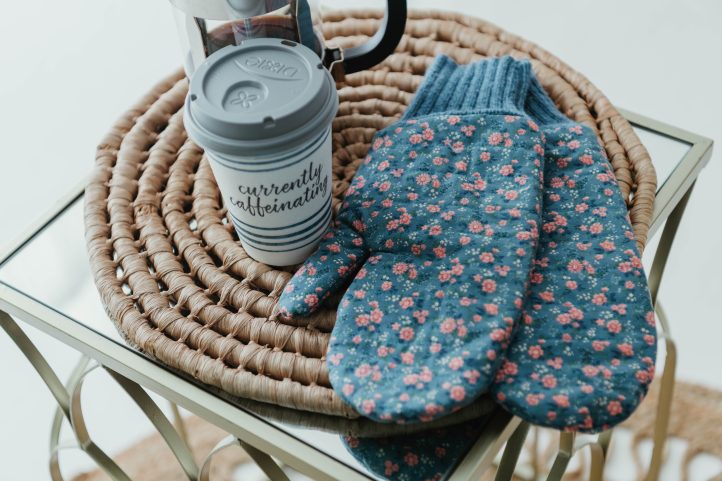
Keep warm and look cute this winter by sewing yourself a pair of Laura Ashley-inspired mittens. Made in a rustic floral print, these quilted mittens are partially made from an old sweater, making them easy on your budget during the stressful holiday season. Pair your quilted mittens pattern with Janice Bailor’s matching quilted collar from last month’s issue, which you can find here. These sweet, quilted mittens are a kind and caring gift that your mom, sisters, or bestie would love to receive.
Skill Level: Advanced beginner
Finished Dimensions: 6in wide by 12in long
Seam Allowances: 1/4”
Materials:
- Fabrics:
- 1/2 yard – main print cotton
- 1/4 yard – coordinating flannel
- Gently used sweater (cuffs)
- 1/4 yard quilt batting
- Gently used sweater
- Walking foot
- PDF Pattern – This is located at the bottom of this page. See printing instructions below.
PRINTING INSTRUCTIONS:
To download the PDF pattern, click on the download button at the bottom of the page. We recommend opening your download using Adobe Acrobat.
Cutting Instructions:
- Cut 1 main print cotton- 12in by 36in.
- Cut 1 quilt batting – 12in by 36in.
- Cut 1 coordinating flannel – 12in by 36in.
- Cut 2 sweater cuffs.
Piecing Instructions:
- Cut sweater cuffs from arms, leaving 1 inch seam allowance beyond the cuff area.
- Lay the 12 inch by 36 inch Main Cotton Print Right Side Up on the batting rectangle, then baste and quilt as desired. Note: The closer the lines of quilting, the stiffer the mittens will become.
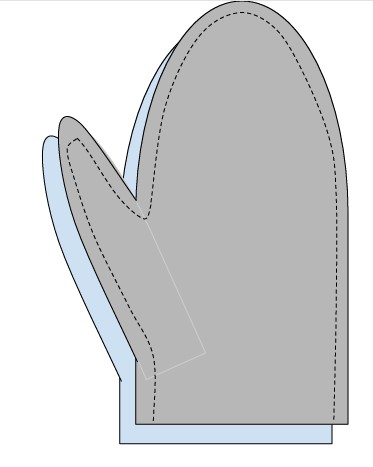
- Test the included Mitten Template for fit and adjust up or down accordingly. Make sure to leave a 1/4 inch seam allowance around the mitten perimeter as shown.
- Use the Quilted Mitten Template to cut 2 mittens from the quilted panel and flannel lining. Flip pattern and cut two pieces from the quilted panel and lining flannel in the mirror image, creating a right and left, as well as coordinating interior lining pieces, four in total. Repeat for the opposite hand.
- Place the quilted mitten pieces RST using the thumb for alignment and sew 1/4 inch around the finger perimeter, backstitching at the hand opening. Repeat for the remaining quilted mittens as well as the two flannel linings.

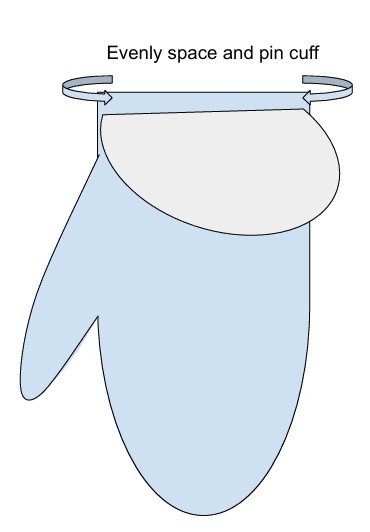
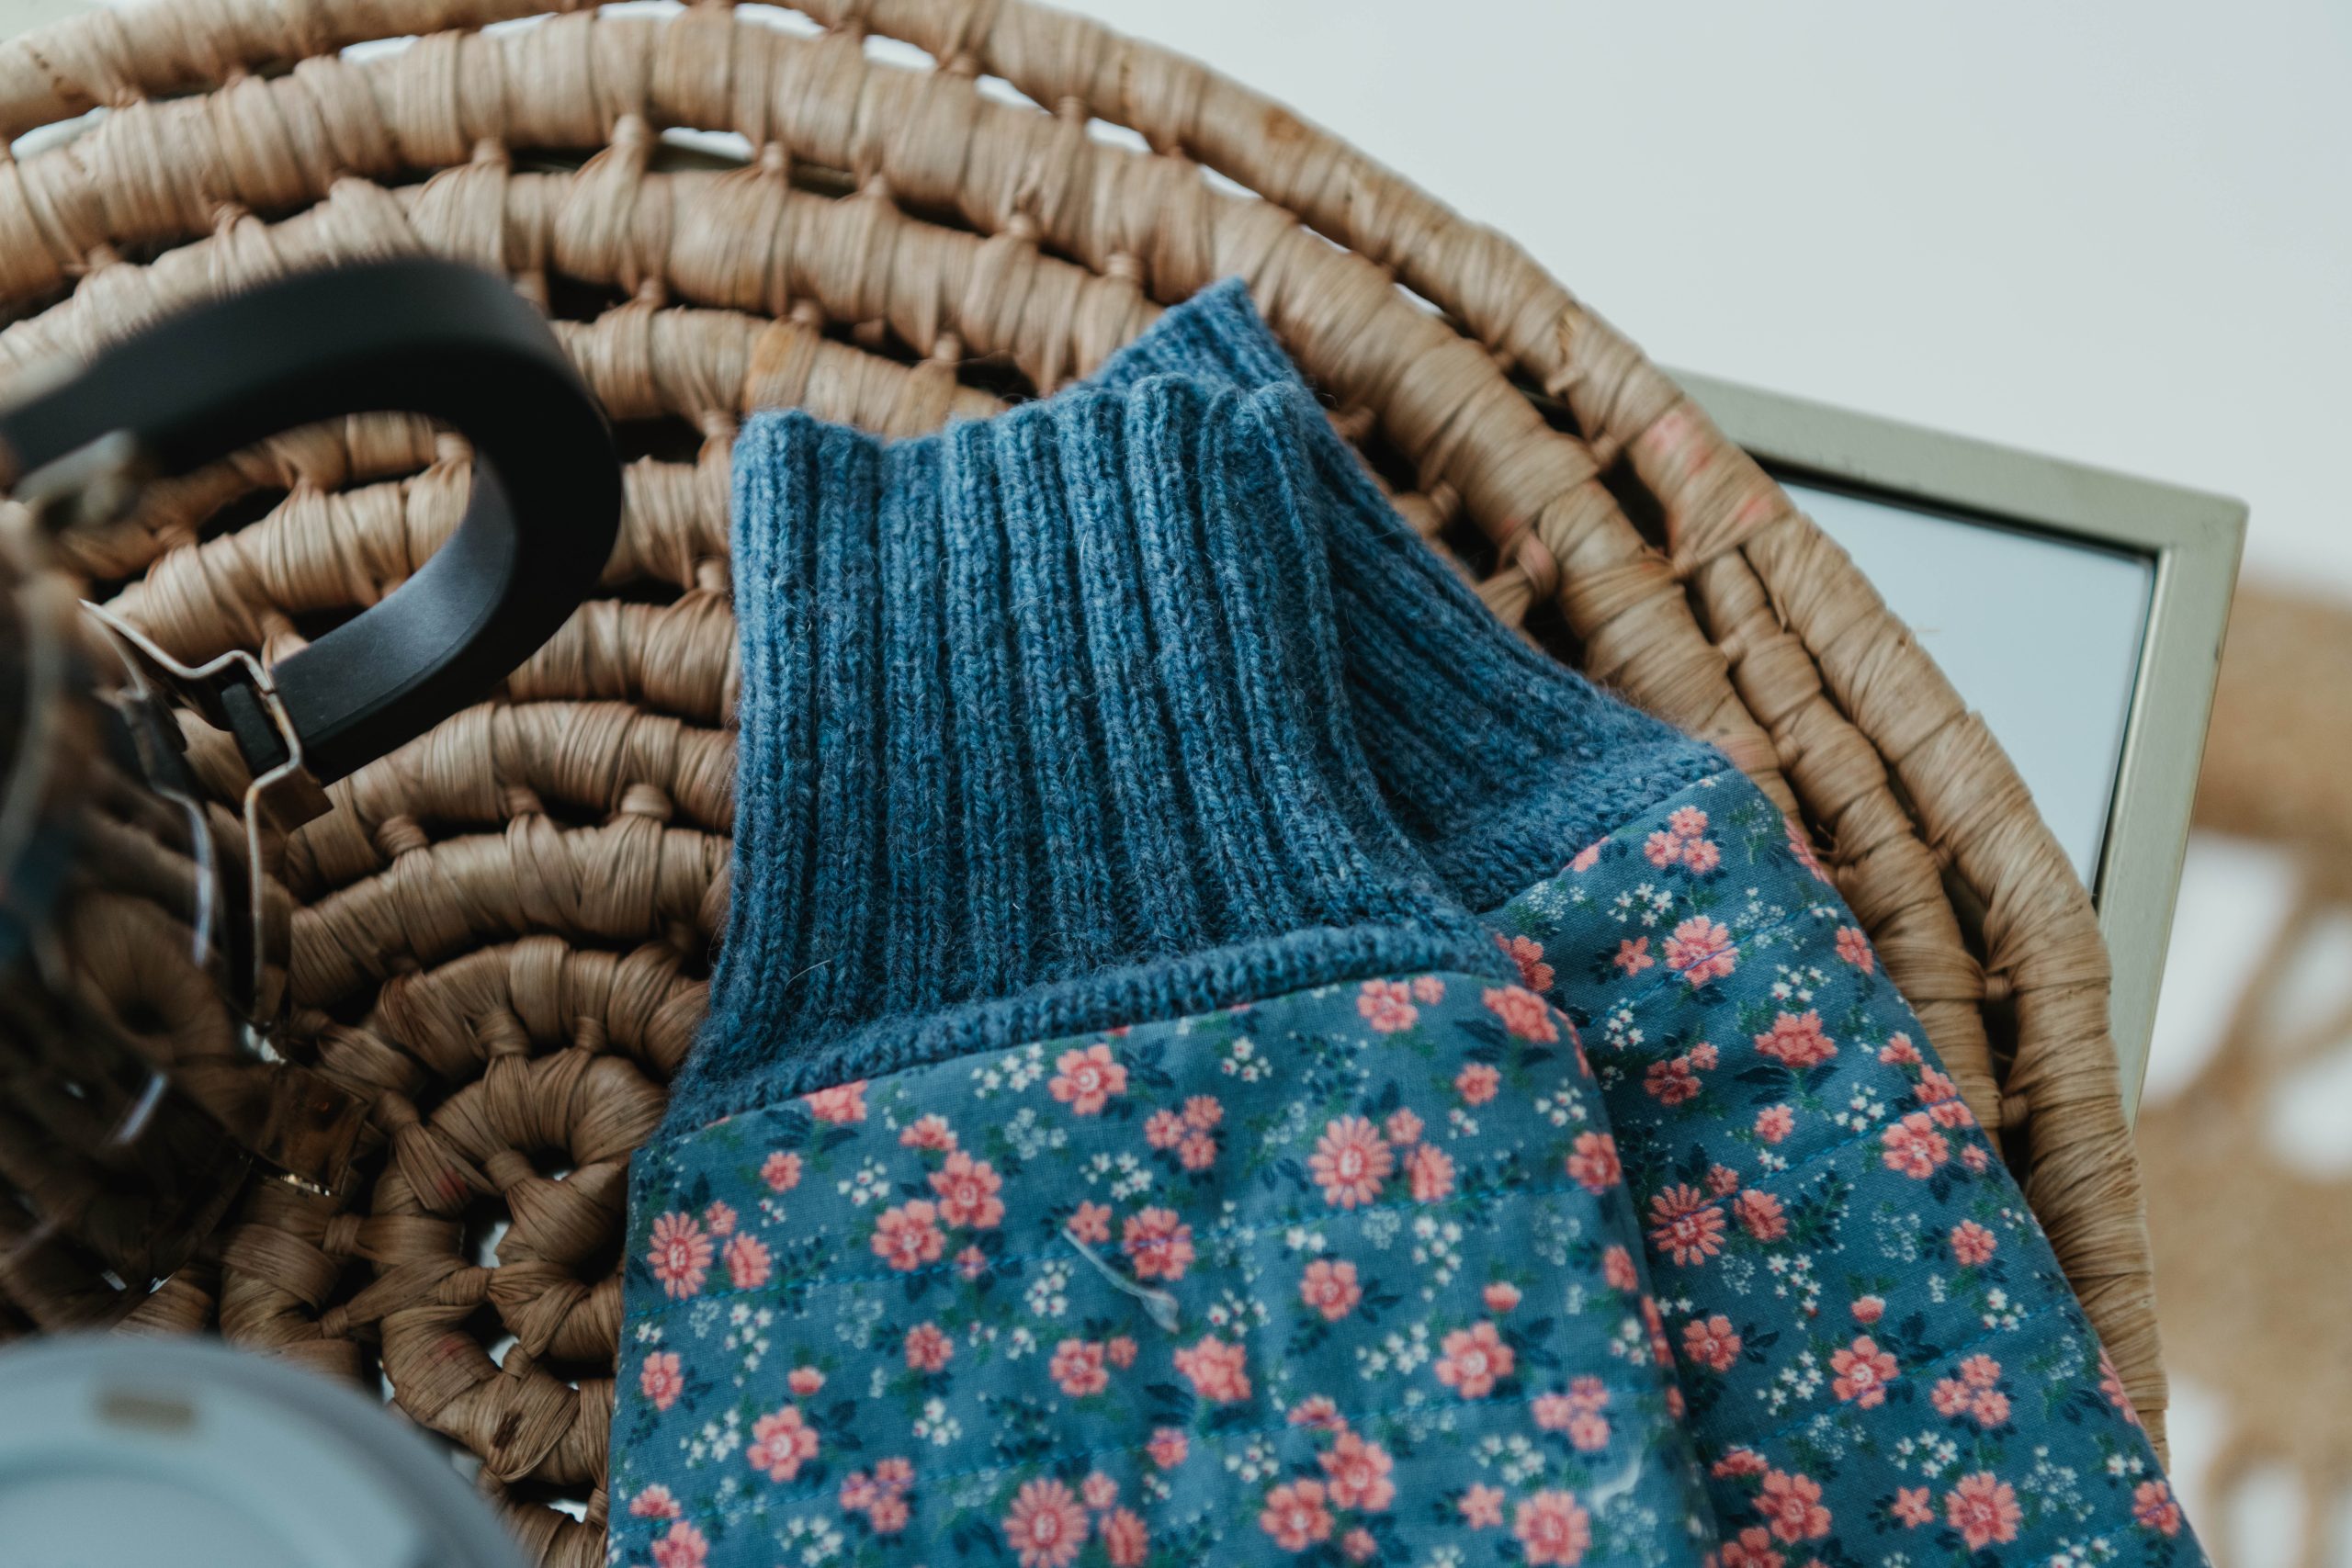
- Insert the sweater cuff RST into the quilted mittens and align along the raw edges. Use the side seams to center the cuff.
- Sew 1/4 inch seam around the entire cuff of the quilted mittens and sweater cuff to join them together. Repeat for the other mitten.
- Turn the flannel lining Right Side Out and insert RST into the quilted mitten. Align and pin the flannel lining and quilted mitten at the cuff seam. Pin in place.

- Sew 1/4 inch seam around the cuff area, leaving a 2 inch opening for turning.
- Using the 2 inch opening, turn the quilted mitten, sweater cuff and flannel lining Right Sides Out.
- Insert a rounded stick into the opening to help push out the thumb hole.
- Insert the flannel lining down into the quilted mitten and again, use a rounded stick to help push out the thumb holes.
- Fold over the flannel lining opening 1/4 inch and hand sew the opening closed to finish the mitten. Repeat Steps 6 to 12 for the remaining mitten.

