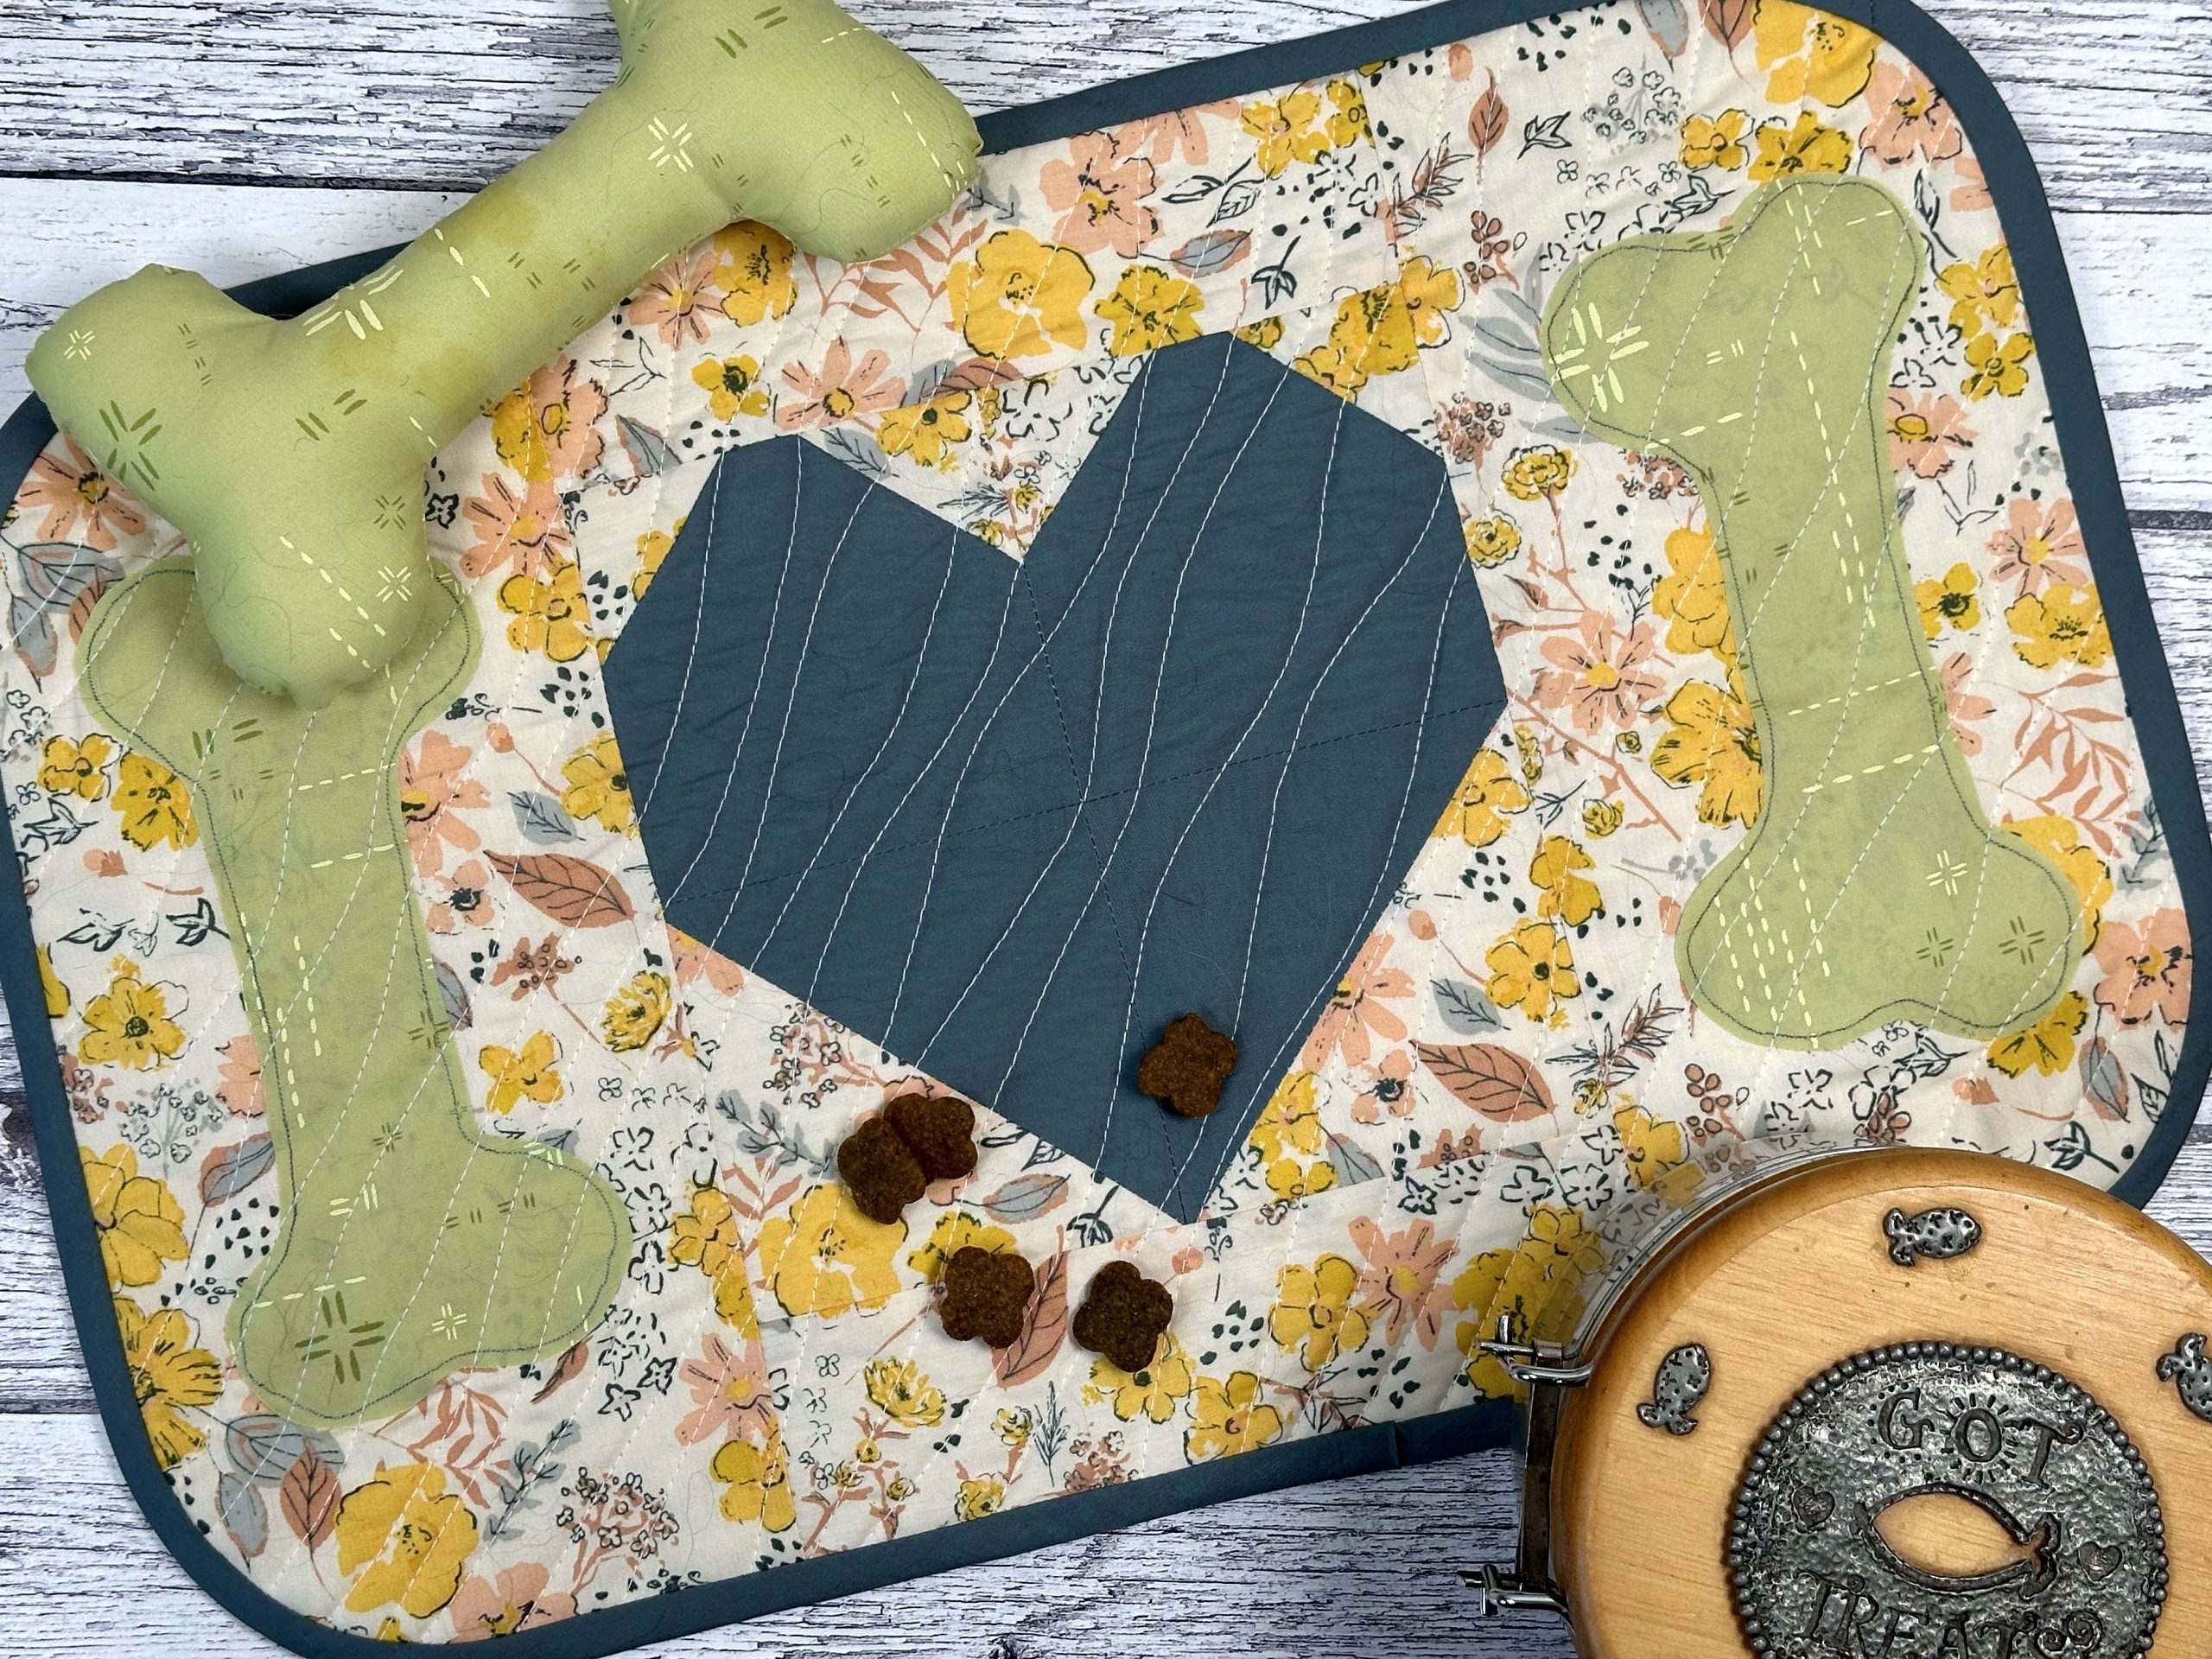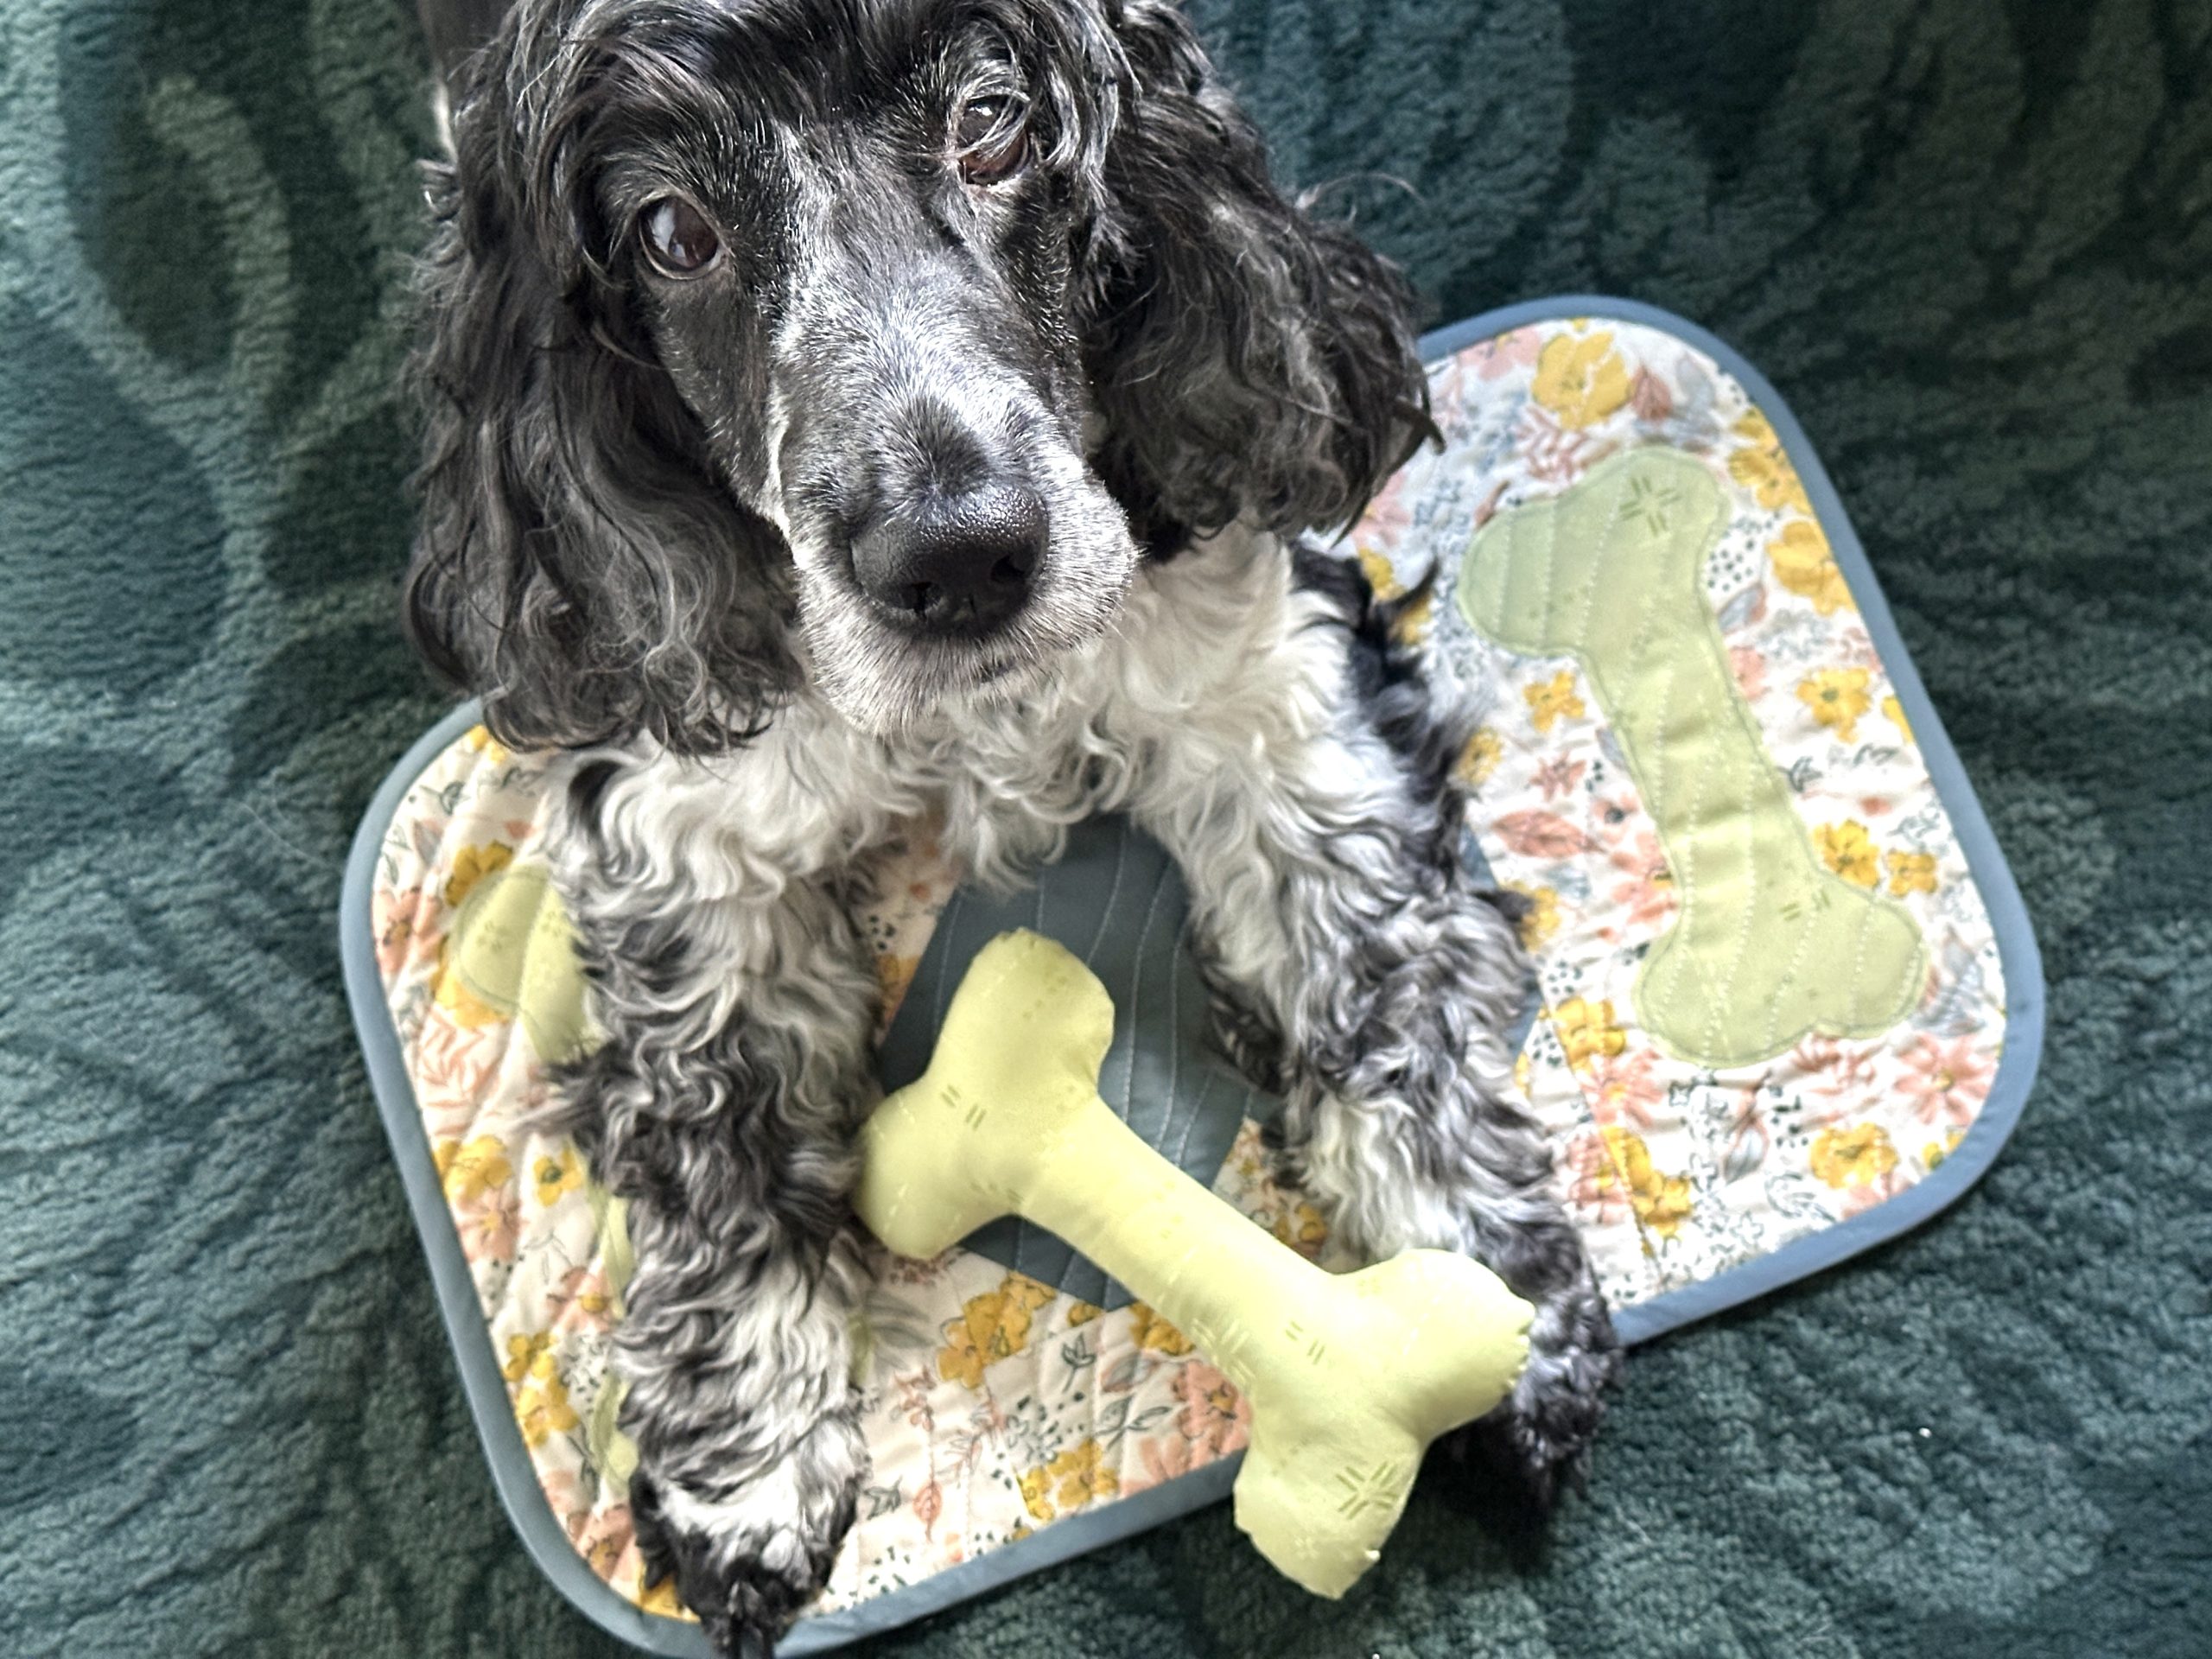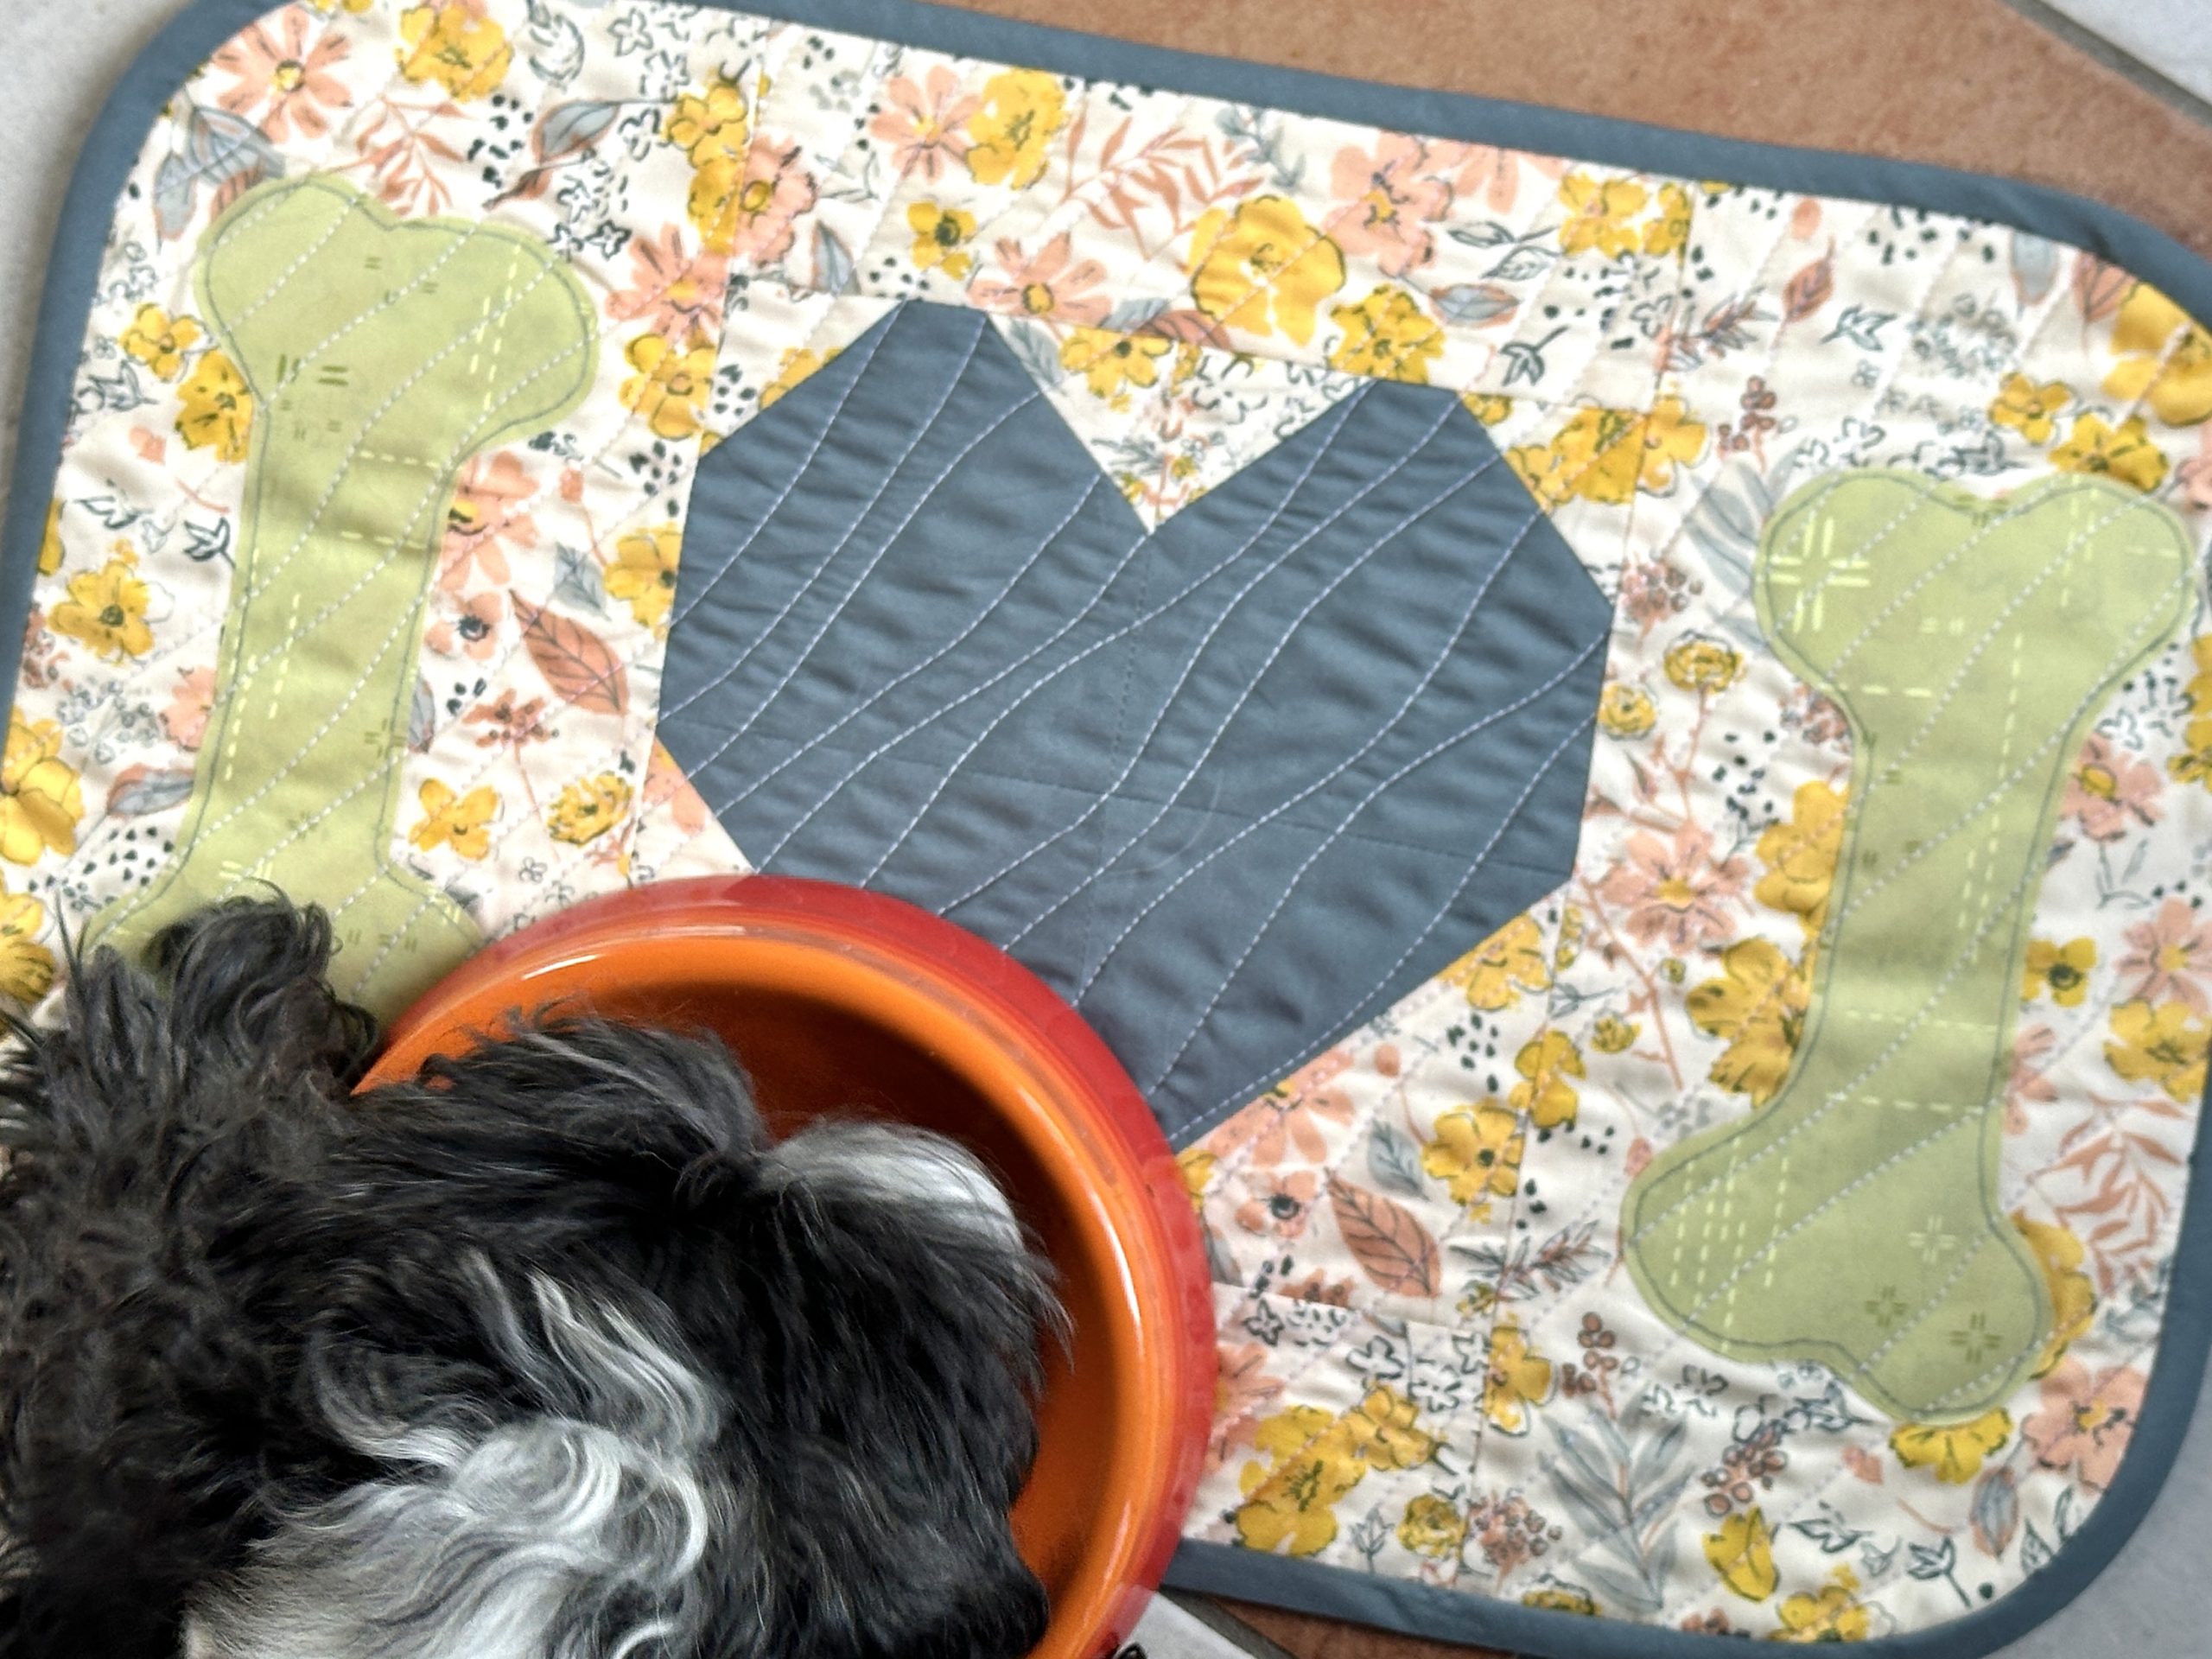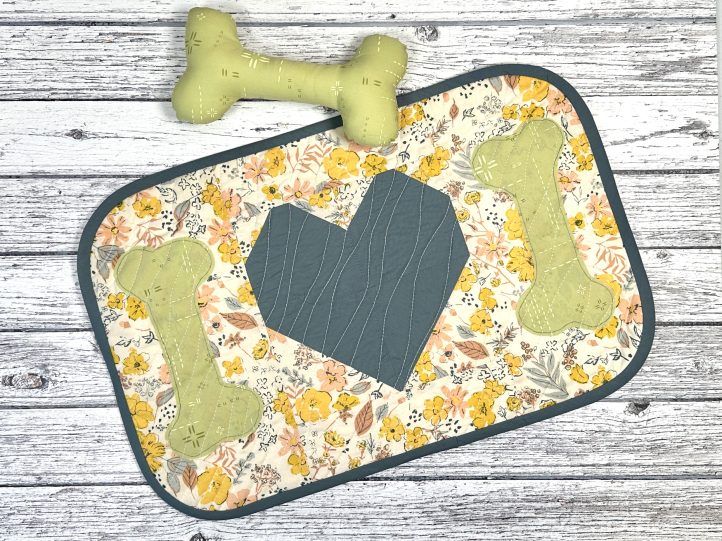
Pamper your pets this holiday season by treating them to this cute, quilted gift set from Debbie von Grabler-Crozier! Featuring a quilted food mat and soft toy, this pet gift idea is fat quarter friendly and is a fantastic gift for the new dog owners in your life. Make your pet gift set in delicate winter florals like the sample shown or in bold solids to create a striking and eye-catching design.
Designer Note: Seam allowances are all 1/4” and have already been added.
Materials:
- Fabric: (Note: All fabrics are by Art Gallery Fabrics.)
- Fat Quarter pretty floral fabric for the background. The designer loves Retro Road Trip from the Shine On collection by Sharon Holland for AGF.
- Fat Quarter blender fabric for the backing, bone appliqué and toy. Debbie chose to use Subtle Sage from the Decostitch Elements collection by AGF.
- 16” solid fabric for the heart motif and binding. This time, Northern Waters from the Pure Elements collection by AGF was used.
- Interfacing:
- Fat Quarter #279 80/20 cotton mix batting (Vlieseline)
- Small amount of polyester stuffing. The designer used Decowatte by Vlieseline.
- 8” square Bondaweb for the appliqué (Vlieseline)
- Coordinating threads for all fabrics and trims
- Scissors
- Fabric marking tools
- Extra feet for your sewing machine (a walking foot and a darning foot, for example)
- PDF Template – This is located at the bottom of this page. See printing instructions below.
PRINTING INSTRUCTIONS:
To download the PDF template, click on the download button at the bottom of the page. We recommend opening your download using Adobe Acrobat.
Cutting Instructions:
From the pretty floral fabric:
- 2 pieces 5 1/2” wide x 11 1/2” tall for the left and right hand side panels
- 2 pieces 7 1/2” wide x 2 1/2” tall for the top and bottom middle panels
- 1 piece 4 1/2” sq. for the half square triangle (HST) units on the heart block
- 4 pieces 2” square for the snowball units on the heart block
From the blender fabric:
- 2 bones for the appliqué (template I)
- 2 pieces for the bone toy (template II)
- 1 piece 21 1/2” wide x 14 1/2” tall for the backing fabric
From the teal solid fabric:
- 2 pieces 4” square for the top of the heart block
- 1 piece 4 1/2” square for the HST units on the bottom of the heart block
- Bias tape cut at 1 1/2” wide and joined to make a continuous 63” strip
From the batting:
- 1 piece 19” wide x 13” tall for the quilt batting
Piecing Instructions:
PREPARATION:
The Heart Block:
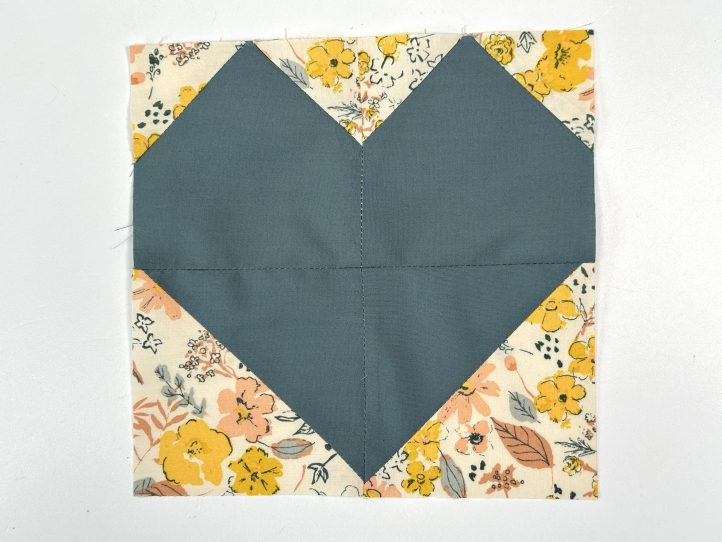
The heart is constructed simply from a snowballed top and a HST construction for the bottom.
- To make the HST, you have two squares, one teal and one floral. Place them right sides together and draw a diagonal line from corner to corner.
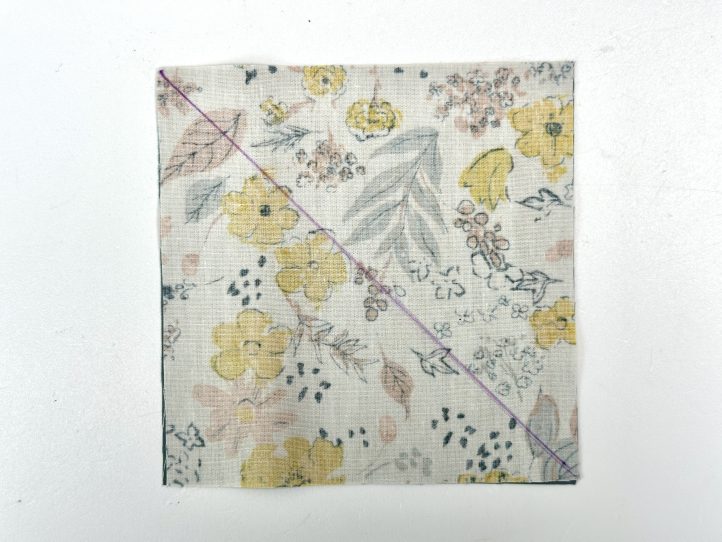
- Sew a 1/4” seam either side of the drawn line and then cut along the original line that you drew.
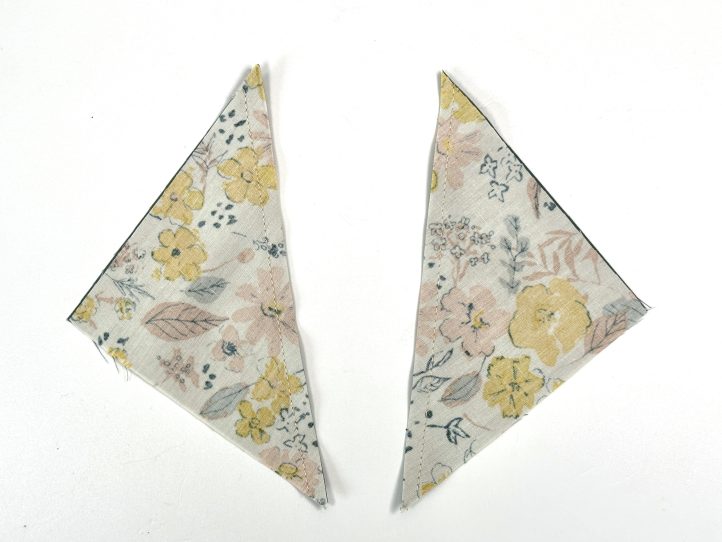
- Open out each piece to find two HST units. Press carefully and trim to 4” square.
- Place them together and sew the center seam to make an upside down Flying Geese (shape reference) unit.
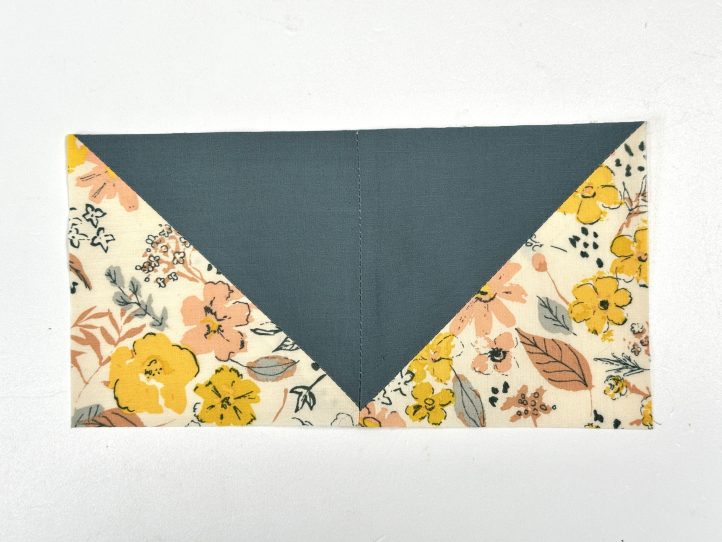
- The top of the heart is constructed using the small floral squares to snowball the corners of the remaining two teal squares.
- Lay a floral square onto the top left and right hand corners of both teal squares, right sides together. Draw a diagonal line onto both floral squares.
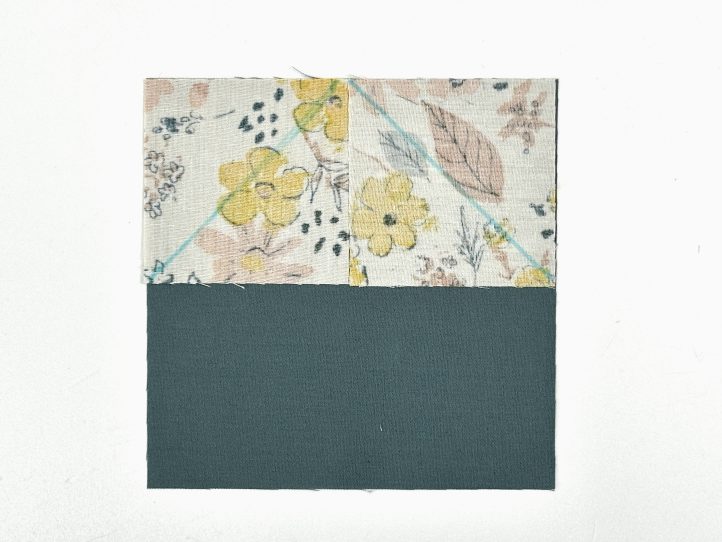
- Sew along the line that you drew. Trim the excess fabric, leaving a 1/4” seam allowance. Open the floral squares the right way out and press.
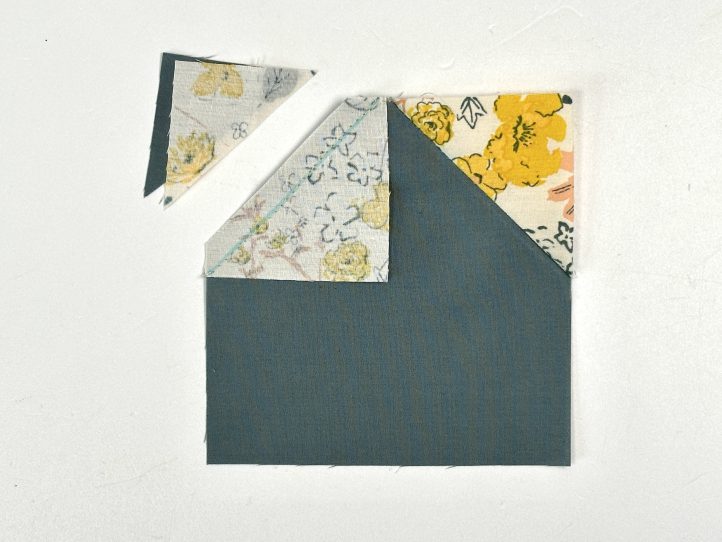
- Repeat for the other square and snowballs and then join the two squares together to form the top of the heart.
- Press and join to the bottom heart unit.
Constructing the Front Panel:
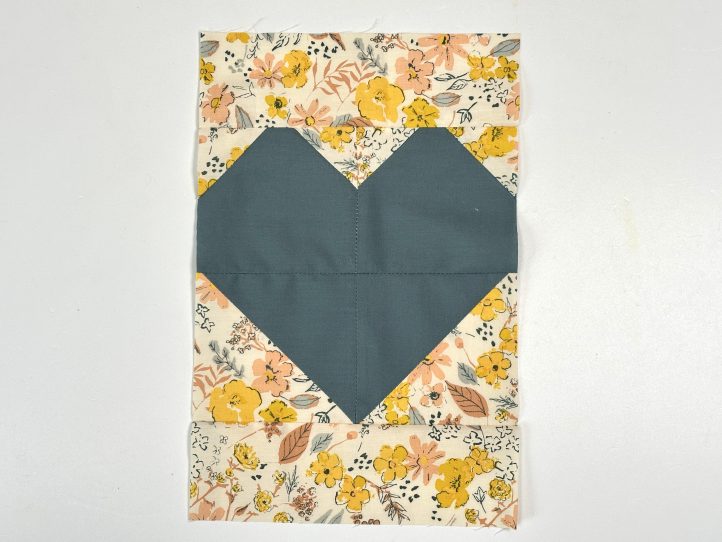
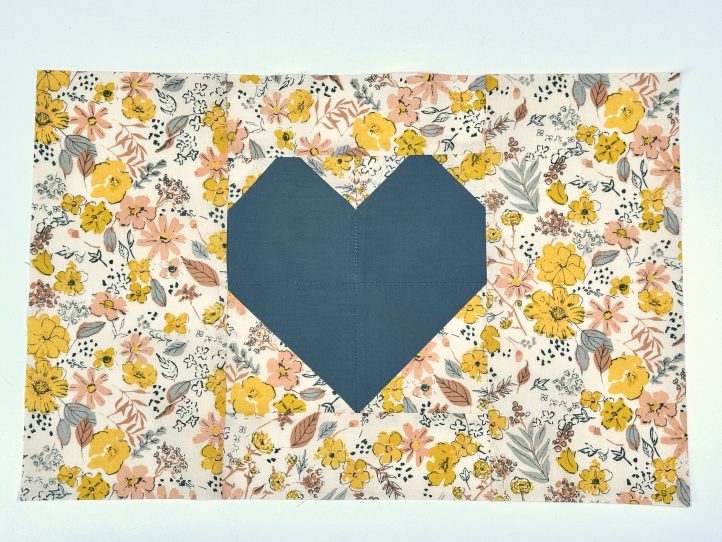
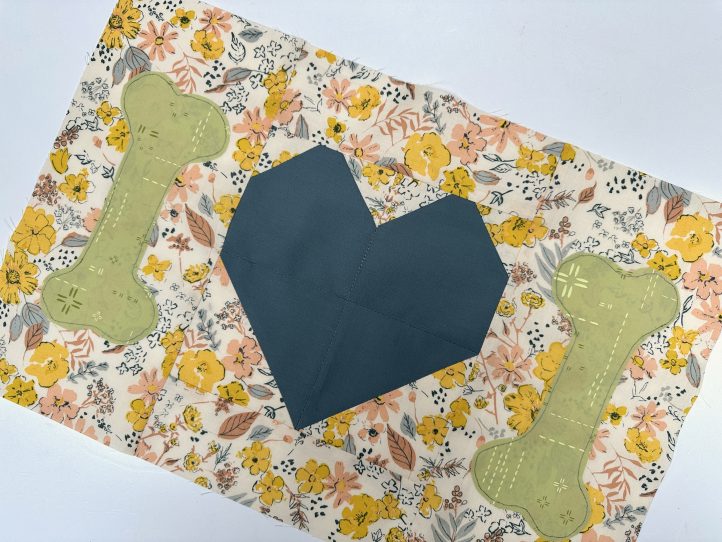
- Attach the top and bottom panels to the heart section and then the left and right pieces. Press well.
The Appliqué:
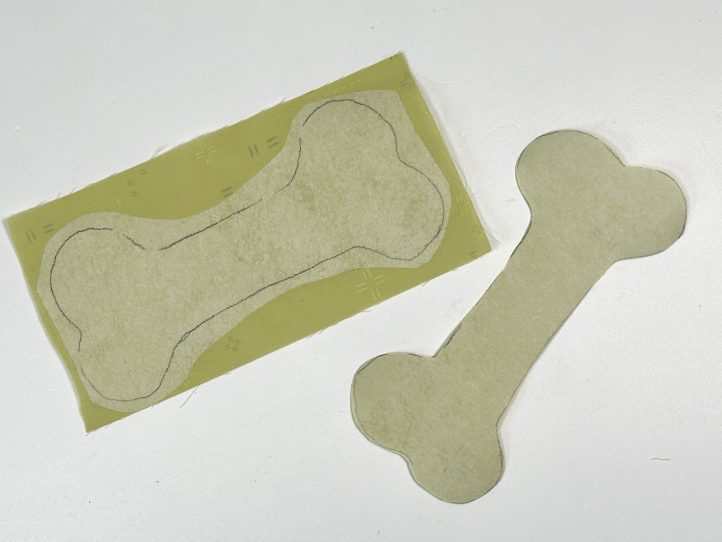
- The Bondaweb has a smooth (paper) side and a rough (glue) side. Trace the bones for the appliqué onto the smooth paper side and cut out roughly.
- Place the appliqué pieces glue side down onto the wrong side of the blender fabric and cut out the bone shapes exactly. Tear the paper away and place them onto the side units of the placemat.
- Set your machine up for free motion embroidery; consult your individual sewing machine manual for how to do this but usually it is by dropping the feed dogs or setting your stitch length to zero. Attach the darning foot and thread the machine with a dark thread to match your solid fabric.
- Stitch around each bone about 1/8” in from the raw edge and don’t aim to be too neat. Trim any threads away.
Making the Binding:
- Fold the long strip of binding in half lengthways with the wrong sides facing. Iron a long crease. Open out and fold the two long raw edges to the center crease that you created and press again. Re-fold along all of the creases so that the wrong side of the fabric and all raw edges are hidden in the folds. Roll until needed.
MAKING:
The Quilt Sandwich:
- Lay the backing face down and center the batting on top of it. The pressed patchwork panel goes right side up onto the batting, also centered well. Pin so that no movement is possible.
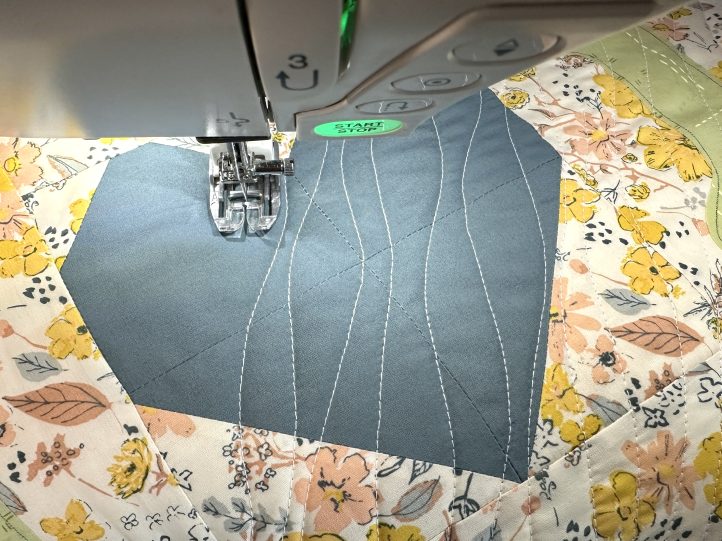
- Set your machine up for quilting. You will need the walking foot (also known as a dual feed foot).
- Quilt the mat with your favorite design. The designer loves a diagonal wave pattern, which is easy to do on most home sewing machines and very hard to get ‘wrong’.
Finishing:
- Trim the mat and round the corners using either a ‘proper’ ruler or else an upturned tea cup.
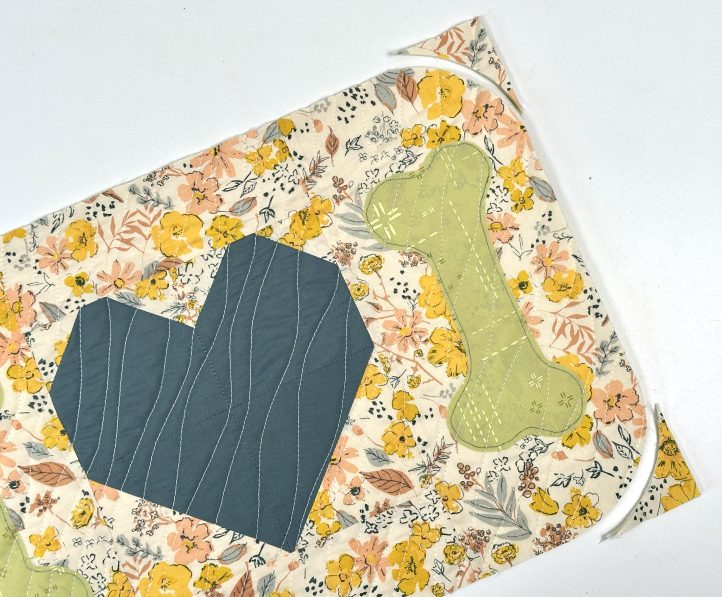
- Bind with the bias tape.
Making the Bone Toy:
- Cut the two bone pieces out and with the right sides together, sew them, leaving a turning gap along one long side.
- Notch the curves on the end of the bone and then turn out through the gap.
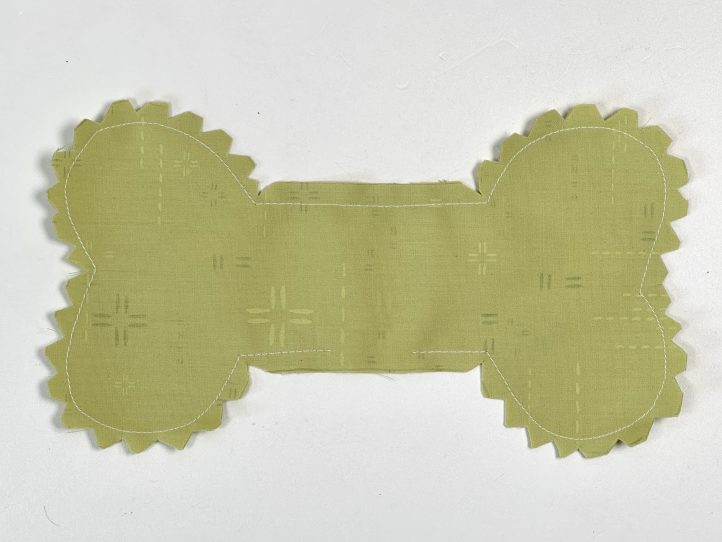
- Gently push the ends into place and ensure that the curves look good. Stuff with your chosen filling and then close the gap with a neat hand stitch.

