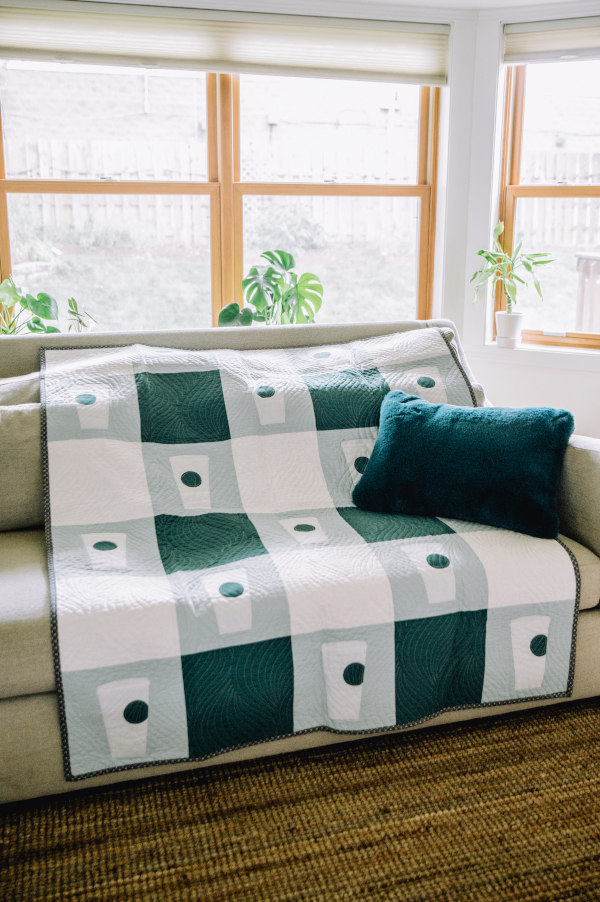
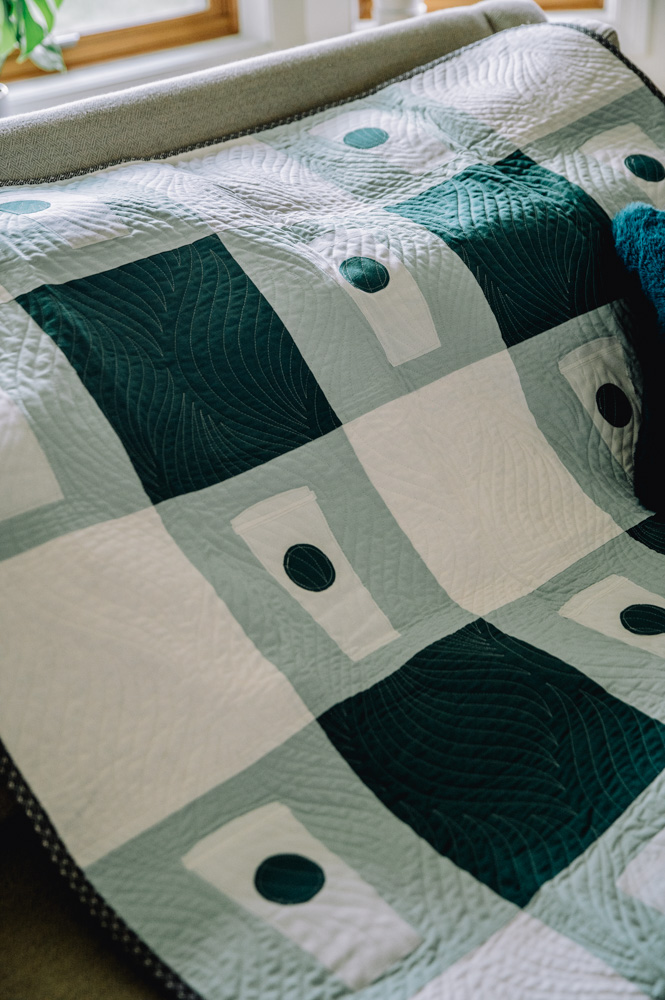
If there’s nothing you love more than your morning cup of coffee, then we know you’ll be obsessed with this adorable lapghan! This lap quilt pattern uses shades of green to create a classic gingham design using strip piecing techniques. Show off your applique skills by creating adorable raw edge applique coffee cups in a design that coffee lovers everywhere will adore. This darling quilt pattern is the perfect project to make ahead of chilly fall weather and warm pumpkin spice lattes!
Author’s Note: Long arm quilting by Michele Carlson of Bold Tomato Design
Skill level: Easy
Materials
- 1 1/4 yards light color cotton (Riley Blake Confetti Cotton White)
- 1 3/8 yard medium color cotton (Riley Blake Confetti Cotton Songbird)
- 2/3 yard dark color cotton (Riley Blake Confetti Cotton Jade)
- 3 yard backing
- 1/2 yard binding
- 50 x 60″ batting
- 1 yard Heat n’ Bond Featherlite
- Thread
Tools
- Fabric marking tool
- Pencil
- Scissors
- Sewing machine
- Iron
Abbreviations
WOF – Width of fabric
Cuts:
Quilt:
Light – (3) 10 inch x WOF
Medium – (5) 10 inch x WOF
Dark – (5) 10 inch x WOF
Back: (2) 54 inch x WOF
Binding: 2 1/2 inch strips
Instructions
PIECING
- Join 10″ strips with 1/4″ seams. 1 set L-M-L-M-L, 1 set M-D-M-D-M
- Press seams towards medium tone fabric.
- Sub-cut pieced strips into (3) 10″ strips from each strip set.
- Join sub-cut strips together alternating LM and MD sets nesting seams for the perfect matching point.
- Press seams open.
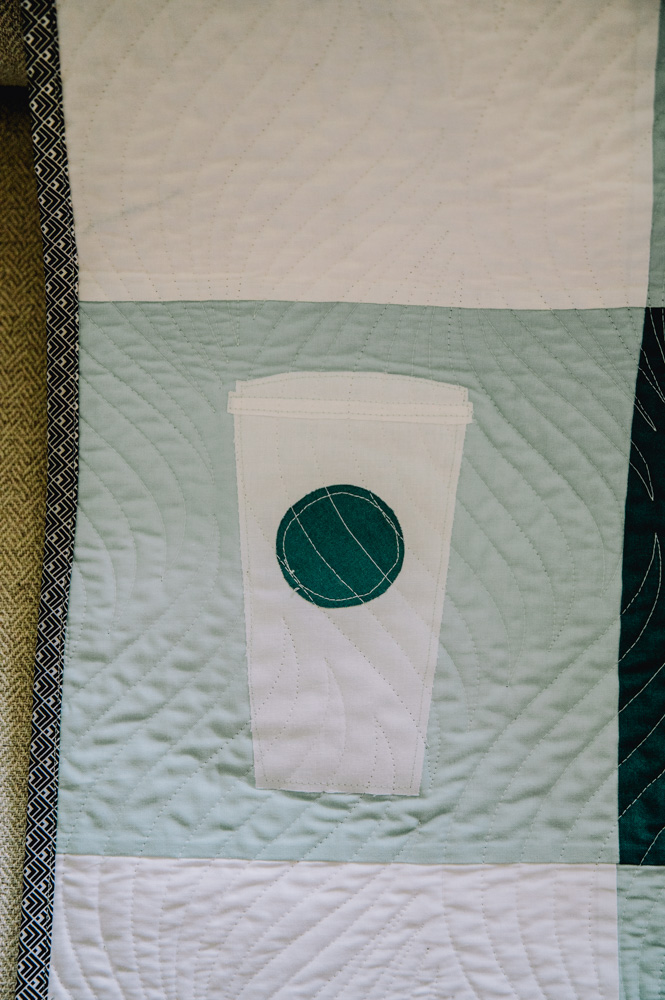
COFFEE APPLIQUE
- Trace pattern on paper side of Heat n’ Bond Featherlite. 15 – cup, 15 – lids, 15-circles.
- Press cups and lids to white fabric, and circles to dark fabric.
- Cut appliques out along drawn line.
- Center coffee cups on medium tone fabric and press in place. Repeat process with lids and dark circles.
- Top stitch along edges of cups, lids, and circles.
FINISHING
- Join backing together along selvage edges.
- Layer top, batting, and backing.
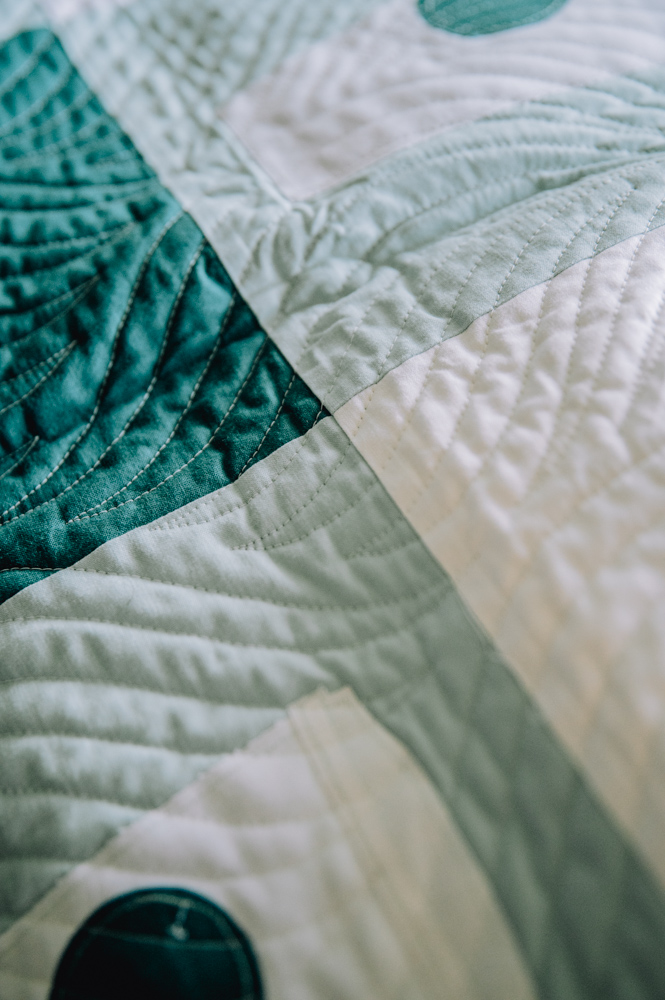
- Quilt as desired.
Join binding strips together and bind as desired.
Beautiful pattern and work by you aqnd your staff. Looking forward to the light colors and the warm, yet lighter colors of spring. Thanks for what you do and draw!
Thank you so much for your kind comment, Marilyn! Have a great day 🙂 – Ashley, We Like Quilting