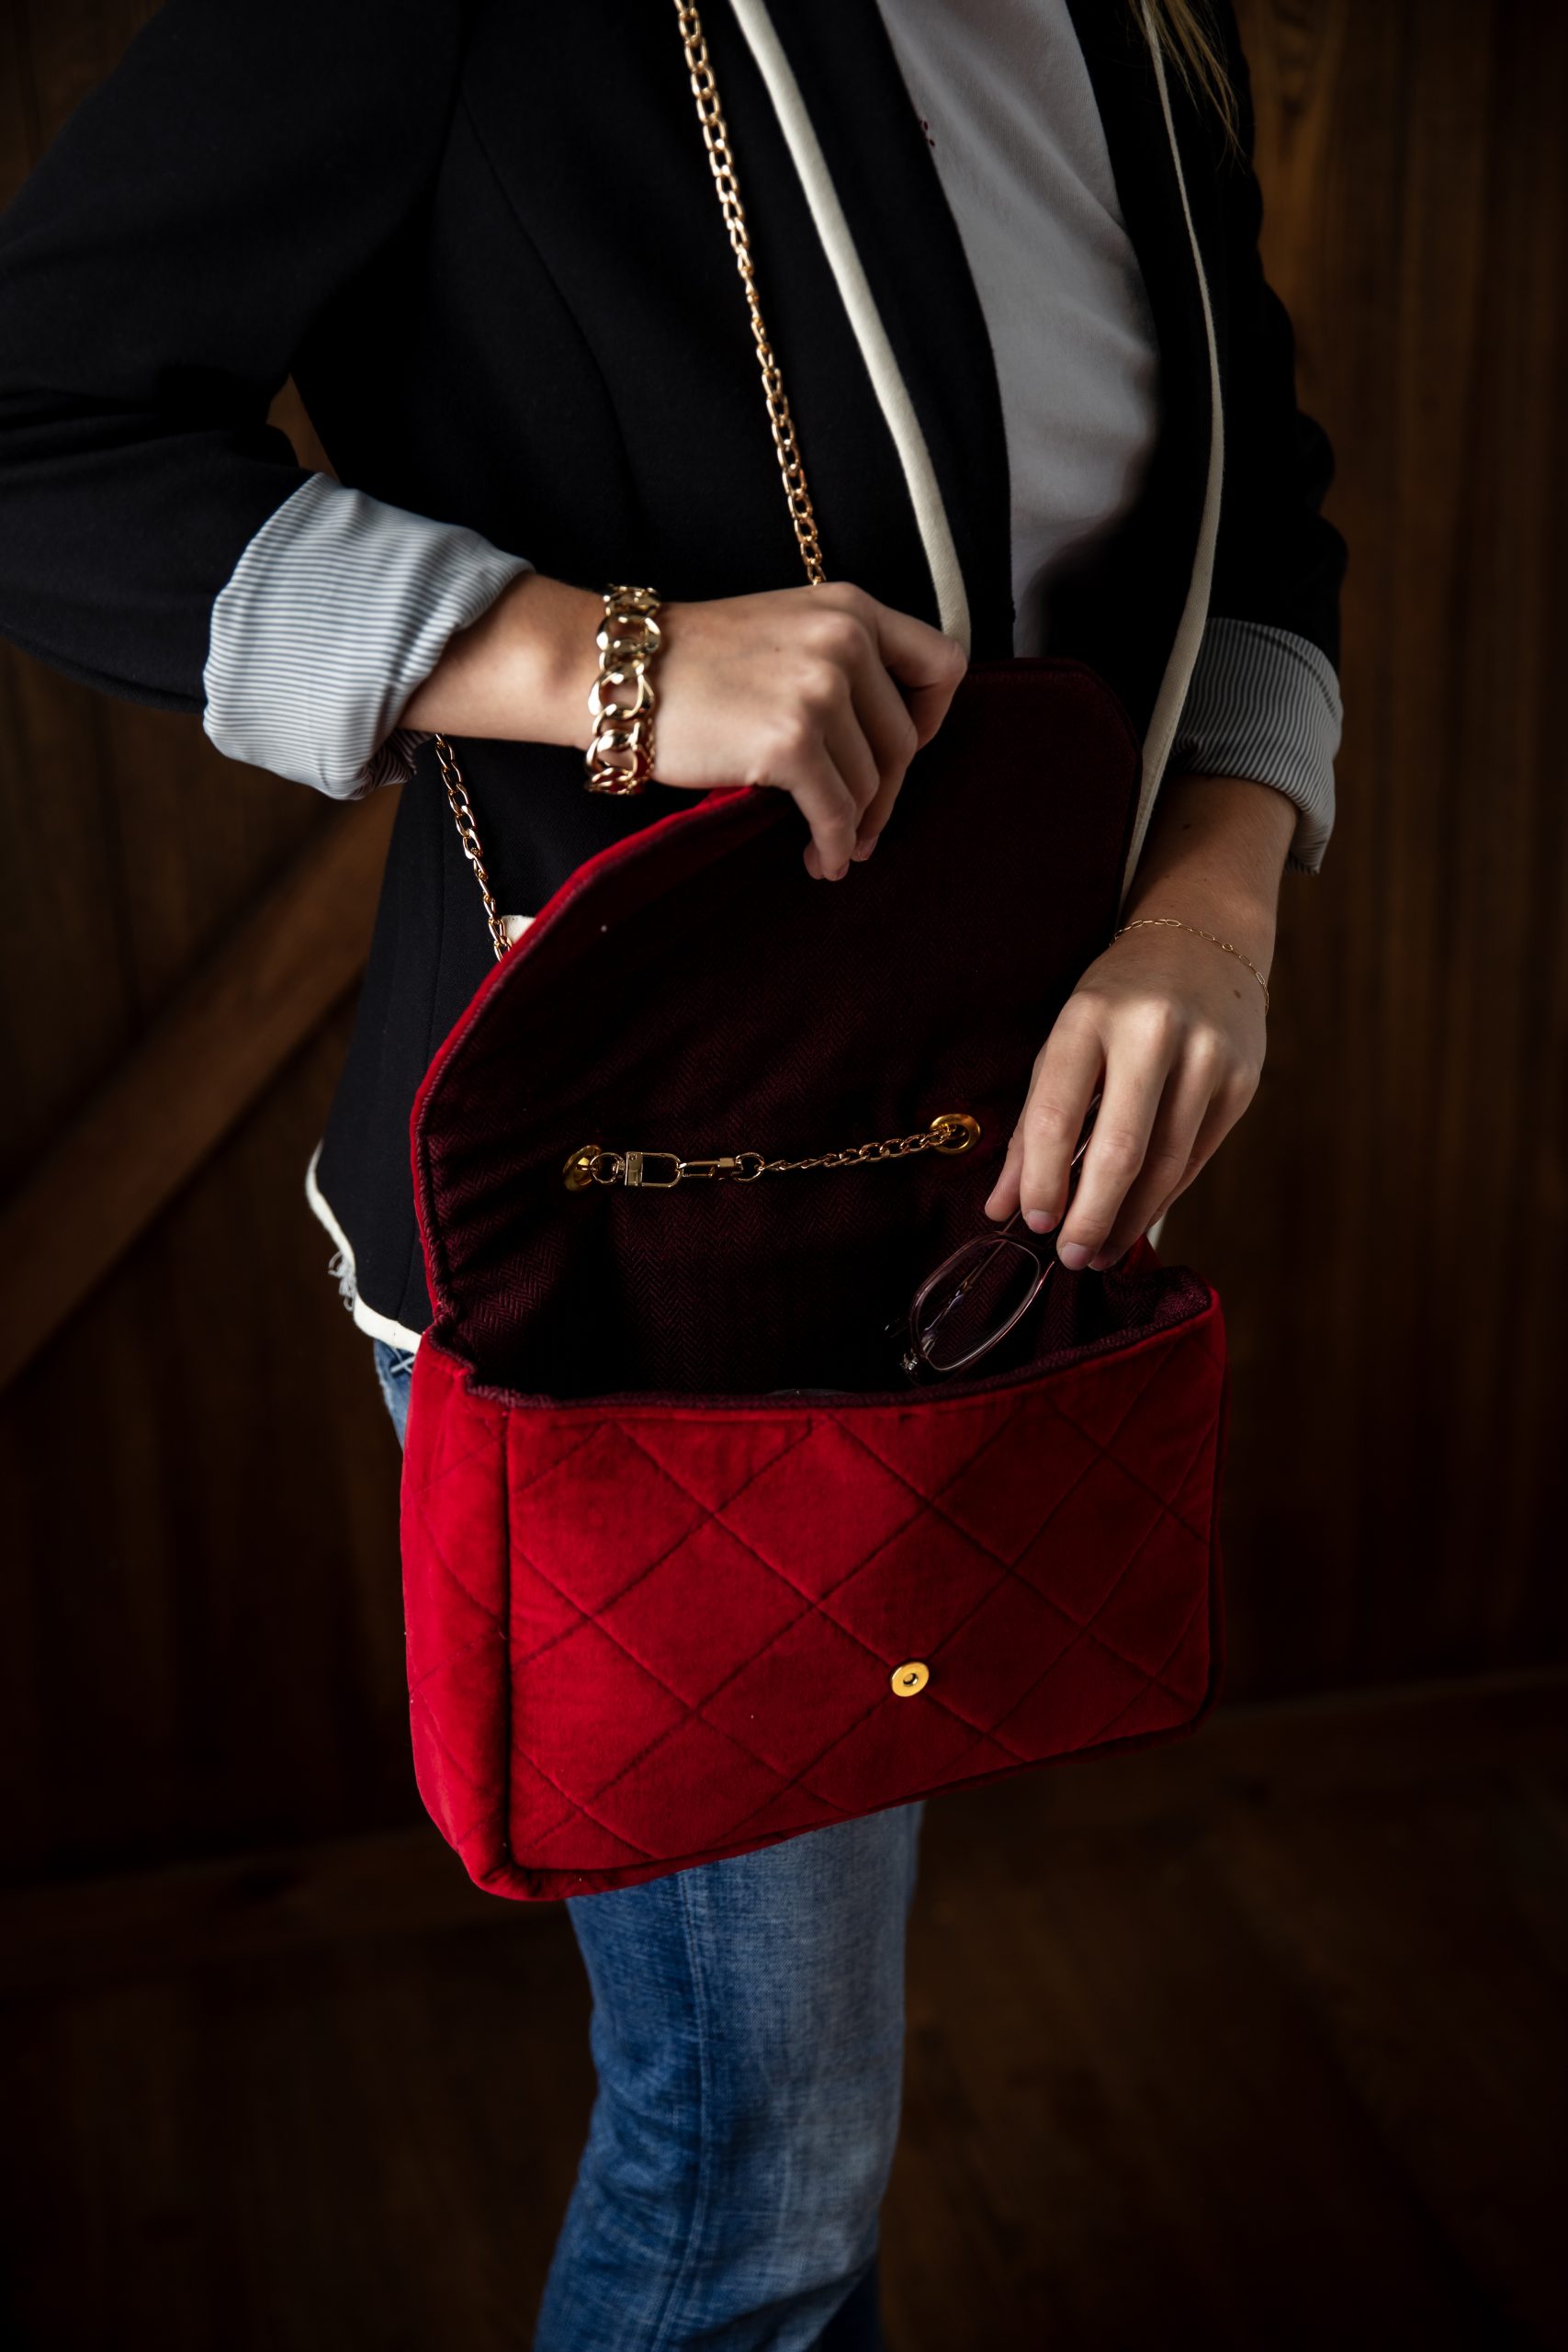
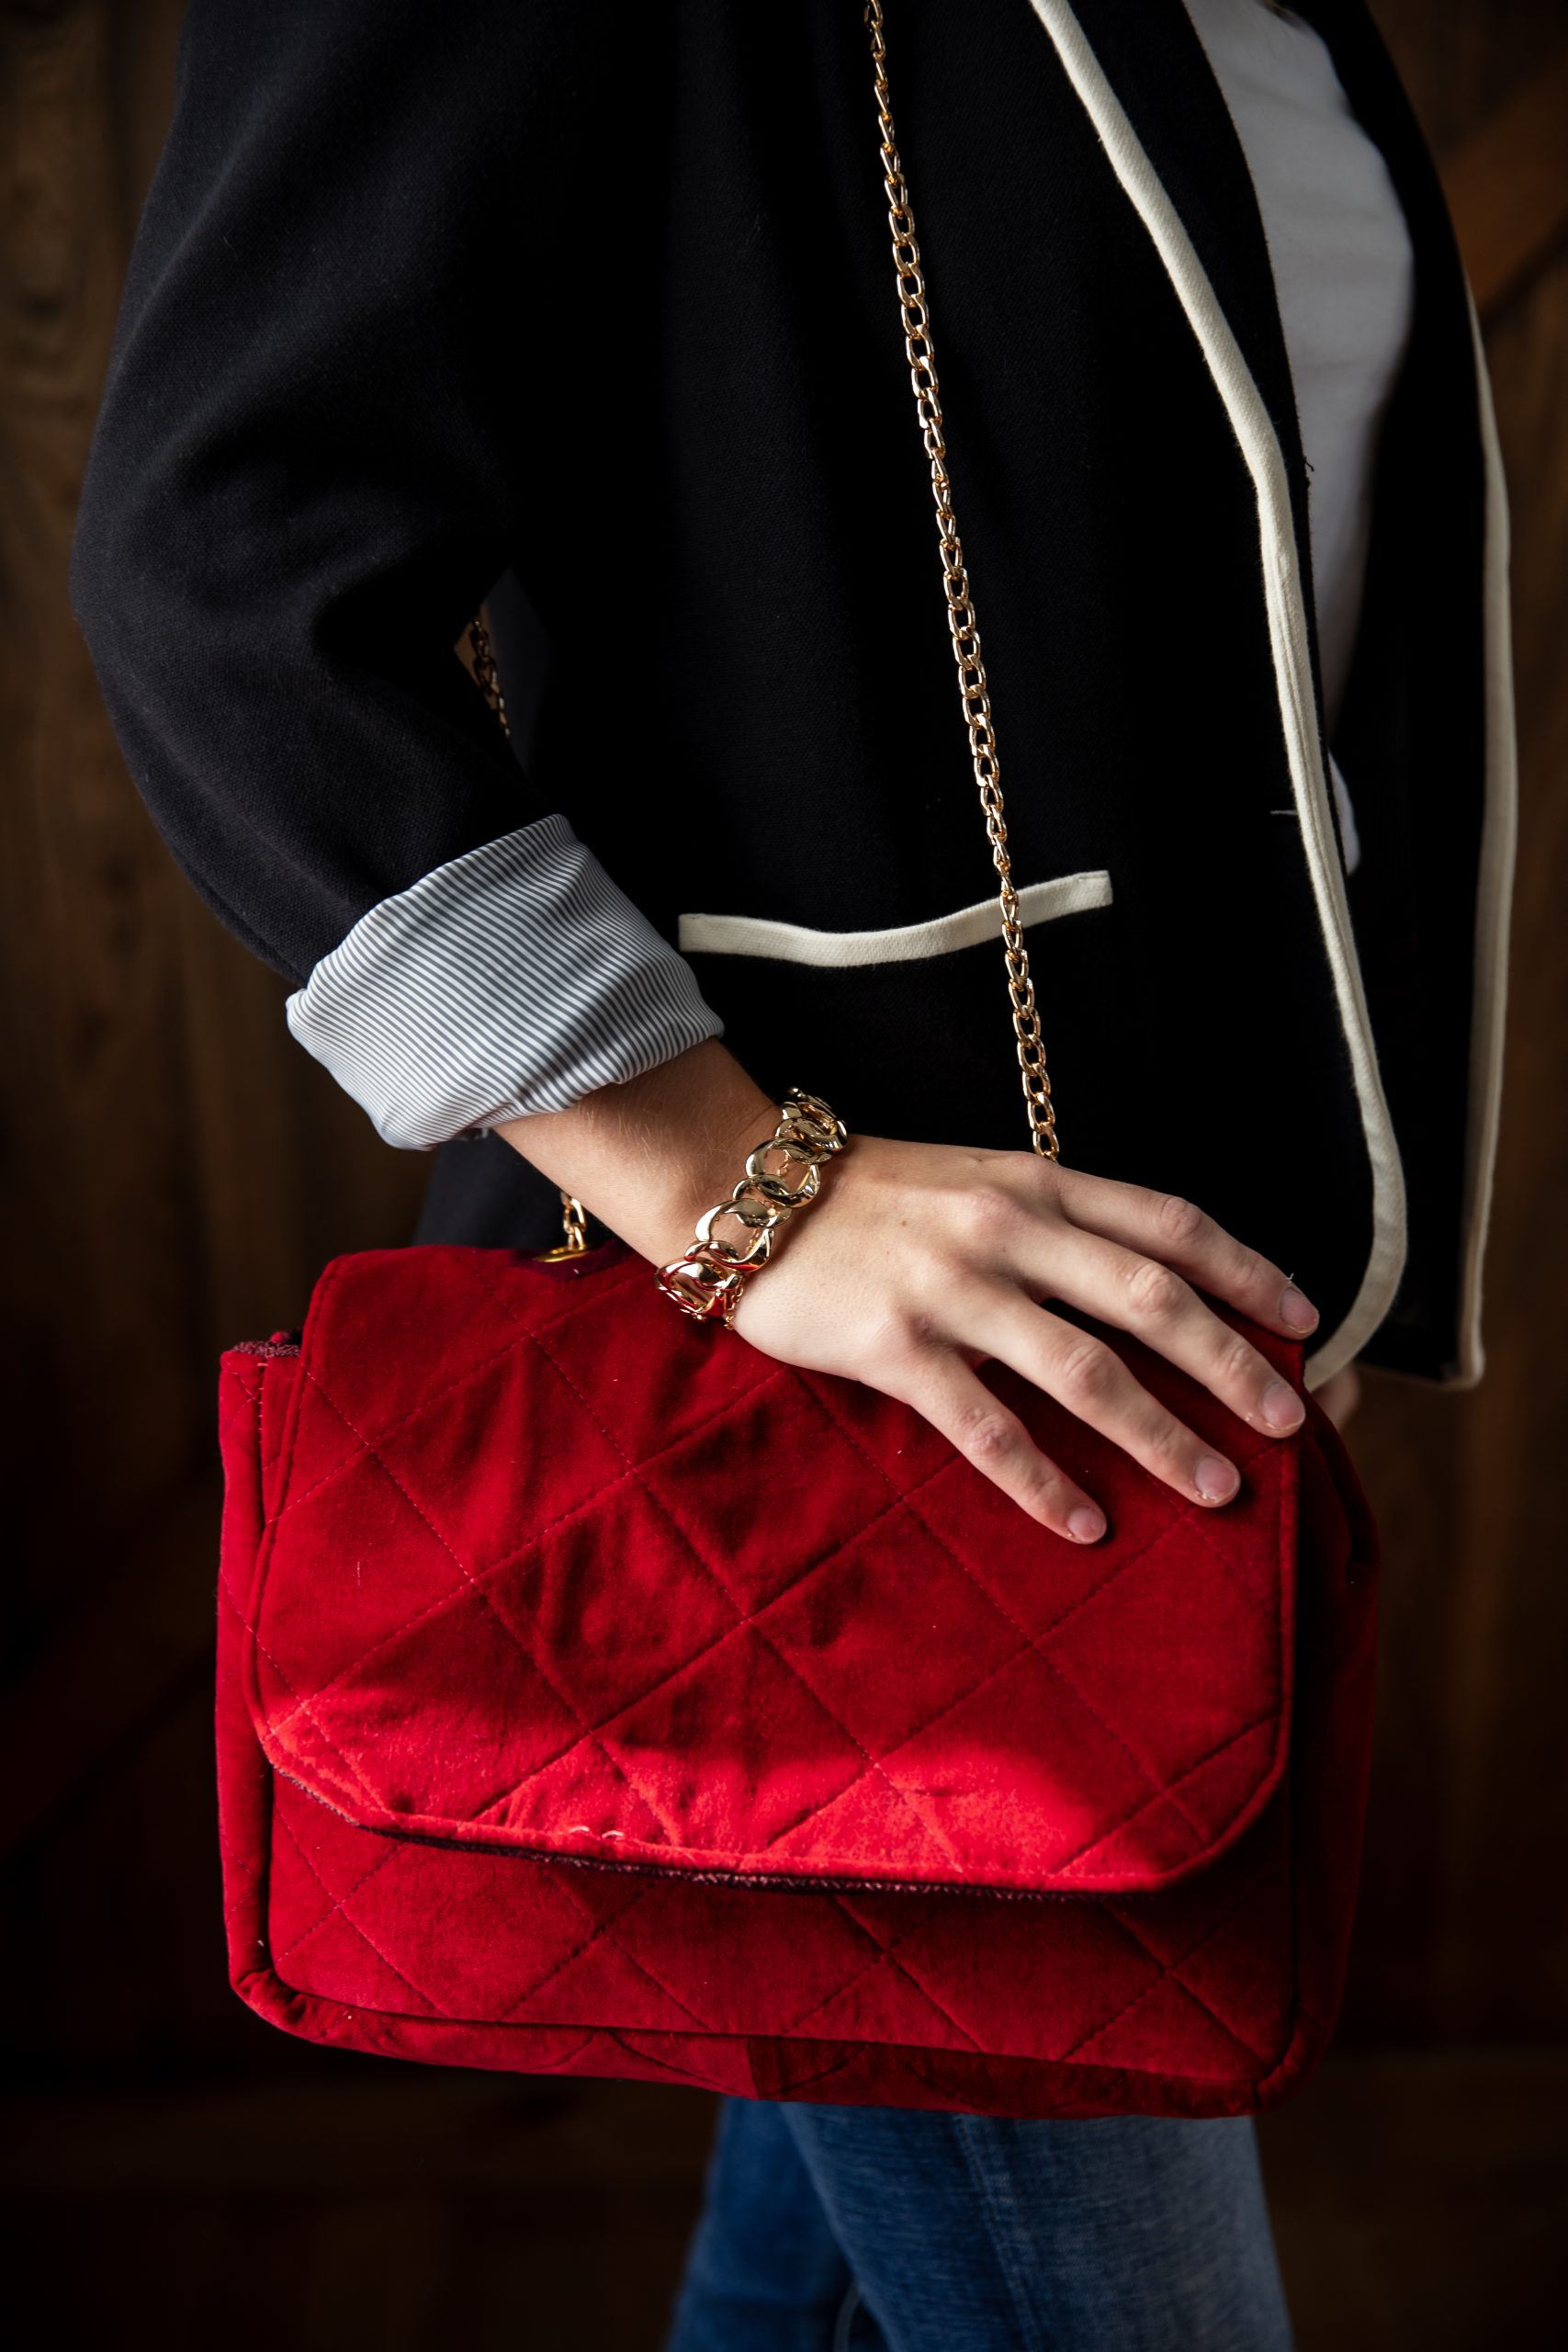
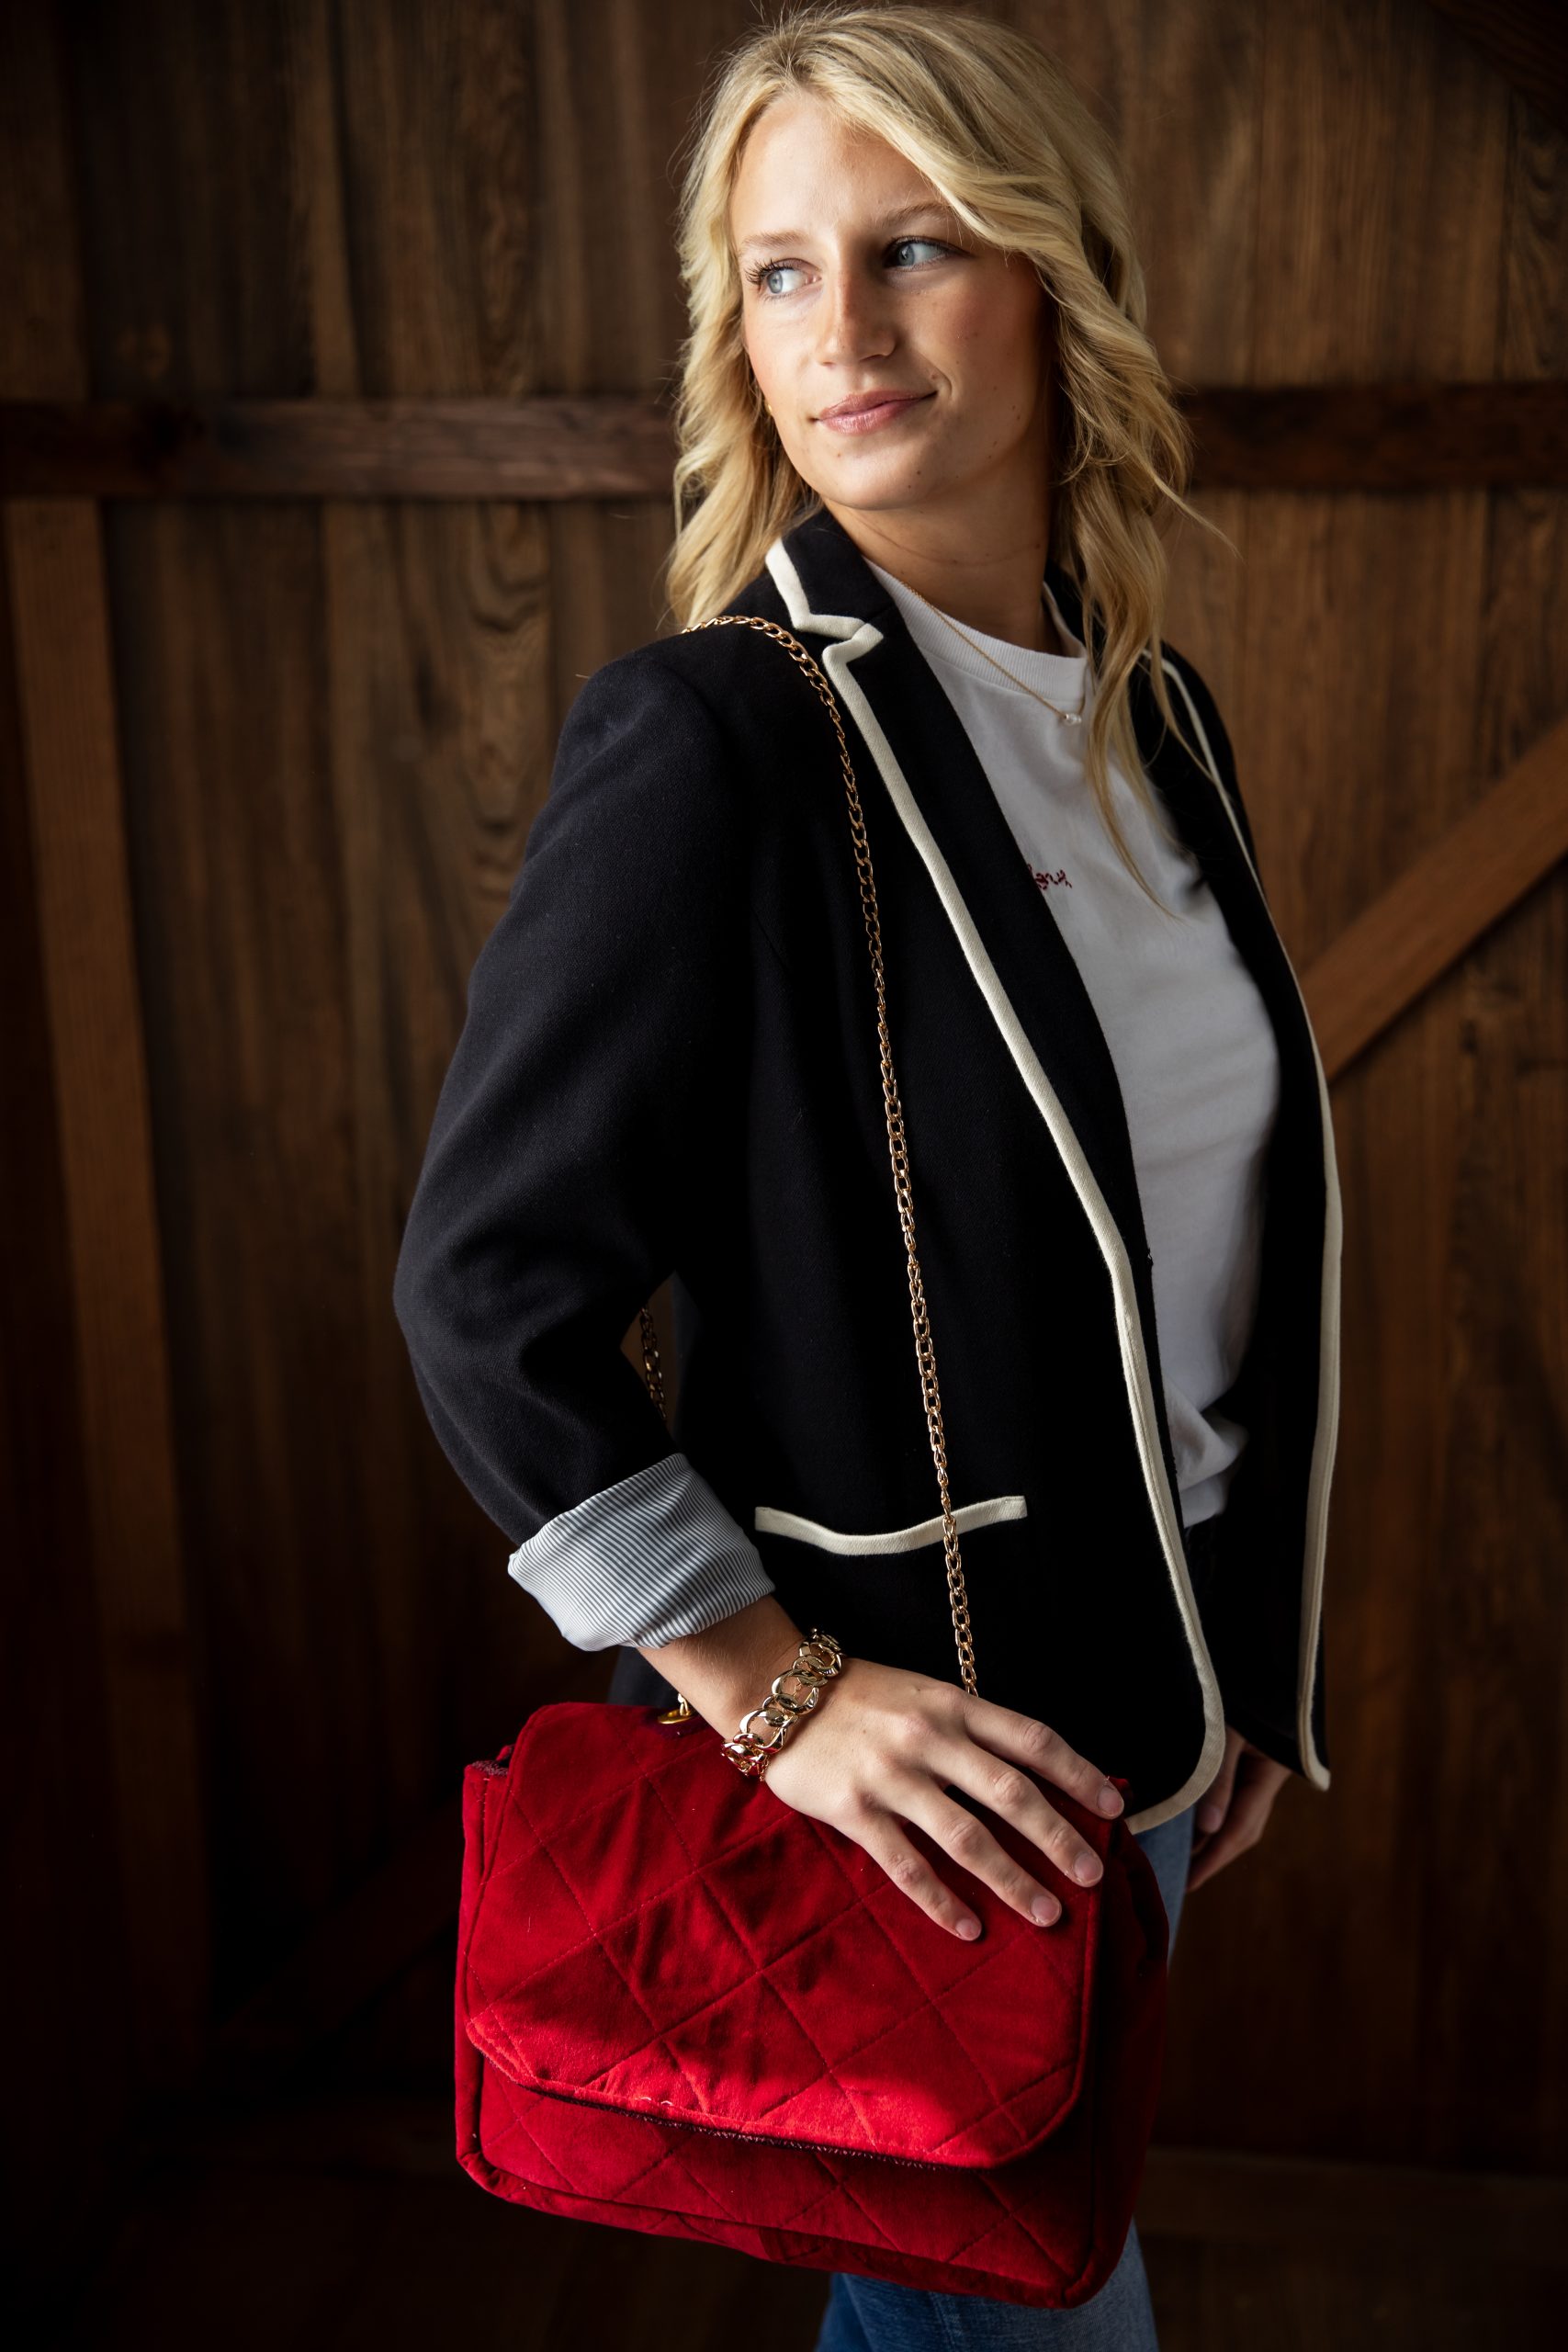
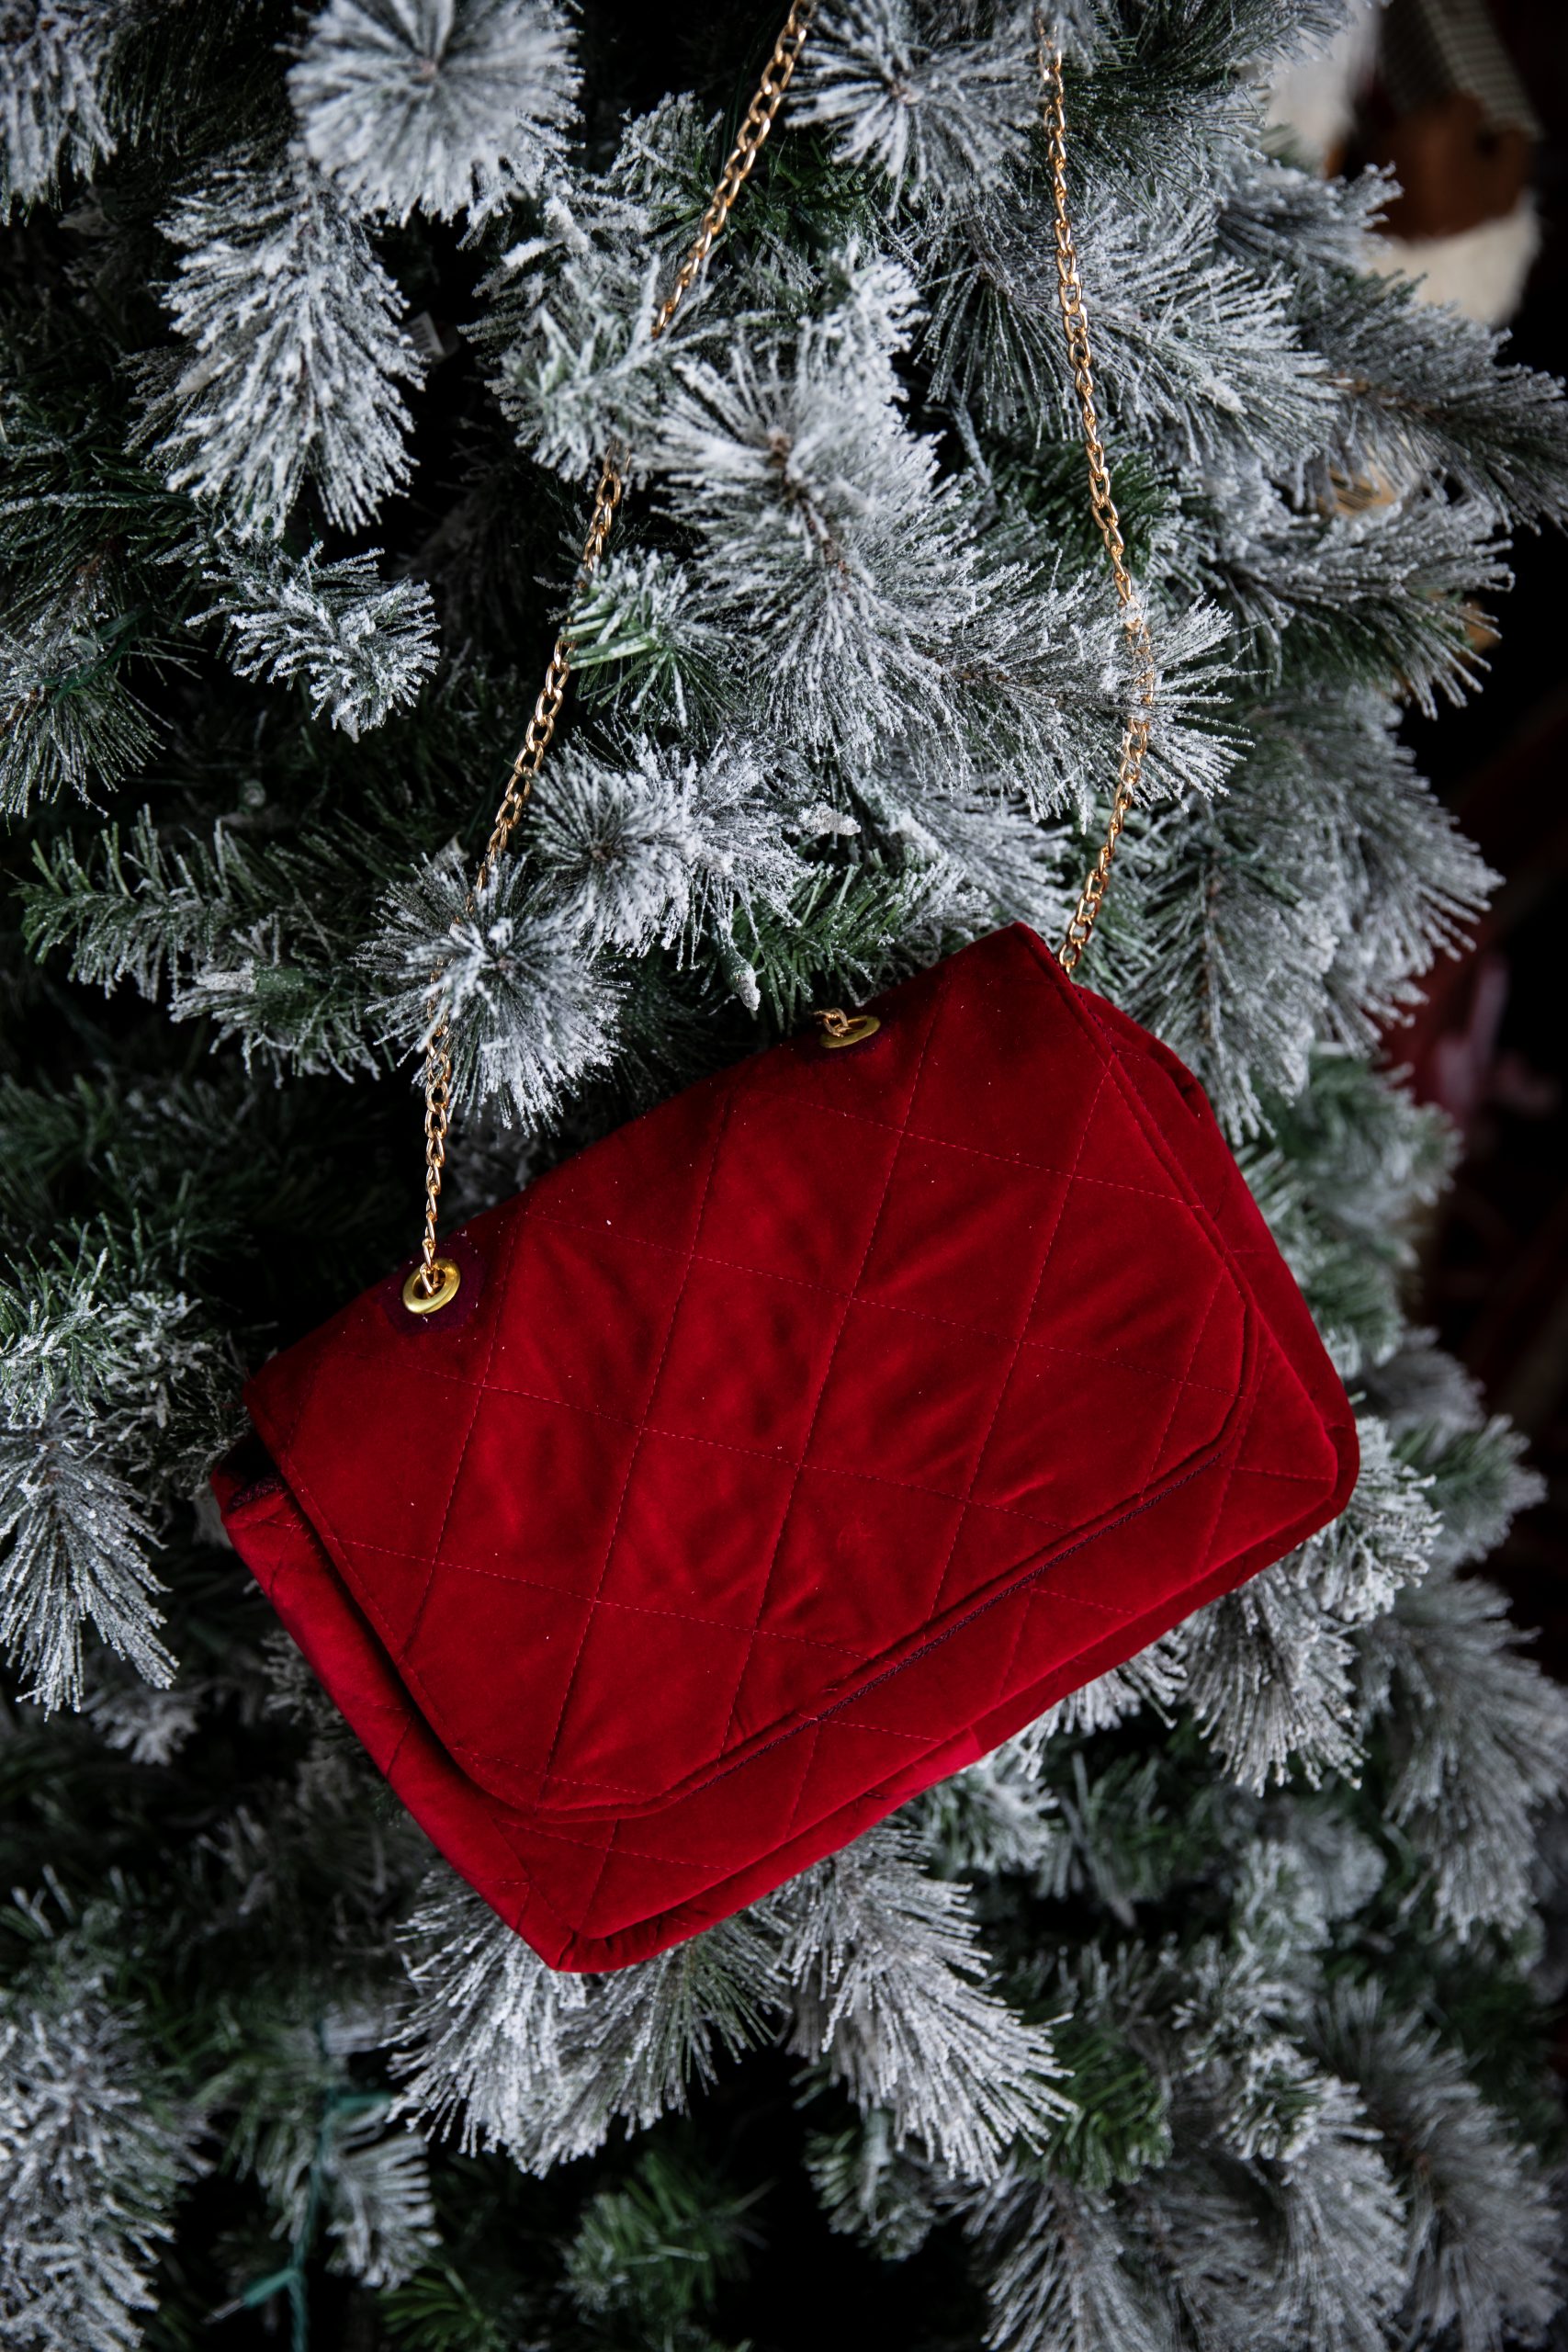
Indulge in homemade luxury by sewing yourself a velvet quilted purse in rich ruby red. New from Sophie Tarrant, this quilted bag pattern is designed for intermediate quilters and features a gold chain strap and snap-button closure. If you’ve never sewn velvet before, don’t worry! Sophie walks you through the process of working with this specialty fabric.
Skill Level: Intermediate
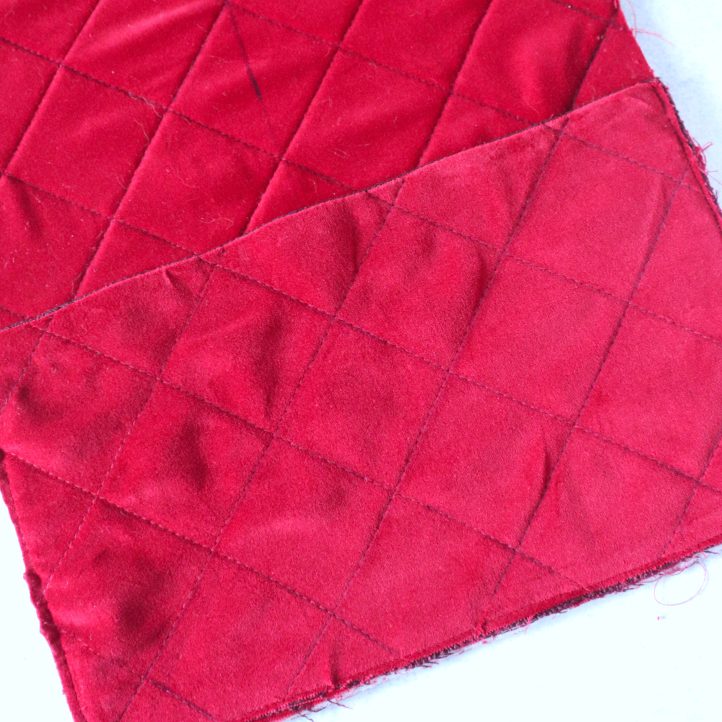
Designer Note: Pile It On: Velvet has a directional pile, which means it can catch the light differently depending on how it’s cut, and feels smooth when brushed in one direction, and rough in the other. When joining two velvet pieces – like the side panels – try rotating one so the pile on each side faces toward the center seam. This creates a subtle contrast effect that enhances the texture and gives your bag an eye-catching finish, and ensures the pile matches from each side.
Materials:
- Fabric: Burgundy velvet and burgundy tweed lining, one yard of each
- Fusible quilt wadding, one yard
- Thread: Burgundy
- Felt: Burgundy, 5” square
- Gold magnetic snap fastener
- Gold screw eyelets: 1/2” wide, two
- Gold chain: 5/16” wide, 47” long
Tools:
- Rotary cutter and cutting mat
- Quilting ruler
- Dressmaker’s chalk
- Pins
- Sewing clips
- Sewing machine
- Hand sewing needle and thread
- Iron
- Hole punch
- Jewelry pliers
Sewing Instructions:
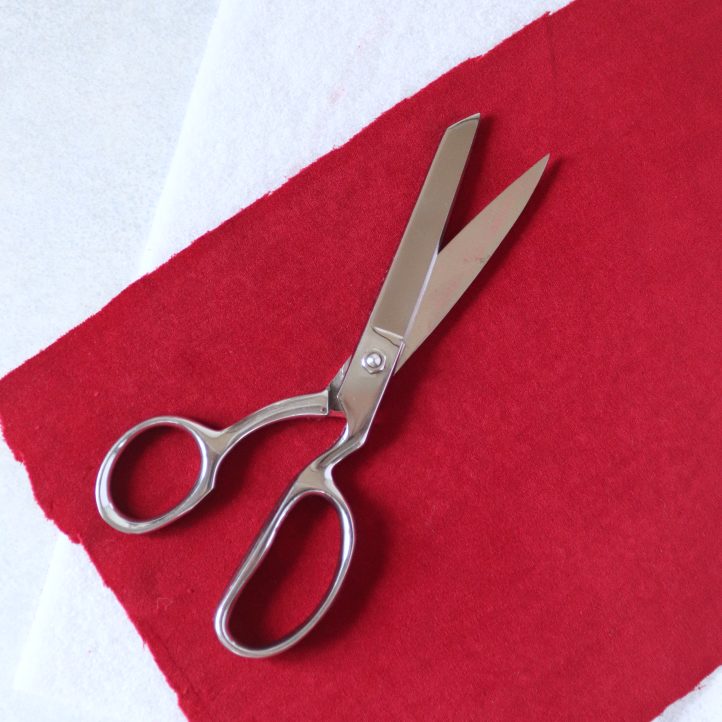
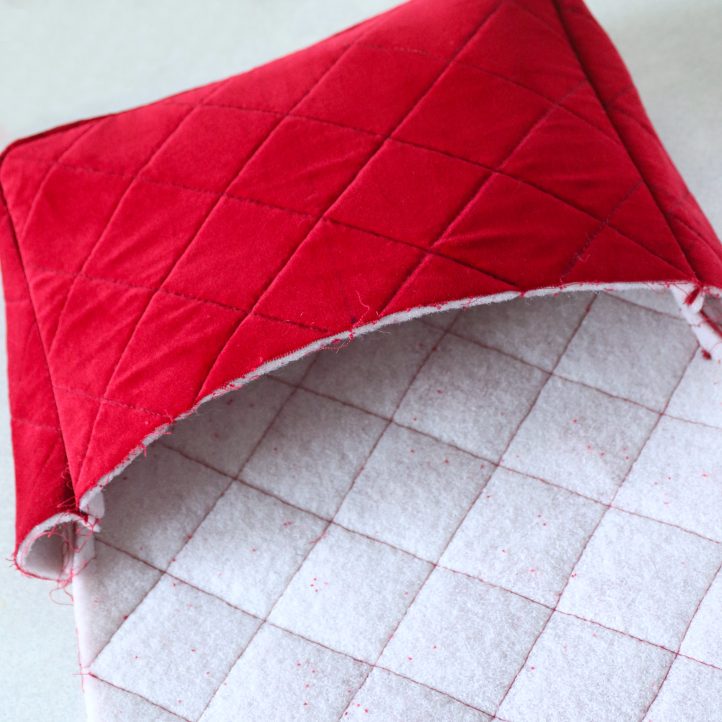
- Start by backing your velvet fabric with fusible quilt wadding, then cut out your main fabric pieces. You’ll need: one 12” (inch) x 8” (inch) front piece, two 4” x 15” side pieces, one 12” x 17” back piece, and one 12” x 7” pocket piece – make sure the pile (nap) of the velvet on each piece runs downward. Use a cup or glass to round off the bottom corners of the front, back, and pocket pieces. To prepare the sides, place the two side panels right sides together, but rotate one so the pile on each panel faces towards the center seam when joined. Stitch along one short edge with a 1/2” seam allowance. Open it out and press the seam open – this is now your side piece.
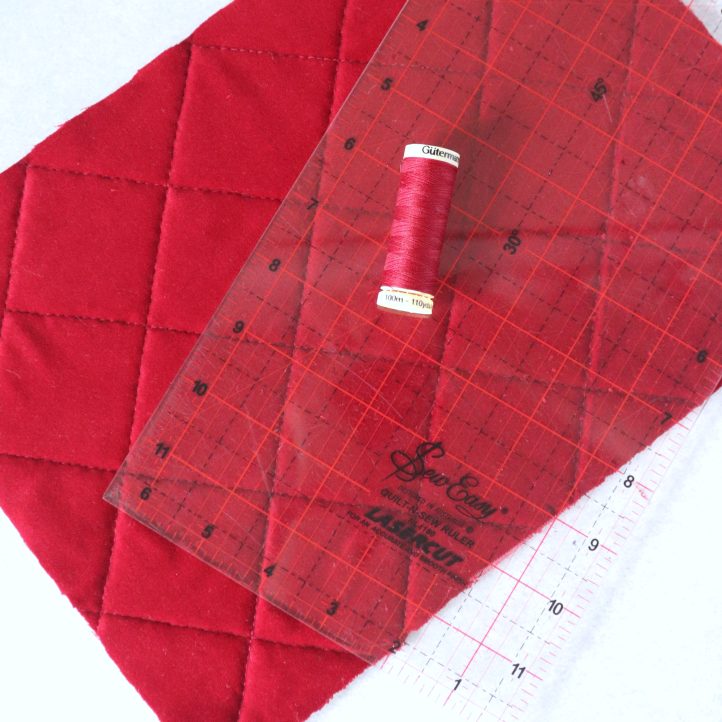
- Now add the quilted detail. Use a quilting ruler and dressmaker’s chalk to mark a 2” diagonal grid across each piece, centering the grid as best you can. Set your machine to a 2.6mm (1/8 inch) straight stitch and top-stitch along each line, securing your threads at the start and end. Once quilted, use a clean, damp cloth to remove the chalk lines.
- Pin or clip the side strip around the side and bottom edges of the front piece, making sure the central seam of the side strip sits in the bottom middle edge of the front. Stitch around the edge with a 1/2” seam allowance, then clip the corners to help the fabric turn over neatly at the end. Trim any excess from the side strip so its edges line up cleanly with the front piece.

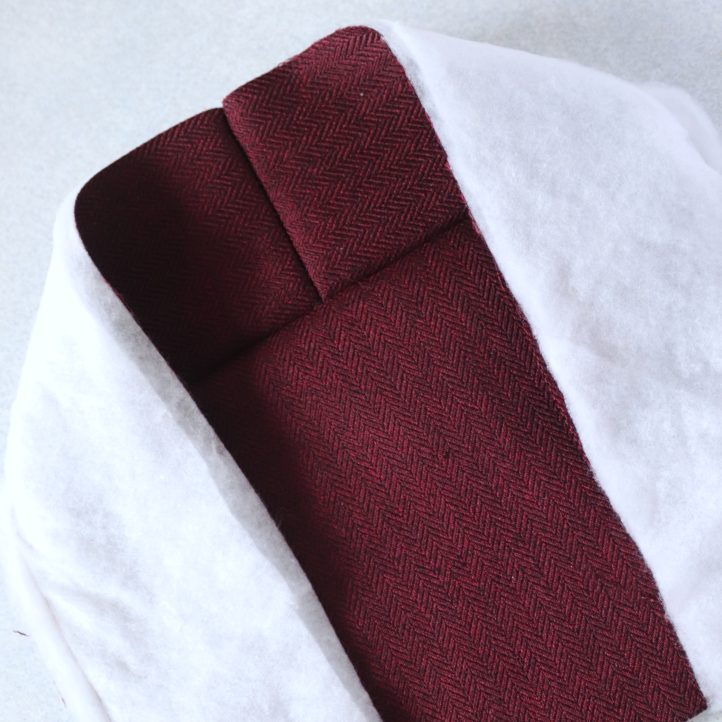
- Let’s make the pocket. Back your lining fabric with wadding, then cut a second pocket piece, the same size as the first. Place the two pocket pieces right sides together and stitch along the straight top edge with a 1/2” seam allowance. Turn the fabric right sides out along the seam and press. Position the pocket on the back piece, aligning the bottom edges and corners. Pin or clip in place, then stitch around the sides and bottom edge with a 1/4” seam allowance to secure the layers together.
- Now attach the back piece (with pocket) to the front and side panels. Pin it in place, aligning the bottom and side edges and centering the side seam, as before. Stitch all the way around the edge, leaving a 1/2” allowance. You’ve now completed the basic outer bag.
- Repeat Steps 1–5 using your lining fabric, skipping Steps 2 and 4 (the lining doesn’t need quilting, and it doesn’t have a pocket). When attaching the back to the front and sides, leave a 4” gap along the bottom seam – this will be used to turn the finished bag right side out in the next step. Slide the lining bag over the outer bag with the right sides facing, taking the time to match up the edges and seams neatly before pinning the layers together. Sew all around the top bag with a 1/2” seam allowance, going along the top edge of the front, the sides, and the flap of the back.
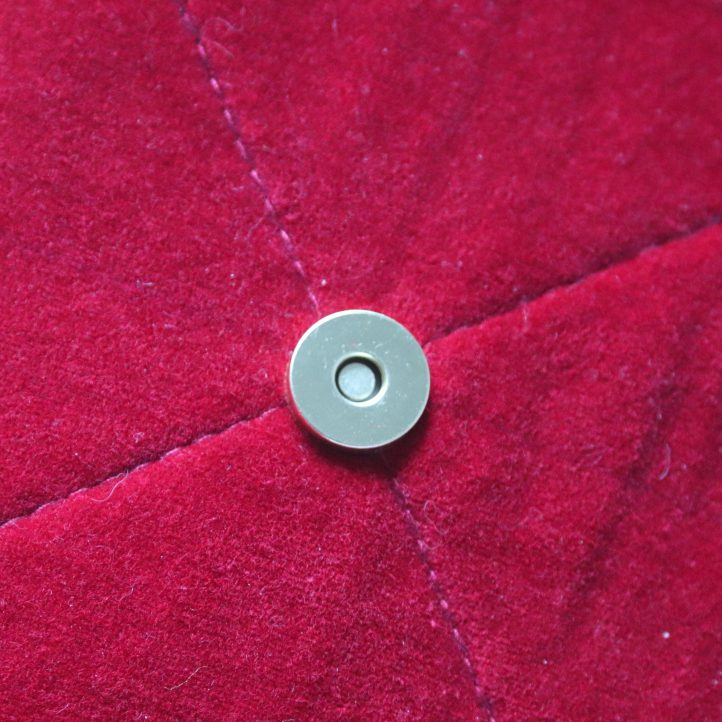
- Turn the bag right sides out through the gap in the lining, taking care to push out the corners neatly before pressing the bag flat. Don’t close the gap just yet. Fold the flap so that the bag is closed, and mark where you want the snap to be placed on the flap and the bag. Use the opening in the lining to attach a magnetic snap fastener – fit one half to the front of the bag and the other to the inside of the flap. Once the fastener is secure, stitch the gap in the lining closed by hand.
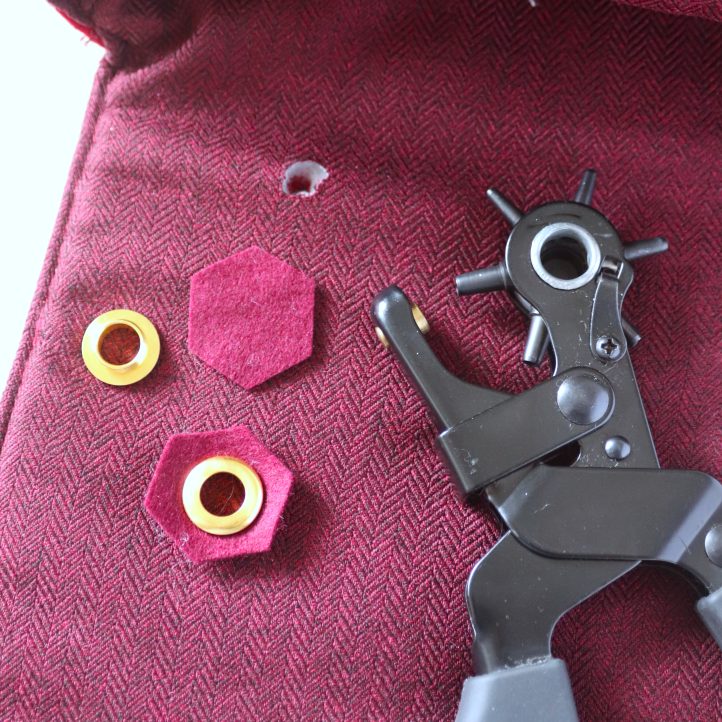
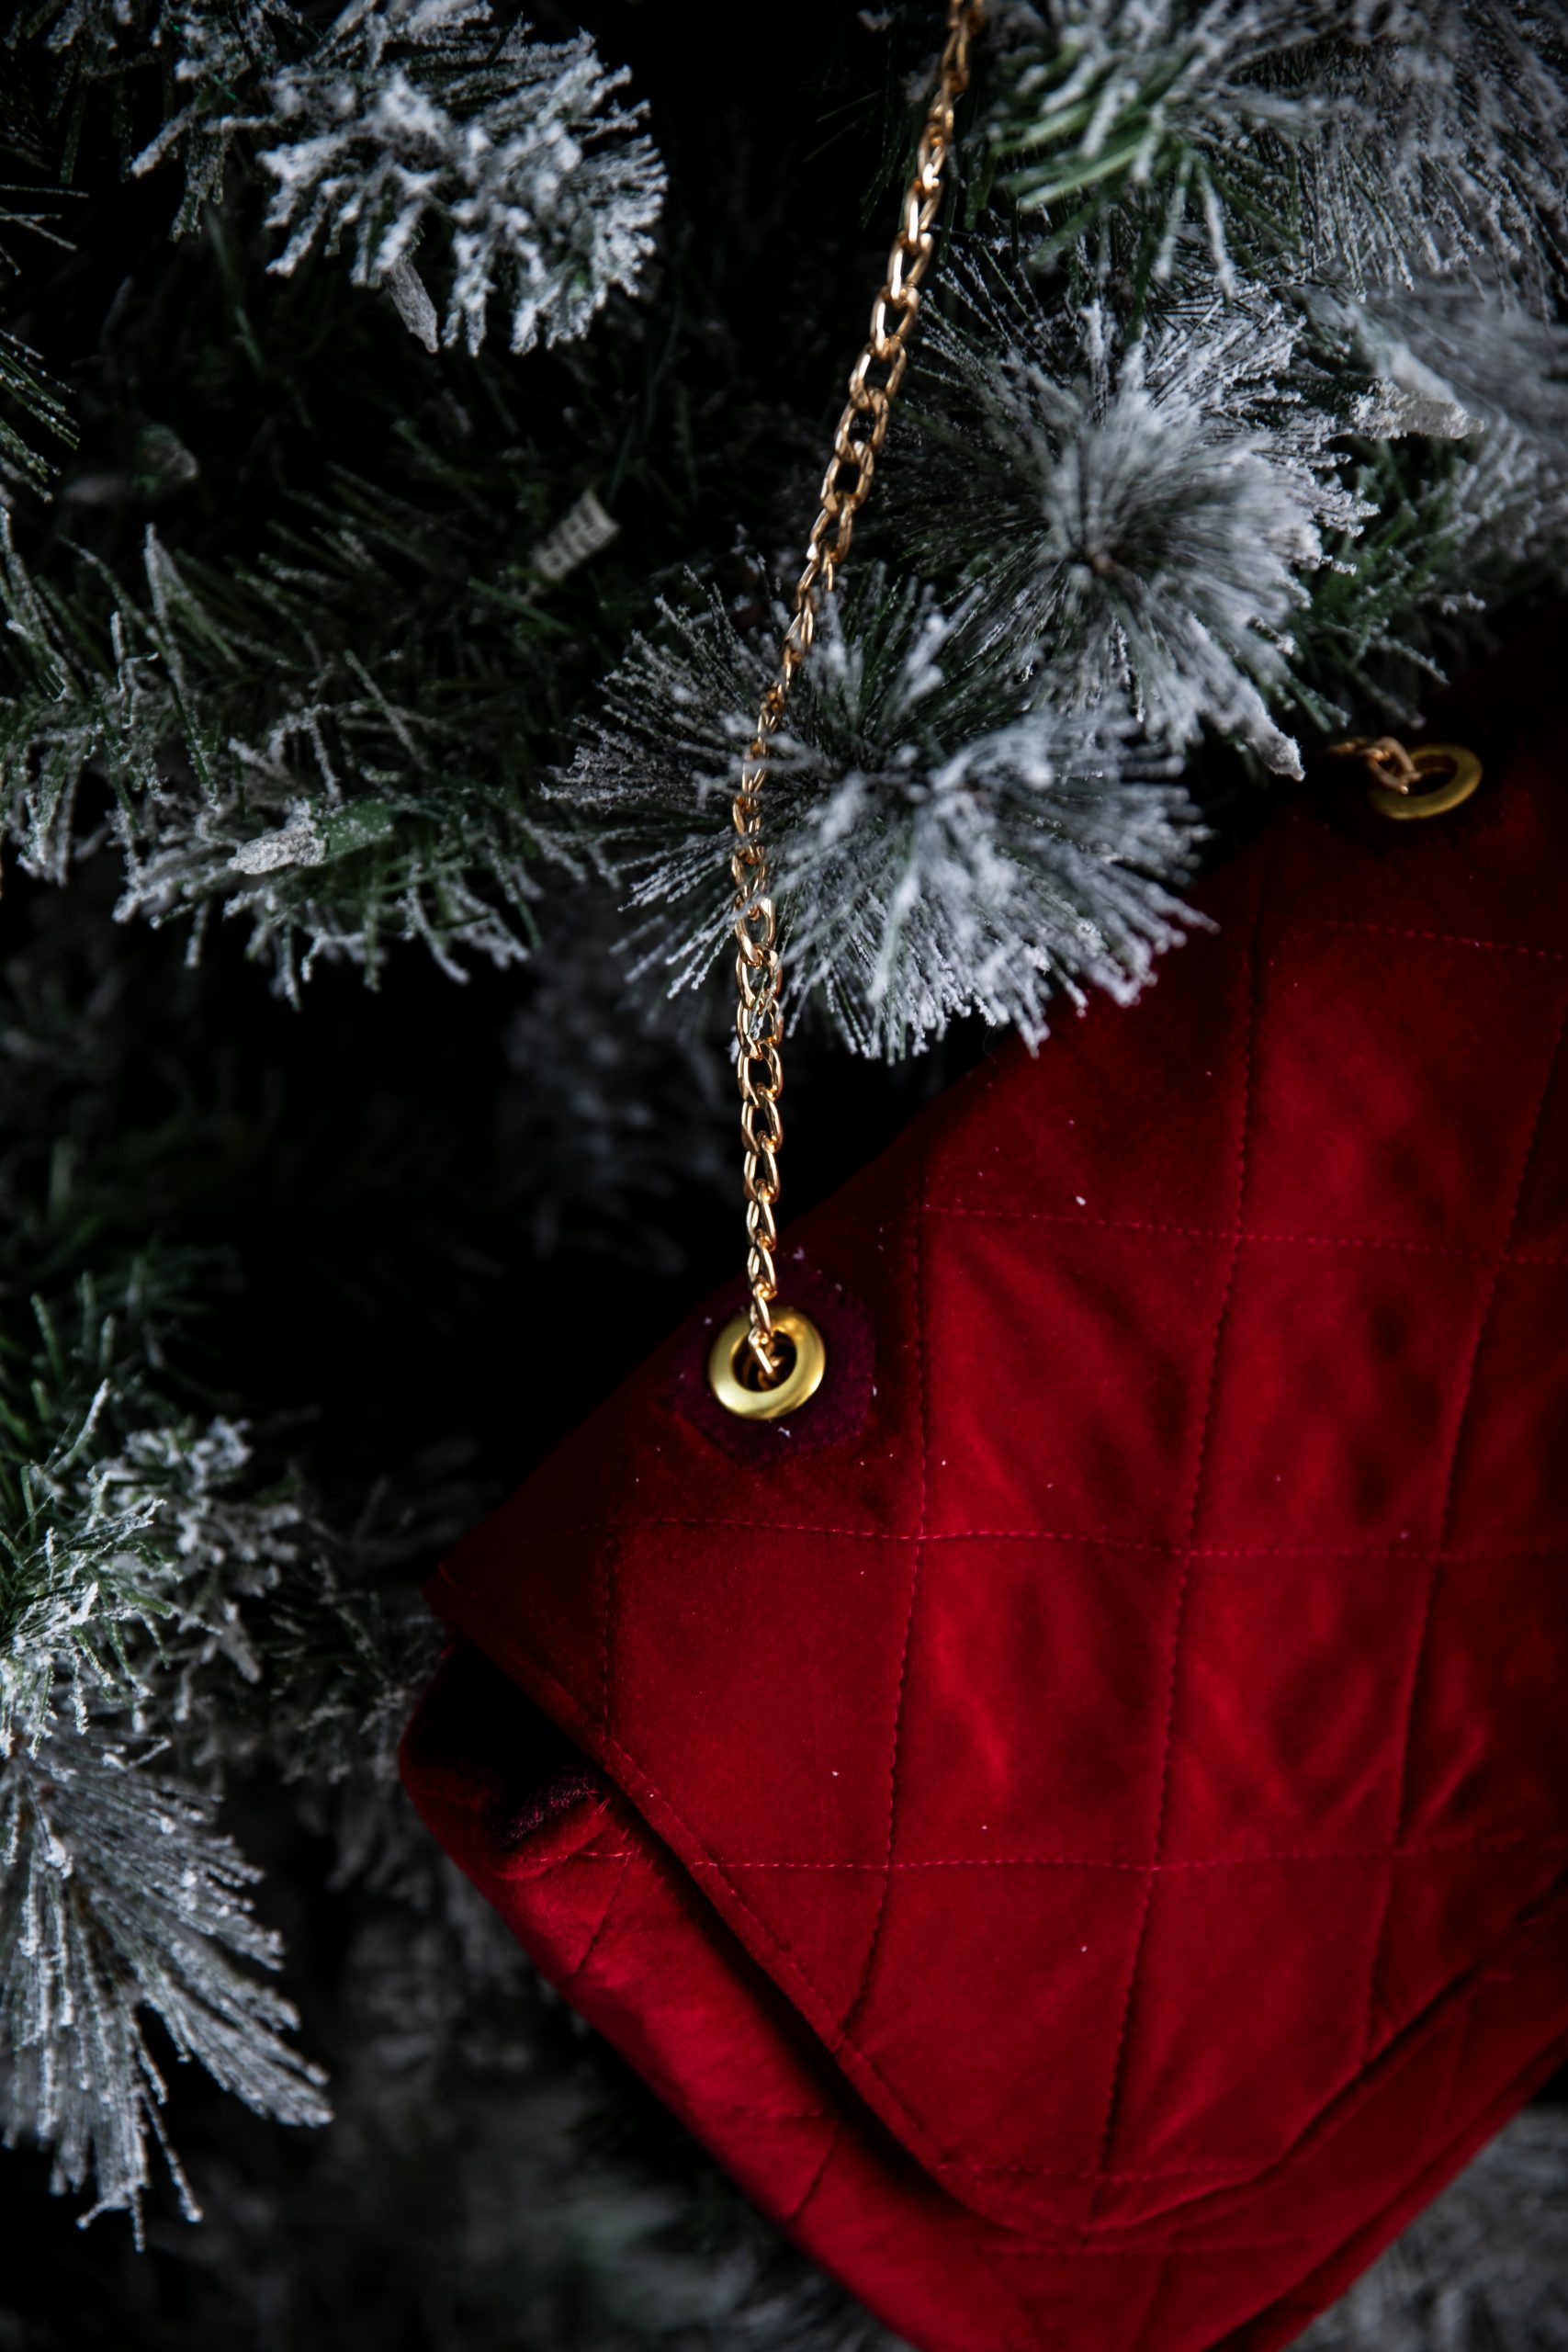
- It’s now time to add the finishing touches. Mark where you want the eyelets to sit at the top of the bag – these are for your chain strap, so make sure they’re evenly positioned. Use a hole punch to pierce through the layers, then open each hole slightly with small scissors so you can fit a 1/2” screw eyelet through each one. Before securing the eyelets, cut four 1 1/2” hexagons from burgundy felt and cut a 1/2” hole in the center of each. Place them between the fabric and the eyelets to protect the velvet. Screw the eyelets into place, then hand stitch around the felt hexagons to neaten the edges. Finally, thread a length of gold chain through the eyelets. Join the ends inside the bag to conceal the fitting – jewelry pliers can help with this if it gets tricky. If a chain link snaps, don’t worry – just remove it and use the next one.