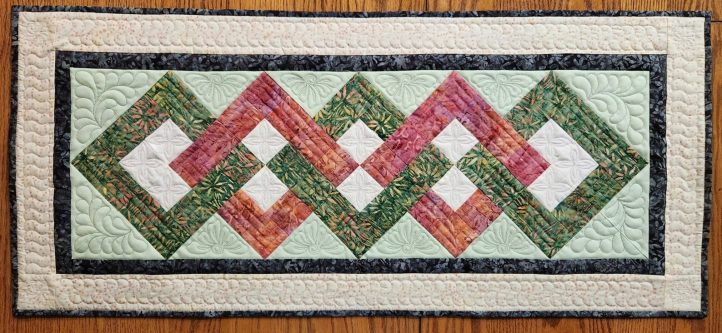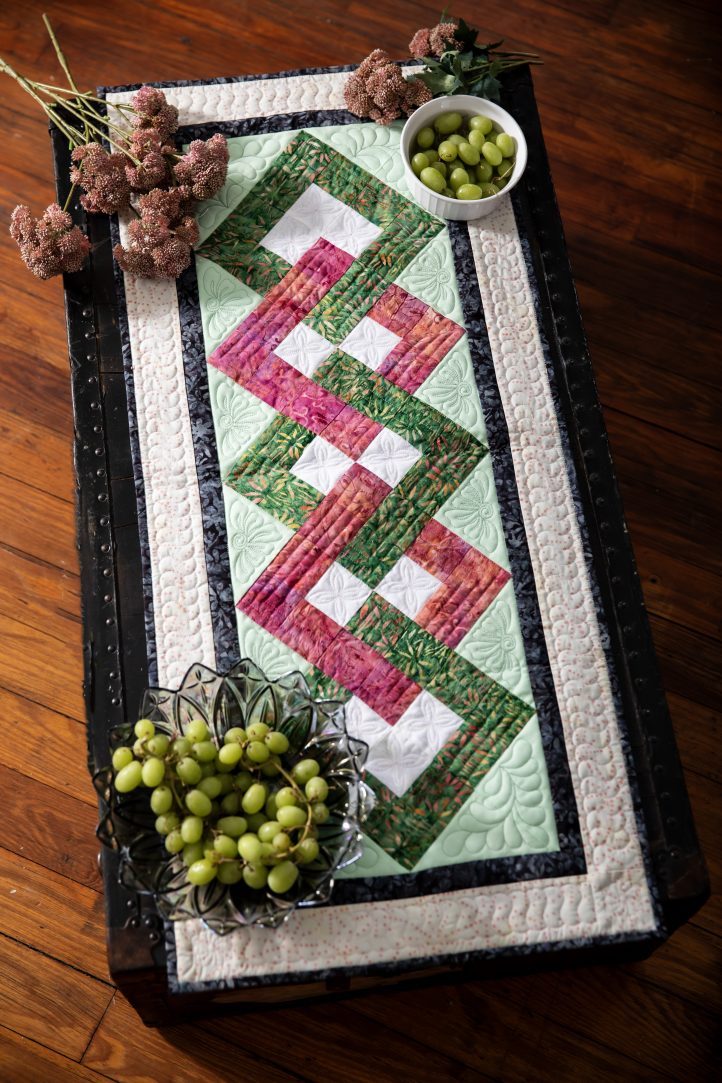
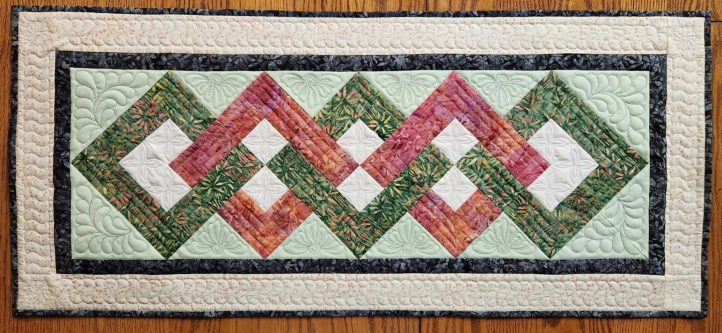
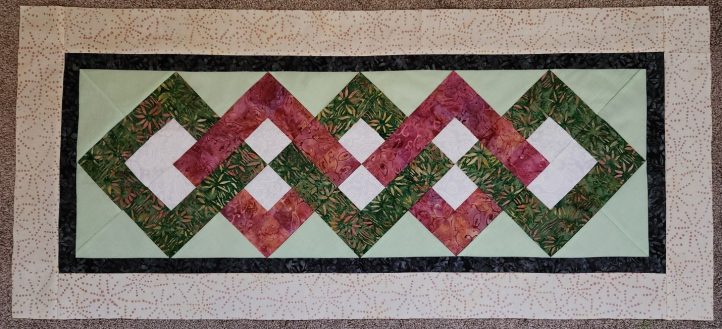
Celebrate your next springtime special occasion by creating an elegant tablescape. New from Sujata Ryan, this spring table runner pattern features a beautiful array of interlocking diamonds against a soft mint background with stylish charcoal black and printed borders. Designed for advanced beginner to intermediate quilters, this quilted table runner is a fun project for quilters to expand their skillset.
Skill Level: Advanced Beginner to Intermediate
Materials:
- Fabric:
- Sage green print – 1/8 yard
- Pink print – 1/8 yard
- White on white print – 1/8 yard
- Pink dot print – 1/4 yard
- Light sage green solid or print – 1/4 yard
- Black/sage green print – 1-1/4 yard
- Batting – 24 inch x 45 inch piece (larger if quilting is done on a longarm machine)
Cutting Instructions:
For the diamond blocks:
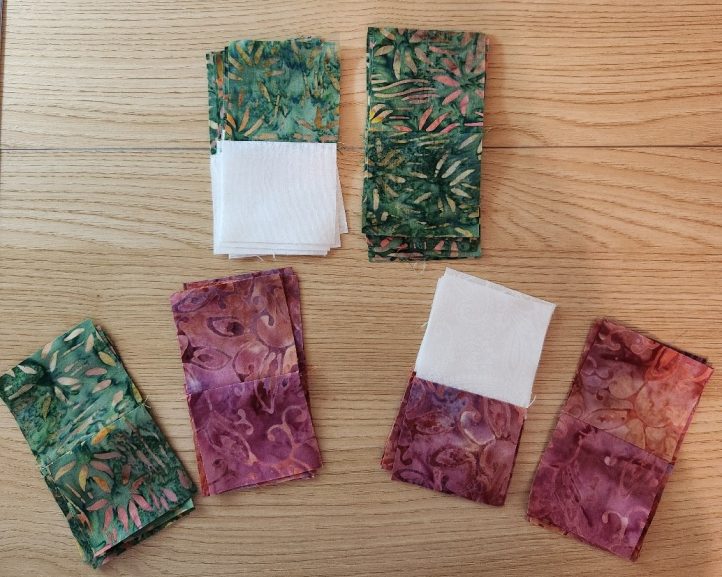
- Cut two 2-1/2 inch wide strips from the sage green print.
- Cut one 2-1/2 inch wide strip from each of the pink and white prints.
- Cut each of these strips into 2-1/2 inch x 2-1/2 inch squares, needing 32 sage green squares, 20 pink squares and 12 white squares.
Cut 3 border strips from the black/sage green print, 1-1/2 inch x WOF.
For the light sage green setting triangles as follows. It is recommended to first starch and press the fabric for added stability and to reduce stretching along diagonal edges.
- Cut 4 squares 7-1/4 inch x 7-1/4 inch.
- Cut along the diagonals, forming 4 smaller triangles from each, with 16 total.

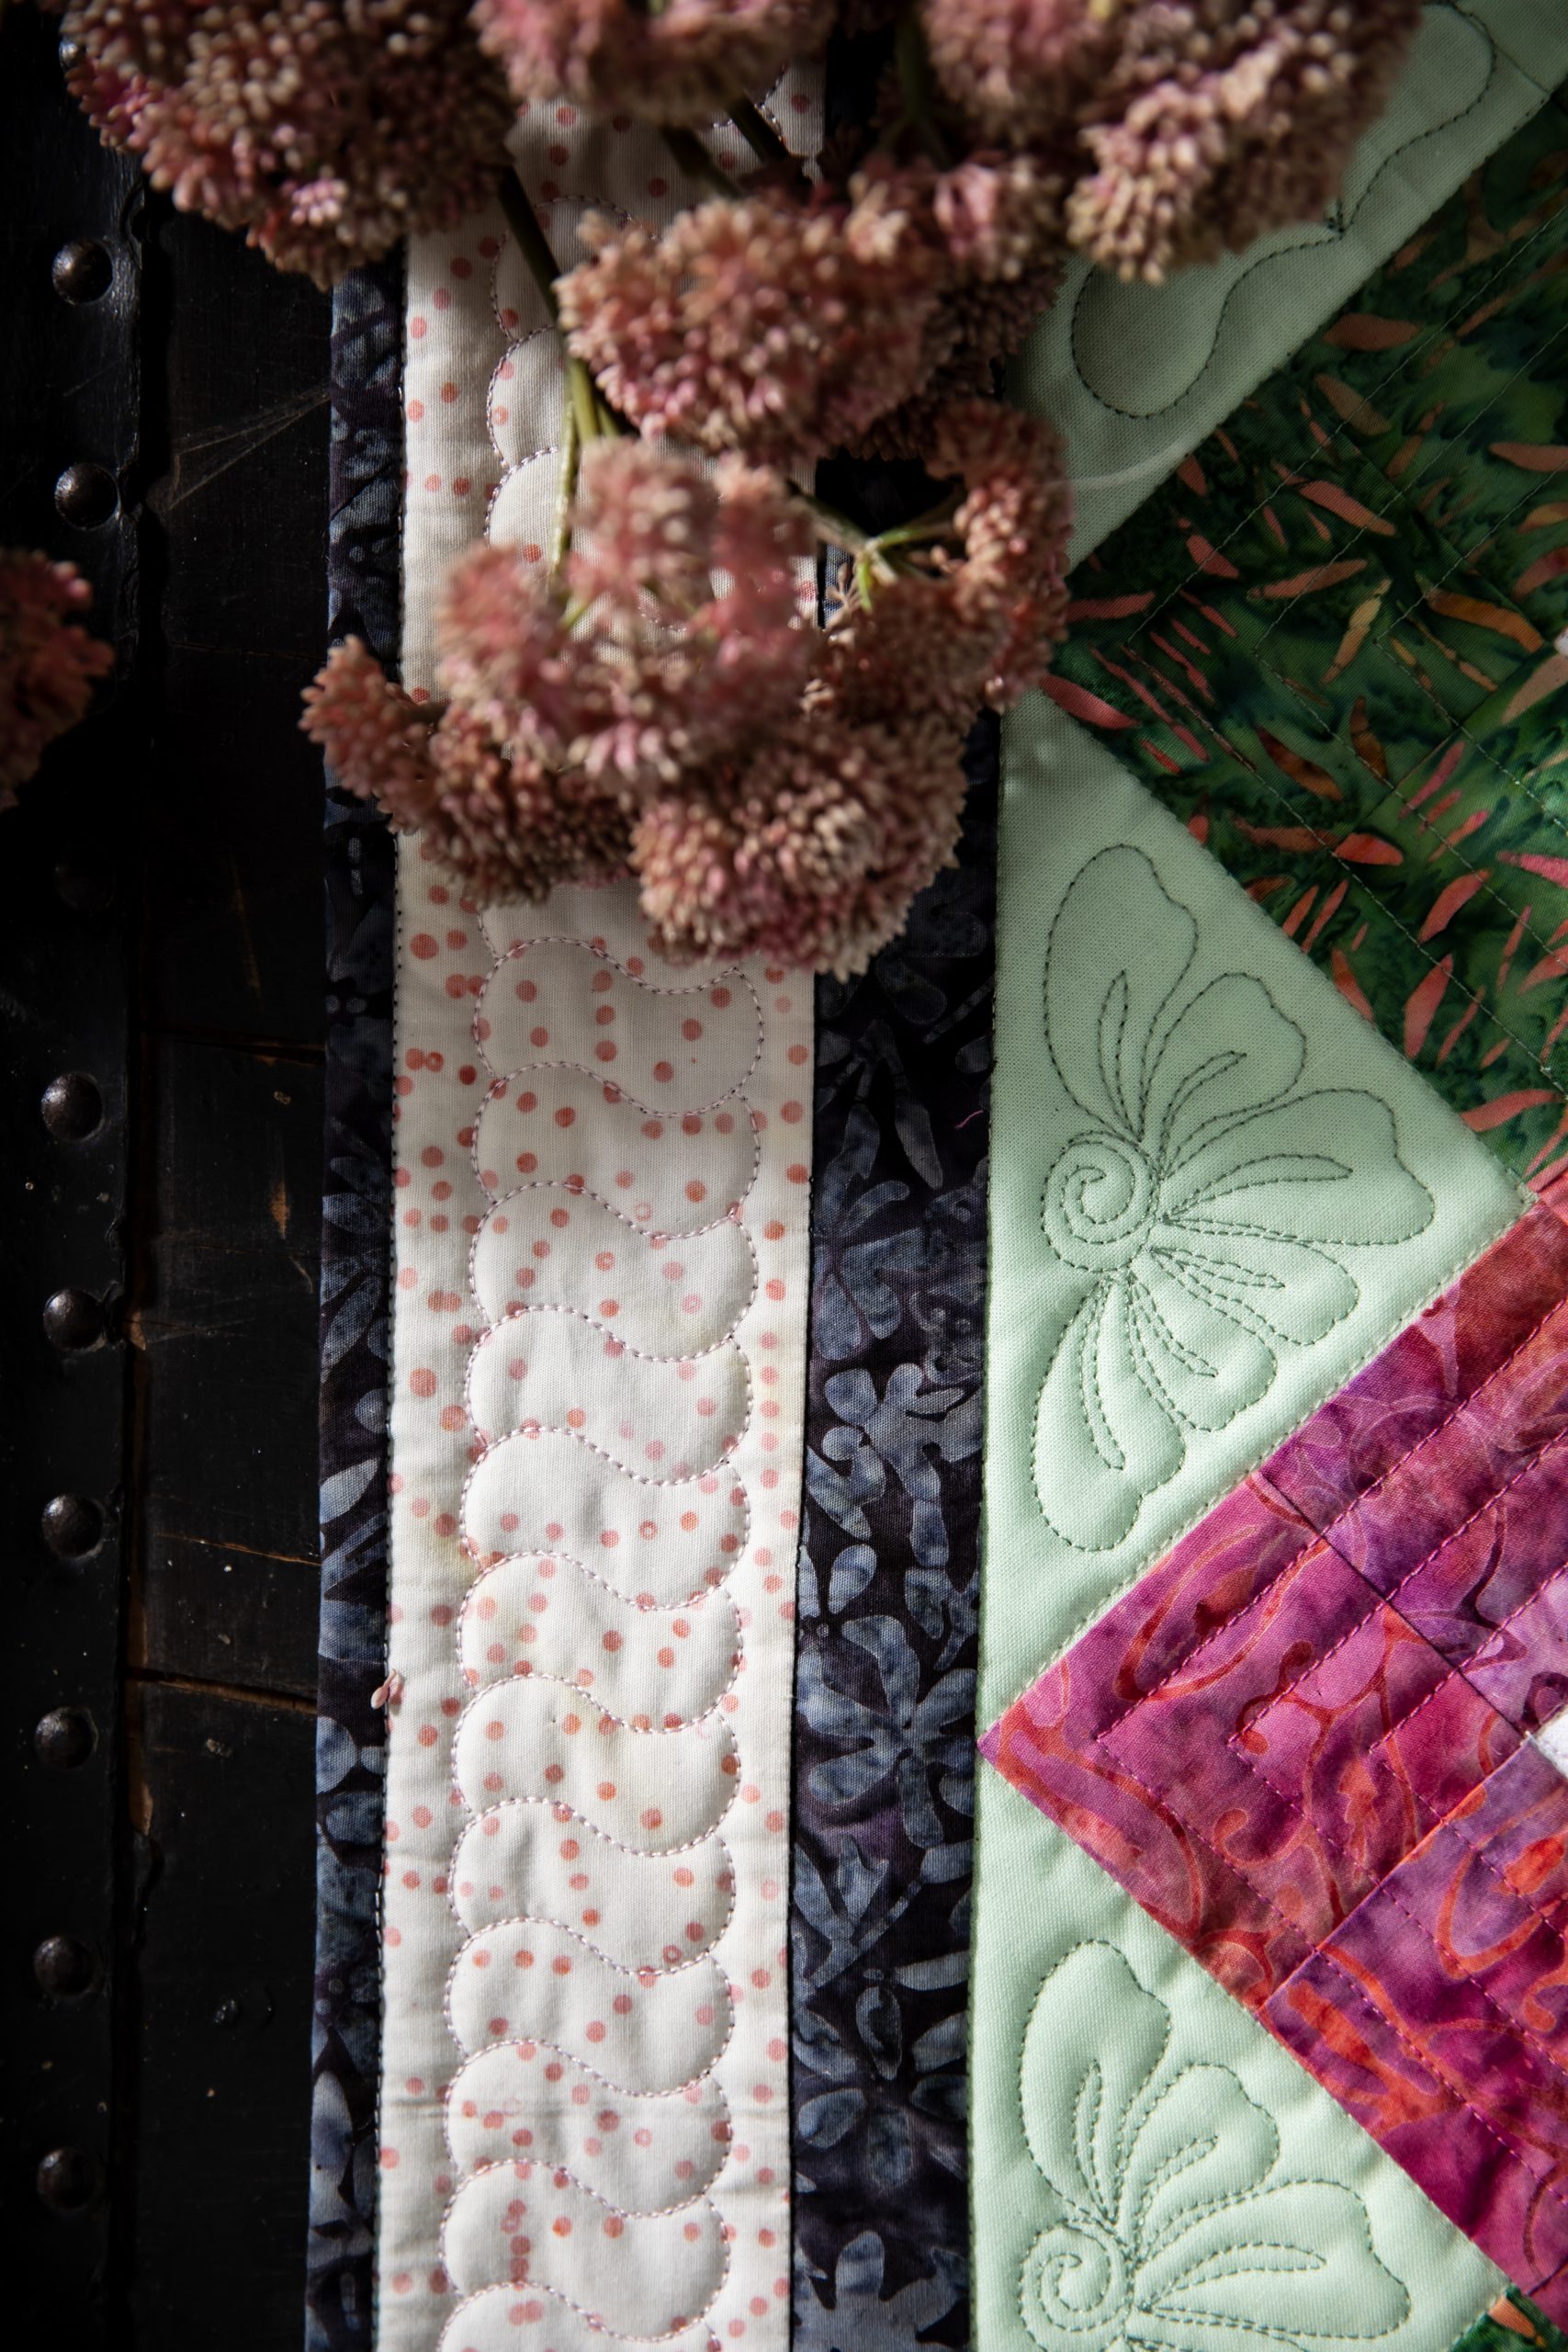
Cut 3 border strips from the pink dot print, 3-1/2 inch x WOF.
Cut 3 binding strips from the black/sage green print, 2-3/8 inch x WOF.
Piecing Instructions:
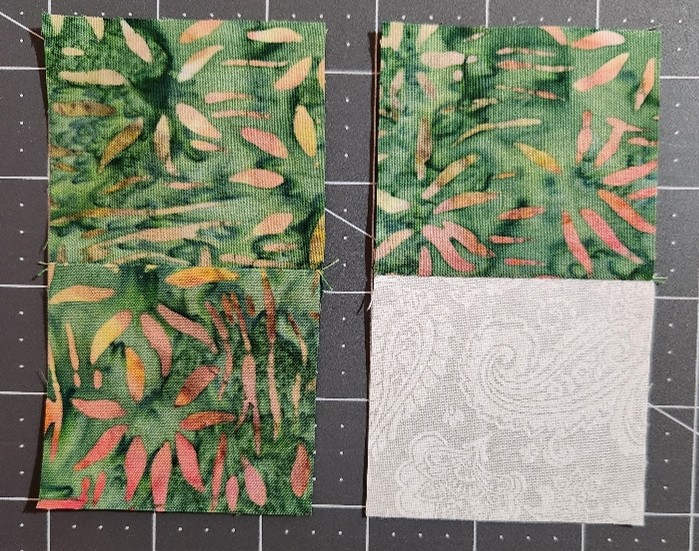
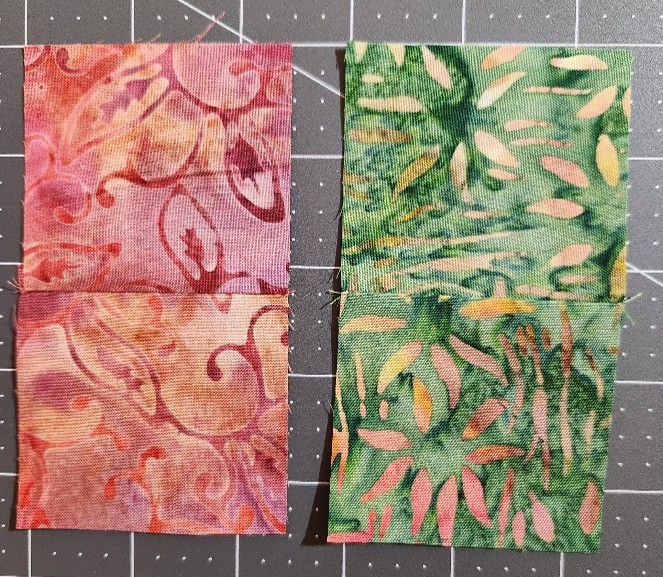
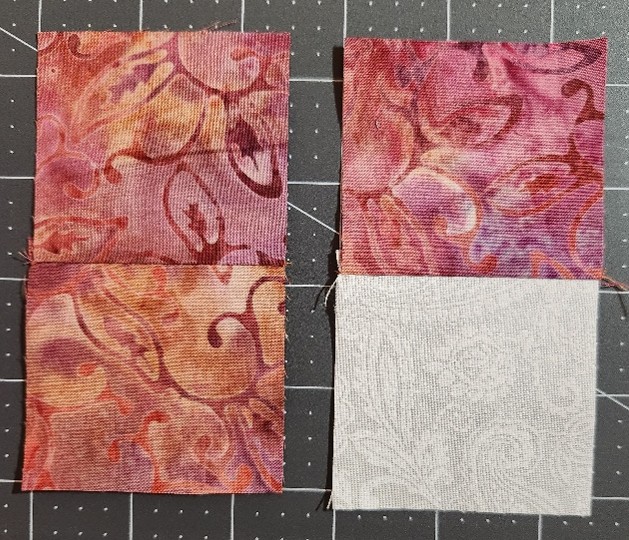
- Sew two squares together in the following numbers and combinations:
- 8 green-green
- 8 green-white
- 4 pink-pink
- 4 green-green
- 4 pink-white
- 4 pink-pink
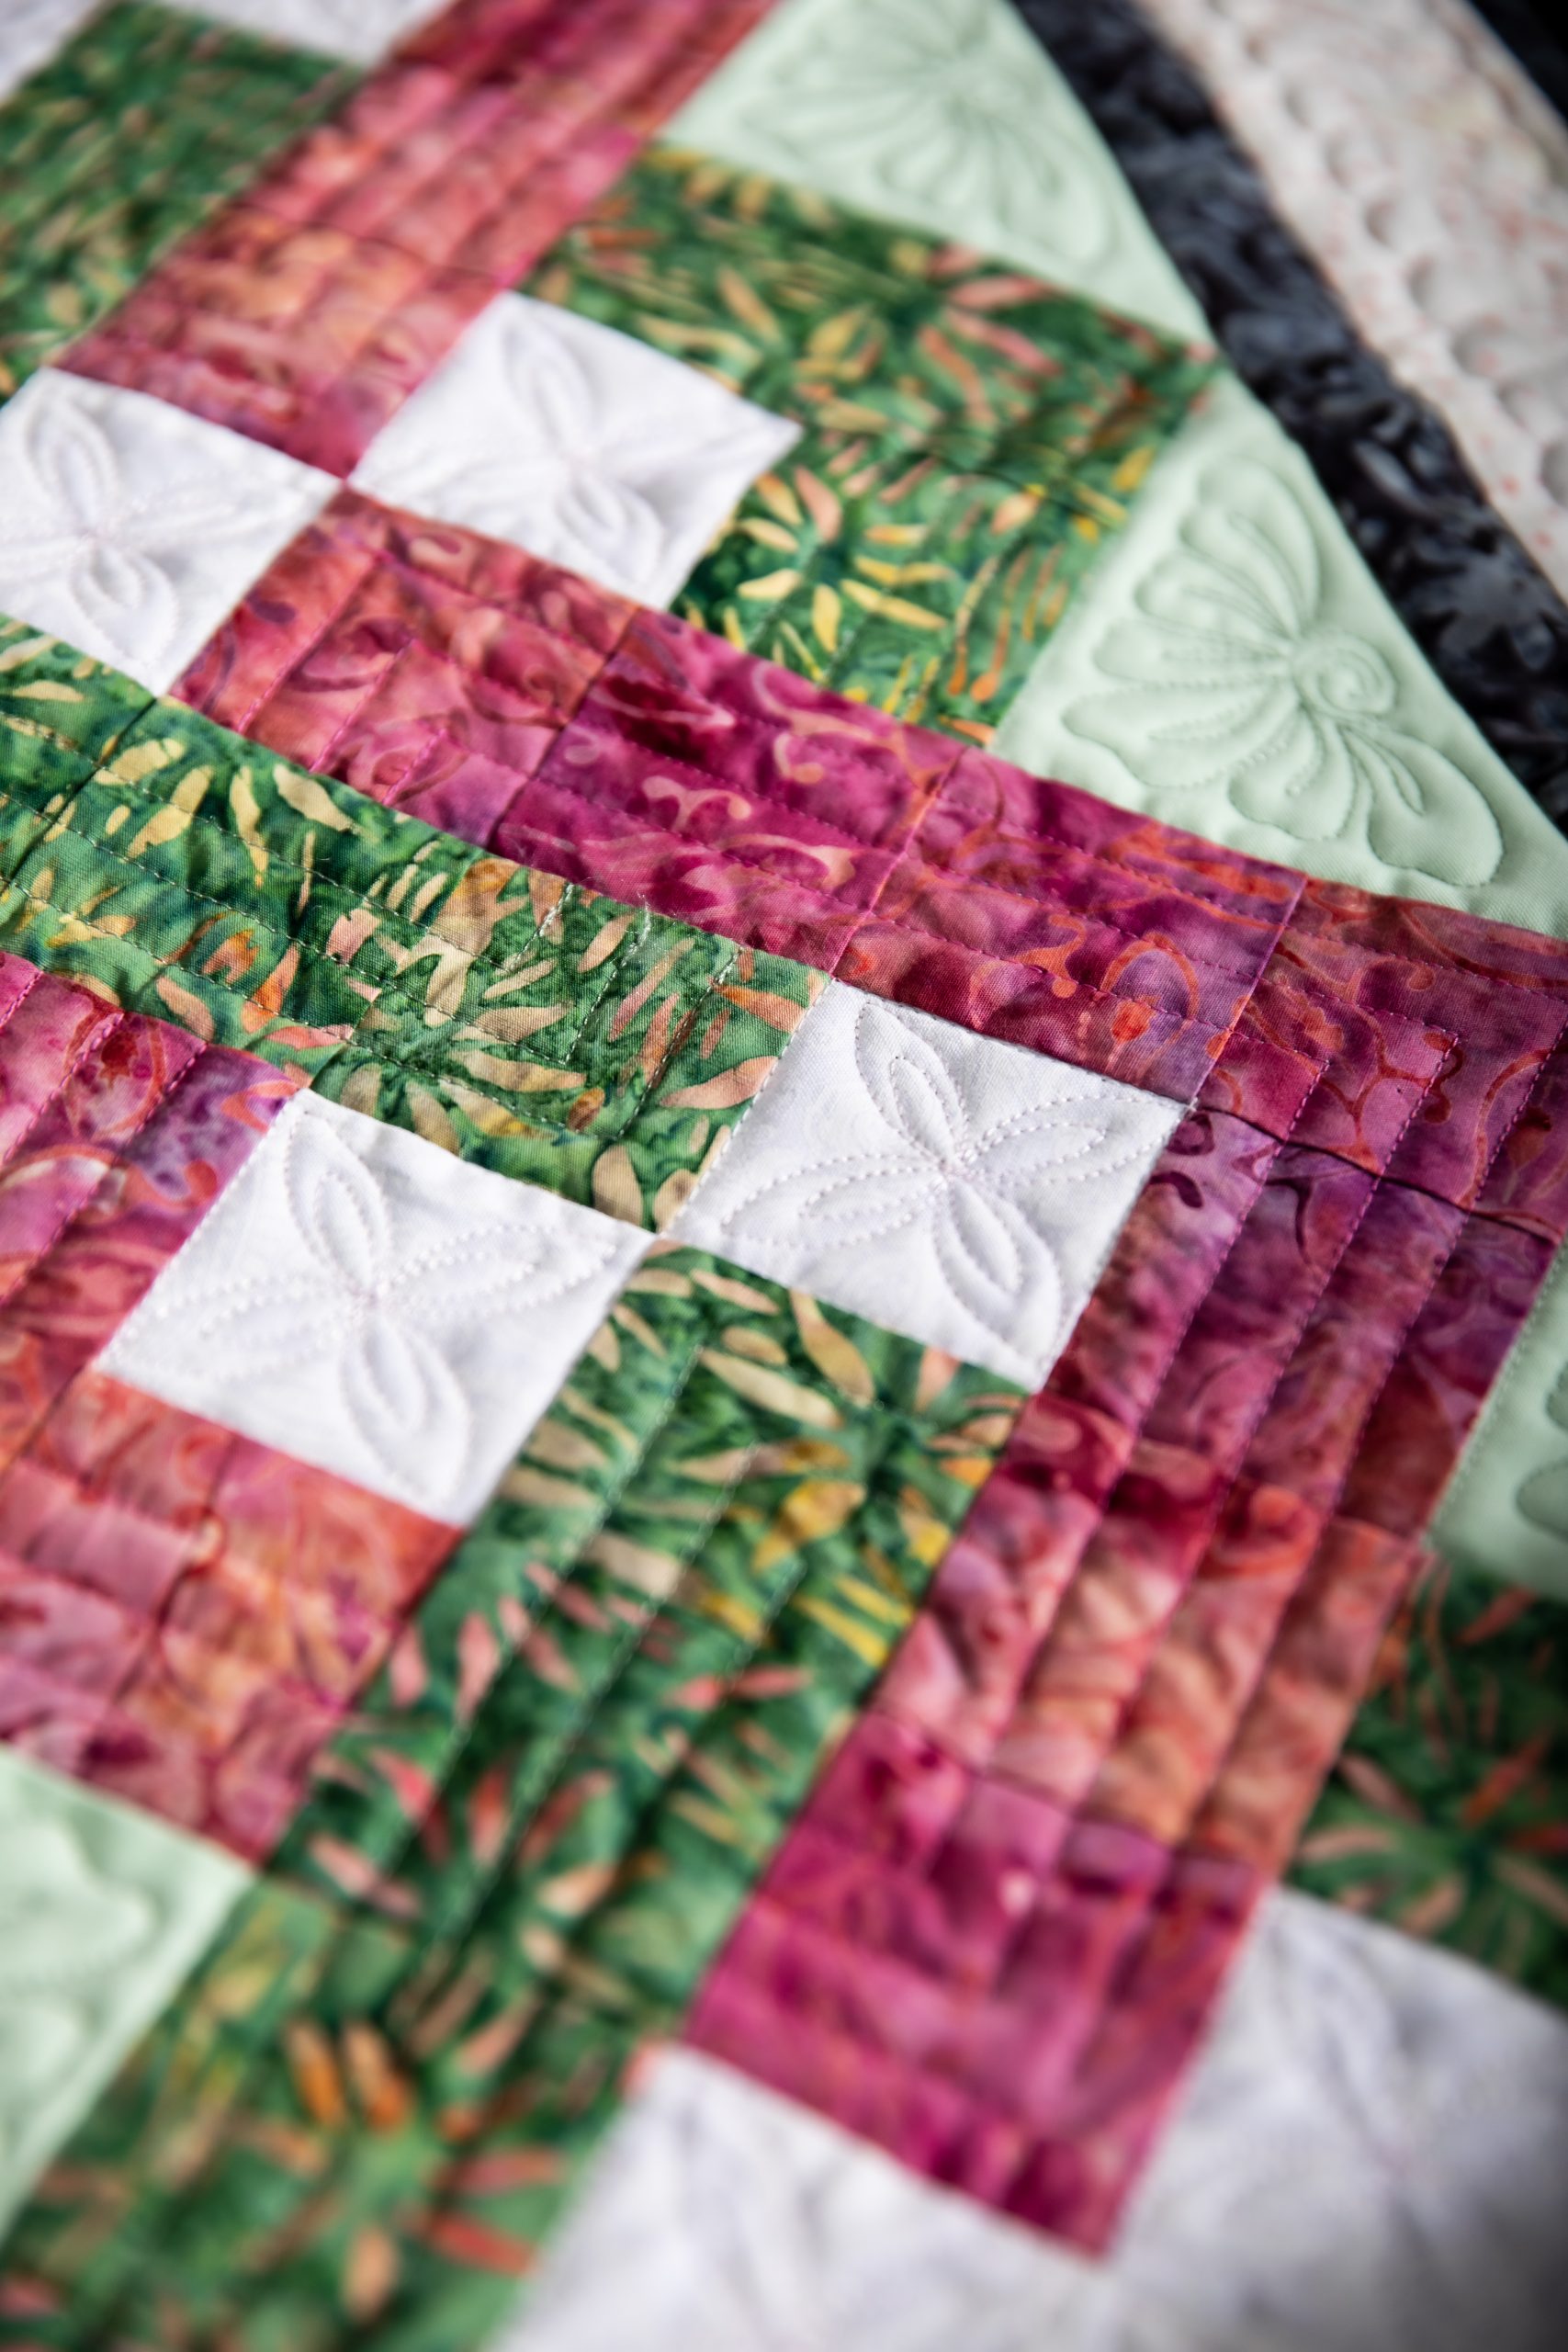
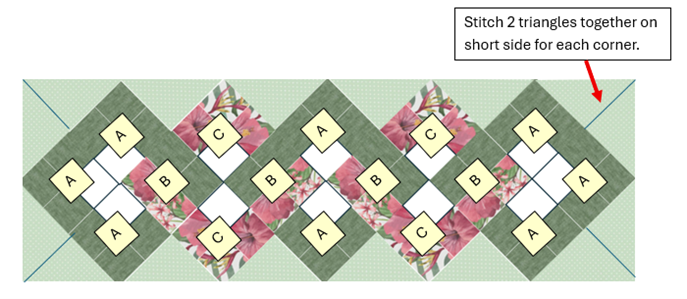
- Sew pairs of squares together to form blocks A, B and C:
- 8 of Block A
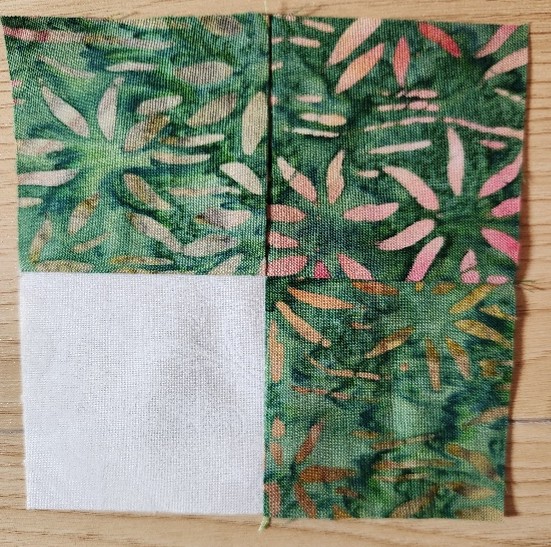
Block A
- 4 of Block B
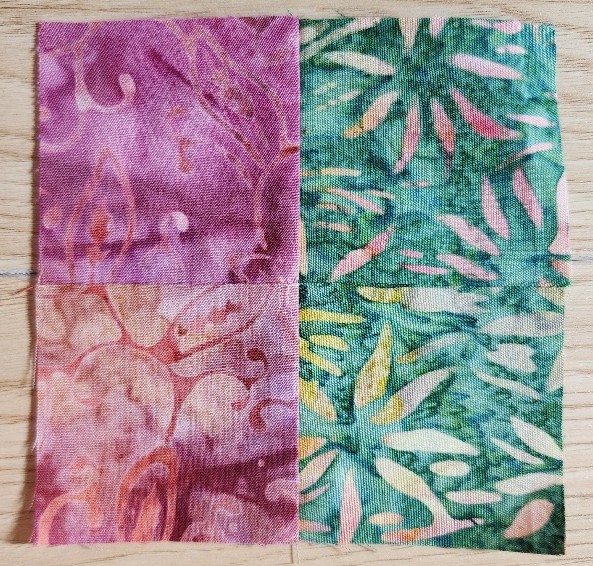
Block B
- 4 of Block C
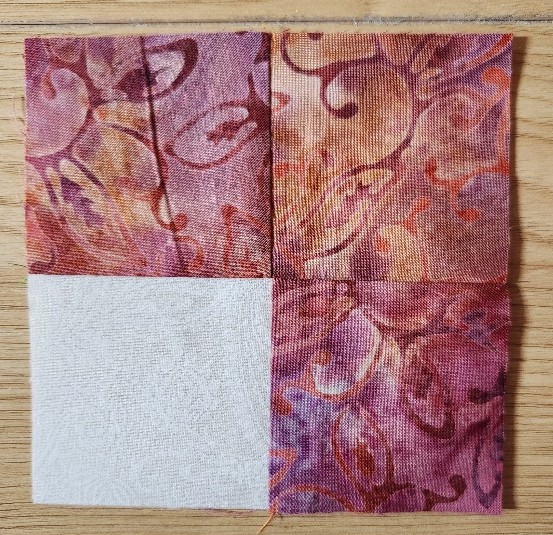
Block C
- 8 of Block A
- Lay out the setting triangles and blocks as shown in the diagram and photo below.
- Note: The setting triangles have been cut slightly larger on purpose to allow for variations in finished block sizes.
- The excess fabric will be trimmed in Step 4.
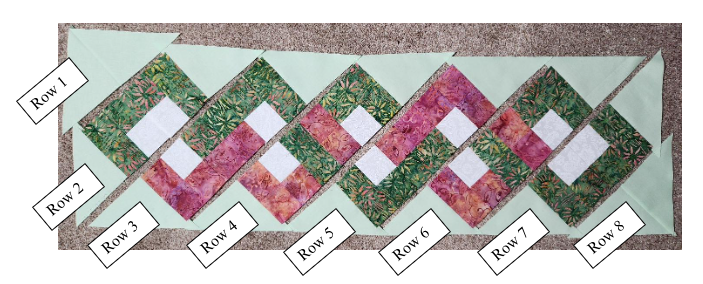
- This photo shows the layout of rows, with setting triangles attached at the start and end of each row.
- Stitch the rows together in the order shown in the photo.
- Trim excess fabric from the table runner edges.
- Mark a point 1/4 inch away from where the setting triangles meet. Join the points to form straight line edges. Trim along the lines, forming a 1/4 inch seam allowance.
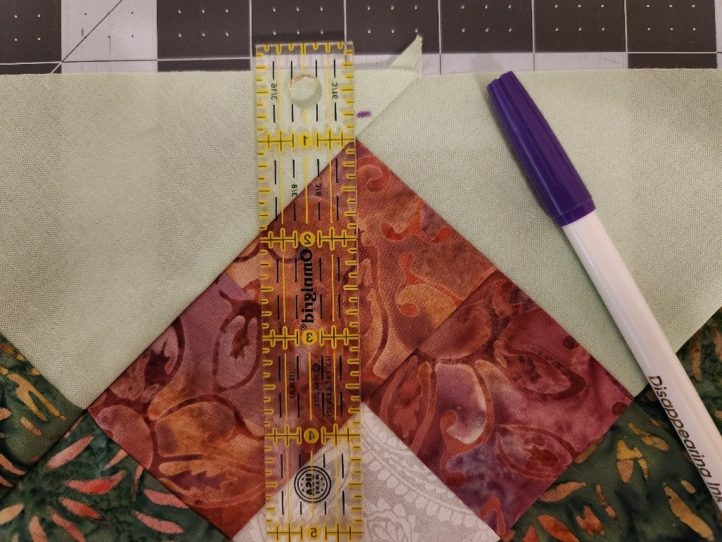
- A square ruler can be helpful to trim the corners accurately.
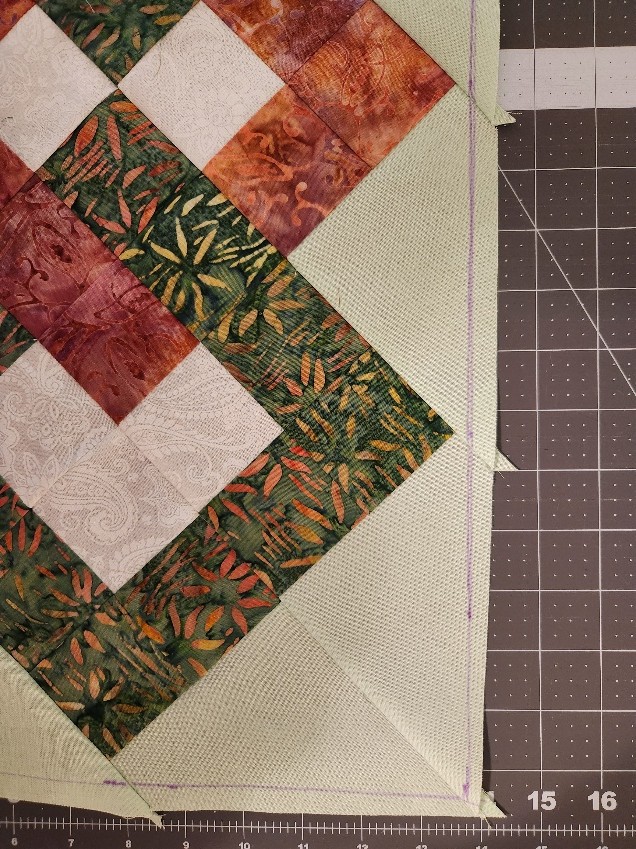
- Mark a point 1/4 inch away from where the setting triangles meet. Join the points to form straight line edges. Trim along the lines, forming a 1/4 inch seam allowance.
- Attach the borders.
- Sew a black/sage green border strip to the top and bottom. Trim the end of each strip even with the side of the table runner.
- Sew a black/sage green border strip to the left side. Trim the excess strip even with the top of the runner.
- Use the remainder of this strip to stitch a black/sage green border strip to the right side. Trim the excess strip even with the bottom edge of the runner.
- Repeat the procedure for adding the pink dot print to the top and bottom, then to the left and right sides of the runner.
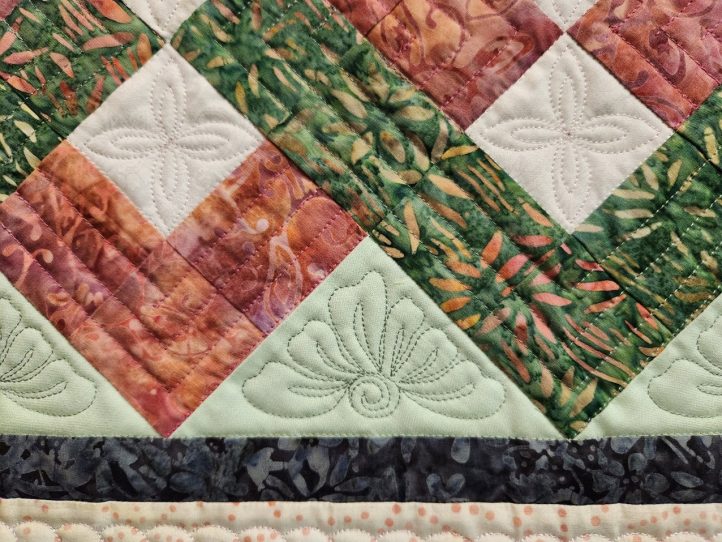
- Layer the table runner top over the batting and backing fabric. Quilt as desired.
- Some suggestions include:
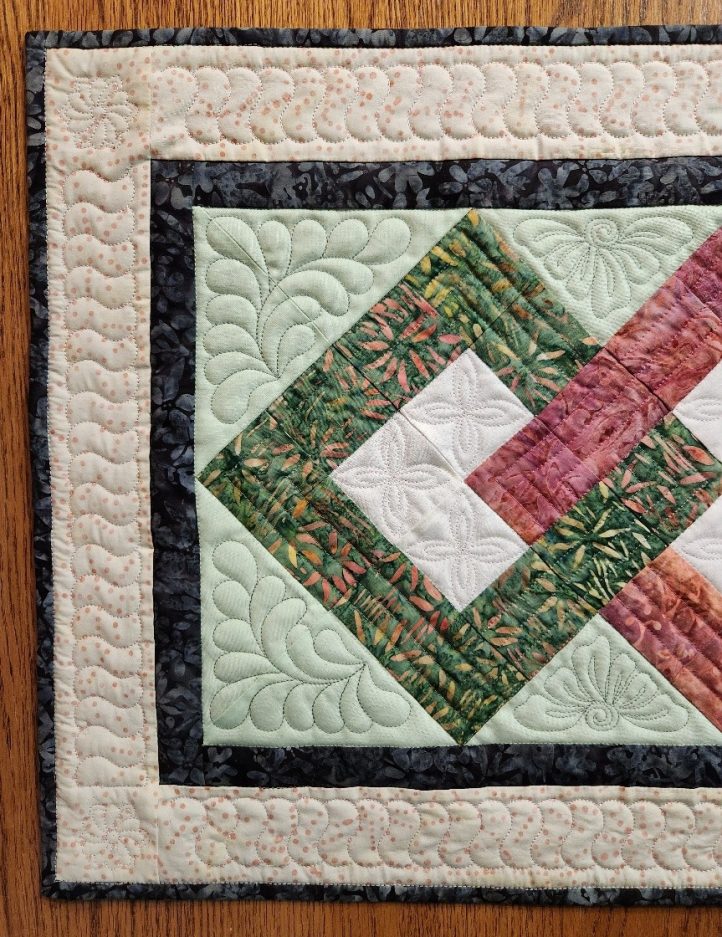
- Concentric parallel lines inside each sage green and pink diamond.
- Feathers in the setting triangles.
- S-curves in the pink dot print.
- (The example quilting was done as a combination of stitching with a walking foot on a domestic machine, and quilting done on a longarm quilting machine.)
- Some suggestions include:
- Bind the edges using any standard binding method.
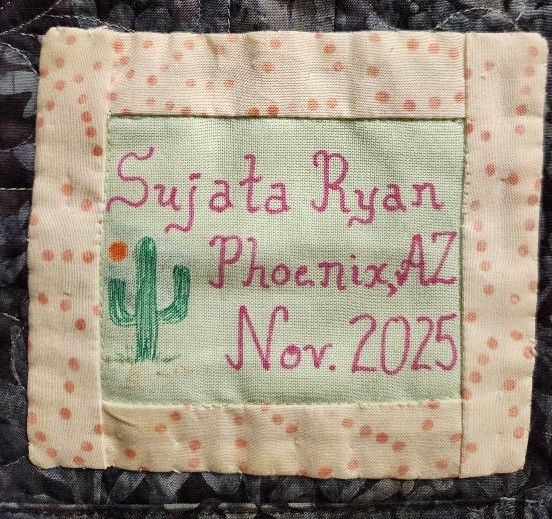
- Make and attach a name label to the back of the runner.
- The interlocking diamond table runner is now finished!