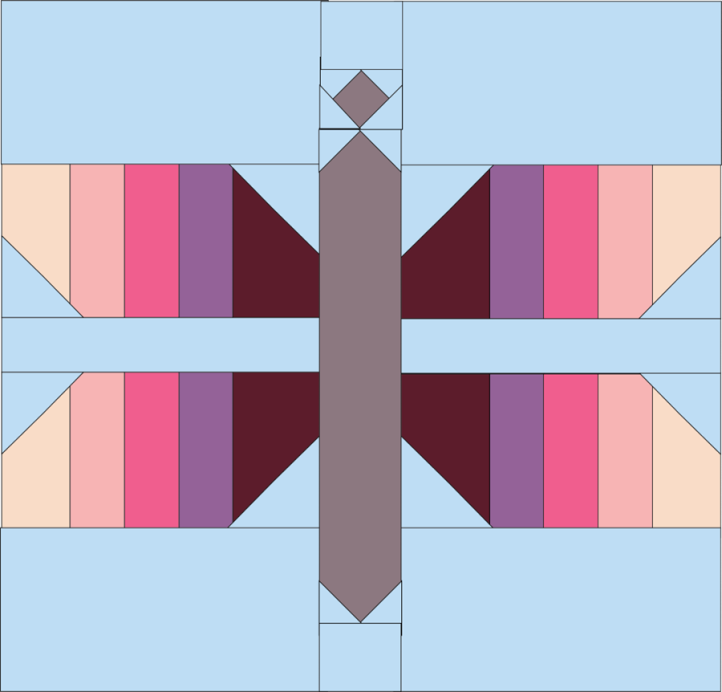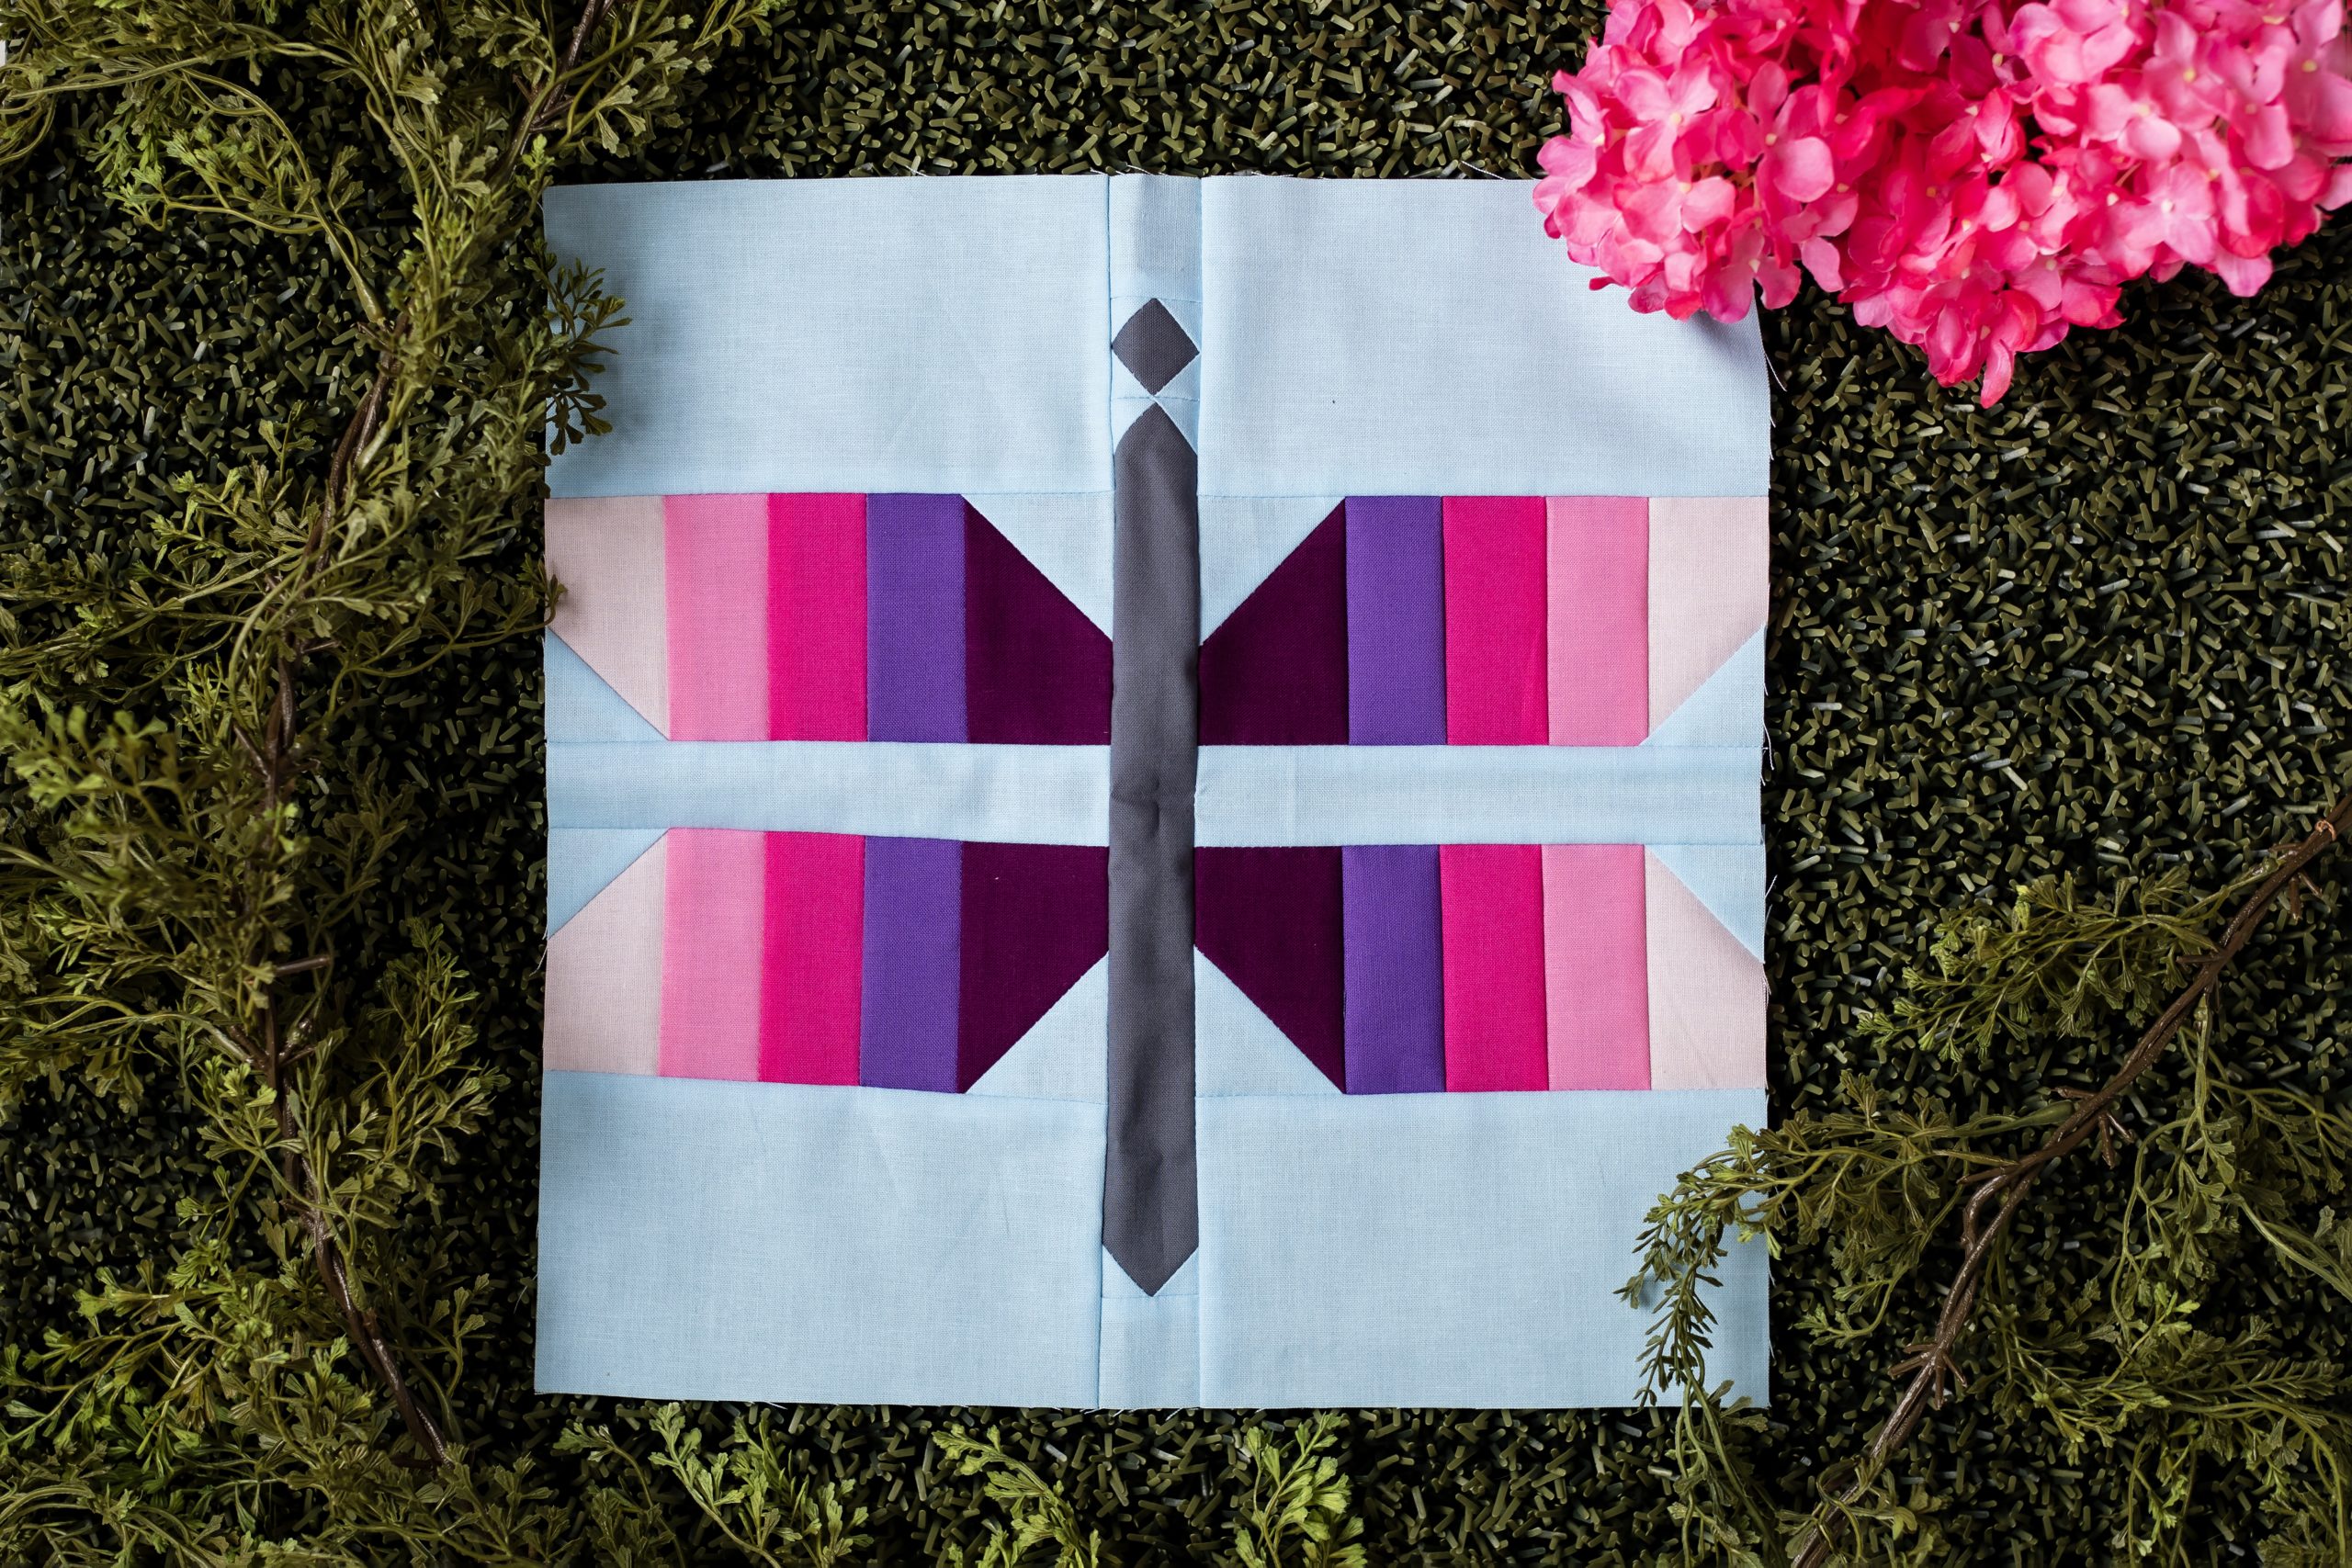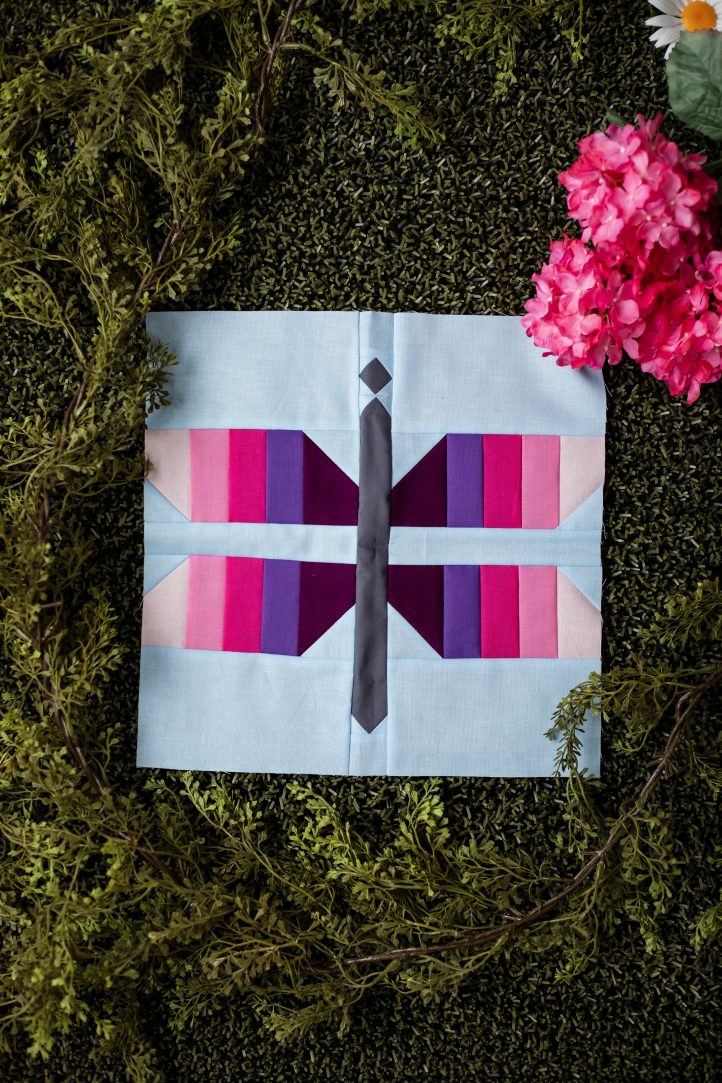
Capture the beauty of a dragonfly in flight across a summer morning sky with this quilt block pattern from Staci Wendland. Finishing at a 12-inch square, this insect quilt block pattern can be made with fat quarters in pinks and purples to give your dragonfly’s wings an ombre effect. Turn this block pattern into a delightful throw pillow or create a cluster of dragonflies for a stunning late summer quilt.
Finished Size: 12″ x 12″ (12 1/2” x 12 1/2″ to unfinished edges)
Seam Allowances: 1/4″
Abbreviations:
- RST = right sides together
- WOF = width of fabric from selvage to selvage
- HST = half square triangles
Materials:
- Cotton Fabric Requirements (40” wide):
- Blue (background): 1/4 yard (or fat quarter)
- Grey (body): 1/8 yard (or fat quarter)
- Dark Purple (wing): 1/8 yard (or fat quarter)
- Medium Purple (wing): 1/8 yard (or fat quarter)
- Fuchsia (wing): 1/8 yard (or fat quarter)
- Medium Pink (wing): 1/8 yard (or fat quarter)
- Light Pink (wing): 1/8 yard (or fat quarter)
Cutting Instructions:
Blue:
- (8) 1″ x 1″
- (6) 1 1/2″ x 1 1/2″
- (4) 2″ x 2″
- (2) 1 1/2″ x 6″
- (4) 3 1/2″ x 6″
Grey:
- (1) 1 1/2″ x 1 1/2″
- (1) 1 1/2″ x 9 1/2″
Dark Purple: (4) 2″ x 3″
Medium Purple: (4) 1 1/2″ x 3″
Fuchsia: (4) 1 1/2″ x 3″
Medium Pink: (4) 1 1/2″ x 3″
Light Pink: (4) 1 1/2″ x 3″
Piecing Instructions:
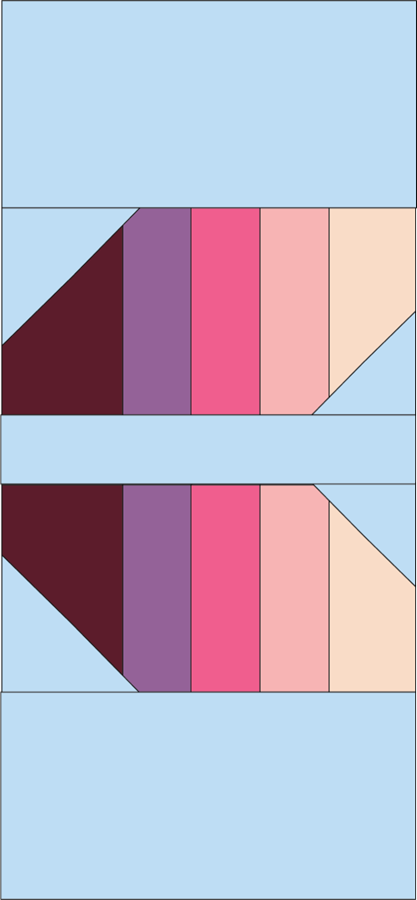
- Lay out (2) sets of (1) light pink 1 1/2″ x 3″, (1) medium pink 1 1/2″ x 3″, (1) fuchsia 1 1/2″ x 3″, (1) medium purple 1 1/2″ x 3″, and (1) dark purple 2″x 3″.
- Sew each set into a horizontal row. Press seams to the right.

- Draw a diagonal line on the wrong side of (1) blue 1 1/2″ x 1 1/2″.
- Place RST on the lower left corner of (1) pink/purple unit with the drawn line from the upper left to lower right.
- Sew on the line. Trim 1/4″ from the line toward the corner. Press the seam toward the corner.

- Draw a diagonal line on the wrong side of (1) blue 2″ x 2″.
- Place RST on the upper right corner of the pink/purple unit with the line from the upper left to lower right.
- Sew on the line. Trim 1/4″ from the line toward the corner. Press the seam toward the corner.

- Repeat Steps 3-8 with the second pink/purple unit, but place (1) blue 1 1/2″ x 1 1/2″ on the upper left corner with the line from the lower left to upper right, and (1) blue 2″ x 2″ on the lower right corner with the line from the lower left to upper right.

- Sew (1) blue 1 1/2″ x 6″ RST between the two units. Press the seams toward the blue.
- Sew (1) blue 3 1/2″ x 6″ RST to the top of the unit and (1) blue 3 1/2″ x 6″ to the bottom of the unit. Press both seams toward the blue. Set aside.
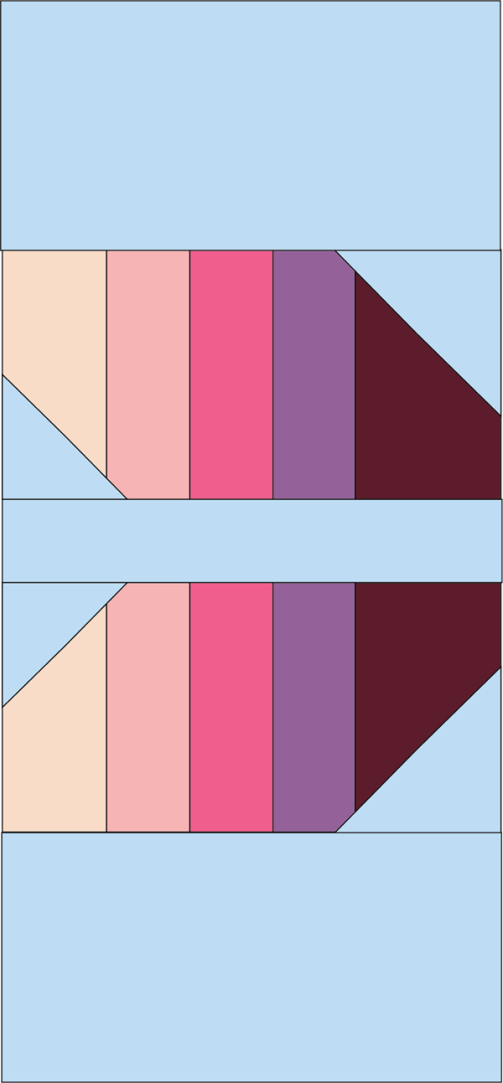
- Lay out (2) sets of (1) dark purple 2″ x 3″, (1) medium purple 1 1/2″x 3″, (1) fuchsia 1 1/2″x 3″, (1) medium pink 1 1/2″x 3″, and (1) light pink 1 1/2″x 3″.
- Sew each set RST into a horizontal row. Press seams toward the left.
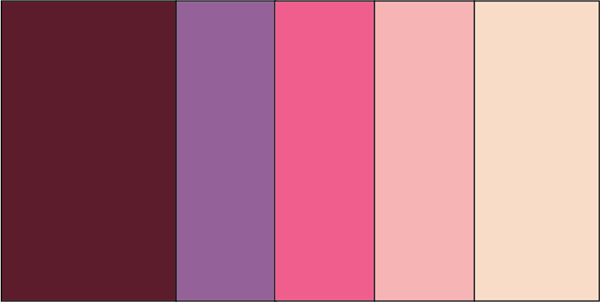
- Draw a diagonal line on the wrong side of (1) blue 1 1/2″ x 1 1/2″. Place on the lower right corner of the pink/purple unit with the line from the lower left to upper right.
- Sew on the line. Trim 1/4″ from the line toward the corner. Press the seam toward the corner.
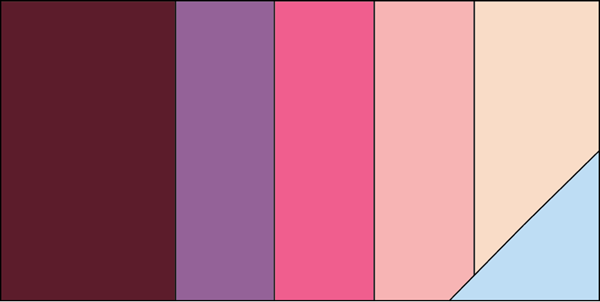
- Draw a diagonal line on the wrong side of (1) blue 2″ x 2″.
- Place RST on the upper left corner of the pink/purple unit with the line from the lower left to upper right.
- Sew on the line. Trim 1/4″ from the line toward the corner. Press the seam toward the corner.
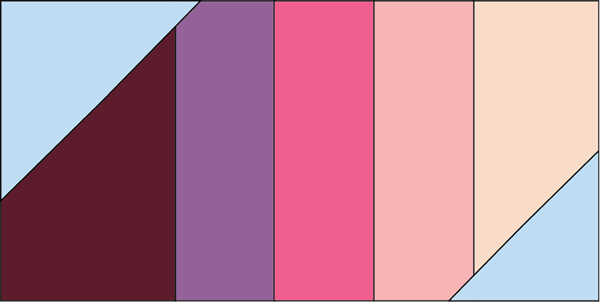
- Repeat Steps 14-18 with the remaining pink/purple unit, but place (1) blue 1 1/2″ x 1 1/2″ on the upper right corner with the line from the upper left to lower right, and (1) blue 2″ x 2″ on the lower left corner with the line from the upper left to lower right.
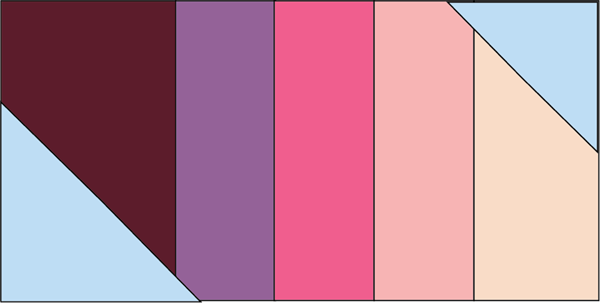
- Sew (1) blue 1 1/2″ x 6″ RST between the two units. Press the seams toward the blue.
- Sew (1) blue 3 1/2″ x 6″ RST to the top of the unit and (1) blue 3 1/2″ x 6″ RST to the bottom of the unit. Press both seams toward the blue. Set aside.
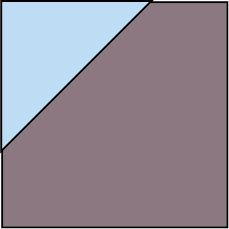
- Draw a diagonal line on the wrong side of (8) blue 1″ x 1″.
- Place (1) blue 1″ x 1″ RST on the upper left corner of (1) grey 1 1/2″ x 1 1/2″ with the line from the lower left to upper right.
- Sew on the line. Trim 1/4″ from the line toward the corner. Press the seam toward the corner.
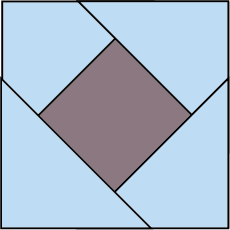
- Place (1) blue 1″ x 1″ RST on the upper right corner with the line from the upper left to lower right.
- Sew on the line. Trim 1/4″ from the line toward the corner. Press the seam toward the corner.
- Place (1) blue 1″ x 1″ RST on the lower right corner with the line from the lower left to upper right.
- Sew on the line. Trim 1/4″ from the line toward the corner. Press the seam toward the corner.
- Place (1) blue 1″ x 1″ RST on the lower left corner with the line from the upper left to lower right.
- Sew on the line. Trim 1/4″ from the line toward the corner. Press the seam toward the corner.
- Repeat Steps 22-30 with (4) blue 1″ x 1″ and (1) grey 1 1/2″ x 9 1/2″.

- Sew the (2) blue/grey units RST. Press the seam open to reduce bulk.

- Sew (1) blue 1 1/2″ x 1 1/2″ RST to the top of the unit and (1) blue 1 1/2″ x 1 1/2″ RST to the bottom. Press seams toward the blue.

- Gather all three units. Lay out with the light pink on the outer edges and the body in the middle.
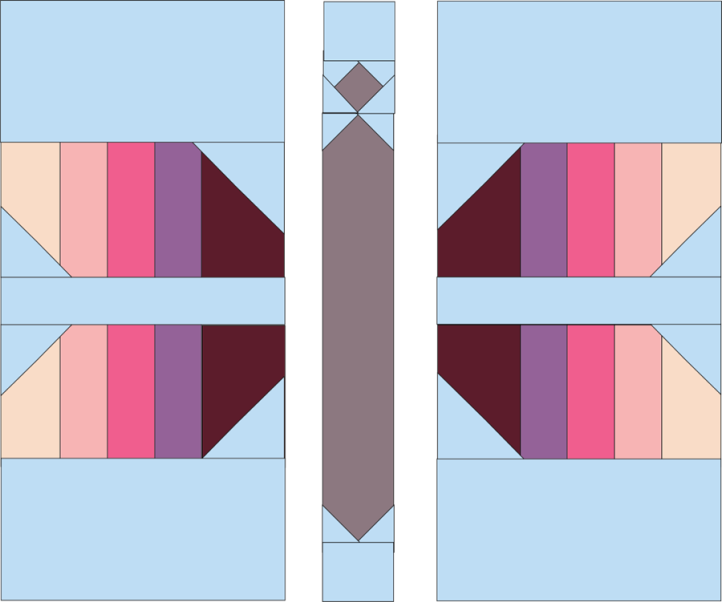
- Sew the units RST. Press the seams toward the outside of the block.
