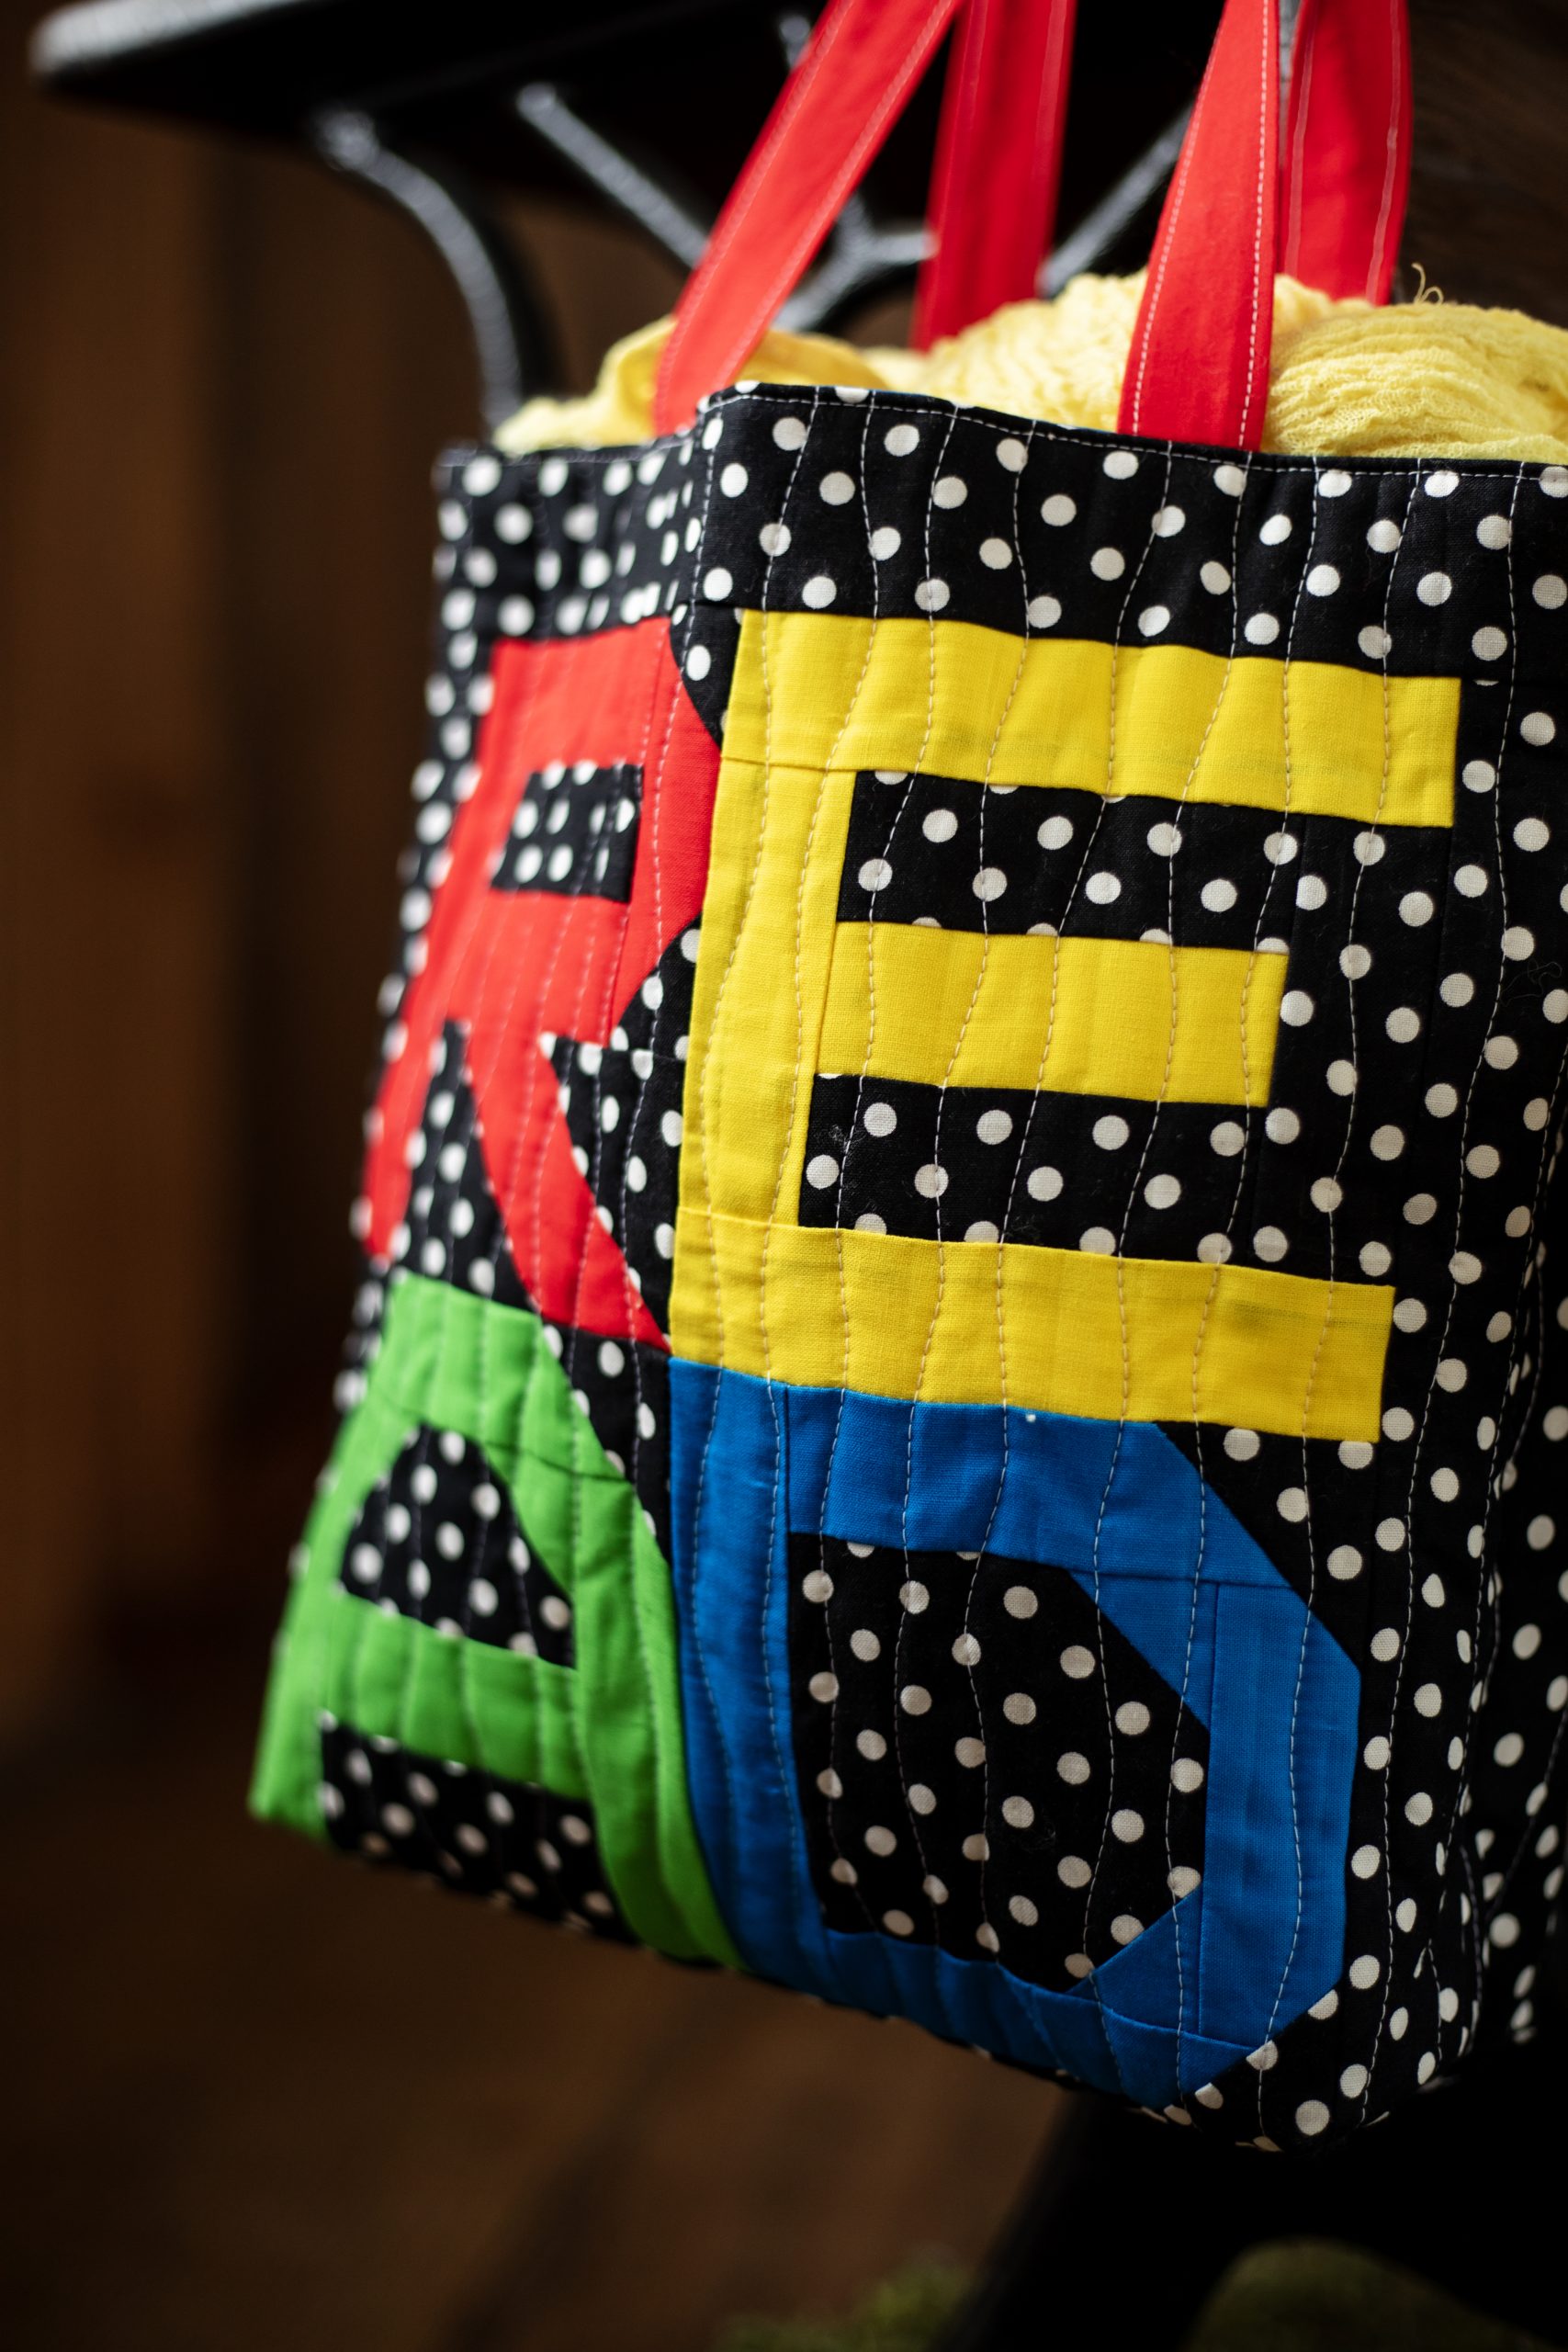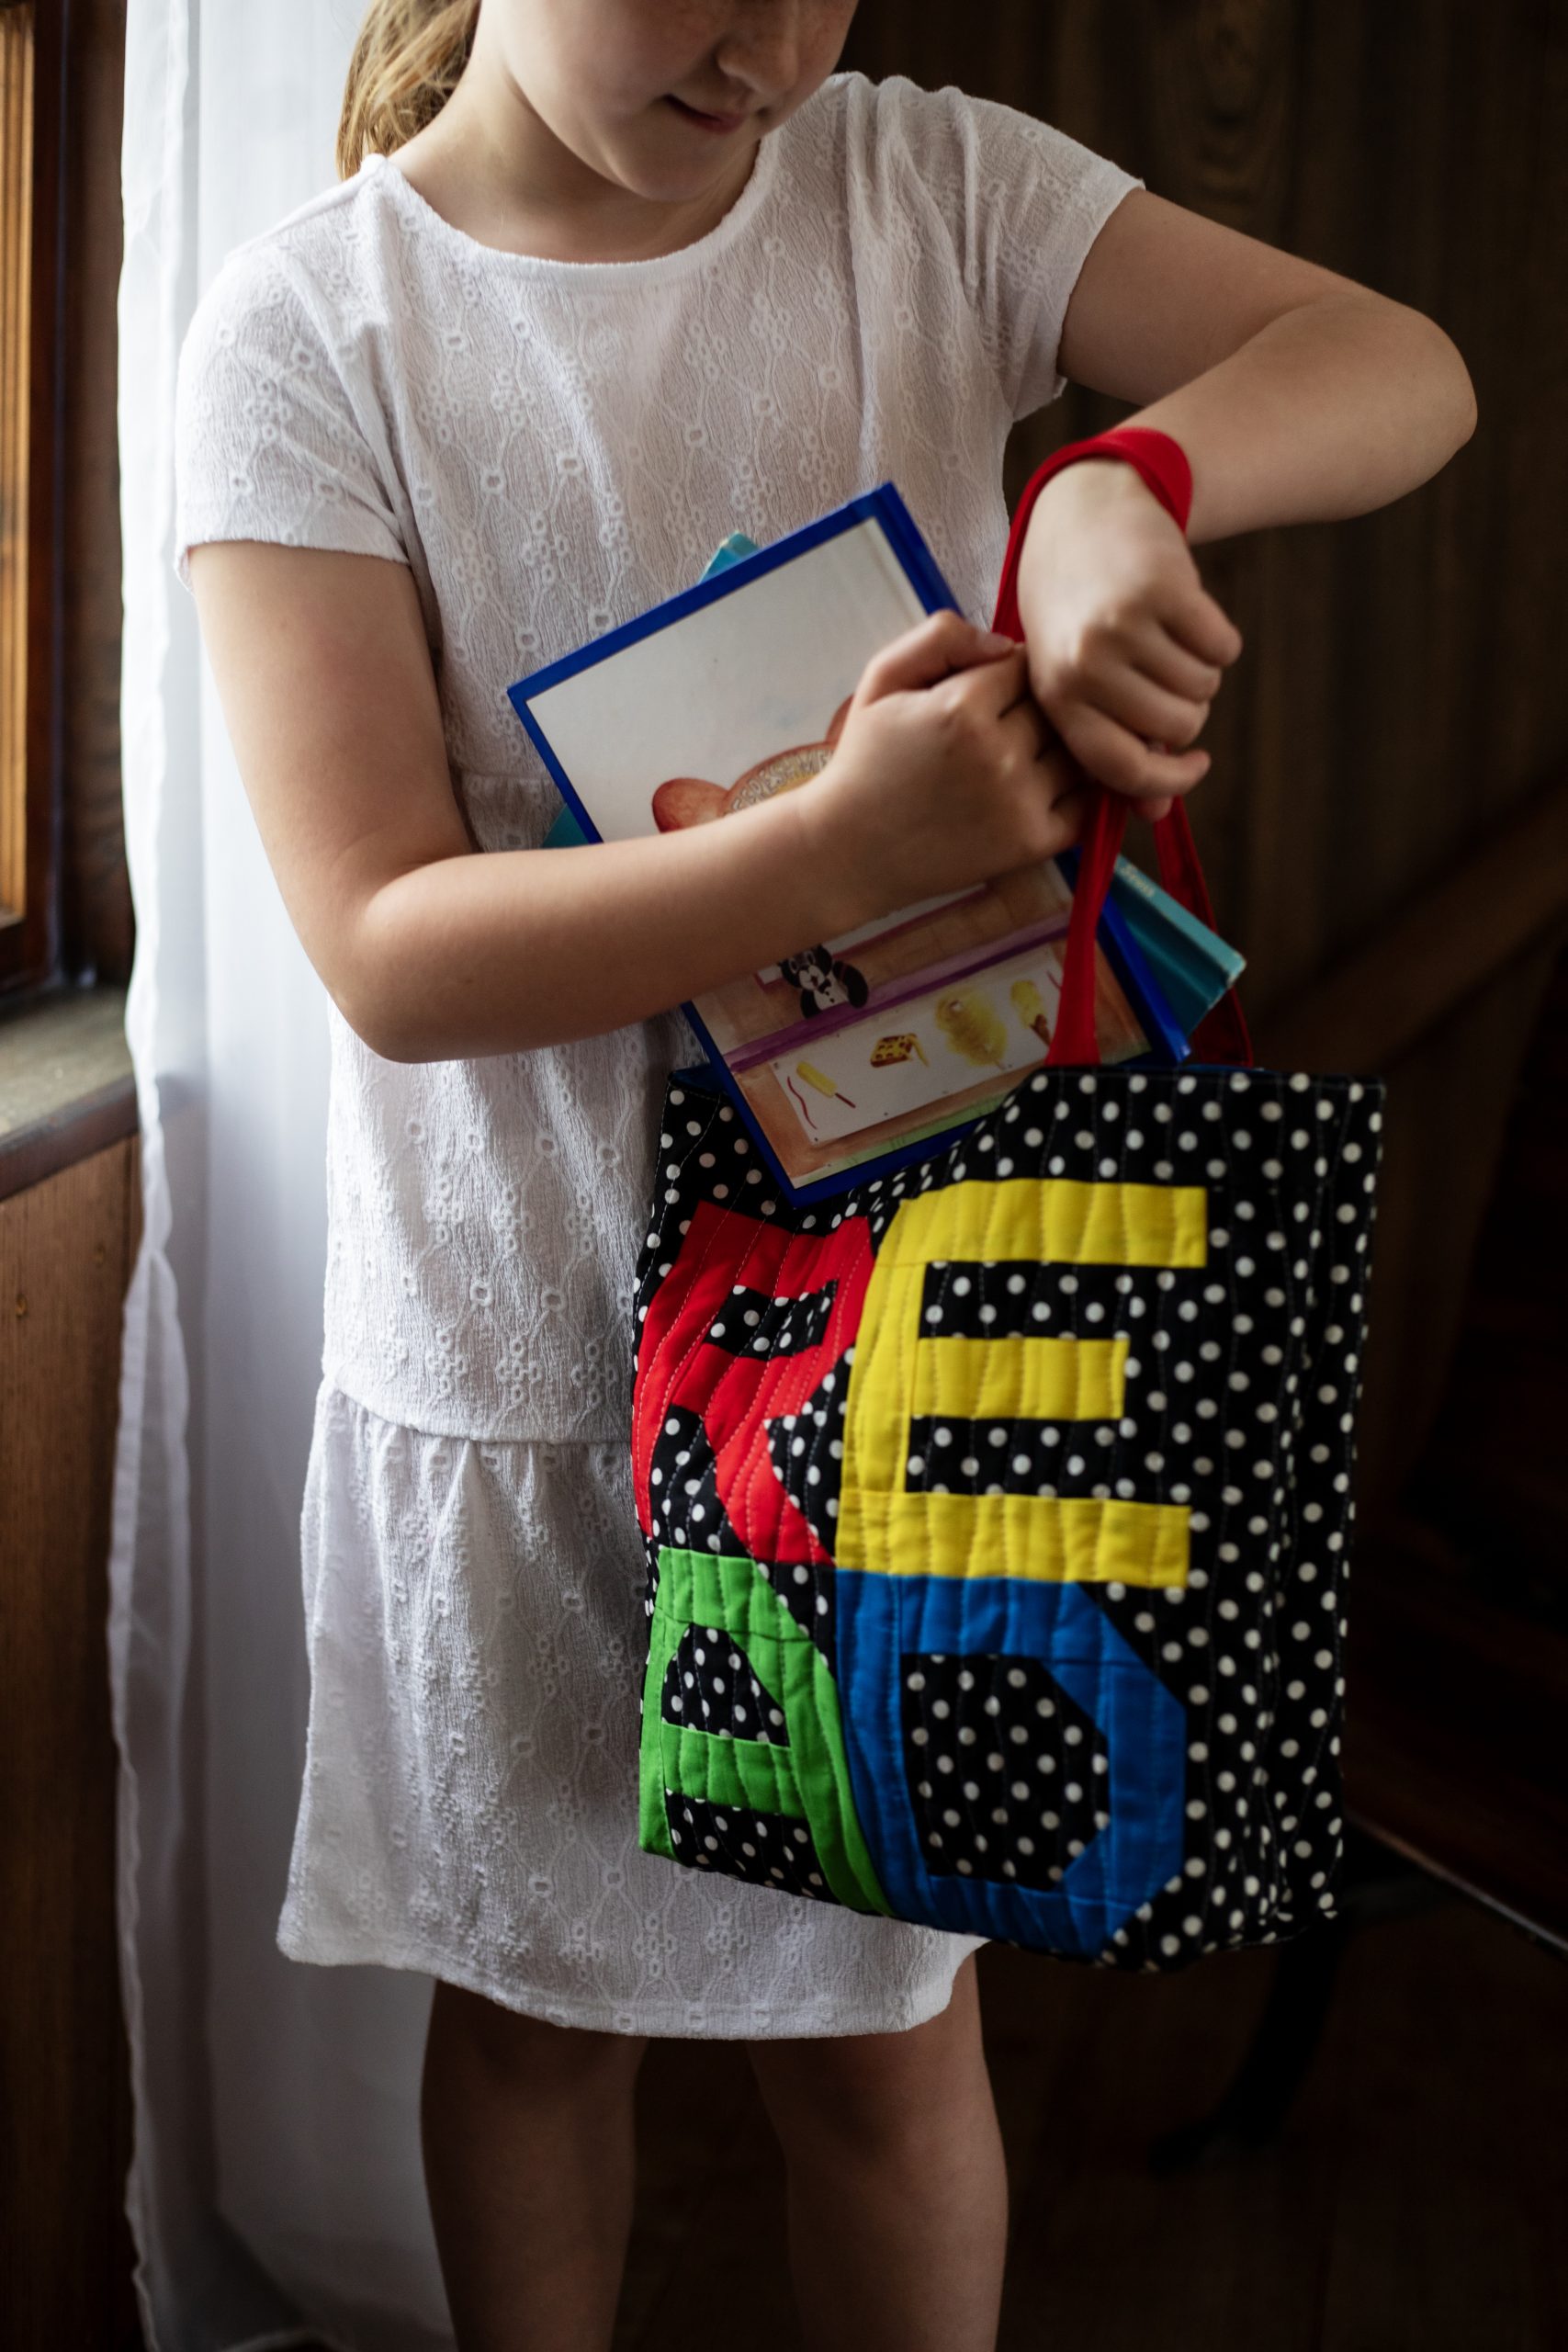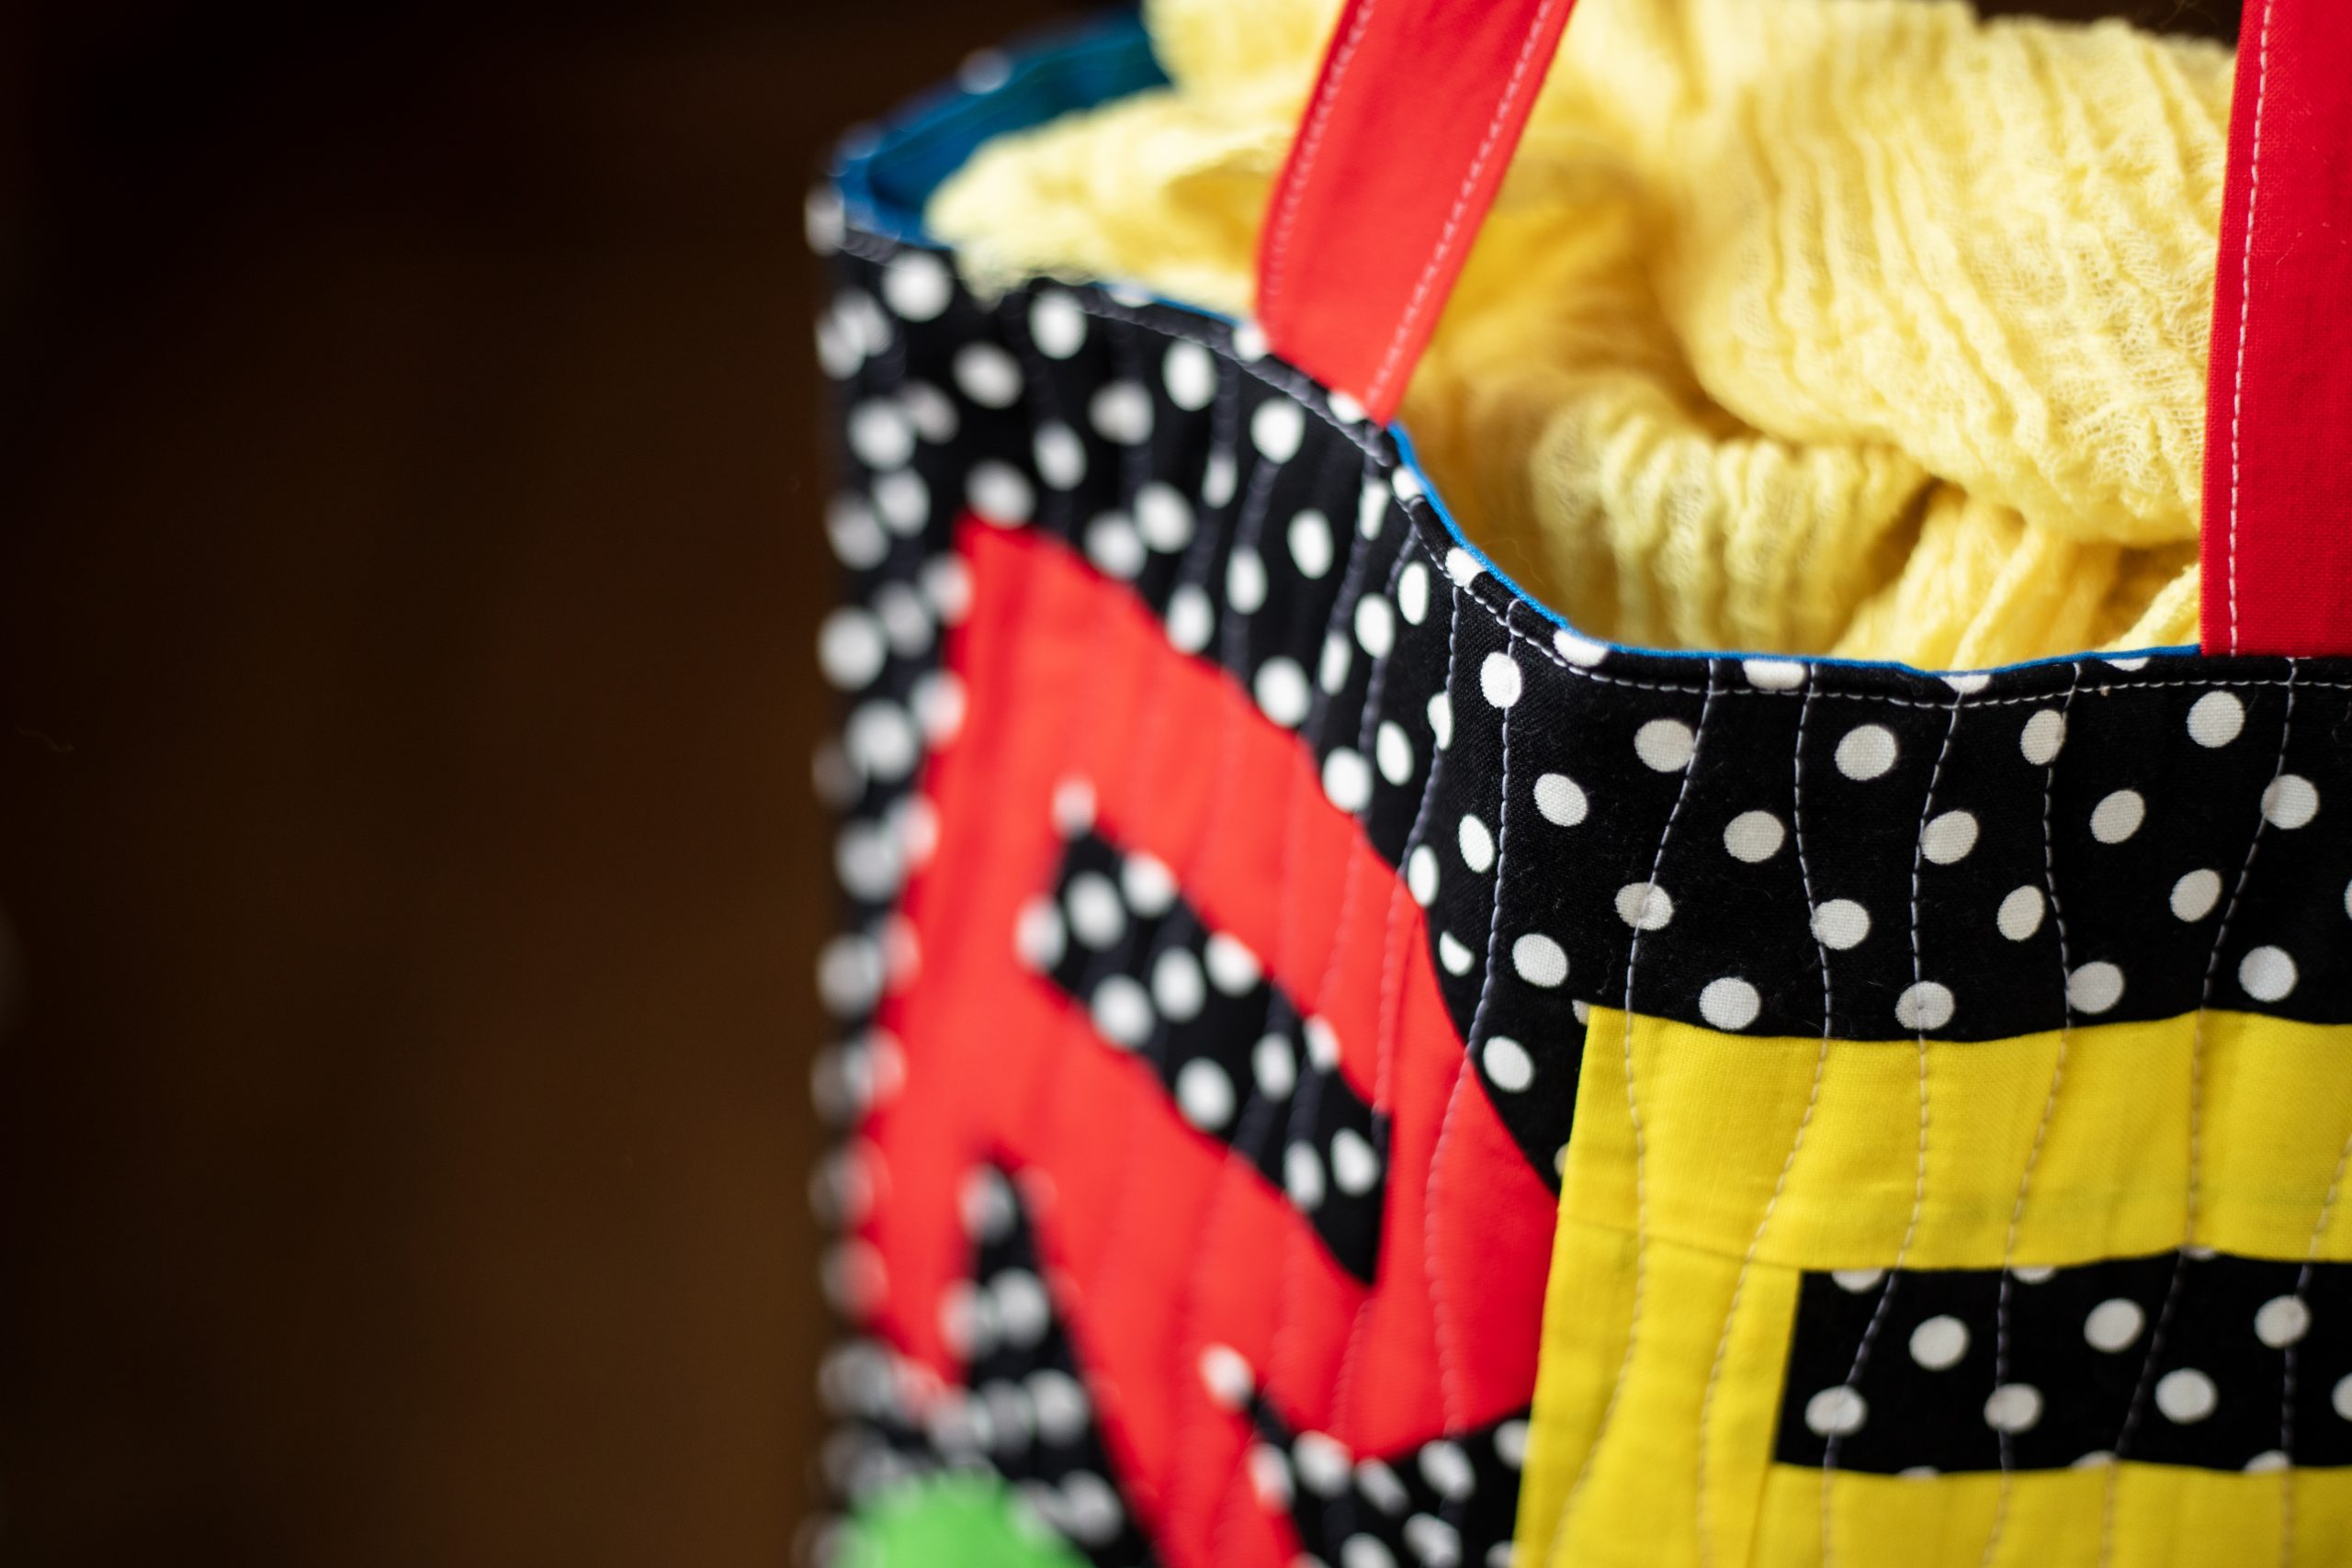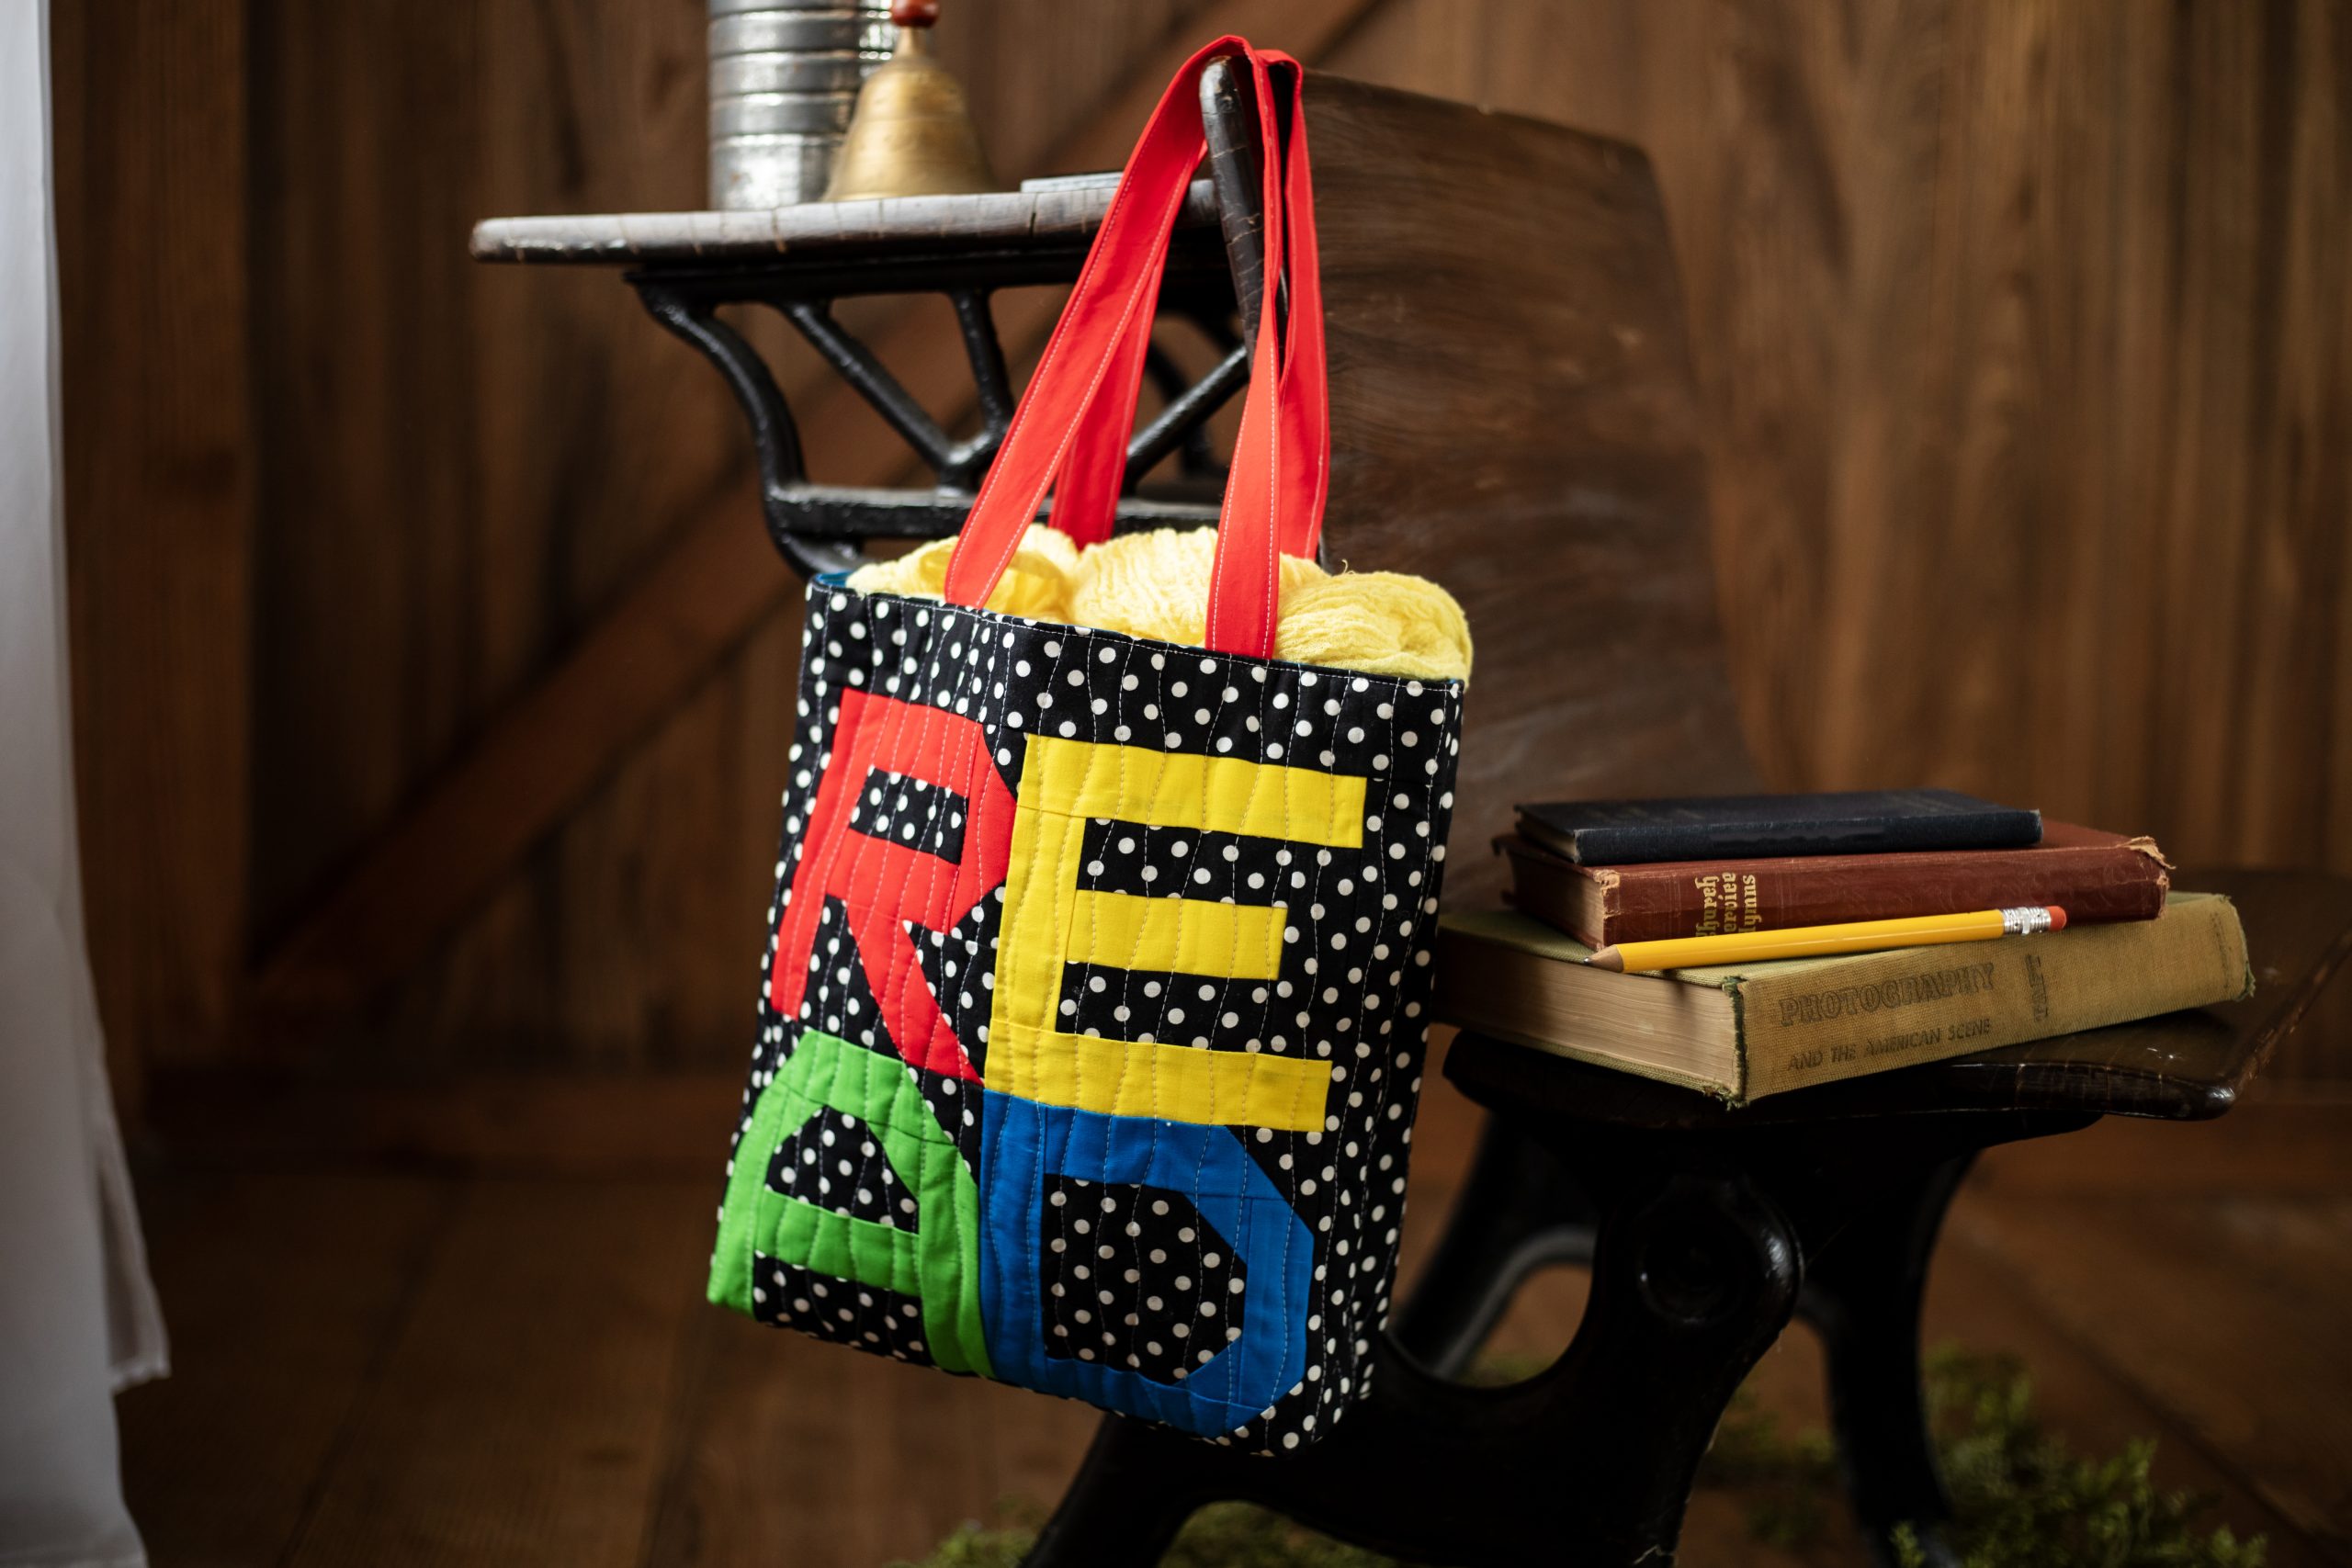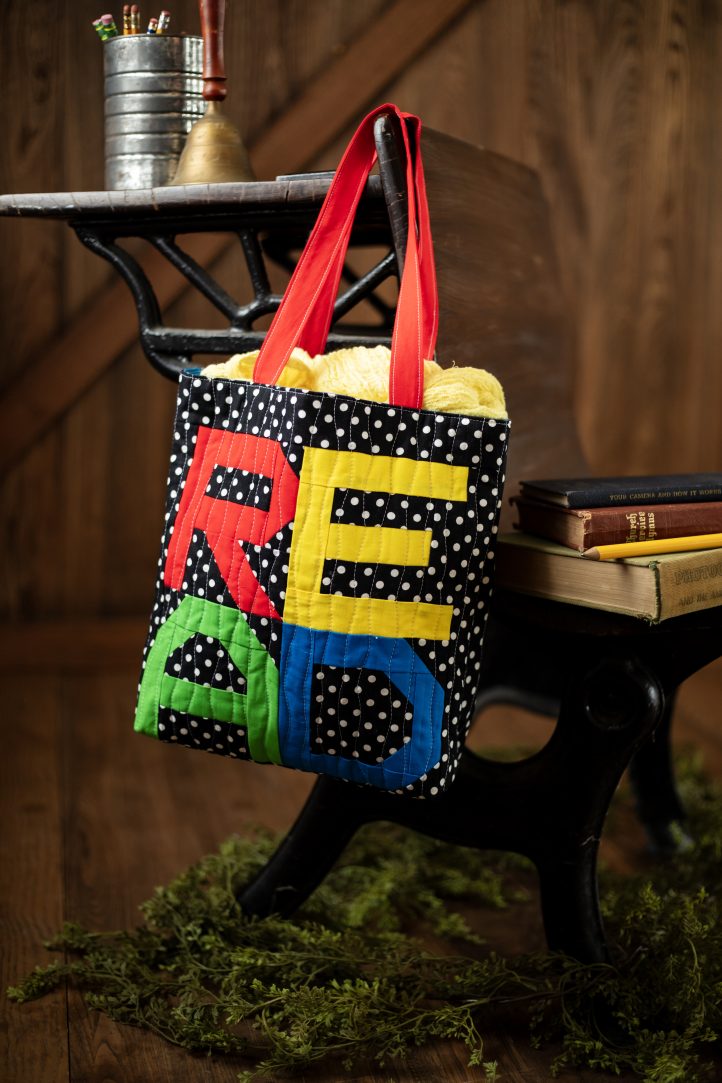
Back-to-school season is upon us, which means lots of fun after-school and weekend trips to the library. Get your little ones excited about reading by making them their own handmade quilted tote bag! Designed by Staci Wendland, this adorable library tote bag pattern features four small blocks in bold colors that spell out the word “READ.” Finishing at approximately 12 inches, this tote bag is perfect for preschool and elementary school age kids.
Finished Size: Approximately 12″ x 12″
Seam Allowances: 1/4″, unless specified otherwise
Abbreviations:
- RST = right sides together
- Press to… = direction to press seam
- Trim = trim 1/4″ from the seam toward the corner
Materials:
- Cotton Fabric Requirements (40“ wide)
- Black (READ background and tote back): 1/2 yard
- Red (R and handles): 1/4 yard
- Yellow (E): 1/8 yard
- Green (A): 1/8 yard
- Blue (D and tote lining): 1/2 yard
- Muslin (quilt back): 1/2 yard
- Thin batting: 1/2 yard
Cutting Instructions:
Black:
- (2) 1 1/2” x 1 1/2”
- (4) 1 1/2” x 3 1/2”
- (4) 2″ x 2″
- (2) 2″ x 3 1/2”
- (1) 2 1/2” x 2 1/2”
- (1) 2 1/2″ x 3″
- (2) 3″ x 10 1/2”
- (2) 3″ x 15 1/2”
- (1) 3 1/2” x 3 1/2”
- (1) 14″ x 14″ [tote back]
Red:
- (3) 1 1/2” x 3 1/2”
- (1) 1 1/2” x 5 1/2”
- (1) 2 1/2” x 4″
- (2) 2 1/2” x 20″ [handles]
Yellow:
- (2) 1 1/2” x 3 1/2”
- (2) 1 1/2” x 5 1/2”
Green:
- (2) 1 1/2” x 1 1/2”
- (1) 1 1/2” x 3 1/2”
- (2) 1 1/2” x 4 1/2”
- (1) 1 1/2” x 5 1/2”
Blue:
- (2) 1 1/2” x 1 1/2”
- (1) 1 1/2” x 3 1/2”
- (2) 1 1/2” x 4 1/2”
- (1) 1 1/2” x 5 1/2”
- (2) 14″ x 14″ [tote lining]
Muslin:
- (2) 15 1/2” x 15 1/2” [quilt back]
Batting:
- (2) 15 1/2” x 15 1/2”
Piecing Instructions:
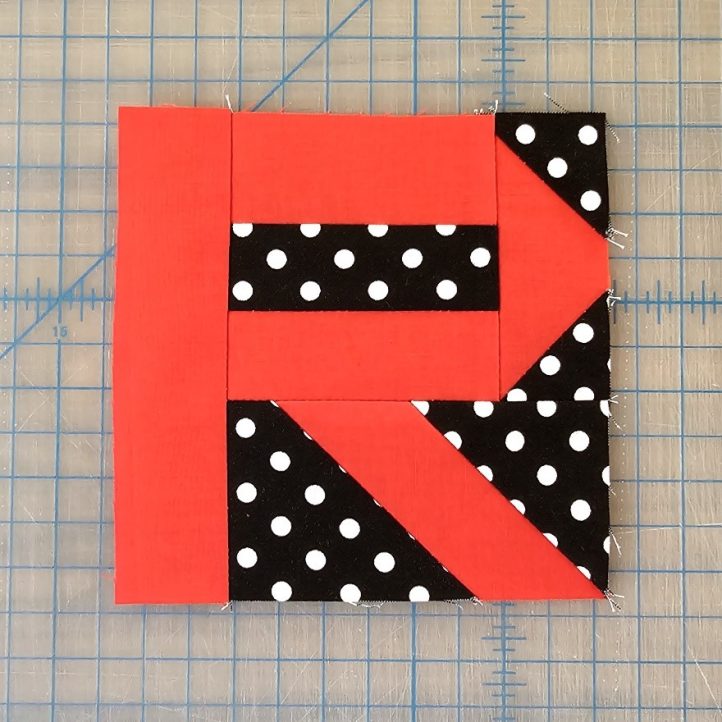
- Begin by sewing the READ panel for the front of the tote. Lay out (2) red 1 1/2 x 3 1/2” horizontally with one black 1 1/2” x 3 1/2” in between. Sew RST into a unit. Press to the black.
- Draw a diagonal line on the wrong side of (2) black 1 1/2” x 1 1/2”. Place (1) RST on the top edge of (1) red 1 1/2” x 3 1/2” with the line from the upper left to lower right. Sew on the line. Trim. Press to the corner.
- Place (1) black 1 1/2” x 1 1/2” RST on the bottom edge of the unit with the line from the lower left to upper right. Sew on the line. Trim. Press to the corner.
- Sew the unit completed in Step 3 RST to the unit completed in Step 1. Press left.
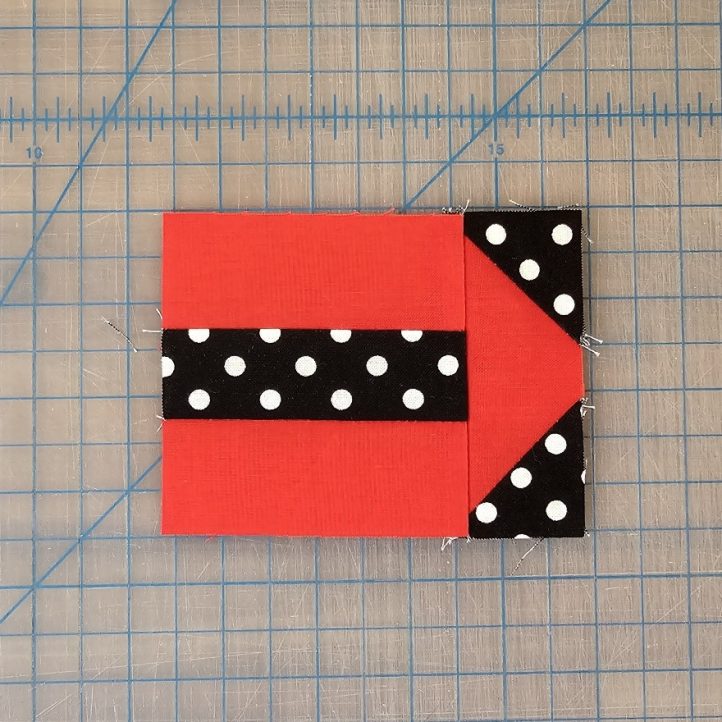
- Draw a diagonal line on the wrong side of (1) black 2 1/2” x 2 1/2”. Place RST on the right edge of (1) red 2 1/2″ x 4″ with the line from the upper left to lower right. Sew on the line. Trim. Press to black.
- Turn the unit wrong side up with the black corner on the left. Draw a diagonal line from the upper right corner to 2 1/2” from the lower right corner.
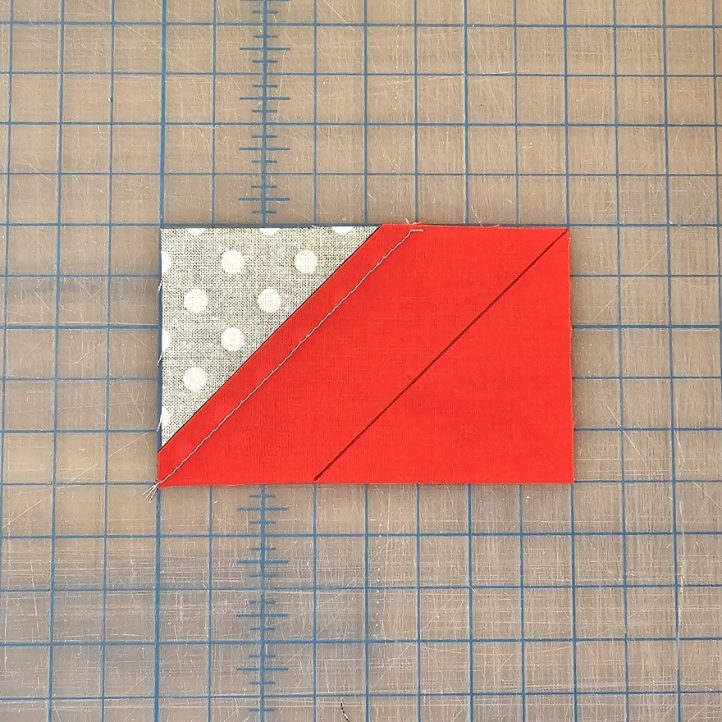
- Place RST perpendicular with (1) black 2 1/2” x 3″. The right and top edges should be even and the line from the upper left to lower right. Sew on the line. Trim. Press to the black.
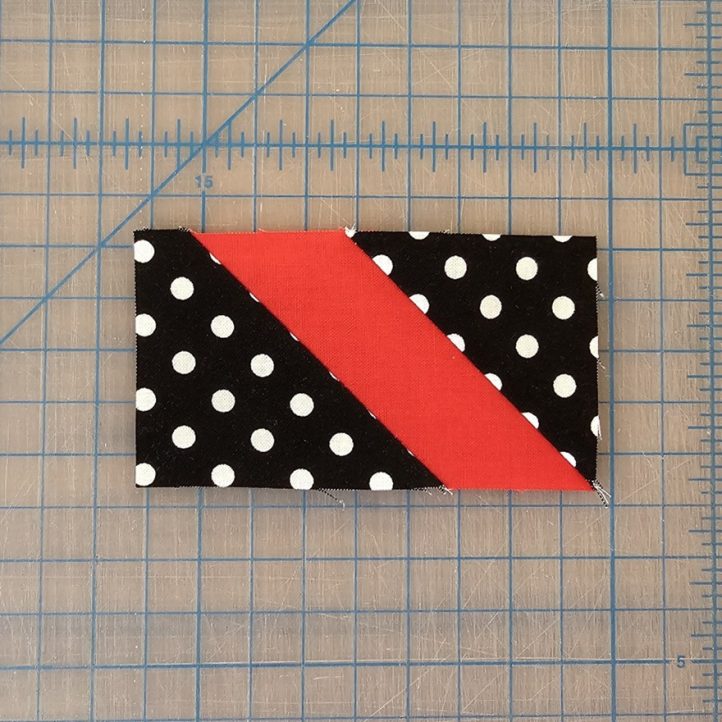
- Sew the unit completed in Step 7 RST to the bottom of the unit completed in Step 4. Press to the bottom.
- Sew (1) red 1 1/2” x 5 1/2” RST to the left. Press to the left to complete the R unit.
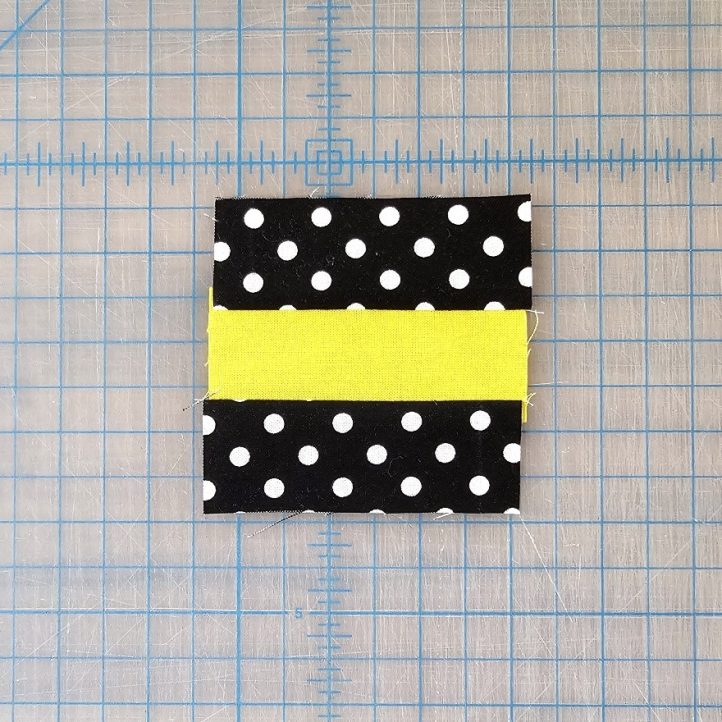
- To begin the E, lay out (1) black 1 1/2” x 3 1/2”, (1) yellow 1 1/2” x 3 1/2″, and (1) black 1 1/2″ x 3 1/2″ horizontally. Sew RST into a unit. Press to the black.
- Sew (1) yellow 1 1/2″ x 3 1/2″ RST to the left. Press to the left.
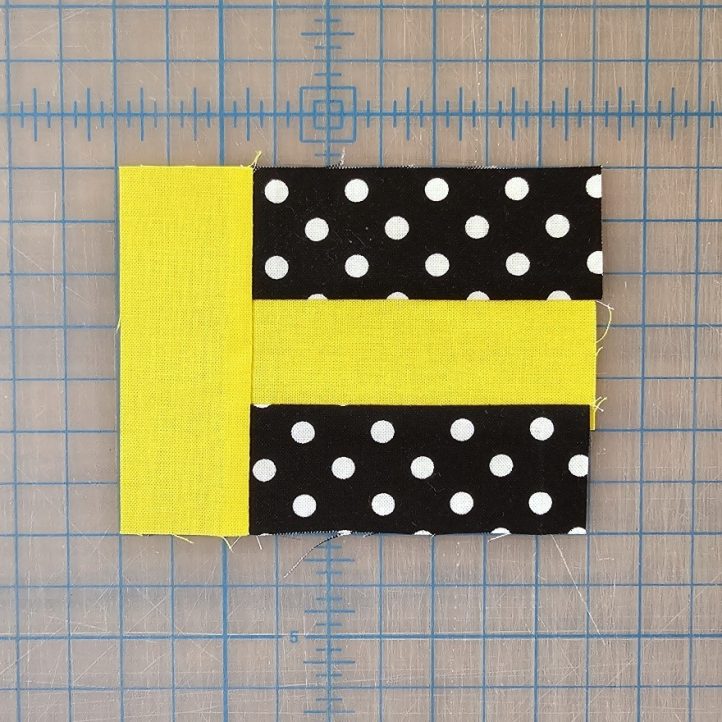
- Sew (1) black 1 1/2″ x 3 1/2″ RST to the right. Press to the right.
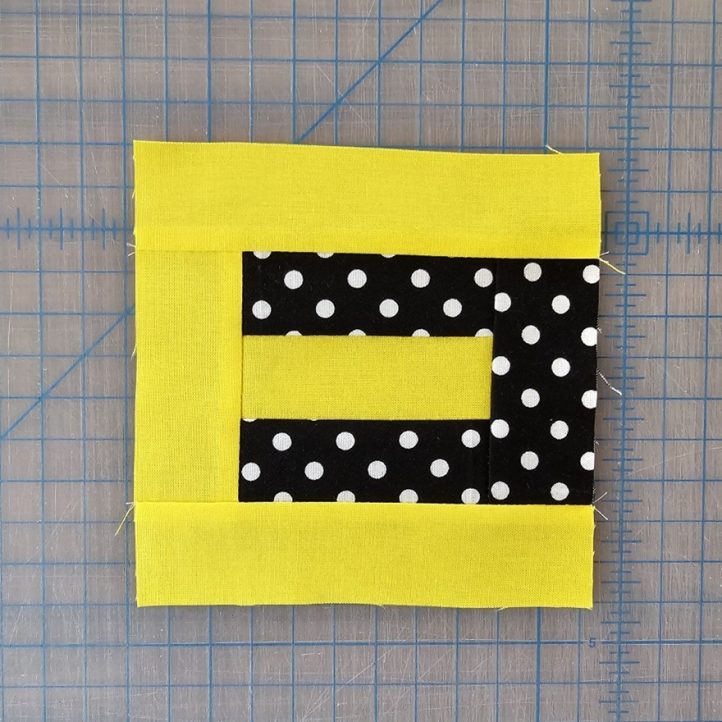
- Sew (1) yellow 1 1/2″ x 5 1/2″ RST to the top. Press to the top.
- Sew (1) yellow 1 1/2″ x 5 1/2″ RST to the bottom. Press to the bottom to complete the E unit.
- To begin the A unit, draw a diagonal line on the wrong side of (2) green 1 1/2″ x 1 1/2″. Place (1) RST on the upper left corner of (1) black 2″ x 3 1/2″ with the line from the lower left to upper right. Sew on the line. Trim. Press to the corner.
- Place (1) green 1 1/2″ x 1 1/2″ RST on the upper right corner of the unit with the line from the upper left to lower right. Sew on the line. Trim. Press to the corner.
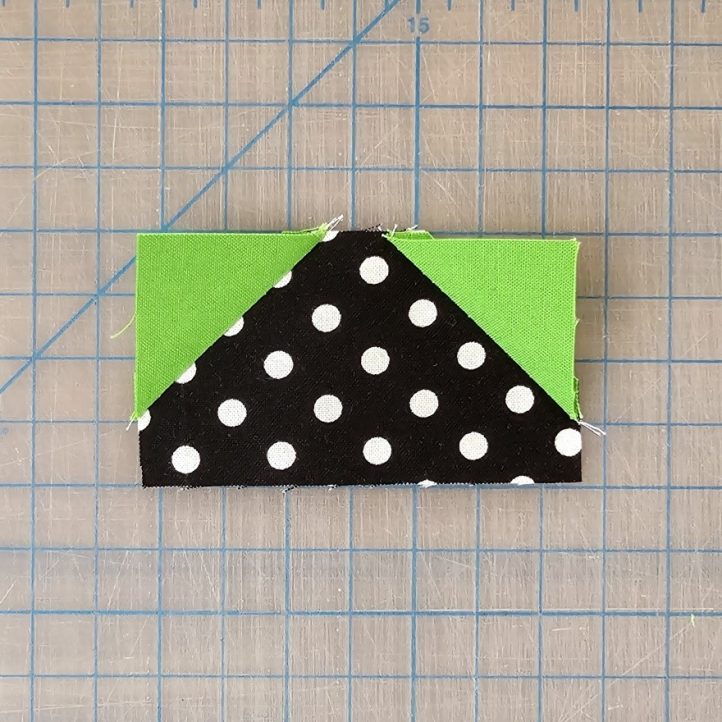
- Sew (1) green 1 1/2″ x 3 1/2″ RST to the bottom of the unit. Press to the bottom.
- Sew (1) black 2″ x 3 1/2″ RST to the bottom of the unit. Press to the bottom.
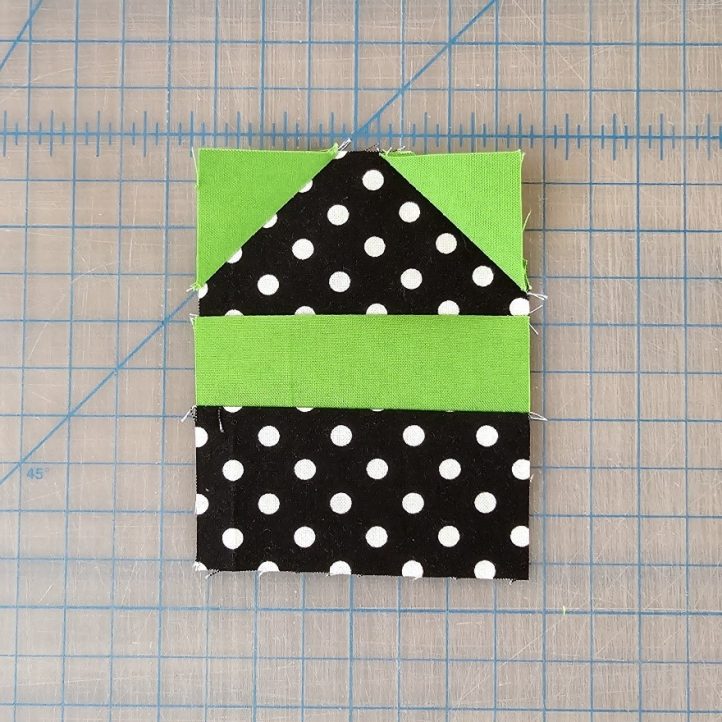
- Sew (1) green 1 1/2″ x 4 1/2″ RST to the left side of the unit. Press to the left.
- Sew (1) green 1 1/2″ x 4 1/2″ RST to the right side of the unit. Press to the right.
- Sew (1) green 1 1/2″ x 5 1/2″ RST to the top of the unit. Press to the top.
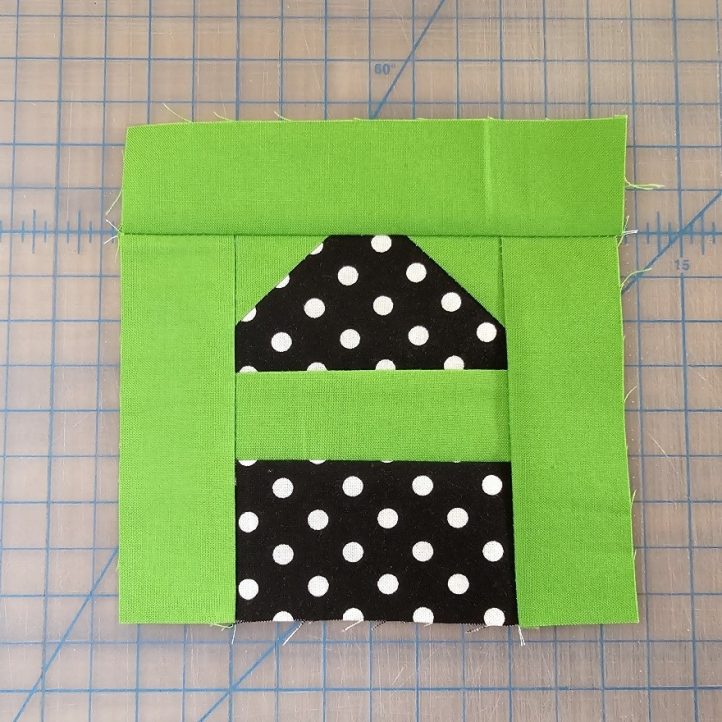
- Draw a diagonal line on the wrong side of (2) black 2″ x 2″. Place (1) RST on the upper left corner of the unit with the line from the lower left to upper right. Sew on the line. Trim. Press to the corner.
- Place (1) black 2″ x 2″ RST on the upper right corner of the unit with the line from the upper left to lower right. Sew on the line. Trim. Press to the corner to complete the A unit.
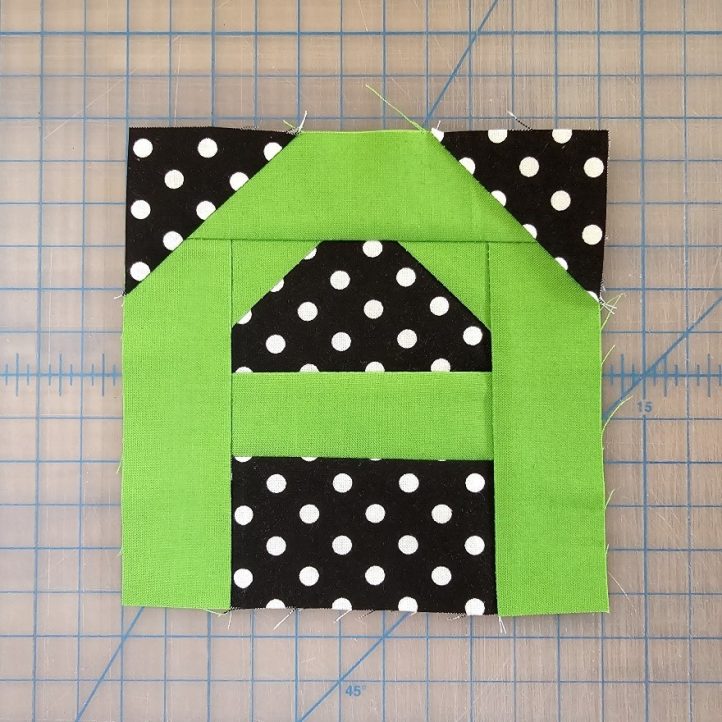
- To begin the D unit, draw a diagonal line on the wrong side of (2) blue 1 1/2″ x 1 1/2″. Place (1) RST on the upper right corner of (1) black 3 1/2″ x 3 1/2″ with the line from the upper left to lower right. Sew on the line. Trim. Press to the corner.
- Place (1) blue 1 1/2″ x 1 1/2″ RST on the lower right corner of the unit with the line from the lower left to upper right. Sew on the line. Trim. Press to the corner.
- Sew (1) blue 1 1/2″ x 3 1/2″ RST to the right of the unit. Press to the right.
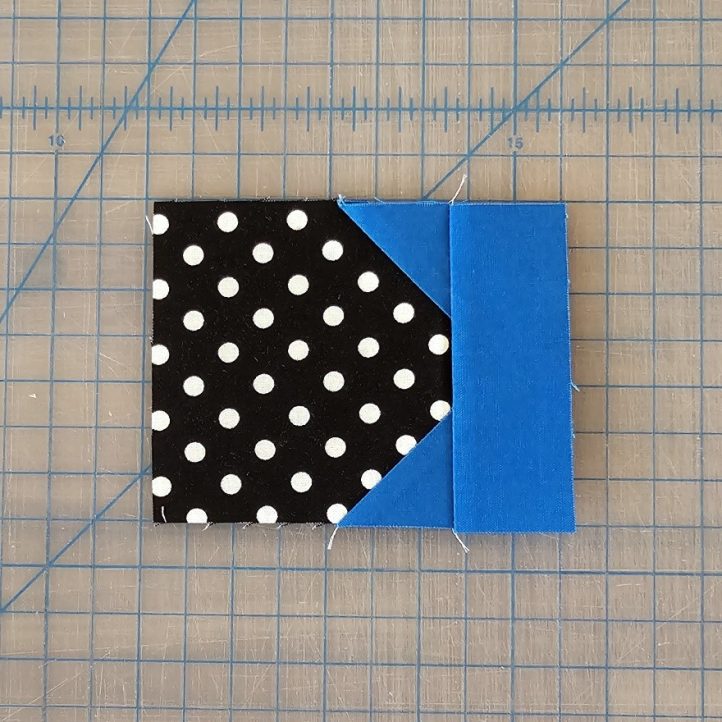
- Sew (1) blue 1 1/2″ x 4 1/2″ RST to the top of the unit. Press to the top.
- Sew (1) blue 1 1/2″ x 4 1/2″ RST to the bottom of the unit. Press to the bottom.
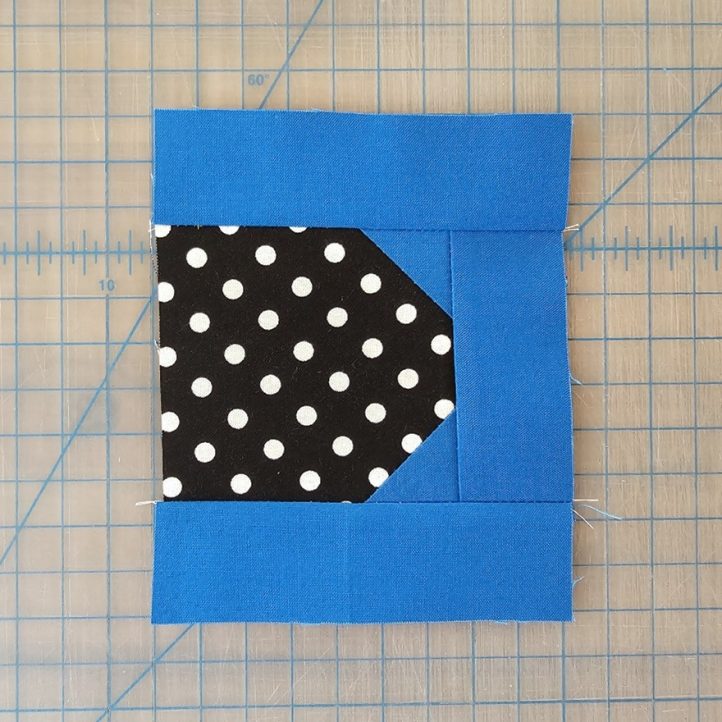
- Sew (1) blue 1 1/2″ x 5 1/2″ RST to the left side of the unit. Press to the left.
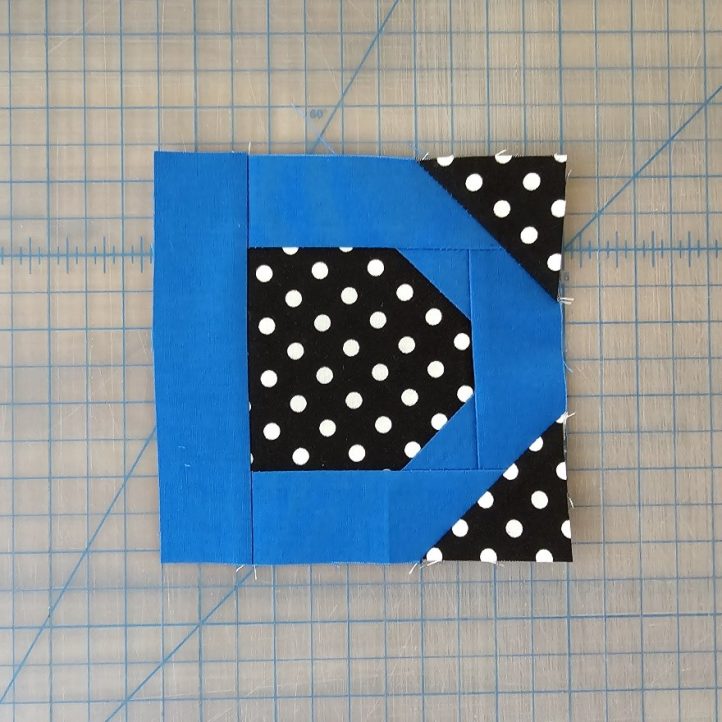
- Draw a diagonal line on the wrong side of (2) black 2″ x 2″. Place (1) RST on the upper right corner of the unit with the line from the upper left to lower right. Sew on the line. Trim. Press to the corner.
- Place (1) black 2″ x 2″ RST on the lower right corner of the unit with the line from the lower left to upper right. Sew on the line. Trim. Press to the corner to complete the D unit.
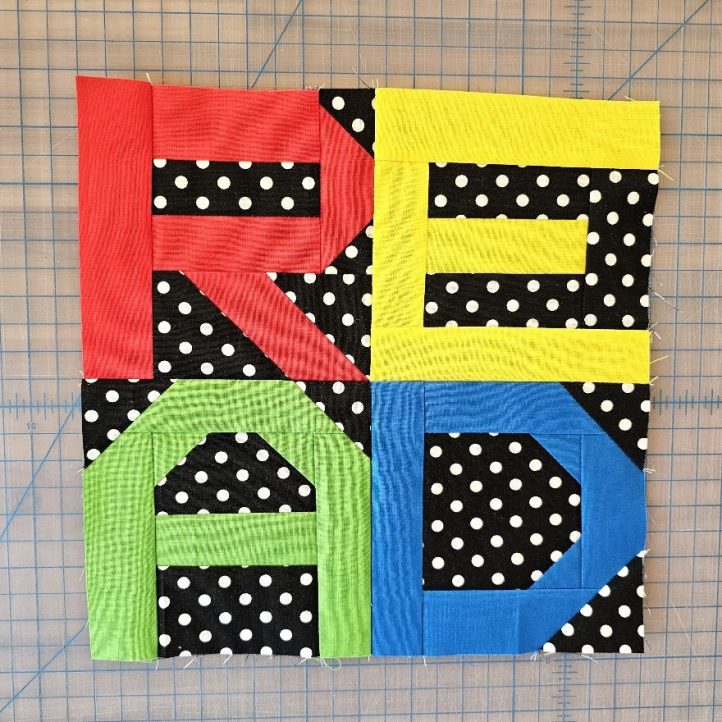
- Sew the R unit RST to the left side of the E unit. Press to the right.
- Sew the A unit RST to the left side of the D unit. Press to the left.
- Sew the R/E unit RST to the top of the A/D unit. Press to the bottom.
- Sew (1) black 3″ x 10 1/2″ RST to the left of the unit. Press to the left.
- Sew (1) black 3″ x 10 1/2″ RST to the right of the unit. Press to the right.
- Sew (1) black 3″ x 15 1/2″ RST to the top of the unit. Press to the top.
- Sew (1) black 3″ x 15 1/2″ RST to the bottom of the unit. Press to the bottom to complete the READ block.
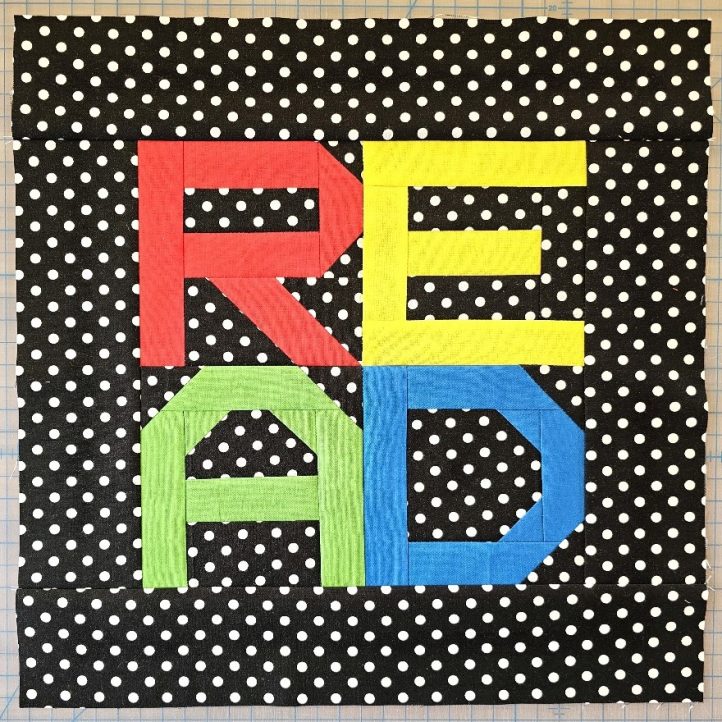
- Lay (1) 15 1/2″ x 15 1/2″ muslin quilt back right side down, (1) 15 1/2″ x 15 1/2″ batting, and the READ block right side up. Pin the layers using safety pins. Quilt by stitching through all three layers vertically, horizontally, or diagonally, no more than 1″ apart, removing the pins as needed.
- Trim to 14″ x 14″ to complete the tote front.
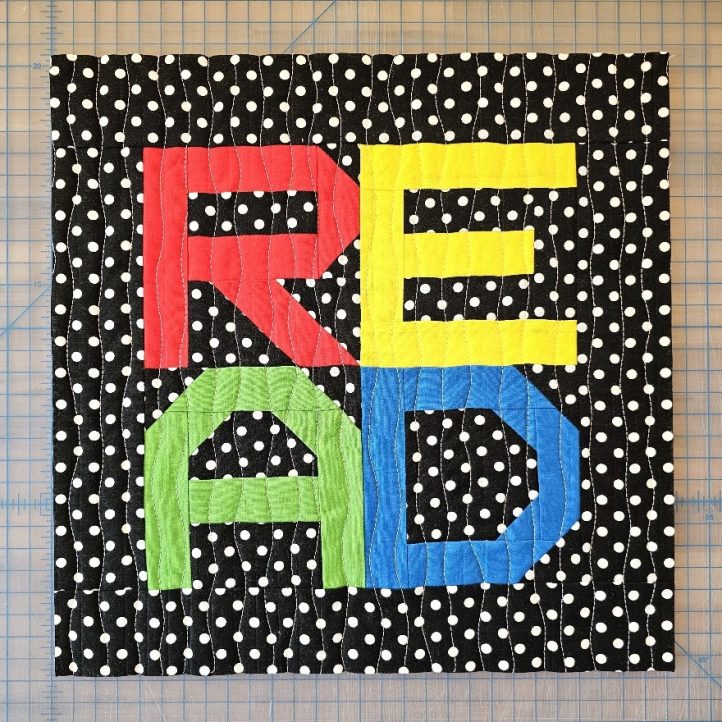
- Pin the tote front RST with (1) 14″ x 14″ black tote back. Sew 1/4″ from the sides and bottom, leaving the top edges open.
- Pin (2) blue 14″ x 14″ tote lining RST. Sew 1/4″ from the sides and bottom, leaving the top edges and 5″ open in the middle of one side seam.
- To make the boxed bottom in the tote, flatten the corner of the outer tote with the seams touching. Press 3″ of the seam open from the corner. Measure 2″ from the corner and draw a horizontal line across. Stitch on the line.
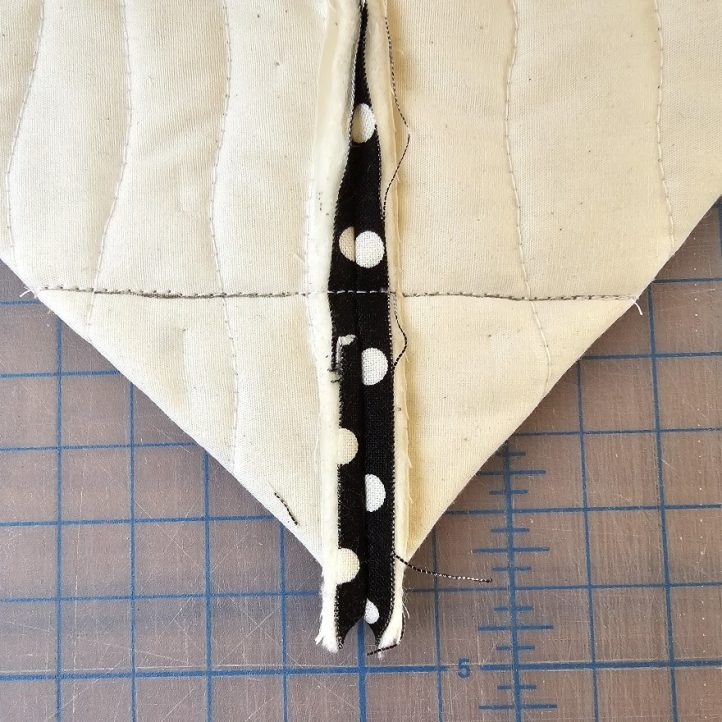
- Trim off the corner 1/4″ from the stitching. Repeat on the second tote corner, and on both corners of the tote lining.
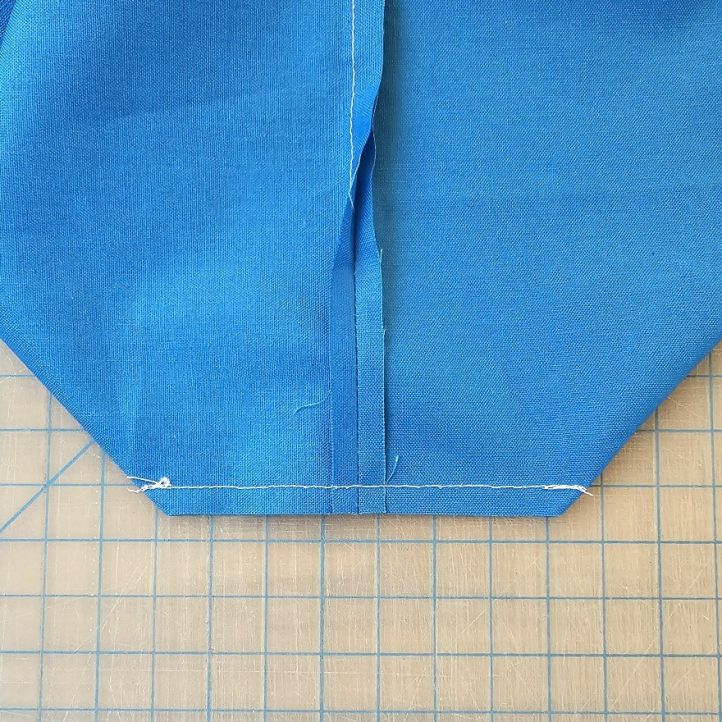
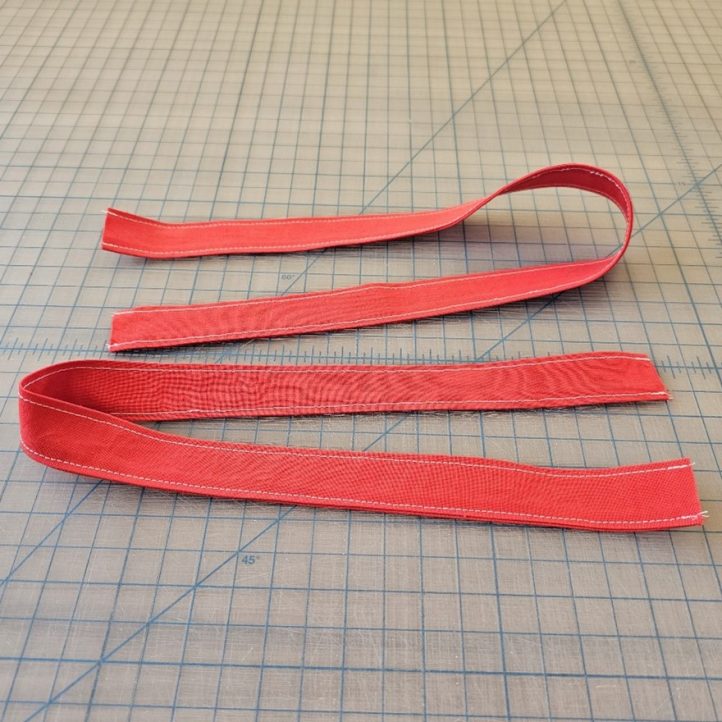
- To make the handles, fold (2) red 2 1/2″ x 20″ in half lengthwise with RST. Sew 1/4″ from the long edges, leaving the ends open.
- Turn the handles right side out and press. Stitch 1/8″ from both long edges.
- Turn the tote lining right side out. Stuff the lining inside the tote with RST. Match the seams and upper edges and pin.
- Slide the handles in between the tote and lining layers, 4″ away from the seam on each side. the ends of the handles should be even with the top edge of the tote. Make sure the handles are flat, and not twisted. Pin the handles in place.
- Sew around the top of the tote and lining, 1/2″ from the edge.
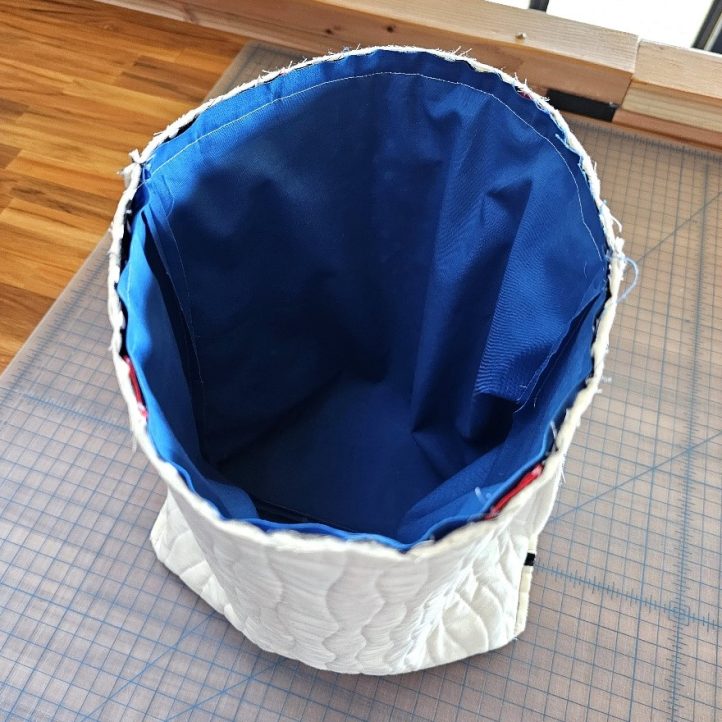
- Turn the tote and lining right side out by pulling both through the 5″ opening in the lining.
- Turn the edges of the 5″ opening to the inside 1/4″ and press. Pin together. Stitch closed by hand or machine.
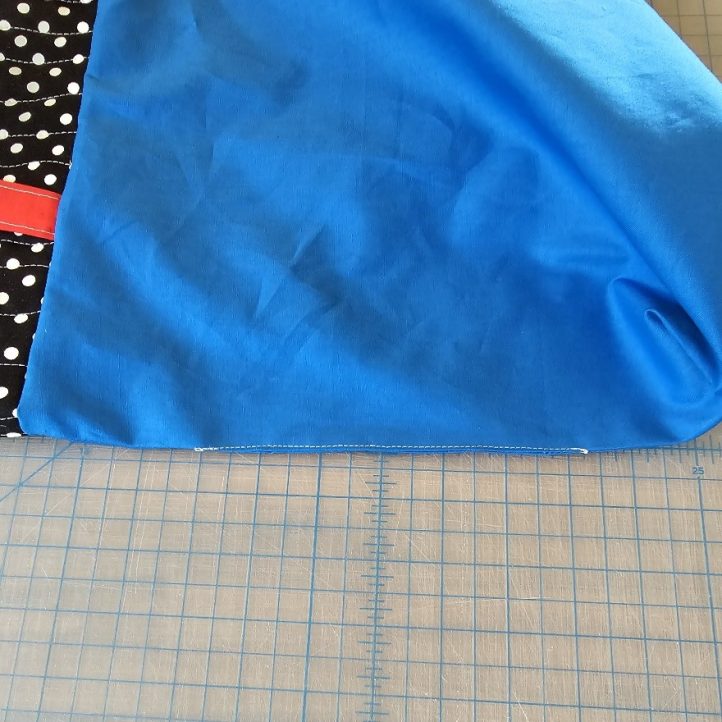
- Push the lining into the tote. Press the seam at the upper edge. Stitch around the tote 1/8″ from the upper edge.

