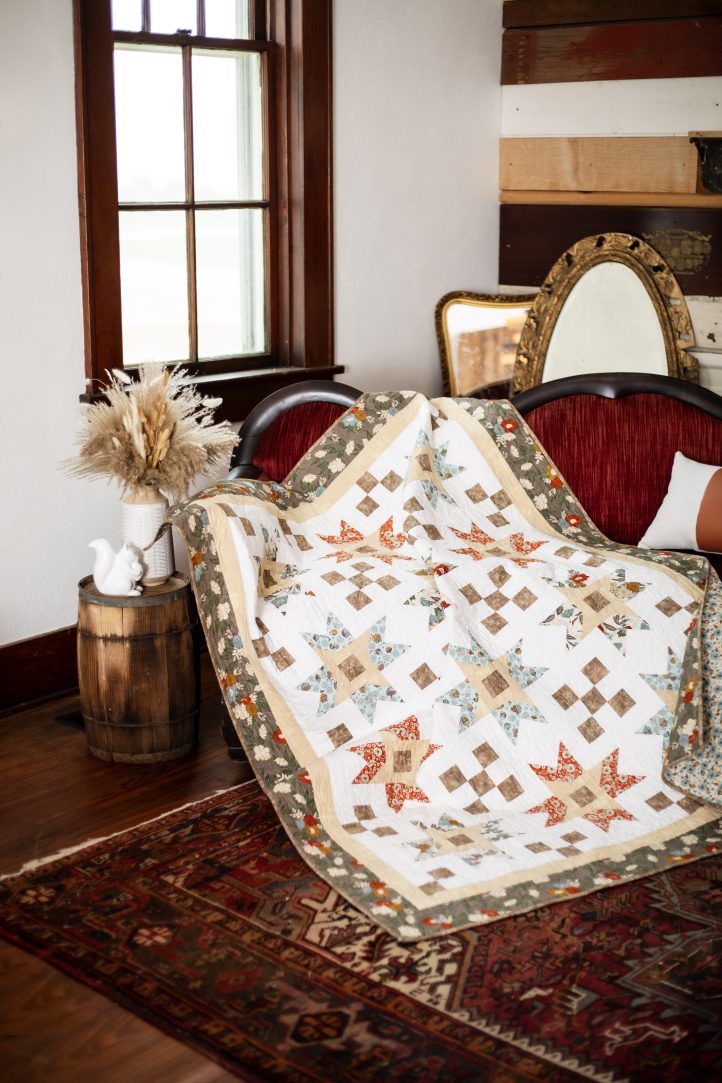
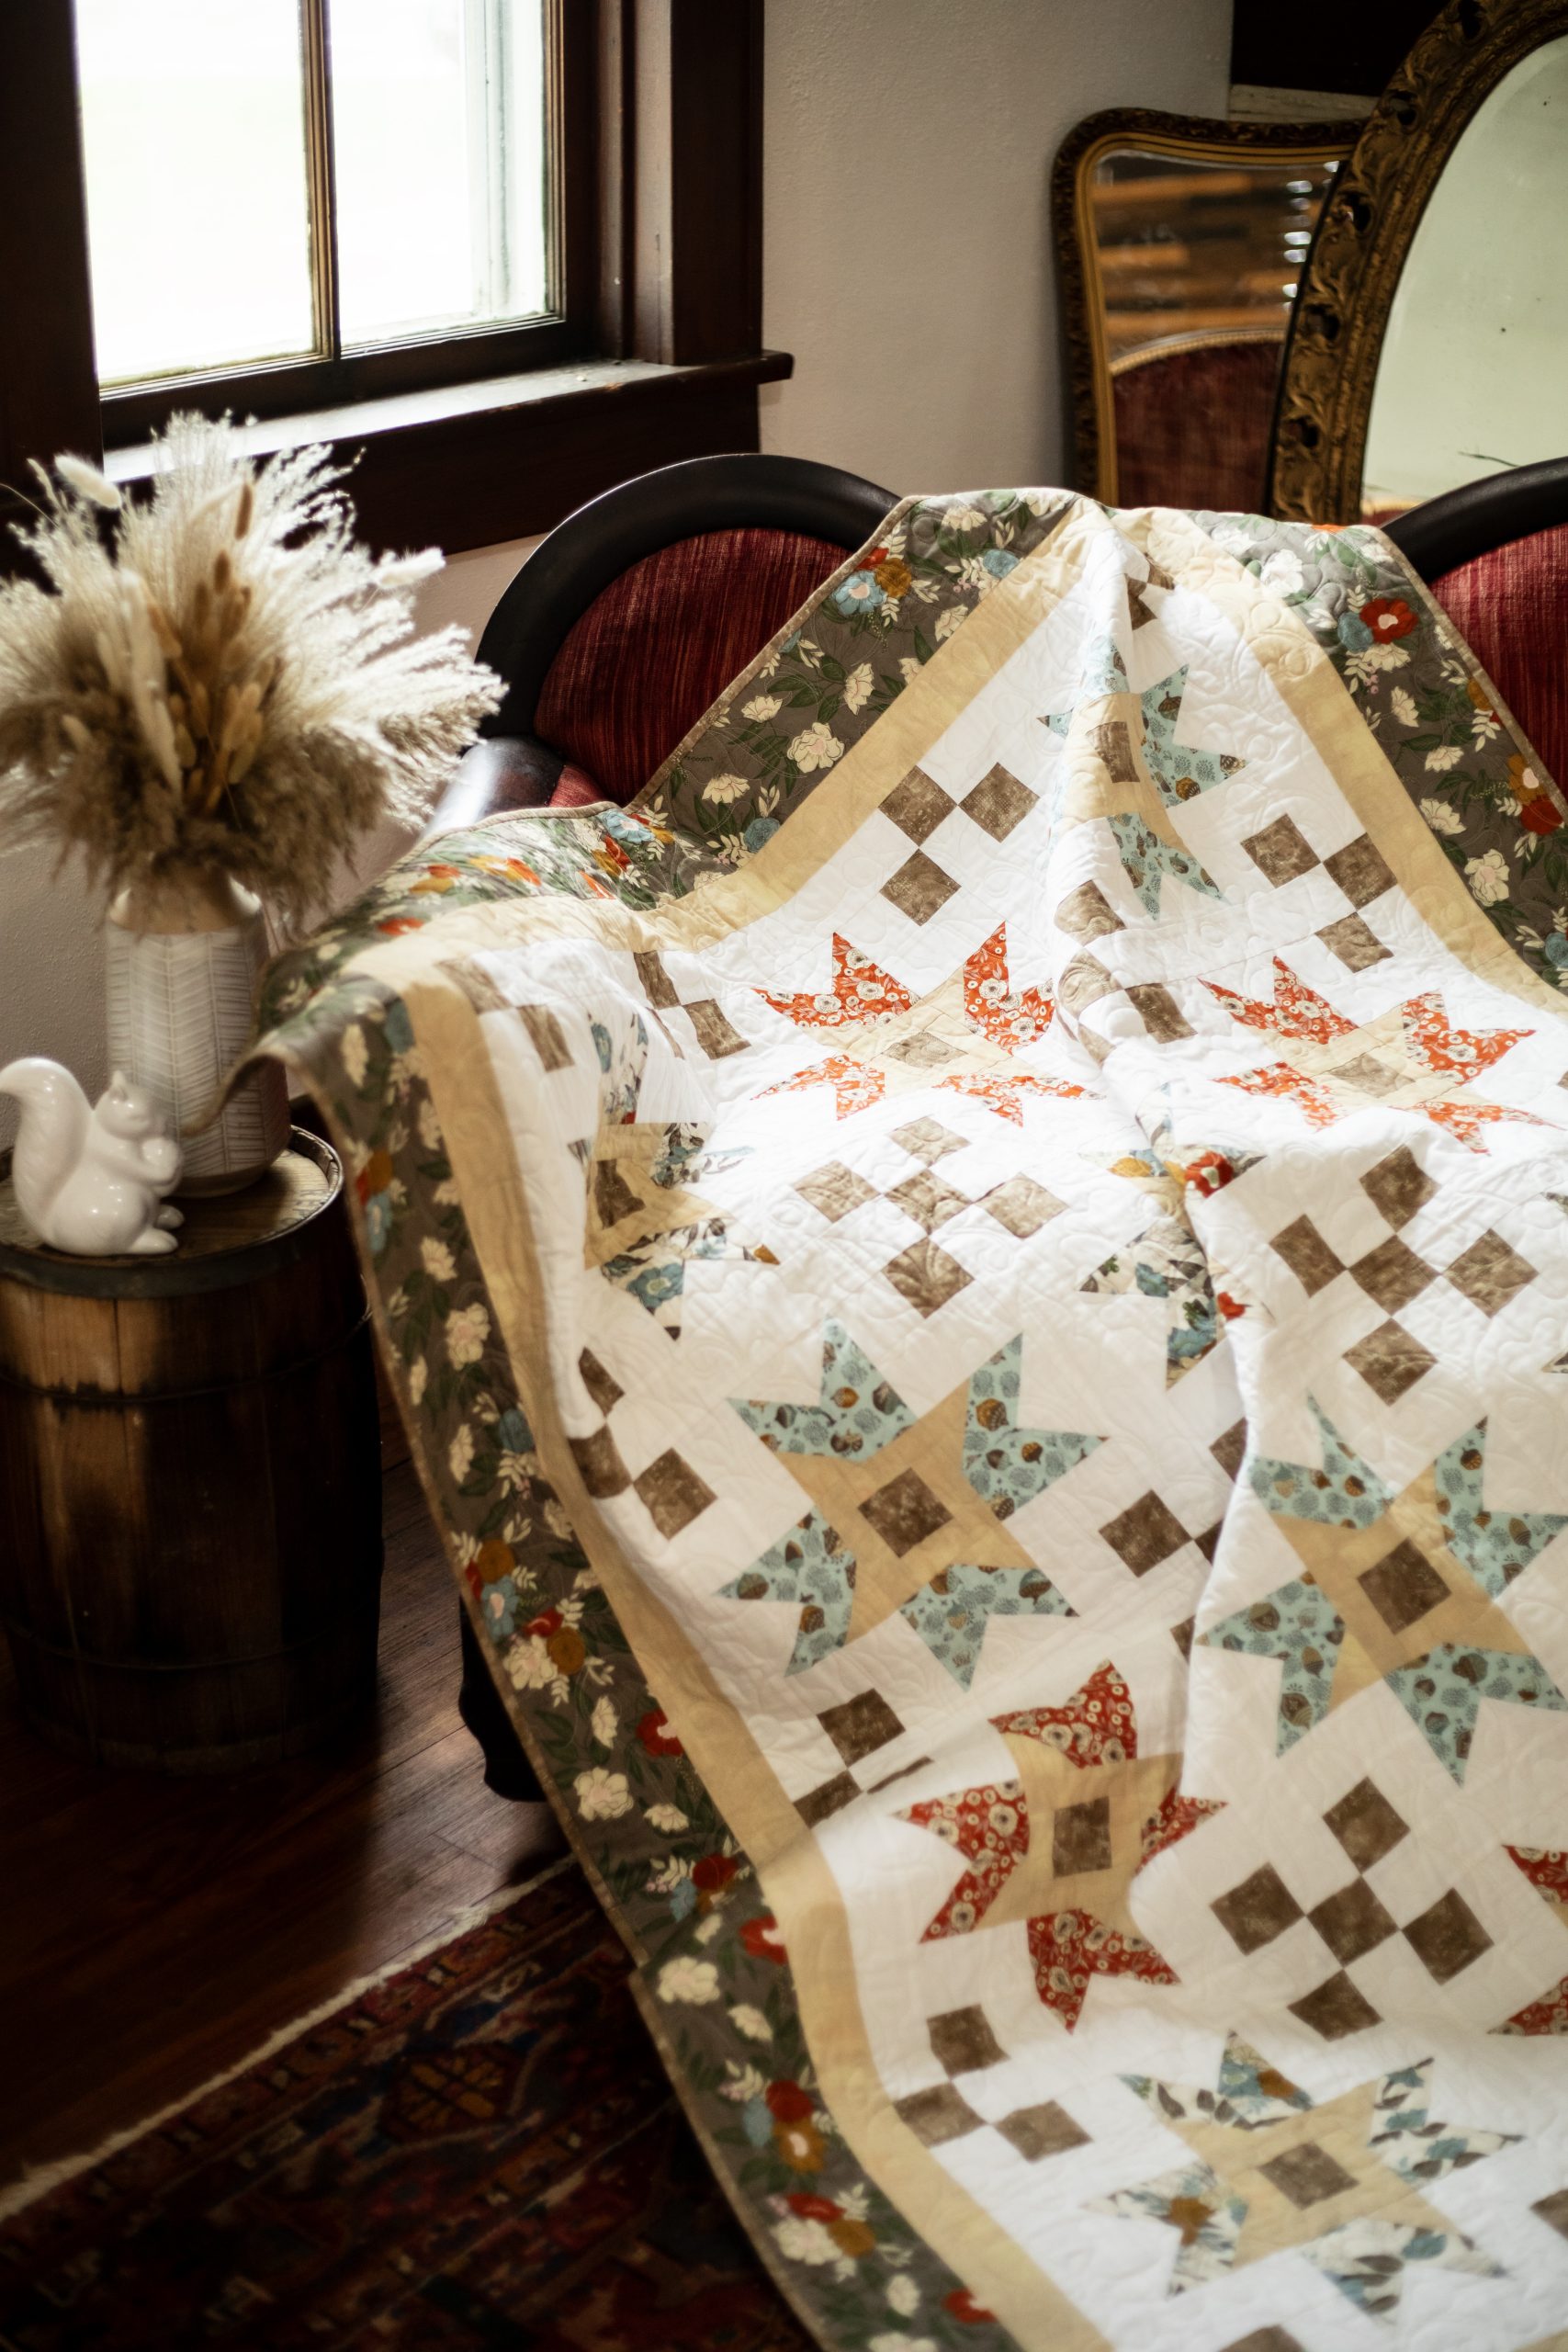
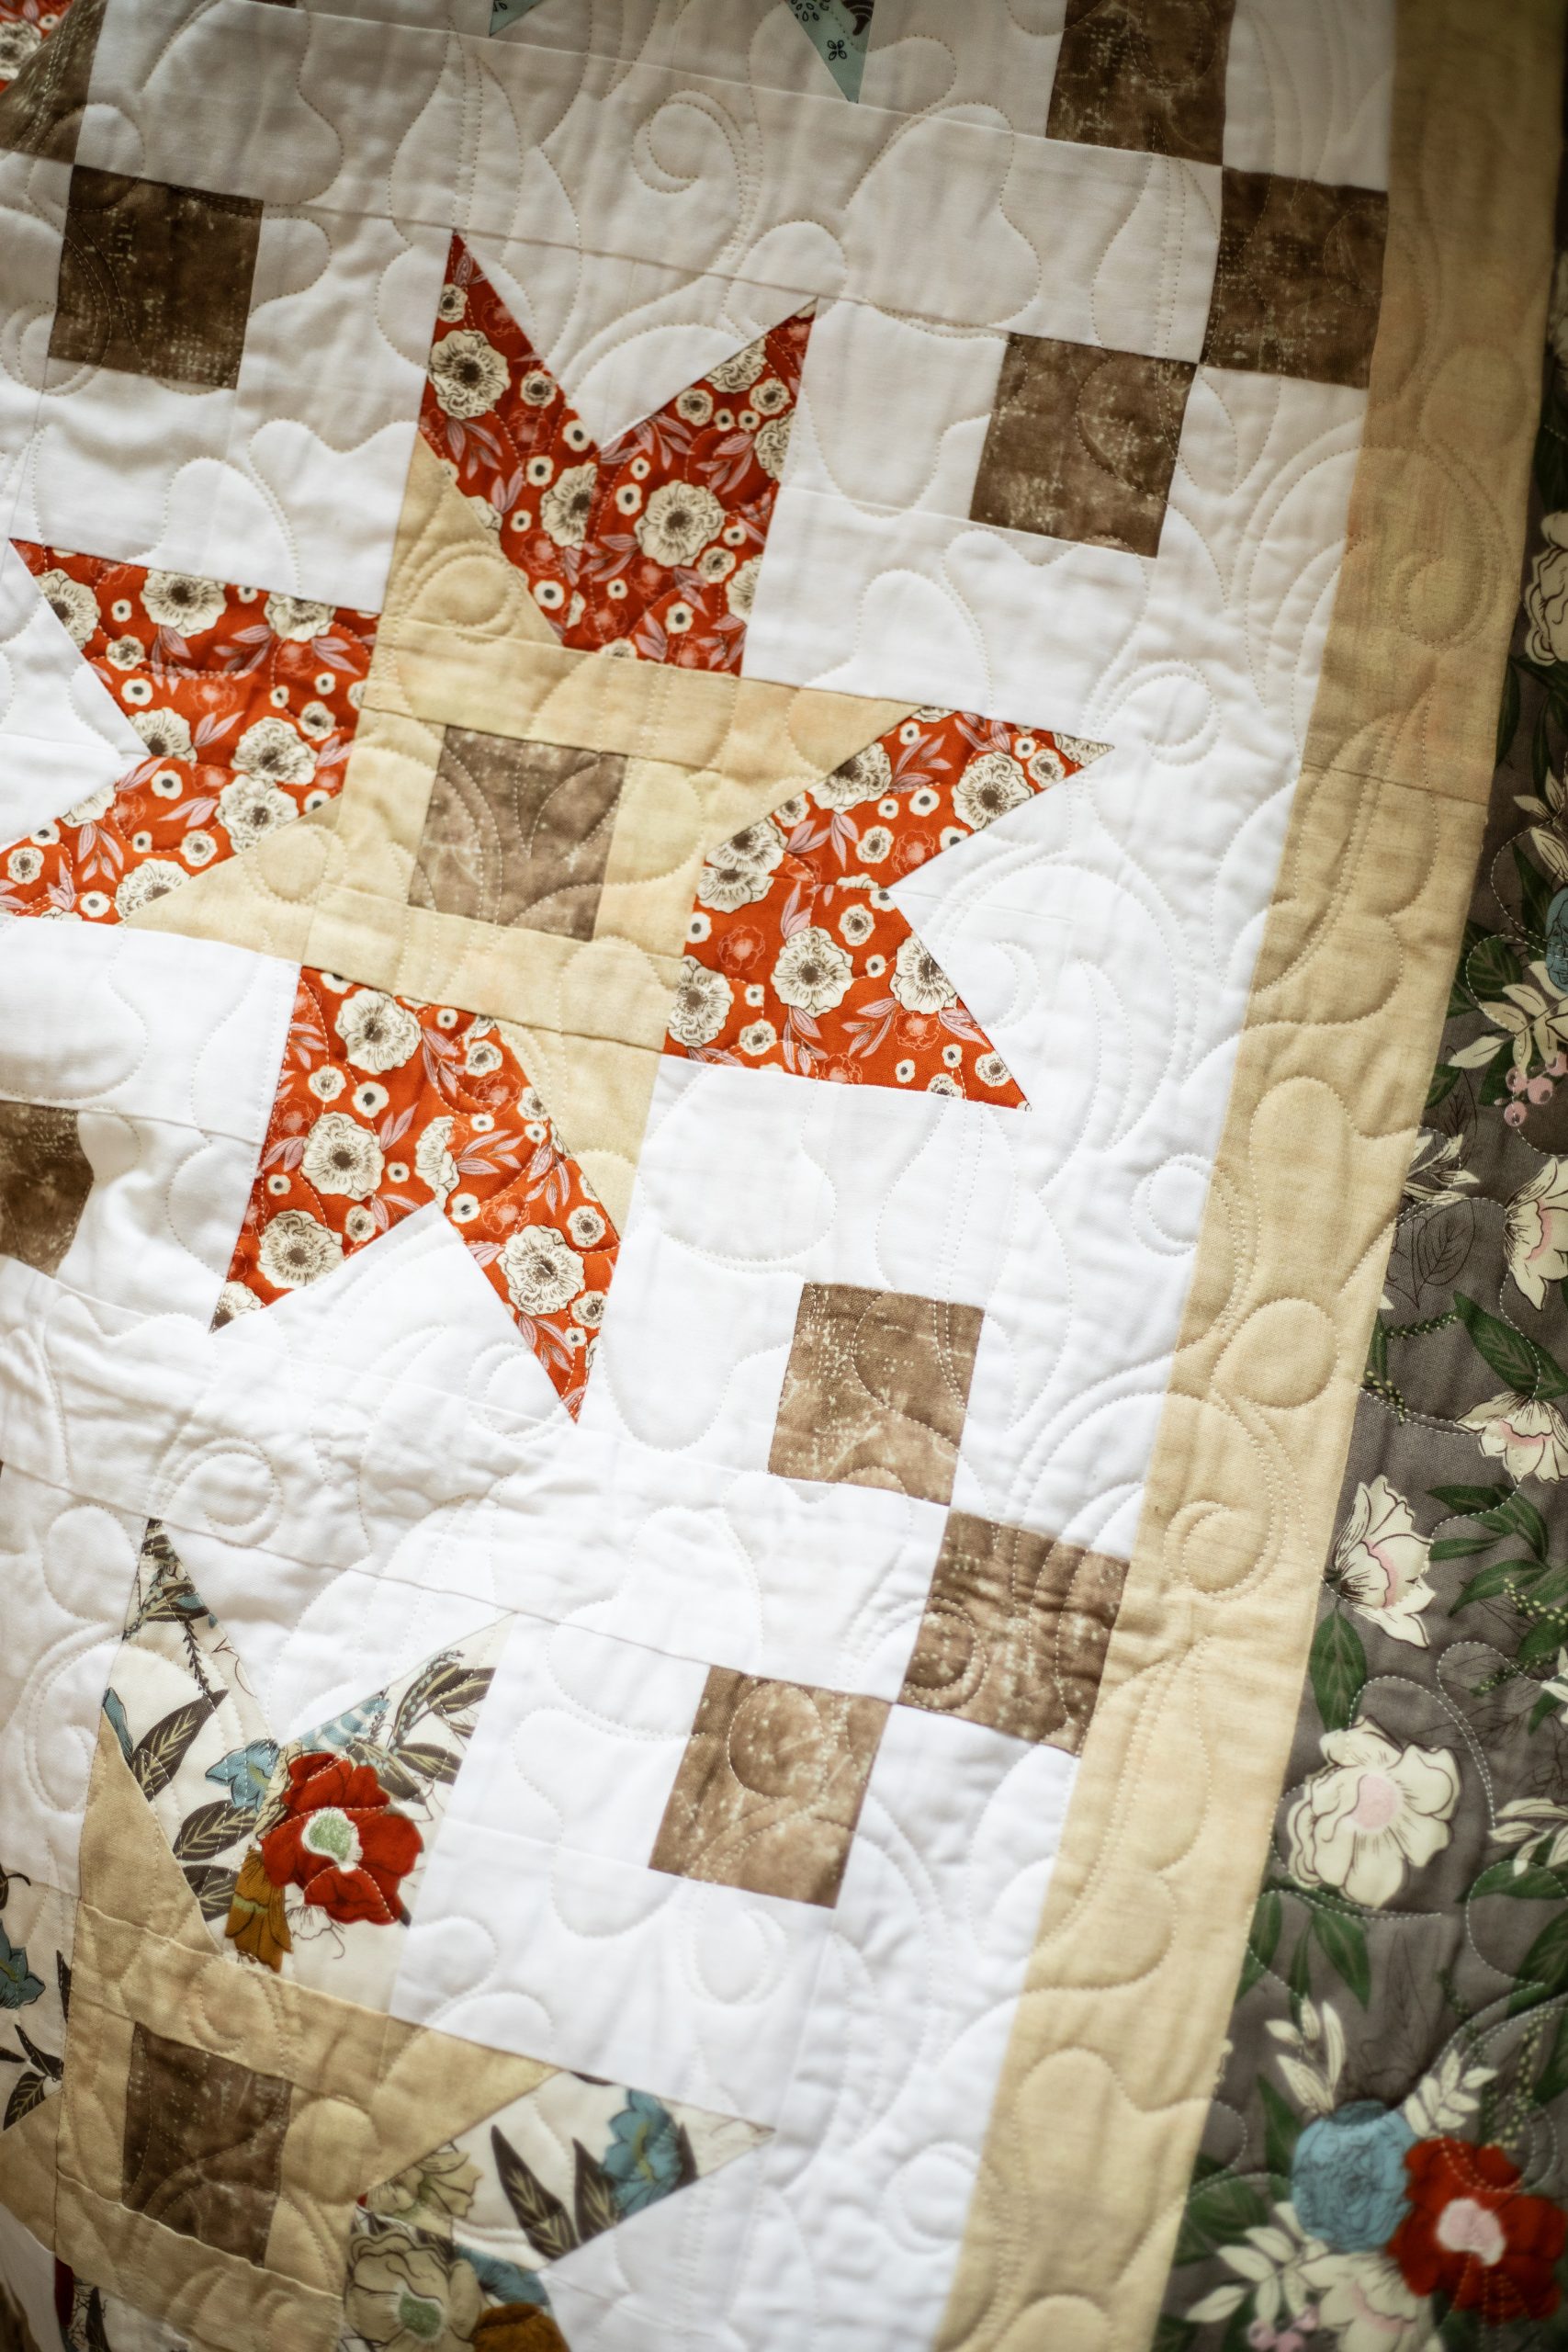
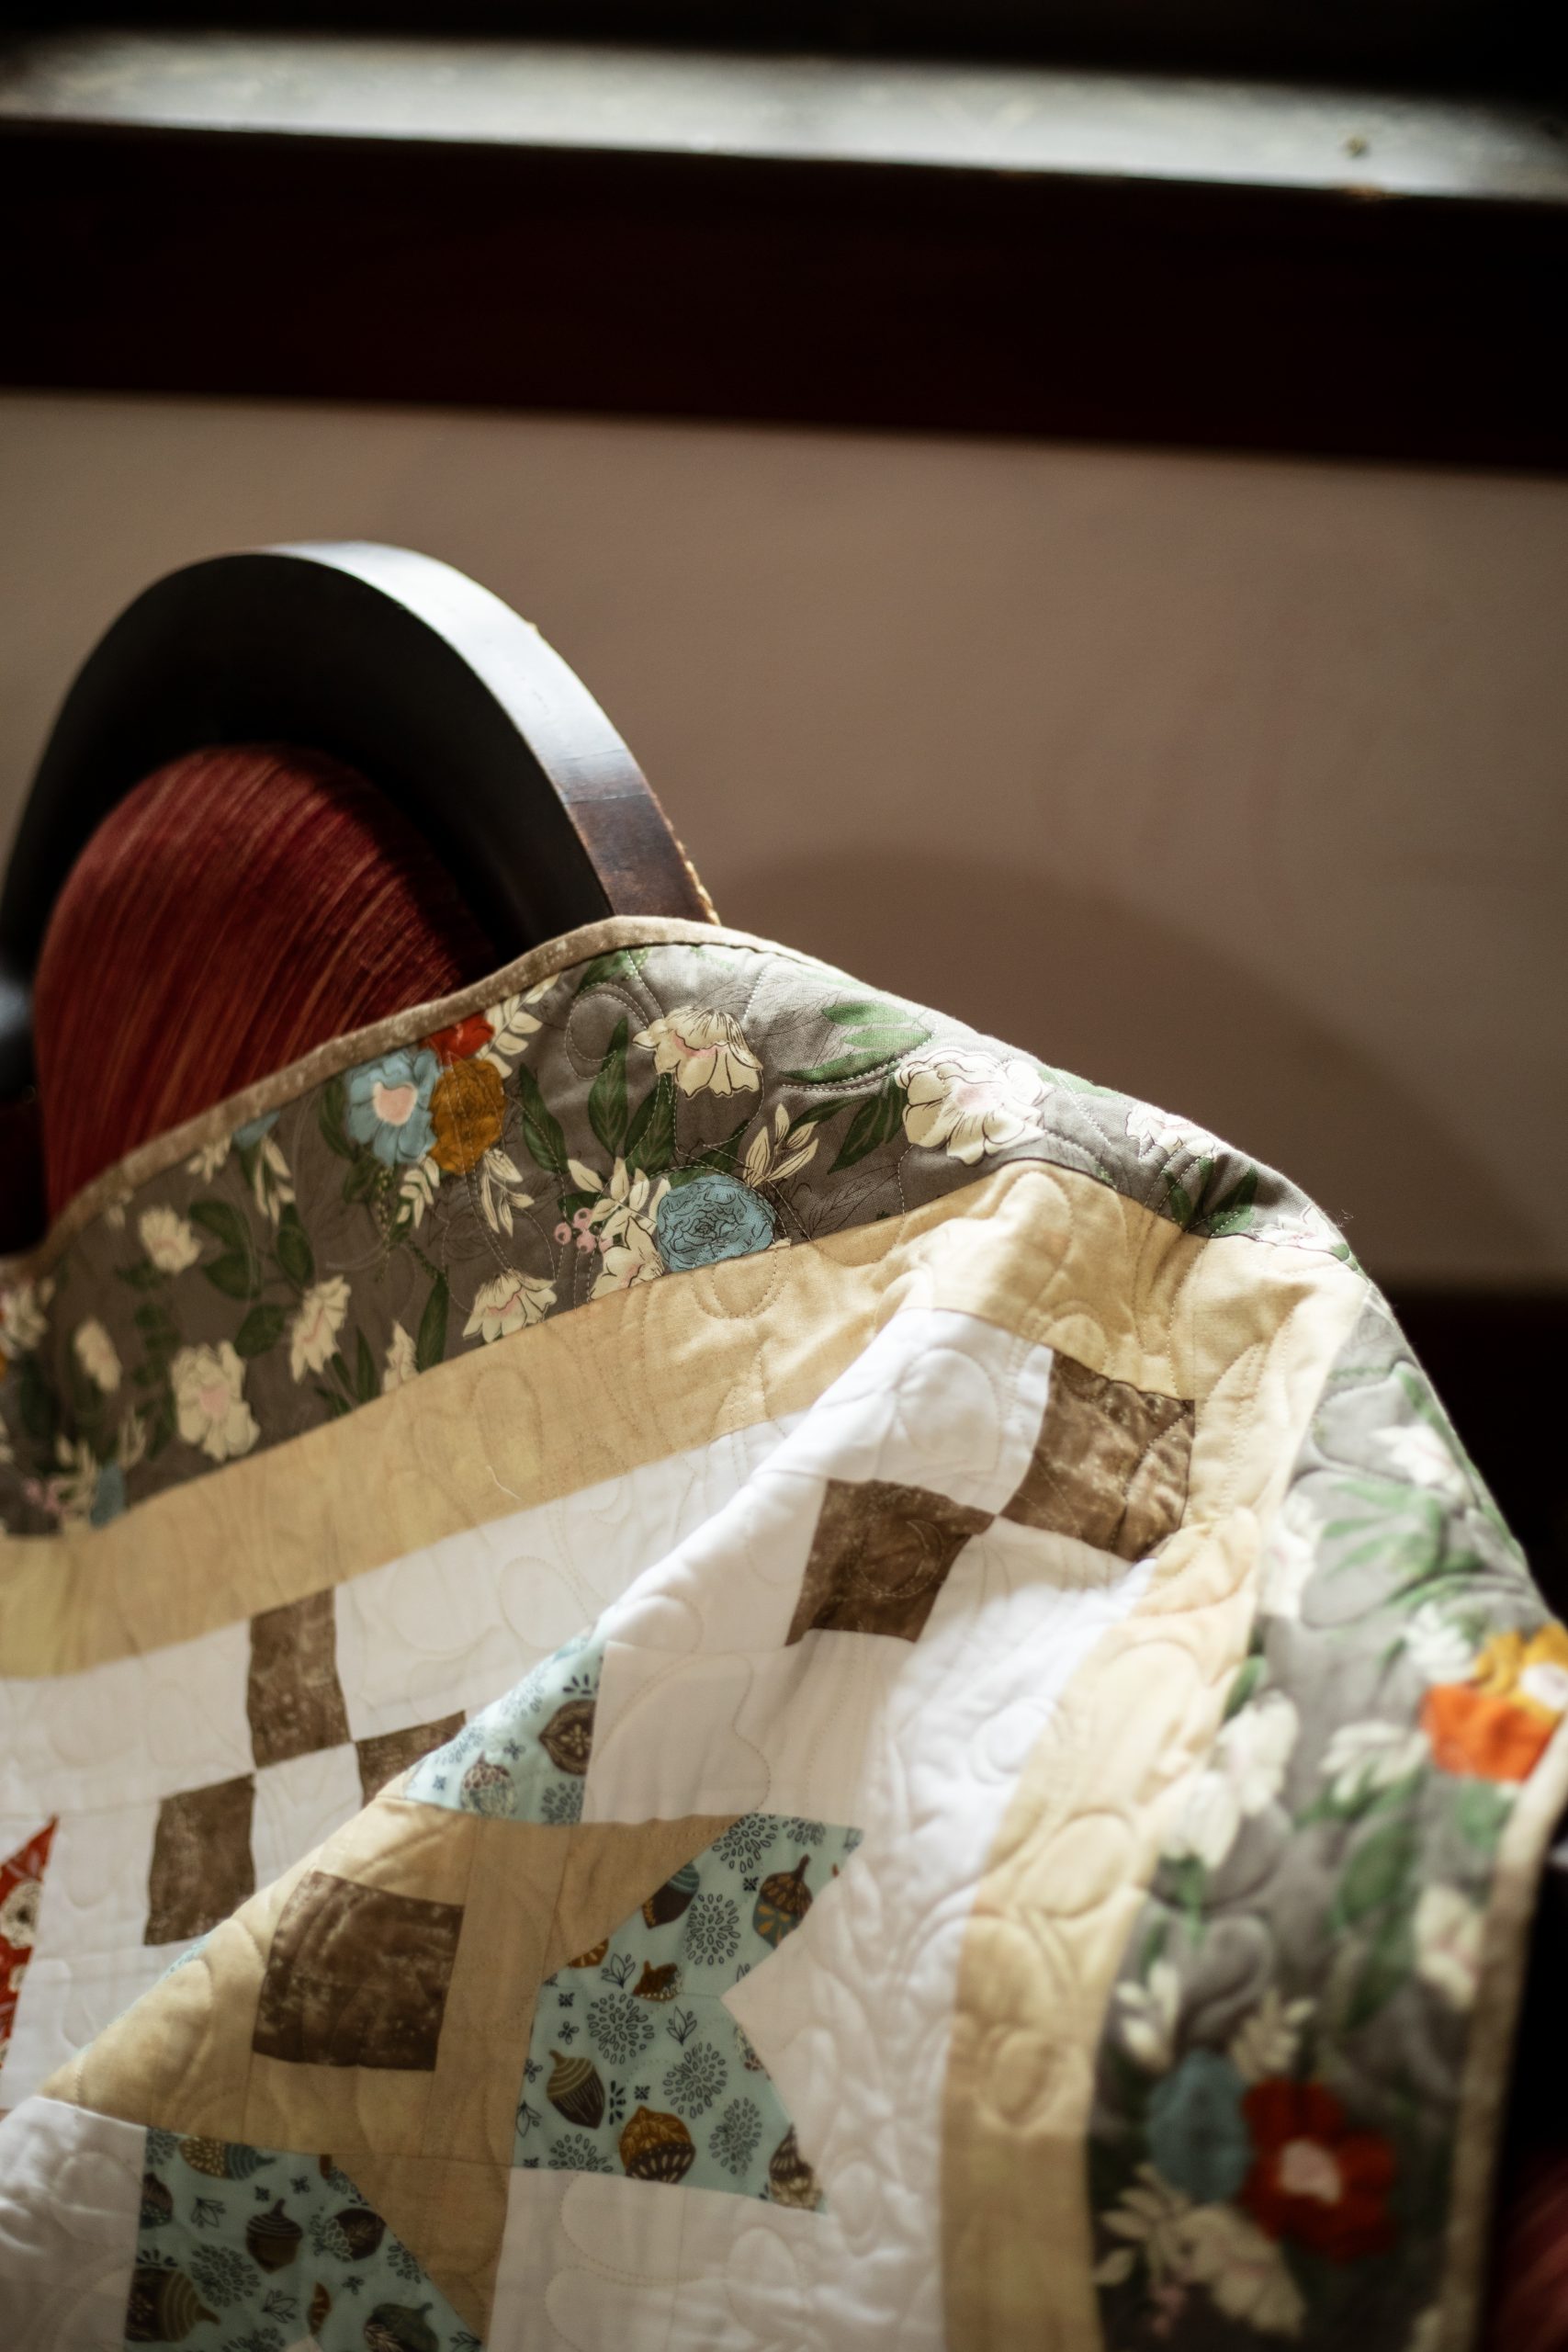
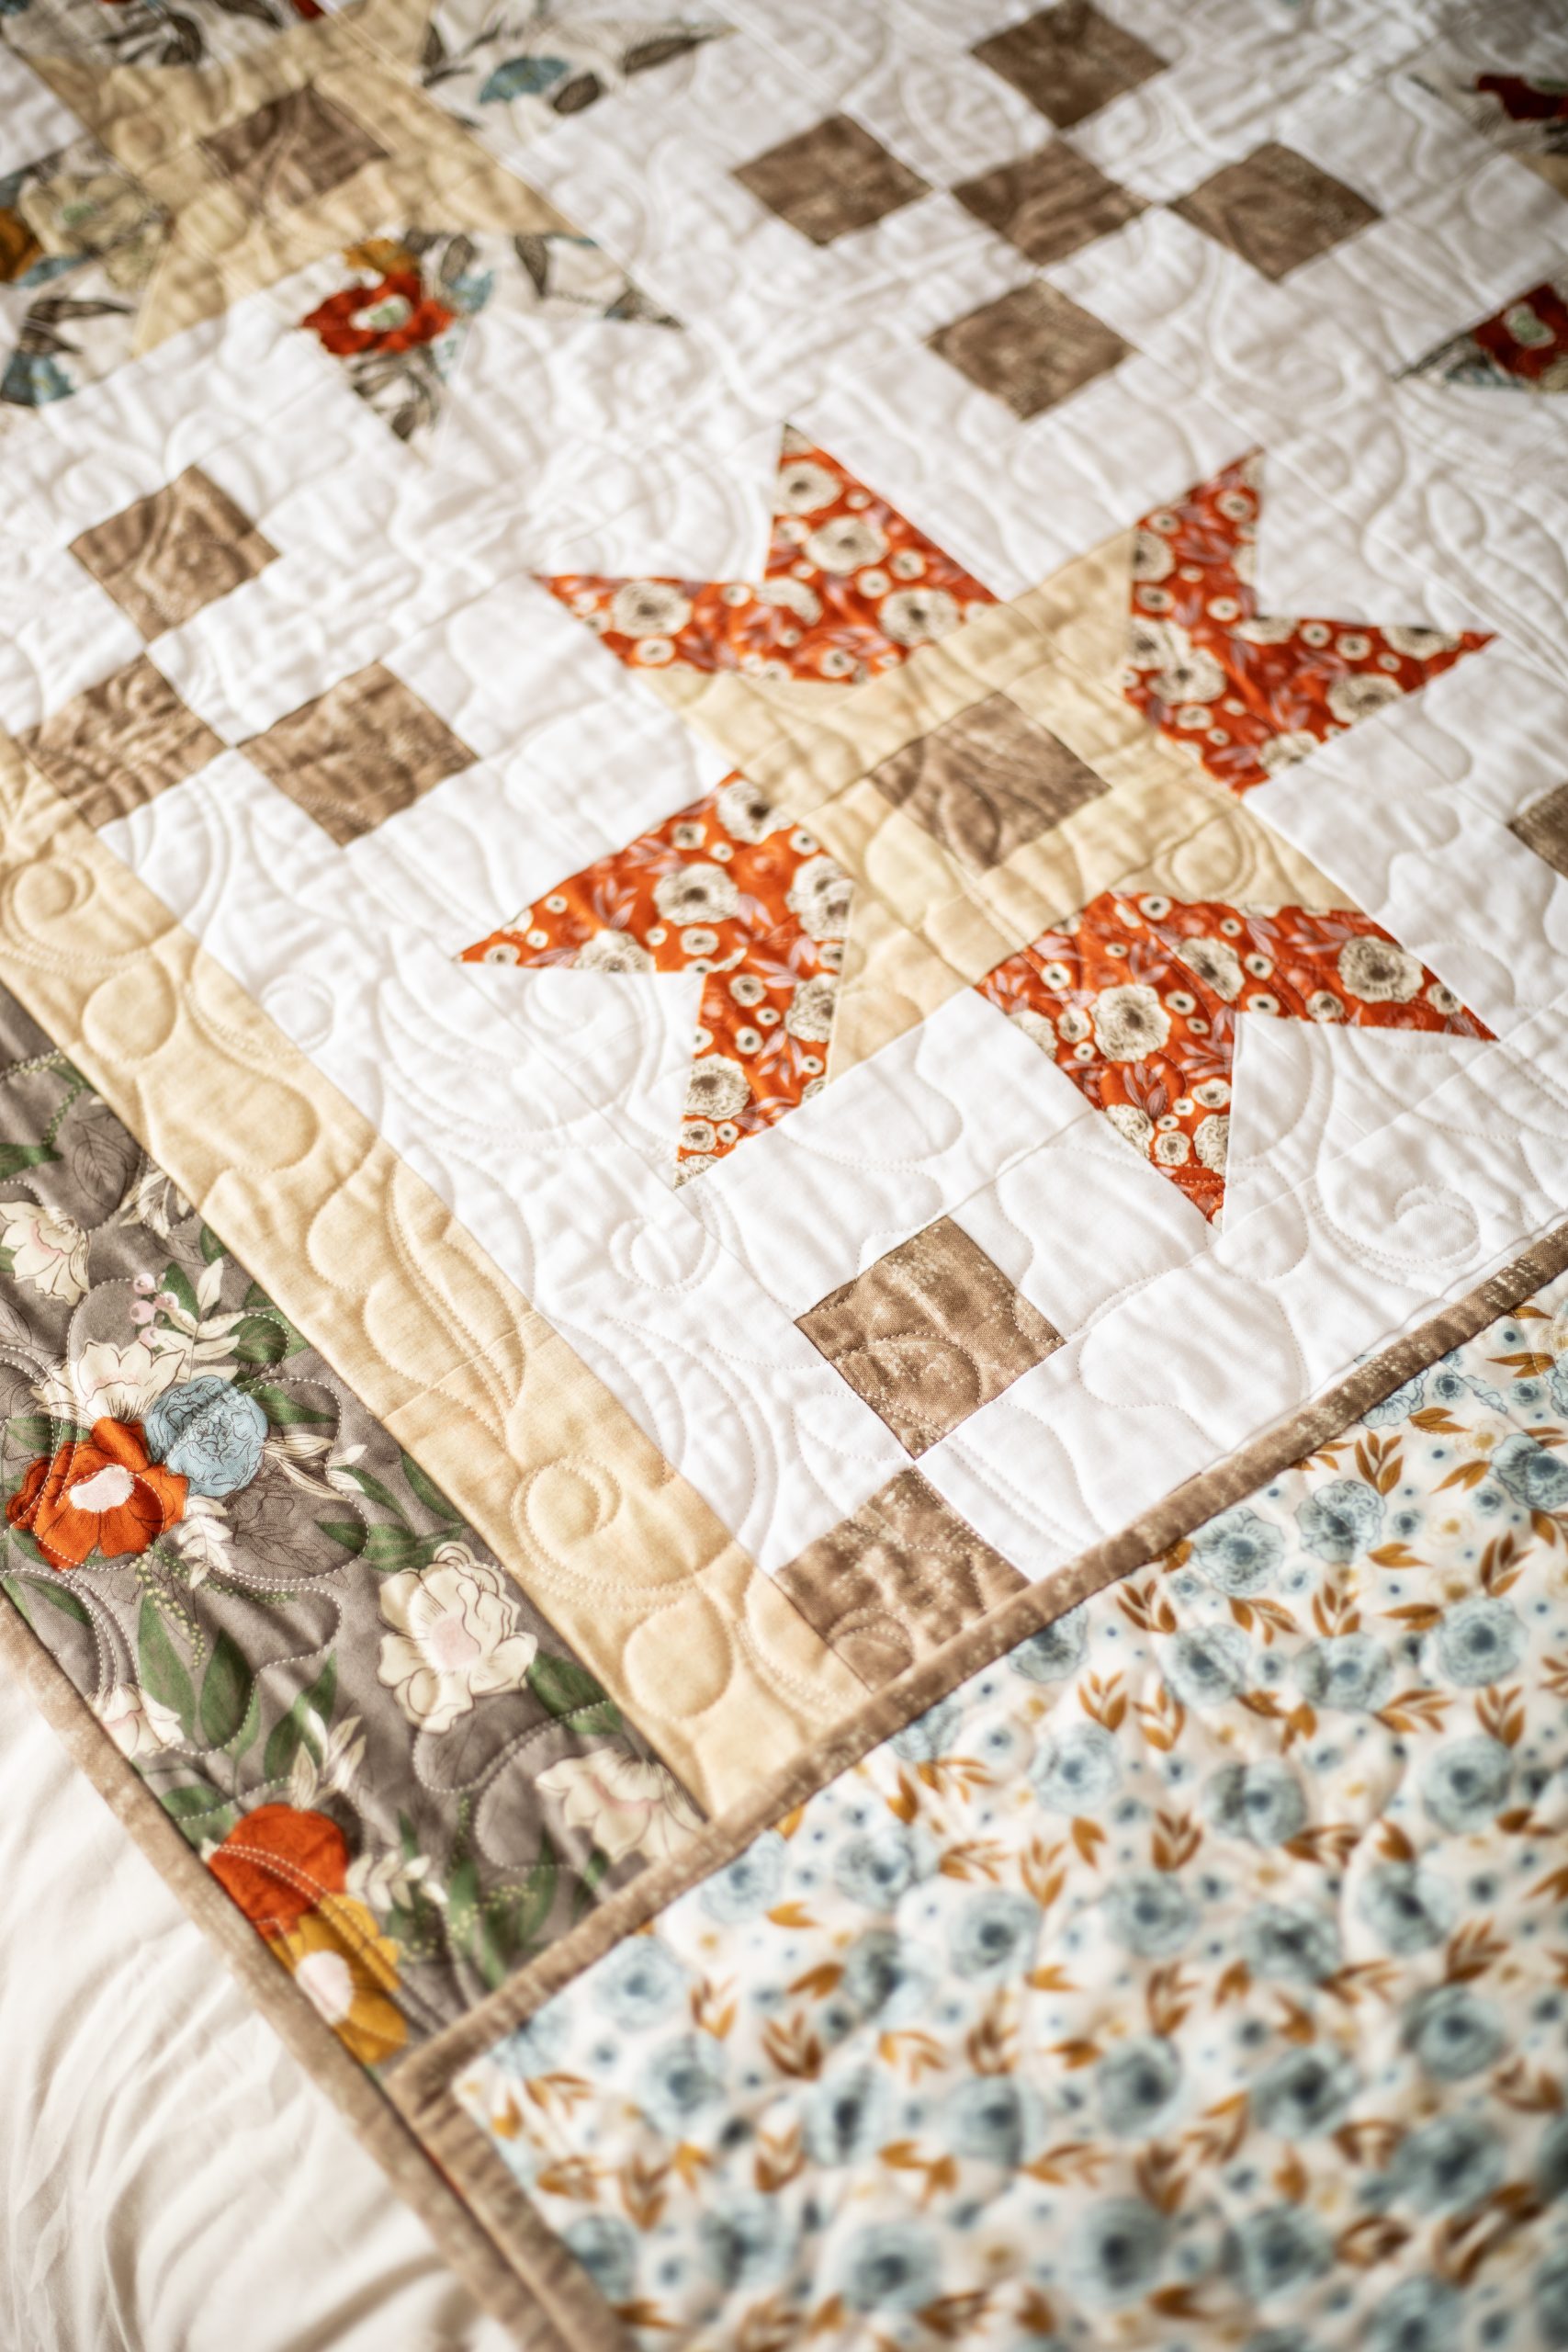
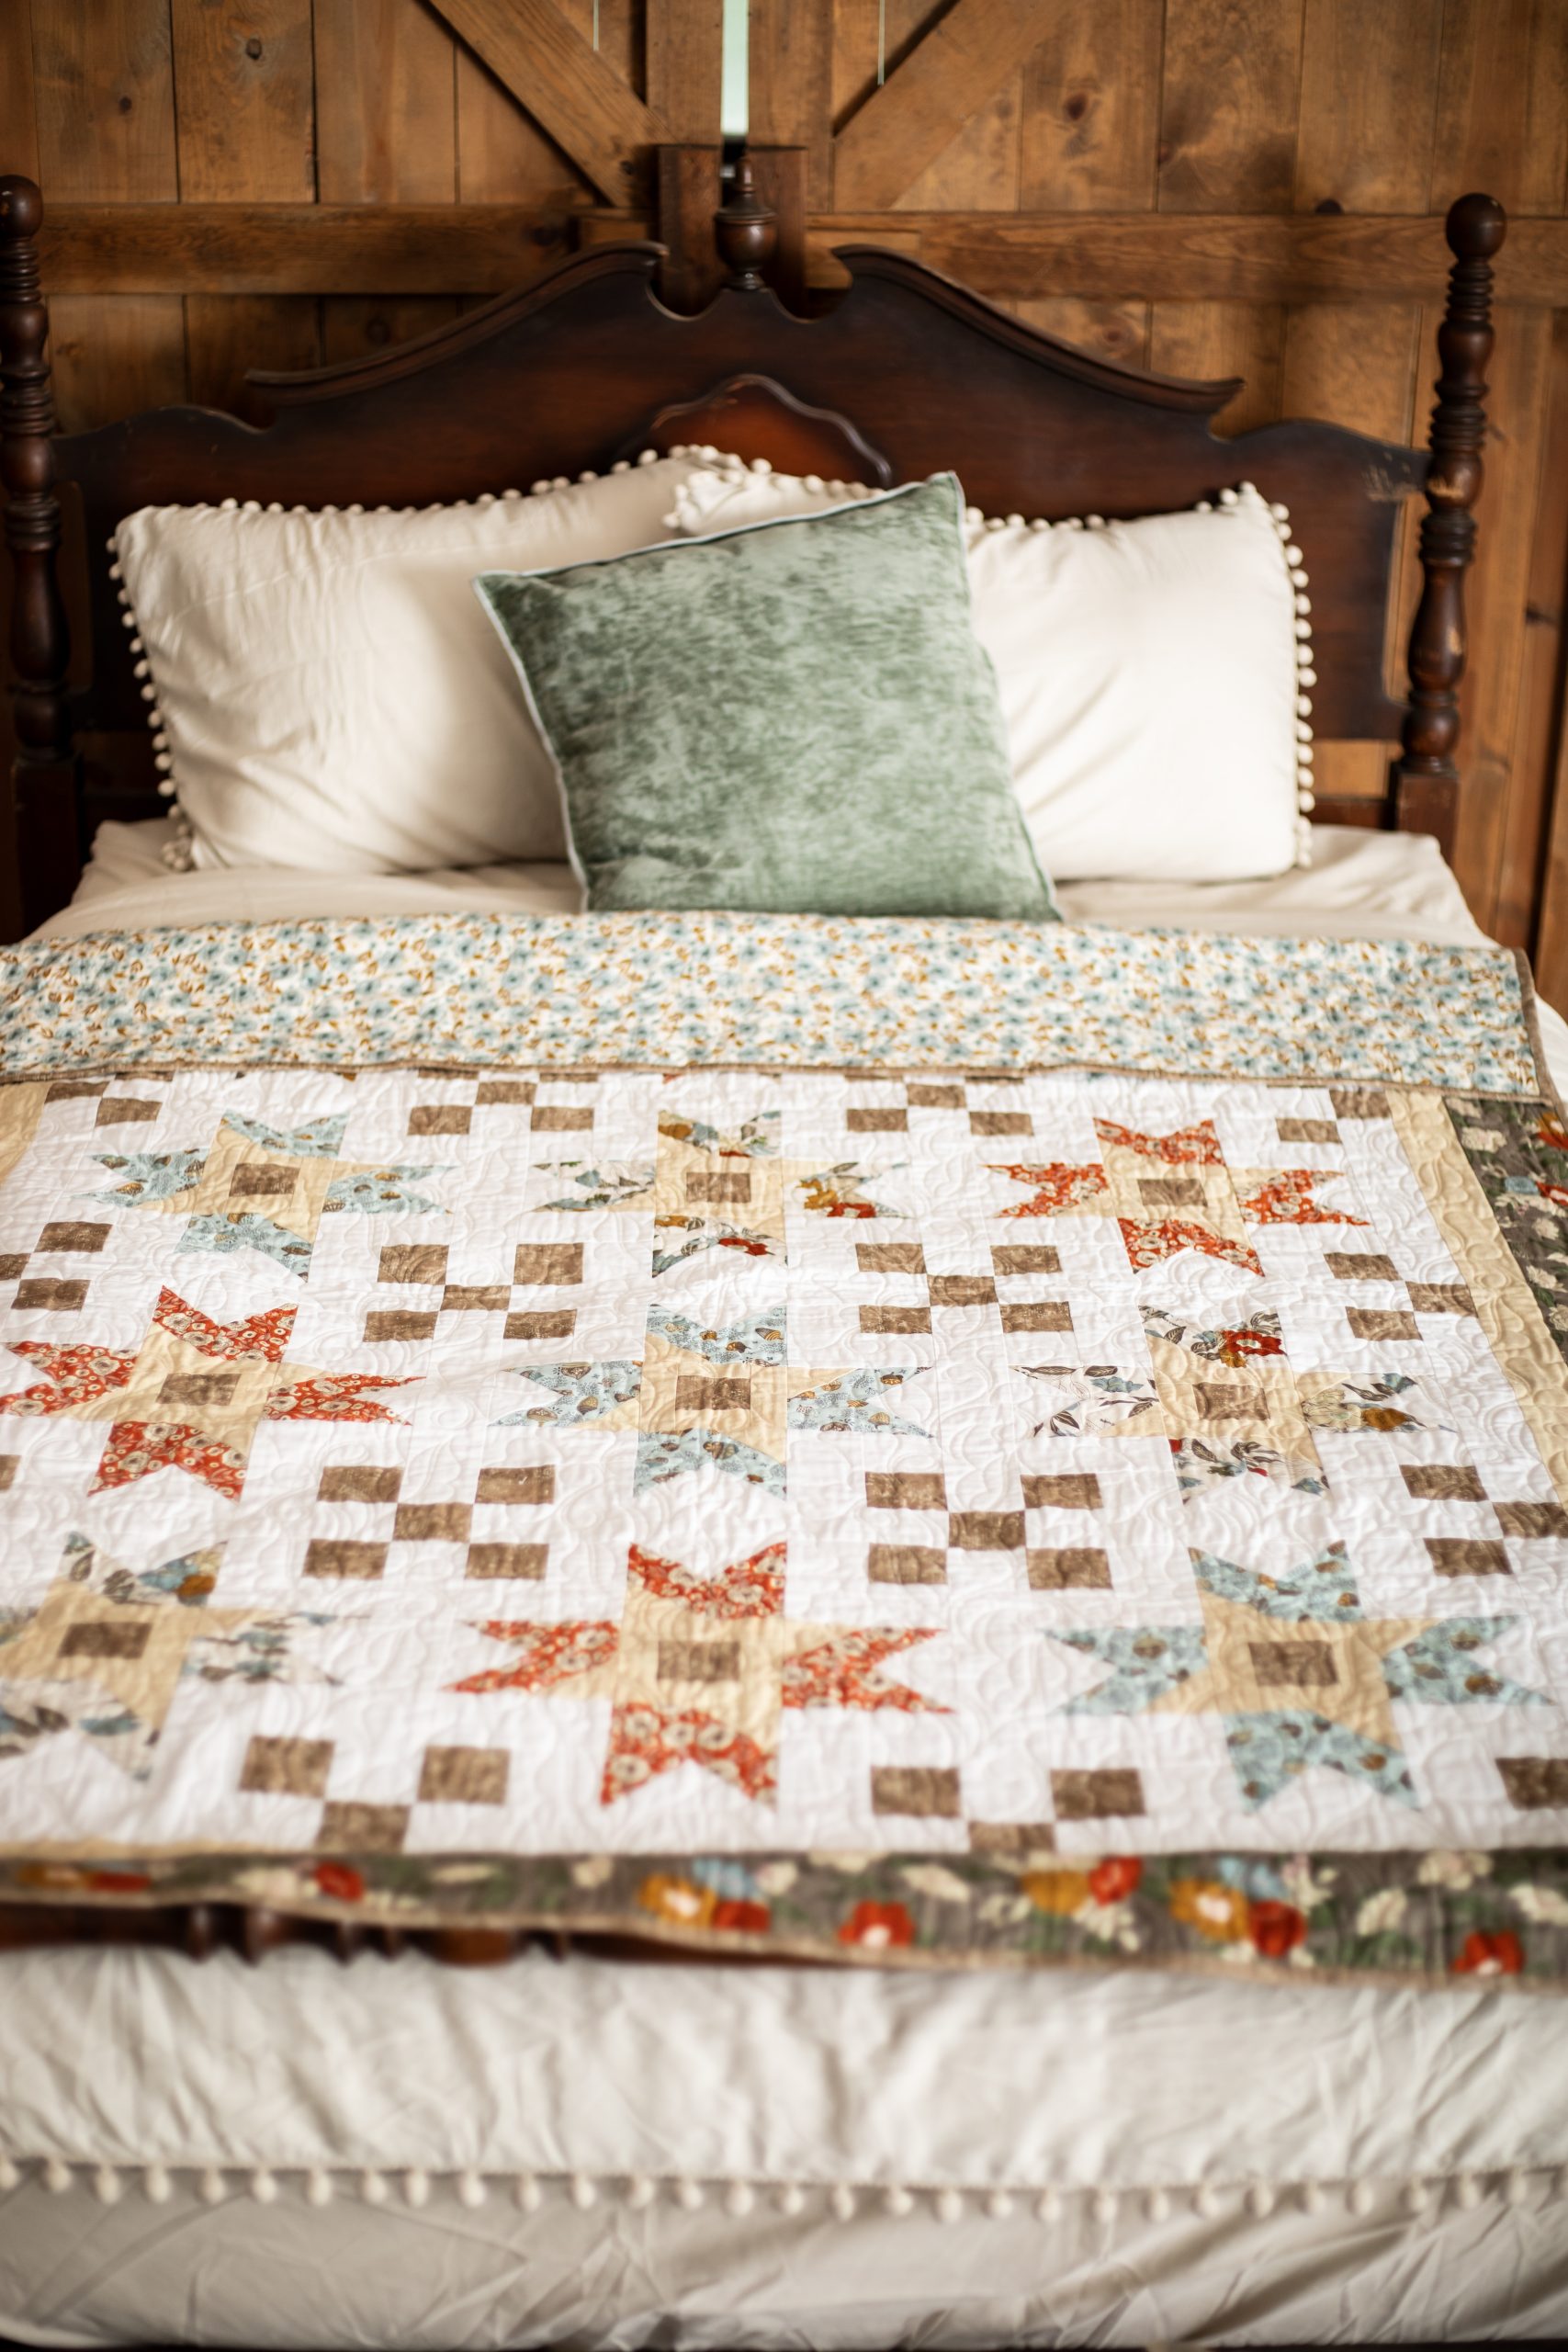
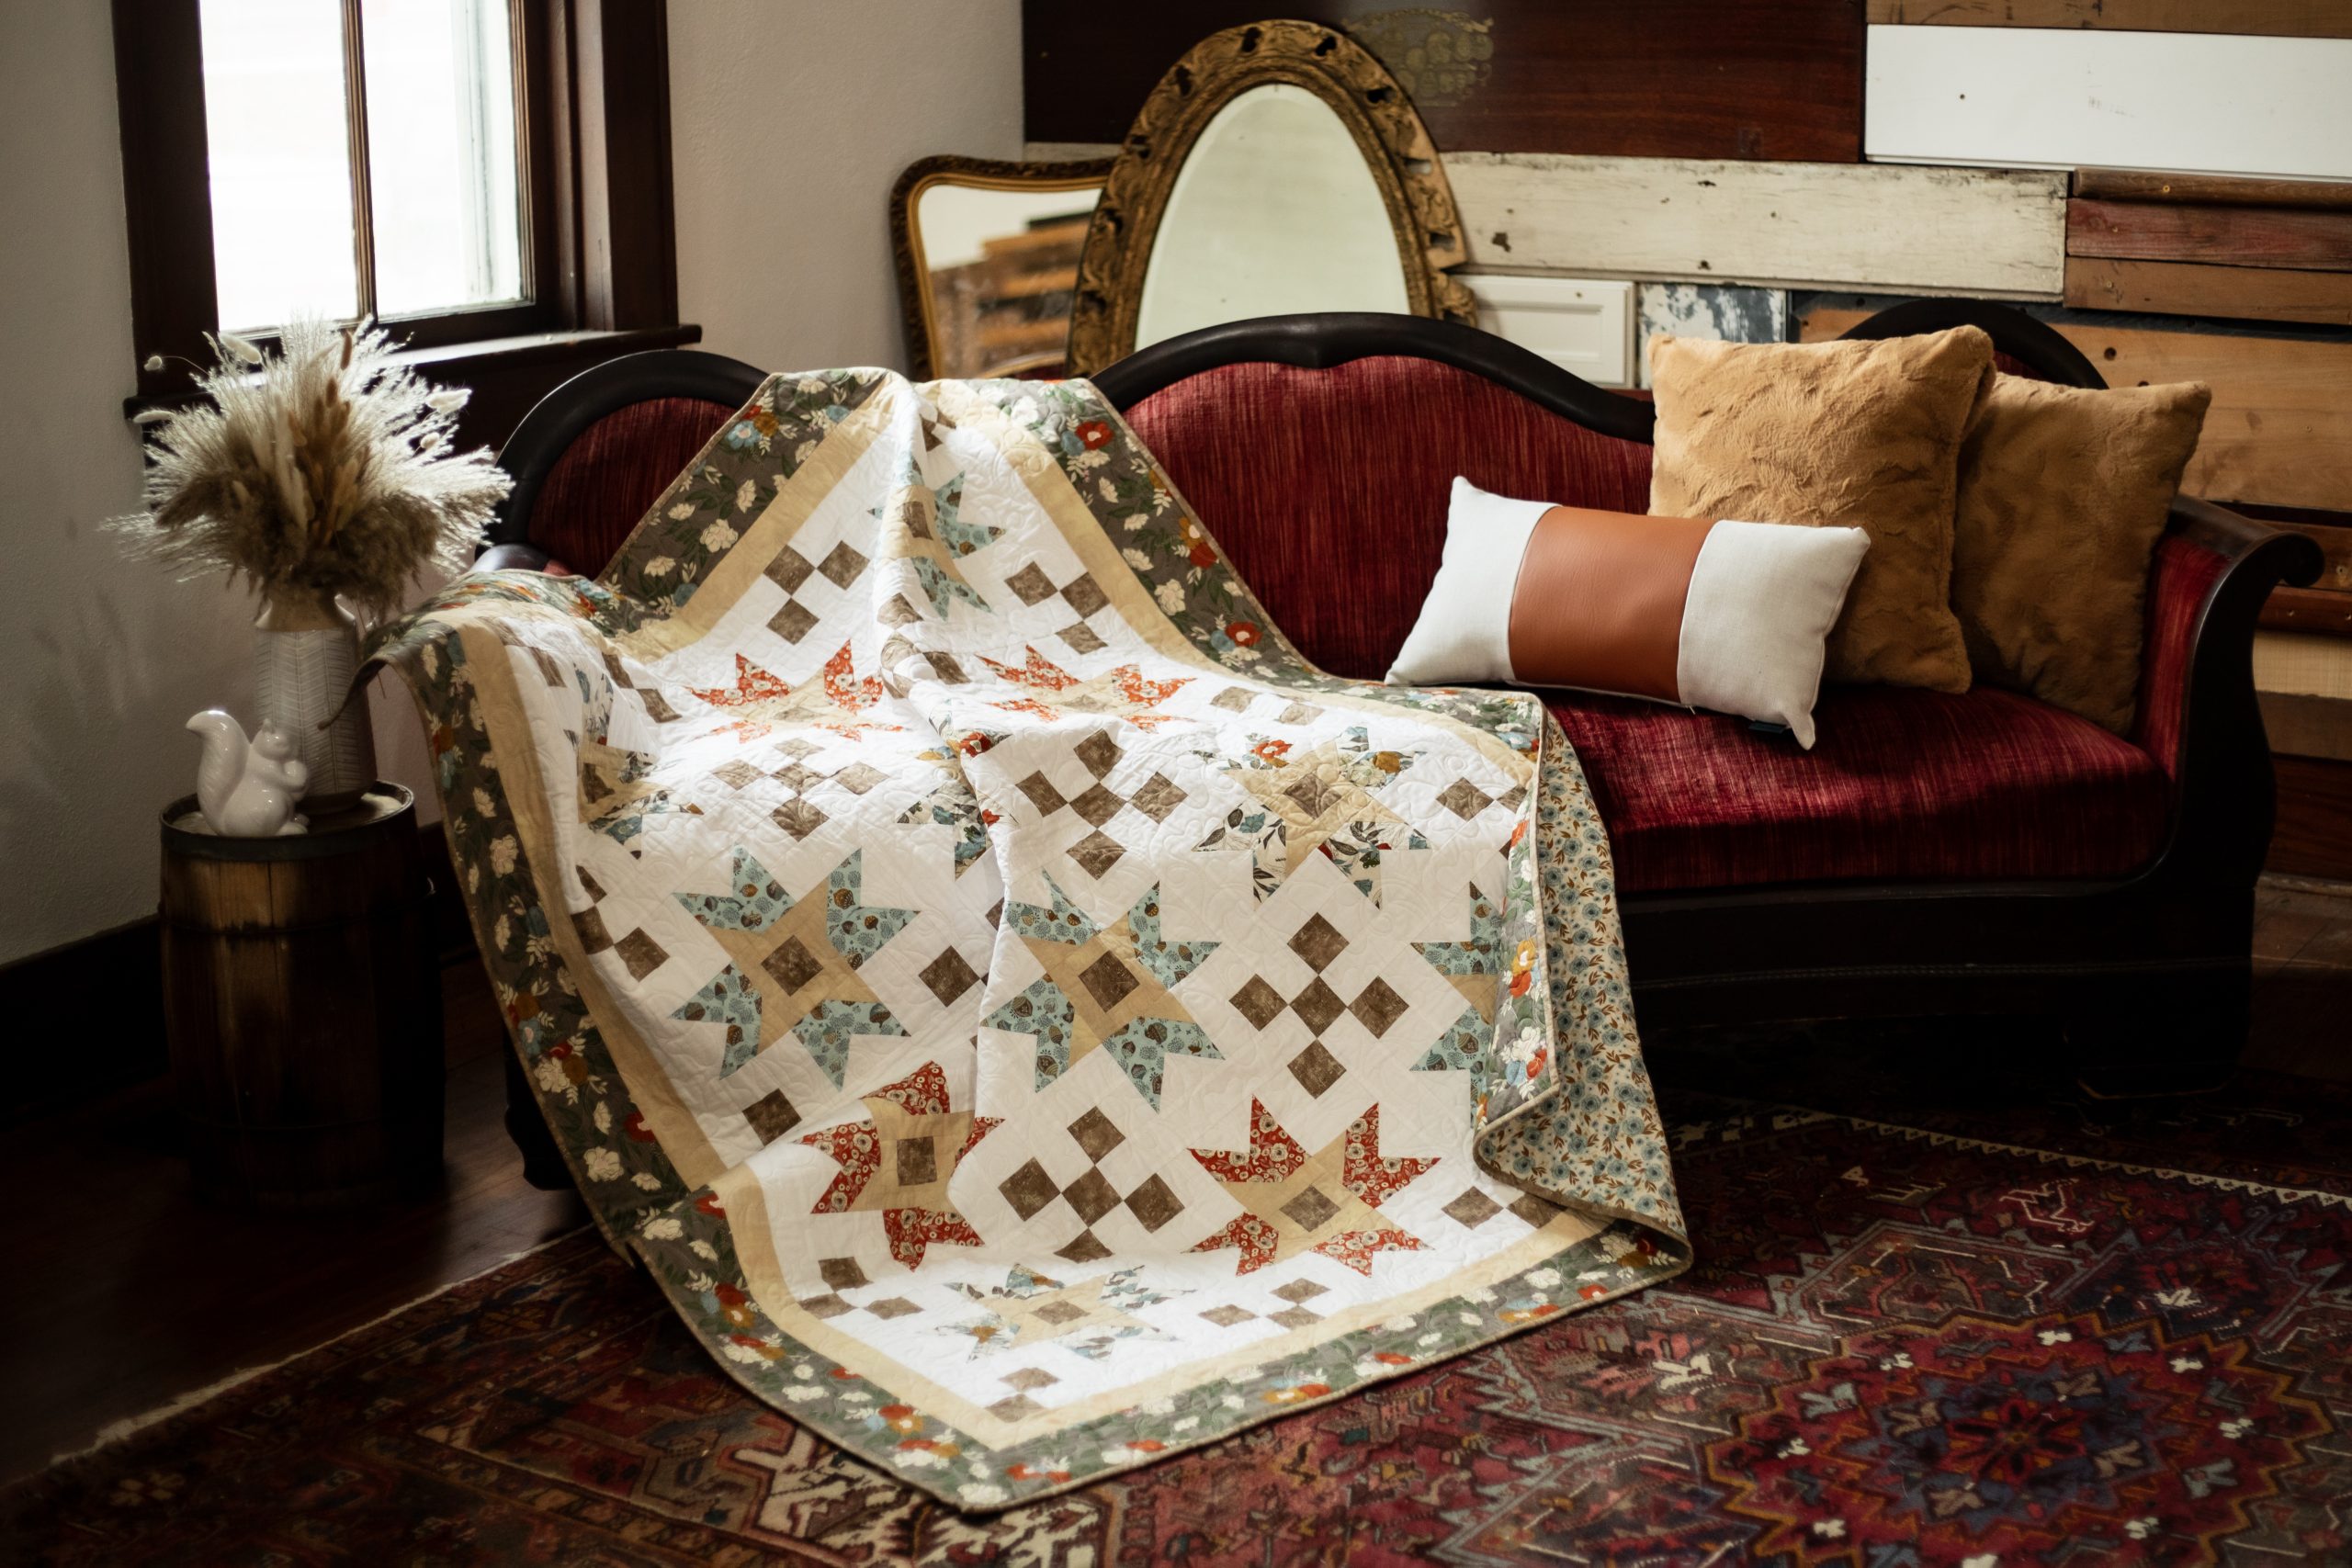
The classic friendship star gets a modern update with this beautiful fall quilt pattern from Megan Farrell. Combining traditional friendship and 8-point stars into one block design, this large quilt pattern breathes new life into beloved quilting classics. We’re obsessed with this quilt’s delightful fall color palette of crimson, sky blue, cream and mocha brown, and its farmhouse-inspired design fits in perfectly with the popular rustic chic aesthetic.
Designer Notes: Things to consider when selecting your fabrics: Accent #1 and Accent # 2 need to be good contrasting colors and these colors will touch. Accent #1 does not touch your prints, but Accent #2 does and will need to be a good Contrasting fabric to your prints.
Cutting Instructions and Fabric Requirements:
Background Fabric: 2 Yards
- Cut into qty 9: 2 1/2” by WOF (Width of Fabric) strips.
- Sub Cut into qty 144: 2 1/2” squares.
- Cut into qty 3: 4 1/2” by WOF strips.
- Sub Cut into qty 48: 2 1/2” x 4 1/2” rectangles.
- Cut into qty 2: 12 1/2” by WOF strips.
- Sub Cut into qty 31: 2 1/2” x 12 1/2” rectangles.
Accent #1: 1/2 Yard
- Cut into qty 5: 2 1/2” Strips by WOF.
- Sub Cut into qty 80: 2 1/2” squares.
Accent #2: 1 Yard
- Cut into qty 1: 2 1/2” Strip by WOF.
- Sub Cut into qty 24: 1 1/2” x 2 1/2” rectangles.
- Cut into qty 1: 4 1/2” Strip by WOF.
- Sub Cut into qty 24: 1 1/2” x 4 1/2” rectangles.
- Cut into qty 9: 2 1/2” Strips by WOF
- Sub cut 3 strips into qty 48: 2 1/2” squares.
- Hold 6 Strips for Border #1.
FOR YOUR PRINTS:
- A. You can use three 1/4 yards of different prints, and they will yield 4 blocks for each print.
- B. You can use 6 fat quarters of different prints, and they will yield 2 blocks for each print.
- C. You can use 12 jelly roll strips, and they will yield 1 block per strip (12 different blocks).
Cutting Instructions for Each Print Option:
- A. Three 1/4 yards of different prints, they will yield 4 blocks for each print.
- Cut each print into qty 2: 4 1/2” strips by WOF.
- Sub Cut into qty 32: 2 1/2” x 4 1/2” rectangles (32 per print)
- Cut each print into qty 2: 4 1/2” strips by WOF.
- B. 6 fat quarters of different prints, they will yield 2 blocks for each print.
- Cut each fat quarter into qty 2: 4 1/2” x 20” strips.
- Sub Cut into qty 16: 2 1/2” x 4 1/2” rectangles (16 per fat quarter)
- Cut each fat quarter into qty 2: 4 1/2” x 20” strips.
- C. 12 jelly roll strips, and they will yield 1 block per strip (12 different blocks)
- Cut each strip into qty 8: 2 1/2” x 4 1/2” rectangles (8 per strip)
Border # 1: See Accent #2. If you would like to use a different fabric than your accent, you will need 1/2 yard cut into qty 6 strips, 2 1/2” x WOF.
Border #2: 1 1/2 Yards Cut into 8 strips, 4 1/2” x WOF.
Binding: 3/4 yards
Backing: 4 yards
Piecing Instructions:
Designer Note: All directions based on 1/4” seam allowance.
To create the block you will create three different components:
COMPONENT #1:
- Sew Accent #1 2 1/2” square to Background 2 1/2” Square (creates 2 1/2” x 4 1/2” 2 patch).
- Sew Step #1 to Background 2 1/2” x 4 1/2” rectangle. (This will be sewn on the right side of Step one, with Accent #1 on top)
- This clue yields a 4 1/2” square. Complete this component 48 times.

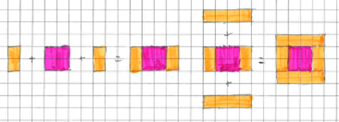
COMPONENT #2:
- Sew Accent #2 1 1/2” x 2 1/2” Rectangle to left side and right side of Accent #1 2 1/2” square.
- Sew Accent #2 1 1/2” x 4 1/2” rectangle to top and bottom of Step 1.
- This Clue yields a 4 1/2” square. Complete this Component 12 times.
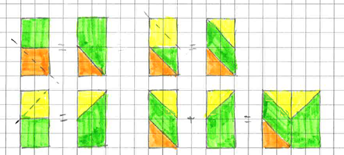
COMPONENT #3:
- Snowball bottom of qty 1 2 1/2” x 4 1/2” Print rectangle with Accent #2 2 1/2” square.
- Snowball top of Step 1 with Background 2 1/2” square.
- Snowball top of 2 1/2” x 4 1/2” rectangle with Background 2 1/2” square.
- Sew Step 2 to Step 3.
- This Clue yields a 4 1/2” square. Complete this component 48 times or if using 3 prints complete 16 times per print.
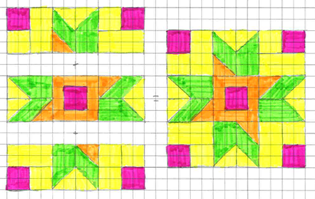
To create the rows of the block you will use the three components:
TOP ROW:
- Sew Component #1 to Component #3 to Component #1 to create the top row of block. Ensure that Accent #1 is on the outside upper corner of each row.
- This step creates top row of the block, and this clue should be completed 12 times.

MIDDLE ROW:
- Sew the bottom of Component #3 to Component #2 to bottom of Component #3.
- This step creates the middle row of the block and should be completed 12 times.

BOTTOM ROW:
- Sew Component #1 to Component #3 to Component #1 to create the bottom row of block. Ensure that Accent #1 is on the outside bottom corner of each row.
- This step creates the bottom row of the block and should be completed 12 times.

TO CREATE THE BLOCK:
- Sew Row one to Row two.
- Sew Row three to Row two.
- This will be completed twelve times yielding twelve blocks.
TO CREATE SASHING ROWS:
- Sew 2 1/2” Accent #1 square to 2 1/2” x 12 1/2” background rectangle to 2 1/2” Accent #1 square to 2 1/2” x 12 1/2” background rectangle to 2 1/2” Accent #1 square to 2 1/2” x 12 1/2” background rectangle to 2 1/2” Accent #1 square.
- Complete this step a total of five times.
TO CREATE BLOCK ROWS:
- Sew 2 1/2” x 12 1/2” background rectangle to block to 2 1/2” x 12 1/2” background rectangle to block to 2 1/2” x 12 1/2” background rectangle to block to 2 1/2” x 12 1/2” background rectangle.
- Complete this step a total of four times.
TO LAYOUT QUILT WITH BLOCK ROWS AND SASHING ROWS:
- Sew sashing row to block row to sashing row to block row to sashing row to block row to sashing row to block row to sashing row.
Once complete attach 2 1/2 ” border and then 4 1/2 ” border.
Attach backing, padding, and binding using your preferred method to finish quilt.

When will I receive my 1st magazine?
Hi Jane! We Like Quilting is a digital-only magazine and all issues are available to Gold Club members on our website. To access your subscription, please log in with your email address and password. If you need further assistance, please contact our customer service team at customer.service@amprycp.com. Thanks! – Ashley, We Like Quilting
What is the finished size of this quilt?