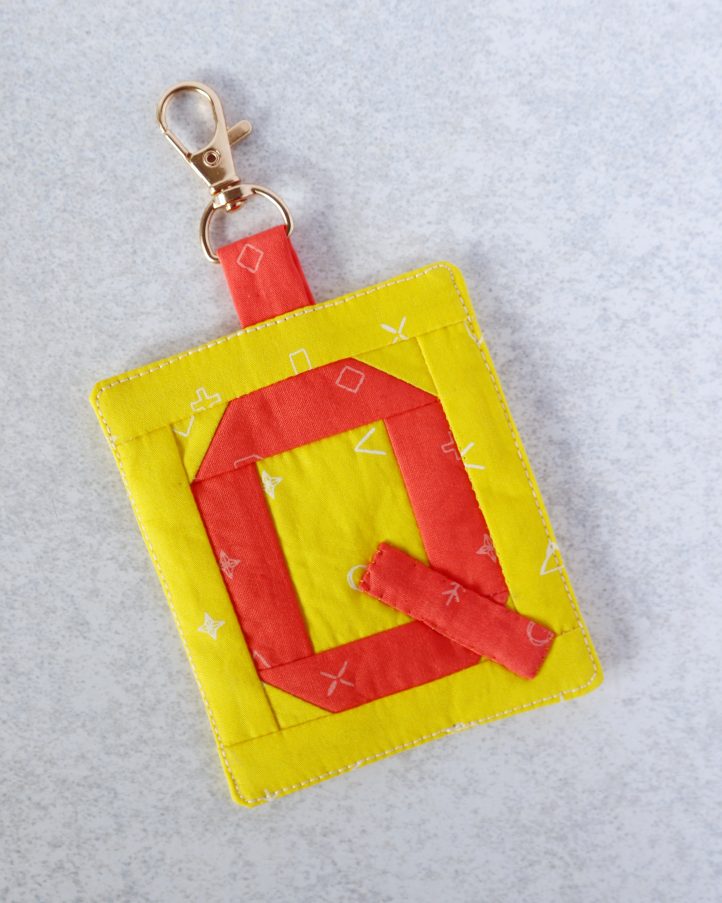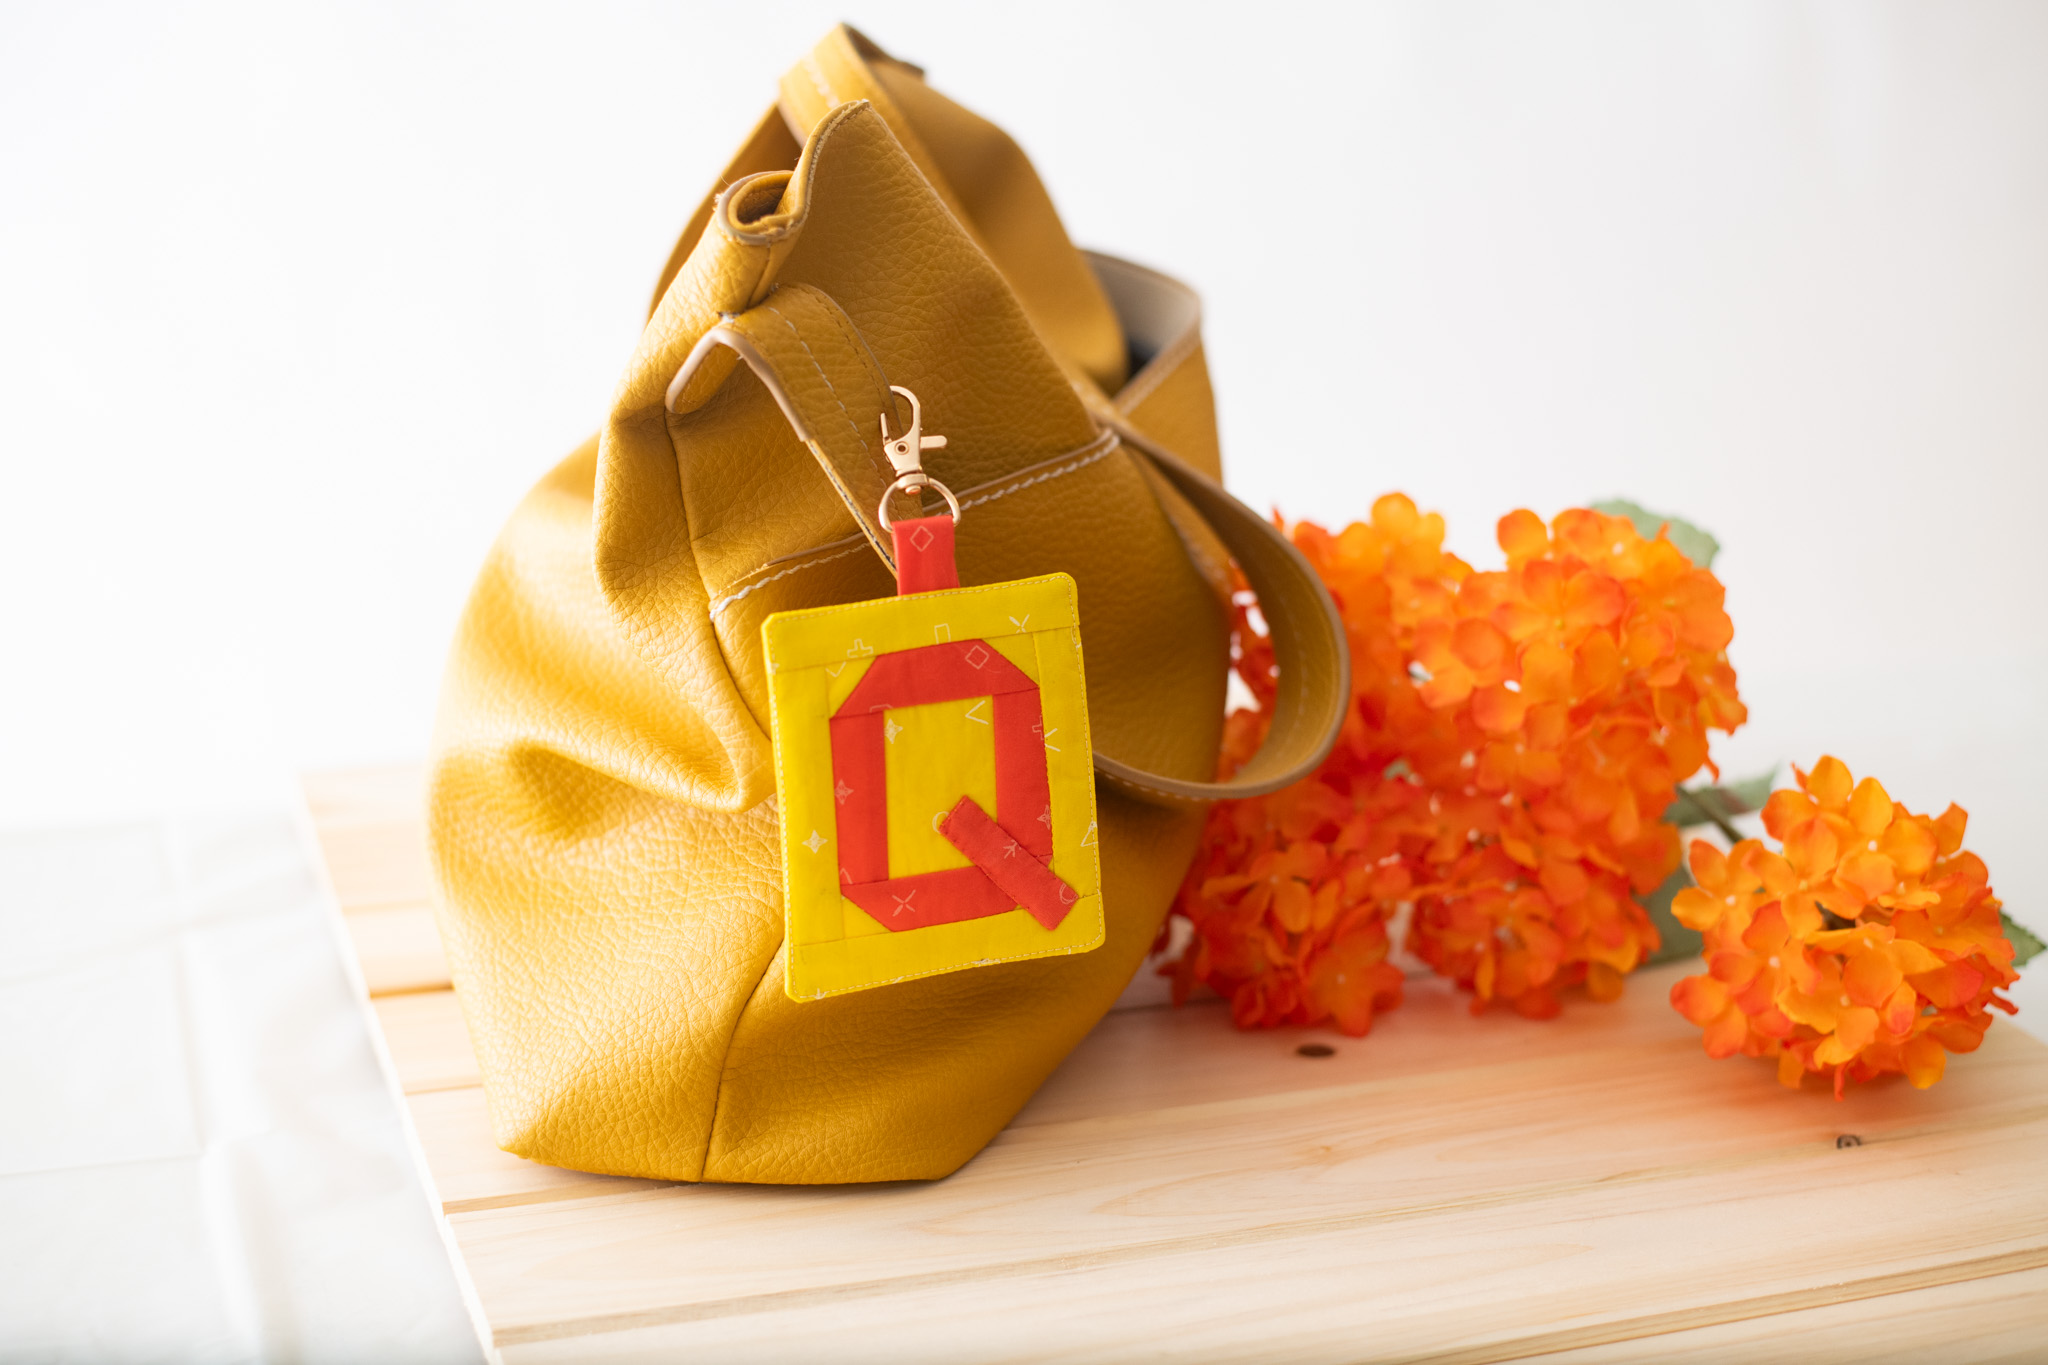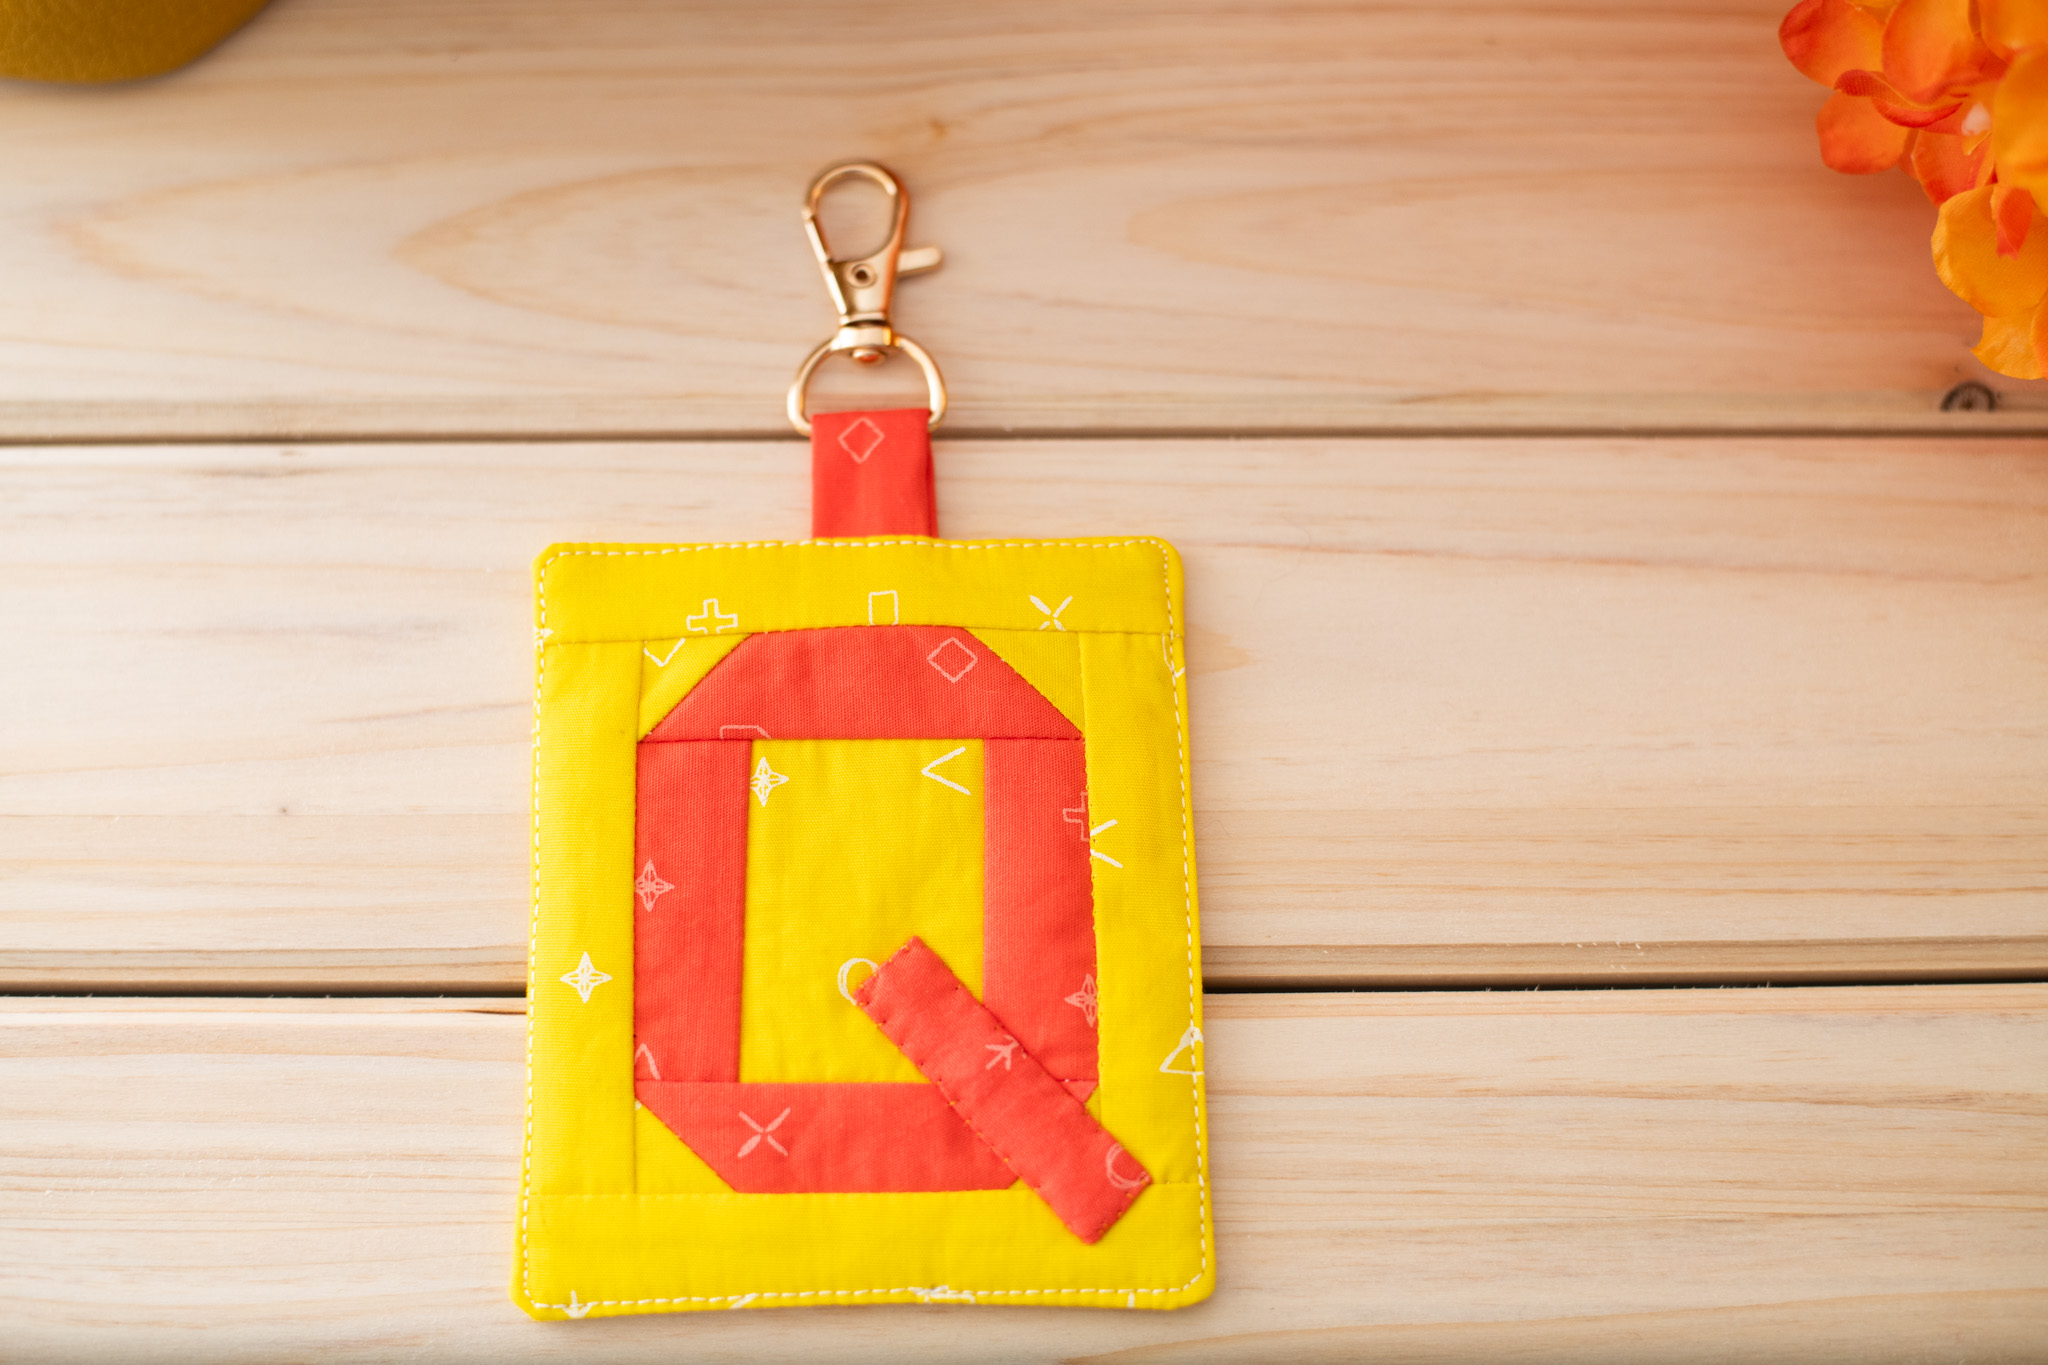
‘Q’ is for quilting! Gift your favorite fellow quilter with a sweet and thoughtful homemade gift using this pattern from Sophie Tarrant. Made in vibrant yellow and orange, this playful quilting project features a quilted ‘Q’ design and is completed with a golden lobster claw clasp. Experiment with your fabric scraps and create letter key fobs for every member of your family.
Skill Level: Beginner
Seam Allowances: 1/4”
Finished Size: 3” x 3-1/2”
Designer Note: We’ve given instructions for creating a letter Q, for quilting, but you could easily adapt this project idea to make any letter you like.
Materials:
- Fabric: Yellow and orange cotton, one fat quarter of each
- Fusible interfacing: One fat quarter
- Fusible quilt batting: 3-1/2” x 4”
- Sewing thread: White
- Key chain hook fastening
- PDF Diagram – This is located at the bottom of this page. See printing instructions below.
Tools:
- Rotary cutter and mat
- Scissors
- Pencil
- Iron
- Ruler
- Pins or clips
- Sewing machine
- Needle
PRINTING INSTRUCTIONS:
To download the PDF diagram, click on the download button at the bottom of the page. We recommend opening your download using Adobe Acrobat.
Piecing Instructions:
- Begin by backing your fabric pieces with fusible interfacing. This will prevent fraying and give the tiny pieces we’ll be working with a little structure.
- From the yellow fabric, cut the following pieces:
- Four 1” squares
- Two 1” x 3”
- Two 1” x 3-1/2”
- One 1-1/2” x 2”
- One 3-1/2” x 4” (Do not interface this piece)
- From the orange fabric, cut:
- Two 1” x 2”
- Two 1” x 2-1/2”
- One 1-1/2” x 2”
- One 1-1/2” x 5”
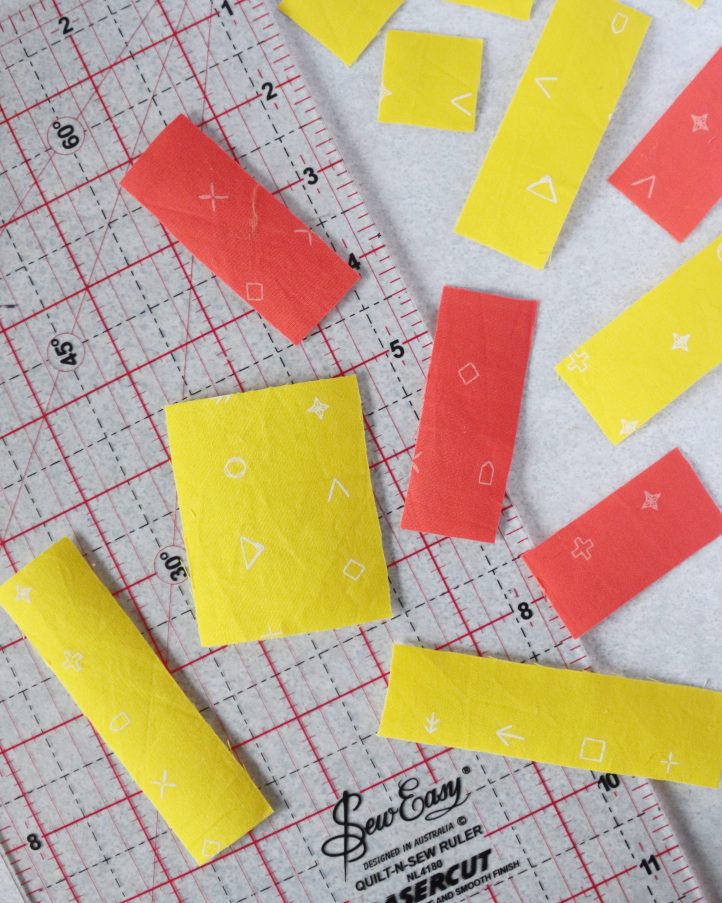
- From the yellow fabric, cut the following pieces:
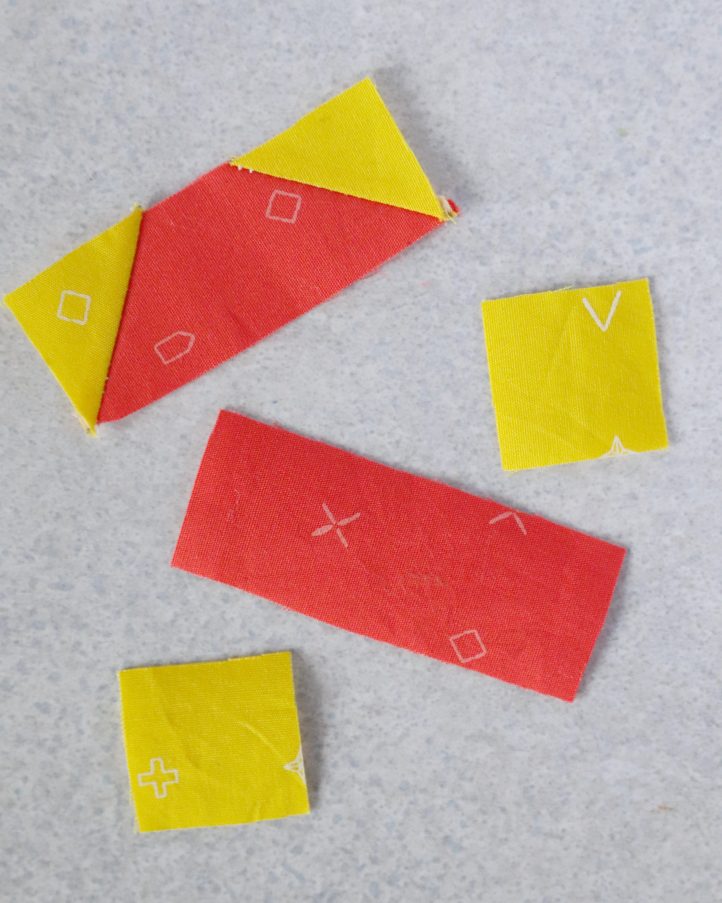
- Start joining the pieces. Lay one of your orange 1” x 2-1/2” pieces out flat with the right side facing up. Then, take one of the yellow 1” squares and place it on top with the right side facing down, aligning the two along the left-hand edge. Stitch diagonally across the square, going from the bottom left corner to the top right. Trim the seam allowance back to a 1/4”, then open the fabric out and press flat. Repeat to add the other yellow square to the right-hand edge of the orange piece, reversing the angle of the seam so it mirrors the first. Repeat to make another identical piece – these are the top and bottom sections of your letter Q.
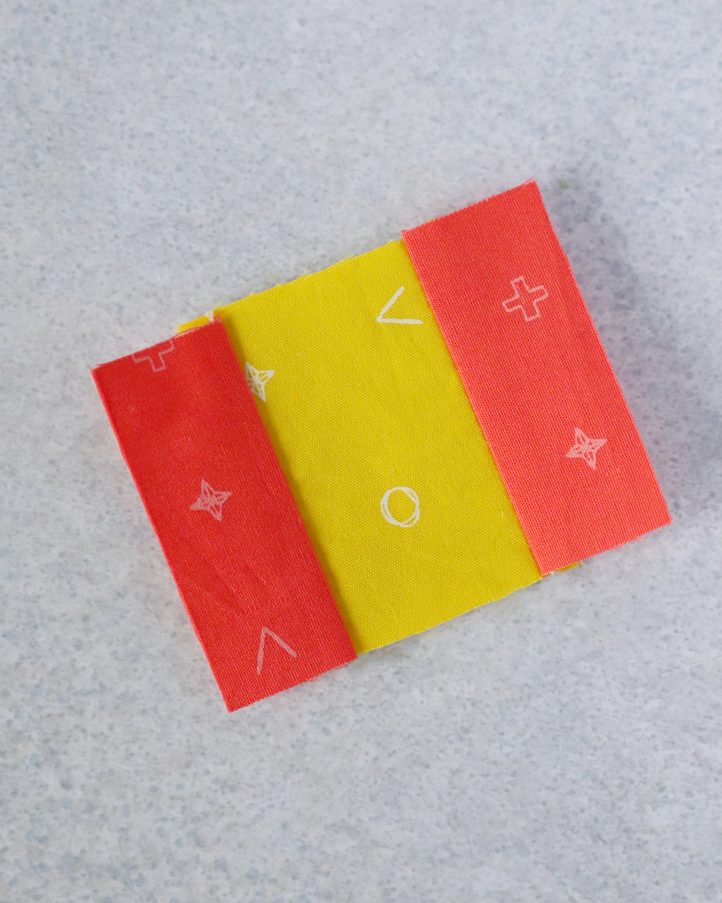
- Next, make the middle section of the Q. Lay the 1-1/2” x 2” yellow piece out flat with the right side facing up, then place one of the 1” x 2” orange pieces on top with the right side facing down. Align the two pieces along the left-hand edge, then machine stitch into place. Open the fabric out and press, then repeat to add the remaining 1” x 2” orange piece to the right-hand edge in the same way.
- Join the top and bottom sections of the Q to the middle part that you just made. Hold the pieces together with right sides facing and sew along the top or bottom edge (depending on which piece you’re joining), making sure the seam lines match up across each of them. Open the fabric out and press flat.
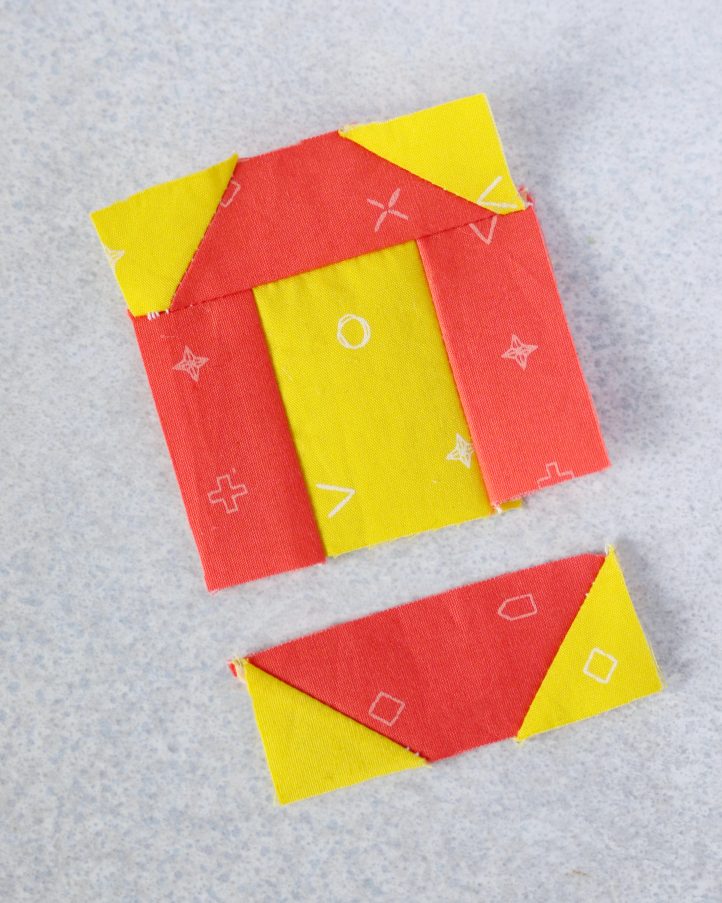
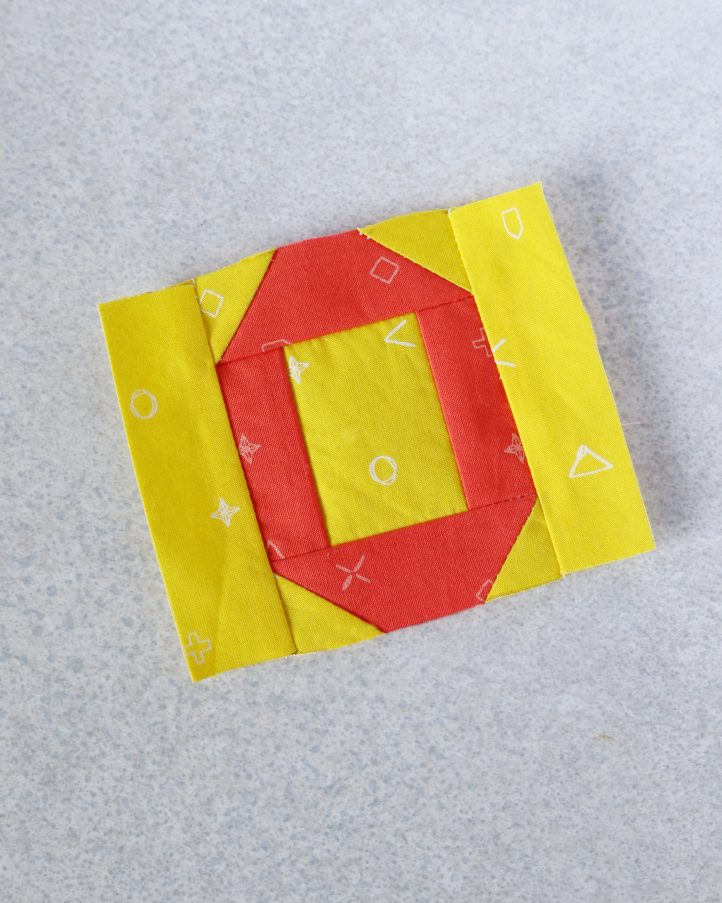
- Next, add the two 1” x 3” yellow pieces to the side edges of the work, once again leaving a 1/4” seam allowance throughout and making sure the seam lines match up as neatly as possible. As before, open the fabric out once it’s stitched and press flat.
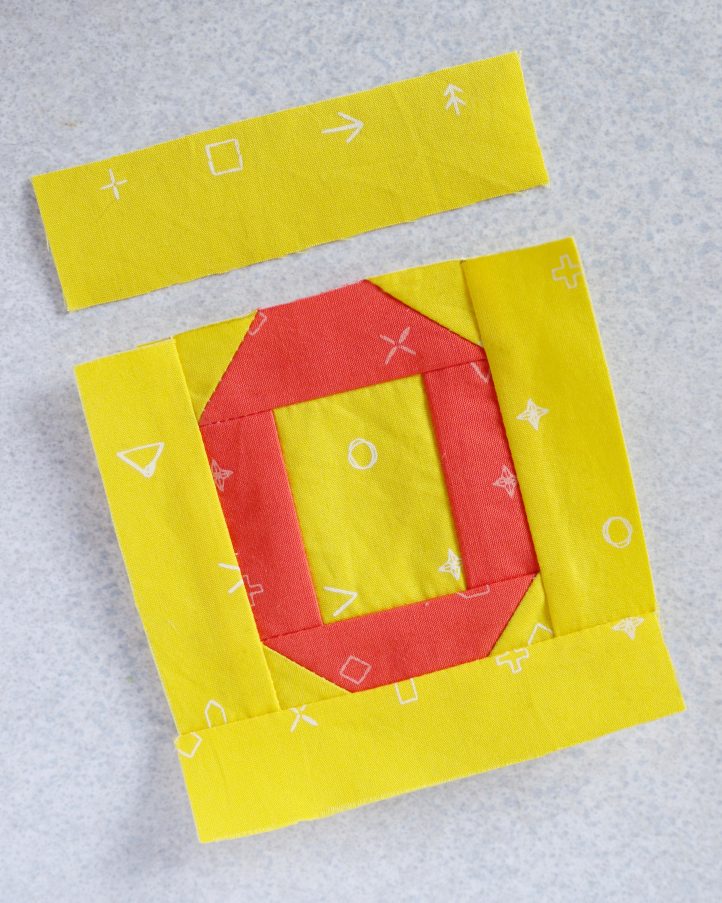
- To complete your quilt block, add the two yellow 1” x 3-1/2” pieces along the top and bottom edges of the work. Open out and press flat.
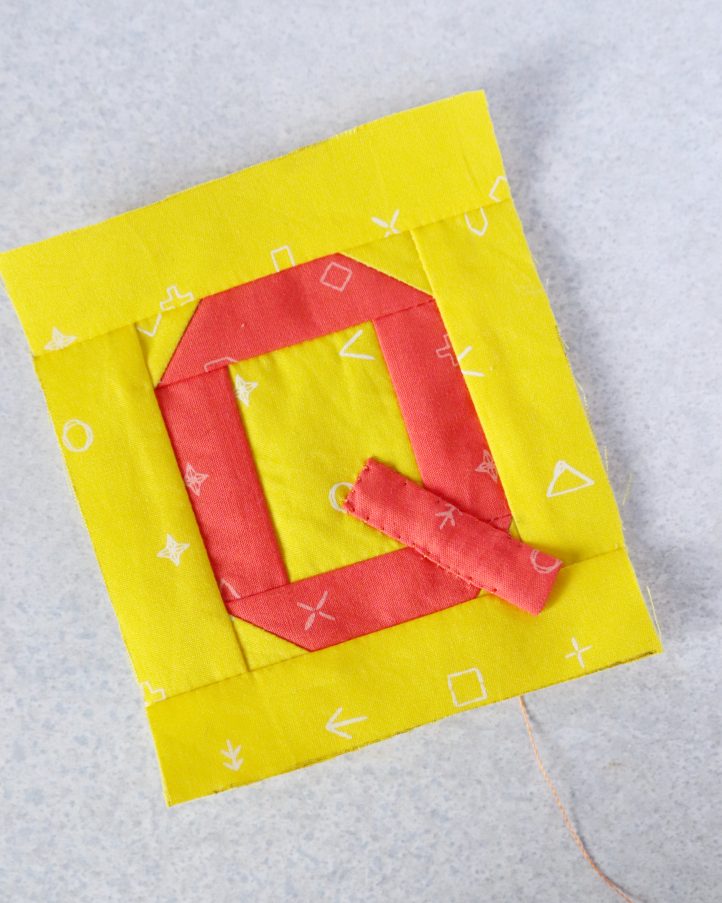
- Next, you’ll make the tail that decorates the bottom corner of the Q. Take your 1-1/2” x 2” orange piece and fold it in half lengthwise, with the right sides facing. Stitch along the long open edge, leaving a 1/4” seam allowance. Use a safety pin or a loop turner to turn the resulting tube right sides out, then gently roll the seam around so it runs down the center of the work. Press flat to set the shape. Gently fold the short raw edges of the tube over to the wrong side by 1/2”. Place this piece into position over the bottom right corner of the Q and hand stitch into place.
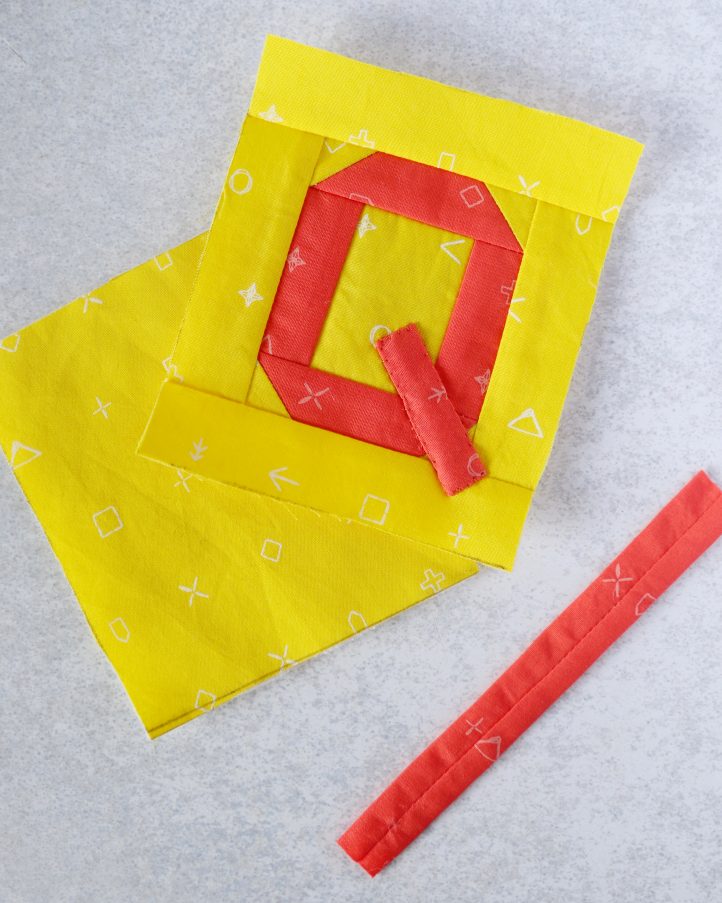
- Back your 3-1/2” x 4” yellow fabric piece with fusible batting – this will be the back of the key chain. Then, take your remaining 1-1/2” x 5” orange fabric piece and make a strap with it in the same way as you did the tail of the Q in the step above. Stitch it into a tube, turn it right sides out, then press flat with the seam running down the center. You don’t need to turn the edges of this strap over to the wrong side, however, as they will be concealed within the seam.
- Fold your strap in half and feed it through the loop of a key chain fastening. Lay your key chain back out flat with the right side facing up, then place the key chain strap into place, with the fastening facing inwards and the short raw edges extending just off the edge of the work. Finally, place your patchwork block on top, with the right side facing down. Machine stitch all around the edge, leaving a 2” gap along one side. Snip across each corner to neaten them up.
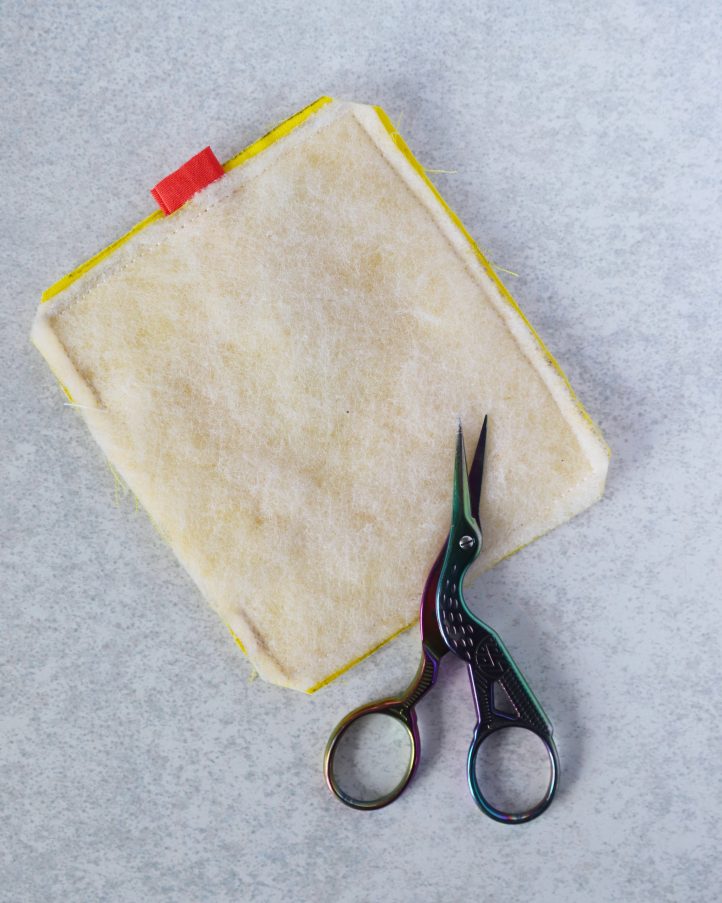
- Turn the work right sides out through the gap in the seam, using a pencil to ensure the corners are fully turned out. Fold the edges of the opening over to the wrong side by a 1/4” and clip into place. Finally, sew a machine edge stitch all around the perimeter of the work, to close the gap in the seam and decorate the key chain.
