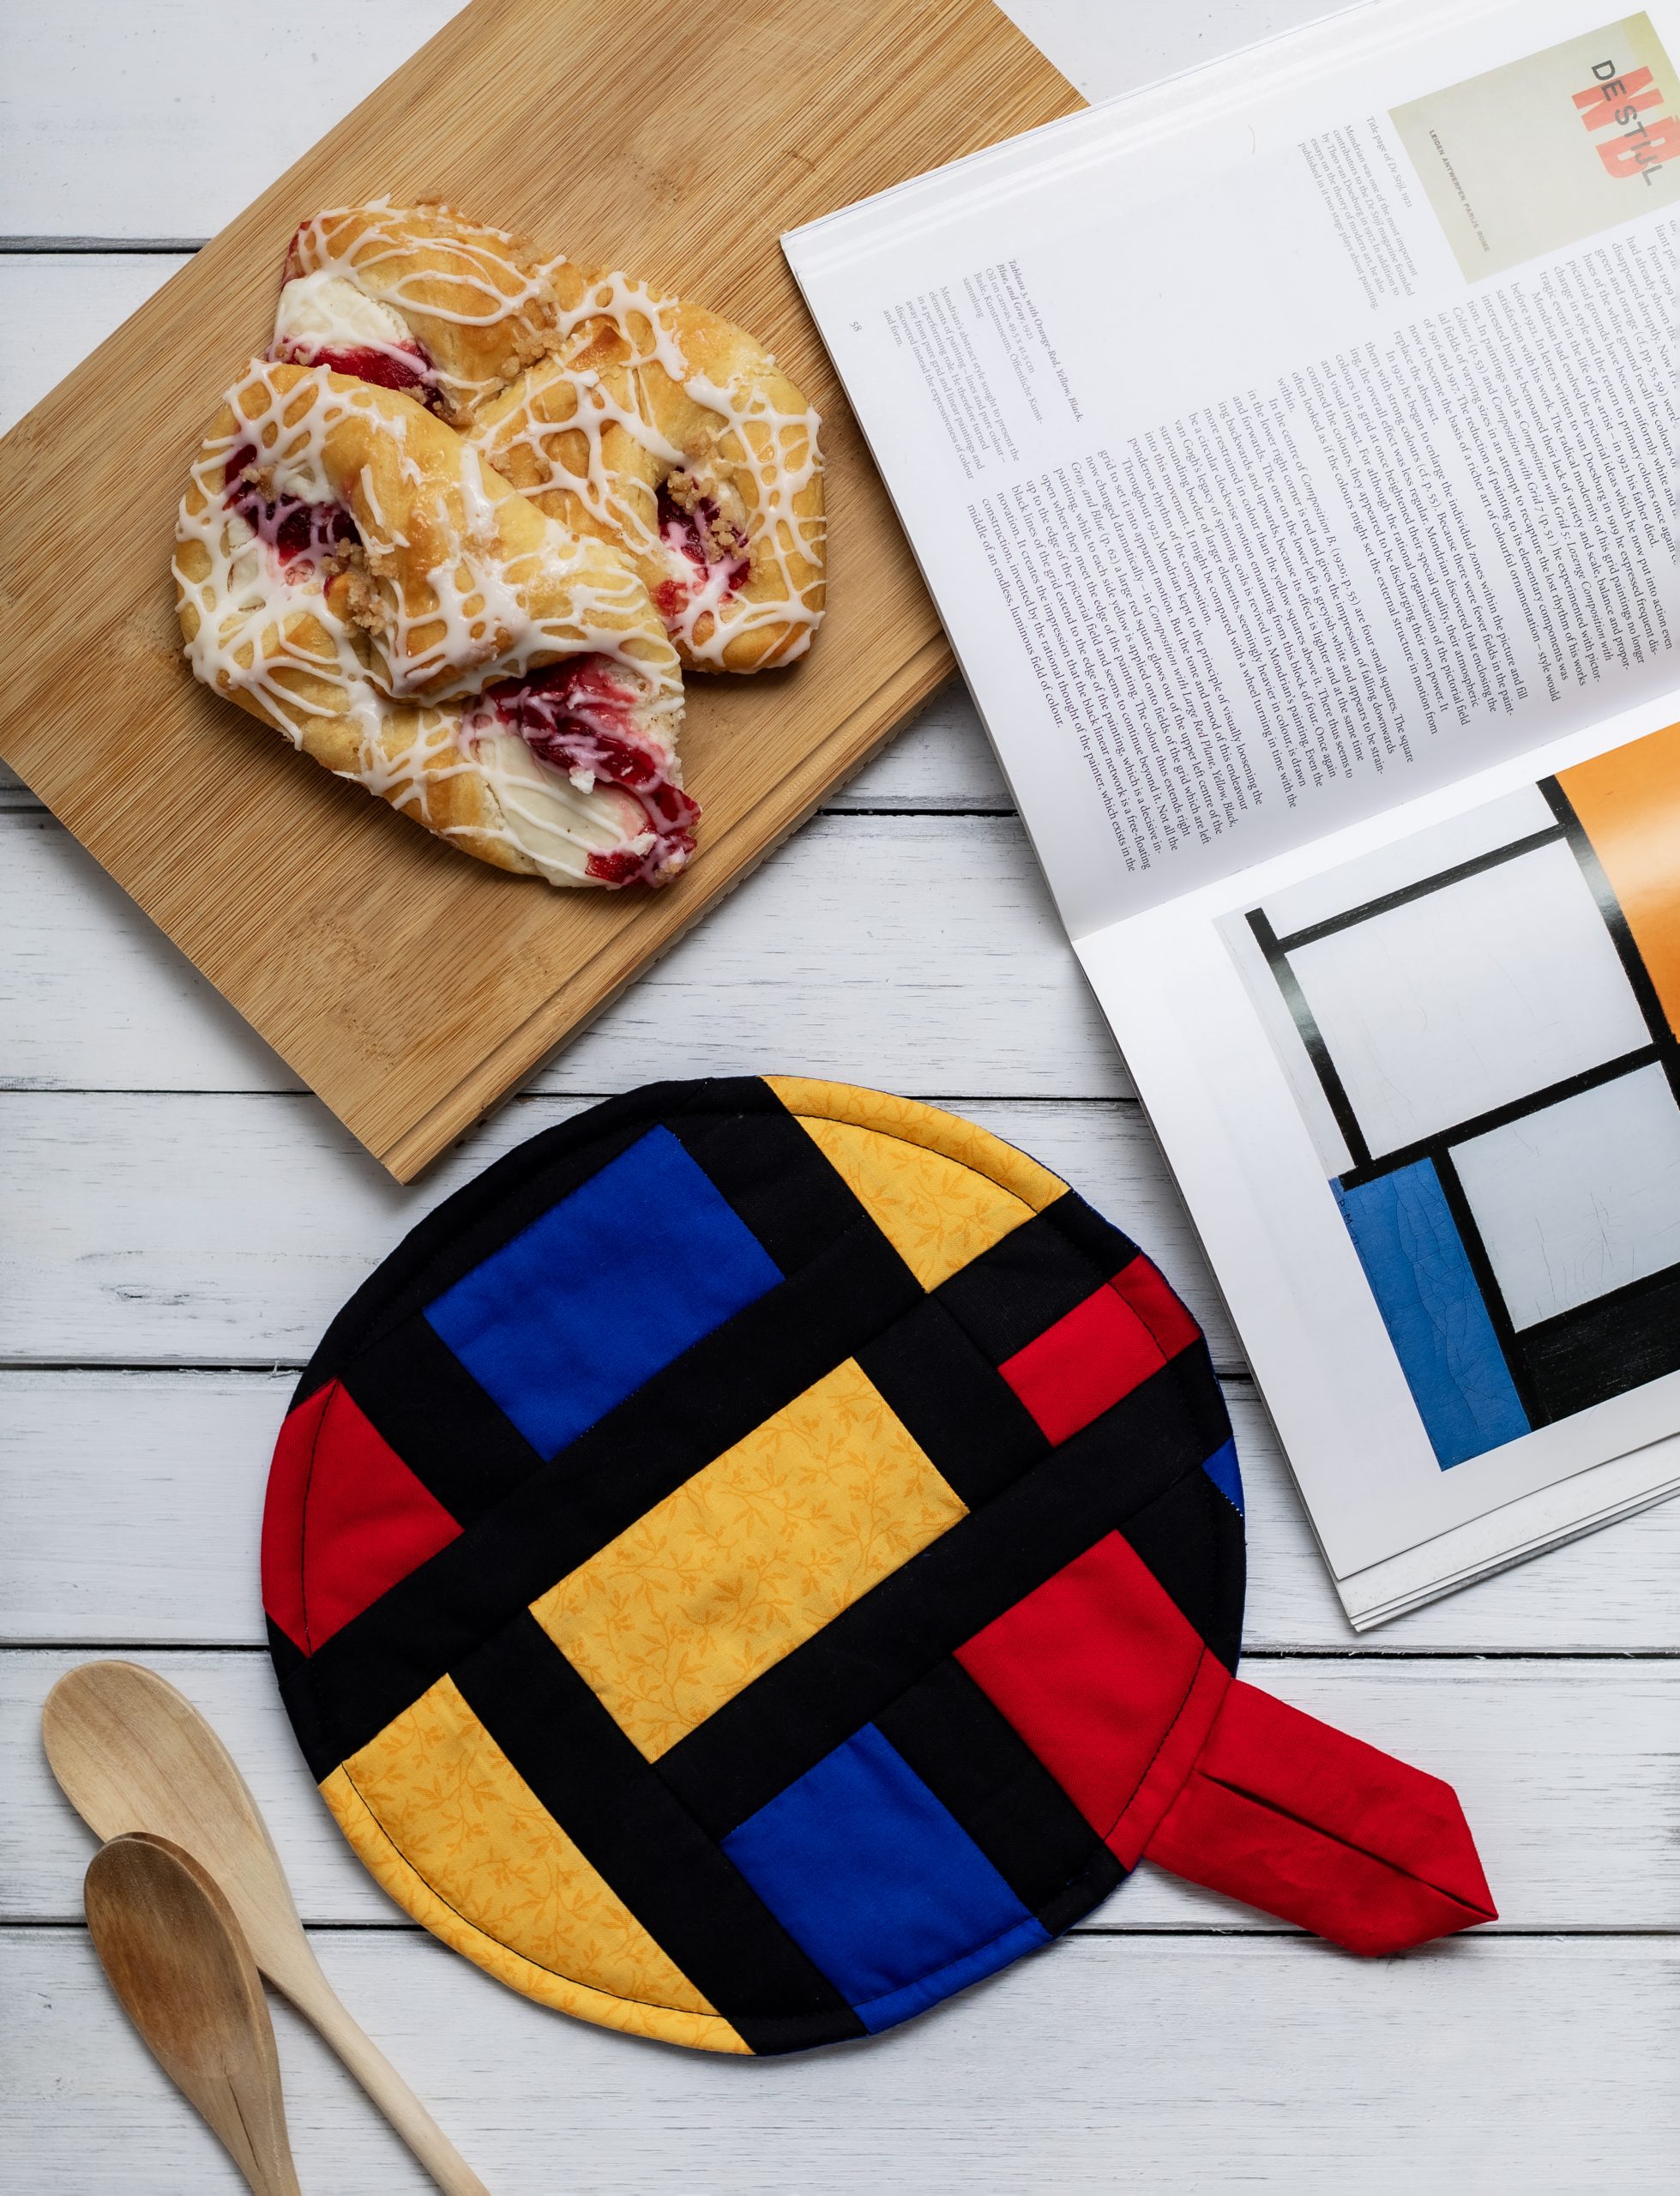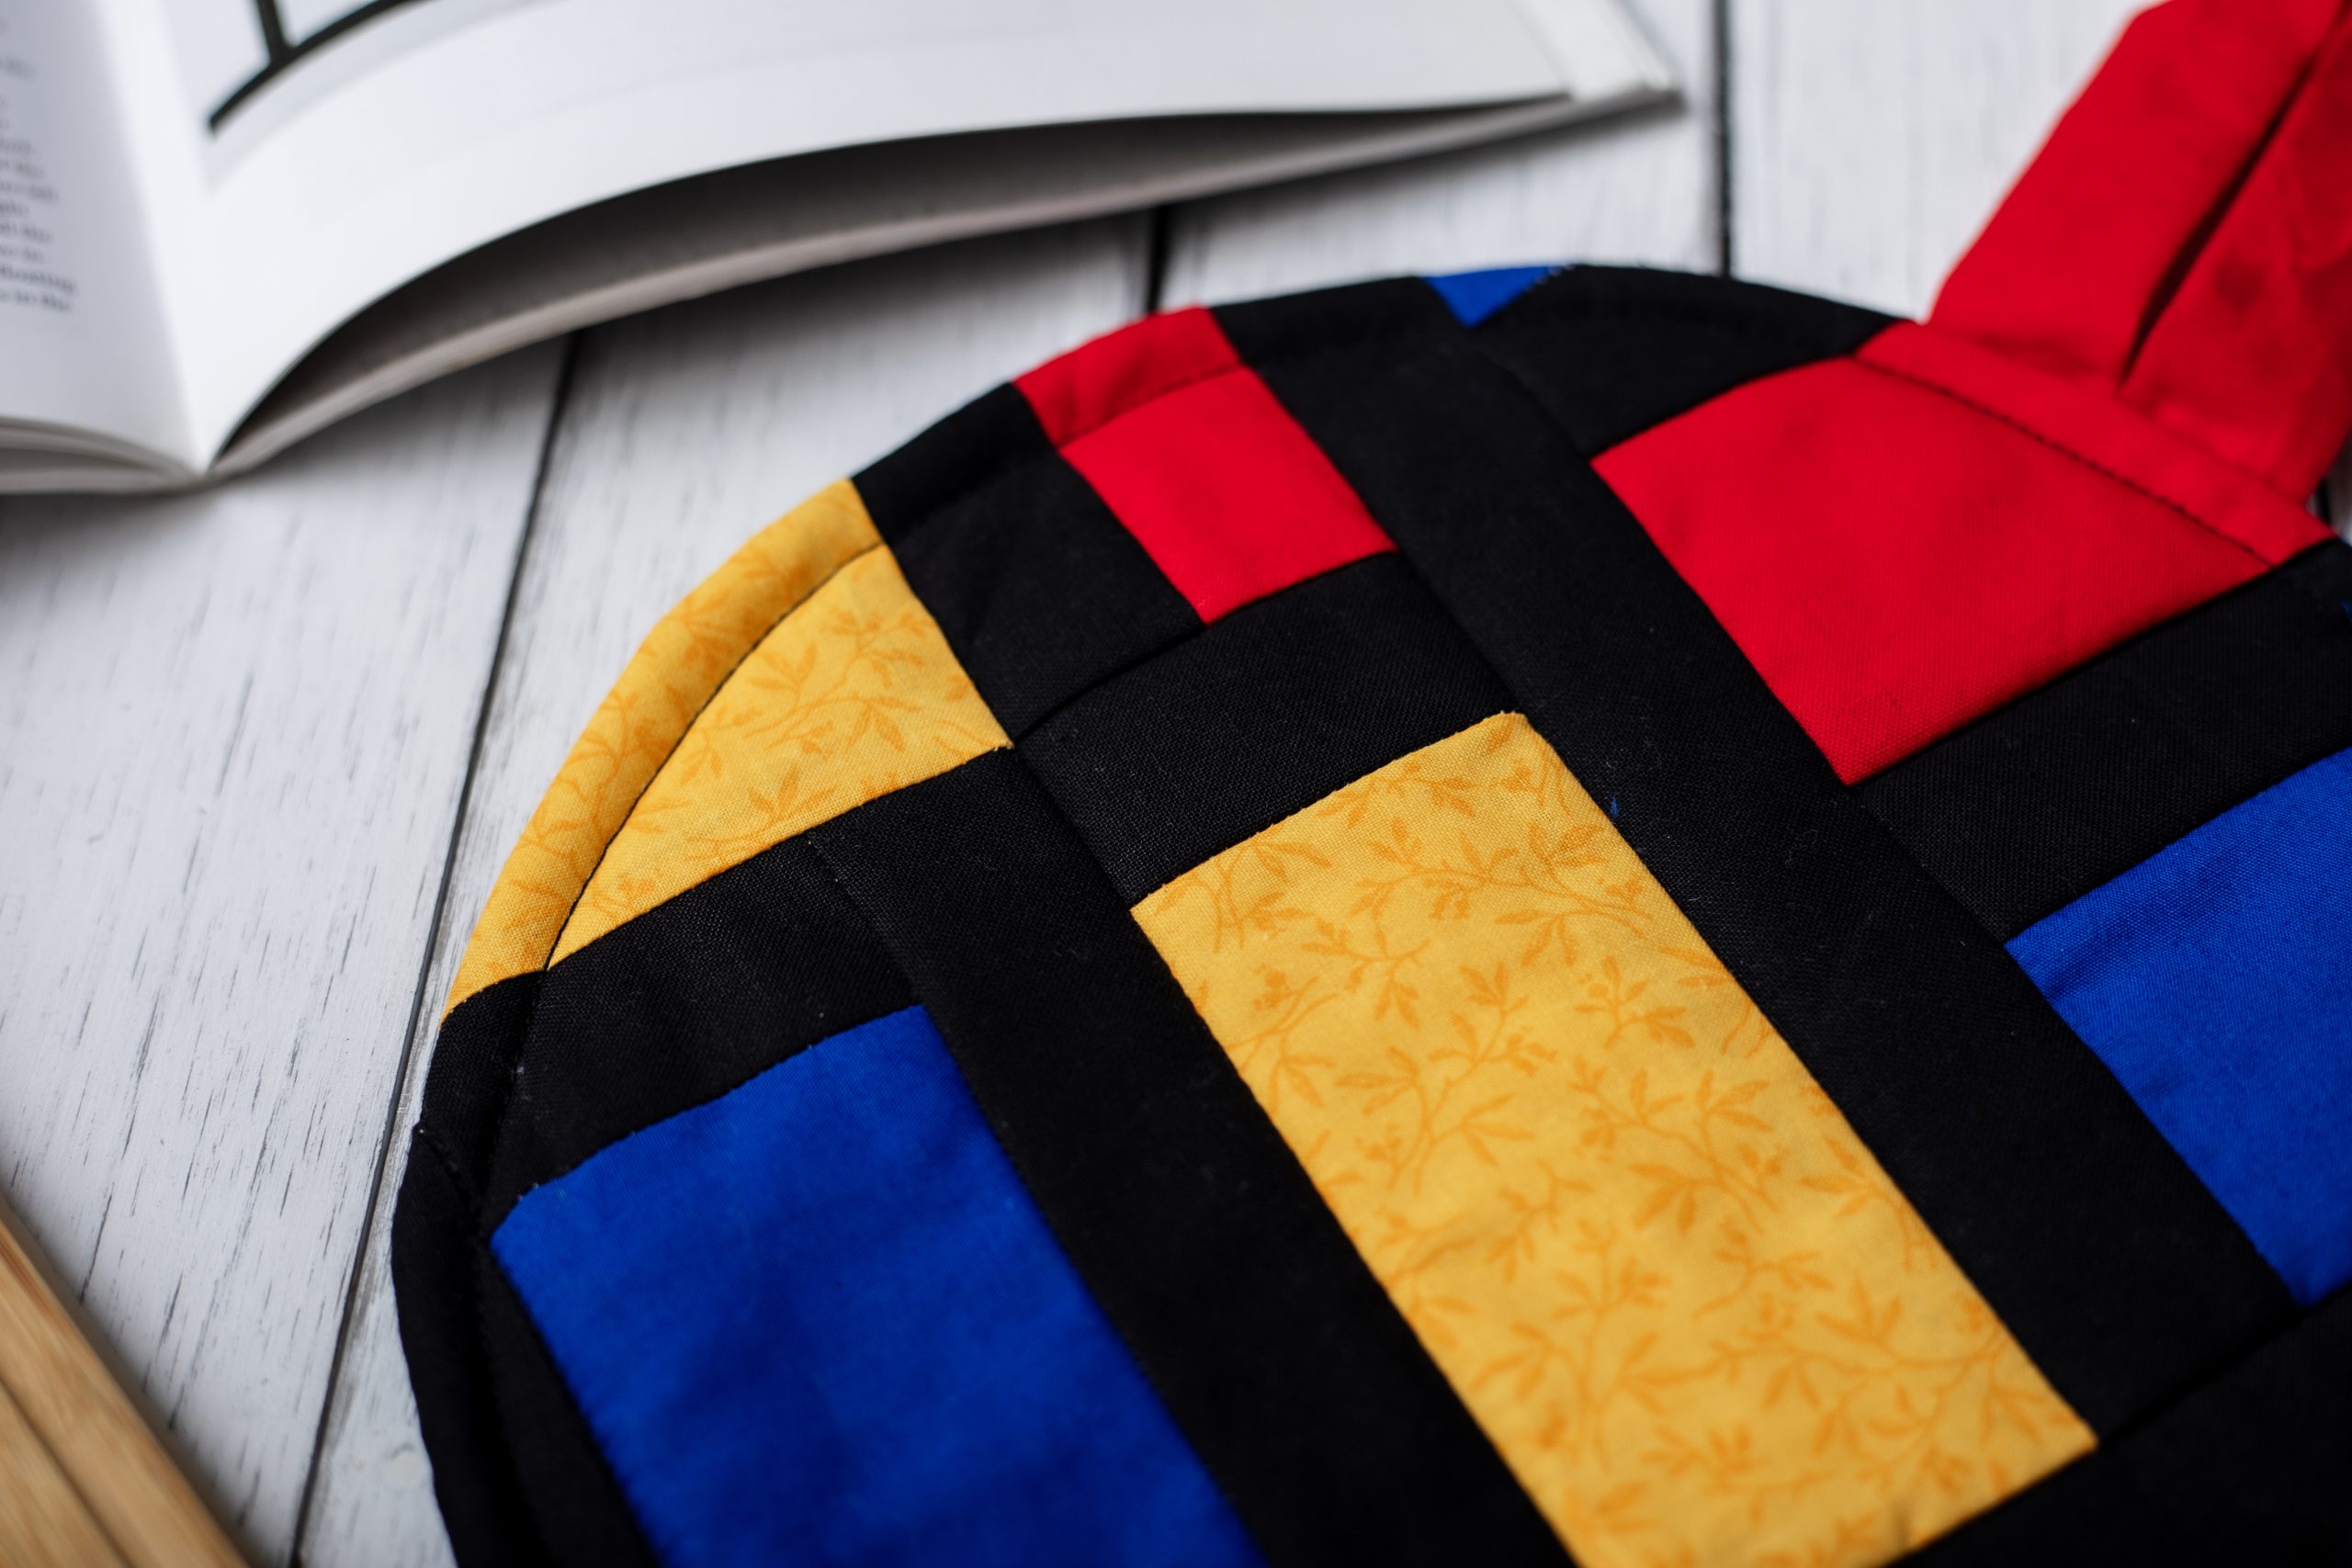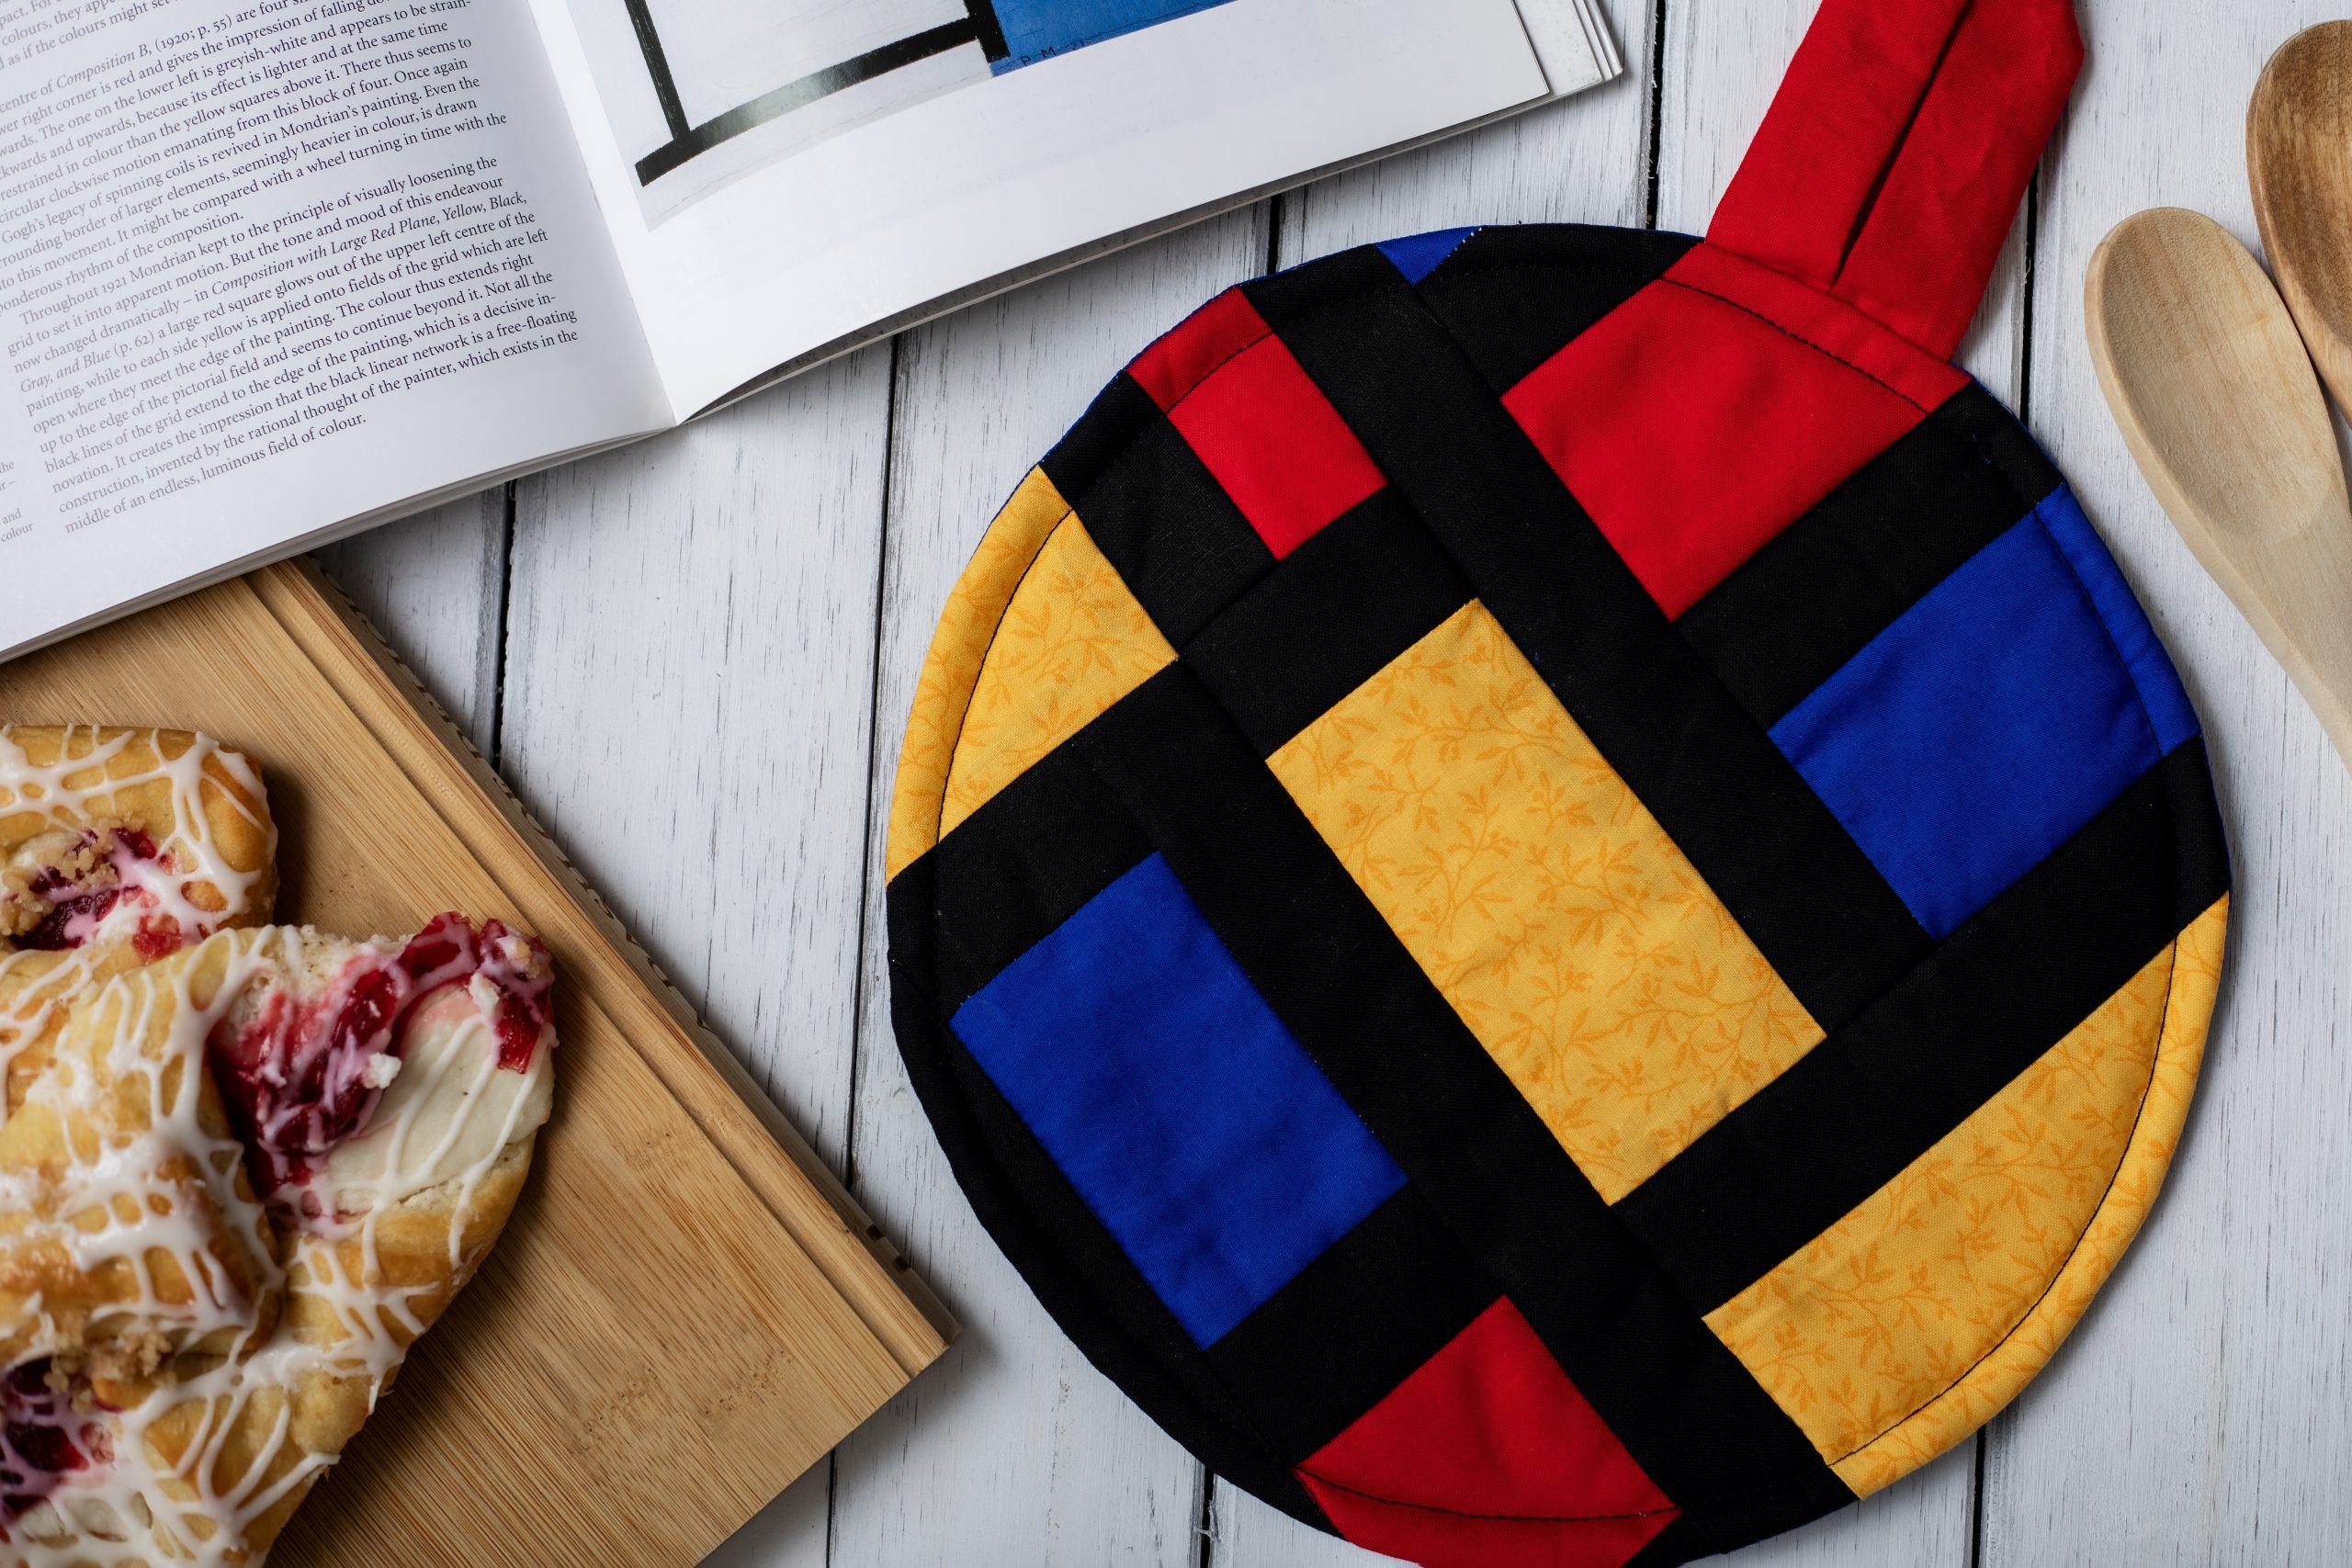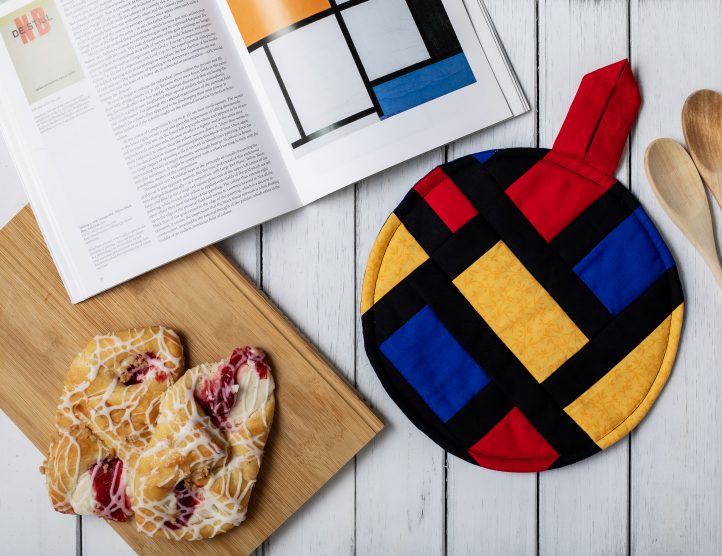
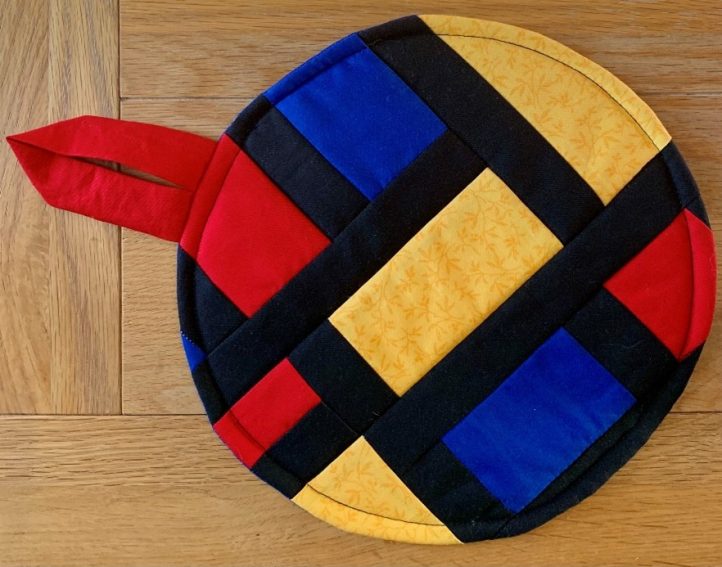
Modern art and quilting combine with this retro-inspired hot pad pattern from Zoe Ballard. Inspired by the work of Dutch artist Piet Mondrian, this hot pad sewing pattern is simple enough for those new to quilting and mixes bold yellow, red and blue with contrasting black to create its eye-catching design. Break out your fat quarters and fat eighths and transform them into a work of art with this kitchen sewing project.
Finished Size: ~10” diameter
Skill Level: Beginner
Designer Note: 1/4” seam allowance throughout
Materials:
Fabric Requirements:
- Fabric A Yellow – Fat Eighth
- Fabric B Blue – Fat Quarter
- Fabric C Red – Fat Eighth
- Fabric D Black – Fat Eighth
- Batting – 11” square (either two squares or a square of heat resistant batting)
- PDF Template – This is located at the bottom of this page. See printing instructions below.
PRINTING INSTRUCTIONS:
To download the PDF template, click on the download button at the bottom of the page. We recommend opening your download using Adobe Acrobat.
Cutting Instructions:
Fabric A:
- Two 4 1/2” x 2 1/2” rectangles
- One 6 1/2” x 2 1/2” rectangle
Fabric B:
- One 3 1/2” x 1 1/2” rectangle
- Two 3 1/2” x 2 1/2” rectangles
- One 11” square
Fabric C:
- One 2 1/2” x 1 1/2” rectangle
- One 3 1/2” x 2 1/2” rectangle
- One 2 1/2” square
- One 2 1/2” x 7 1/2” rectangle (hanging tab)
Fabric D:
- Five 2 1/2” x 1 1/2” rectangles
- Two 3 1/2” x 1 1/2” rectangles
- One 6 1/2” x 1 1/2” rectangle
- One 7 1/2” x 1 1/2” rectangle
- Two 8 1/2” x 1 1/2” rectangles
Piecing Instructions:
UNIT 1:
- Fabric B: One 3 1/2” x 2 1/2” rectangle
- Fabric C: One 2 1/2” square
- Fabric D: Three 2 1/2” x 1 1/2” rectangles
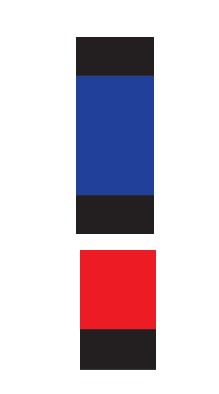
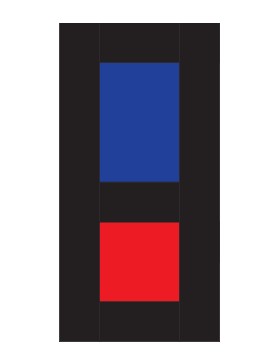
With right sides together, stitch the long edges of two D rectangles to opposite short edges of a B rectangle. (D/B/D section) With right sides together, stitch the long edge of a D rectangle to the C square. With right sides together, stitch the opposite C edge to a short edge of the D/B/D section. Press the seams in one direction. (D/B/D/C/D section)
- Fabric D: Two 8 1/2” x 1 1/2” rectangles
- Fabric A: One 4 1/2” x 2 1/2” rectangle
With right sides together, stitch the long edges of a D 8 1/2” x 1 1/2” rectangle to opposite long edges of the D/B/D/C/D section. Press the seams towards the D rectangles.
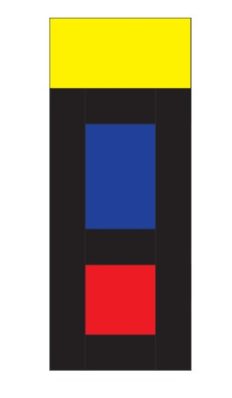
With right sides together and the B rectangle at the top, stitch the long edge of the A rectangle to the short edge of the D/B/D/C/D section. Press towards the A rectangle.
UNIT 2:
- Fabric C: One 2 1/2” x 1 1/2” rectangle
- Fabric D: One 2 1/2” x 1 1/2” rectangle
With right sides together, stitch the long edge of a D rectangle to the long edge of the C rectangle. Press the seams towards the D rectangle. (D/C section)

- Fabric A: One 4 1/2” x 2 1/2” rectangle
- Fabric D: One 2 1/2” x 1 1/2” rectangle
With right sides together, stitch the long edge of a D rectangle to the short edge of the A rectangle. Press the seams towards the D rectangle. (D/A section)
With the D fabric of the D/C section on the left and the D fabric of the D/A section on the top, stitch the D/C section to the top of the D/A section. Press the seam towards the A fabric. (D/C/A section)
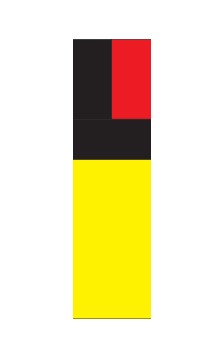
- Fabric D: One 7 1/2” x 1 1/2” rectangle
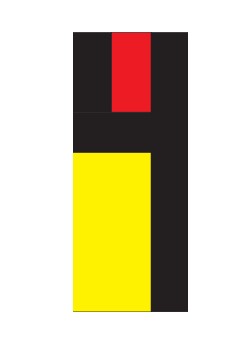
With right sides together and the D/C section at the top, stitch the long edge of the D rectangle to the long edge of the D/C/A section. Press towards the long D rectangle.
UNIT 3:
- Fabric B: One 3 1/2” x 1 1/2” rectangle
- Fabric B: One 3 1/2” x 2 1/2” rectangle
- Fabric C: One 3 1/2” x 2 1/2” rectangle
- Fabric D: Two 3 1/2” x 1 1/2” rectangles
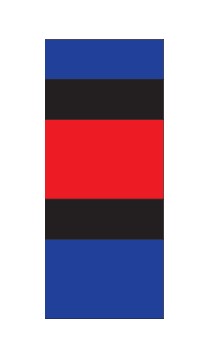
With right sides together, stitch the long edges of the D rectangles to opposite long edges of a C rectangle. (D/C/D section)
With right sides together, stitch the long edge of a B rectangle to the D/C/D section. (D/C/D/B section)
With right sides together, stitch the remaining B rectangle to the opposite edge of the D/C/D/B section. Press the seams in one direction. (B/D/C/D/B section)
UNIT 4:
- Fabric A: One 6 1/2” x 2 1/2” rectangle
- Fabric D: One 6 1/2” x 1 1/2” rectangle
With right sides together, stitch the long edge of the D rectangle to the top long edge of the A rectangle. Press the seam towards the D fabric.

MAKE UNIT 2/3:
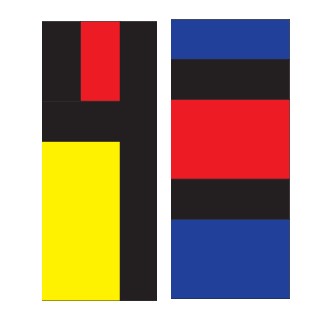
- Unit 2
- Unit 3
With the D fabric of Unit 2 on the right and the smaller B fabric of Unit 3 at the top stitch the units together. Press the seam towards Unit 2.
MAKE UNIT 2/3/4:
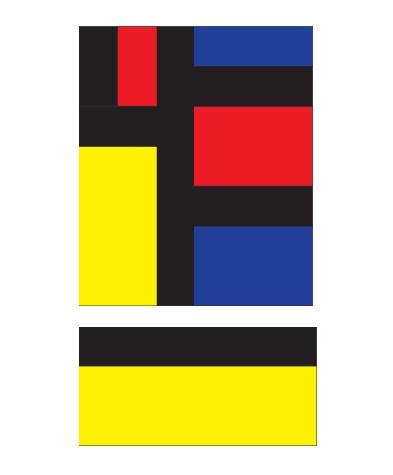
- Unit 2/3
- Unit 4
With the D fabric of Unit 4 on the top, stitch Unit 4 to the bottom of Unit 2/3. Press the seam towards Unit 4.
MAKE THE SQUARE:
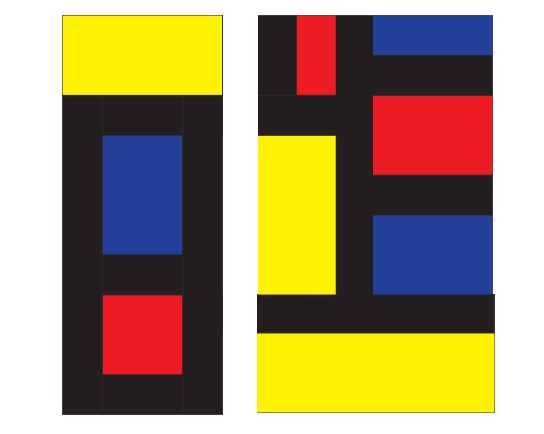
- Unit 1
- Unit 2/3/4
With the A fabric of Unit 1 on the top and the A fabric of Unit 2/3/4 on the bottom, stitch Unit 1 to the left of Unit 2/3/4. Press the seam towards Unit 1.
MAKE THE CIRCLES:
- Blocks (Units)
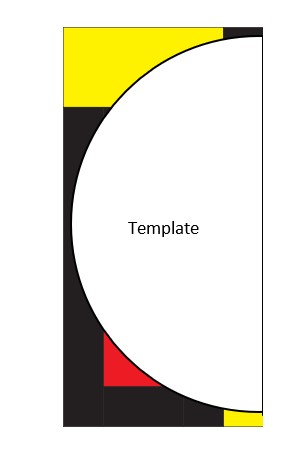
- Hot pad half-circle template
- Batting
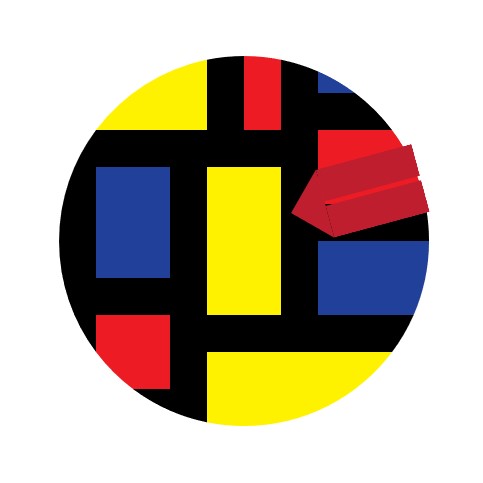
Fold the block in half and pin the half-circle template to it with the straight edge on the fold. Cut around block. Use the template to make circular batting in the same way.
MAKE THE TAB AND LAYER UP:
- Hot Pad Circle
- Fabric C: One 7 1/2” x 2 1/2” rectangle
- Batting circle(s)
- Fabric B: One 11” square
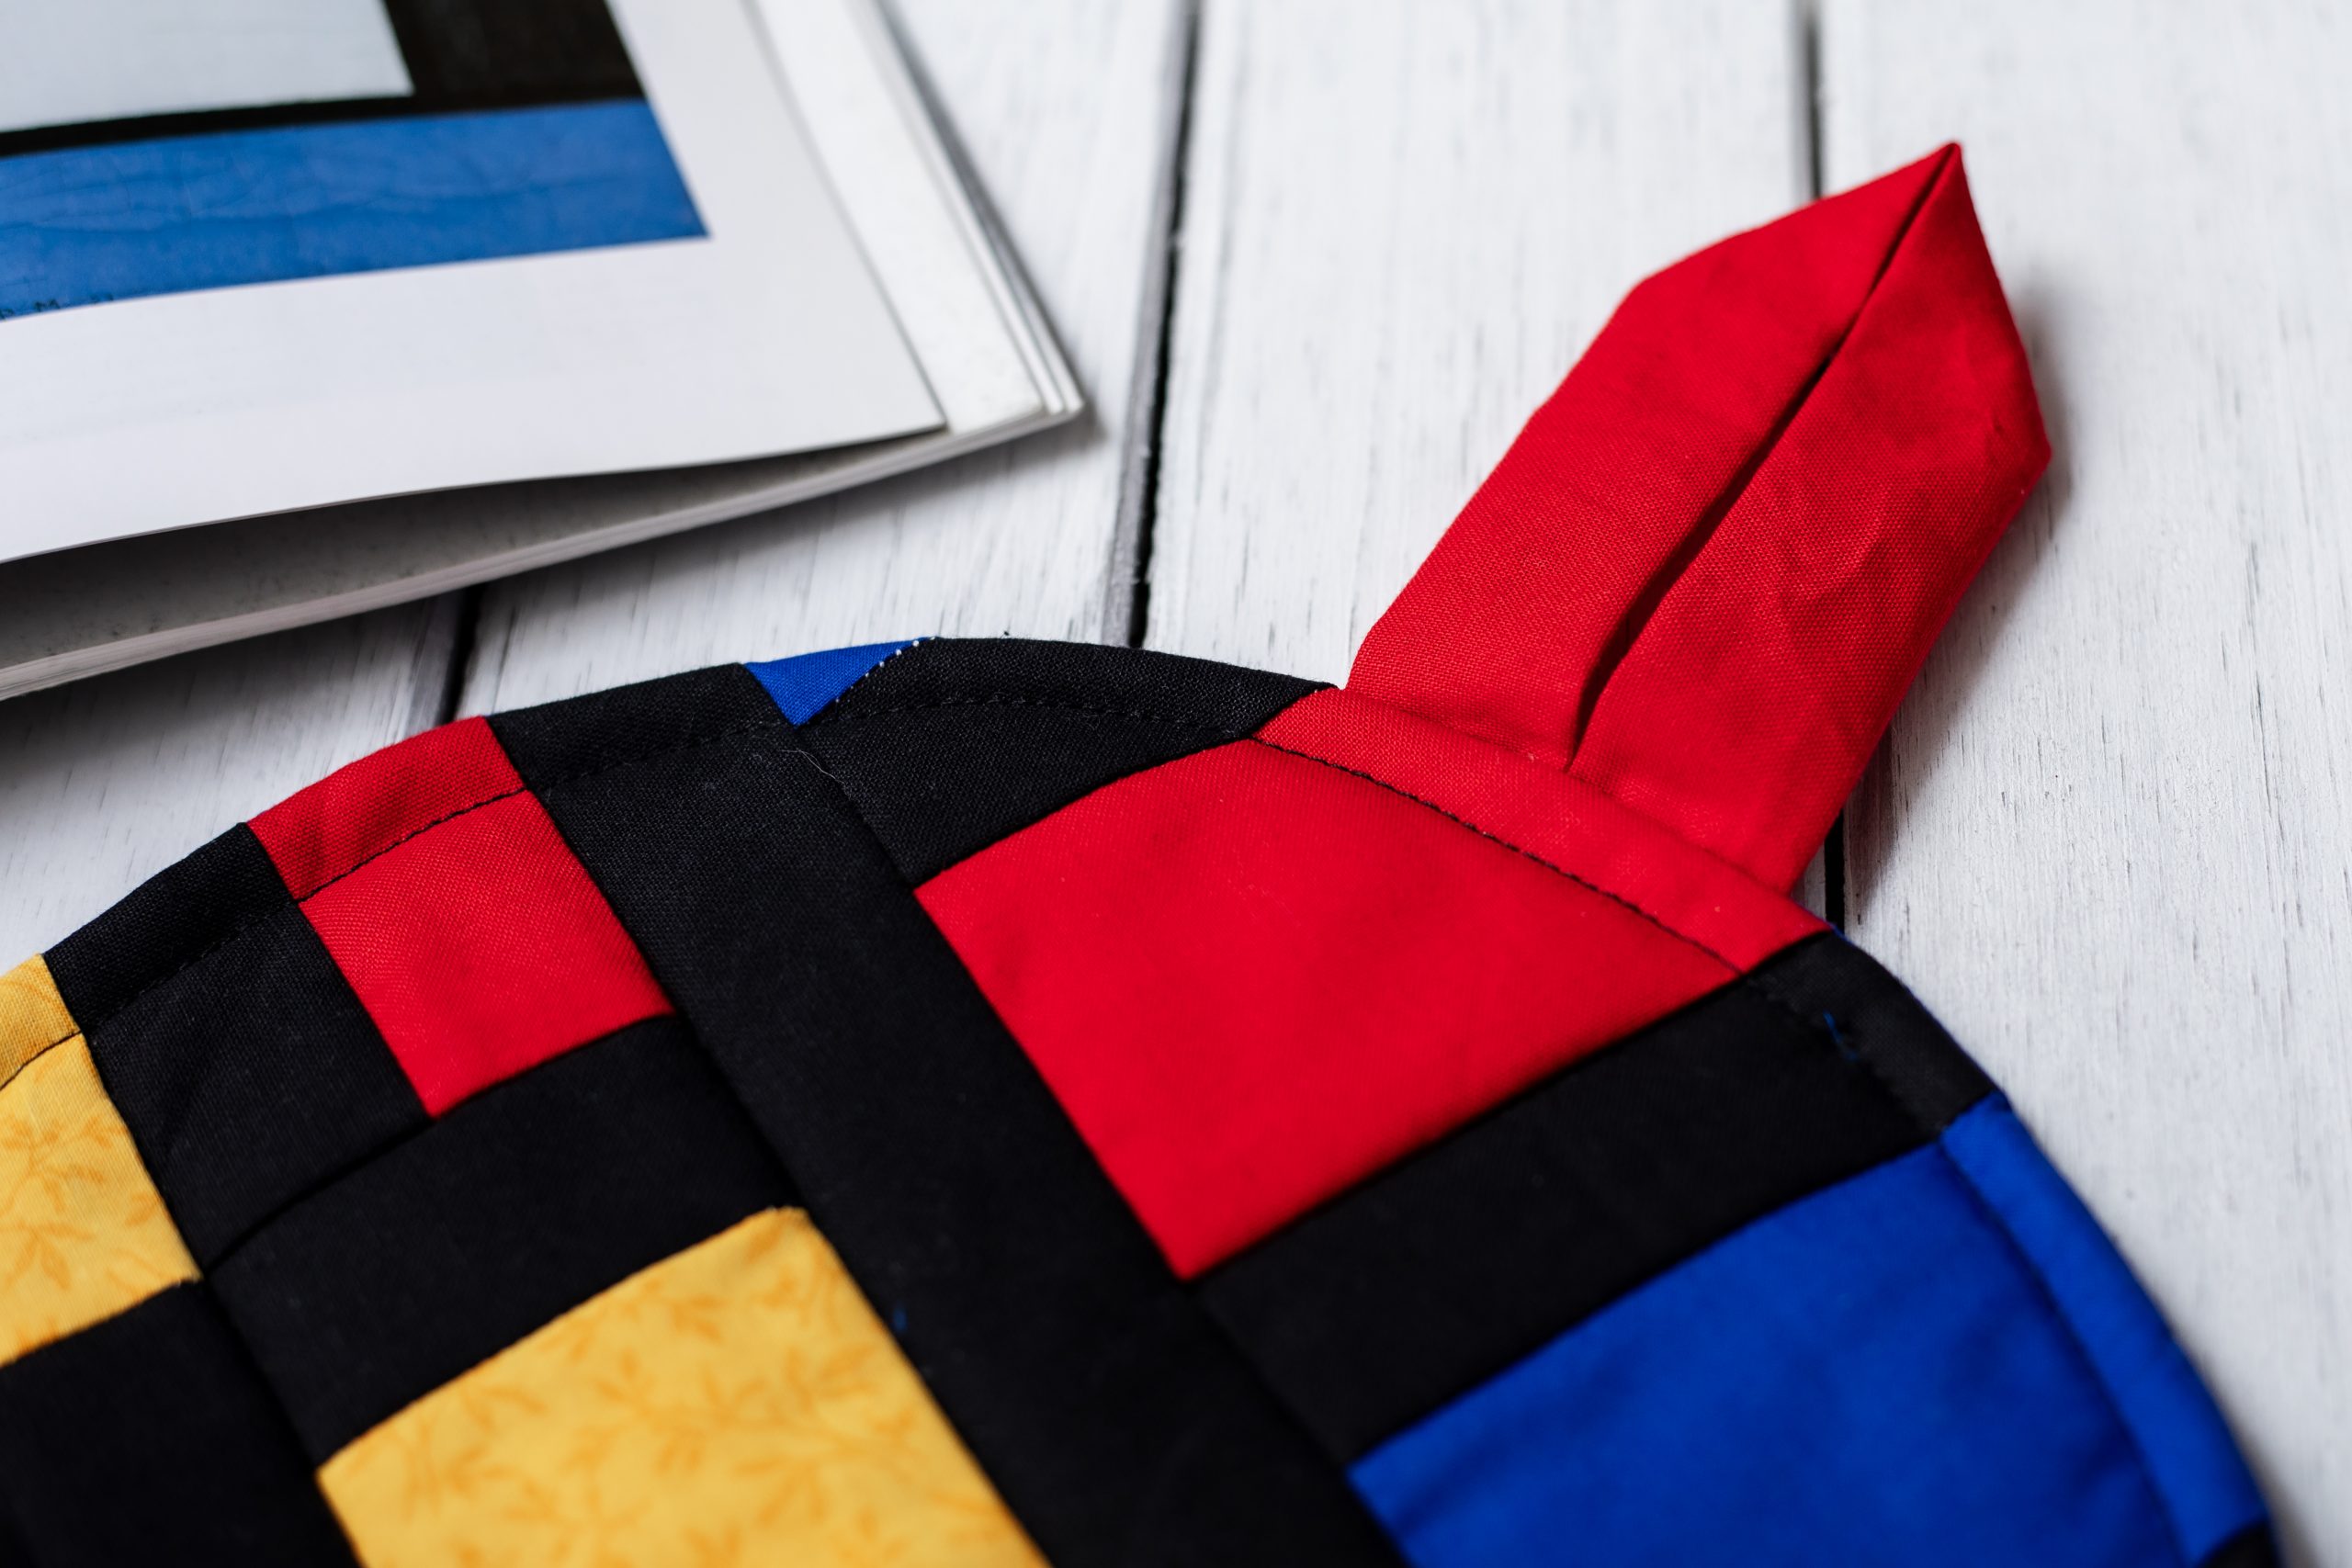
Fold the C rectangle in half long ways and stitch along the long open edge. Turn the tube right side out and press. Fold the tab in half and place the raw edges on the raw edges of the hot pad circle with the fold towards the middle. Pin/baste in place.
Layer up with the B 11” square and hot pad circle right side together with the circle on top. Place the circle of batting on top of the hot pad circle (that has the wrong side showing). Pin in place. Stitch all the way around the circle leaving a 3-4” gap for turning. Trim the B square to the edge of the circle and turn the heat pad through the gap. Press and hand stitch the gap closed.
Quilt as desired and top stitch ~1/4” away from the edge of the circle.
