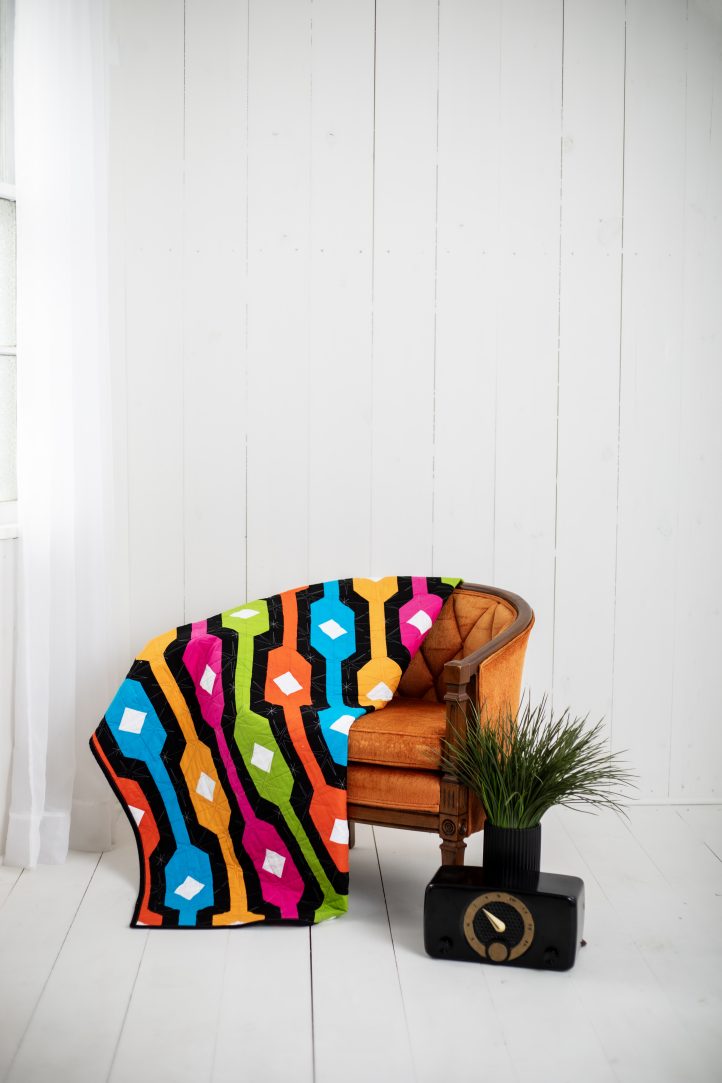
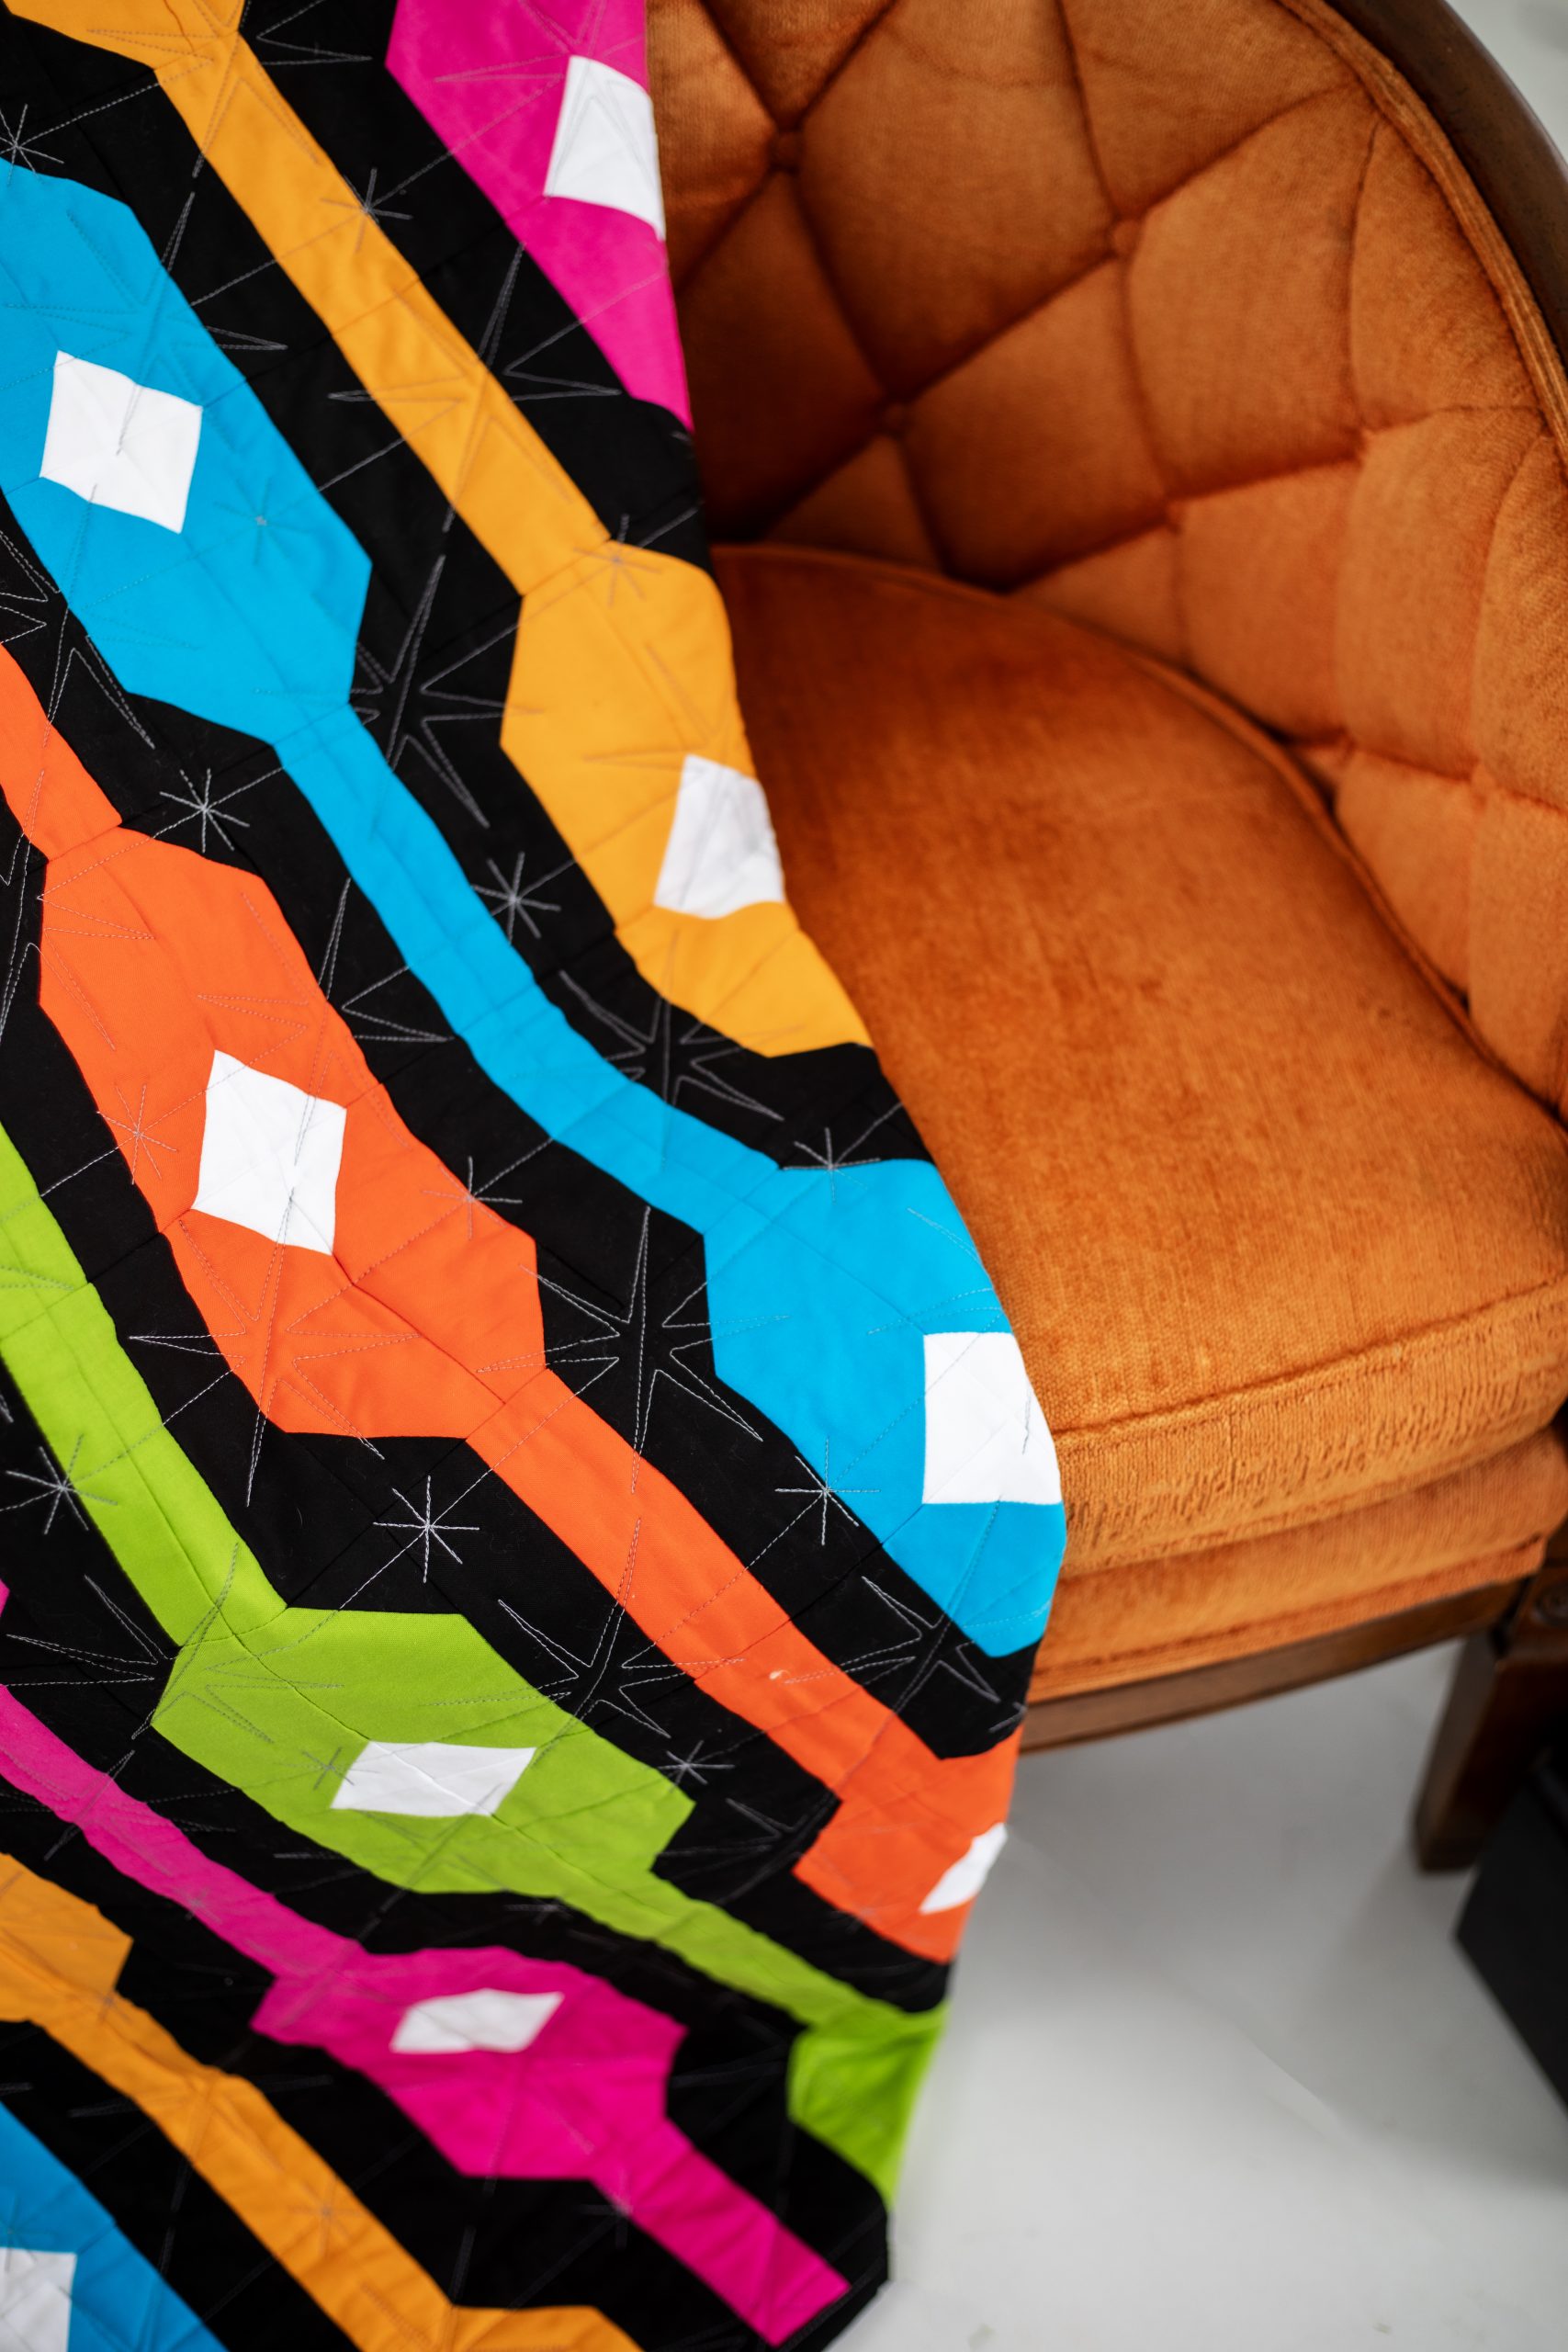
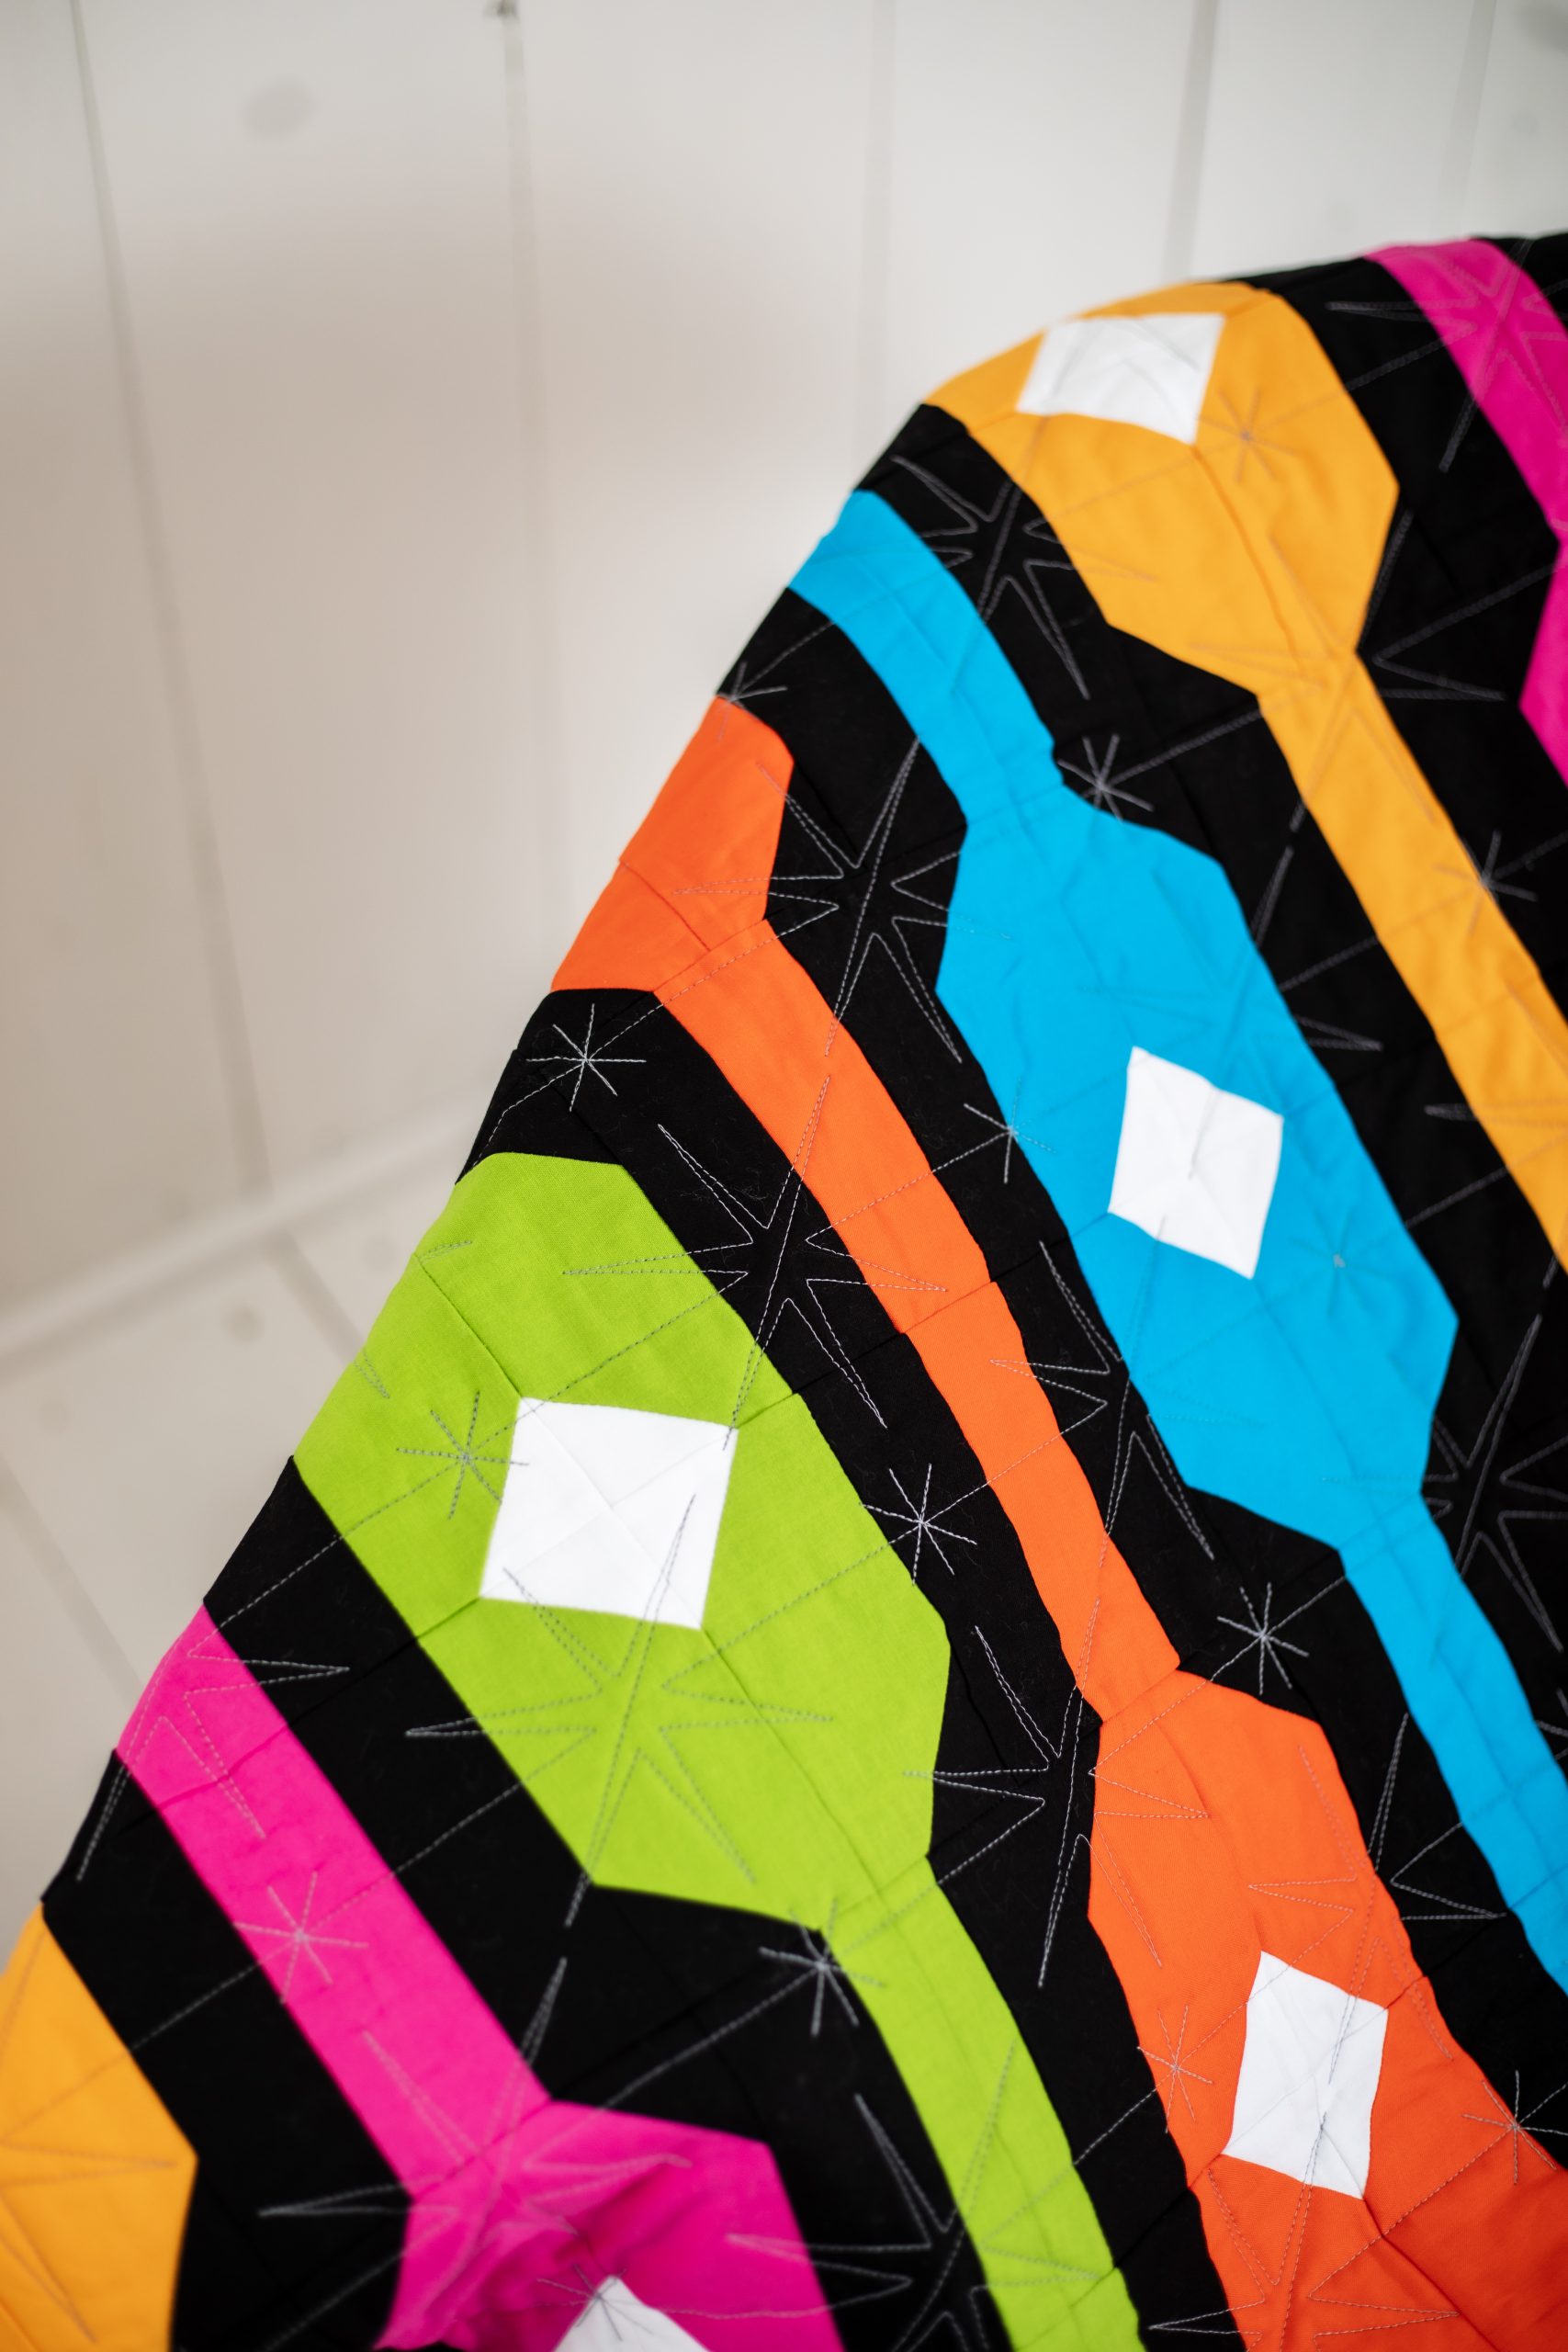
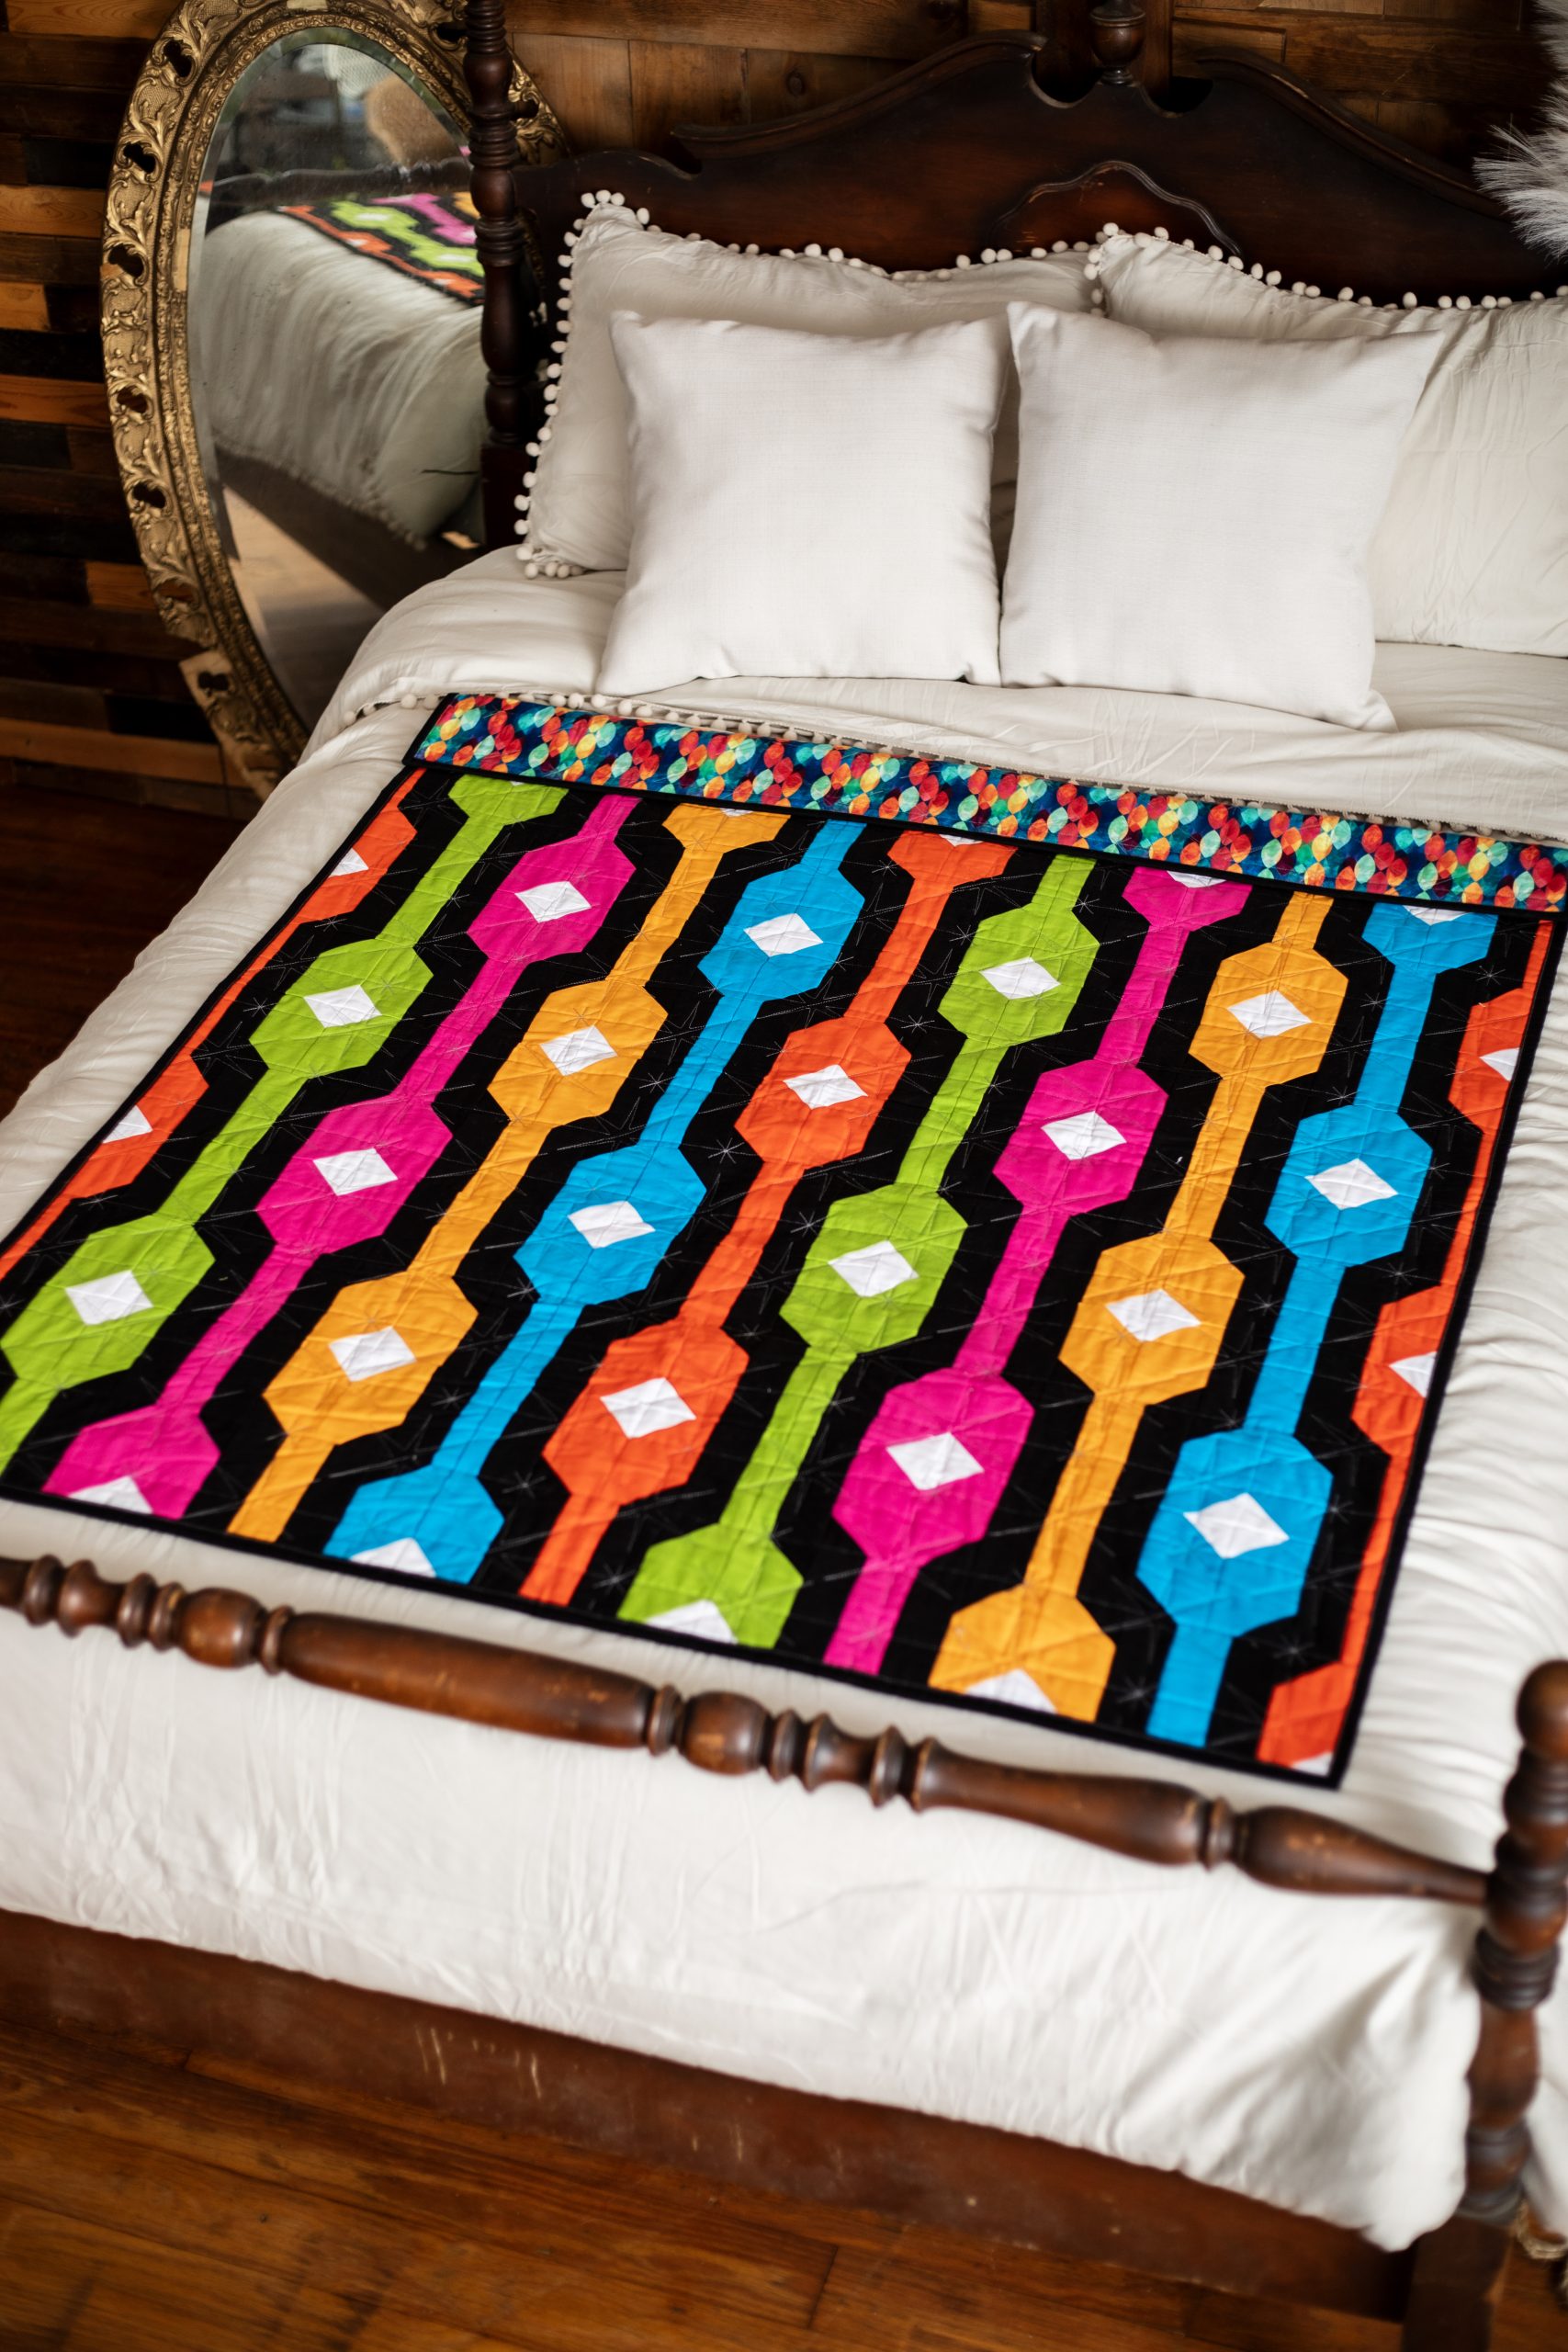
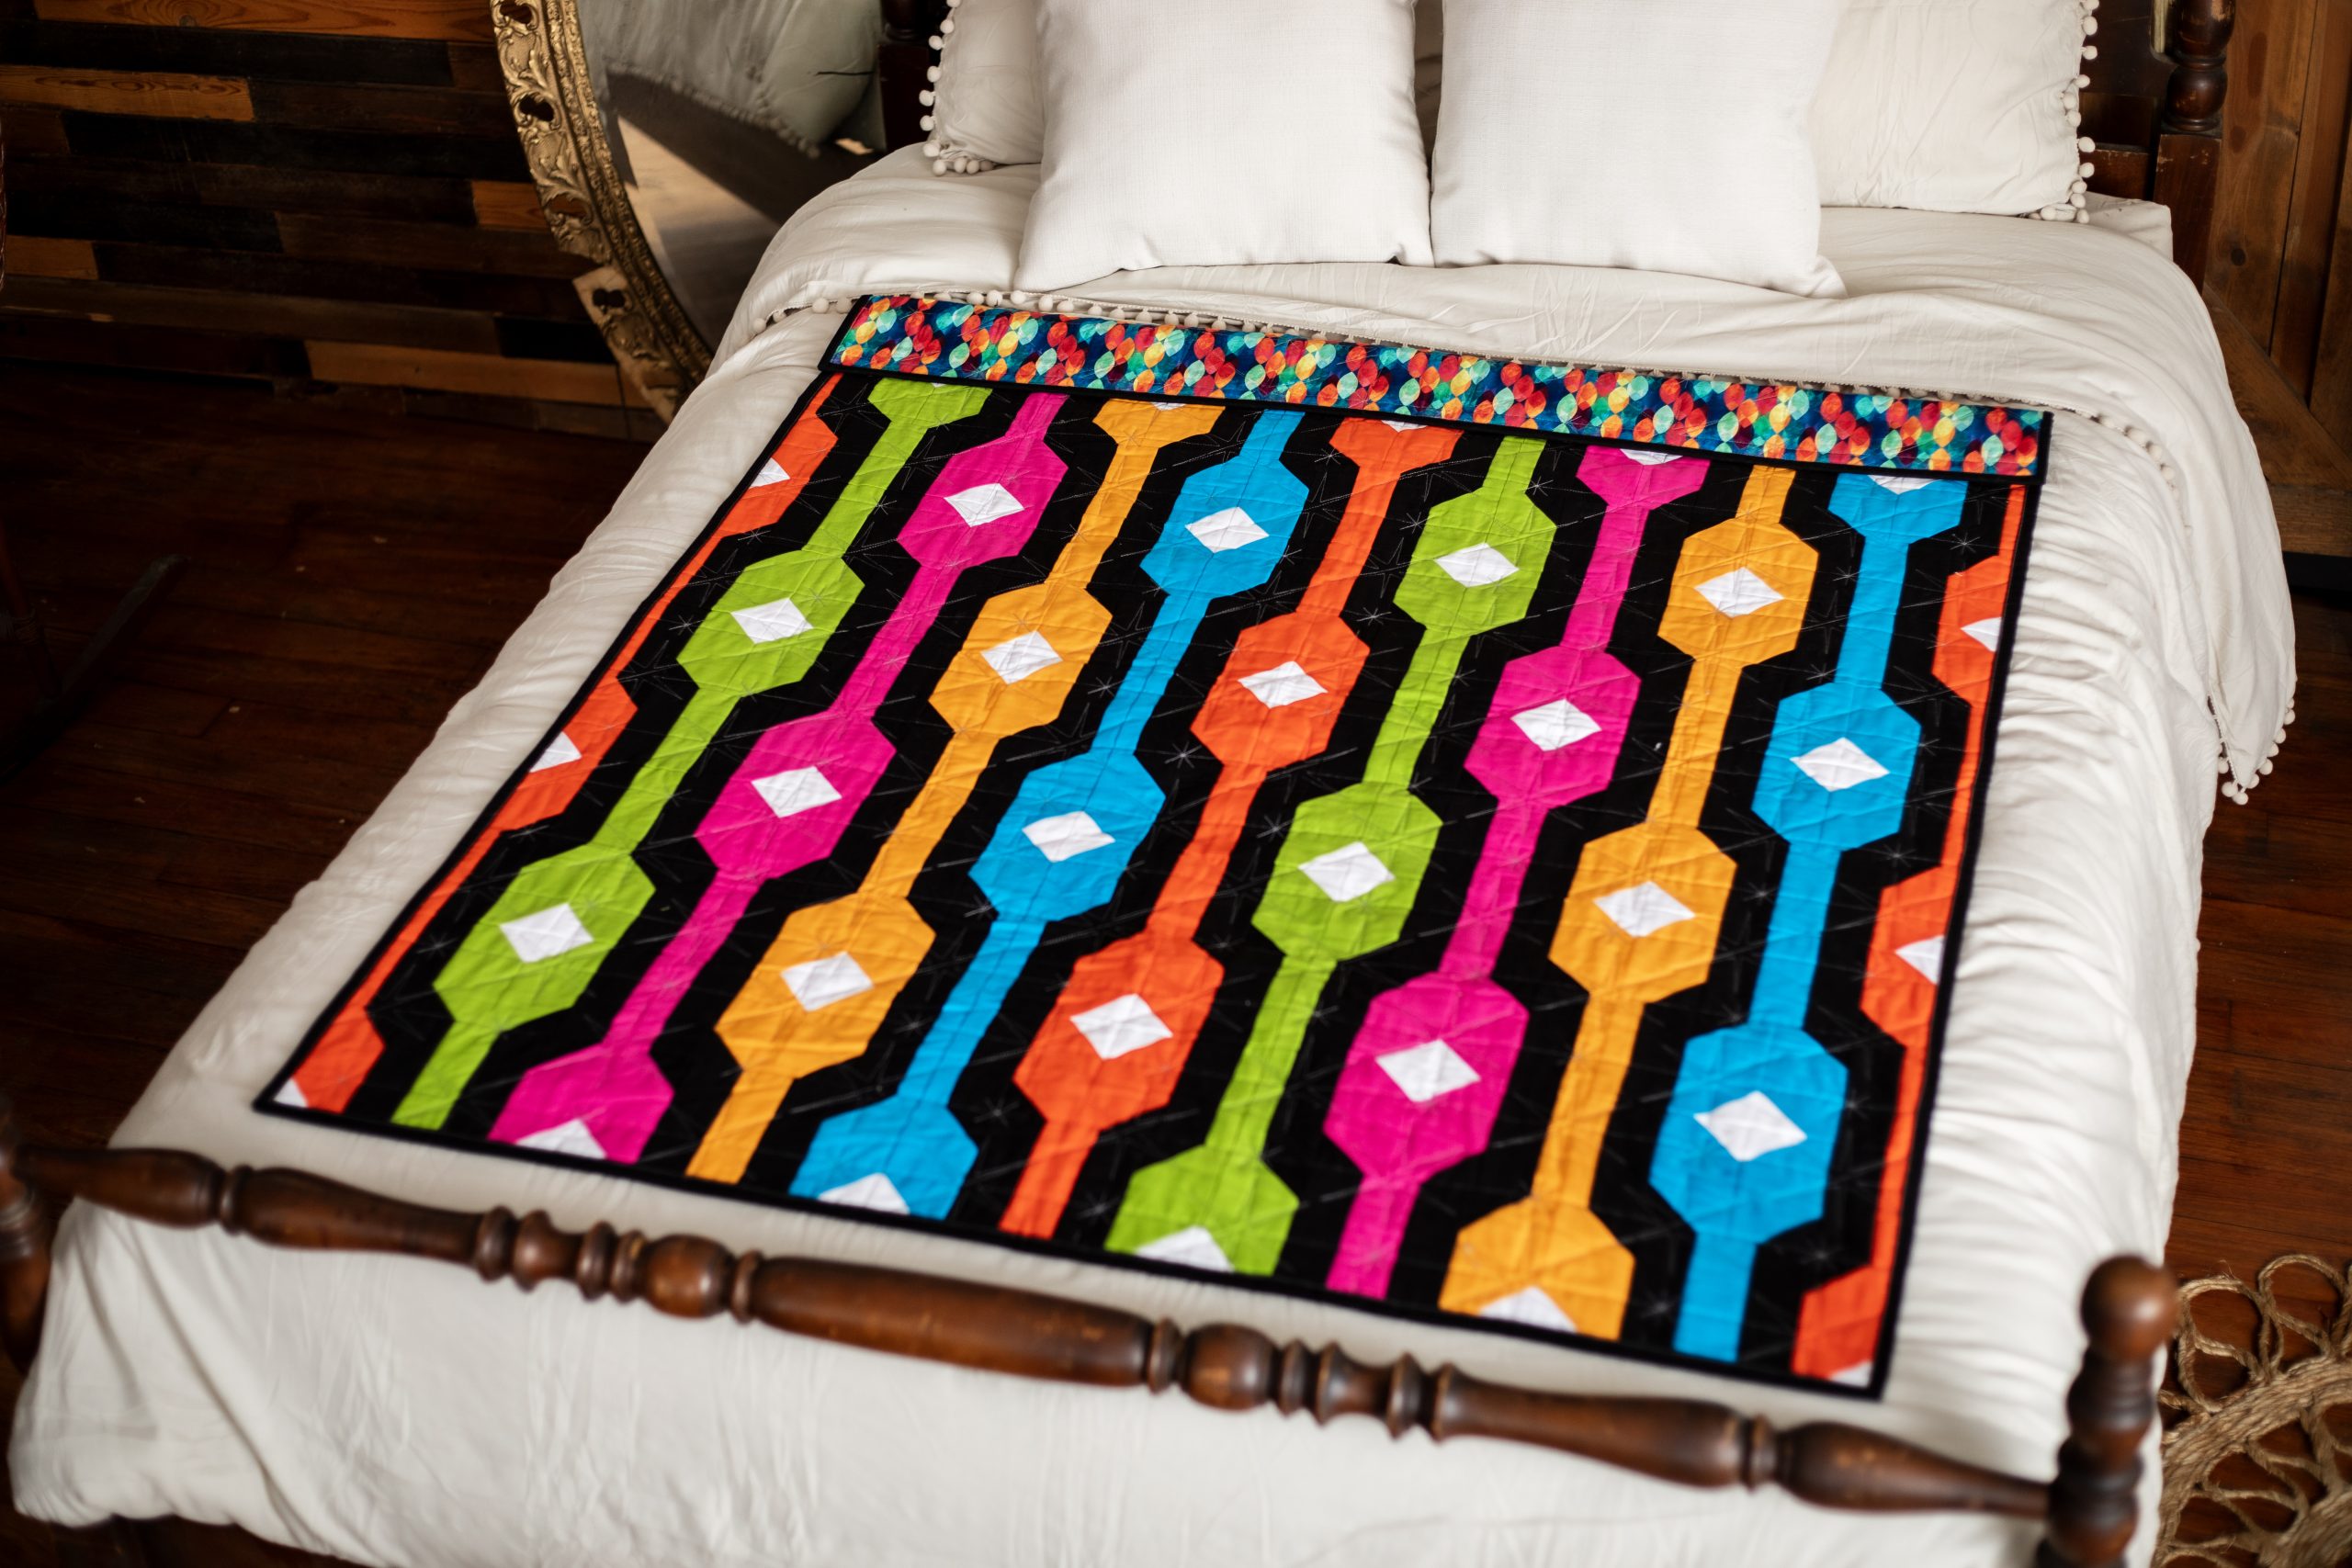
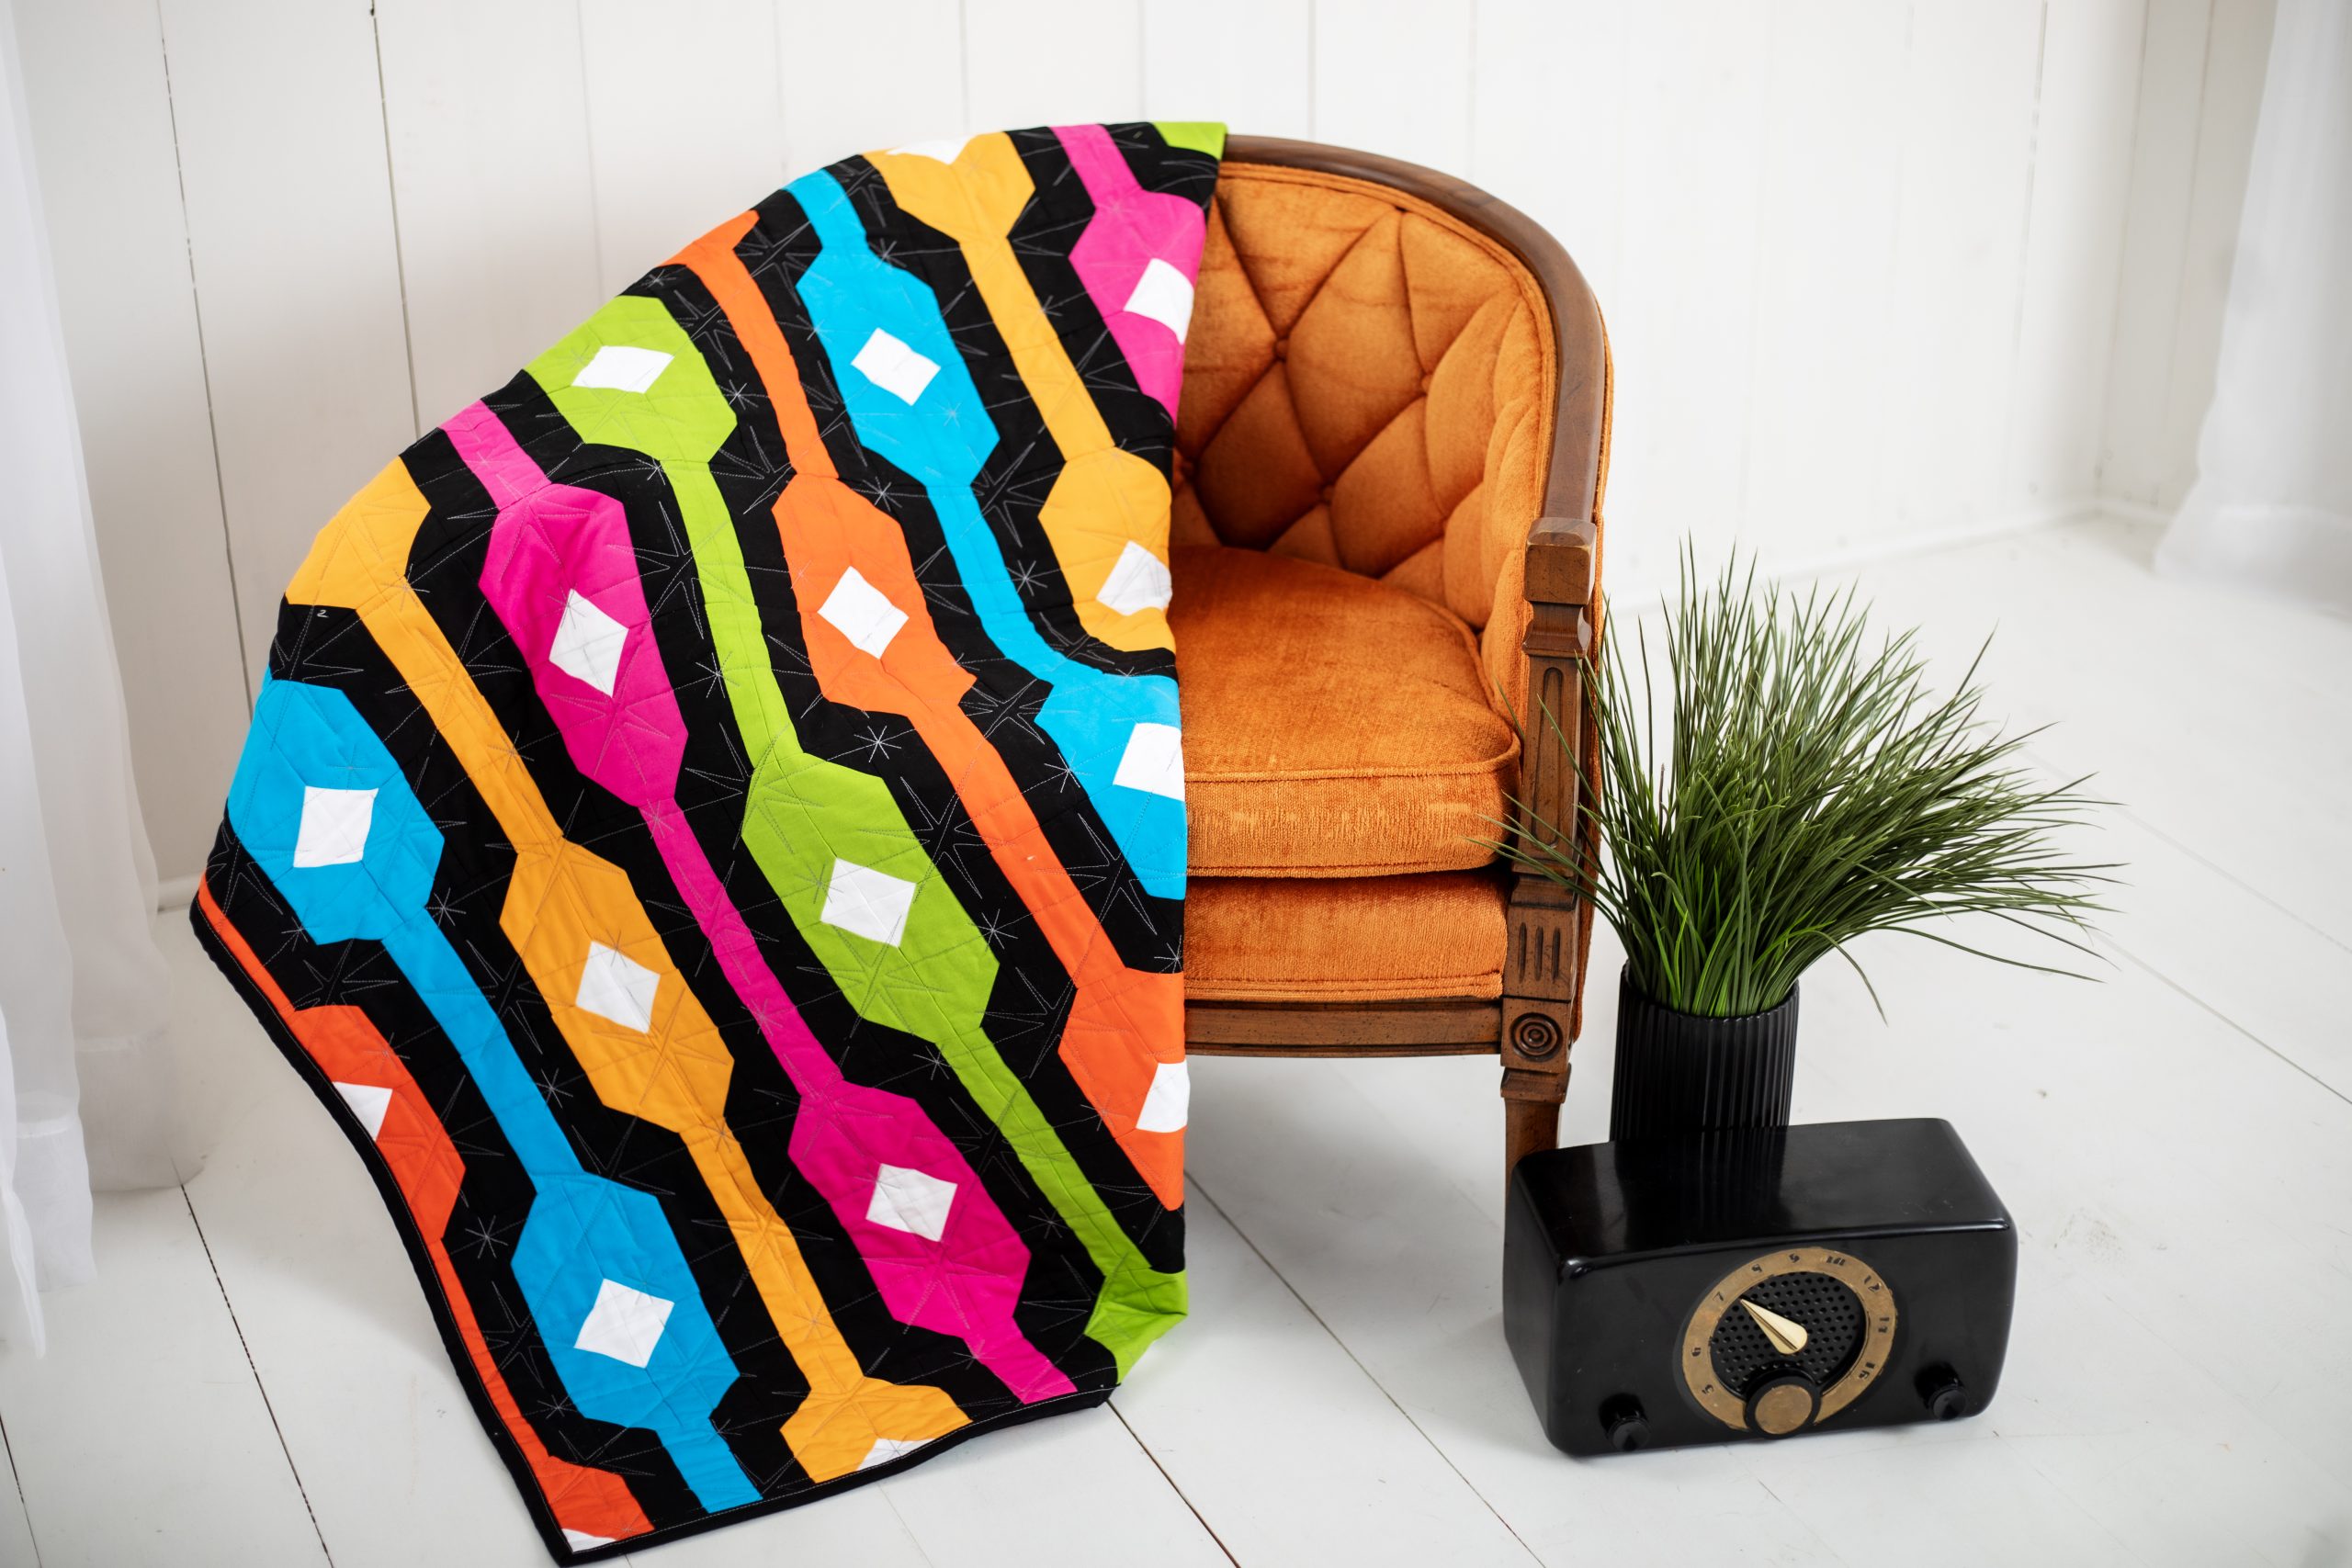
Our editors are a little obsessed with all things Mid-Century Modern, and this retro-inspired quilt pattern is so much fun! Designed by Staci Wendland, this throw quilt pattern measures 45” x 54” and uses half yards of fabric in bright and bold colors. We adore the striking contrast in this quilt and its sharp geometric design flawlessly combines retro vibes with modern quilting.
Finished Size: 45″ x 54″
Seam Allowances: 1/4“
Abbreviations:
- RST = right sides together
- WOF = width of fabric from selvage to selvage
Designer Note: Directional fabric is not recommended for this quilt.
Materials:
Cotton Fabric Requirements:
- Black – 1 1/4 yd
- White – 1/2 yd
- Orange – 1/2 yd
- Green – 1/2 yd
- Pink – 1/2 yd
- Yellow – 1/2 yd
- Turquoise – 1/2 yd
- Binding – 1/2 yd
- Backing – 3 yds (may require wide fabric if longarming)
Cutting Instructions:
Black:
- (21) 2″ x WOF
- Subcut: (120) 2″ x 5″
- (120) 2″ x 2″
White:
- (6) 2″ x WOF
- Subcut: (120) 2″ x 2″
Orange:
- (3) 2 3/4″ x WOF
- Subcut: (24) 2 3/4″ x 5″
- (1) 2″ x WOF
- Subcut: (6) 2″ X 5″
- (2) 1 1/4″ x WOF
- Subcut: (12) 1 1/4″ x 5″
Green:
- (3) 2 3/4″ x WOF
- Subcut: (24) 2 3/4″ x 5″
- (1) 2″ x WOF
- Subcut: (6) 2″ X 5″
- (2) 1 1/4″ x WOF
- Subcut: (12) 1 1/4″ x 5″
Pink:
- (3) 2 3/4″ x WOF
- Subcut: (24) 2 3/4″ x 5″
- (1) 2″ x WOF
- Subcut: (6) 2″ X 5″
- (2) 1 1/4″ x WOF
- Subcut: (12) 1 1/4″ x 5″
Yellow:
- (3) 2 3/4″ x WOF
- Subcut: (24) 2 3/4″ x 5″
- (1) 2″ x WOF
- Subcut: (6) 2″ X 5″
- (2) 1 1/4″ x WOF
- Subcut: (12) 1 1/4″ x 5″
Turquoise:
- (3) 2 3/4″ x WOF
- Subcut: (24) 2 3/4″ x 5″
- (1) 2″ x WOF
- Subcut: (6) 2″ X 5″
- (2) 1 1/4″ x WOF
- Subcut: (12) 1 1/4″ x 5″
Binding:
- (6) 2 1/2″ x WOF
Backing:
- (2) 54″ x WOF
Piecing Instructions:
- Sew the following (30) pairs RST, with the black on the right and long edges together. Press the seams toward the black. This is Unit A:
- (6) orange 1 1/4″ x 5″ to (6) black 2″ x 5″
- (6) green 1 1/4″ x 5″ to (6) black 2″ x 5″
- (6) pink 1 1/4″ x 5″ to (6) black 2″ x 5″
- (6) yellow 1 1/4″ x 5″ to (6) black 2″ x 5″
- (6) turquoise 1 1/4″ x 5″ to (6) black 2″ x 5″

- Sew the following (30) pairs RST, with the black on the left and long edges together. Press the seams toward the black. This is Unit B:
- (6) orange 1 1/4″ x 5″ to (6) black 2″ x 5″
- (6) green 1 1/4″ x 5″ to (6) black 2″ x 5″
- (6) pink 1 1/4″ x 5″ to (6) black 2″ x 5″
- (6) yellow 1 1/4″ x 5″ to (6) black 2″ x 5″
- (6) turquoise 1 1/4″ x 5″ to (6) black 2″ x 5″

- Sew the following (30) 3-piece units RST, with the black in the center. Press the seams toward the black. This is Unit C:
- (6) orange 2″ x 5″ to (12) black 2″ x 5″
- (6) green 2″ x 5″ to (12) black 2″ x 5″
- (6) pink 2″ x 5″ to (12) black 2″ x 5″
- (6) yellow 2″ x 5″ to (12) black 2″ x 5″
- (6) turquoise 2″ x 5″ to (12) black 2″ x 5″
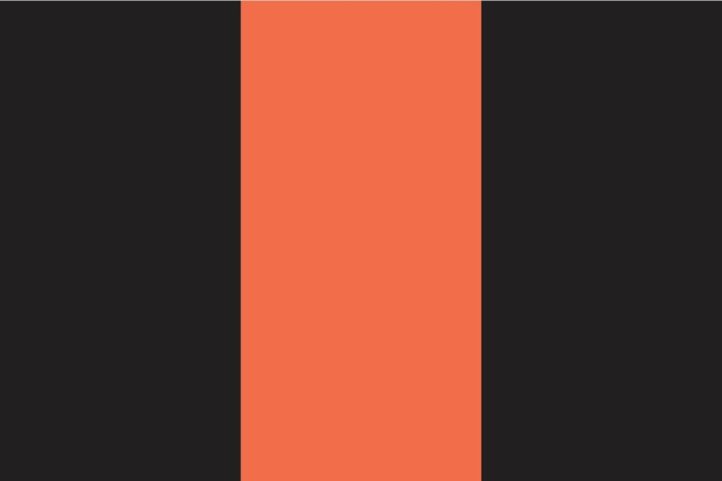
- Using a fabric marker, draw a diagonal line through the center of the wrong side on the following squares:
- (120) black 2″ x 2″
- (120) white 2″ x 2″

- Place (1) white 2″ x 2″ in the upper left corner of each of the following pieces, with the drawn line from the lower left to upper right:
- (12) orange 2 3/4″ x 5″
- (12) green 2 3/4″ x 5″
- (12) pink 2 3/4″ x 5″
- (12) yellow 2 3/4″ x 5″
- (12) turquoise 2 3/4″ x 5″
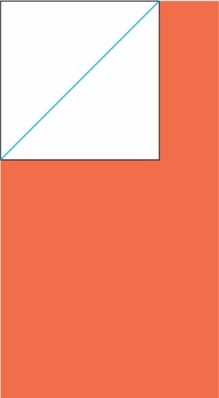
- Sew on the drawn line. Trim 1/4″ from the line toward the upper left corner. Press open with the seam away from the white.
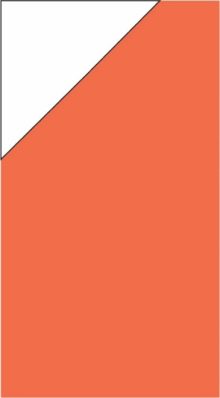
- Place (1) black 2″ x 2″ in the lower right corner of each unit sewn in Steps 5-6, with the drawn line from the lower left to upper right.
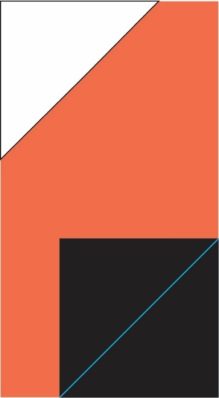
- Sew on the drawn line. Trim 1/4” from the line toward the lower right corner. Press open with the seam toward the black. This will make (60) Unit D.
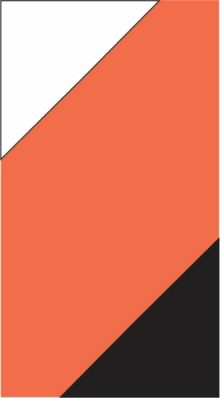
- Place (1) white 2″ x 2″ in the upper right corner of each of the following pieces, with the drawn line from the upper left to lower right:
- (12) orange 2 3/4″ x 5″
- (12) green 2 3/4″ x 5″
- (12) pink 2 3/4″ x 5″
- (12) yellow 2 3/4″ x 5″
- (12) turquoise 2 3/4″ x 5″
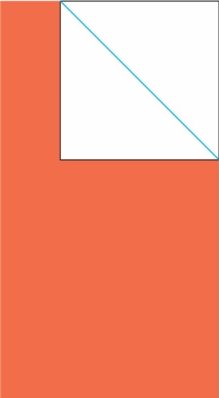
- Sew on the drawn line. Trim 1/4″ from the line toward the upper right corner. Press open with the seam away from the white.
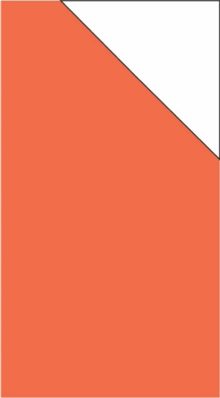
- Place (1) black 2″ x 2″ in the lower left corner of each unit sewn in Steps 9-10, with the drawn line from the upper left to lower right.
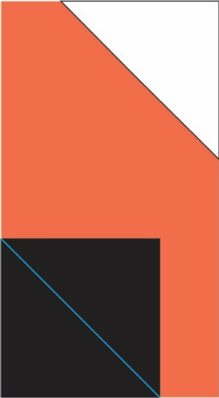
- Sew on the drawn line. Trim 1/4” from the line toward the lower left corner. Press open with the seam toward the black. This will make (60) Unit E.

- Each block will be a combination of the following units. Units D and E on the bottom row are rotated upside down:
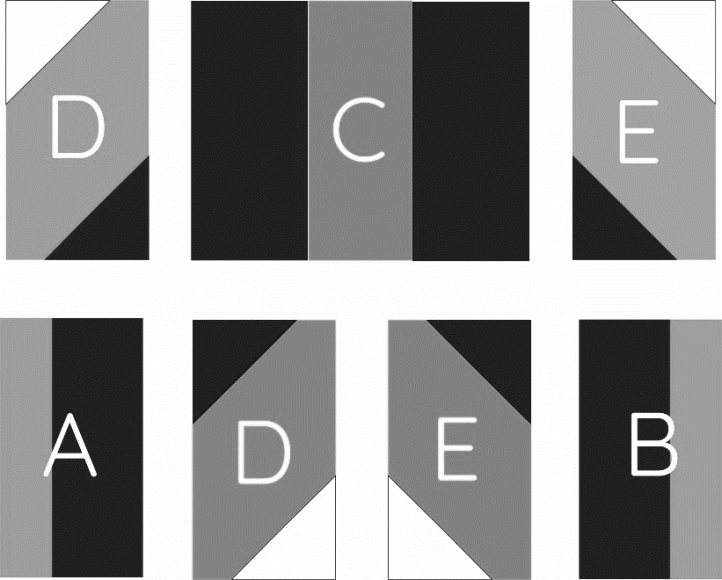
- Lay out the units for (3) blocks in each of the following color combinations:
- Block 1:
- orange D – green C – pink E
- orange A – green D – green E – pink B
- Block 2:
- pink D – green C – orange E
- pink A – green D – green E – orange B
- Block 3:
- pink D – yellow C – turquoise E
- pink A – yellow D – yellow E – turquoise B
- Block 4:
- turquoise D – yellow C – pink E
- turquoise A – yellow D – yellow E – pink B
- Block 5:
- turquoise D – orange C – green E
- turquoise A – orange D – orange E – green B
- Block 6:
- green D – orange C – turquoise E
- green A – orange D – orange E – turquoise B
- Block 7:
- green D – pink C – yellow E
- green A – pink D – pink E – yellow B
- Block 8:
- yellow D – pink C – green E
- yellow A – pink D – pink E – green B
- Block 9:
- yellow D – turquoise C – orange E
- yellow A – turquoise D – turquoise E – orange B
- Block 10:
- orange D – turquoise C – yellow E
- orange A – turquoise D – turquoise E – yellow B
- Block 1:
- For each block, sew the top (3) D, C, and E units into a row. Press the seams toward the middle.

- Sew the bottom (4) A, D, E, and B units into a row. Press the outer seams toward the outside and the center seam toward the left.

- Sew the (2) rows together to finish each block. Press the seam toward the top.

- Lay out the blocks as shown in the grid below, using the numbers from Step 14. The blocks in the second, fourth, and sixth rows are rotated upside down.

- Sew the blocks into (6) horizontal rows of (5) blocks each. Alternate pressing the seam to the right and left on each row.
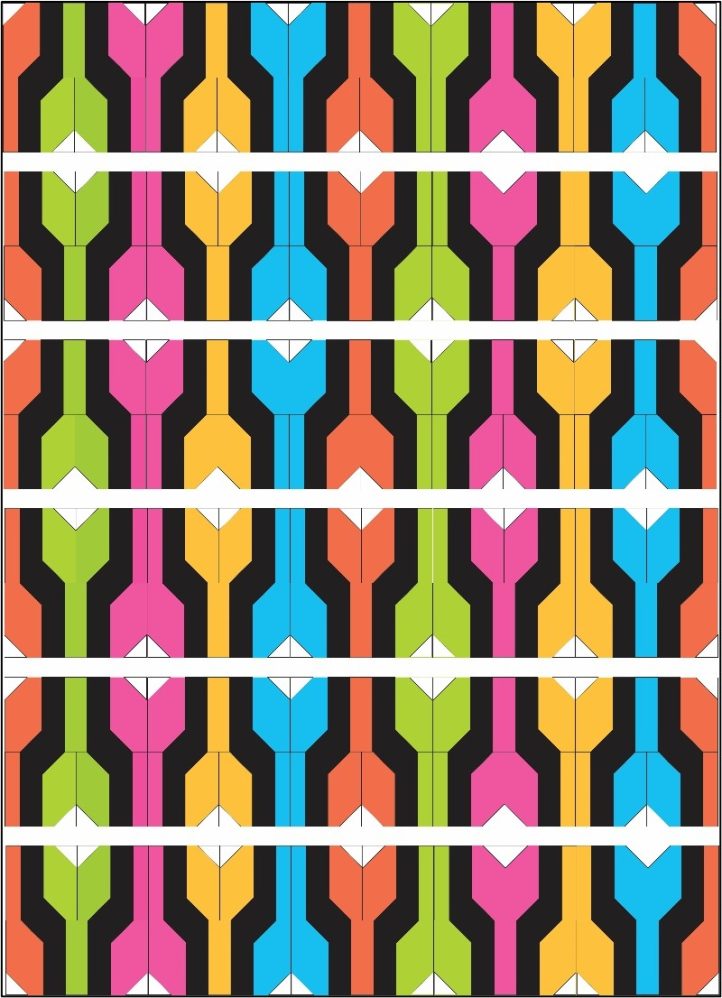
- Sew the rows together. Press the seams toward the bottom.
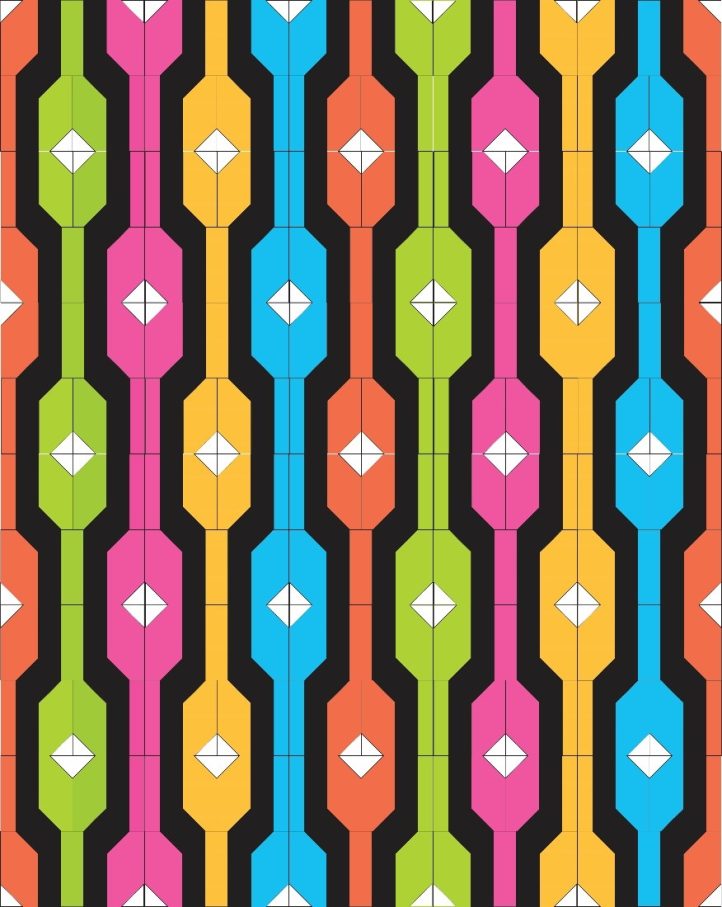
- Trim the selvages from the (2) 54″ x WOF backing pieces. Sew the (2) backing pieces RST along the 54″ edges. Press the seam to one side. The finished backing piece should measure 54″ x 80″ (may be larger depending on the usable width of the fabric).
- Layer the backing with the right side down, batting of your choice, and the quilt top with the right side up. Pin or baste.
- Quilt using your preferred method and design. Trim the batting and backing to match the quilt top.
- Trim the selvages from the (6) 2 1/2″ x WOF binding pieces. Sew the ends RST to make (1) continuous strip.
- Sew the binding around the edge using your preferred method.

I have a problem with the size of this (and practically all) throw quilt patterns.
The finish size is 45″x54″.
It is too small for a bed, isn’t it?
And too big for on a chair, on a table, on an anything.
Best
Marianne
this is my first quilt i am going to do thank you