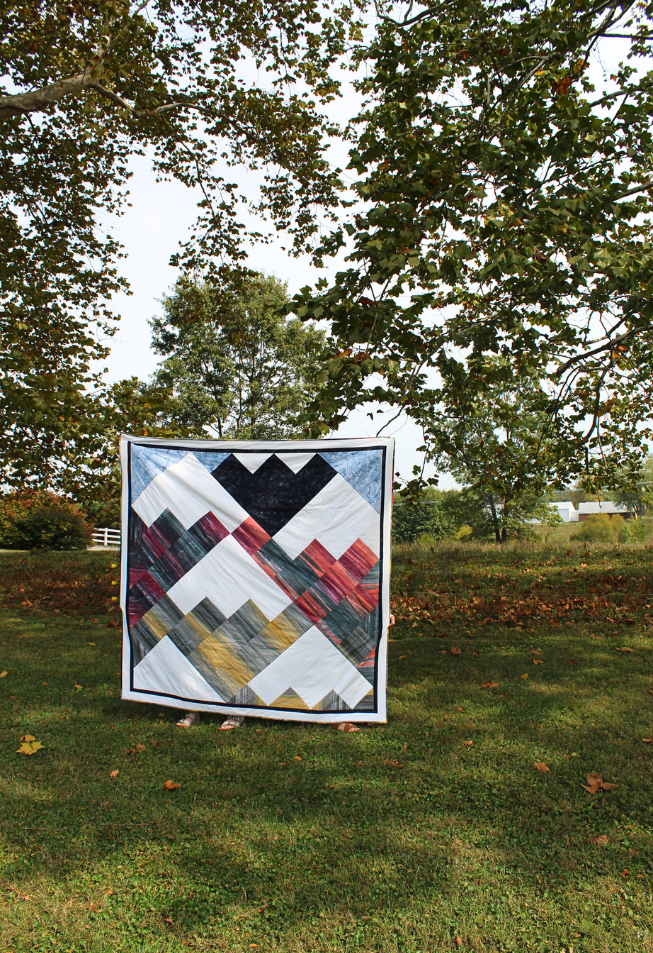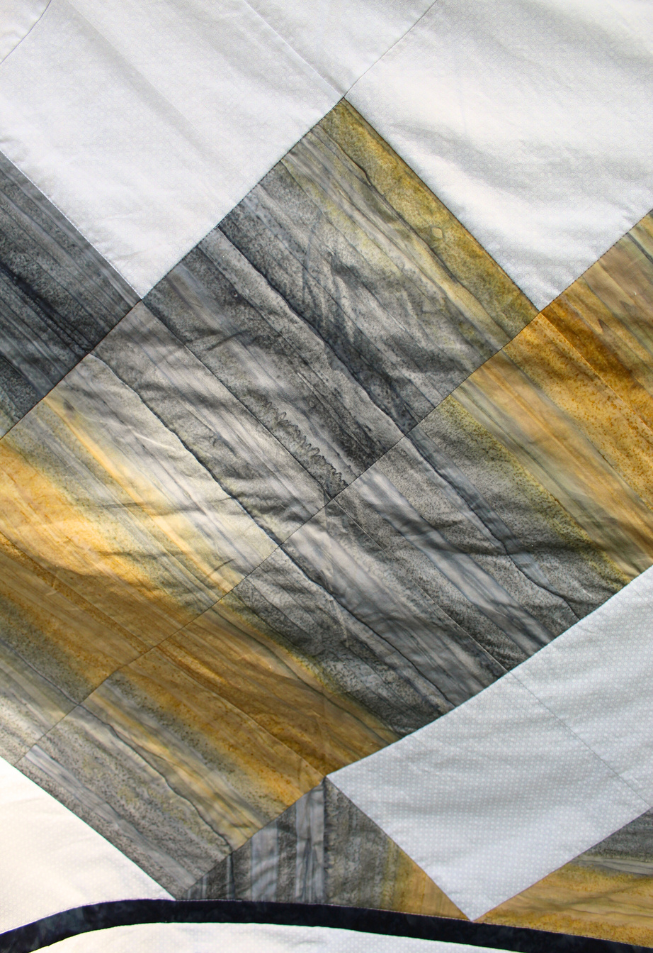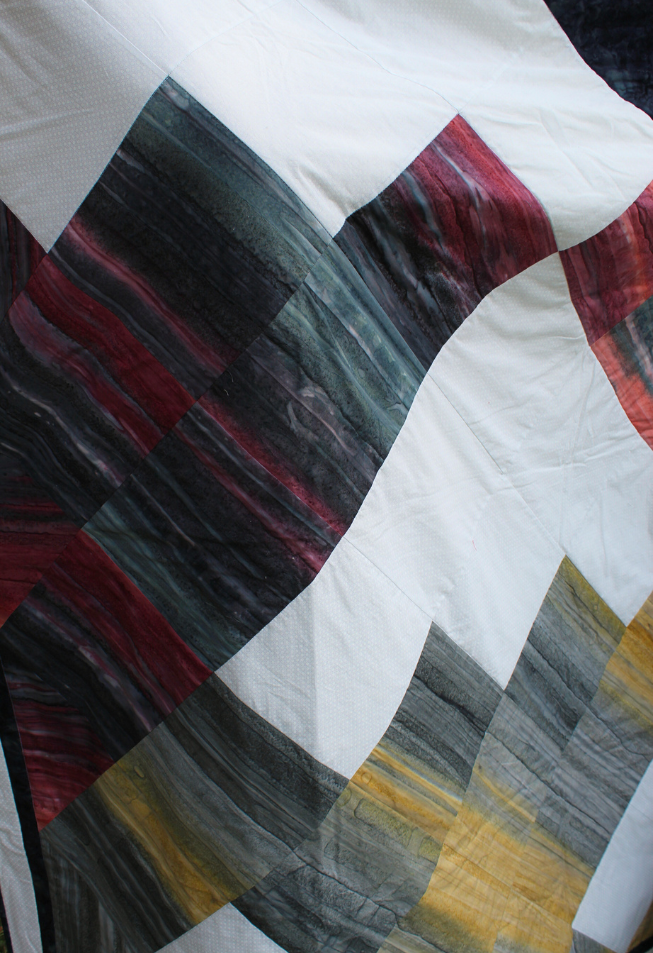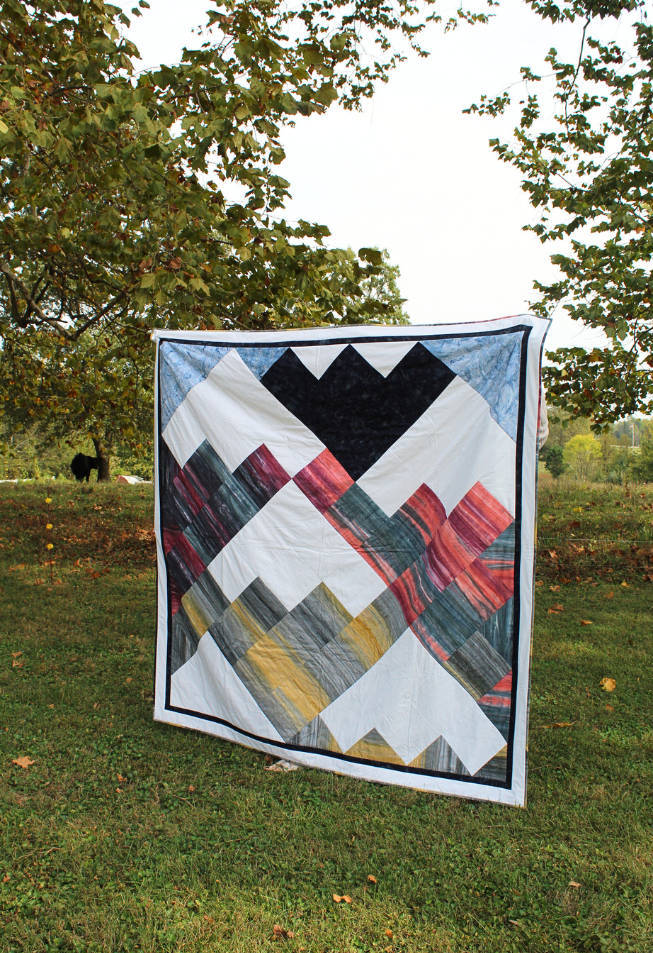
Find your inspiration in snow-capped peaks and grassy hills and valleys with this beautiful landscape quilt pattern from Zoe Ballard. Finishing at approximately 70 inches, this large modern quilt pattern depicts an idyllic mountain landscape and uses batik fabric to create a gradient effect of lush grass and a rocky mountainside. This bold quilt pattern is a delightful project for those dreaming of wintering in the mountains and is a thoughtful pattern to give to Dad or other nature lovers in your life.
Finished Size: ~70” x 70”
Skill Level: Confident beginner
Seam Allowances: 1/4” seam used throughout
Designer Note: WOF – Width of Fabric
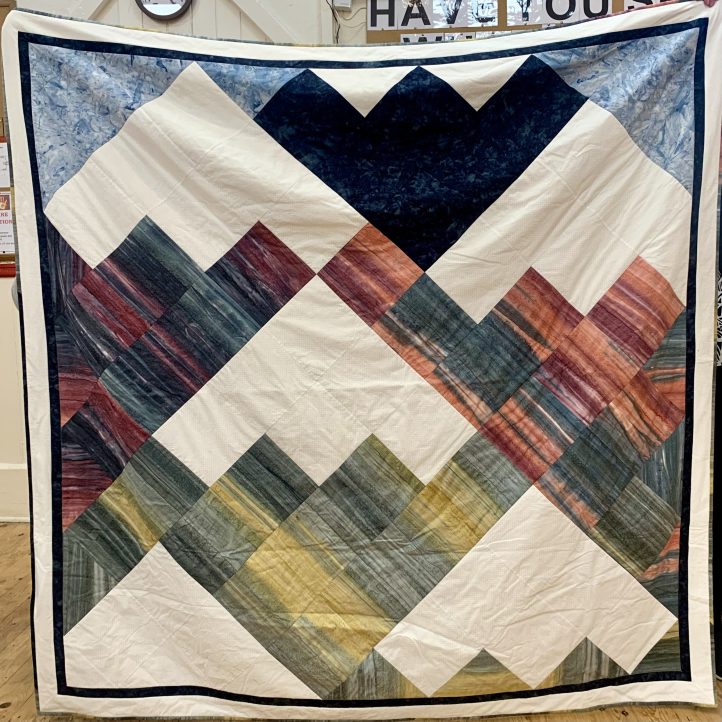
Materials:
- Fabrics: (Note: Zoe used batik fabrics that had a gradient to create the effect of striated rocks in the mountains.)
- Black: 1 yd
- Dark grey: 1 1/2 yds
- Light grey: 1 yd
- White: 2 yds
- Blue: 1/2 yd
- Backing: 80” square
Cutting Instructions:
Black:
- Six 8 1/2” squares
- Eight 1 1/2” x WOF (inner border)
Dark grey:
- Sixteen 8 1/2” squares
- Two 12 1/2” squares (Quarter Square Triangles – QSTs) cut on both diagonals to make eight QSTs. You will need six of them.

Light grey:
- Eleven 8 1/2” squares
- One 12 1/2” square (QSTs) cut on both diagonals to make four QSTs. You will need all four of them.
- One 6 1/2” square (Half Square Triangles – HSTs) cut on one diagonal to make two HSTs. You will need one of them.

White:
- Twenty-six 8 1/2” squares
- Two 12 1/2” squares (QSTs) cut on both diagonals to make eight QSTs. You will need five of them.
- One 6 1/2” square (Half Square Triangles – HSTs) cut on one diagonal to make two HSTs. You will need one of them.
- Eight 2 3/4” x WOF (outer border)
Blue:
- Two 8 1/2” squares
- Two 12 1/2” squares (Quarter Square Triangles – QSTs) cut on both diagonals to make eight QSTs. You will need five of them.
- One 6 1/2” square (Half Square Triangles – HSTs) cut on one diagonal to make two HSTs. You will need both of them.
Piecing Instructions:
CONSTRUCTION:
Row 1: With right sides together, stitch a blue QST to the left side of a blue square so the diagonal edge faces top left. Repeat on the right side with the diagonal of the QST facing top right. Press the seams to the left.
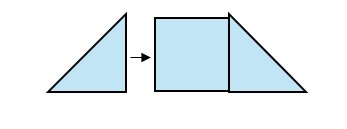
Row 2: With right sides together, stitch three white squares together. With right sides together, stitch a dark grey QST to the left side of the white squares so the diagonal edge faces top left. Repeat on the right side with a blue QST with the diagonal of the QST facing top right. Press the seams to the right.

Row 3: With right sides together, stitch two dark grey, two white and one black squares together. With right sides together, stitch a dark grey QST to the left side of the five squares so the diagonal edge faces top left. Repeat on the right side with a white QST with the diagonal of the QST facing top right. Press the seams to the left.

Row 4: With right sides together, stitch four dark grey, one white and two black squares together. With right sides together, stitch a dark grey QST to the left side of the seven squares so the diagonal edge faces top left. Repeat on the right side with a white QST with the diagonal of the QST facing top right. Press the seams to the right.

Row 5: With right sides together, stitch two light grey, three white, one dark grey and three black squares together. With right sides together, stitch a light grey QST to the left side of the nine squares so the diagonal edge faces top left. Repeat on the right side with a blue QST with the diagonal of the QST facing top right. Press the seams to the left.

Row 6: With right sides together, stitch two white, two light grey, two white, one dark grey, three white and one blue squares together. Press the seams to the right.

Row 7: With right sides together, stitch one white, three light grey, one white, two dark grey and two white squares together. With right sides together, stitch a white QST to the left side of the nine squares so the diagonal edge faces bottom left. Repeat on the right side with a blue QST with the diagonal of the QST facing bottom right. Press the seams to the left.

Row 8: With right sides together, stitch four light grey and three dark grey squares together. With right sides together, stitch a white QST to the left side of the seven squares so the diagonal edge faces bottom left. Repeat on the right side with a white QST with the diagonal of the QST facing bottom right. Press the seams to the right.

Row 9: With right sides together, stitch three white and two dark grey squares together. With right sides together, stitch a light grey QST to the left side of the five squares so the diagonal edge faces bottom left. Repeat on the right side with a dark grey QST with the diagonal of the QST facing bottom right. Press the seams to the left.

Row 10: With right sides together, stitch two white and one dark grey squares together. With right sides together, stitch a light grey QST to the left side of the white squares so the diagonal edge faces bottom left. Repeat on the right side with a dark grey QST with the diagonal of the QST facing bottom right. Press the seams to the right.

Row 11: With right sides together, stitch a light grey QST to the left side of a white square so the diagonal edge faces bottom left. Repeat on the right side with a dark grey QST with the diagonal of the QST facing top right. Press the seams to the left.
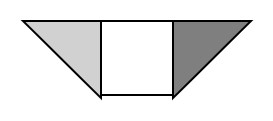
- Stitch the rows into pairs, adding Row 11 to Row 9/10. Stitch the pairs into fours (and a five). Stitch the two halves together.

- With right sides together, stitch the HSTs to each corner of the quilt top.
- Blue – top right and left
- Light grey – bottom right
- White – bottom left

- Press the seams well in one direction.

ADDING THE BORDERS:
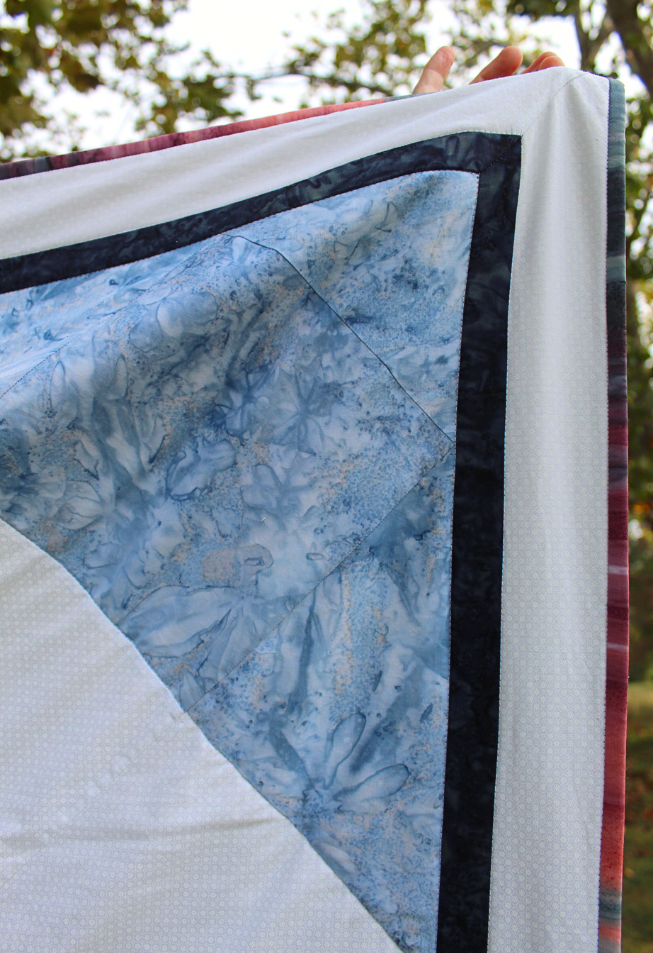
- Join two black inner border strips short ends together.
- Join two white outer border strips short ends together.
- Join the black strip to the white strip along the long edges.

- Find the middle of the black strip and, with right sides together, pin it to the middle of the quilt top. Pin along the length so the border fabric overhangs each side.
- Leave 1/4” at both ends of the quilt edge so border can be turned out of the way when you join the next seams.
- Leave the long ends but pin out of the way so they are not caught in the next seam.
- With right sides together, stitch the three other borders in the same way. Press towards the border.
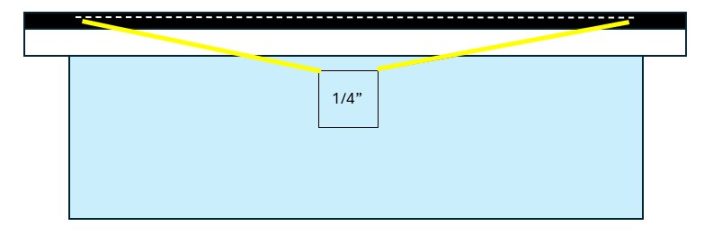
TO MITER THE CORNERS:
Fold the quilt top in half diagonally, right sides together, lining up the raw edges of the border strips. Follow the diagonal fold to draw a line on the border strip from the end of the stitches. Stitch along the drawn line. Cut the excess border fabric to give 1/4” seam allowance, and press the seam in one direction.

LAYERING UP:
On a flat surface, lay the quilt top right side up on the batting and smooth out. Turn the quilt/batting over and lay the backing on, right side up, and smooth out. Turn the quilt so the top is showing. Pin/baste well.
QUILTING:
Quilt as desired. Zoe stitched in the ditch around the snow peaks, and stitched a line through the mountain blocks to hold everything in place without taking away from the pattern of the fabric. If you are using plain fabric, you could do more quilting. Then stitch in the ditch between the quilt top and inner border and then between the inner and outer border.
BINDING:
Cut and join eight 2 1/2” x WOF from the leftover fabric (~350”) to make the binding. Bind using your preferred method. Zoe used double fold binding.

