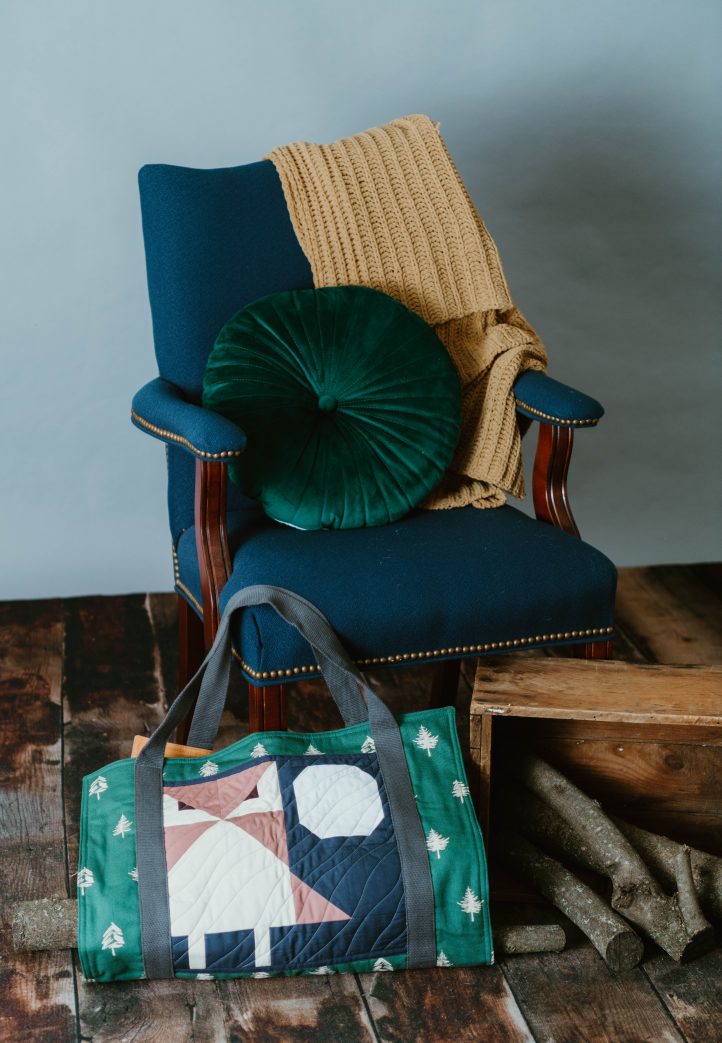
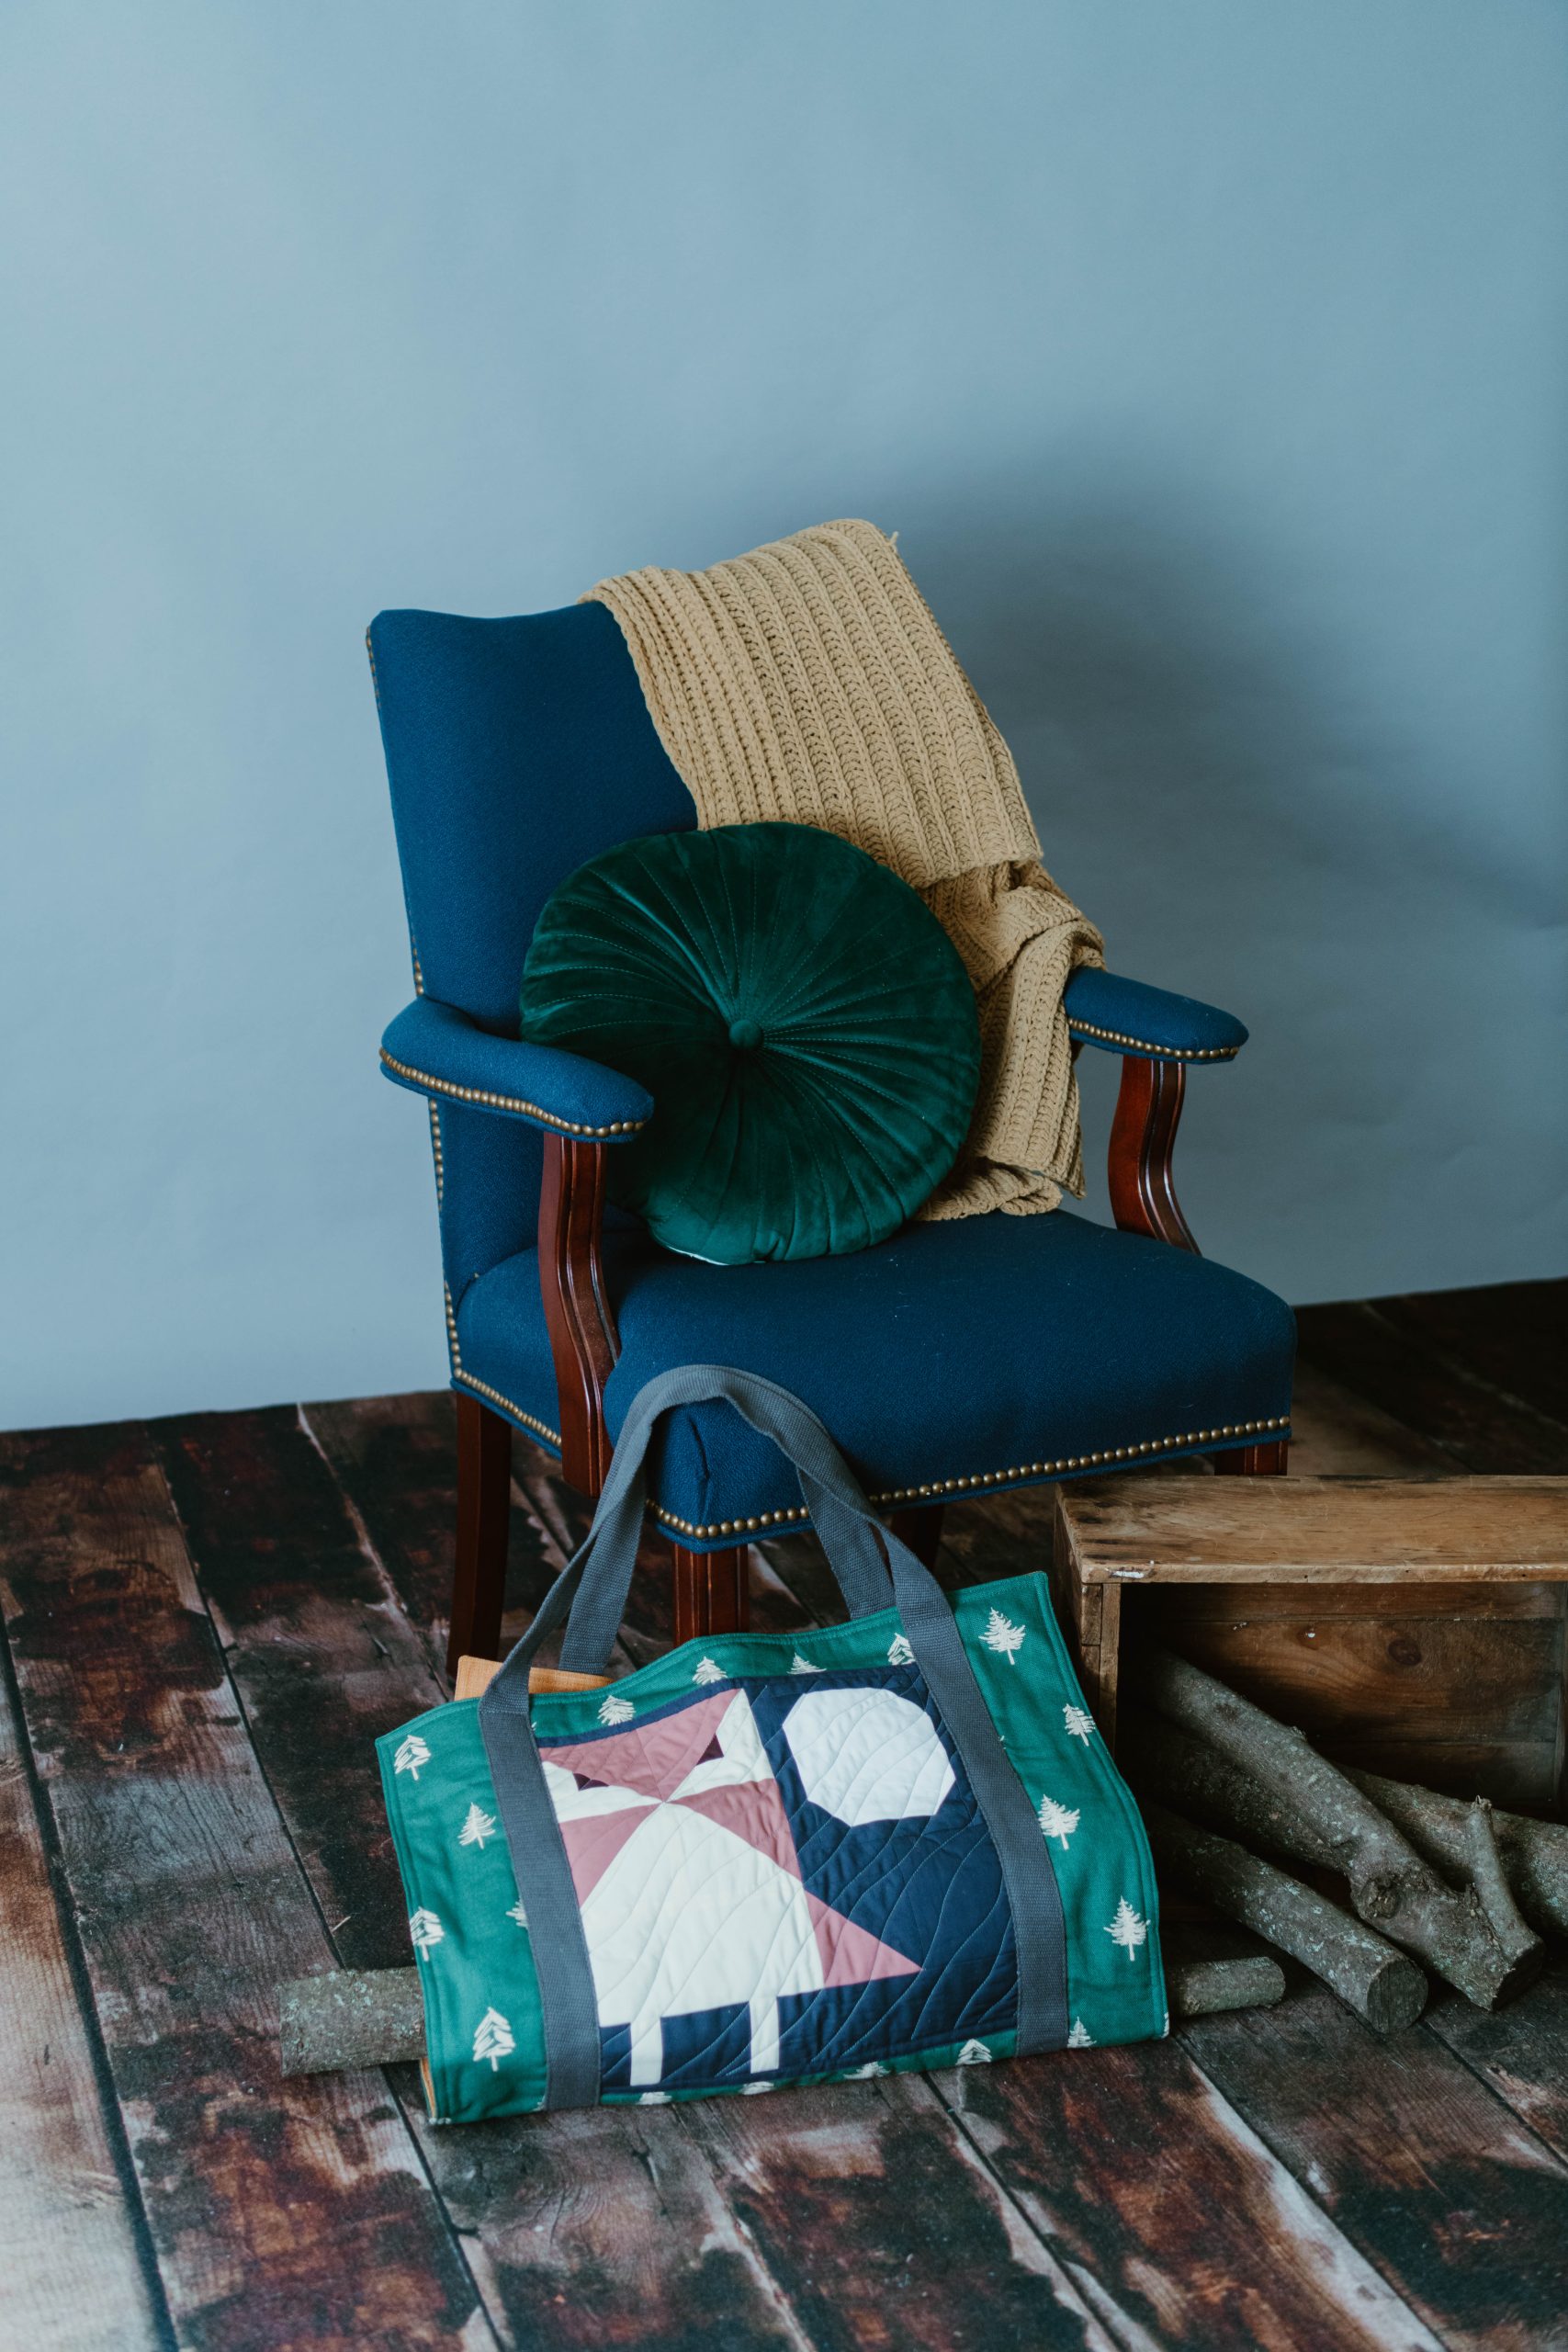
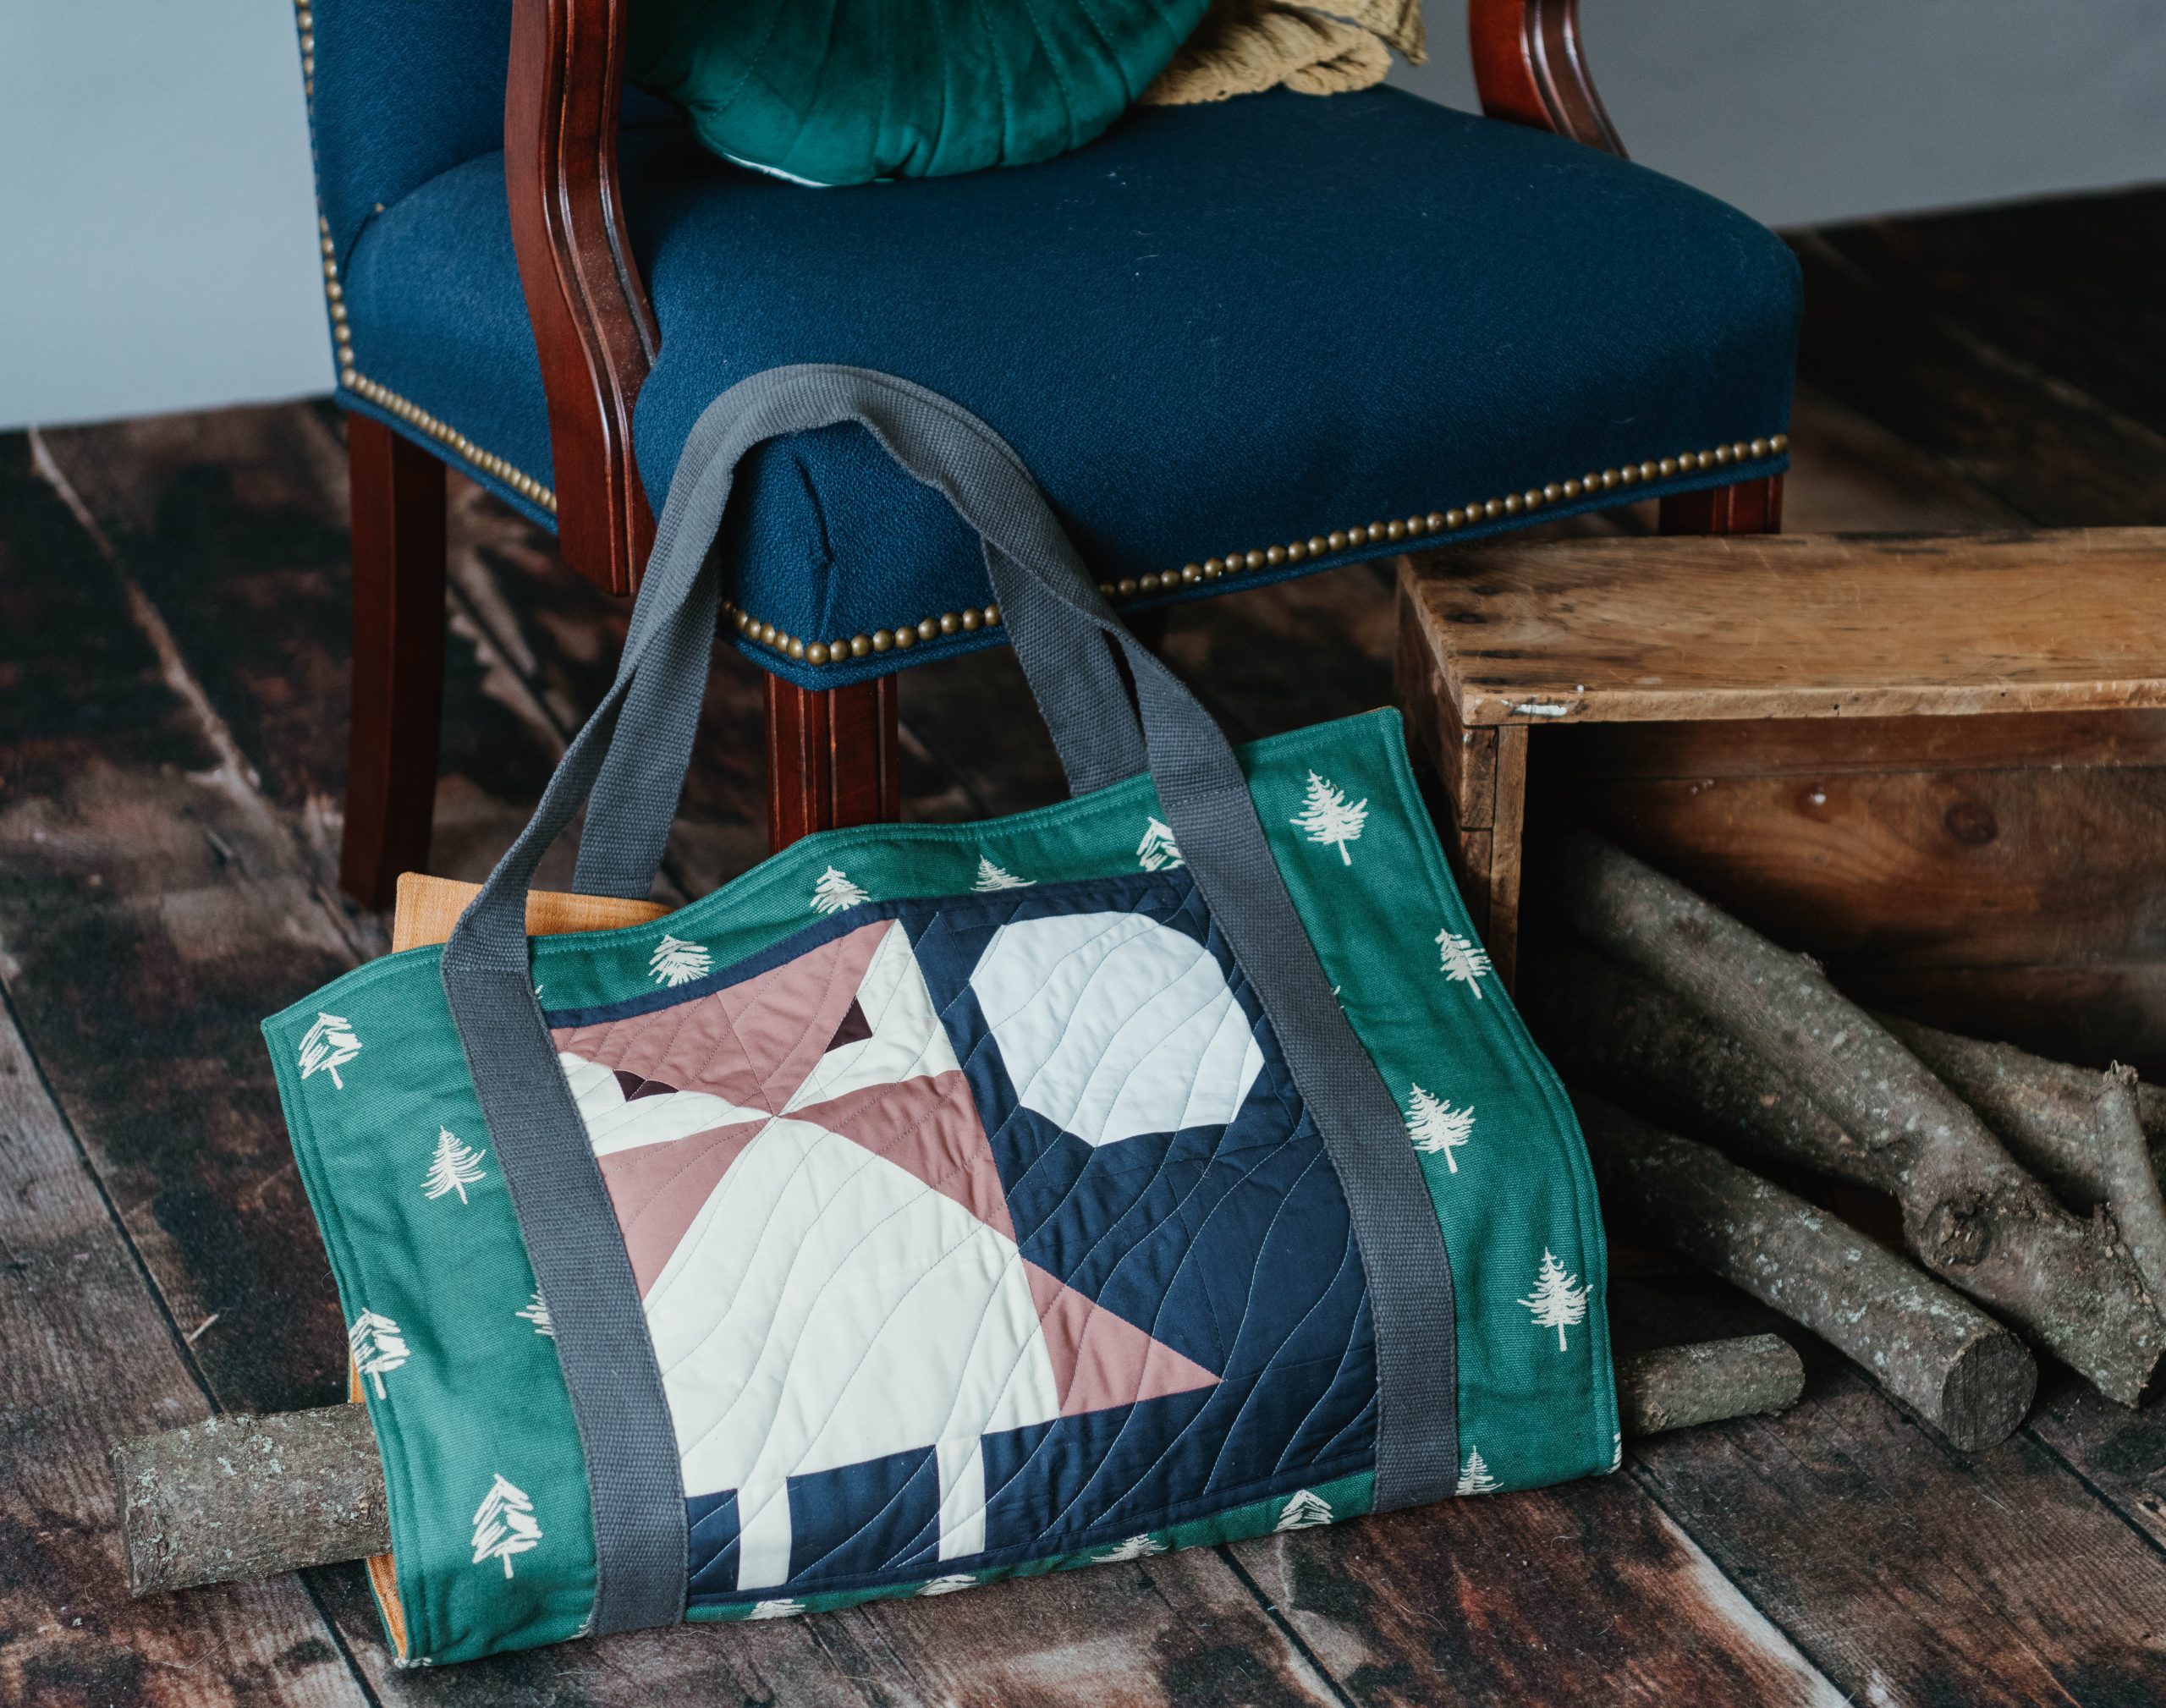
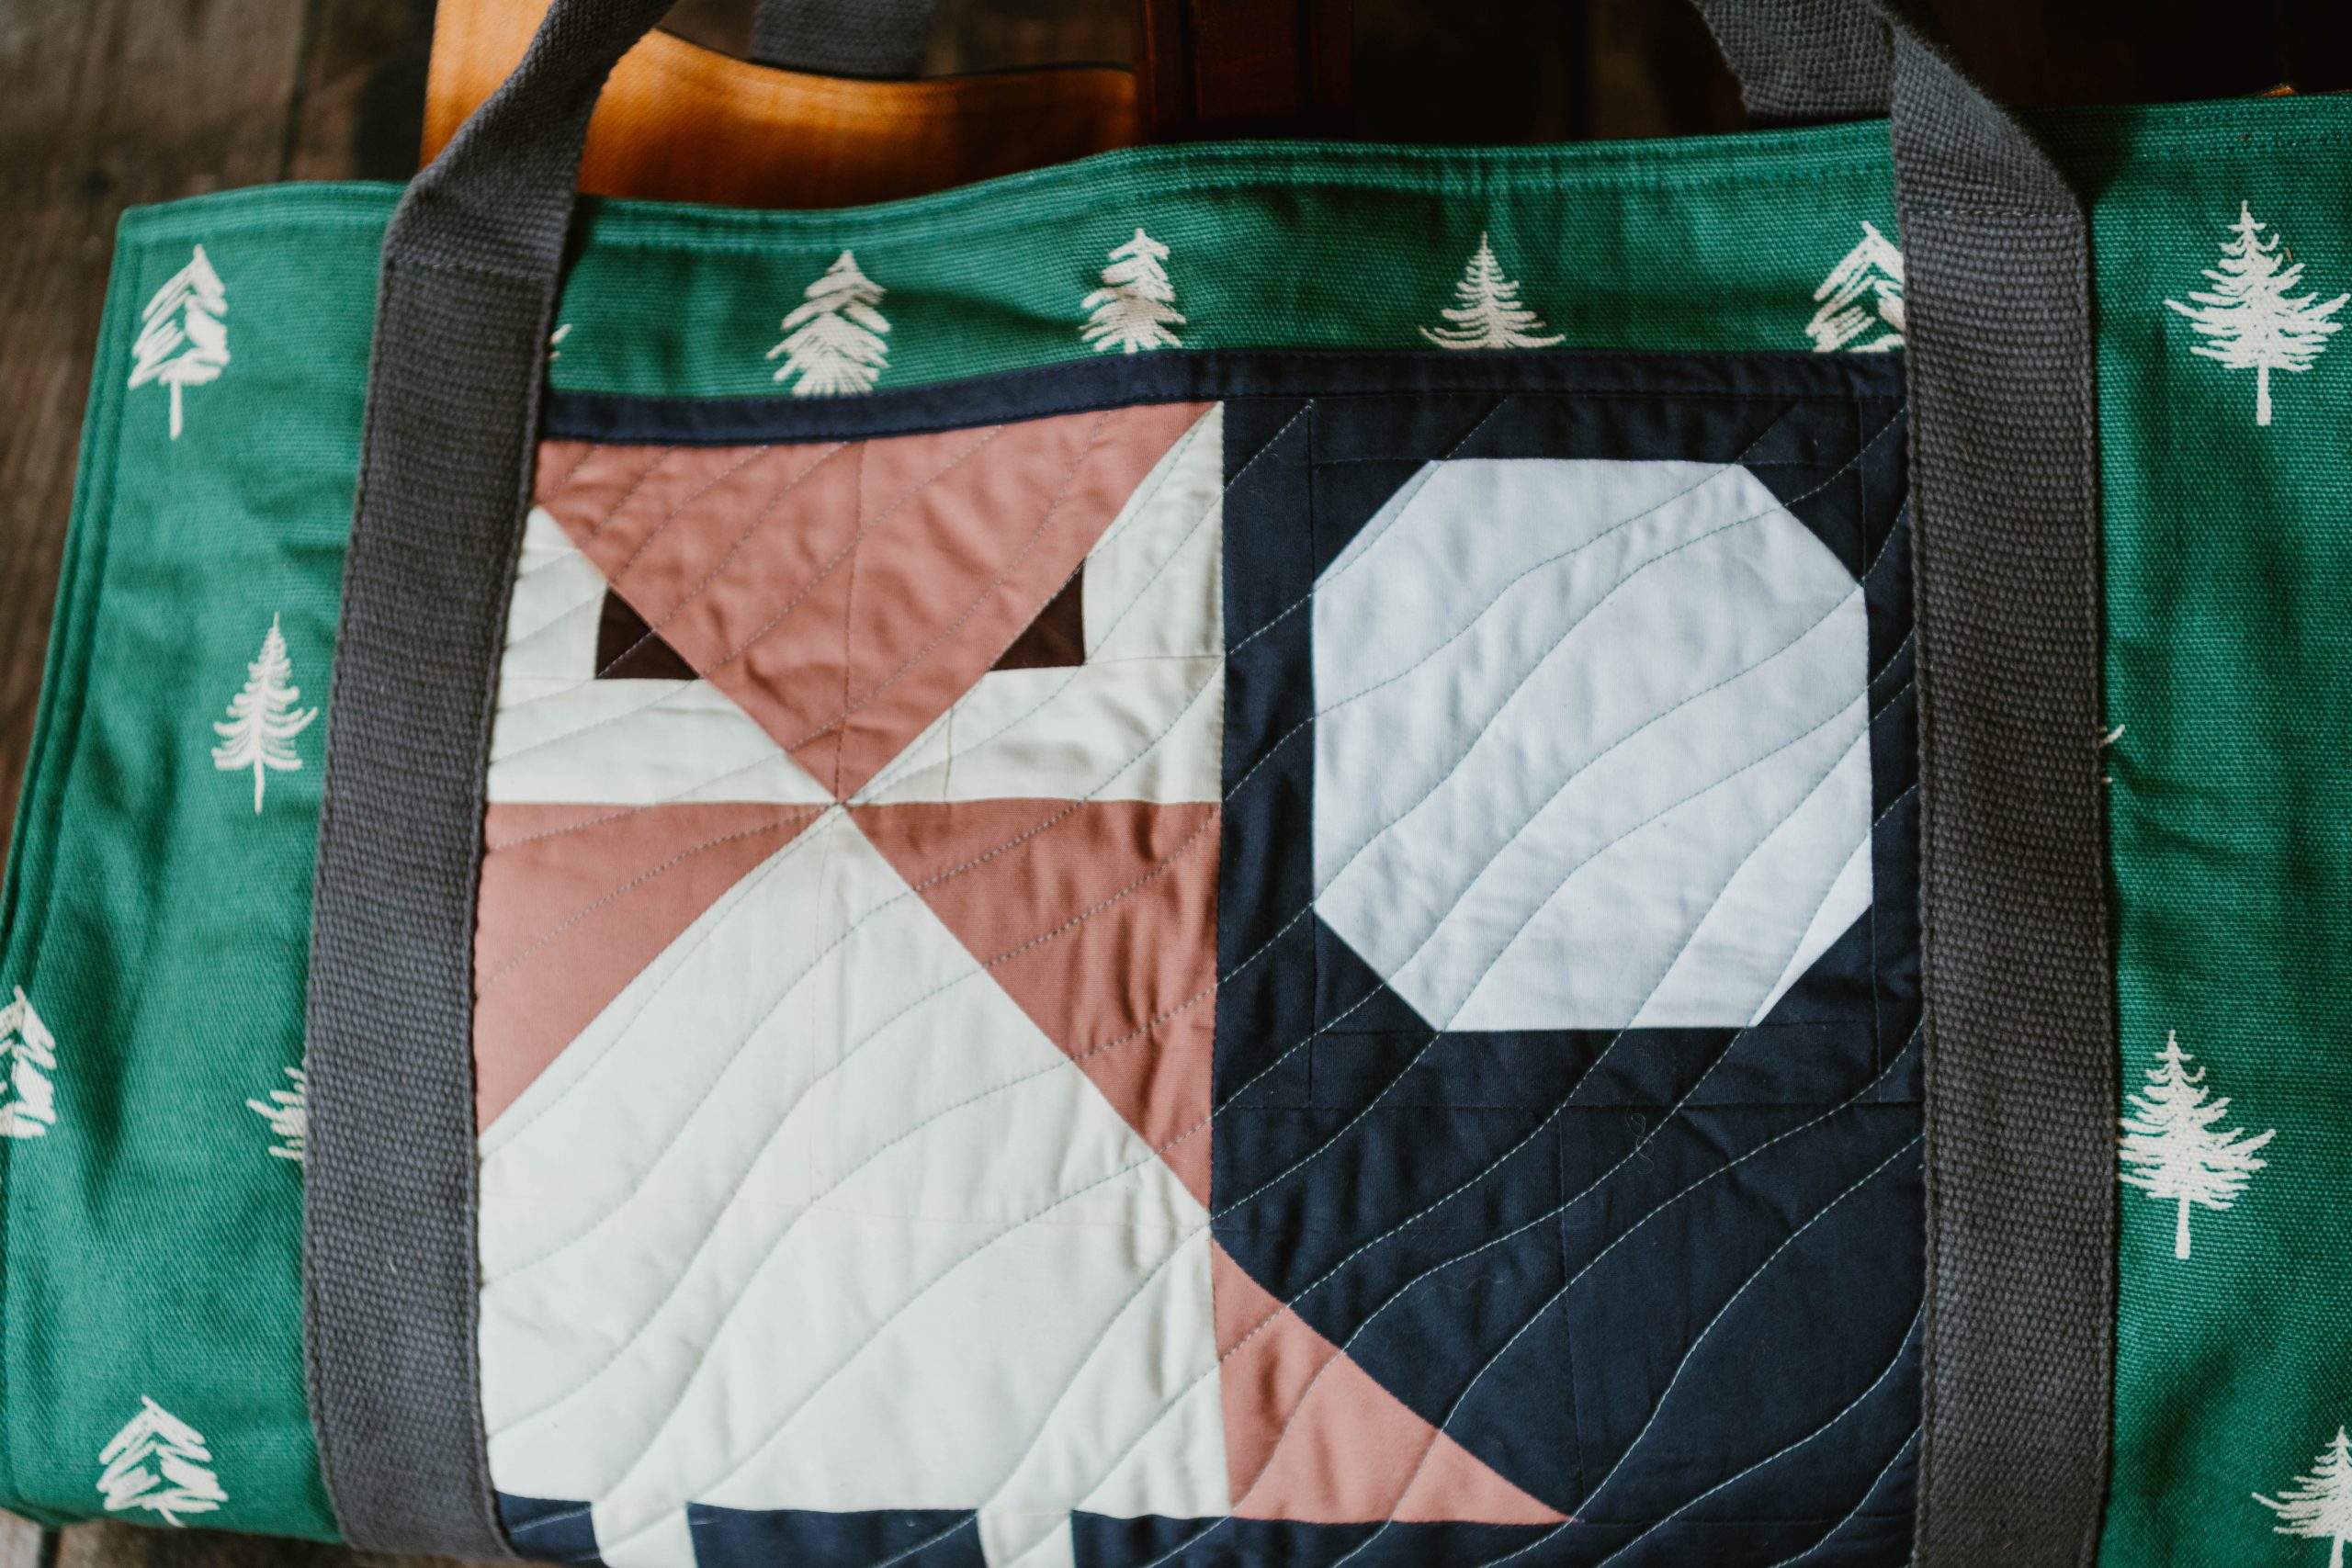
Spend the long winter fireside with this cute and practical quilting pattern that makes carrying firewood so much easier. Fresh from Debbie von Grabler-Crozier, this quilted log carrier pattern helps you carry multiple logs with its durable heavy-duty denim lining and wide cotton webbing handles. We adore the quilted design of a lone owl against a midnight blue sky and full moon, which adds a touch of mystery and whimsy to this delightful, quilted gift idea. If Dad or your hubby is hard to shop for, why not create a custom present for them this holiday season?
Designer Notes:
- Seam allowances are all 1/4” and have already been added.
- HST = Half Square Triangles
Materials:
- Fabric: (Note: All fabrics are from Art Gallery Fabrics.)
- 3/4 yd. canvas for the bag exterior. The designer loves Tree Line Pine from the Timberland collection by AGF.
- 3/4 yd. coordinating heavy duty denim for the lining. Debbie chose Canyon Sunset Solid Textured Denim from The Denim Studio for AGF.
- Assorted solid cotton fabrics for the owl patch. The designer’s are from the Pure Elements collection by AGF and she has chosen:
- Fat Quarter Nocturnal
- 5” sq. Truffle
- 6” sq. Snow
- Fat Eighth Pearl
- Fat Eighth Thistle
- Interfacing:
- 1 yd. H630 fusible fleece (Vlieseline) or Bosal 326LF
- 110” x 1 1/2” wide cotton webbing for the handles
- Double sided tape
- Coordinating threads for all fabrics and trims
- Scissors
- Fabric marking tools
- Extra feet for your sewing machine (walking foot, for example)
- PDF Diagram – This is located at the bottom of this page. See printing instructions below.
PRINTING INSTRUCTIONS:
To download the PDF diagram, click on the download button at the bottom of the page. We recommend opening your download using Adobe Acrobat.
Cutting Instructions:
From the canvas exterior fabric:
- 2 pieces 22 1/2” wide x 17 1/2” tall for the exterior panels
From the canvas lining fabric:
- 2 pieces 22 1/2” wide x 17 1/2” tall for the lining panels
From the solid fabrics:
- TIP: The owl patch is all built on simple shapes like squares and rectangles with some snowballed corners (the moon) and some half square triangles HSTs (the owl’s head, upper body and tail). It cannot be read row by row but section by section. To make sense of it, cut the pieces and lay them onto a flat surface so that you can see what is going on. To help you, each cut has a letter assigned and there is a diagram to show where they all go.
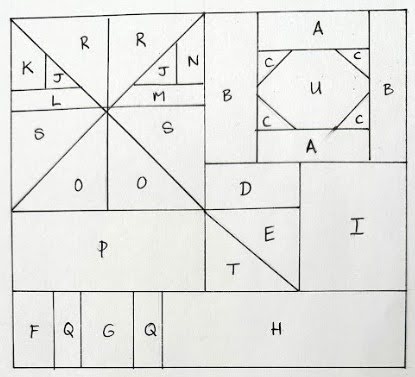
From the Nocturnal (dark blue):
- 2 pieces 1 1/4” wide x 5 1/4” long for the top and bottom sashes on the moon section A
- 2 pieces 1 1/4” wide x 6 1/2” long for the left and right hand sashes on the moon section B
- 4 pieces 1 1/2” sq. for the snowball corners on the moon section C
- 1 piece 1 1/2” wide x 3 1/4” long for the top left piece in the lower right section D
- 1 piece 4” sq. for the owl tail E (HST unit)
- 1 piece 1 1/4” wide x 2 3/4” tall for the owl leg section F
- 1 piece 3” wide x 2 3/4” tall for the owl leg section G
- 1 piece 8 1/4” wide x 2 3/4” tall for the owl leg section H
- 1 piece 3 3/4” wide x 4” tall for the right hand lower section I
- 2 pieces 1” wide x 14” long cut on the straight grain for the binding on the top and bottom of the owl block.
From the Truffle (dark brown):
- 1 piece 1 3/4” sq. for the owl eyes J
From the Pearl (cream):
- 1 piece 1 3/4” sq. for the owl eye left hand side K
- 1 piece 1 3/4” wide x 3” long for the owl eye top sash L
- 1 piece 1 3/4” wide x 3” long for the owl eye right sash M
- 1 piece 1 3/4” wide x 4 3/8” long for the owl eye bottom sash N
- 1 piece 4 1/2” sq. for owl body mid-section O (HST unit)
- 1 piece 7 1/2” wide x 3 1/2” tall for the owl body lower section P
- 2 pieces 1 1/4” wide x 2 3/4” tall for the owl legs Q
From the Thistle (purple brown):
- 1 piece 4 3/8” sq. for the owl eye R (HST unit)
- 1 piece 4 1/2” sq. for the wings S (HST unit)
- 1 piece 4” sq. for the owl tail T (HST unit)
From the Snow (white):
- 1 piece 5 1/4” sq. for the moon U
From the webbing:
- 2 pieces 55” long for the handles
From the H630 interfacing:
- 2 pieces 22 1/2” wide x 17 1/2” tall for the exterior interfacing
- 1 piece 14” sq. for the patch interfacing
Piecing Instructions:
PREPARATION:
Make the Owl Patch:
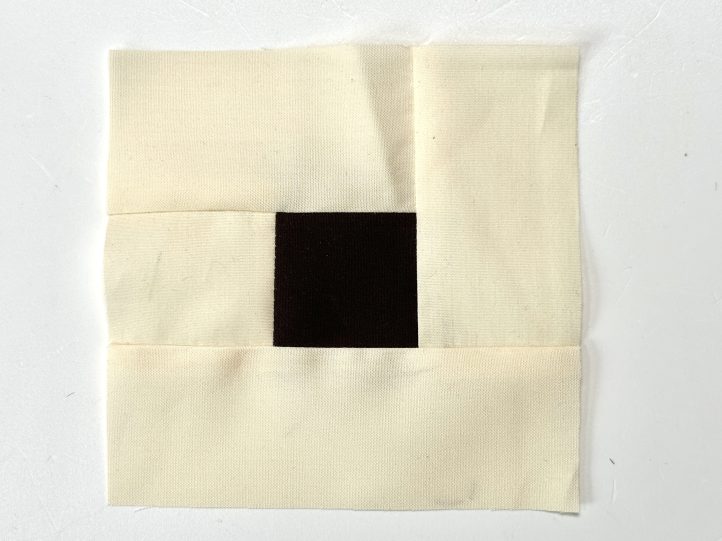
- Construct the eye section first as a Log Cabin block. The first sash (K) goes to the left of the dark square (J). Then add L followed by M and N. Press.
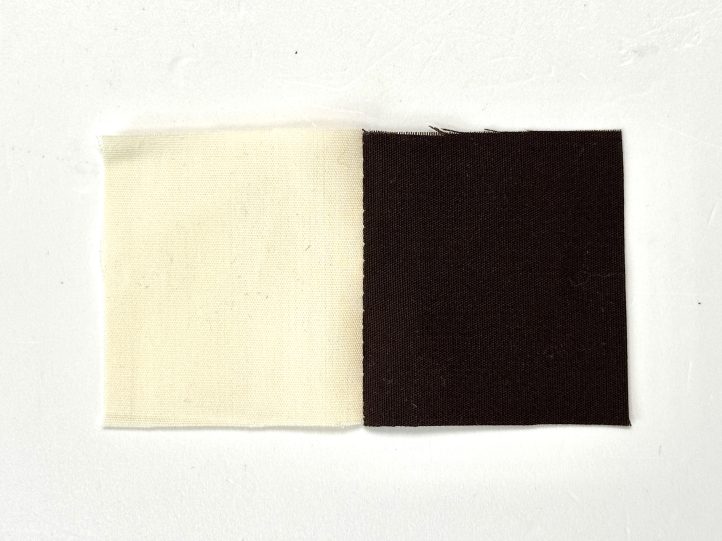
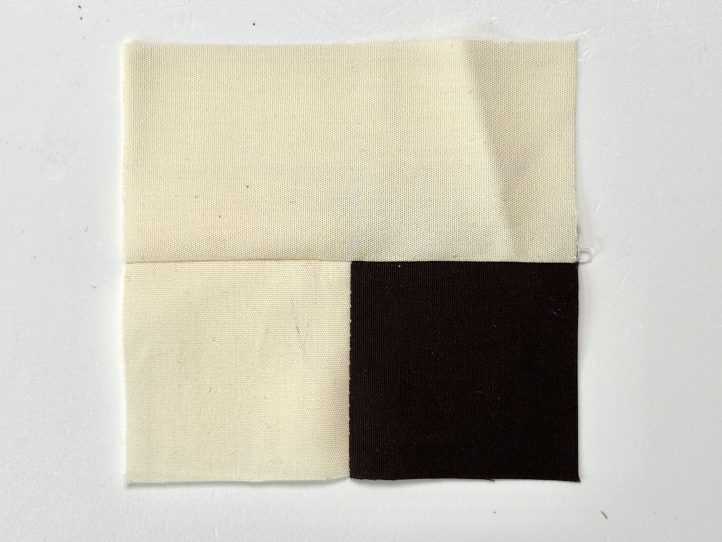
- On the square R, make a diagonal mark from corner to corner. Lay square R right sides together onto the Log Cabin eye block and sew a 1/4” seam to the left and right hand sides of the diagonal line that you drew.
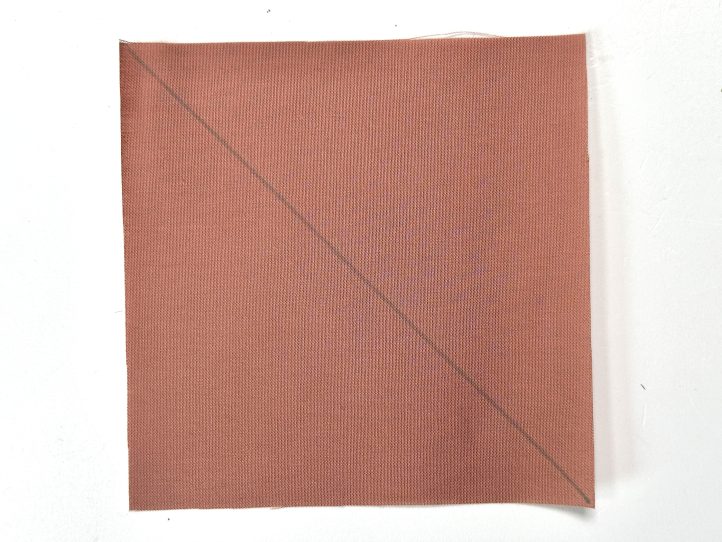
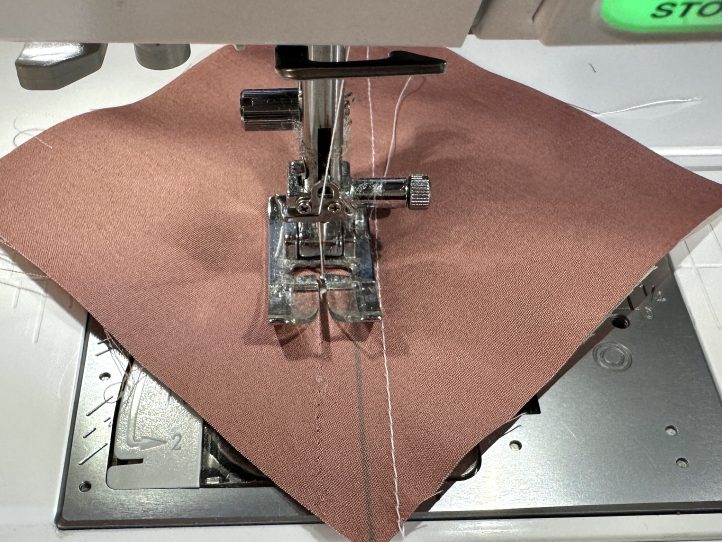
- Cut along your original drawn line and open the two units out. Trim to 4” sq. and then join together with the thistle section in the middle.
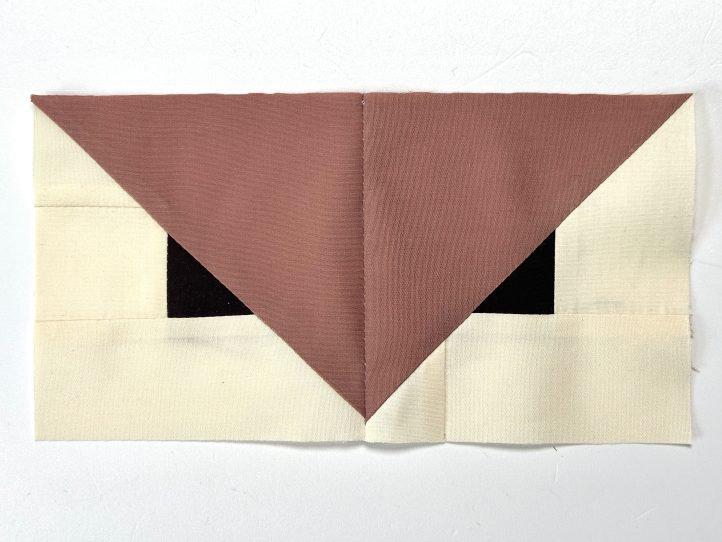
- The middle body section is next. The piece designated O is joined to the piece designated S to make a HST unit. Place the pieces together and draw a diagonal line from corner to corner. Sew 1/4” either side of the line that you drew and then cut along the line. Open the pieces out, trim to 4” sq. and join them with the light section in the middle. Add this section to the head section and press the seams open.
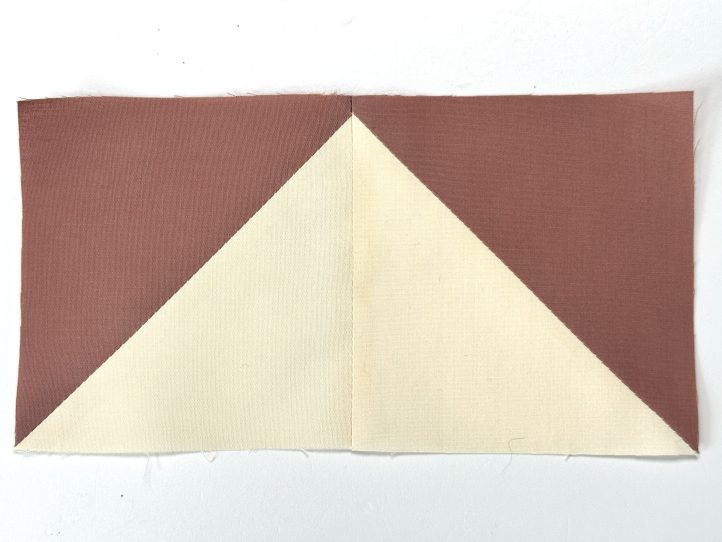
- Add the remaining body piece (P) to the bottom of the owl and press.
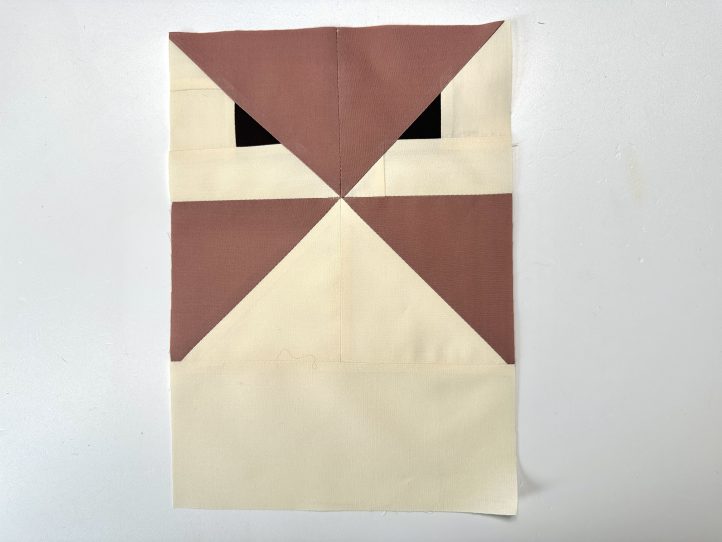
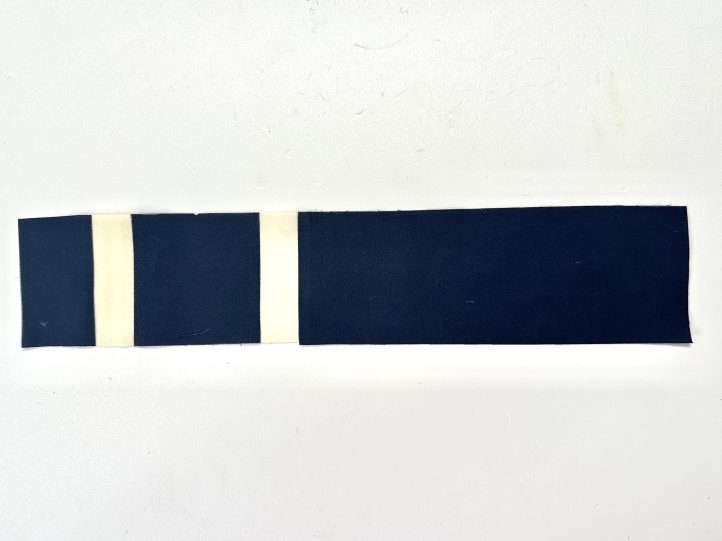
- The leg section brings in some dark blue pieces plus the owl legs and you need dark blue sections F, G, H plus the two cream leg sections labeled Q.
- The row reads F, Q, G, Q, H. Join sections and press the seams open.
- On the right hand side of the owl patch is the moon block. Snowball the white square (U) with the four smaller squares (C). To snowball, simply place the square in the corner of the piece to be snowballed and draw a diagonal line from corner to corner. This time, sew on the line that you drew and trim the excess away, leaving a 1/4” seam allowance. Open the pieces out and press.
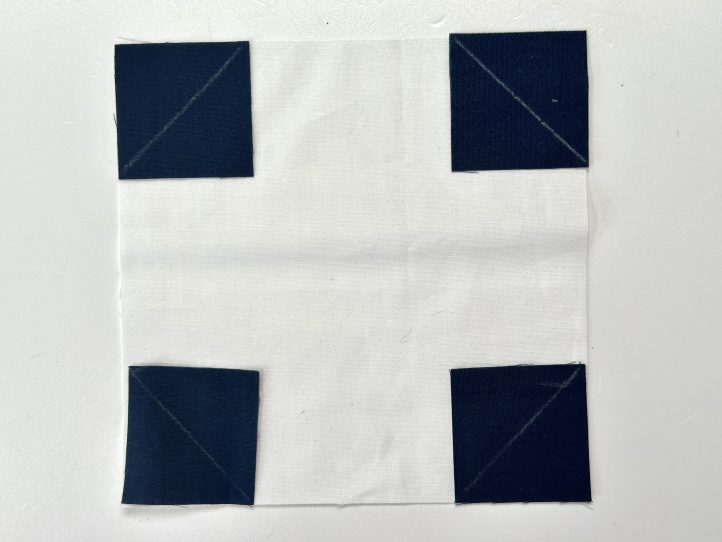
- Repeat for all of the corners and then add a strip (A) to the top and bottom and a strip (B) to the left and right hand side to make the ‘moon’.
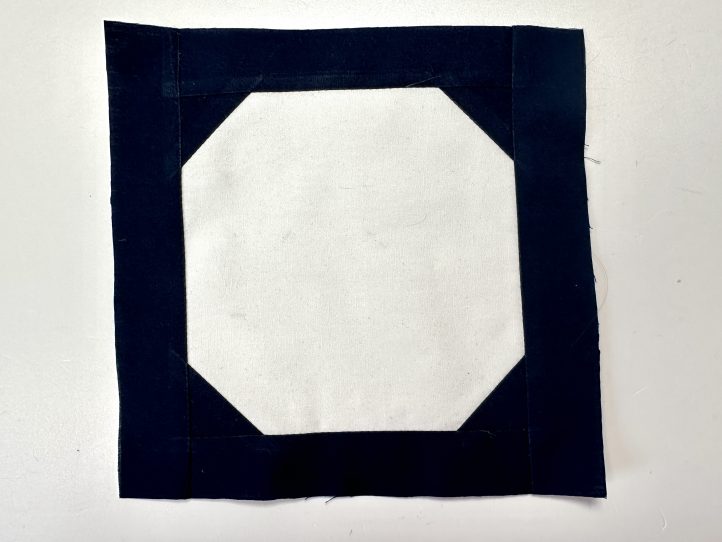
- Another HST unit using pieces T and E make the tail section. Trim to 3 1/2” sq.
- TIP: Sadly, HST units yield two pieces as a rule, and you will have one left over.
- Attach piece D to the top of the tail section then I to the right of it, press and attach the moon to the top.
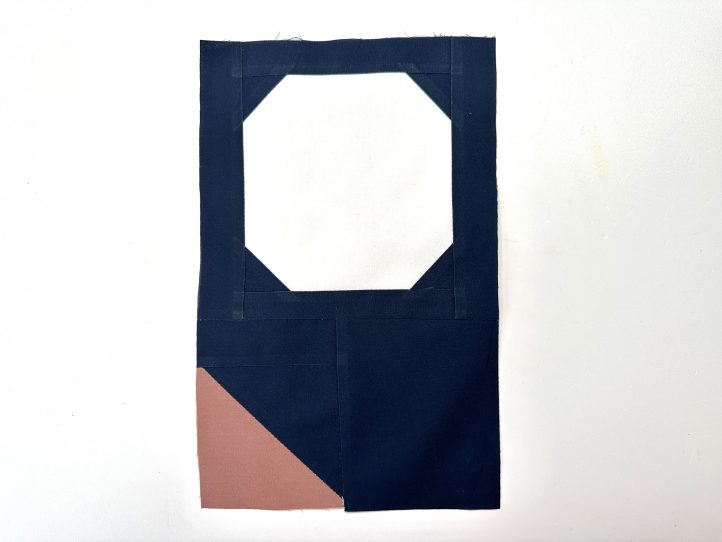
- Finally, add the left hand side owl to the right hand side moon panel and the leg strip across the bottom. Press, trim and interface on the wrong side ready for quilting.
Prepare the Straight Binding:
- Fold the long raw edges of the binding under by 1/4” and press.
Prepare the Exterior:
- Interface the two exterior panels.
MAKING:
Add the Patch and Quilt It:
The exterior and lining panels are cut in two separate pieces. This is so you can rotate one of each by 180° and have any pattern on your fabrics running the right way up on both sides of the bag. The patch and the handles go on first, however.
- Align the interfaced exterior panels correctly so that any pattern is the right way up, find the vertical center of the front exterior panel and mark it. Find the center of the patch, too.
- Line both centers up and pin the front patch on 2 1/4” down from the top edge. Quilt the patch with your favorite pattern. The designer prefers a random wave, which is super easy to do on almost all home sewing machines.
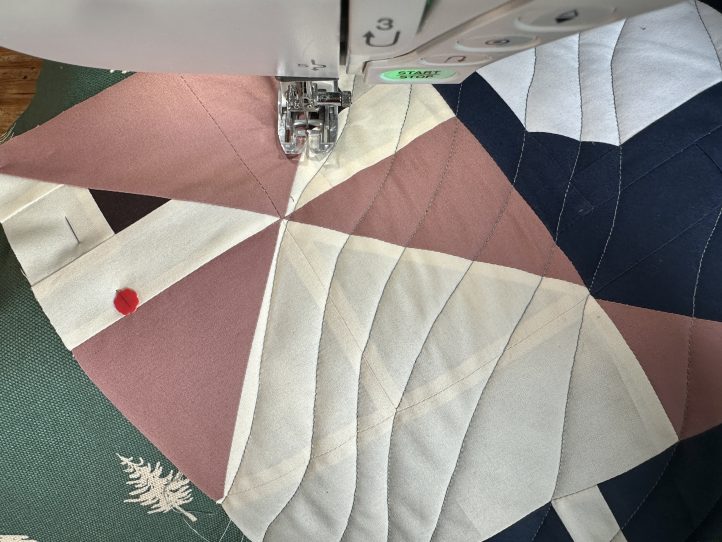
- Using a matching thread, finish the top and bottom edge of the patch with the straight binding, which covers the raw edges on the top and bottom of the owl patch. Lay the binding centered over the raw edge on the top and bottom and topstitch along the folded edges.
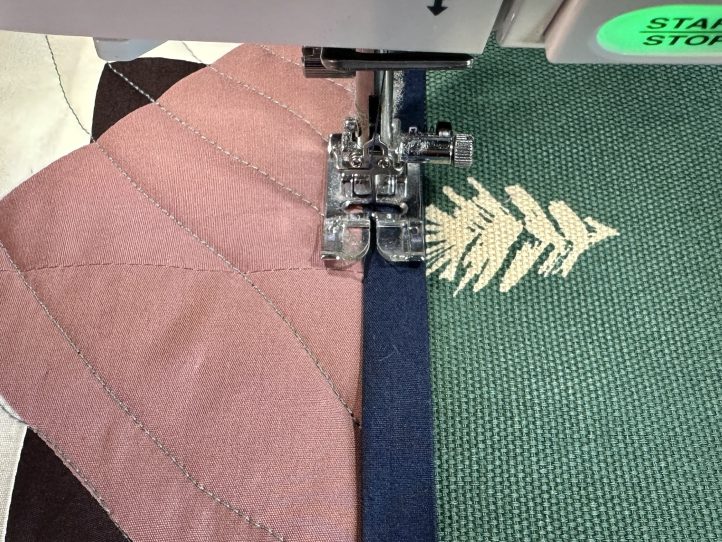
- TIP: The raw sides will be hidden by the handles in the next step.
Add the Handles:
- Use the double sided tape to hold the handles in place 3 1/2” from each outer edge. Measure up 21” on the webbing and make a mark.
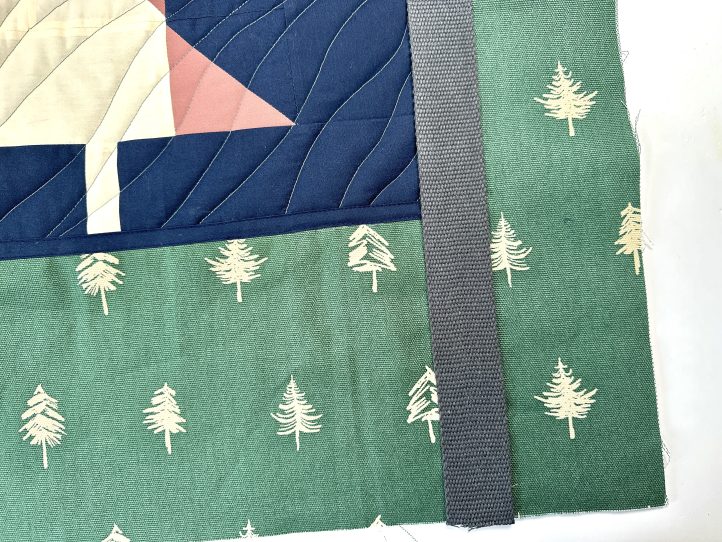
- TIP: On the front panel, the handle will straddle the raw side edges of the patch.
- Topstitch the handles on narrowly (1/8”) going up one side of the webbing, across where you made the mark and then back down the other side.
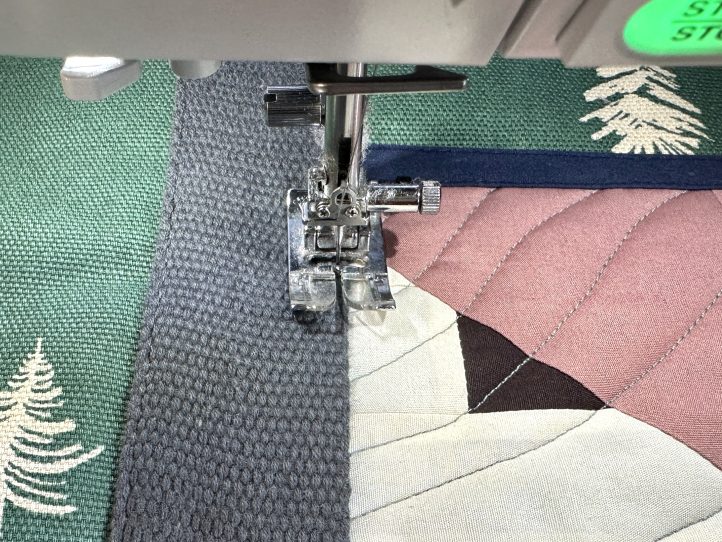
- Repeat on the other side of the handle and then on the handles on the other exterior panel.
- TIP: In the next step, increase the base seam to 1/2” to give the handle ends more strength. Do the same for the lining so that it fits the exterior.
- Pin or clip the center base seams, lining the handles up perfectly and sew the seam. Press the base seam open.
- Sew the center base seam of the lining in the same way.
Finish the Bag:
- Lay the bag exterior onto a flat surface and fold the handles out of the way of the outer edge all around. With the right sides together, pin or clip the lining to the exterior. Sew all around and leave a 6” turning gap somewhere in a long seam.
- Clip across the corners to reduce bulk and turn the bag out through the turning gap. Press so that the edges are perfect and carefully press the turning gap closed so that it is as invisible as possible.
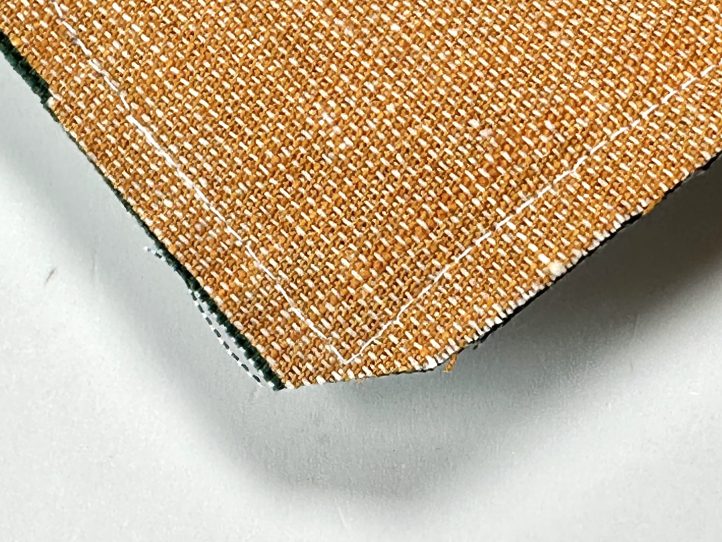
- Topstitch twice around the outer edge of the bag. The first pass at 1/8” and the second, 1/4” under that.
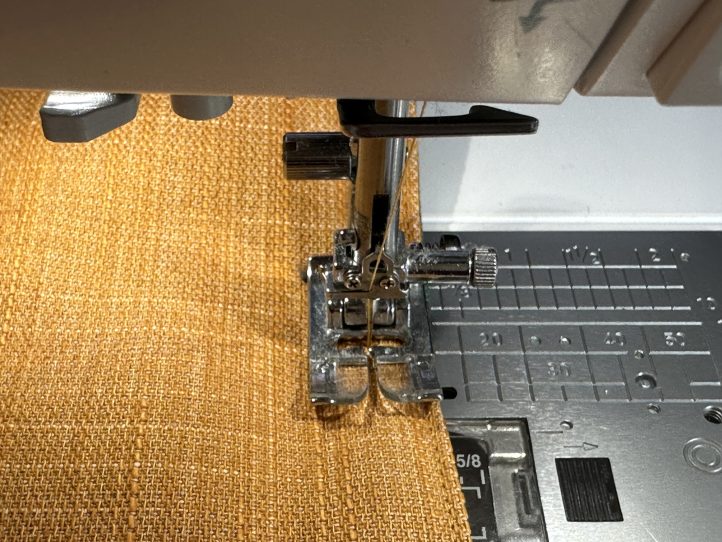
- TIP: This will close the turning gap as you topstitch past.


This is a perfect gift for our granddaughter in Utah…