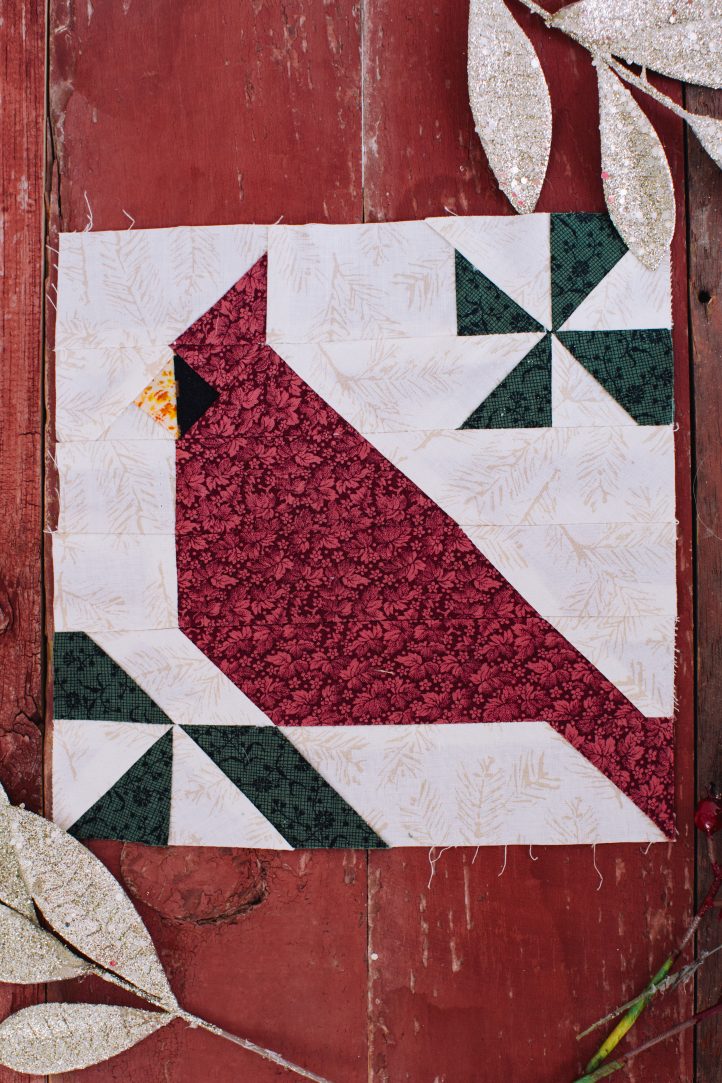
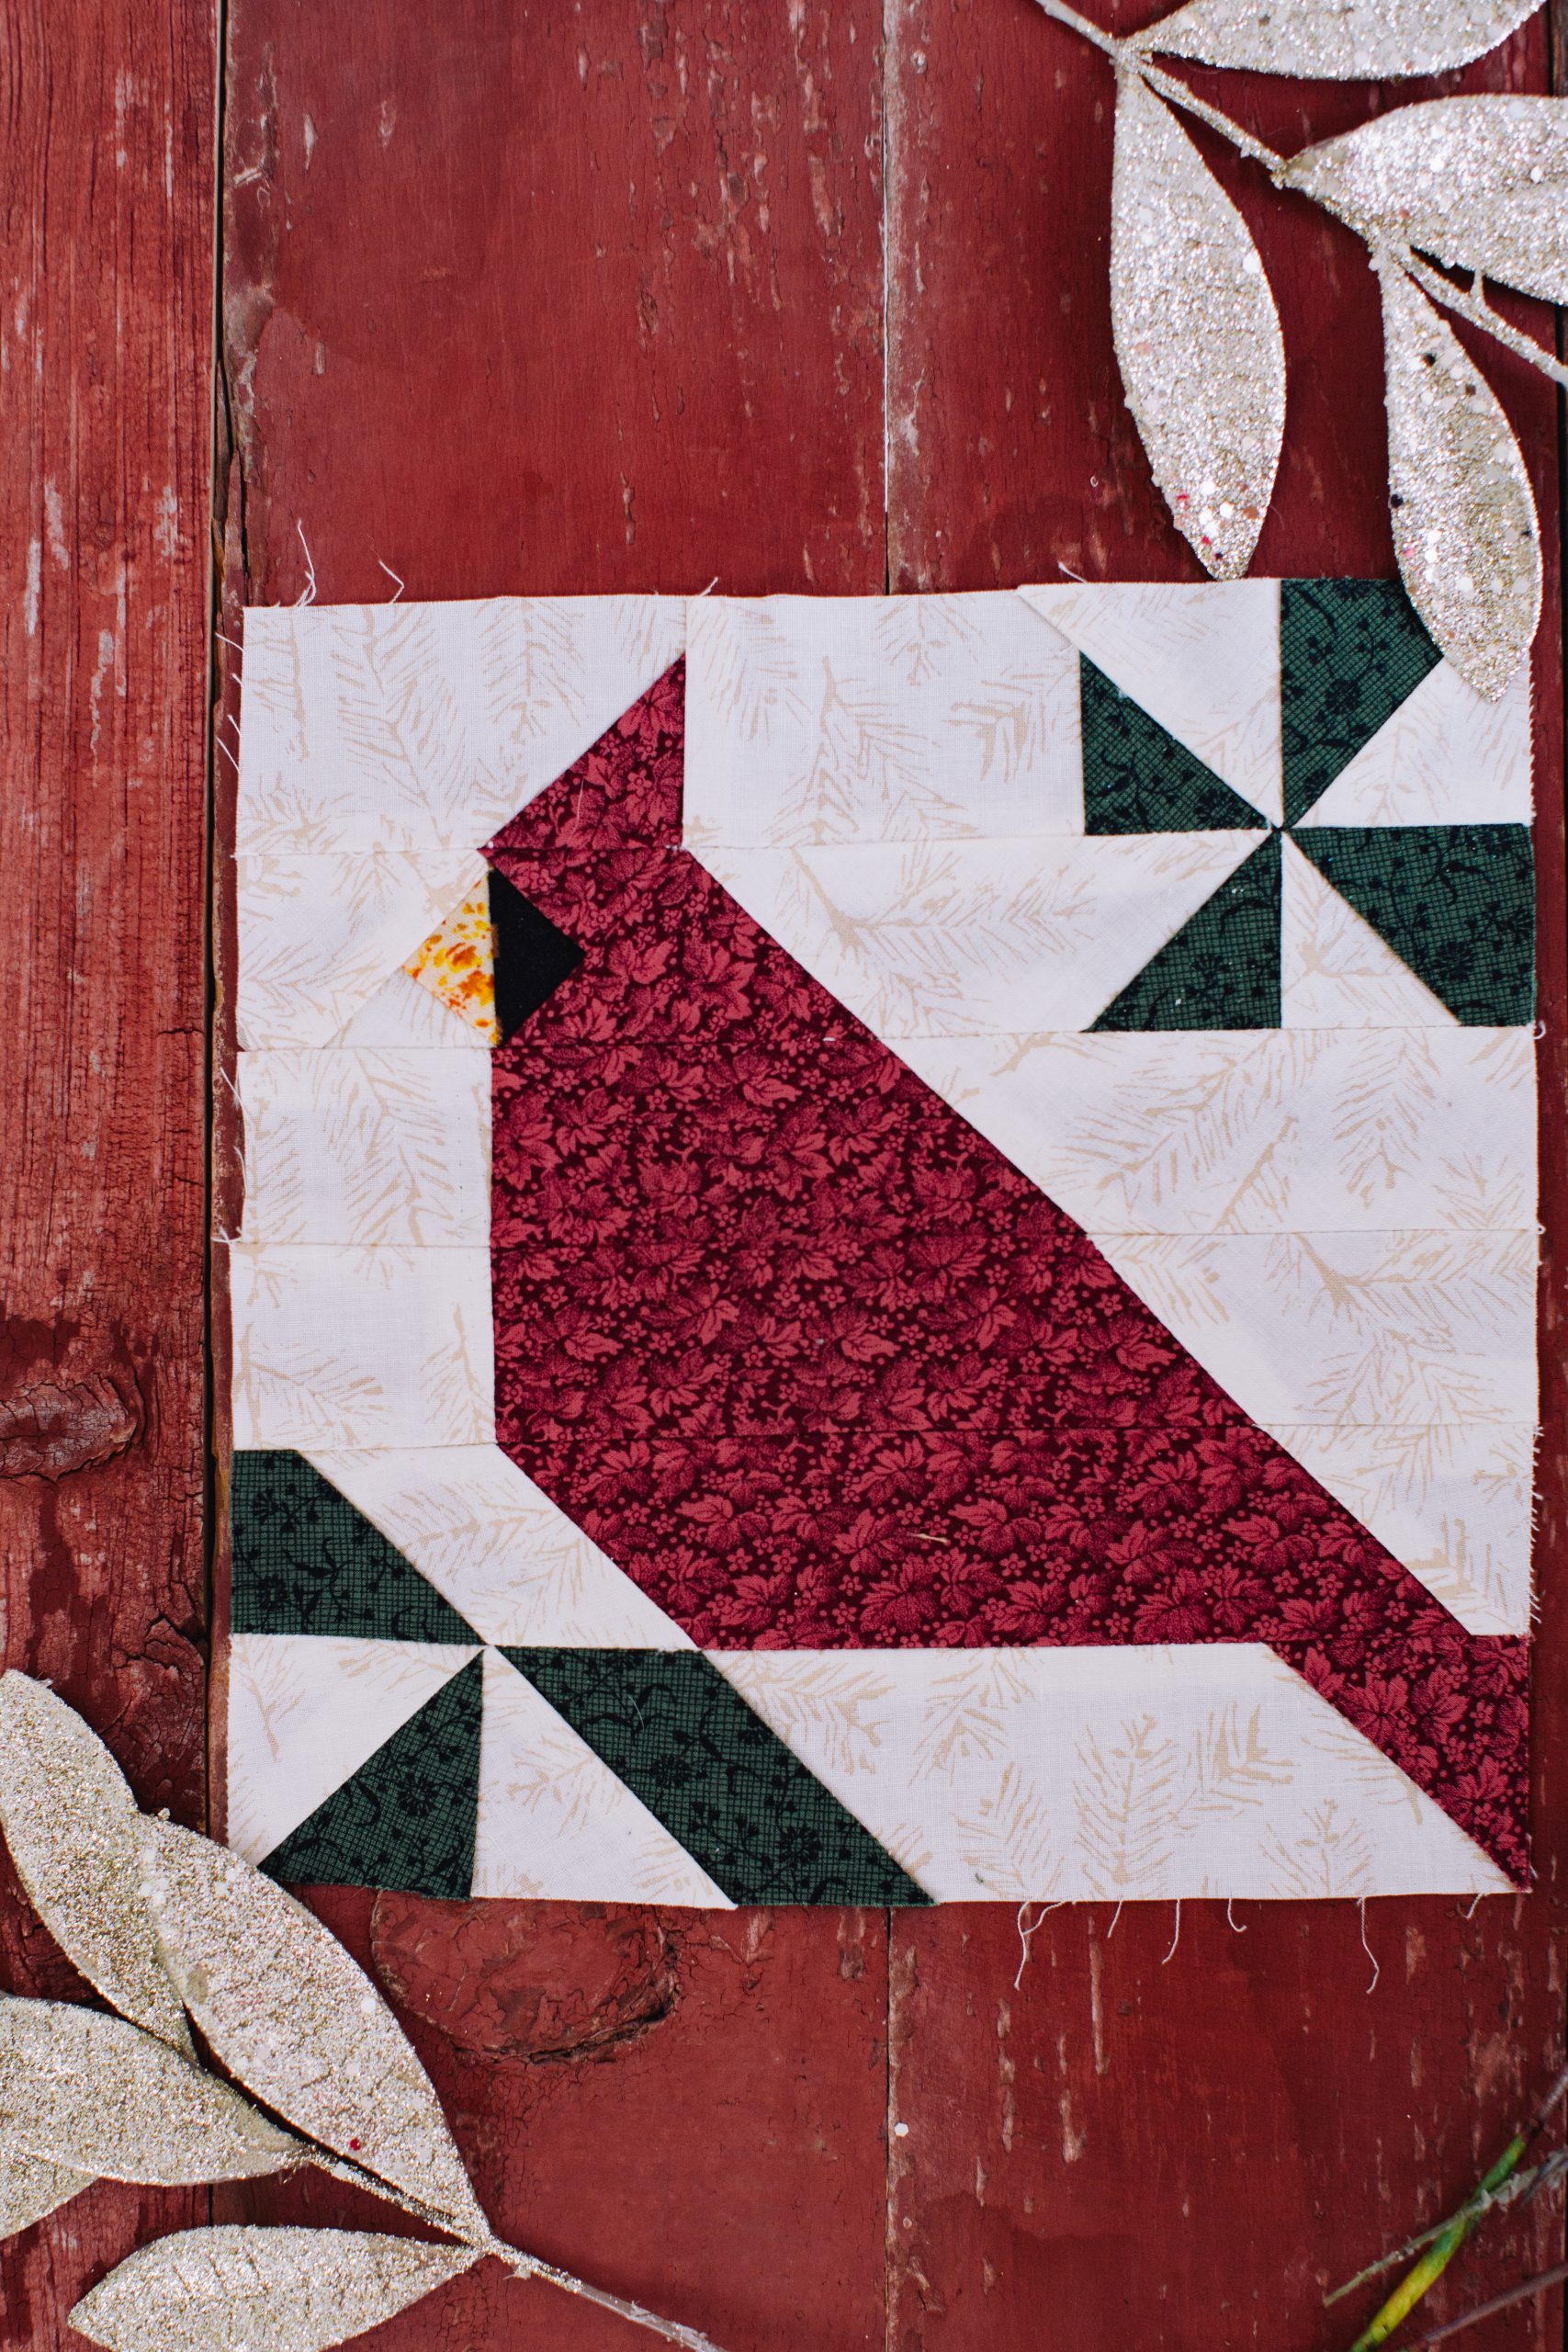
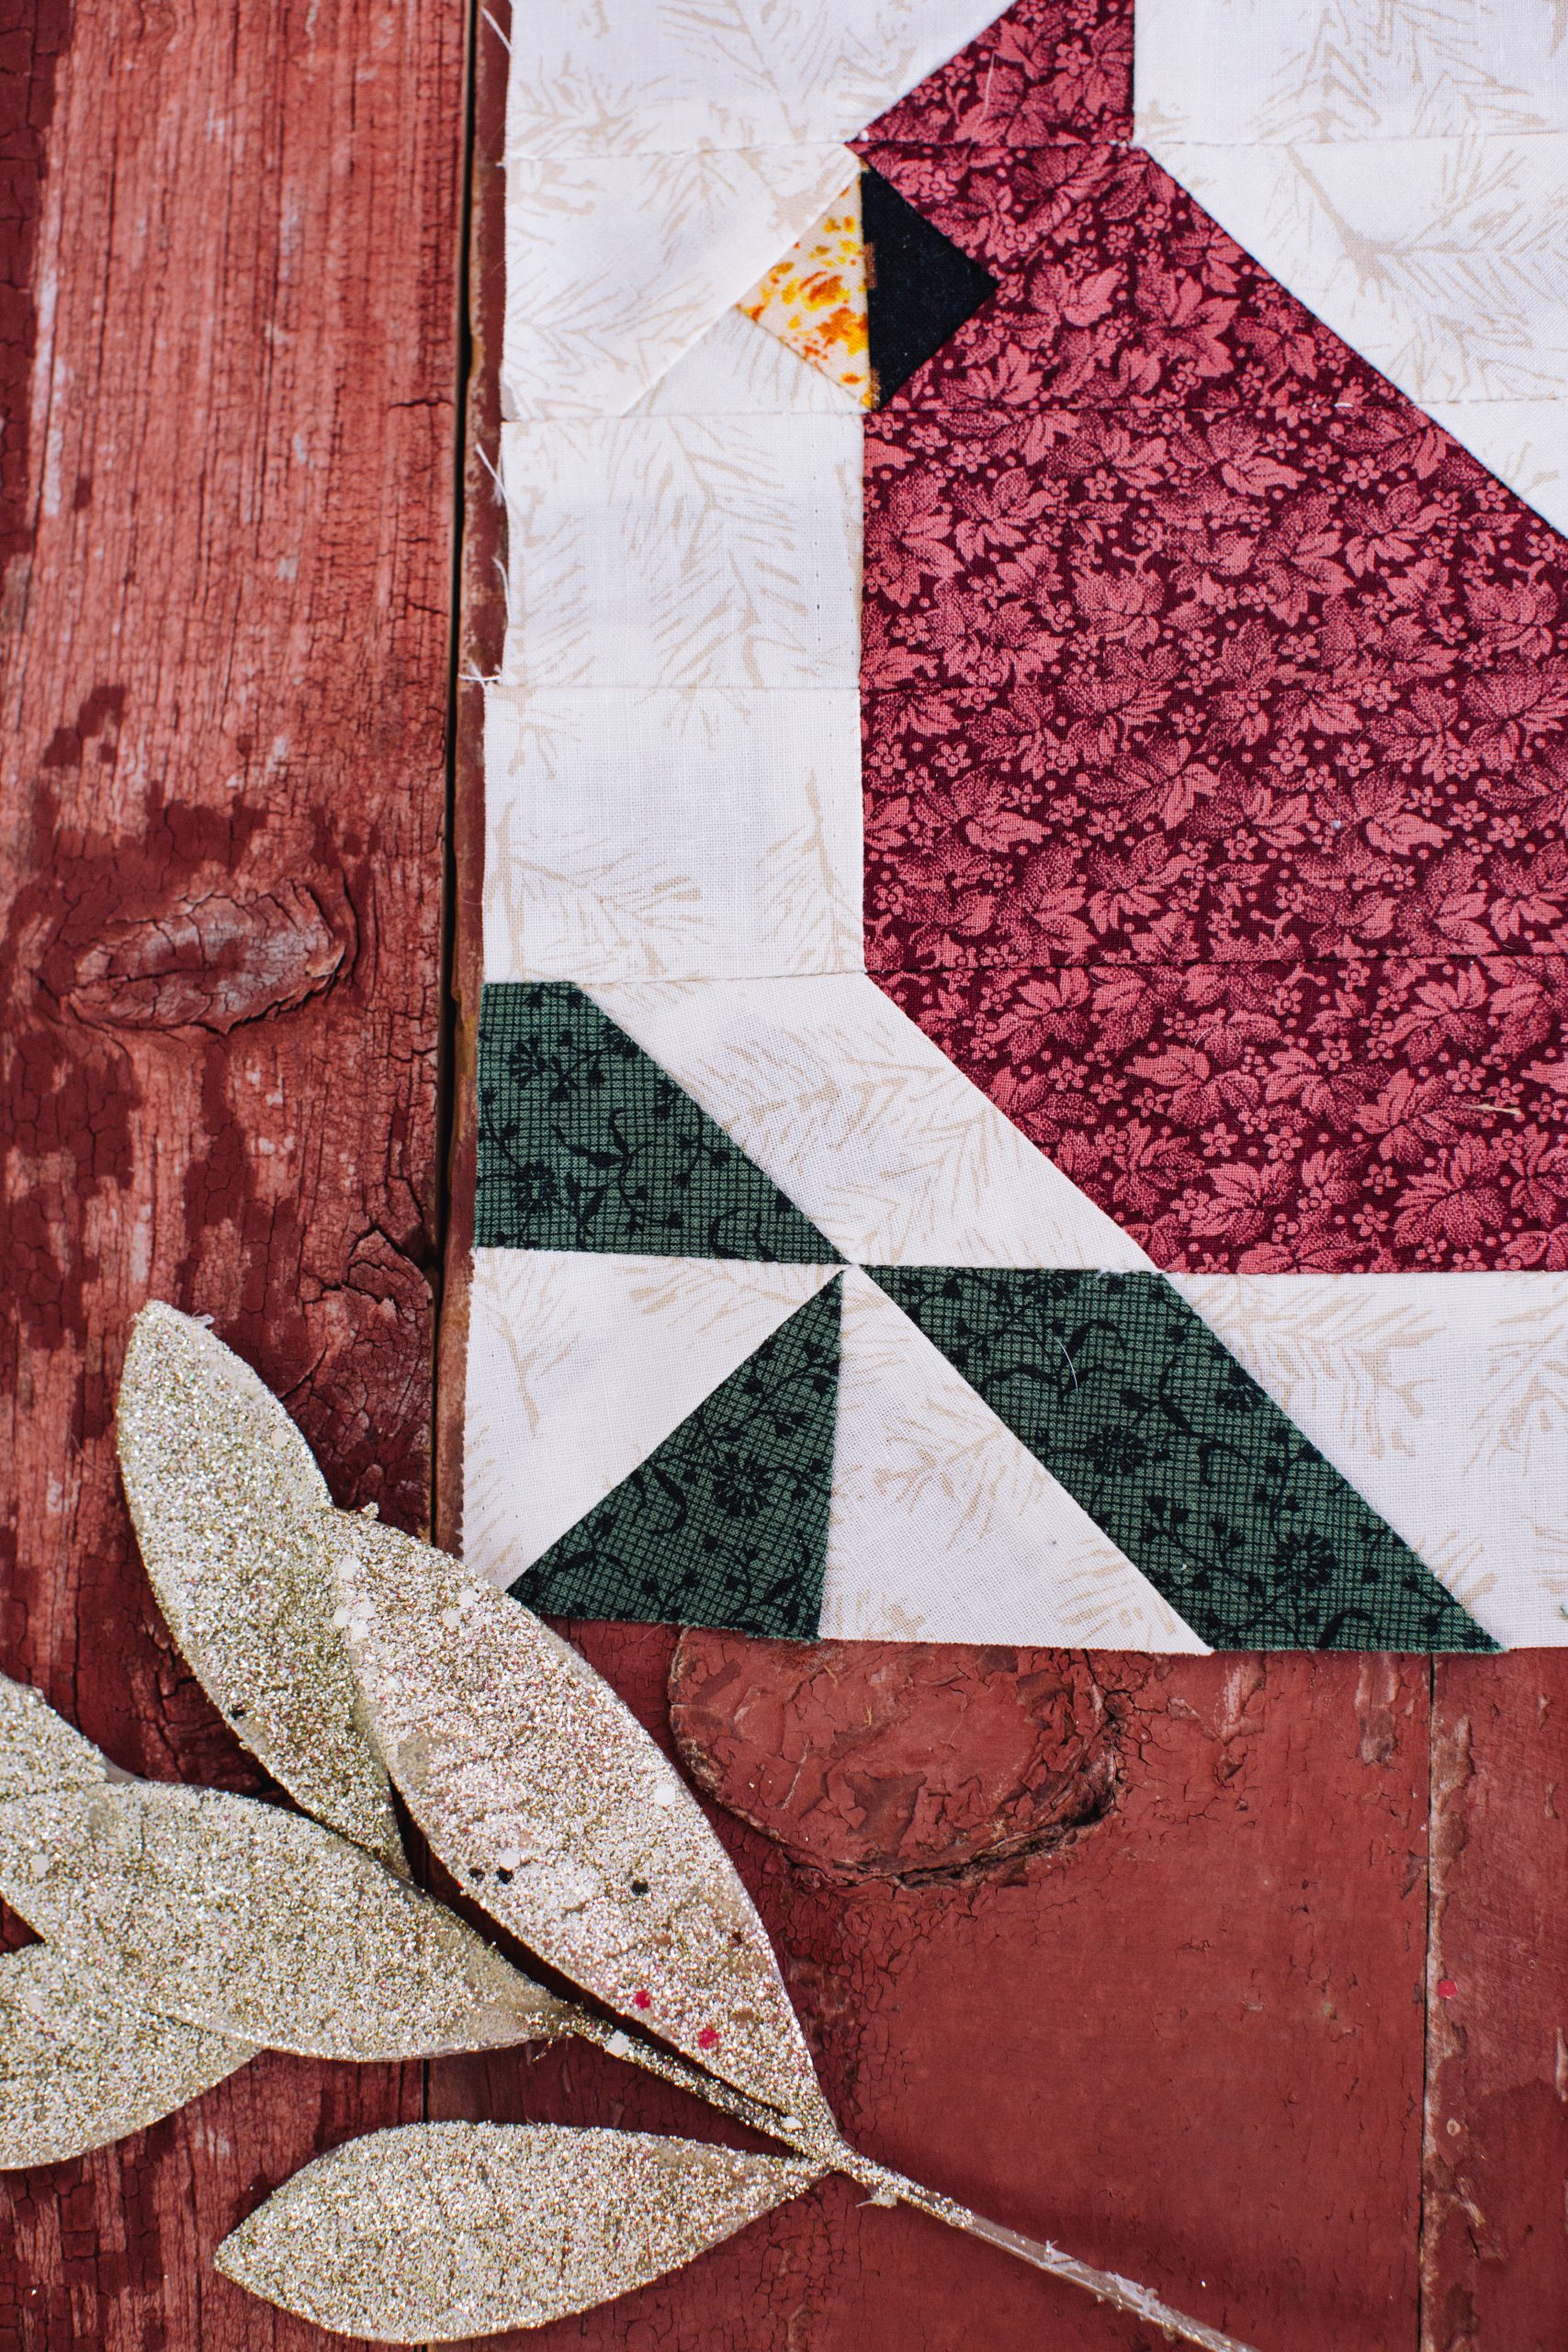
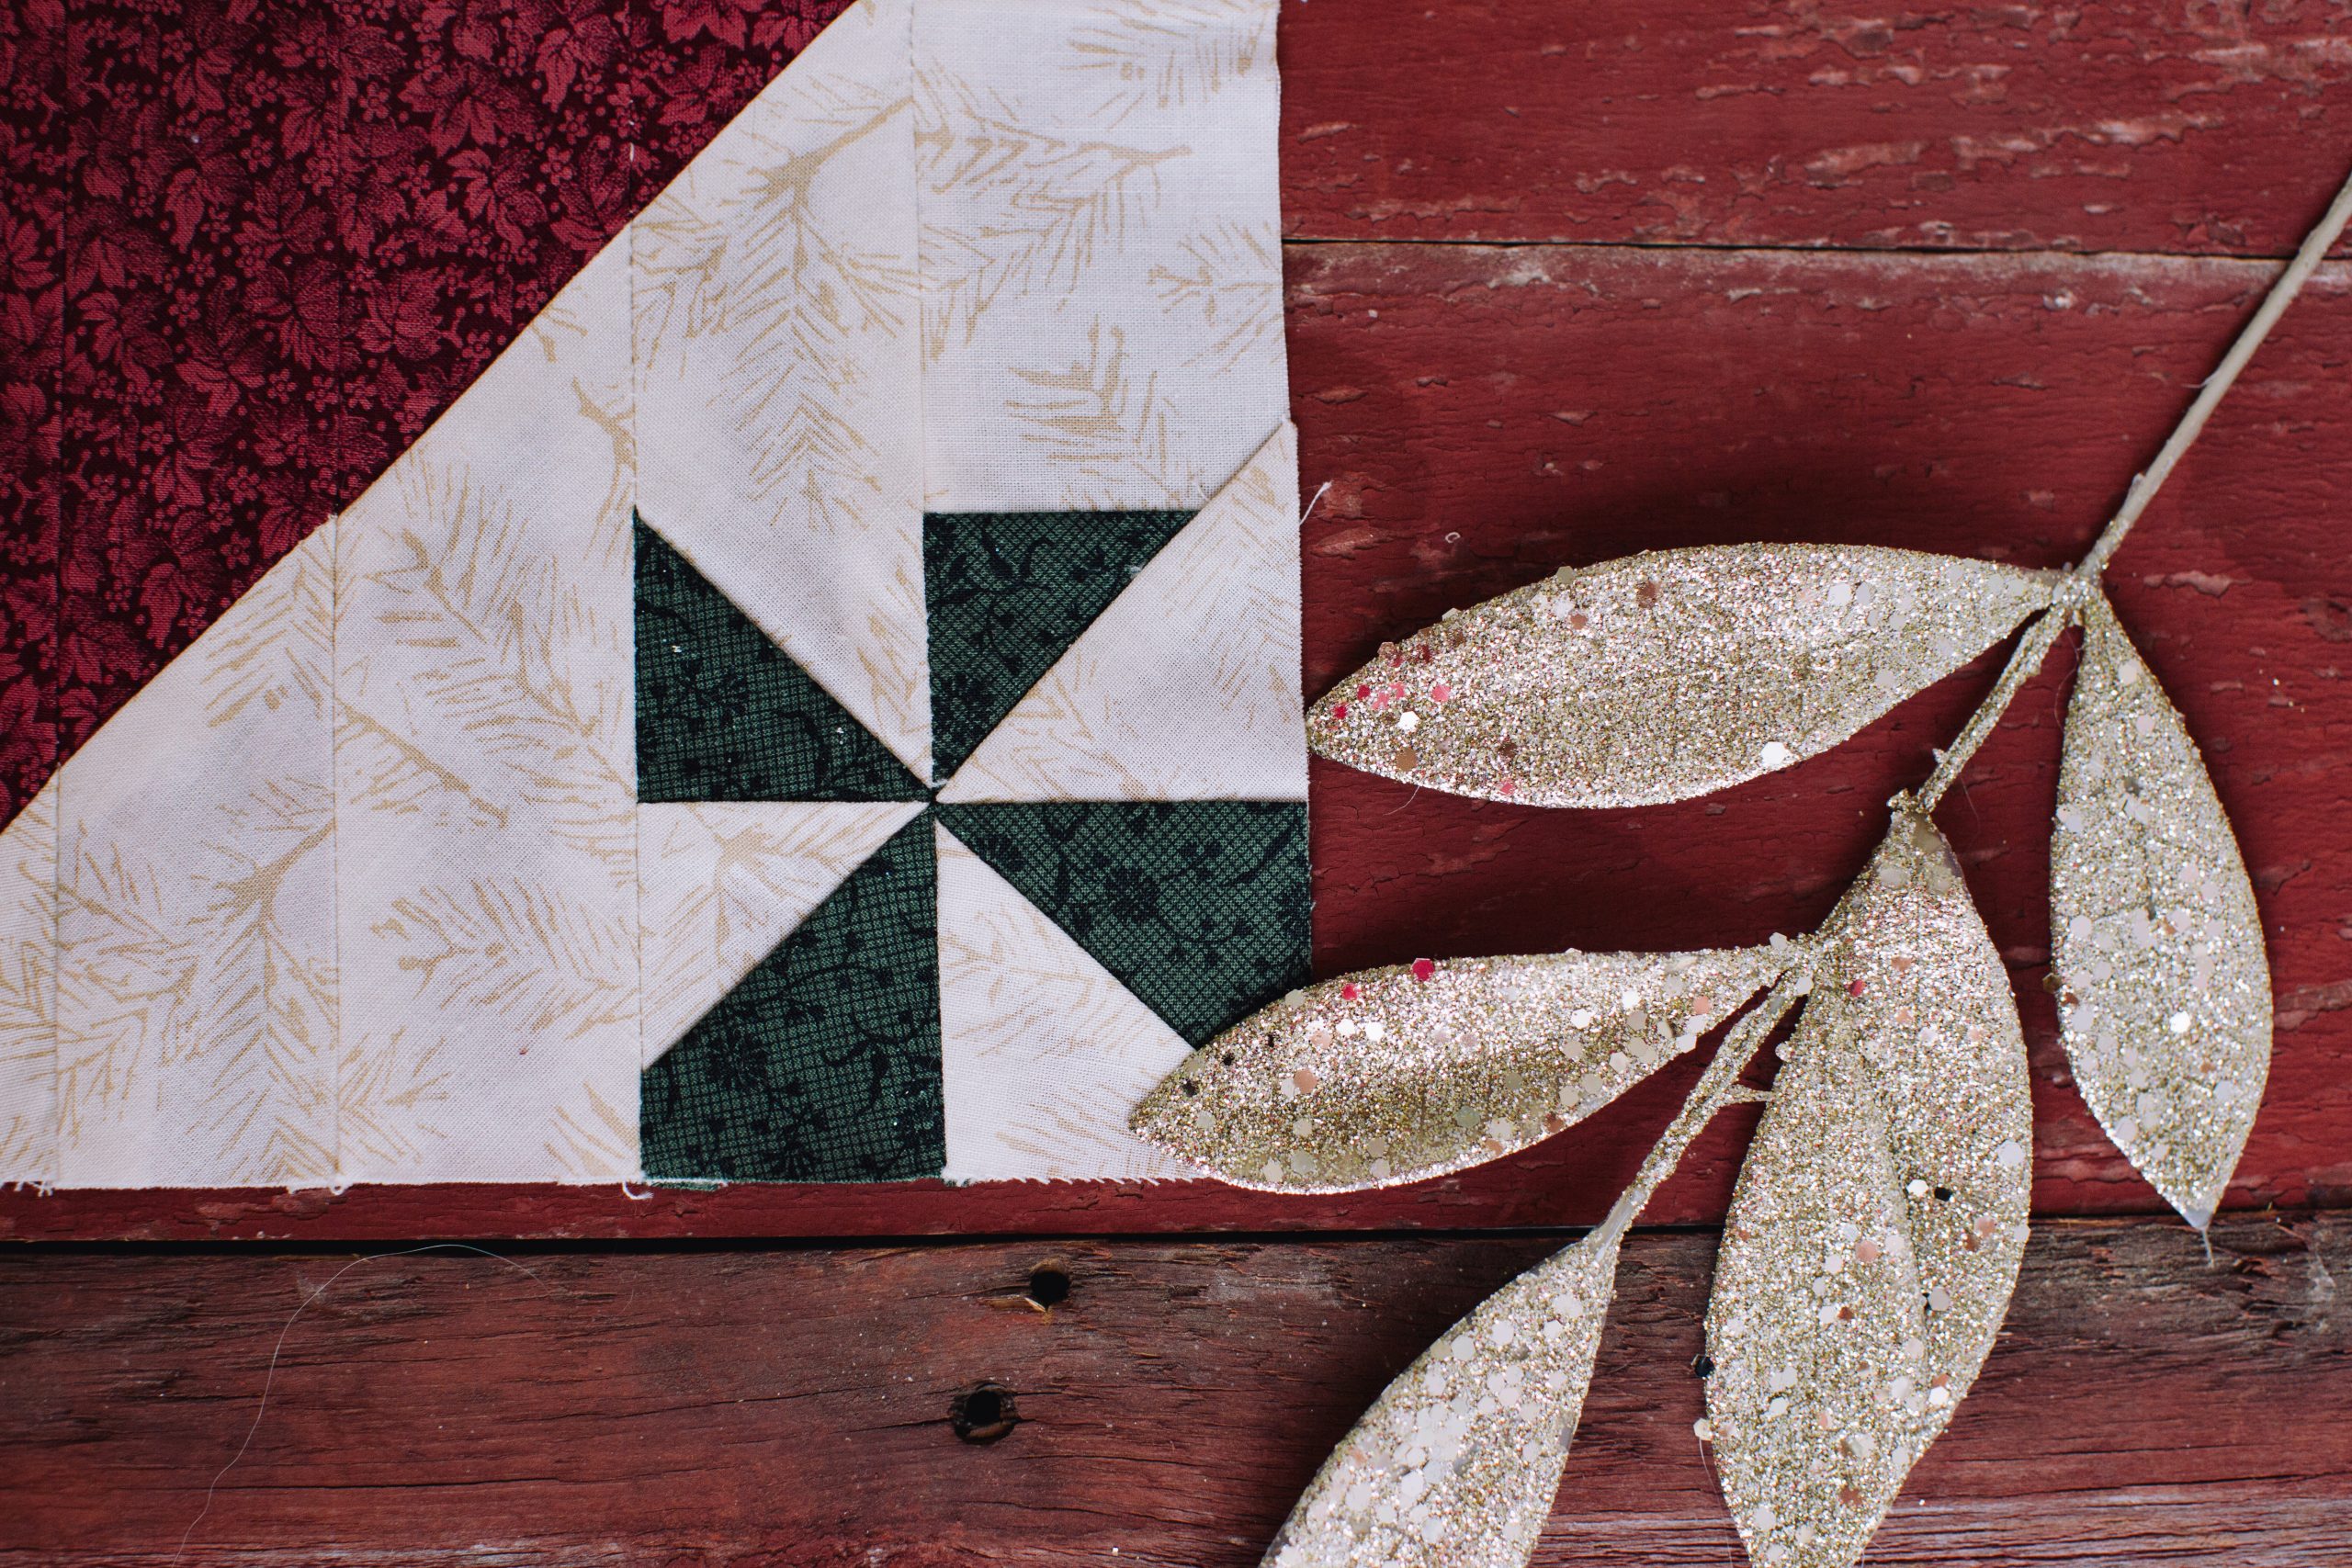
Did you know that cardinals are symbols of good luck? If you love the regal beauty of the winter cardinal, then you’ll love this detailed quilt block. A fun way to use up leftover fabric, this paper piecing pattern features a stunning crimson cardinal with evergreen accents. This paper pieced quilt block would look beautiful displayed as a winter wall hanging or added to the front of a quilted throw pillow.
Finished Size: 12″ x 12″
Materials:
- Cotton print fabric in the colors of choice:
- Background fabric 1/8 yard
- Red 1/8 yard
- Green 12″ x 12″
- Yellow 2″ x 2″
- Black 2″ x 2″
- Thread
- PDF Pattern – This is located at the bottom of this page. See printing instructions below.
Tools:
- Sewing machine
- Ruler
- Pencil
- Pins
- Iron
- Rotary cutter
- Cutting mat
- Scissors
- Washing machine
- Dryer
- Printer
PRINTING INSTRUCTIONS:
To download the PDF pattern, click on the download button at the bottom of the page. We recommend opening your download using Adobe Acrobat.
Instructions:
- Print out and cut your PDF pattern sections apart.
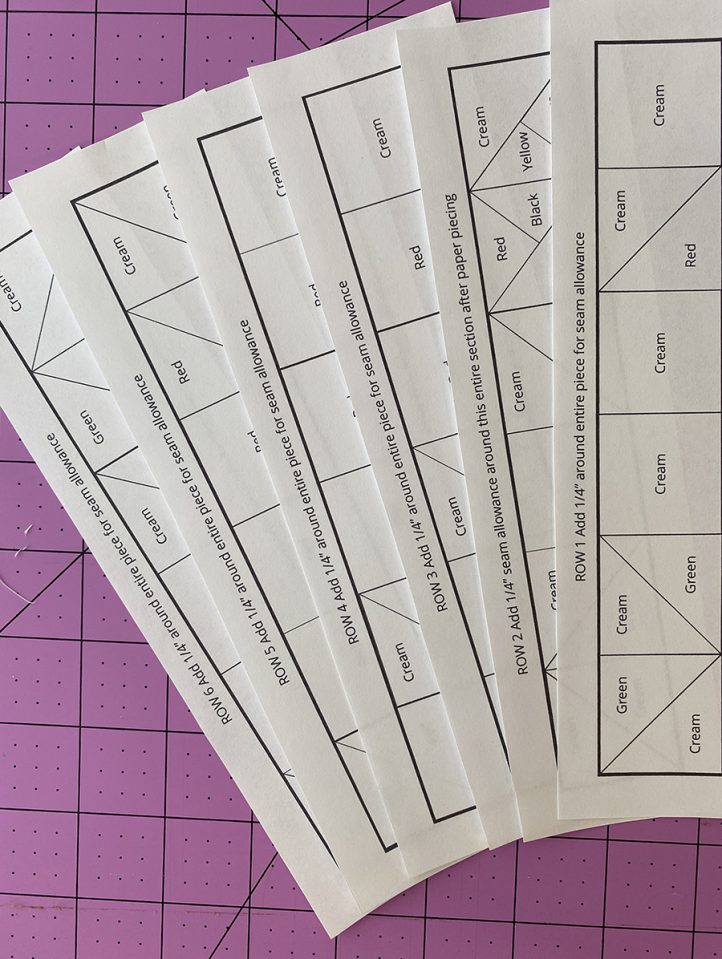
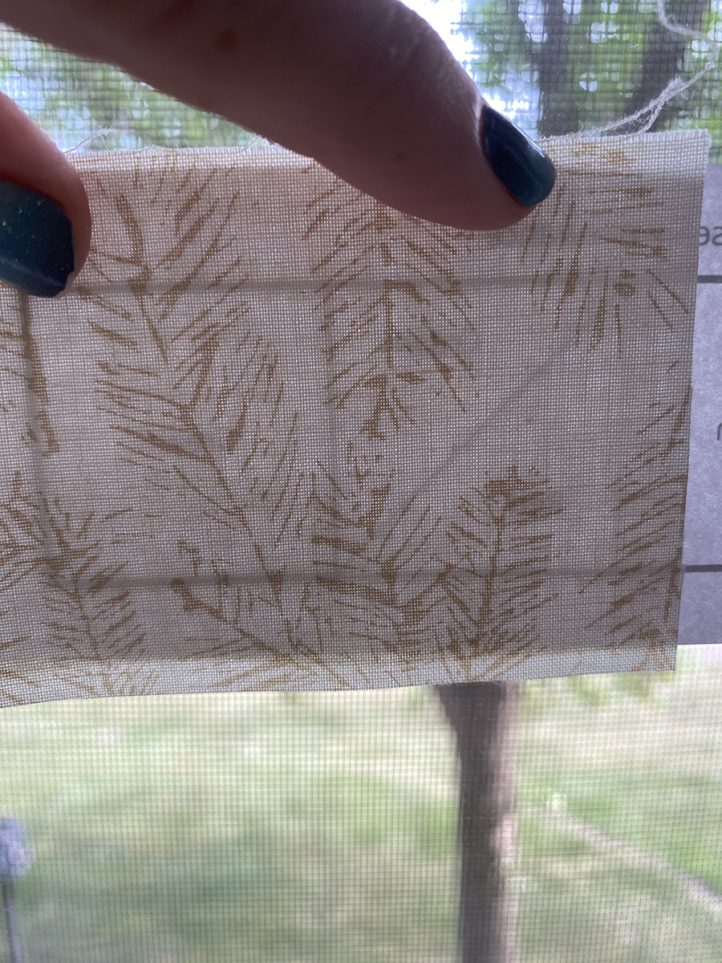
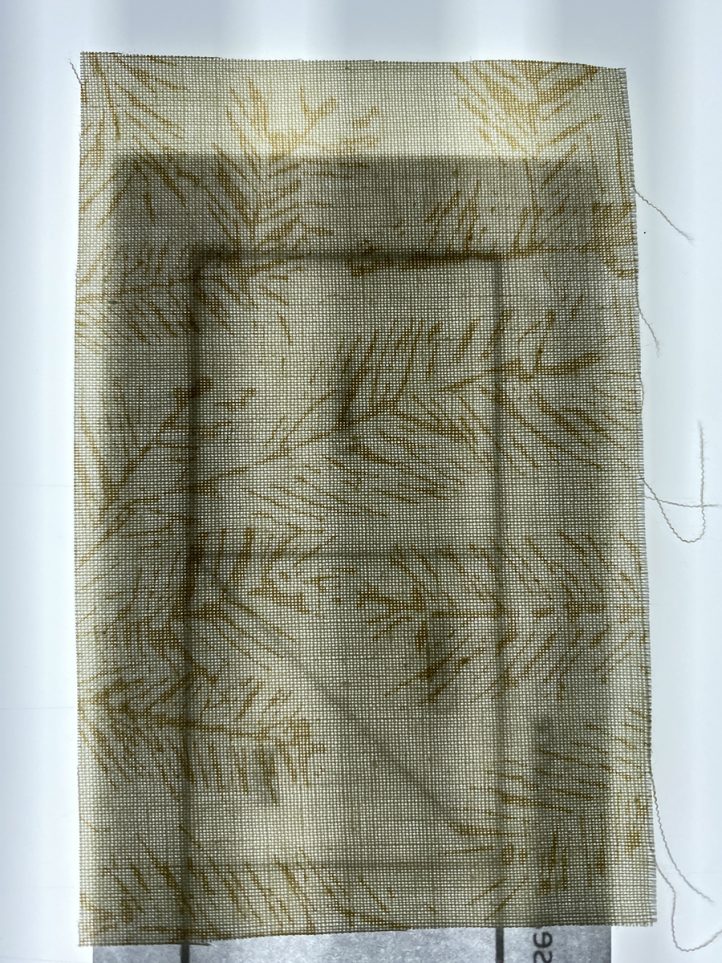
- Lay Cream fabric over end of Row 1 to cover the sections marked Cream and place Red fabric on top, being sure to check the pattern (at the window or with a light box – examples of these can be viewed at end of instructions) to be sure you have the seam line covered and have enough fabric to turn over and cover the Red section. Pin in place.
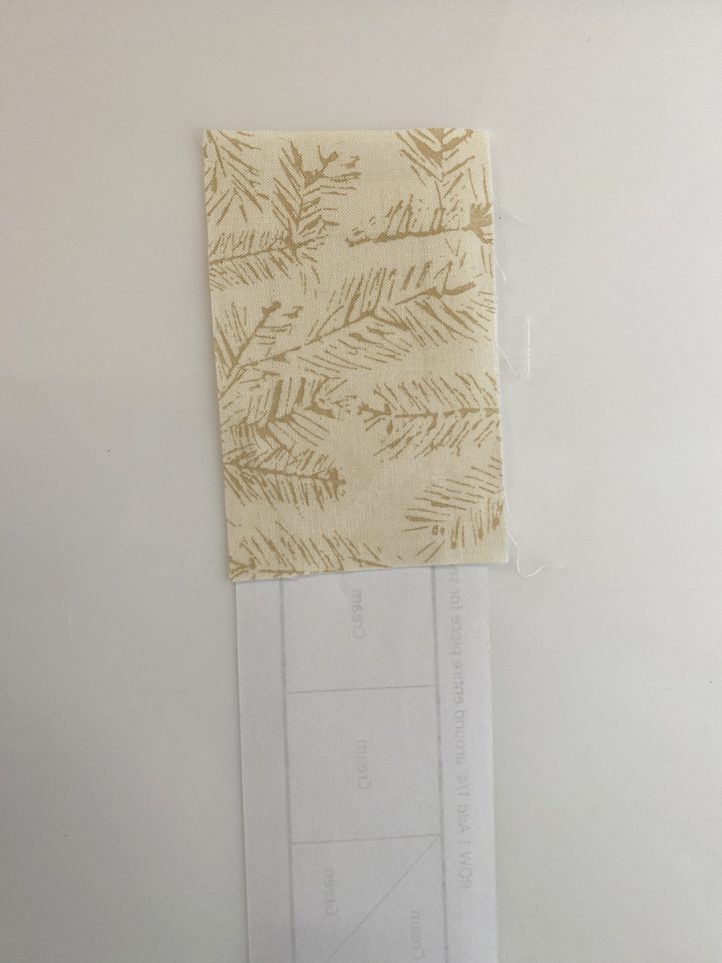
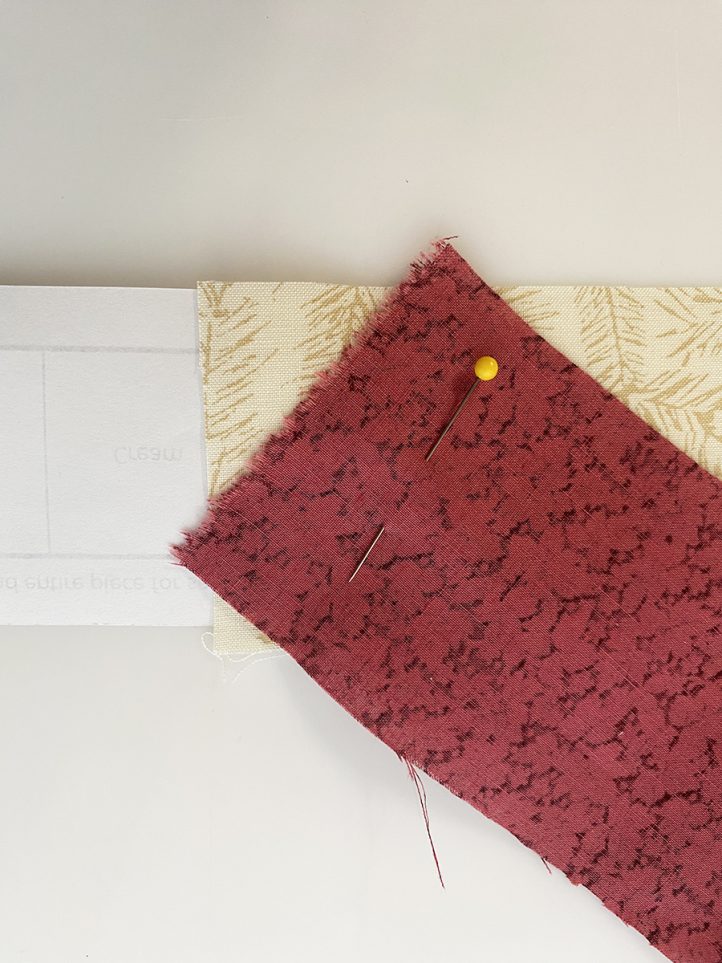
- Stitch on the printed side of the pattern over the line between the Cream and Red.
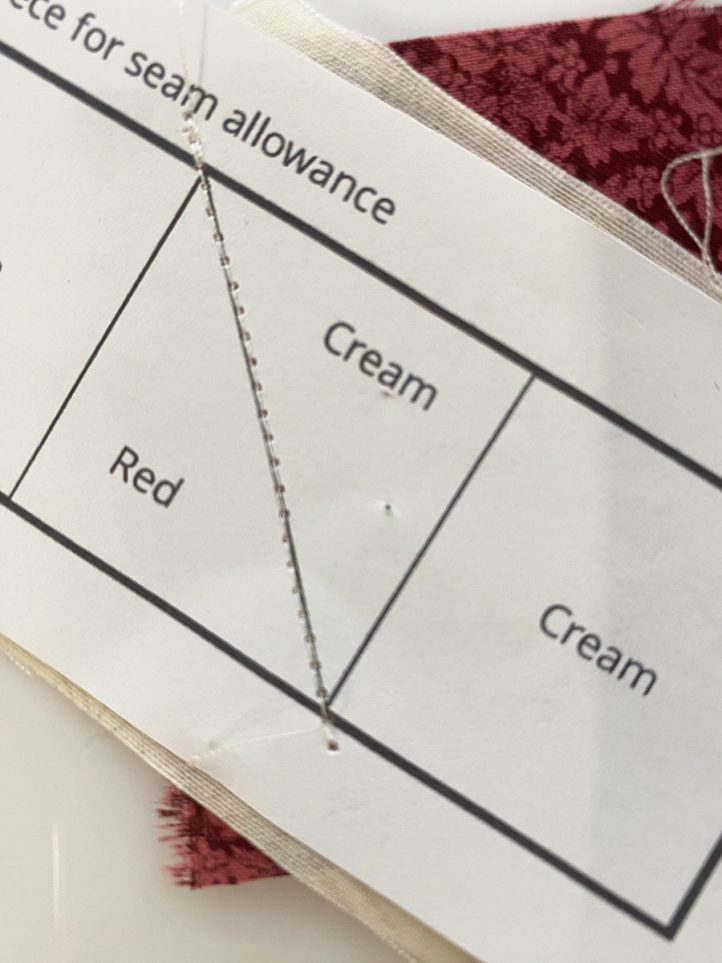
- Fold the pattern onto itself at the line you just stitched. Use a ruler to make a 1/4” seam allowance from the stitched line and trim away excess.
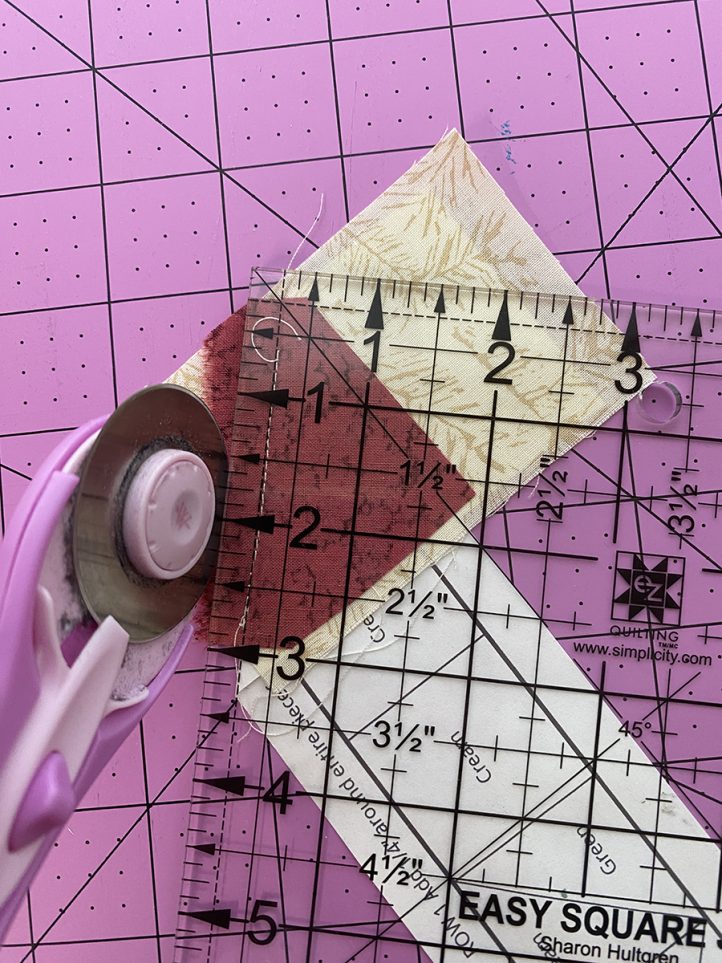
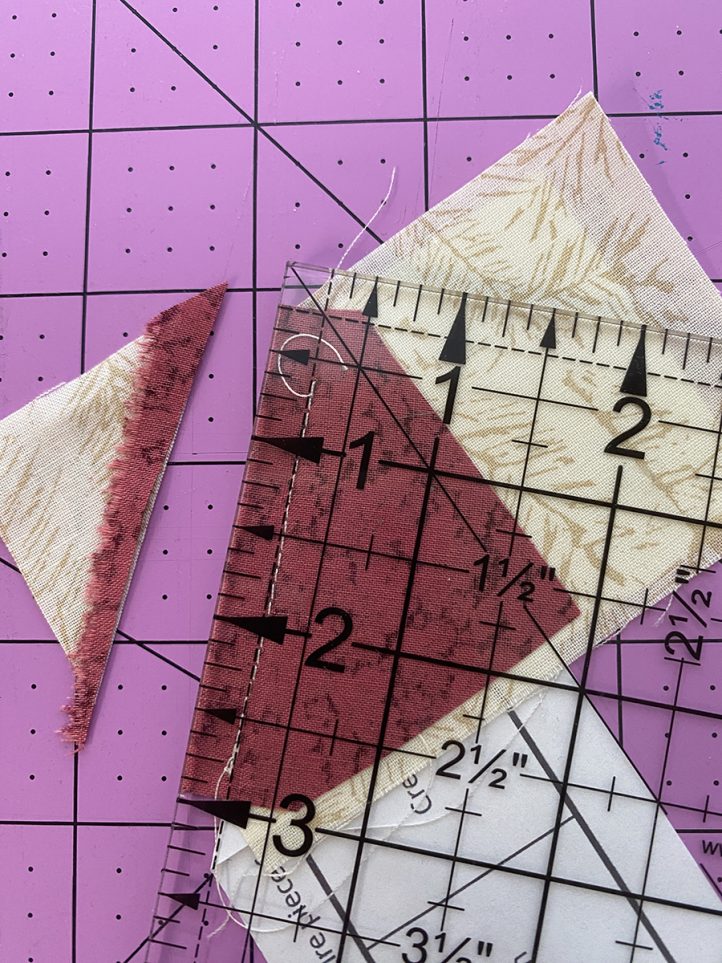
- Press sections.
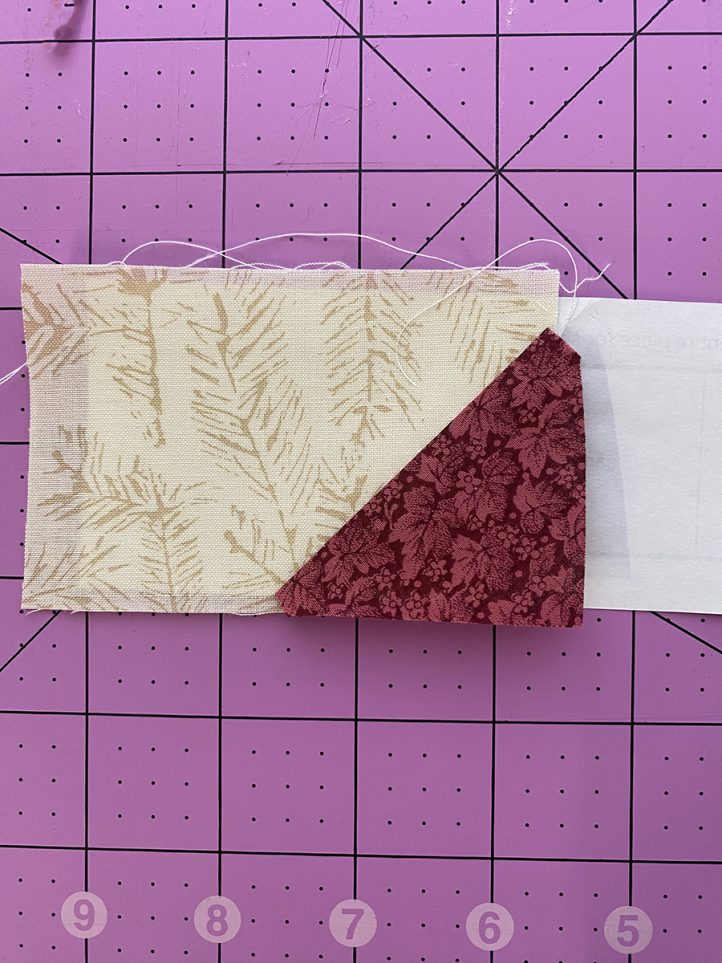
- Place Cream fabric over the sections that have been sewn making sure you have enough to cover pattern sections.
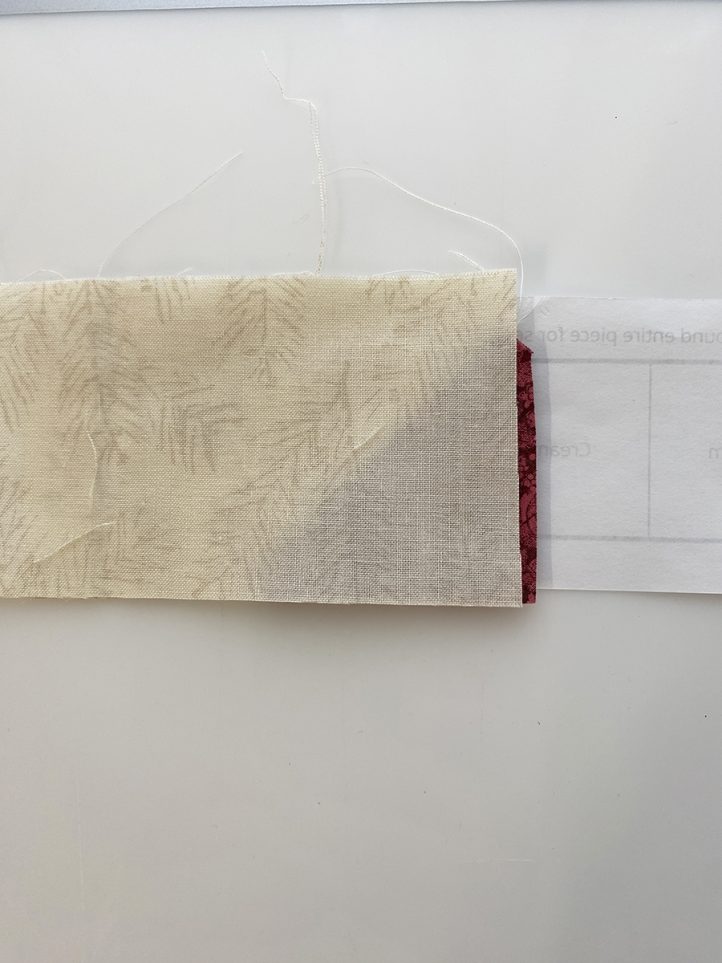
- Stitch on the printed side of the pattern over the line between the Red and Cream.
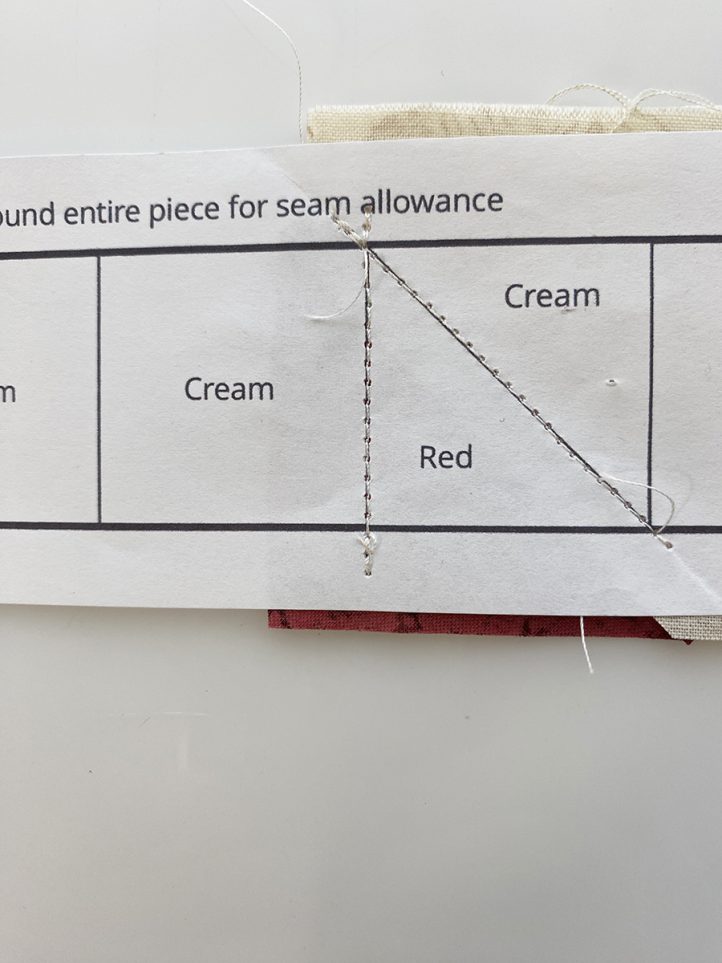
- Fold the pattern onto itself at the line you just stitched. Use a ruler to make a 1/4” seam allowance from the stitched line and trim away excess.
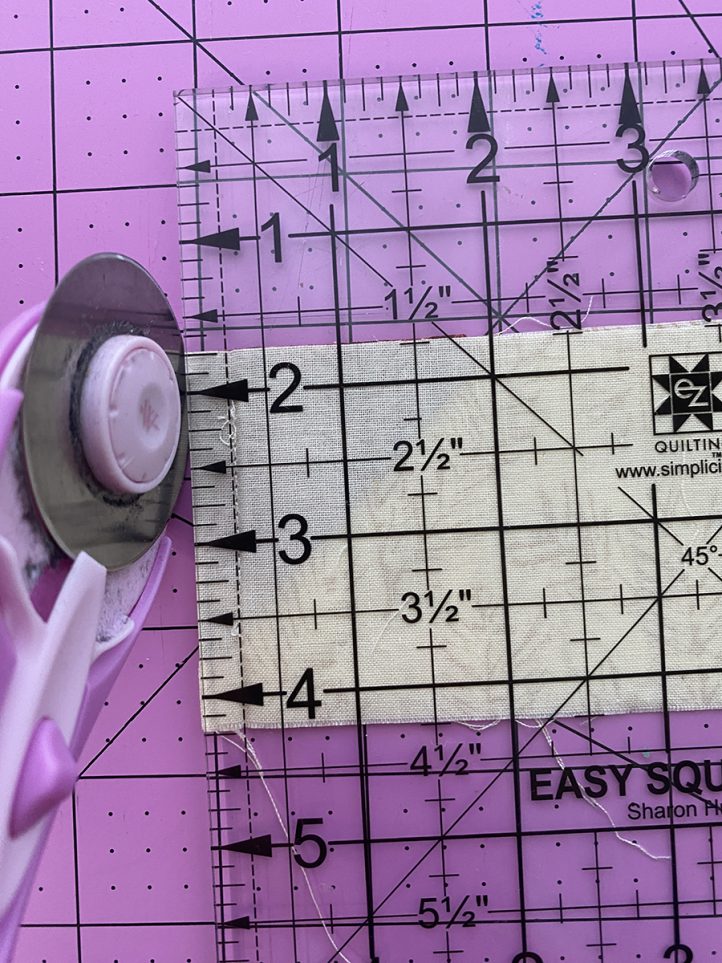
- Press sections.
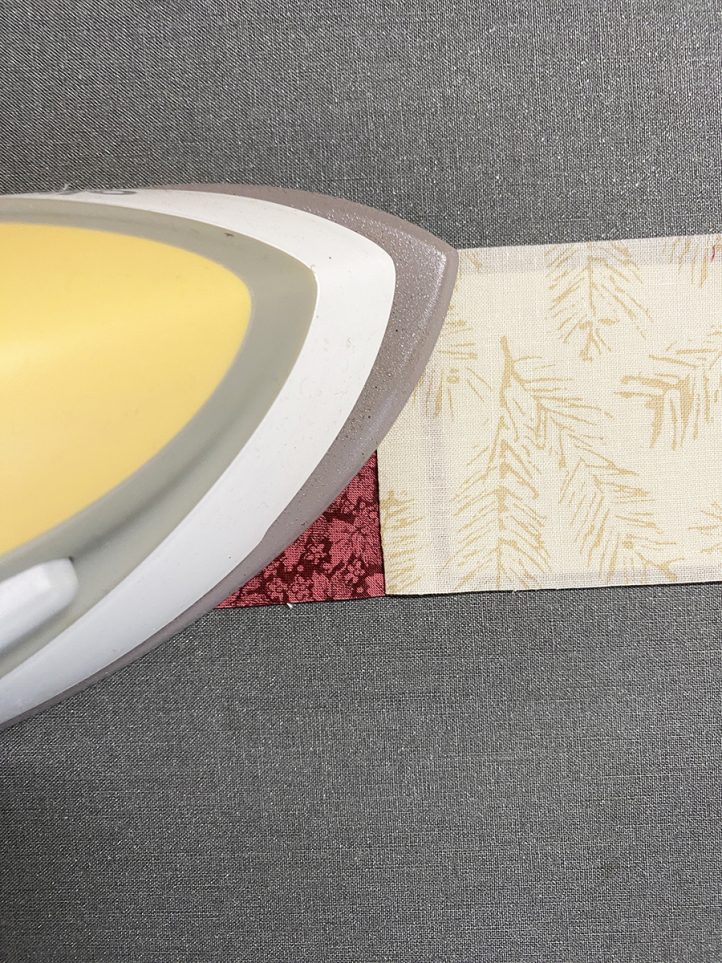
- Place Green fabric over the sections that have been sewn making sure you have enough to cover pattern sections.
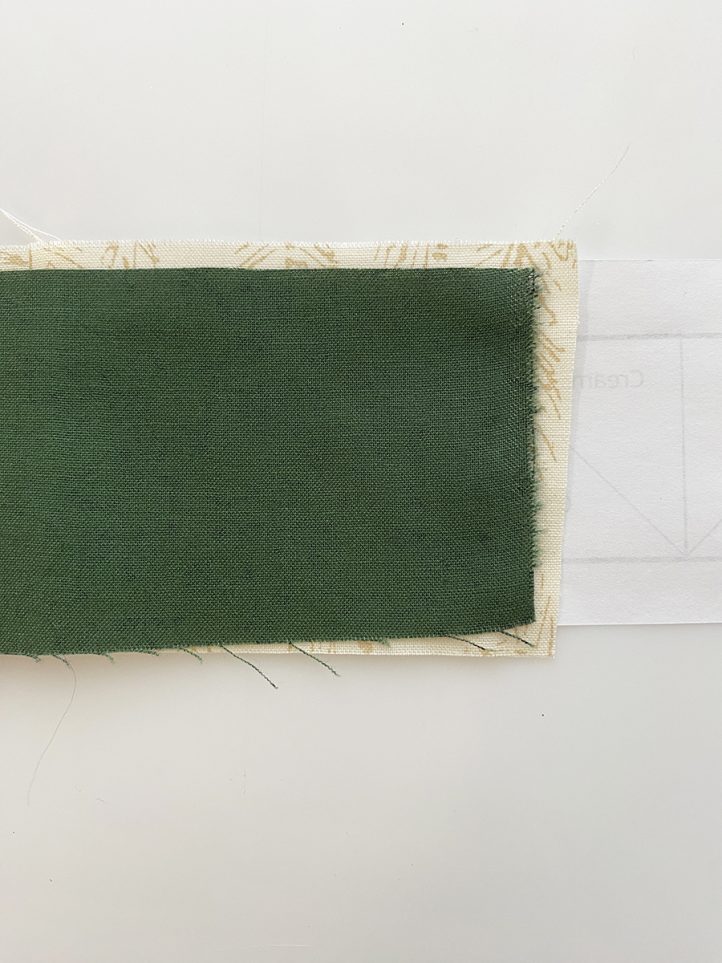
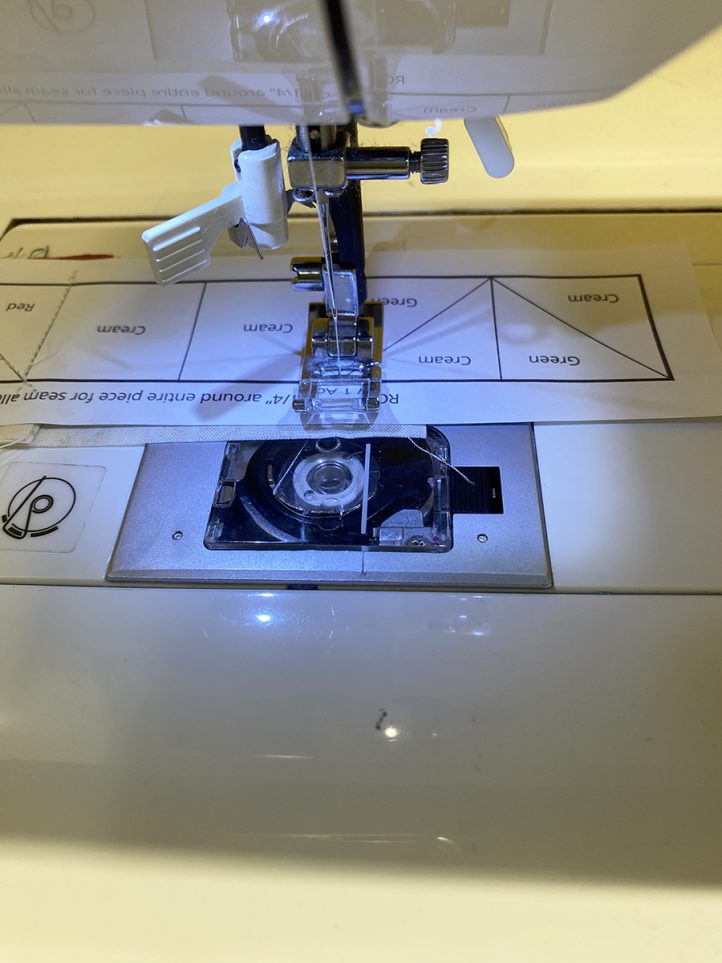
- Stitch on the printed side of the pattern over the line between the Green and Cream.
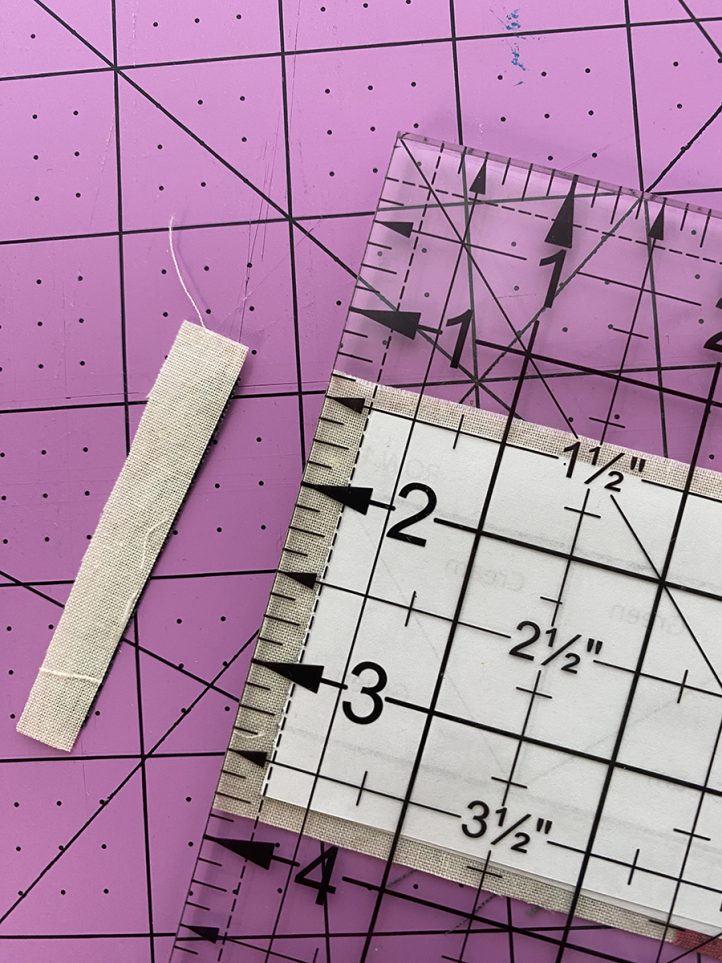
- Fold the pattern onto itself at the line you just stitched. Use a ruler to make a 1/4” seam allowance from the stitched line and trim away excess.
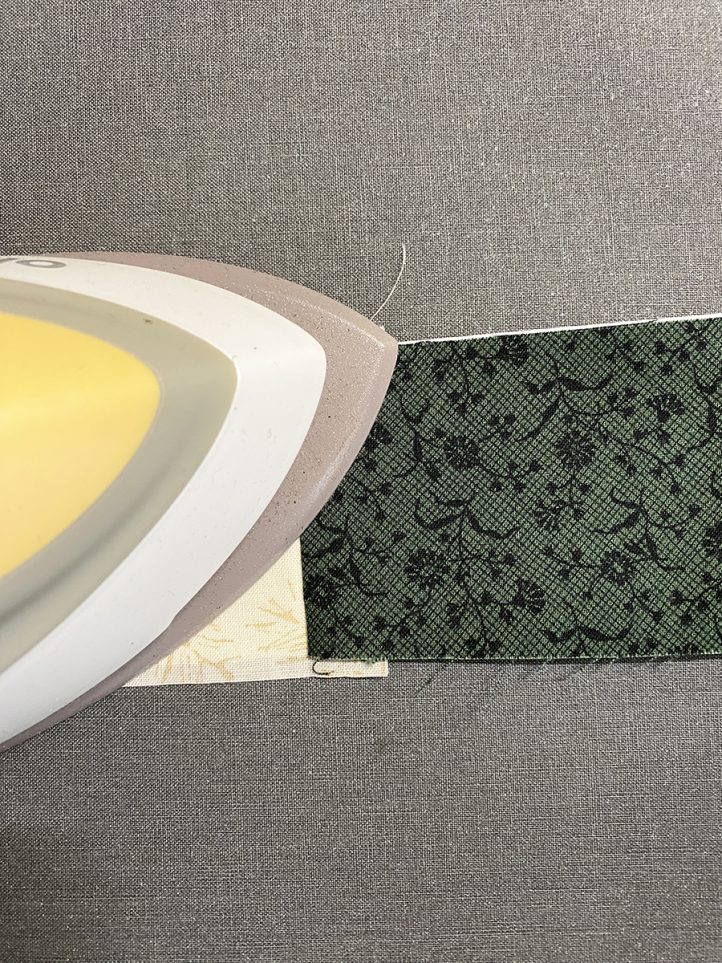
- Press sections.
- Place Cream fabric over the sections that have been sewn making sure you have enough to cover pattern sections.
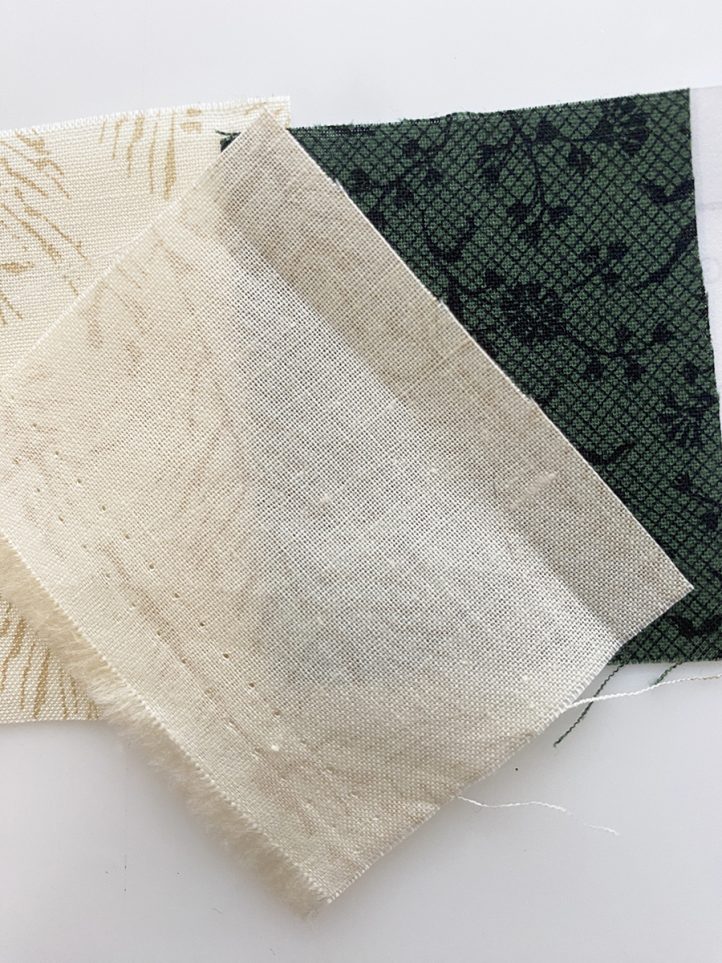
- Stitch on the printed side of the pattern over the line between the Cream and Green.
- Fold the pattern onto itself at the line you just stitched. Use a ruler to make a 1/4” seam allowance from the stitched line and trim away excess. Press.
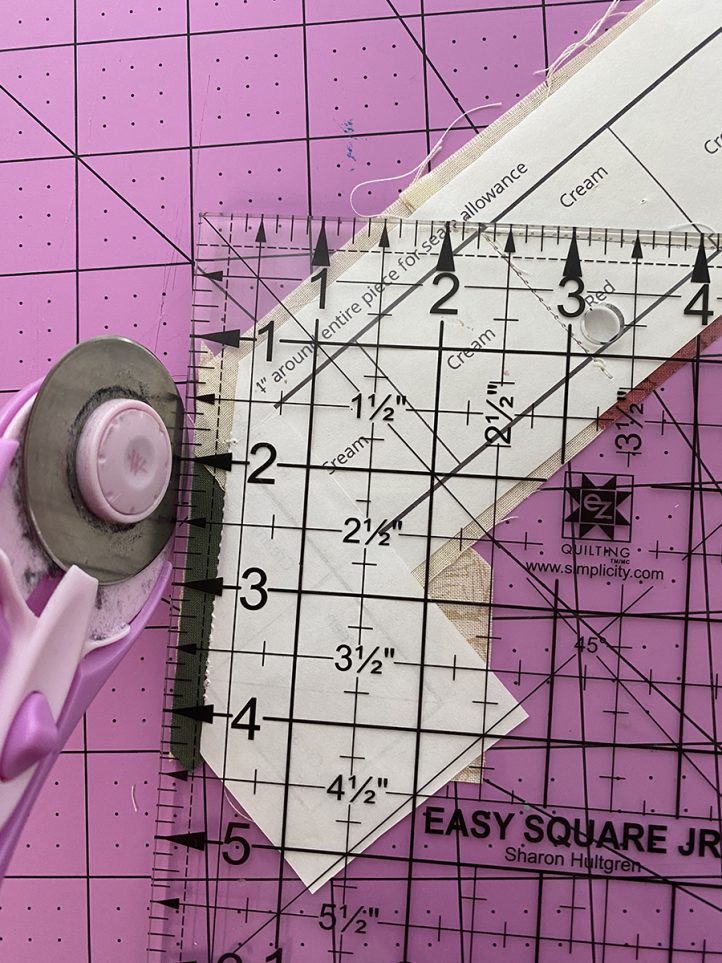
- Finish the last two sections of Row One following Steps 10 – 16.
- Row One is complete. Trim the excess fabric and pattern leaving a 1/4” – 3/8” all the way around for the seam allowance.
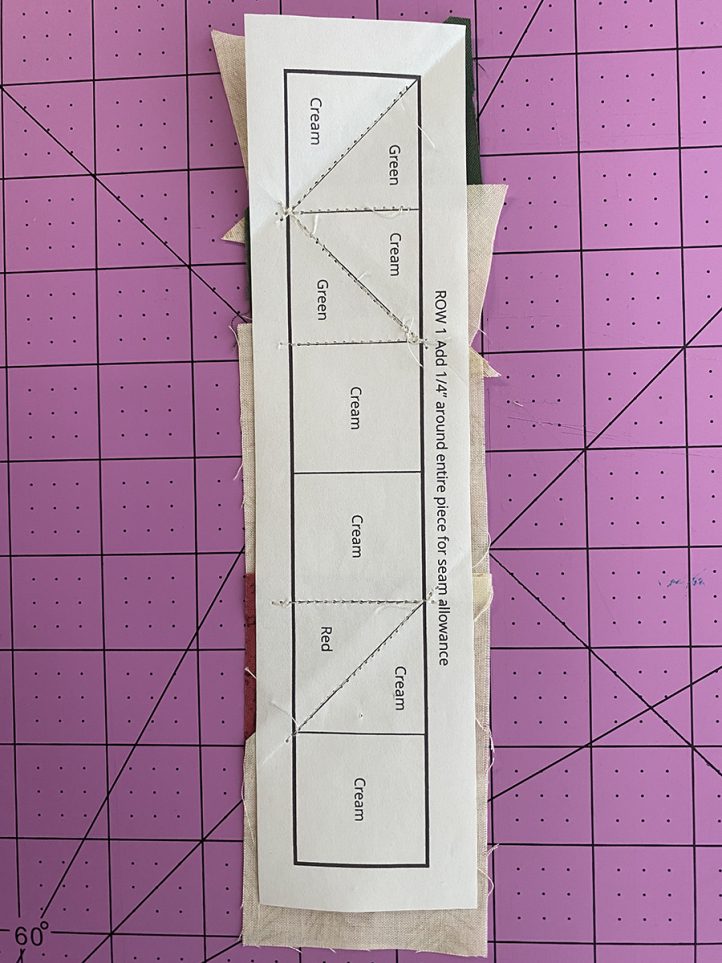
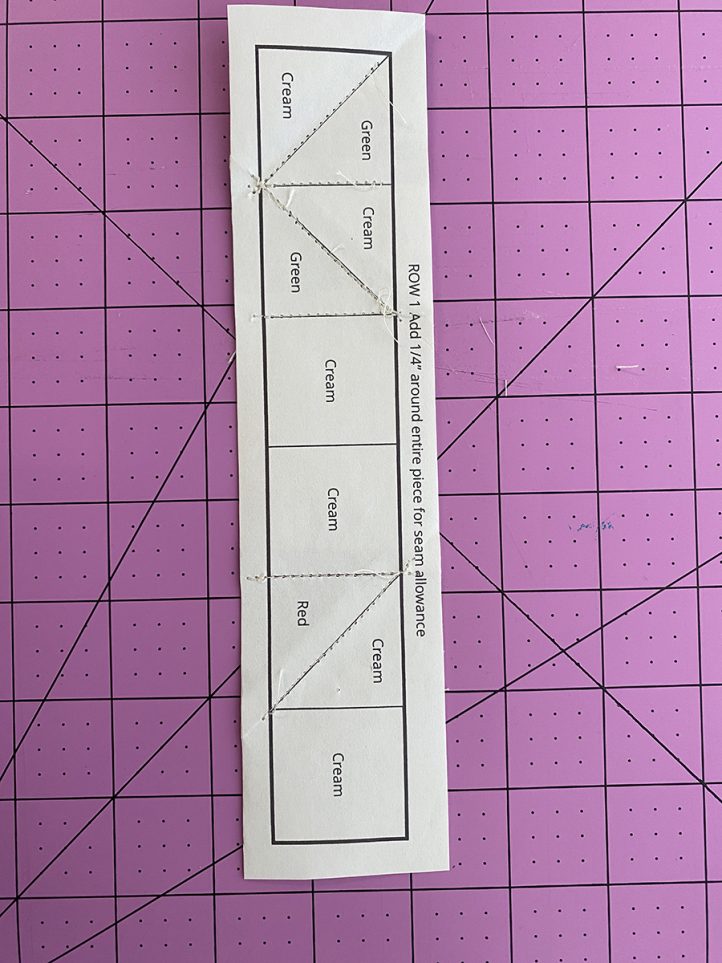
- Complete Rows Two – Six as Row One.
- Stitch rows together beginning with Row One and Two. Press seams open.
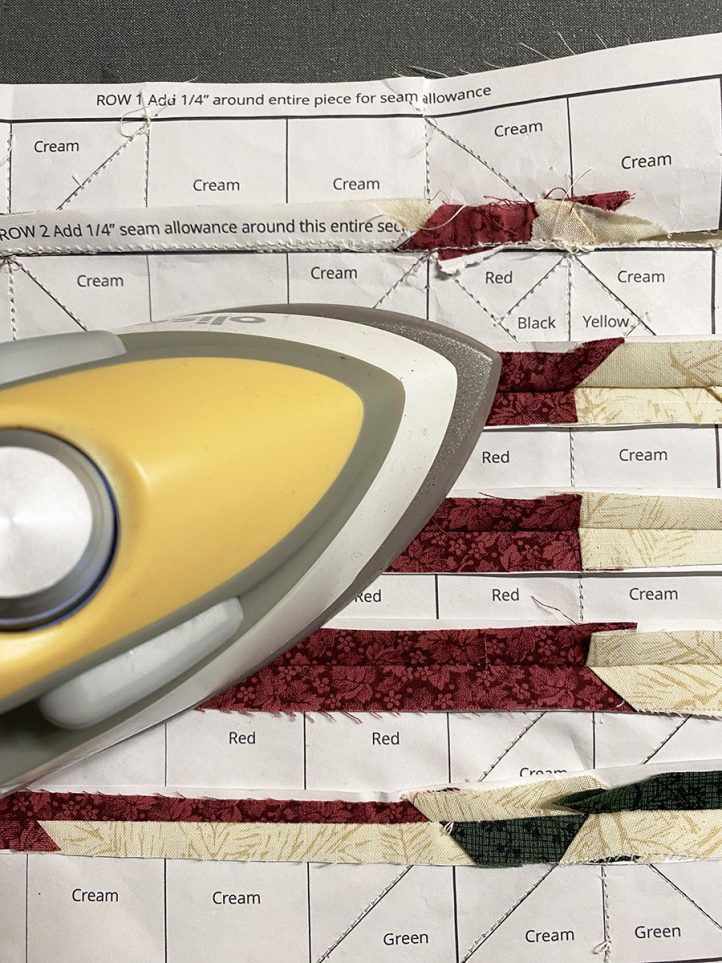
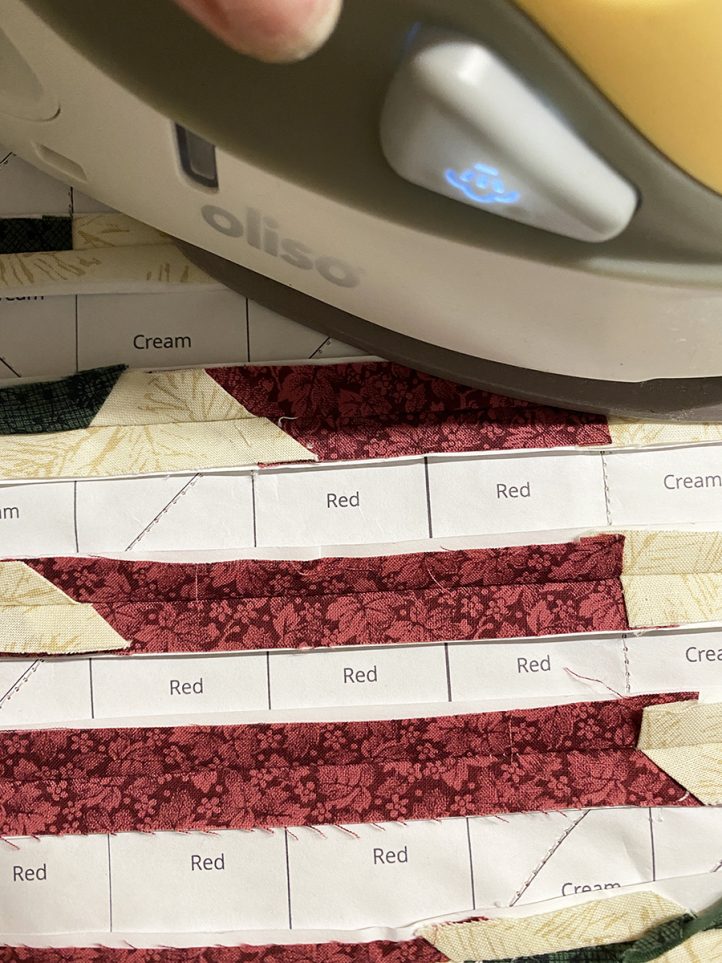
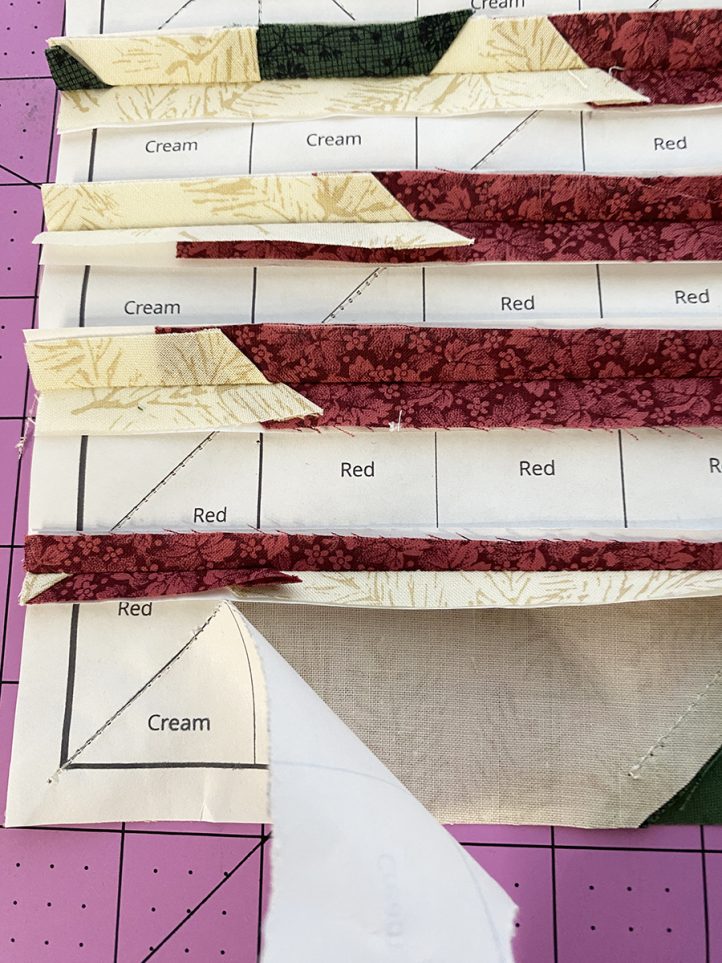
- Tear away the paper from the back and press seams.
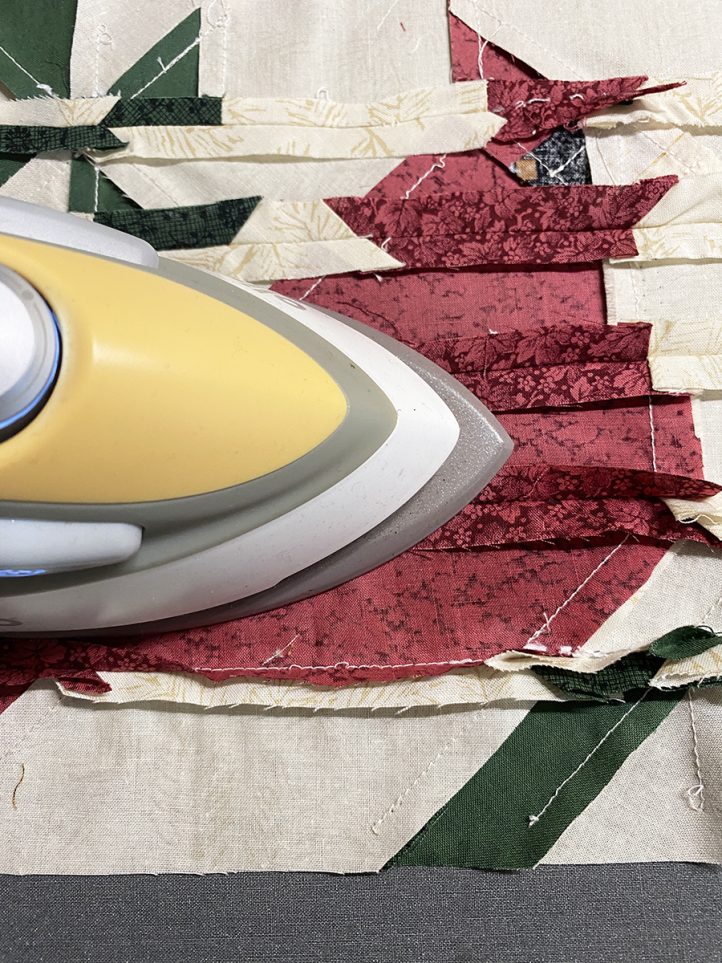
- Press front of block and trim the edges if needed.
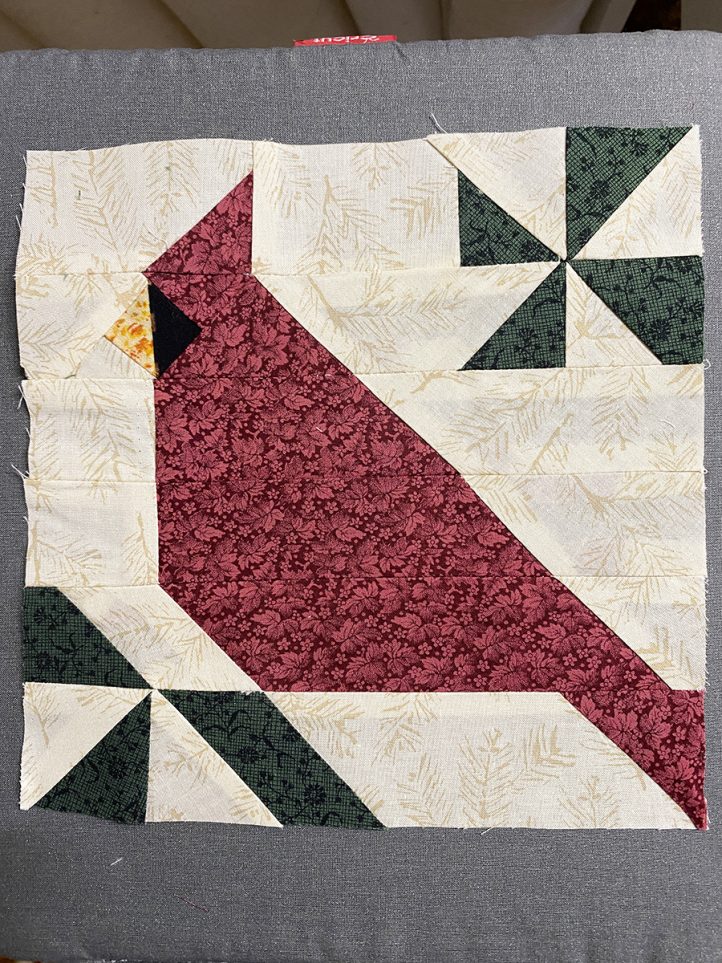
- Now the block is ready for strips to be added, if desired, to create a project such as a pillow, table runner or the beginning of a quilt.
Designer Tips:
- Pre-wash all of your fabric.
- Iron your fabric before cutting.
- Stitching is done on the printed side of the pattern while the fabric is placed on the unprinted side.
- Bigger is better when cutting fabric to cover a section; always making sure you have enough for the seam allowances.
- Use a lightweight foundation paper such as copy paper, or a paper specifically designed for paper piecing so that it is easy to tear away.
- Each row of the pattern shows the color sections; they are not numbered as you can start on either end, whatever is more comfortable for you. The exception to starting at either end is Row two: complete the small half triangles in this order: Cream and Yellow, followed by the half Cream triangle on the end. Then continue with the Black half triangle followed by the Red half triangle, then the Red triangle. Then continue to finish the row.
- Use a lightbox or window to see your pattern when placing fabric on wrong side.
- Backstitch at the beginning and end of each line.

No final block size given. Please.
Hi Gail! Thanks so much for catching this error. We’ll reach out to the designer for confirmation on the block’s final size. Thank you for your patience! – Ashley, We Like Quilting
Hi again, Gail! The designer confirmed that the final block size is 12″ x 12″. We’ll also add this to the pattern page. Have a great day! – Ashley, We Like Quilting