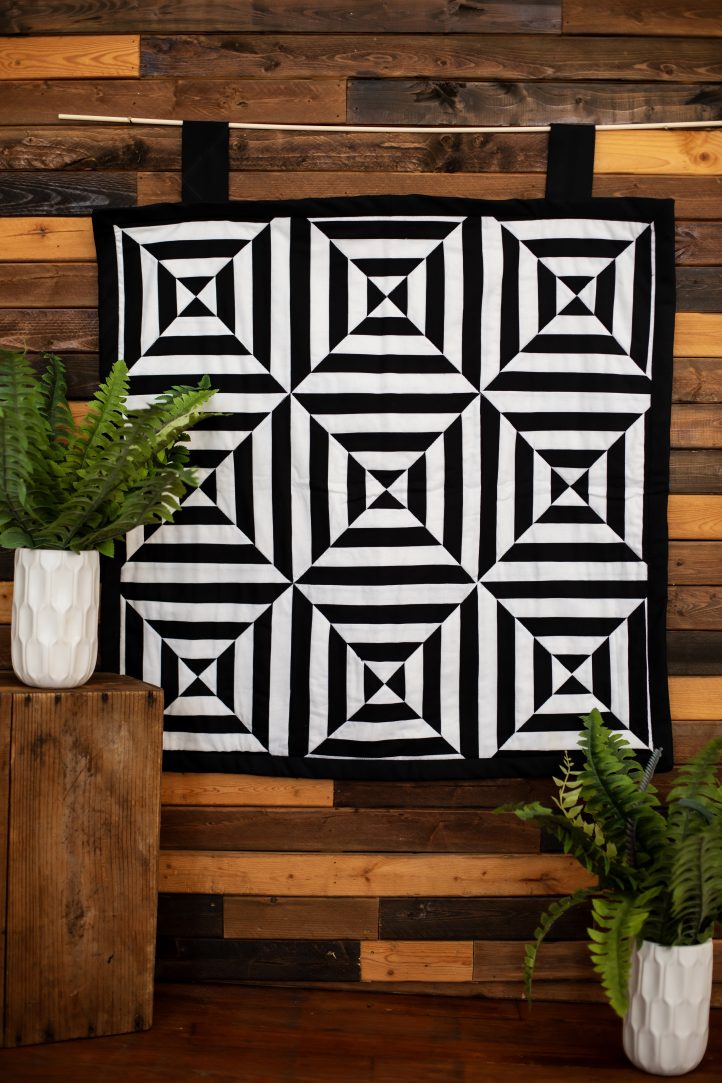
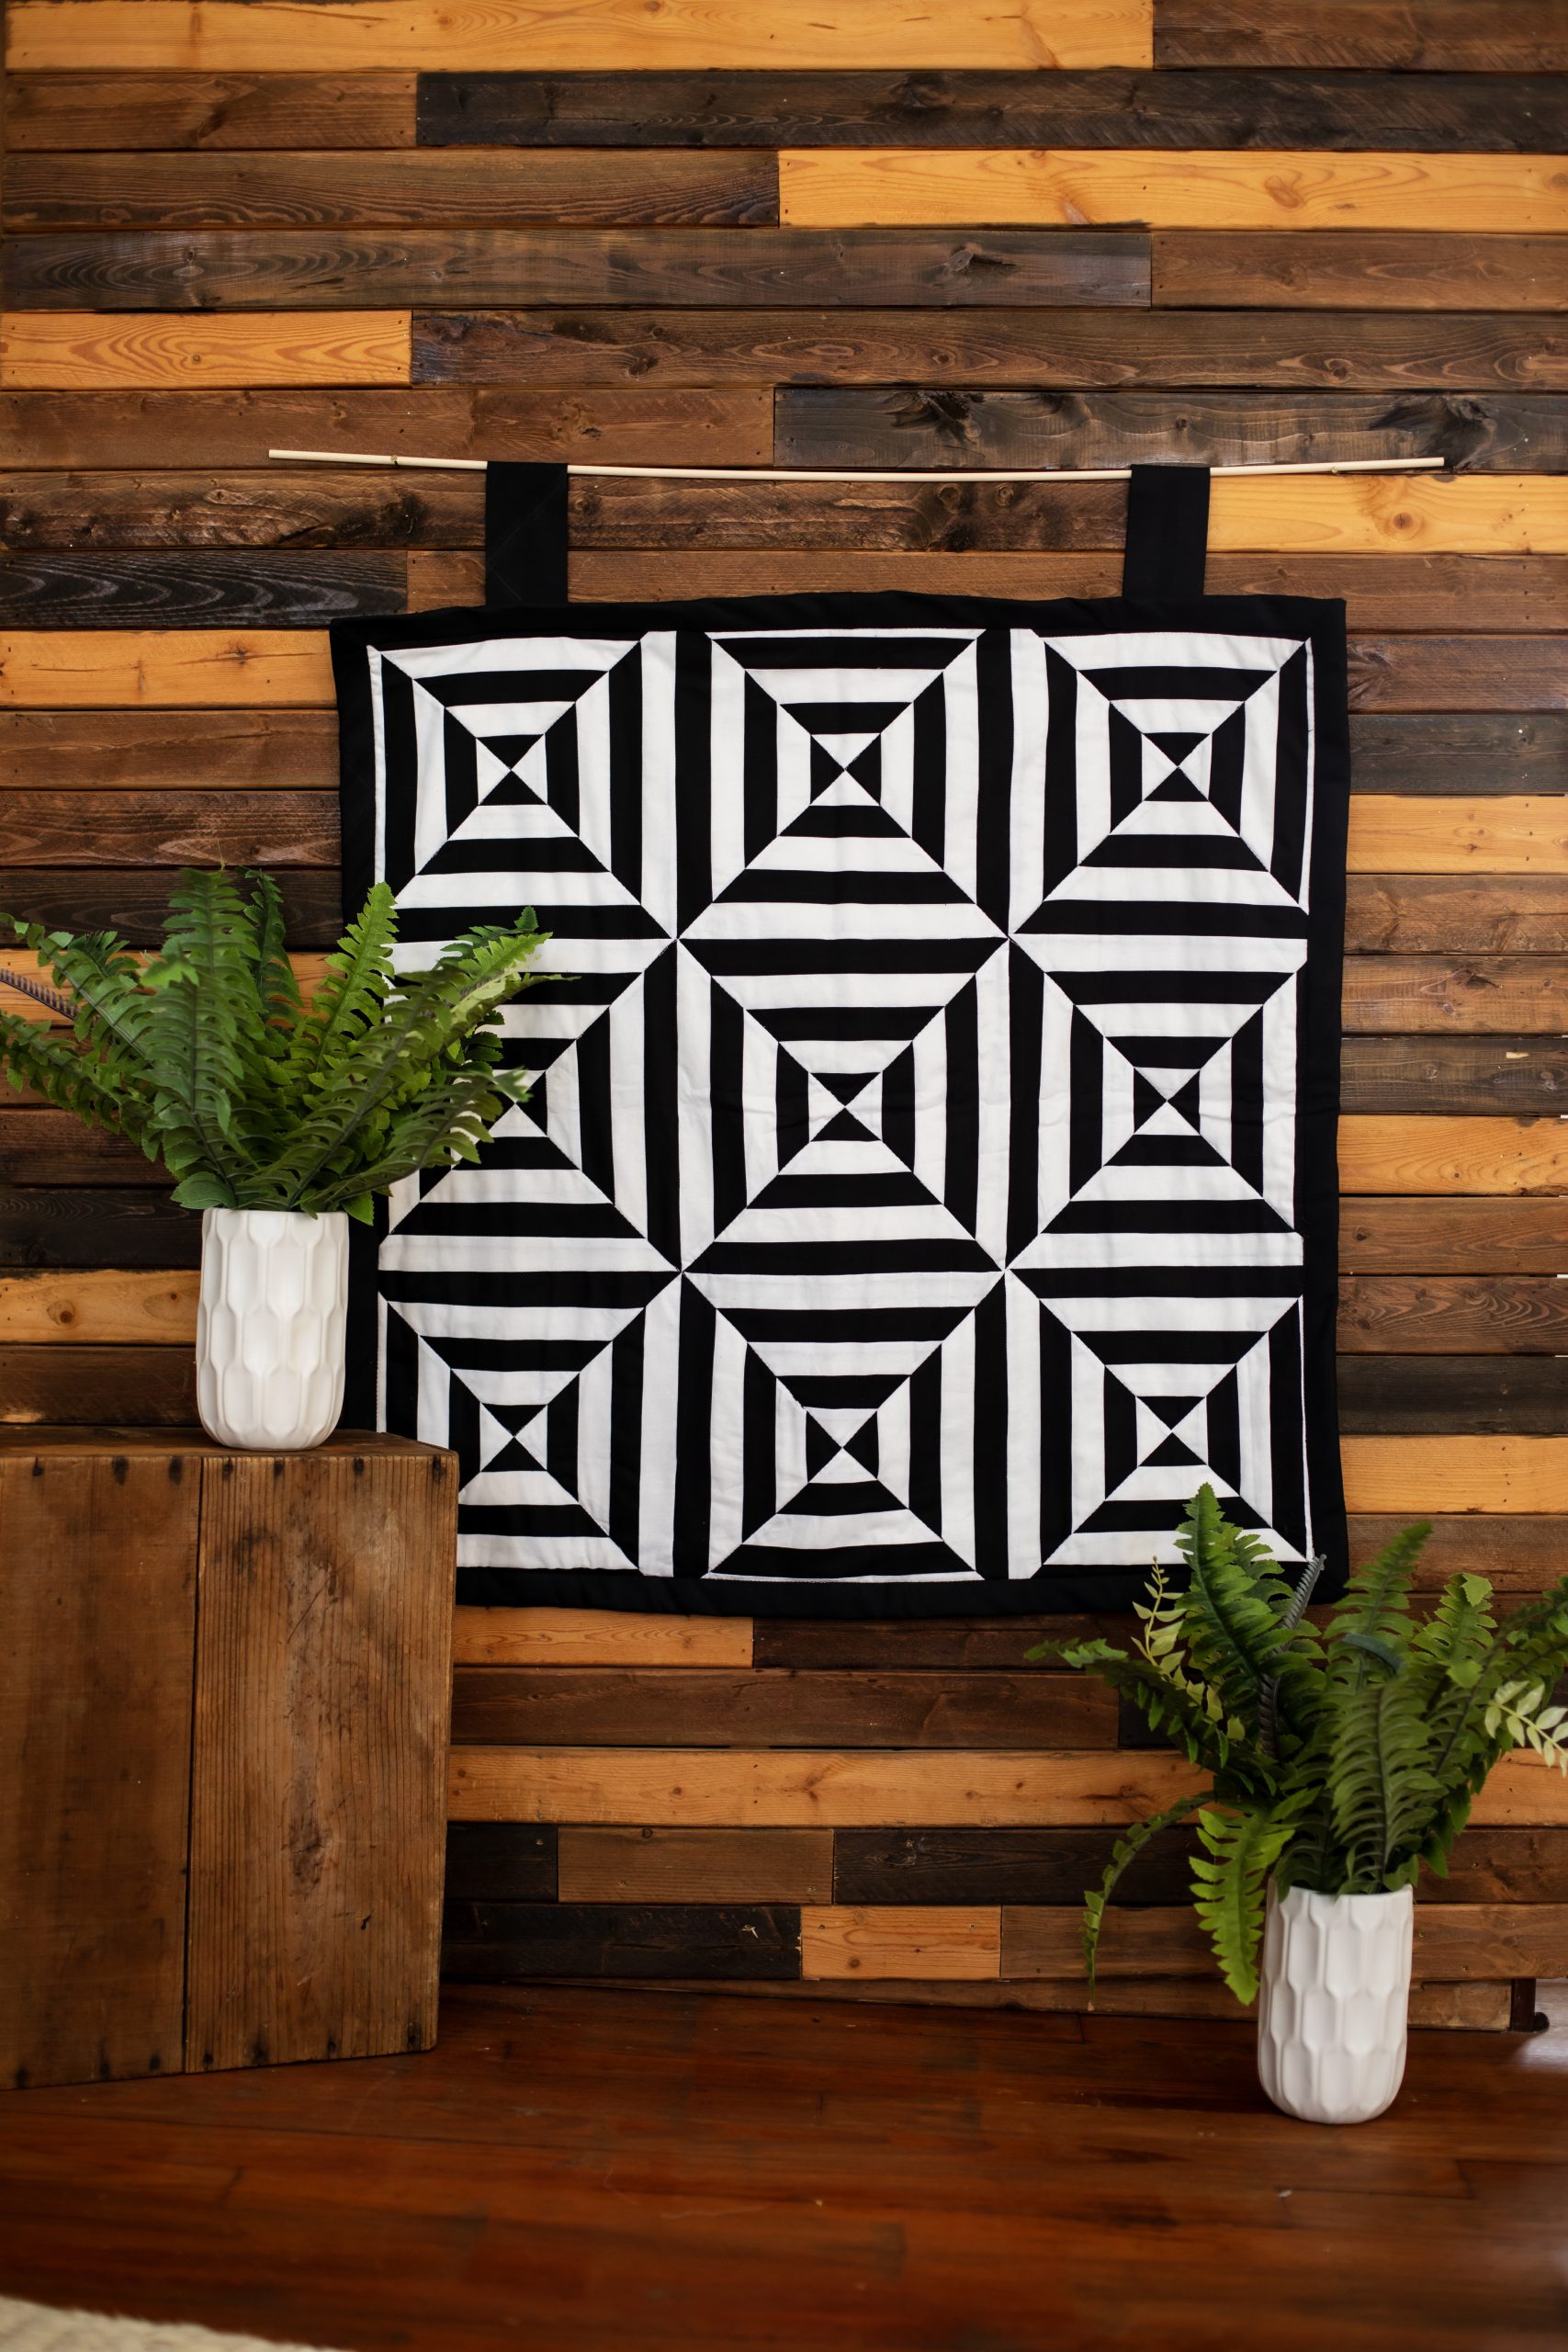
Find inspiration in retro 1960s art with this chic wall hanging pattern from Sophie Tarrant. Inspired by classic Op Art designs, this quilted wall hanging uses careful placement of its black and white color scheme and precise paper piecing to create a hypnotizing design. This quilted home décor pattern would look gorgeous displayed above your couch, in your foyer, or as a statement piece in a reading nook. Create quilted wall art in a bold and simple color palette with this clever design.
Skill Level: Beginner
Finished Size: 30” square
Designer Note: Small Stitches: To keep your paper piecing accurate and frustration-free, try shortening your stitch length before sewing through the paper. This helps to perforate the template more clearly, making it easier to tear away later without pulling on your stitches. Also, press each seam as you go – it may seem like a small step, but it makes a big difference to the precision and crispness of your finished block!
Materials:
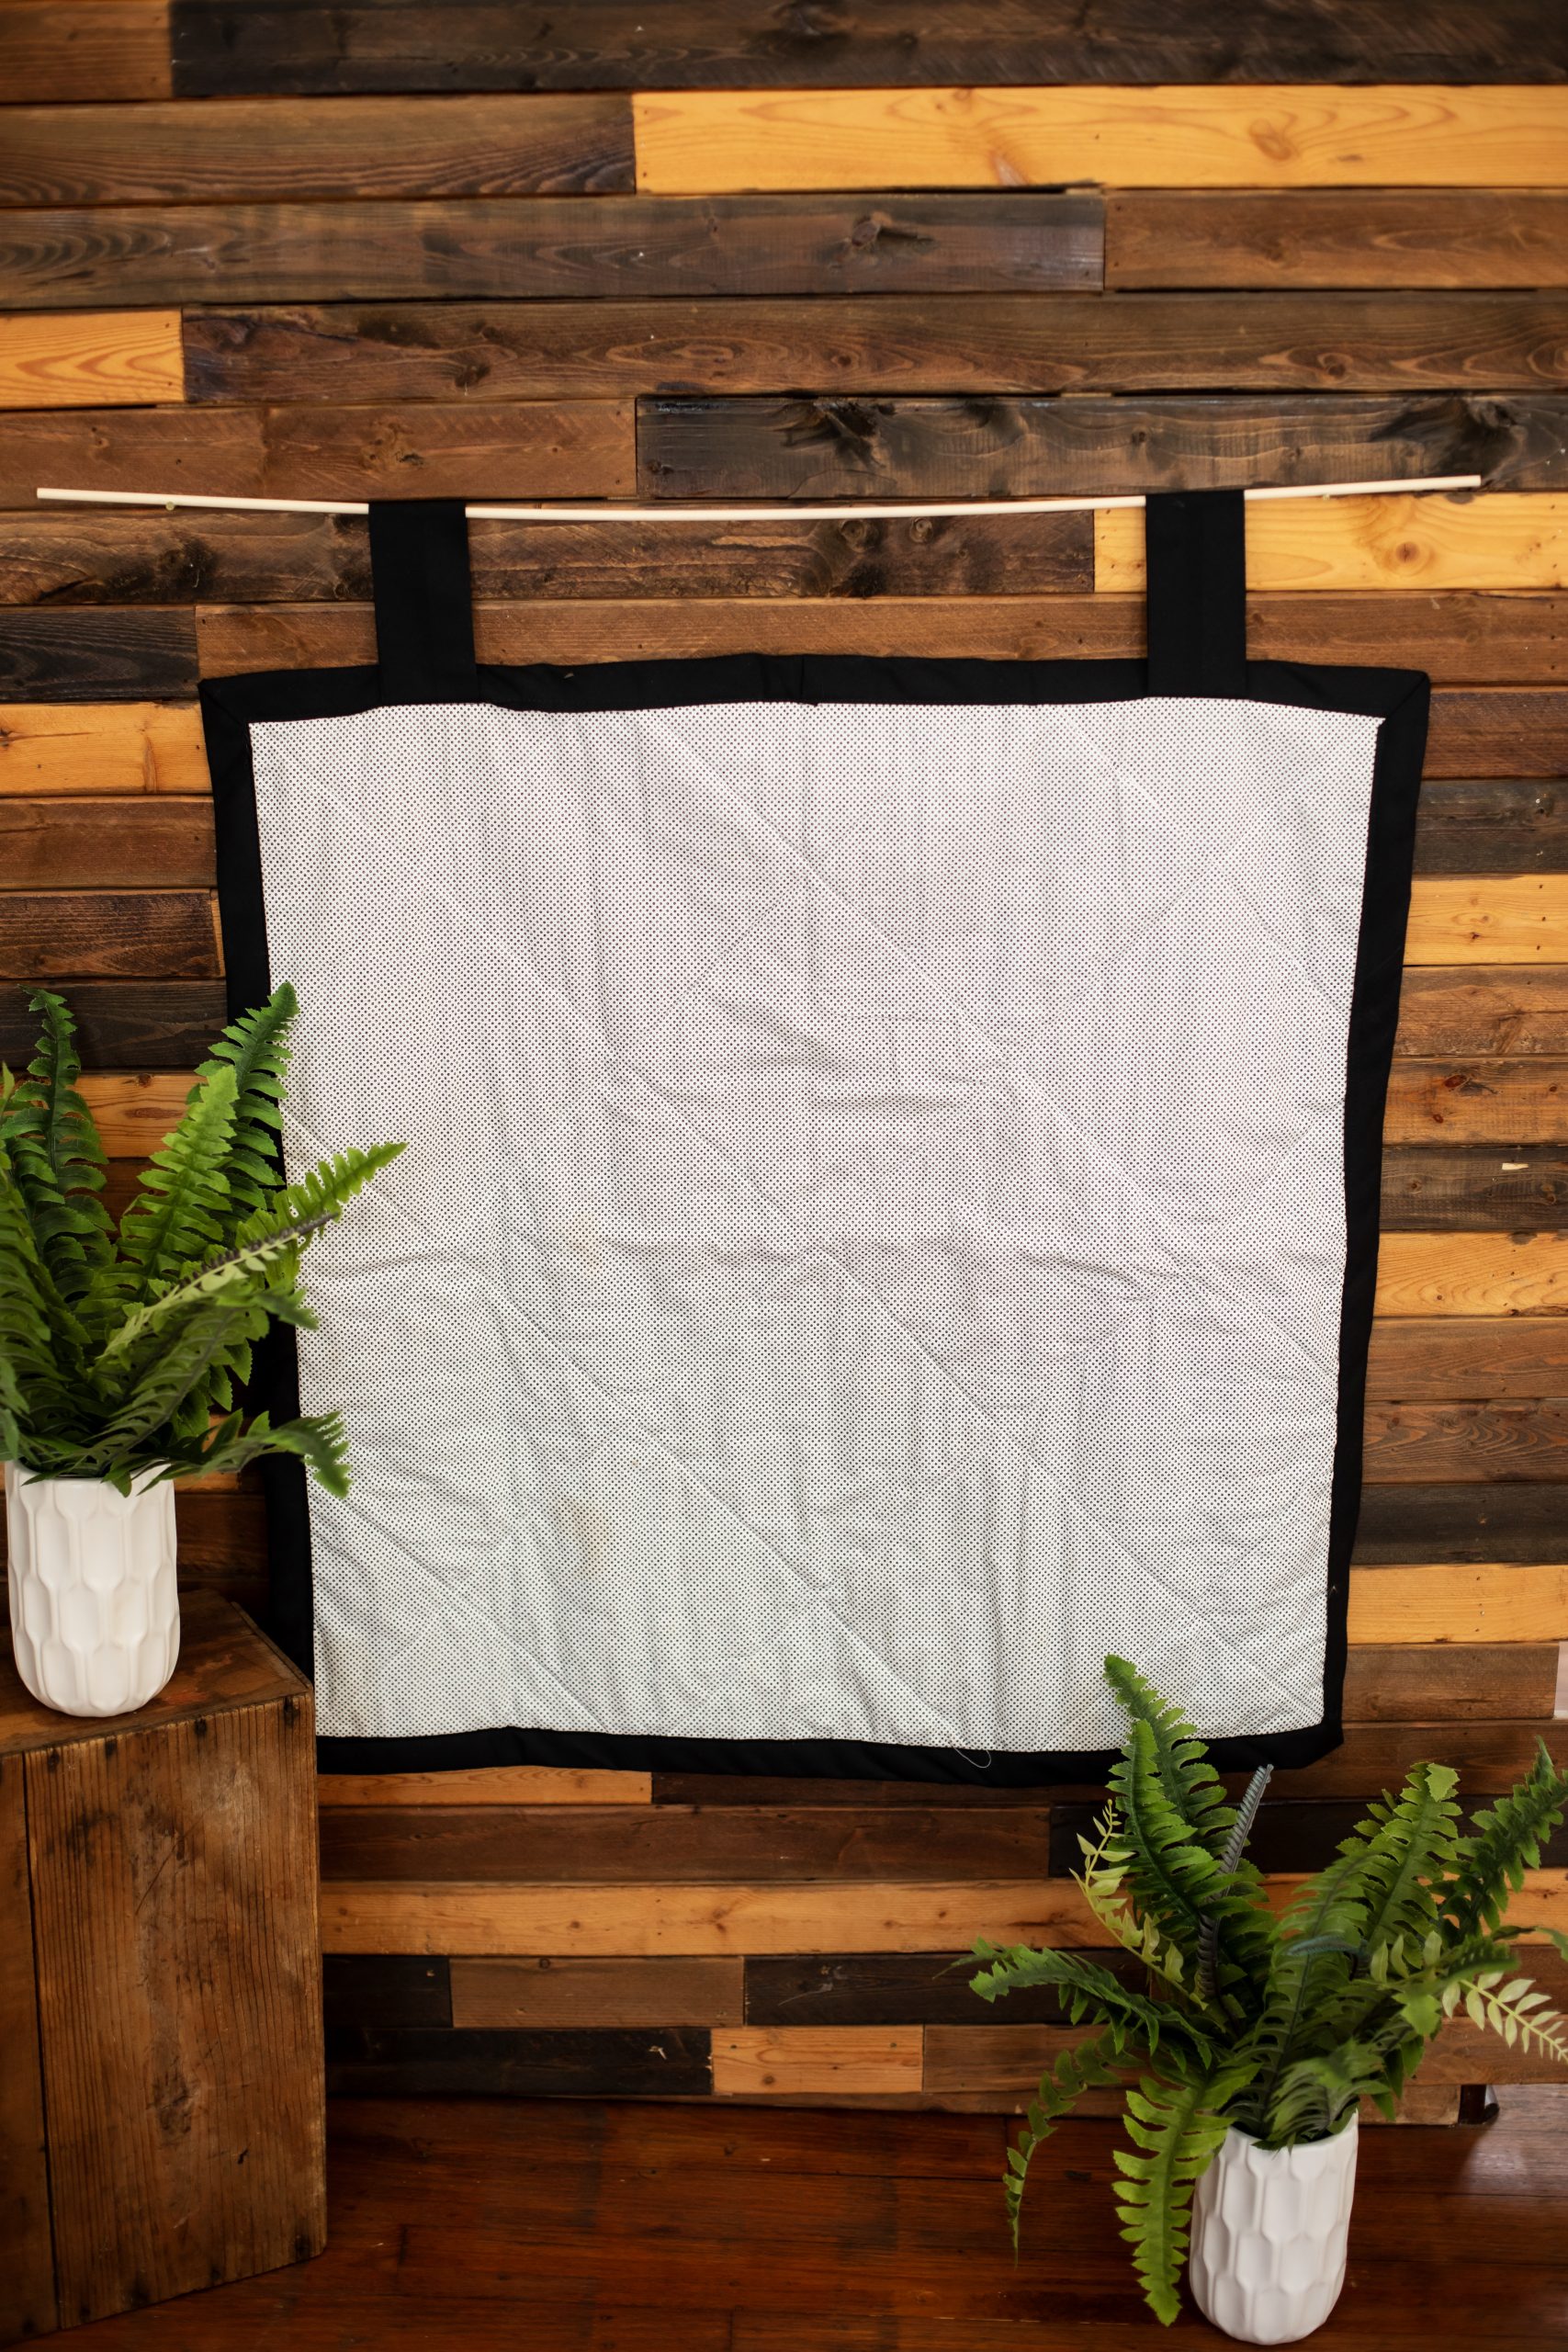
- Fabric: Black cotton, white cotton, polka dot cotton, one yard of each
- Quilt wadding, one yard
- Thread: White
- Bias tape: 2-1/2” wide (when folded, 5” wide when unfolded), black, five yards
- PDF Template – This is located at the bottom of this page. See printing instructions below.
Tools:
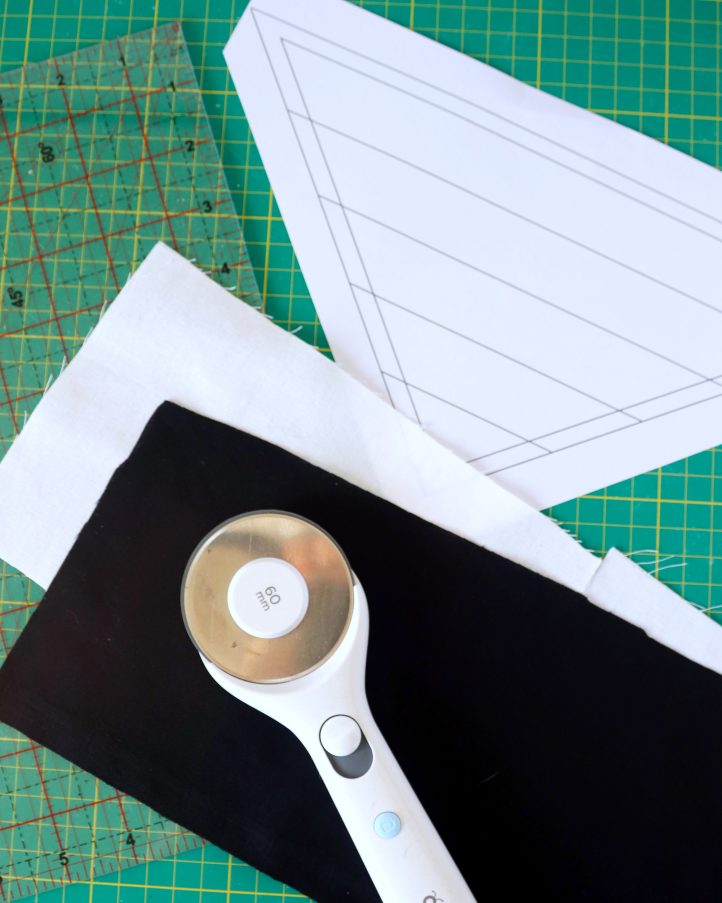
- Rotary cutter and cutting mat
- Quilting ruler
- Pins
- Sewing clips
- Sewing machine
- Iron
PRINTING INSTRUCTIONS:
To download the PDF template, click on the download button at the bottom of the page. We recommend opening your download using Adobe Acrobat.
Piecing Instructions:
- Start by downloading and printing the template. This project uses simple paper piecing methods, and you’ll need 36 copies of the template to complete the quilt top. To begin the first block, roughly cut two pieces of fabric – one white and one black – each slightly larger than your template.
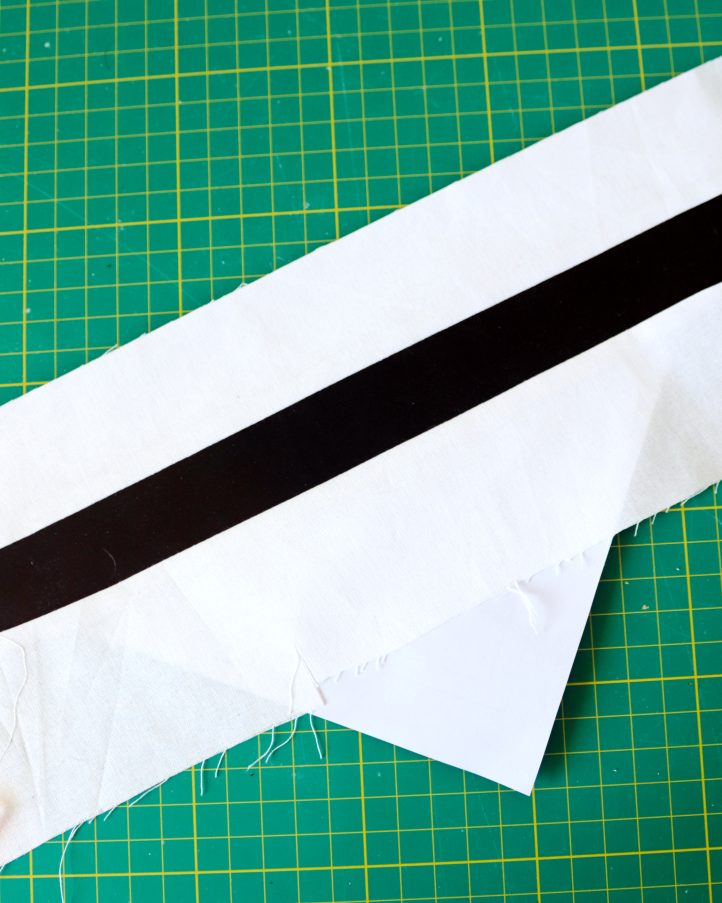
- Place the black and white fabrics right sides together. Position the paper template on top, positioning the line between sections one and two about 1/2” from the long edge of both fabrics. Pin all the layers together, then stitch along the line. Note: When the work is opened out, the fabric on the bottom of the stack will become section one, and the fabric on top will become section two.

- Move your work to a cutting mat. Fold the paper template back along the seam you just stitched and use a rotary cutter and quilting ruler to trim the seam allowance back to 1/4”. Turn the work so the fabric is facing up, then fold it back along the seam line to open it out. Press the allowance over to the black fabric to fix in place.

- Time to add the next section. Cut another piece of fabric – using the opposite color to the one you just added to section two – making sure it’s at least 1/2” larger on all sides than section three of the block. Place it right side down over your pressed work, positioning it correctly over the seam line between sections two and three. To help you see through the fabric, you can hold the work up to a window or use a lightbox. Pin, stitch, trim, and press as before.
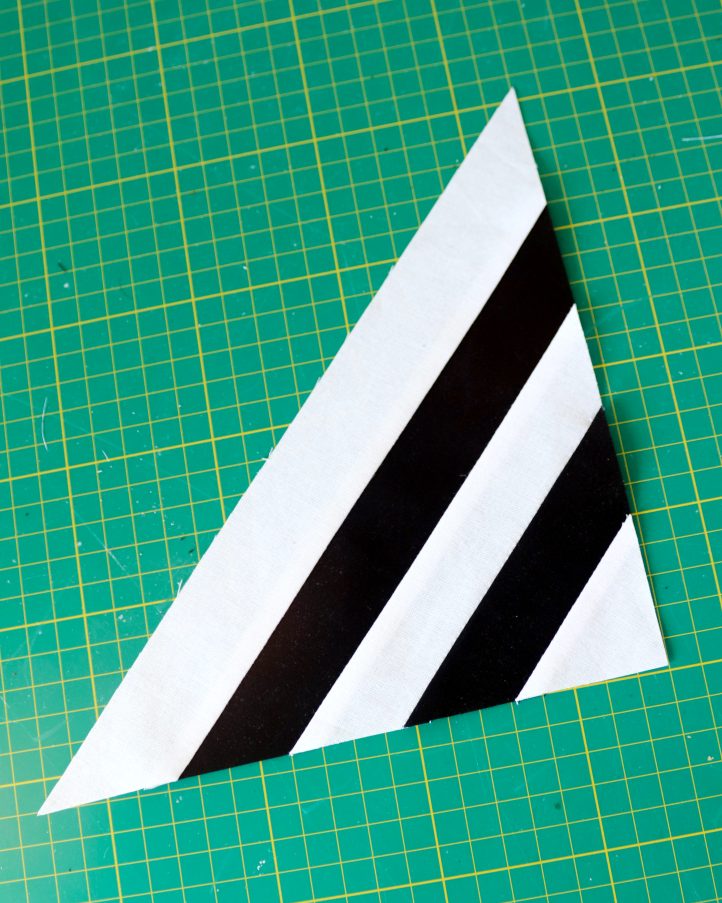
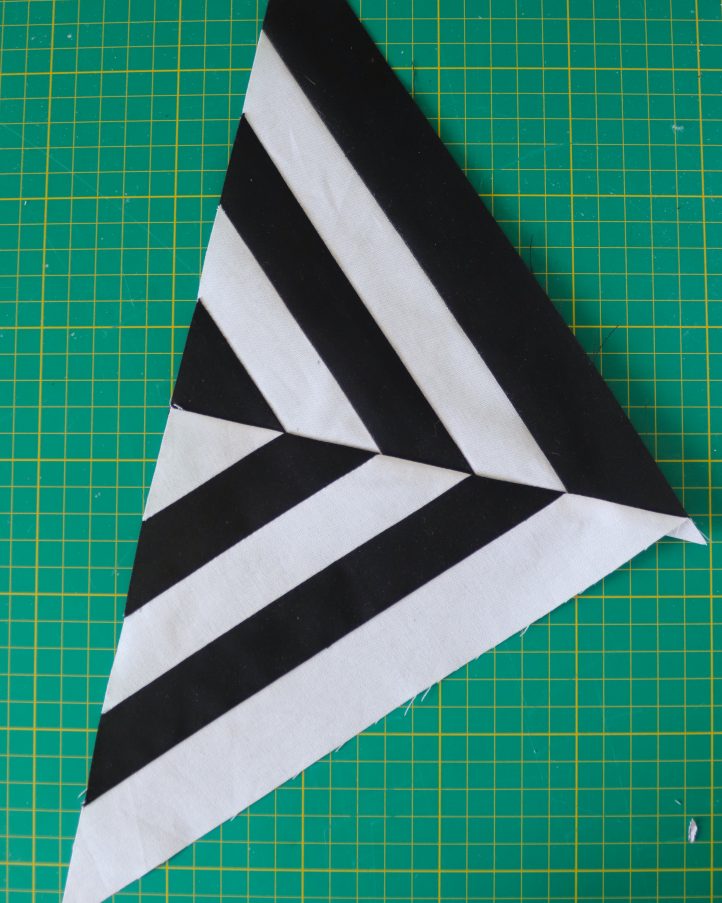
- Continue adding fabric strips in the same way until all five sections have been filled, alternating between black and white. Once complete, trim the block neatly to size using the outer edge of the paper template as your guide. The inner border marks the seam allowance, and can be used when sewing the pieces together in the next step.
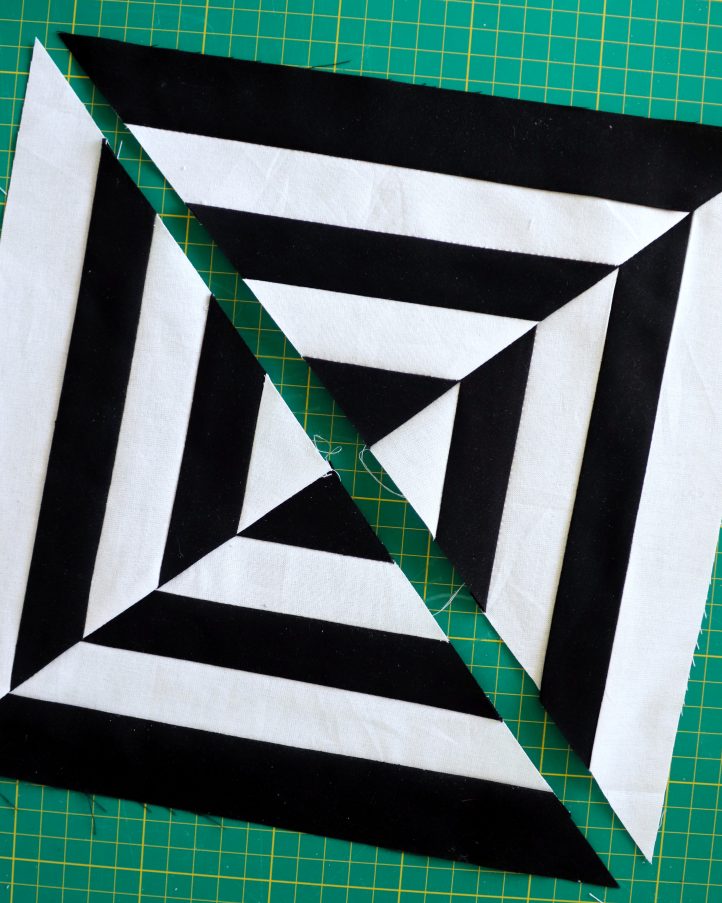
- Make another block to match the first. Then, make two more – this time alternating the colors, so that two of your blocks start with white fabric in section one and two start with black. Join the blocks into pairs, alternating the stripe colors between each, as pictured. Sew along one short edge with a 1/4” seam allowance.
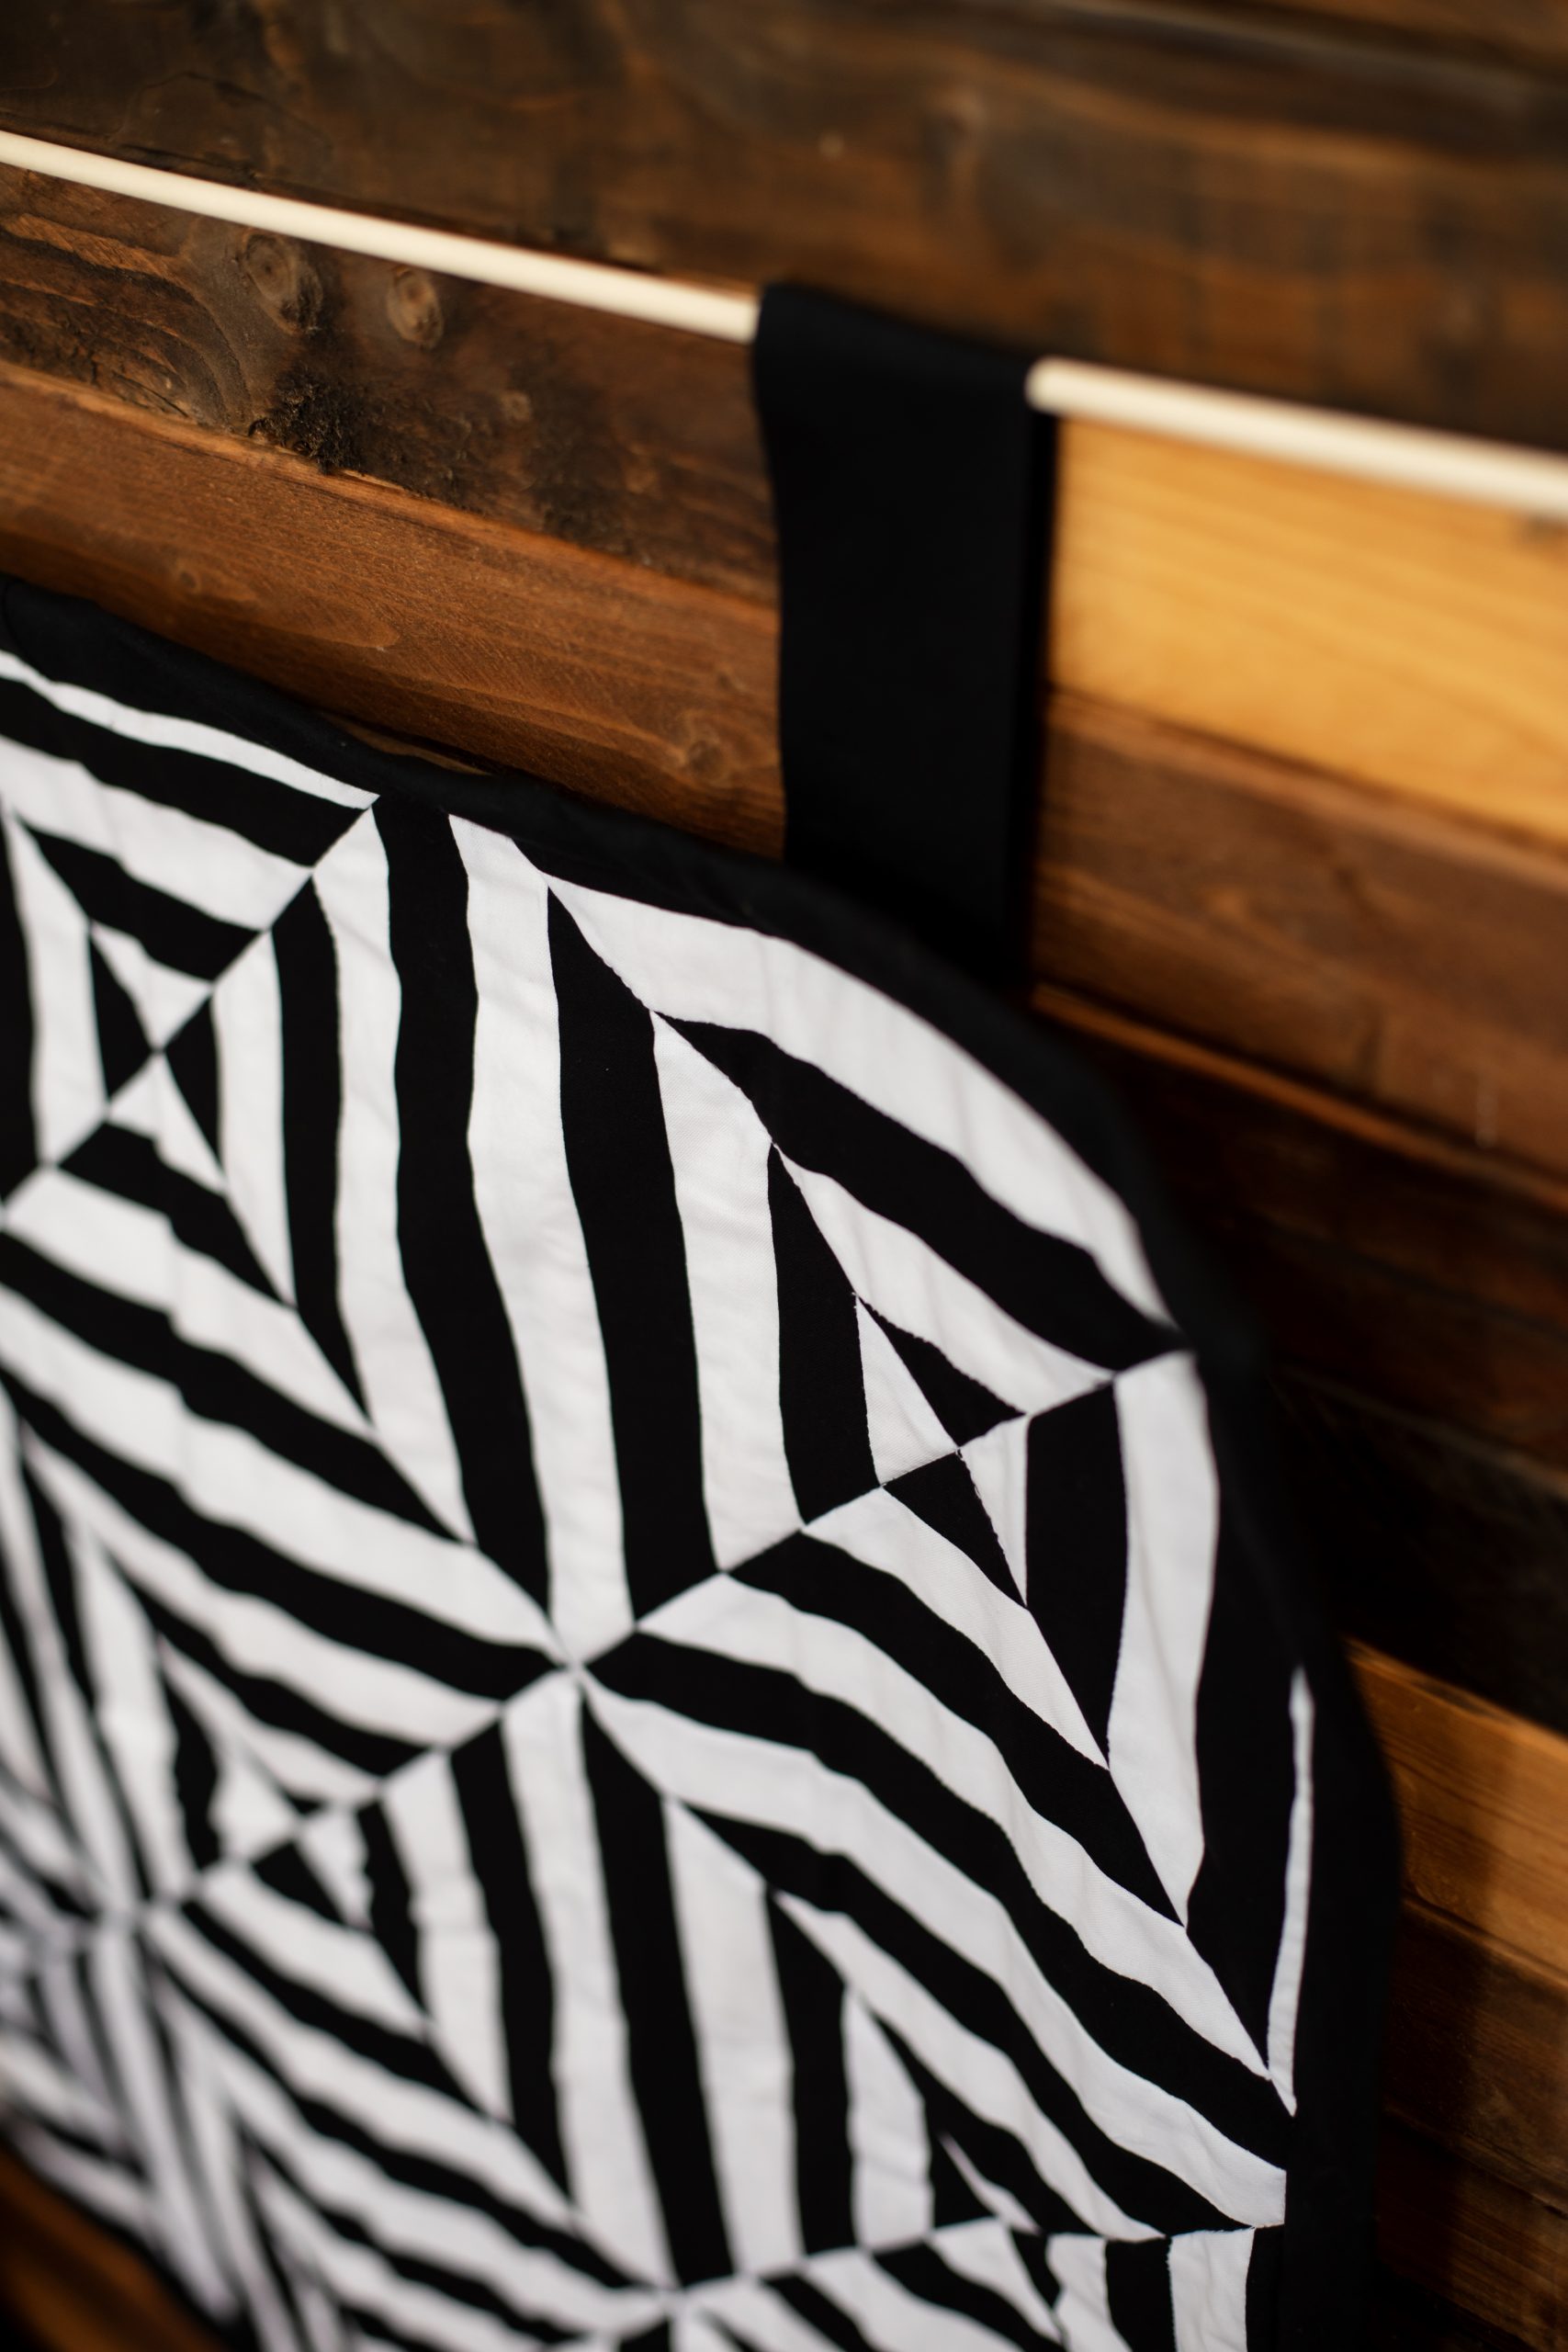
- Sew the two pairs together to form a square. Again, use a 1/4” seam allowance and line up the seams as neatly as possible – the more precise your seams, the stronger the finished optical illusion effect will be. Press flat.
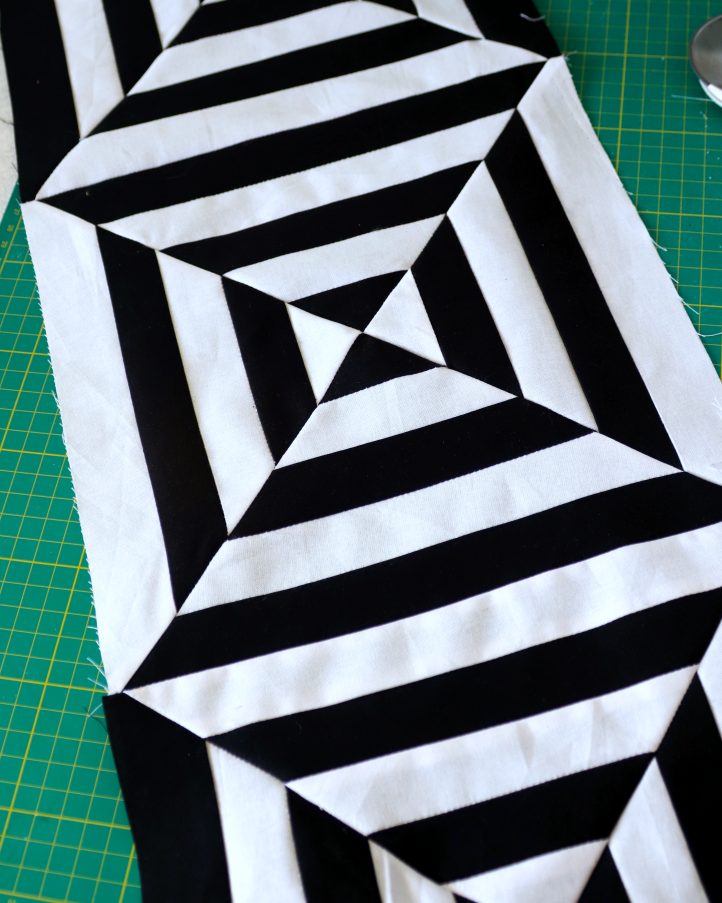
- Repeat Steps 1–7 to make eight more square blocks. Arrange them into three rows of three, rotating each square by 90 degrees so the color alternates at every join. You can refer to our photos if needed. Sew the squares together using a 1/4” seam allowance. Your quilt top is now complete!
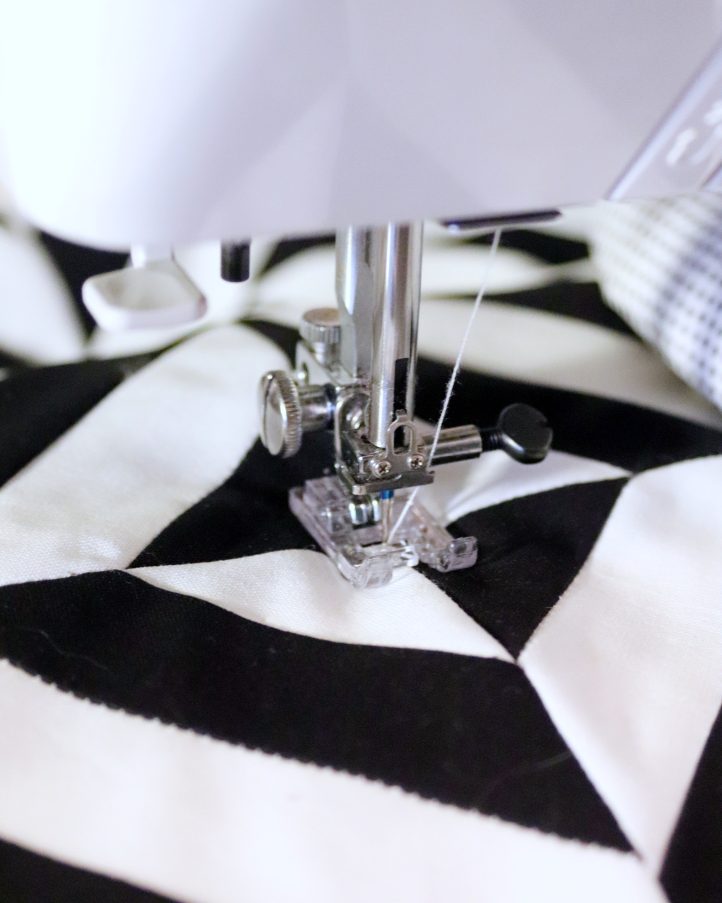
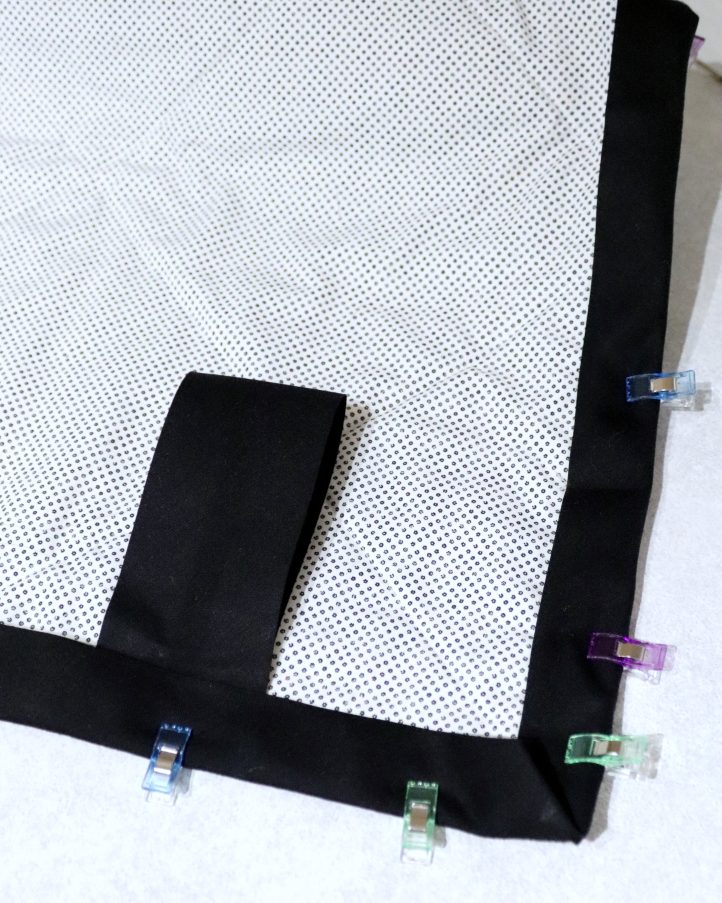
- Lay your polka dot backing fabric flat with the right side facing down. Add a layer of wadding, smoothing out any wrinkles. Place the quilt top on top with the right side facing up, and smooth everything flat. Pin the layers together. Trim around the edges, so the wadding and backing matches the patchwork size exactly. Clip the layers in place, then quilt them together by stitching in the ditch along the diagonal lines of the design.
- To hang your quilt, you’ll need to add tabs. To make them, cut two 10” lengths of 2-1/2” wide bias tape and press them in half – set these aside for now. Next, prepare to bind the quilt. Unfold one edge of your bias tape, leaving the other folded in place. Starting at the center of the top edge, measure 5” from the start of the tape, then begin clipping it around the quilt. Align the unfolded edge of the binding with the edge of the quilt. When you reach a corner, fold the tape up, then back down to form a neat mitered corner. Continue clipping all the way around. Leave another 5” unstitched at the end, then trim any excess. Stitch the binding in place with a 1” seam allowance, leaving the first and last 5” sections loose. Bring the ends together, mark where they meet, and stitch them with right sides together. Trim the seam allowance and finish stitching the binding down. Then, wrap the folded edge of the binding around to the back of the quilt and clip in place, slipping your two tabs under the top edge as you go, as pictured. Make sure the tabs are equally spaced. Finally, turn the quilt right side up again and stitch in the ditch along the edge of the binding, to secure it at the back and finish the design.
Can you make this quilt into a throw? (Optical Illusion)
Hi April!
We reached out to the designer and this was their advice on turning this pattern into a throw: “All they’d need to do is multiply the amount of square blocks they make to increase the size overall.
Each of the squares that make up the quilt top are 10” in both height and width before assembling, and the optical illusion works best when each “row” and “column” of blocks is made from an uneven number (my sample was 3 x 3) as then that allows the black/white pattern to alternate between each one symmetrically.
To make a throw quilt, I’d suggest they create a grid of either 5 x 5 squares (which would end up about 48″ square, when allowing for the 1/4″ seam allowance between each square block) or for a larger one, 7 x 7, which would end up being roughly 67″ square after seam allowances. They could also make it 5 x 7, which would end up about 48″ x 67″.
Please let us know if we may further assist you. Have a great day! – Ashley, We Like Quilting