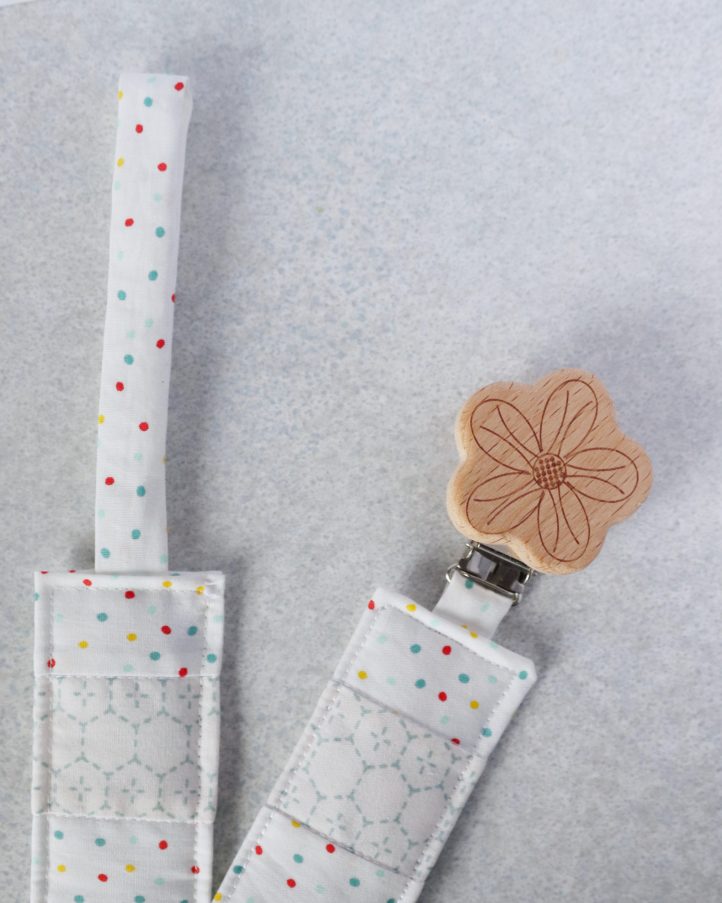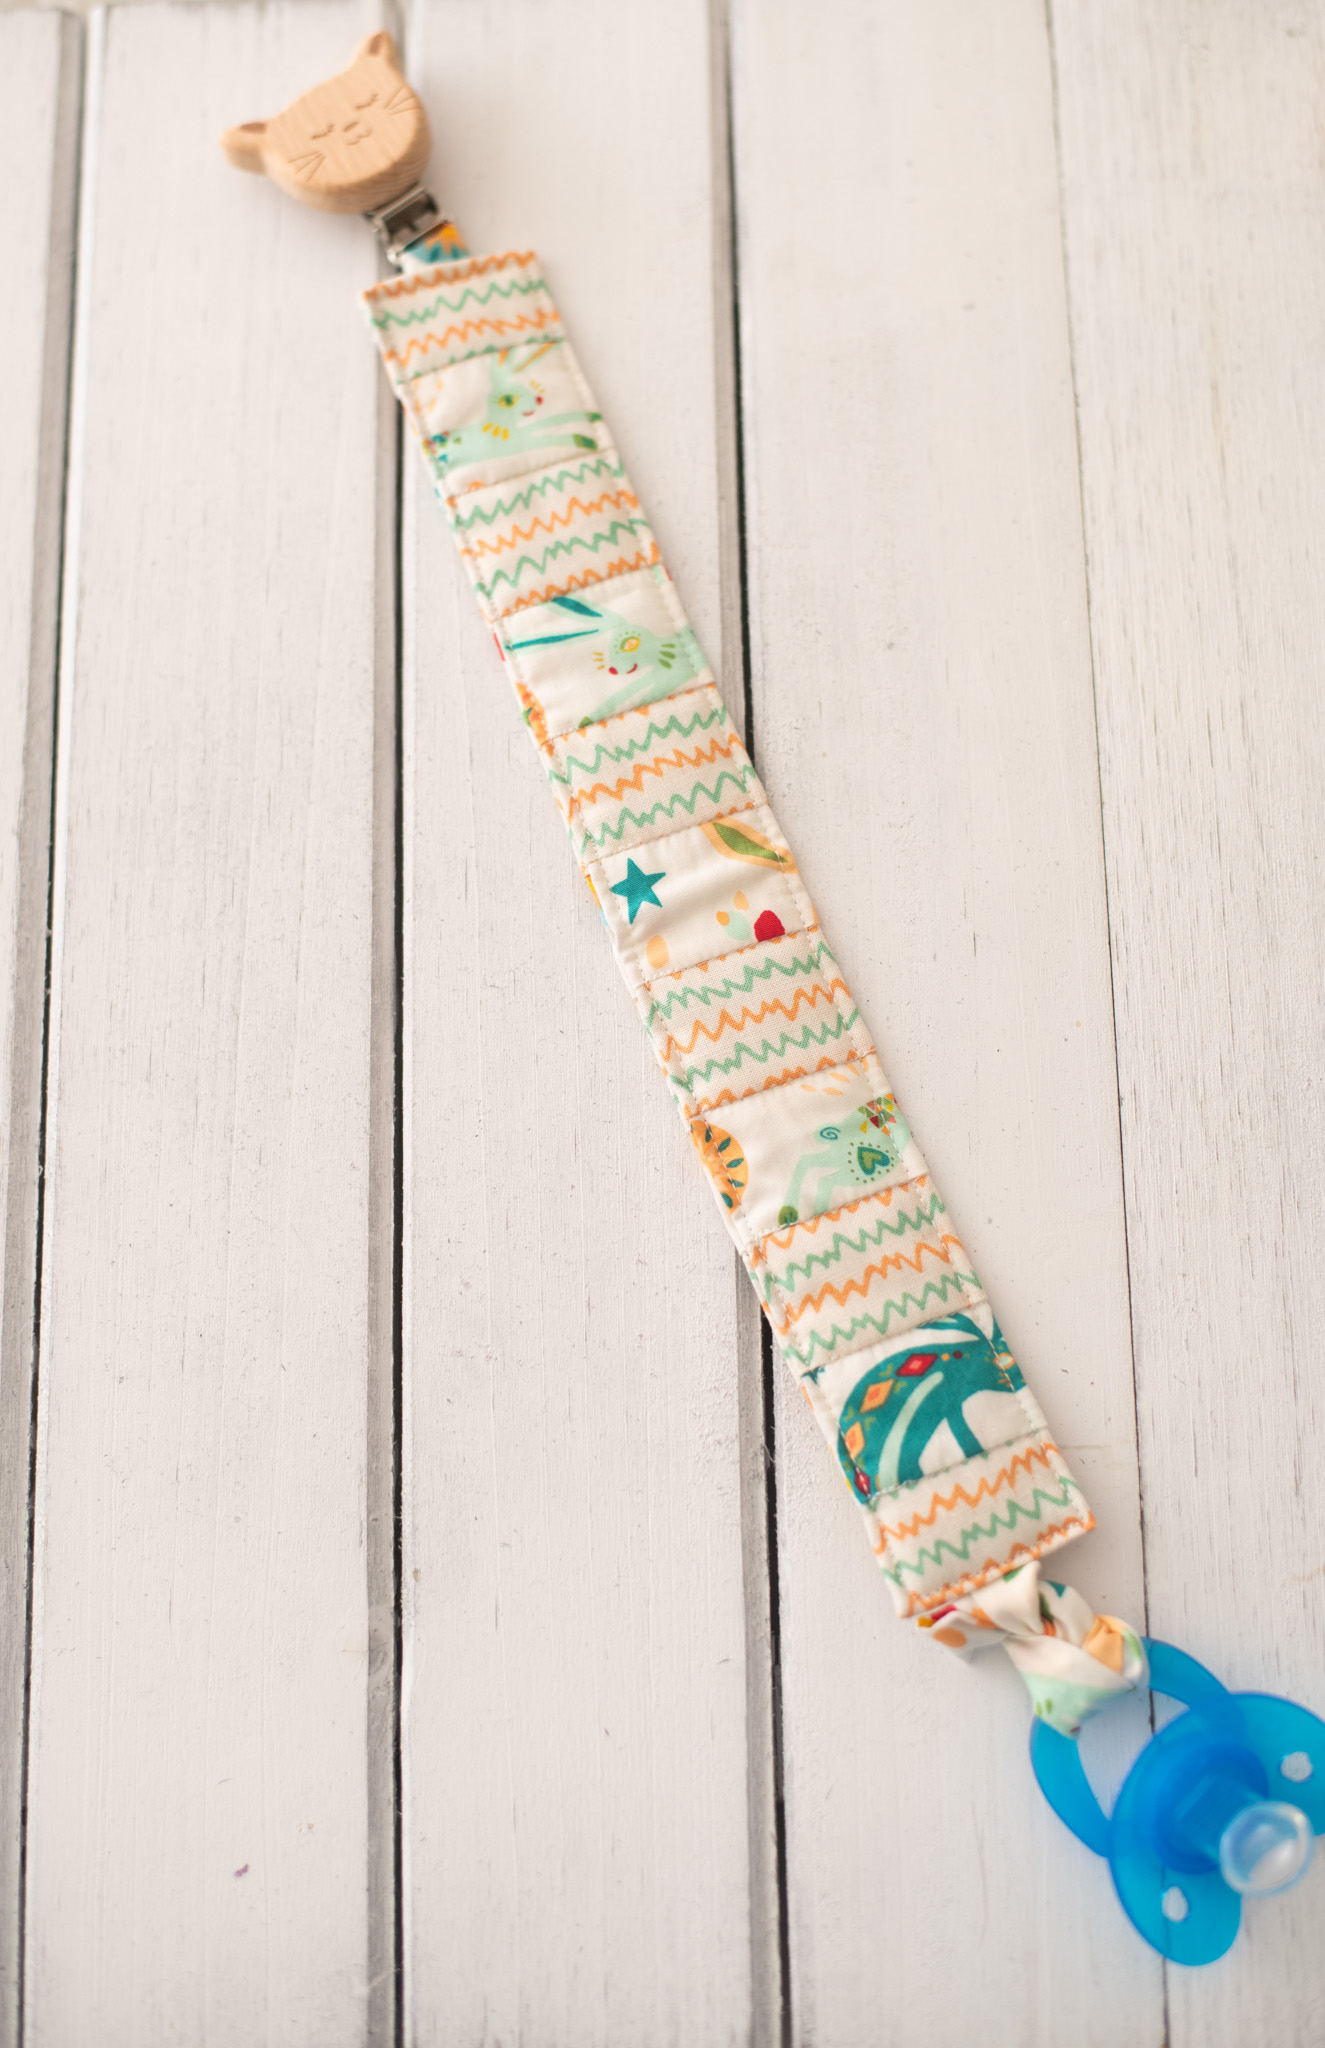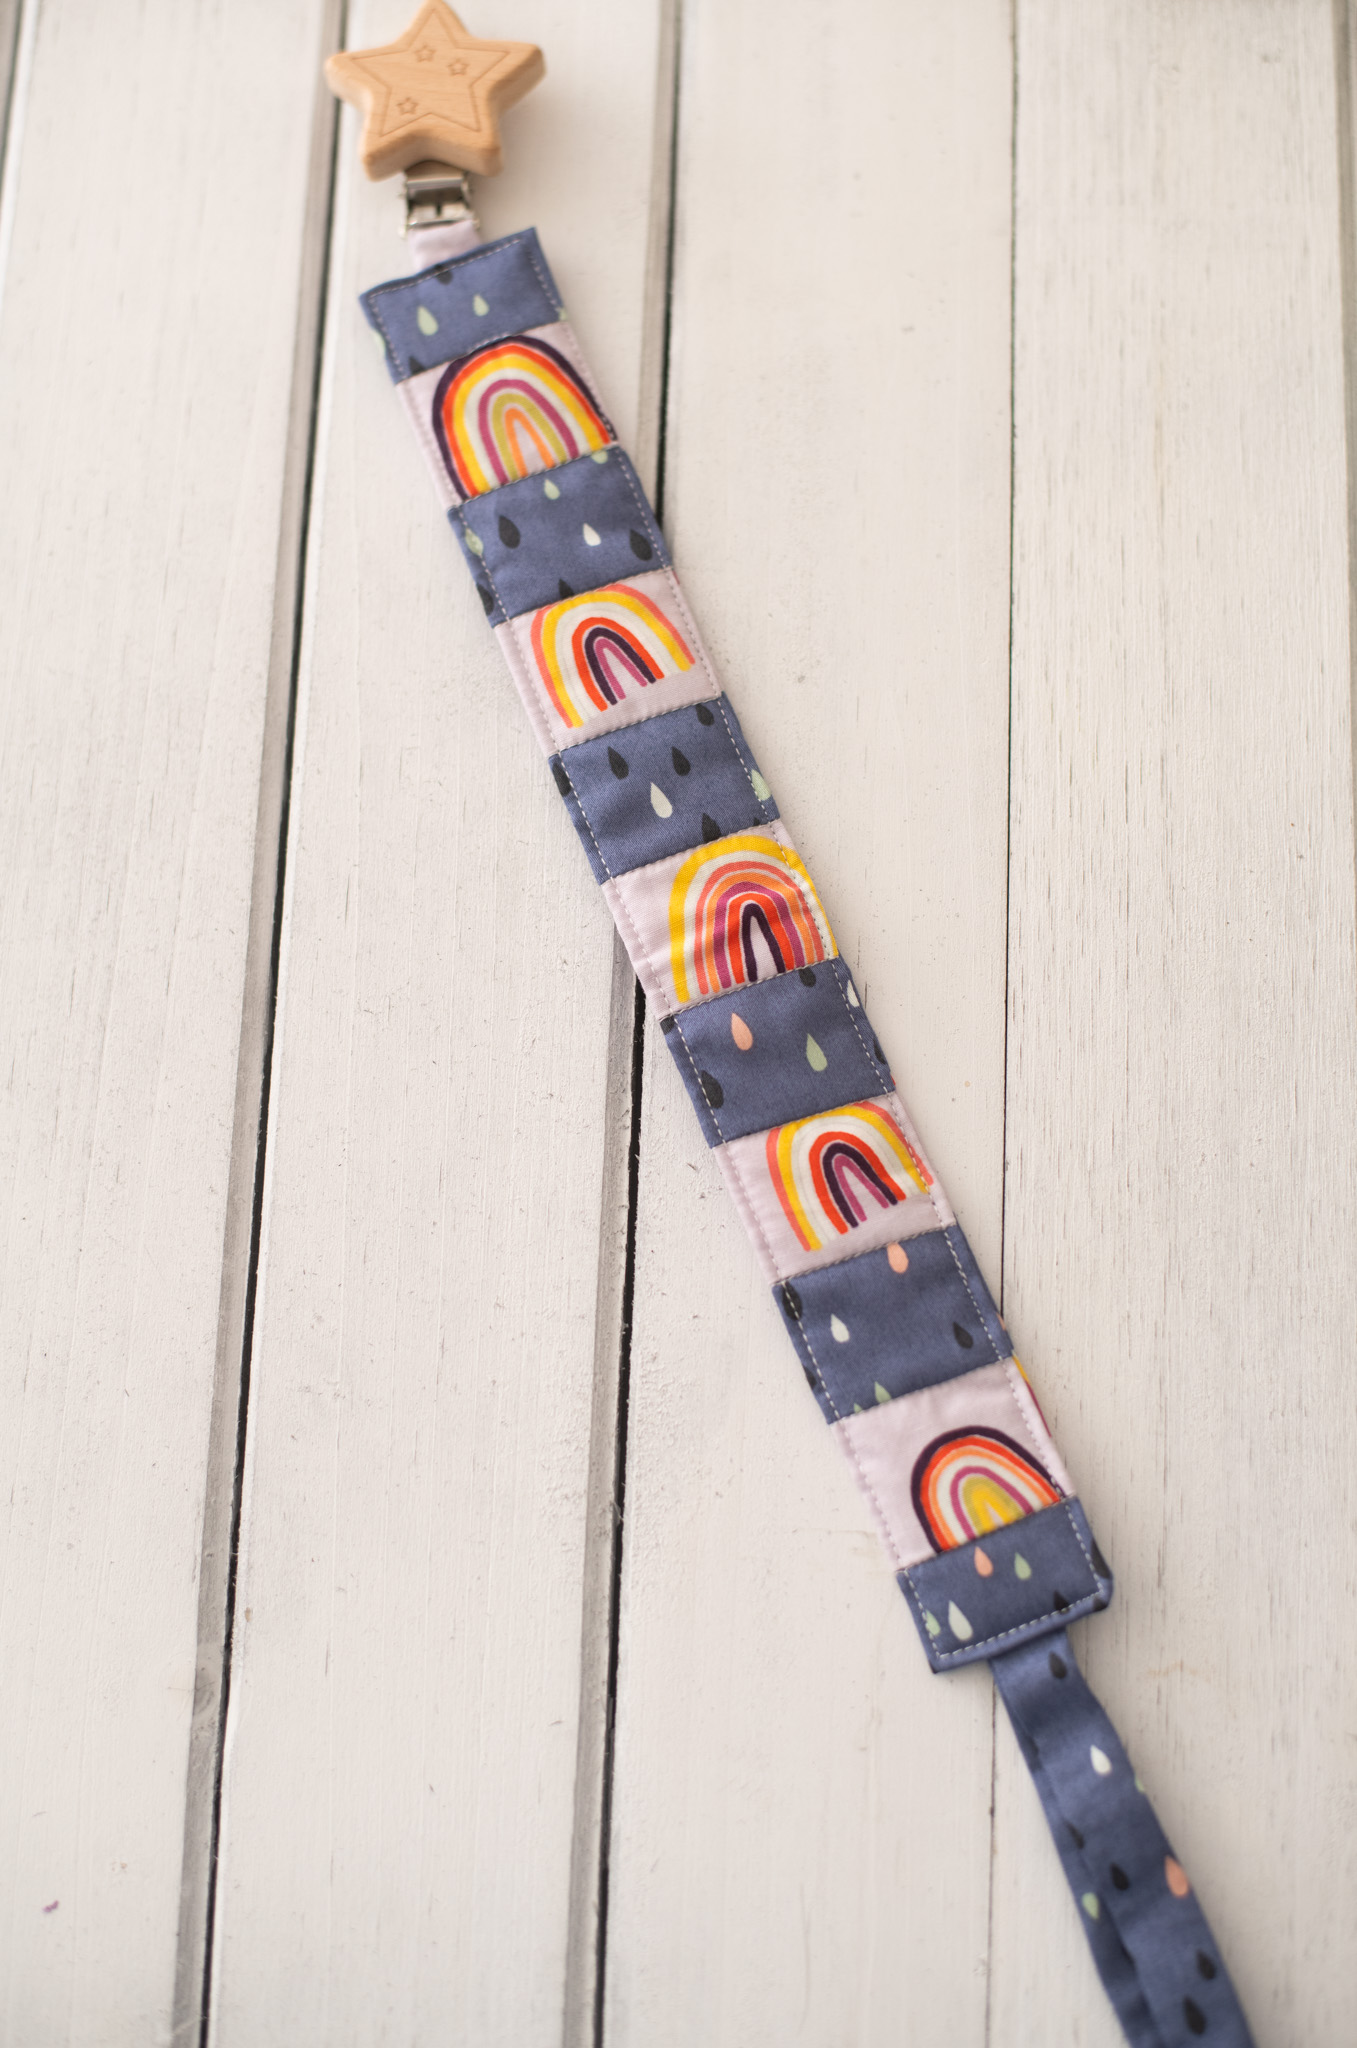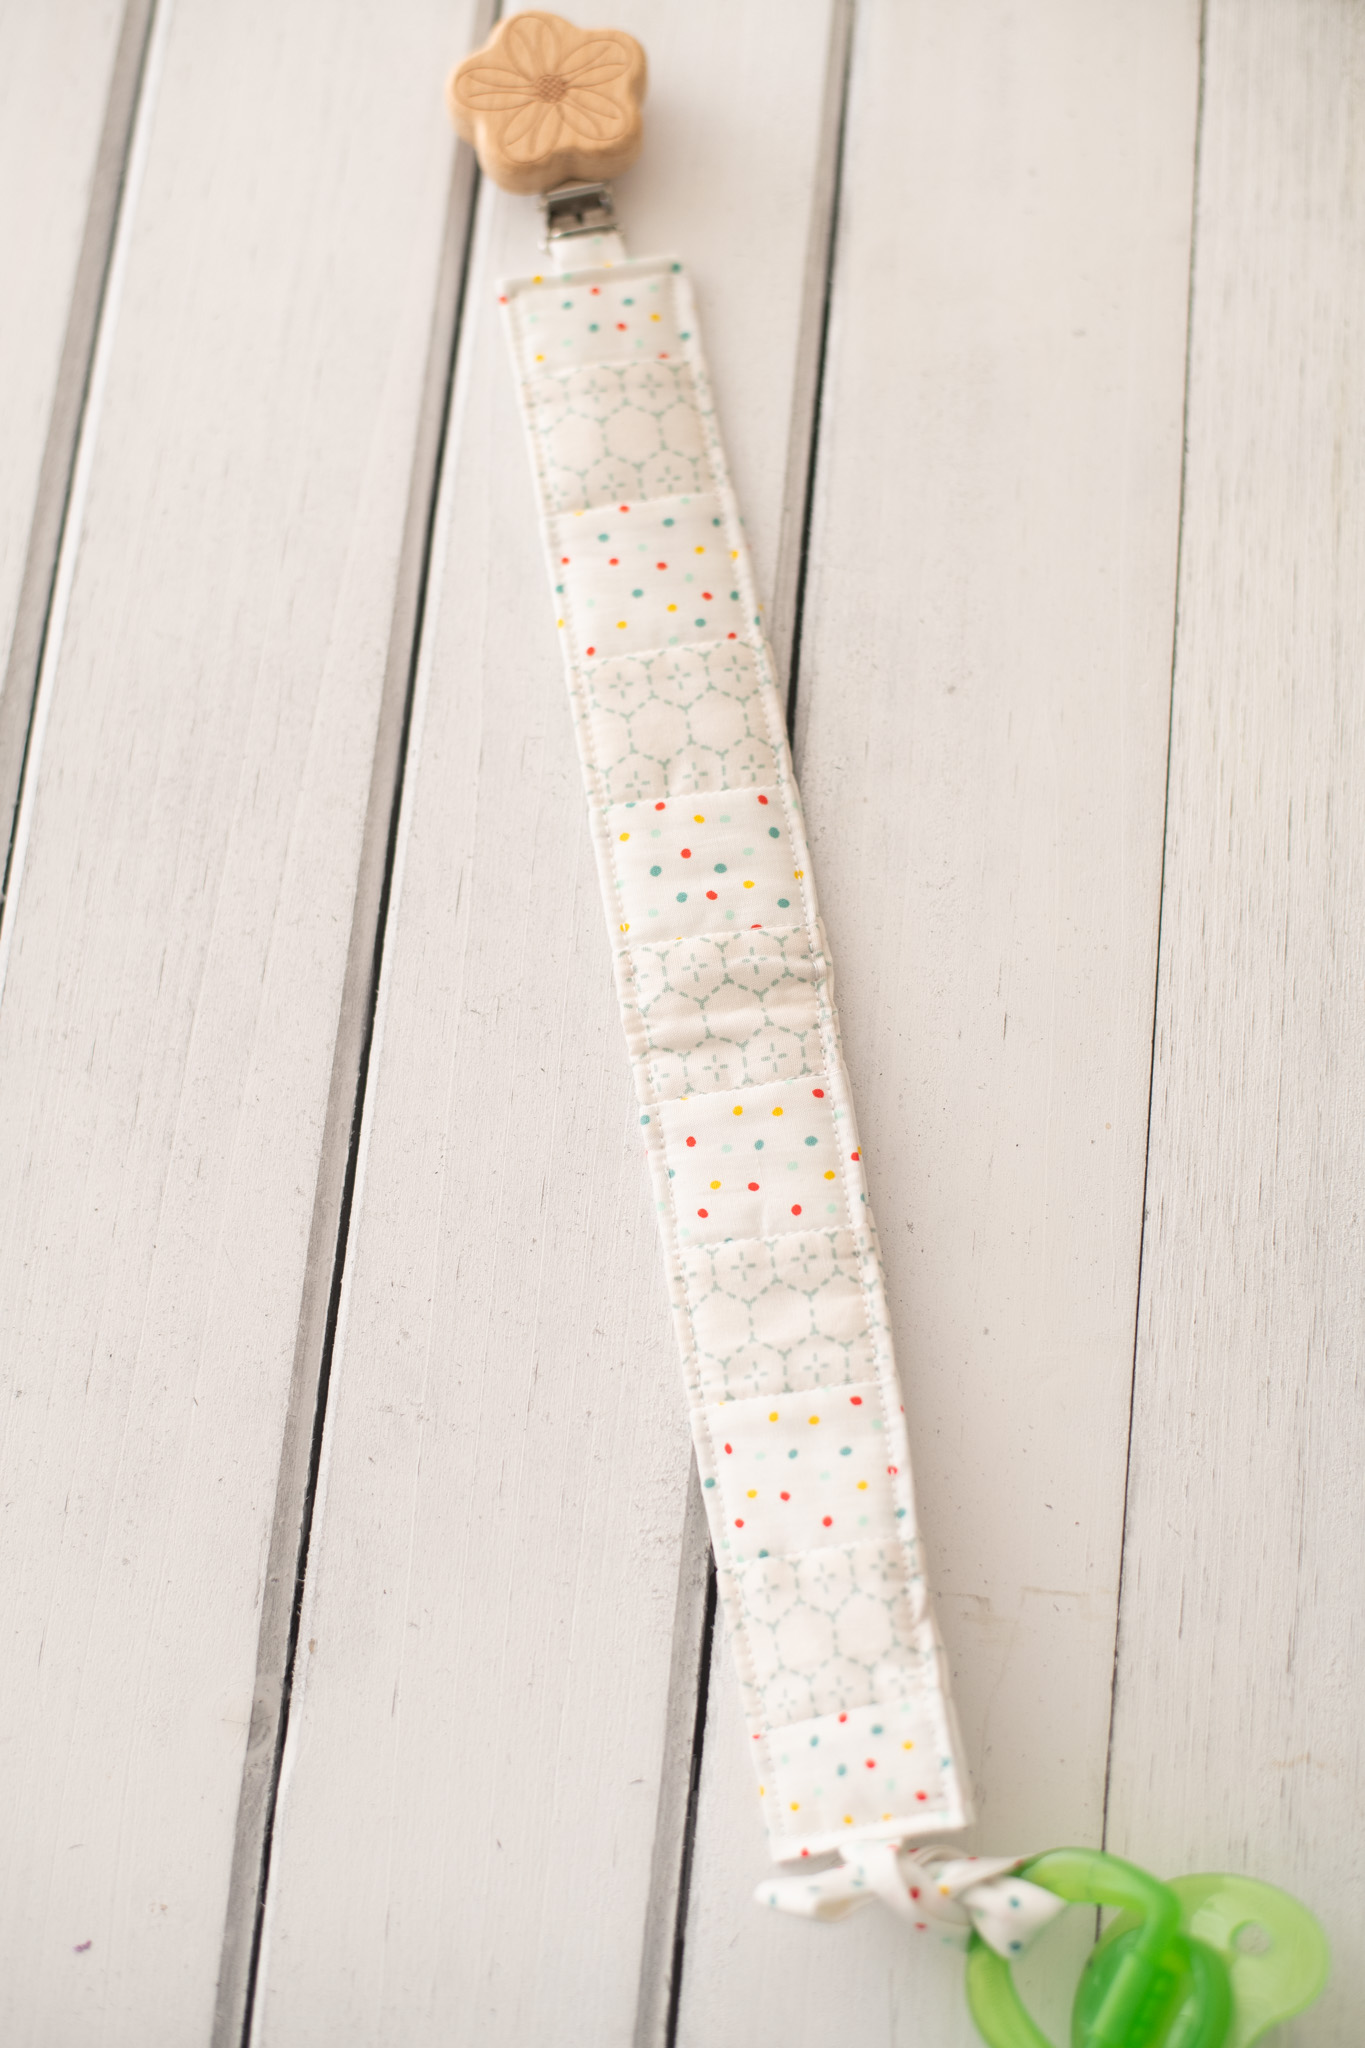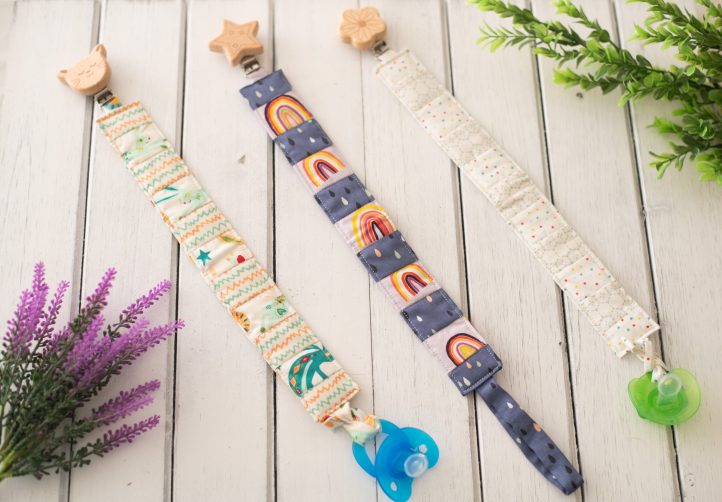
Never worry about losing your baby’s pacifier again with these colorful and handy patchwork pacifier straps! This baby quilting pattern from Sophie Tarrant shows you how to transform leftover fat quarters into adorable pacifier straps that easily clip onto your baby’s clothing, stroller, or other fabric item. Make a batch of these small quilting projects as a handmade gift for upcoming baby showers or to donate to your local women’s shelter.
Skill Level: Beginner
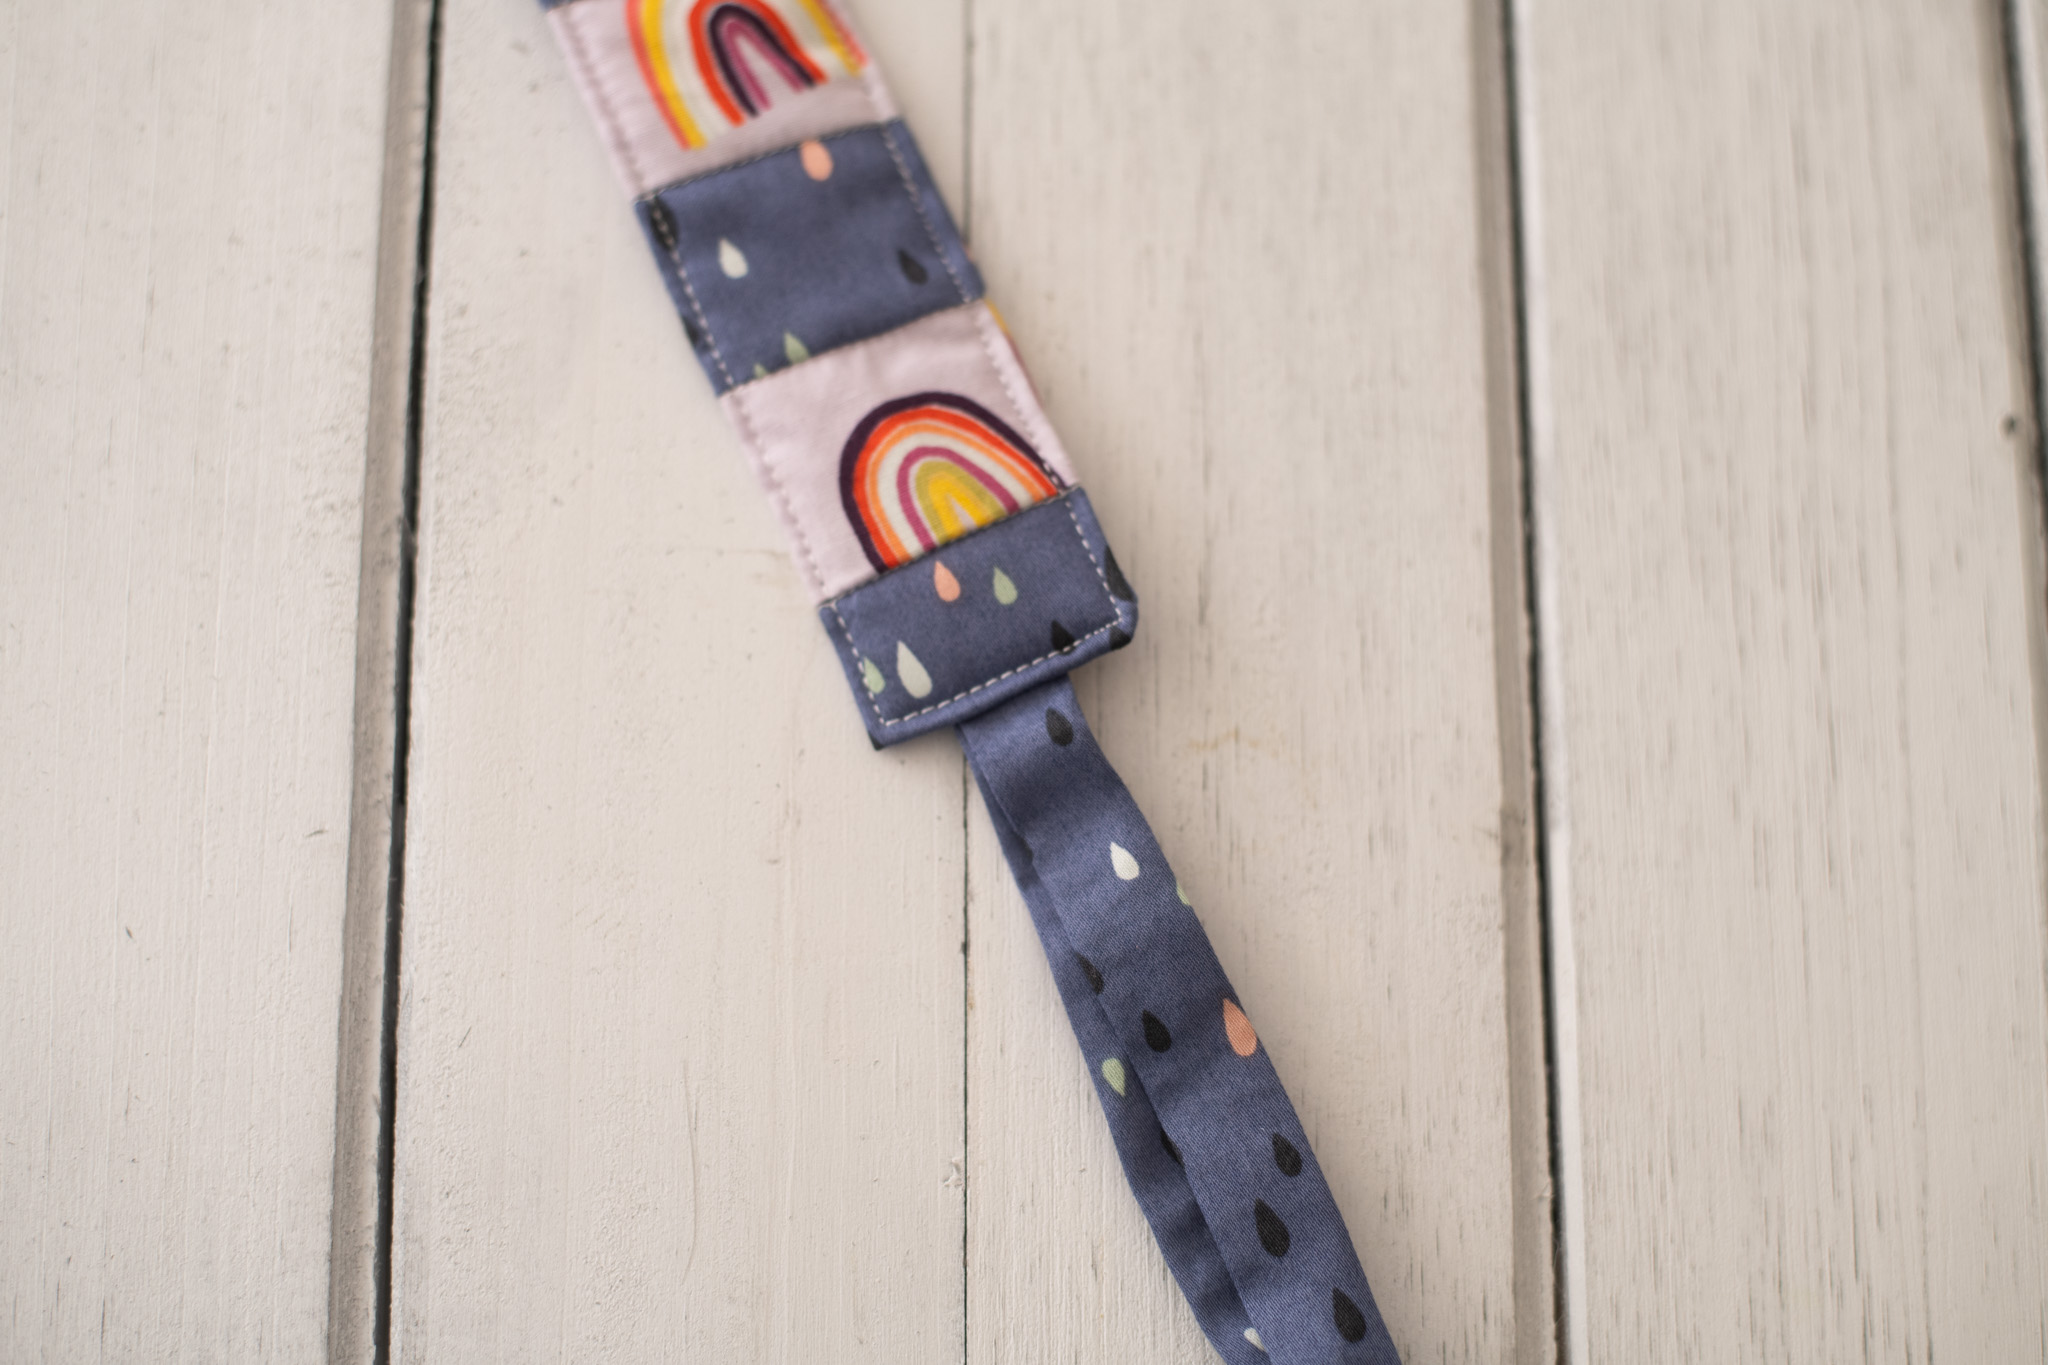
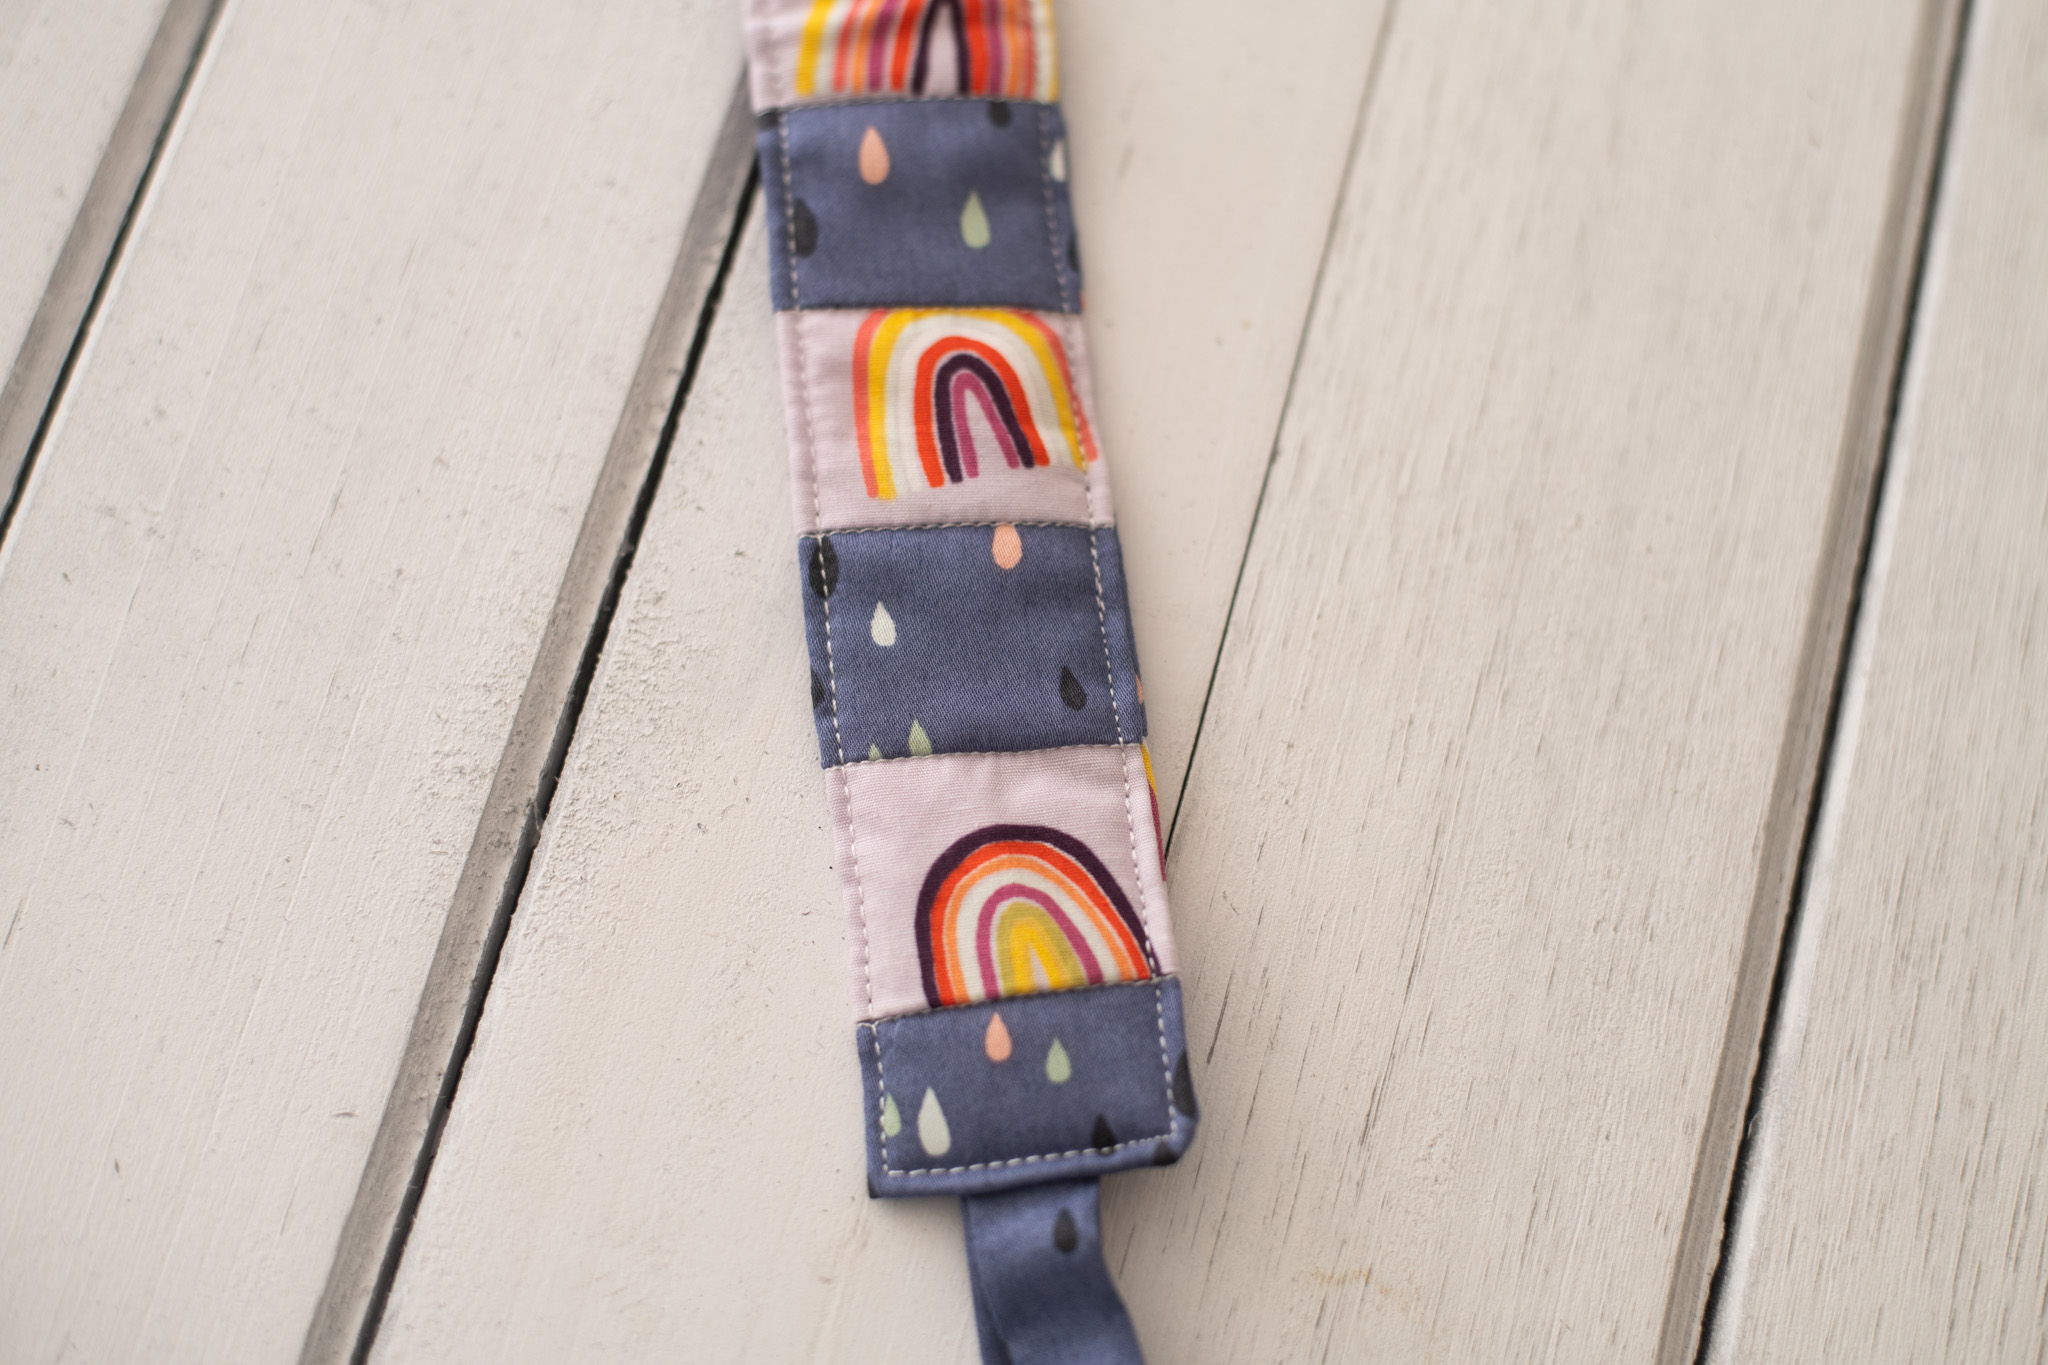
Finished Size: (main strap) 1-1/2 inch x 11-1/2 inch
Seam Allowances: 1/4 inch
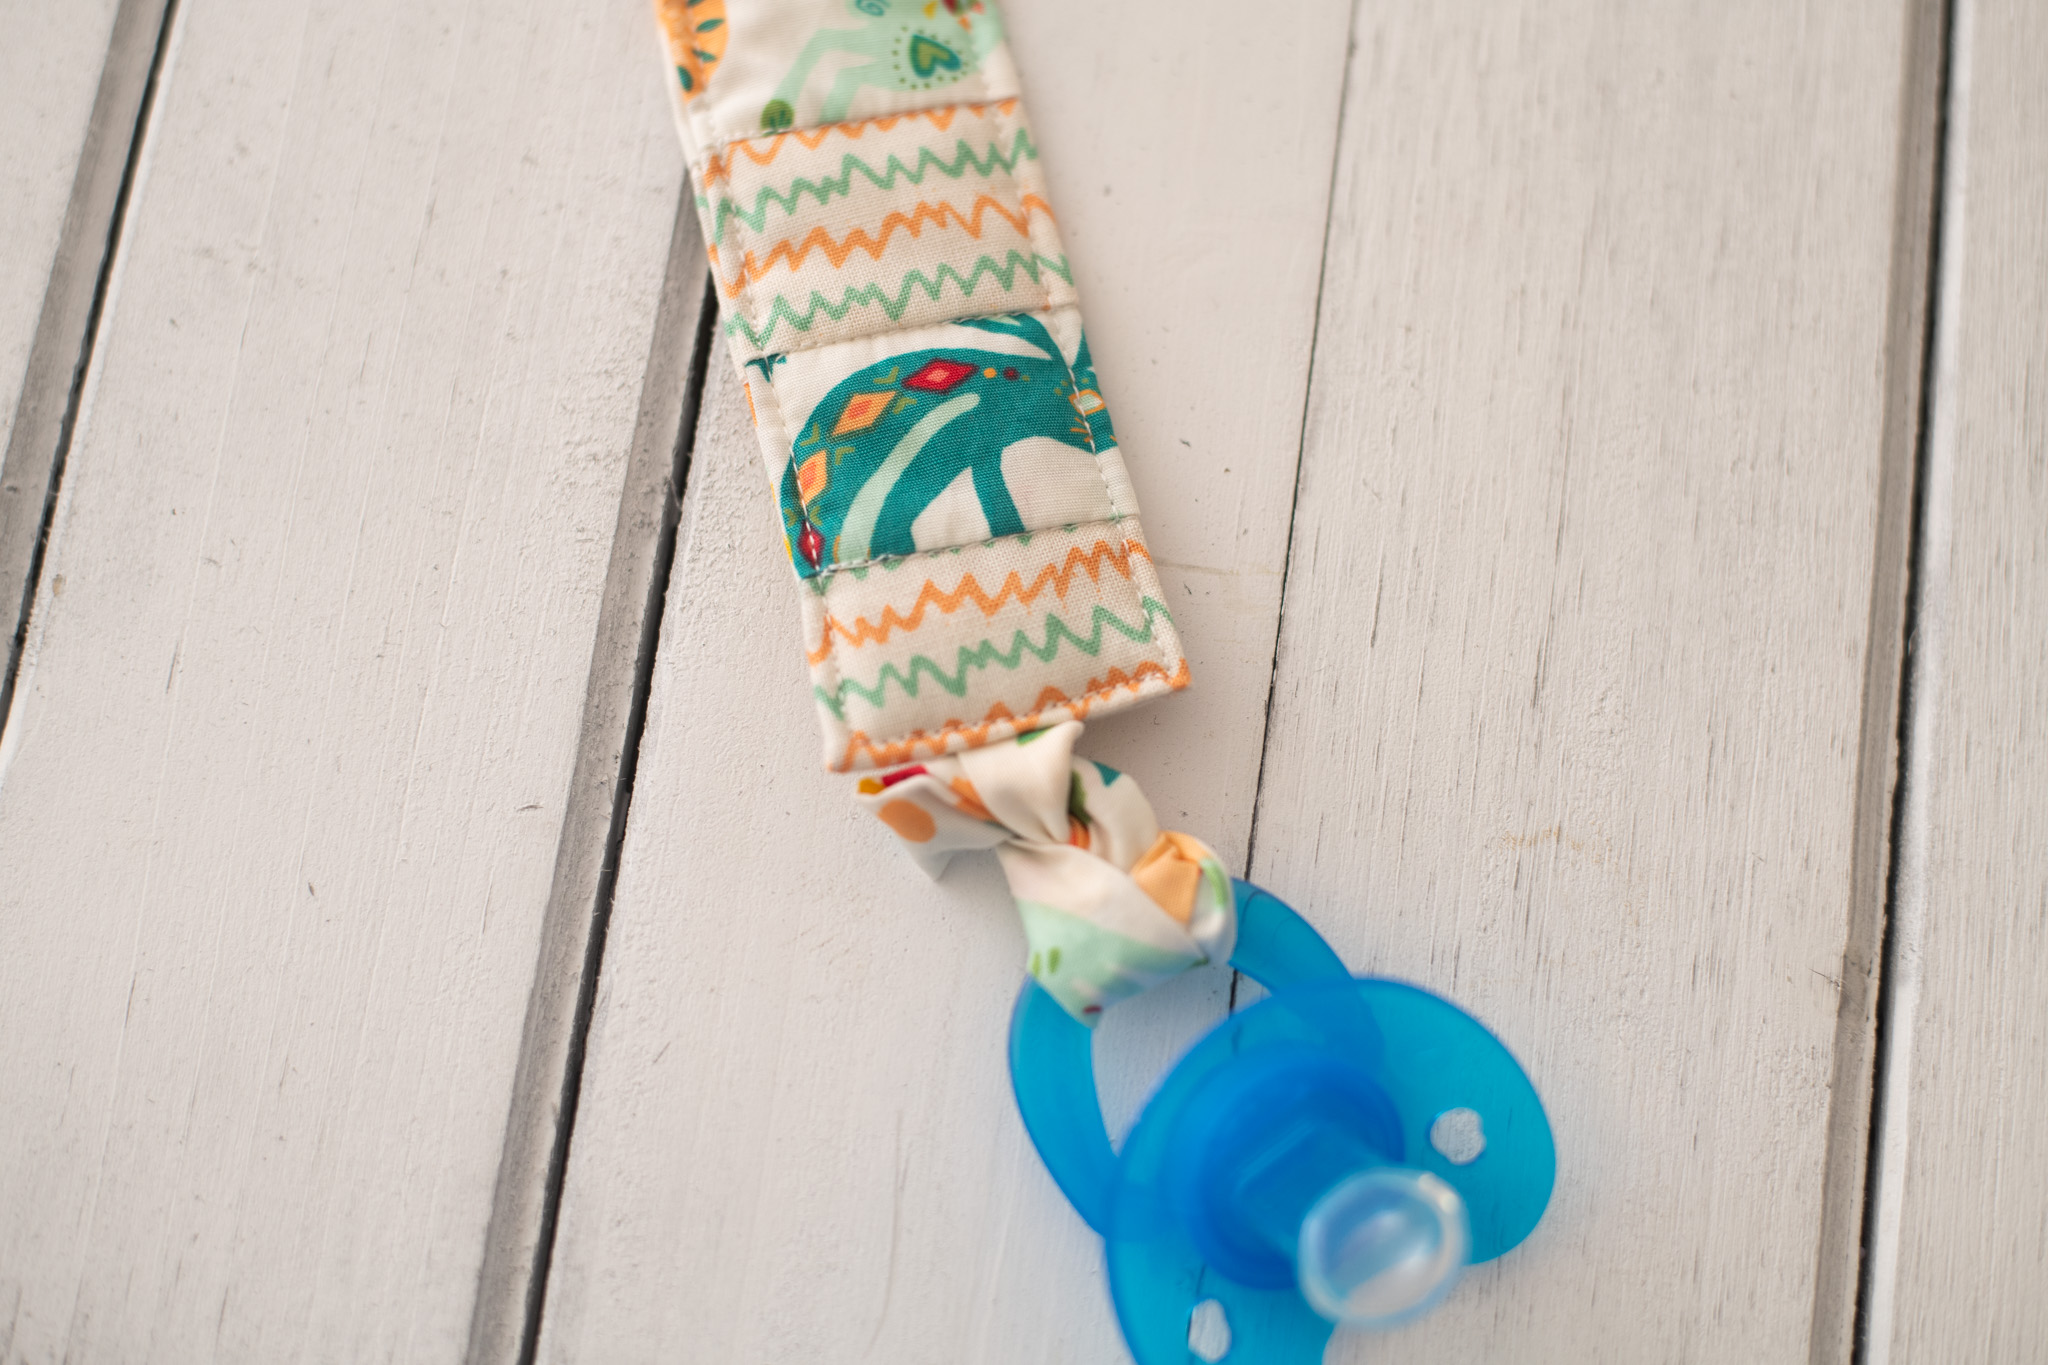
Designer Note: To use your clip, simply thread the looped end of your strap onto a pacifier, then clip the other end securely to your baby’s clothing, stroller, or any other fabric item.
Materials:
- Fabric: Two different cotton prints, one fat quarter of each
- Sewing thread: To match your fabric
- Fusible batting: 3 inch x 10-1/2 inch
- Wooden pacifier clip
Tools:
- Rotary cutter and mat
- Scissors
- Pencil
- Iron
- Ruler
- Pins or clips
- Sewing machine
Piecing Instructions:
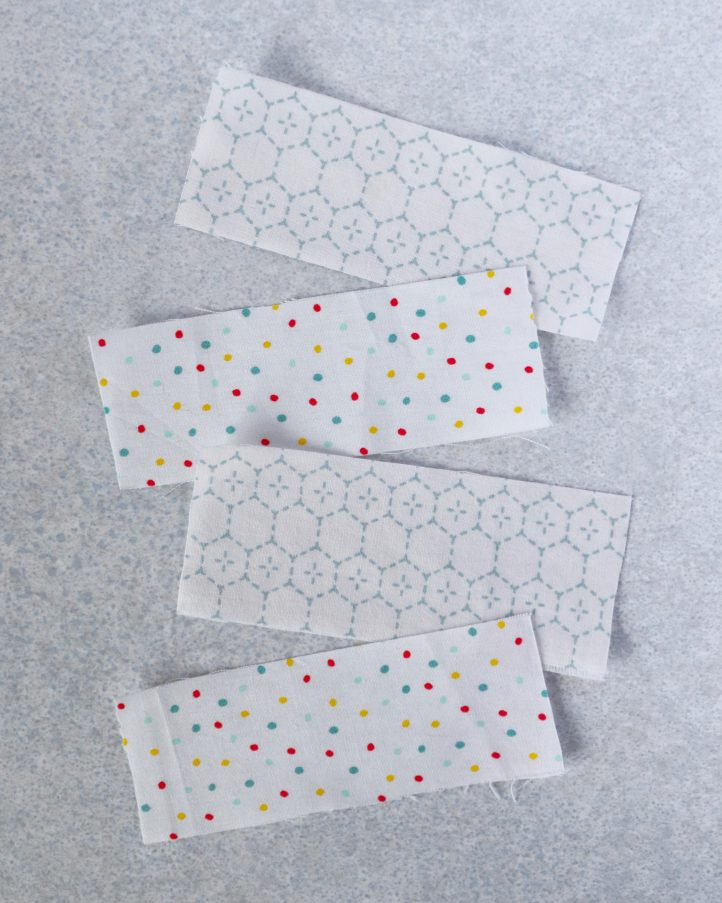
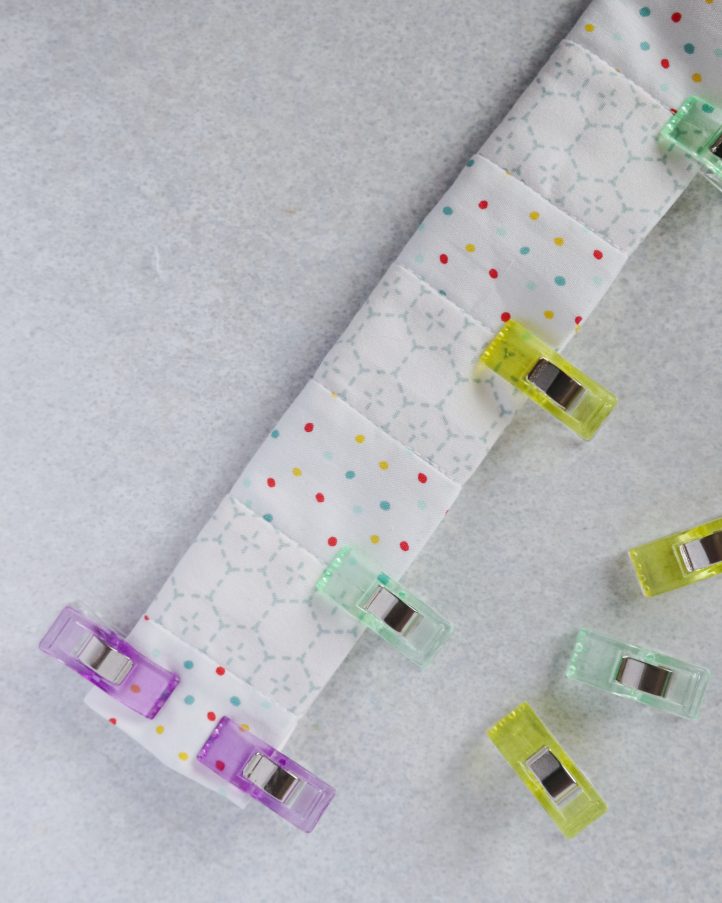
- Begin by cutting your fabric pieces. For the main strap, you’ll need to cut six 1-1/2 inch x 4 inch rectangles from each of your fabrics (12 pieces in total), plus one extra 1-1/2 inch x 10 inch strip, which can be cut from either fabric.
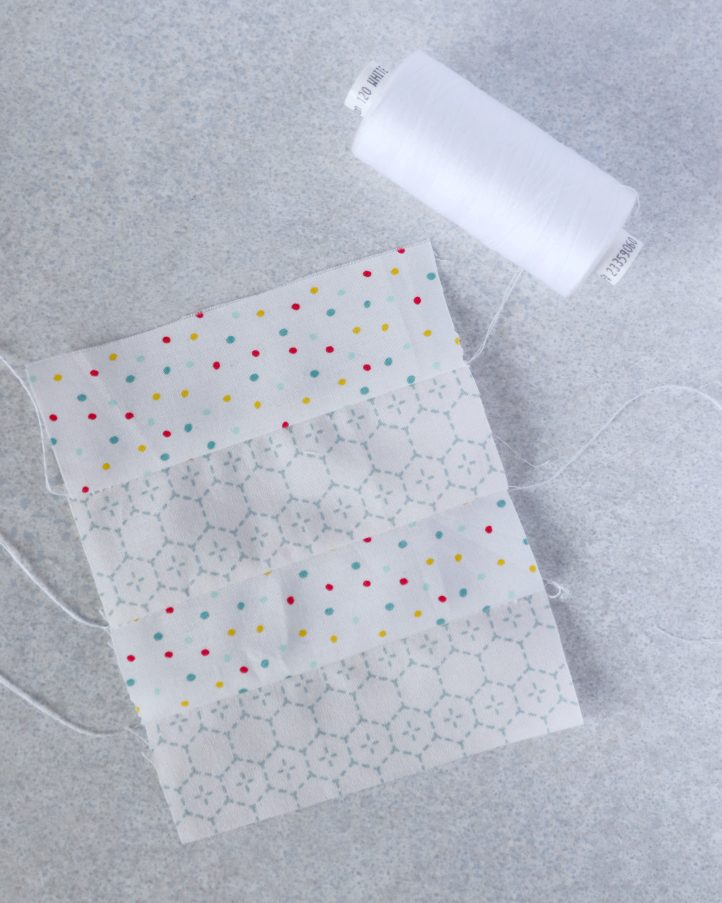
- Take two of your 1-1/2 inch x 4 inch pieces (one of each print) and place them together with the right sides facing. Machine stitch down one long edge, leaving a 1/4 inch seam allowance. Open the fabrics out and press the seam to one side. Add another fabric piece in the same way, making sure that you alternate the prints as before. Carry on until you’ve joined 11 pieces together into one long strip.
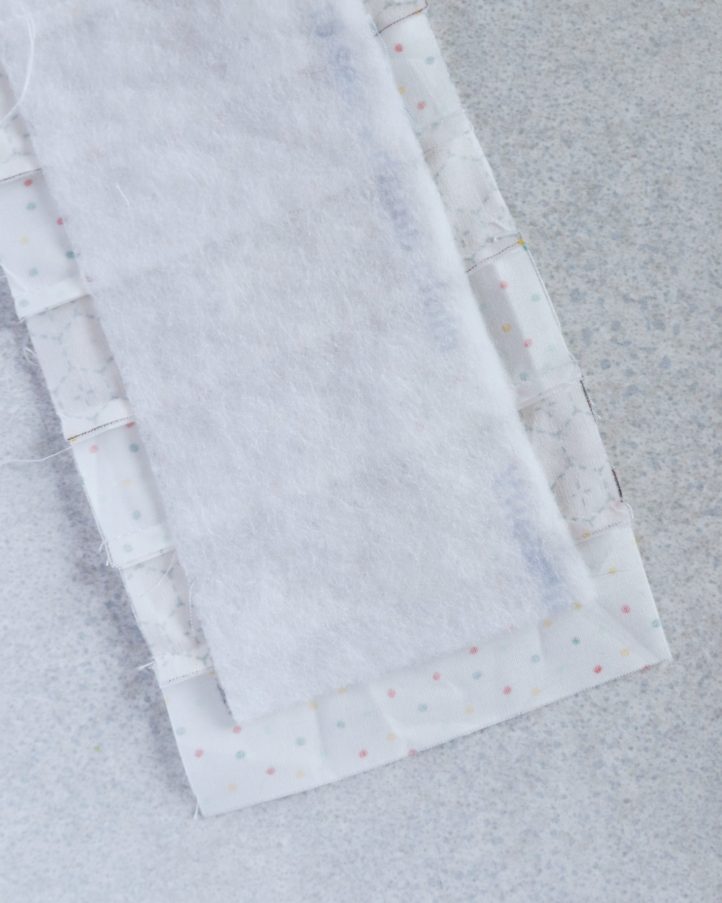
- Turn the work over, so the right side faces down. Place your 3 inch x 10-1/2 inch piece of fusible quilt batting against the wrong side of the strip, positioning it in the middle of the fabric. There should be a 1/2 inch border of material all around the batting. Use an iron to press the batting into place.
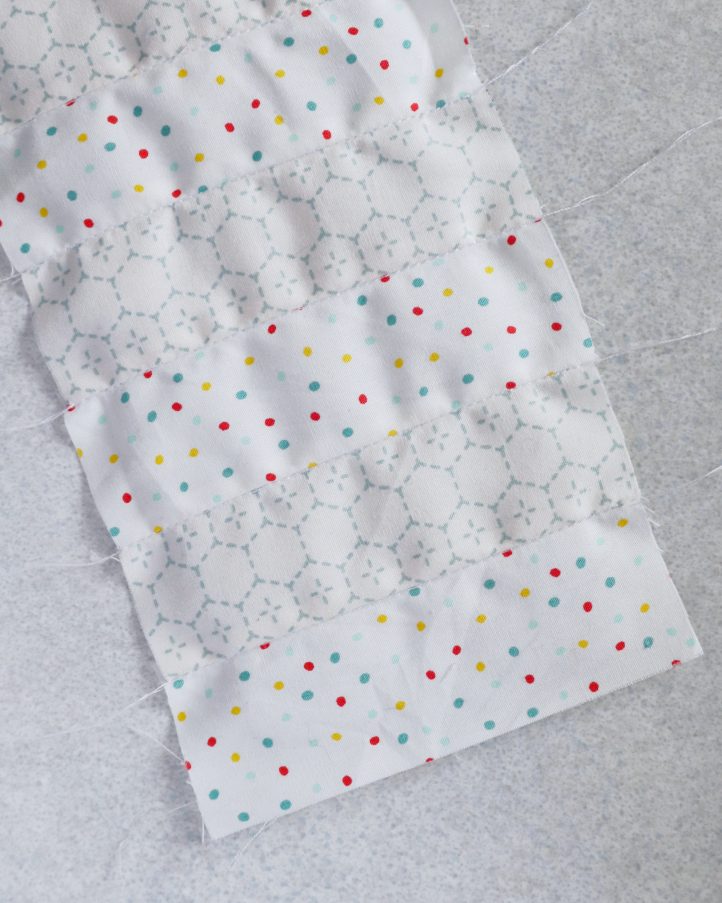
- Turn the work back over so the right side faces up. Work lines of straight machine top stitch along each of the strip’s seams, using the “stitch in the ditch” method. Once finished, trim away any remaining thread tails.
- Turn the work over once more so the right side faces down. Fold and press the edges of the strip over to the wrong side by 1/2 inch, so they wrap around the edges of the batting. Fold the work in half lengthwise with the right sides facing out, then clip together along the three open edges.
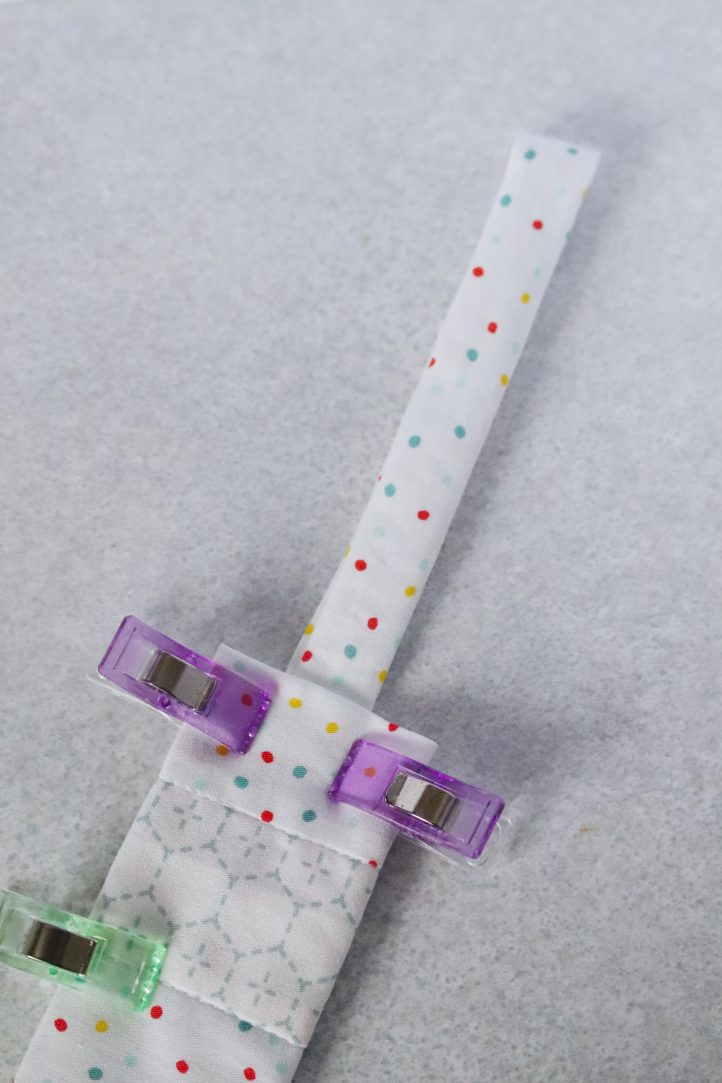
- Fold your 1-1/2 inch x 10 inch fabric piece in half lengthwise with the right sides facing. Machine stitch down the long open edge, leaving a 1/4 inch seam allowance. Use a safety pin or a loop turner to flip the tube right sides out. Roll the long seam around so it runs down the center of the strip, then press flat. Bring the two short edges together, then insert them inside one end of the folded pacifier strap. Replace the clips, to hold the loop in place.
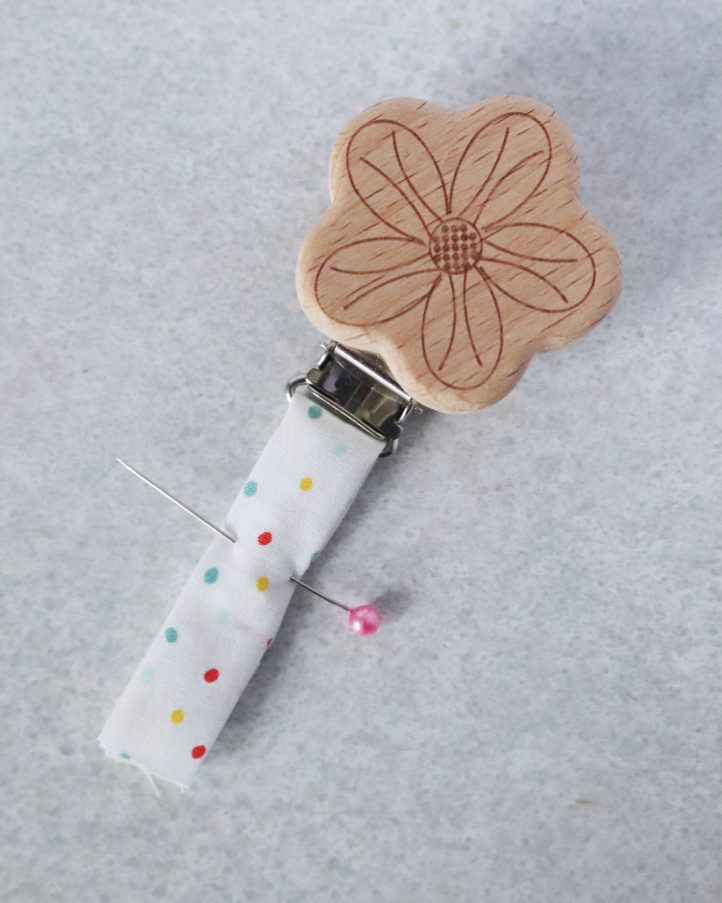
- Take your remaining 1-1/2 inch x 4 inch fabric piece and fold it in half lengthwise with the right sides facing. Stitch it into a strip in the same way as above, before turning it right sides out and pressing flat. Thread this tie through the loop of a wooden pacifier clip, then fold it back down over itself and pin the ends together. Stitch across the bottom of the strip, then remove the pin. Insert the stitched end of the strip inside the opposite end of the folded pacifier strap and use clips to hold it in place, as before.
- Taking care to keep everything clipped in position, work a machine edge stitch all around the perimeter of the strap. This should not only close the open edges of the fabric but secure the pacifier clip and looped tie into place, too.