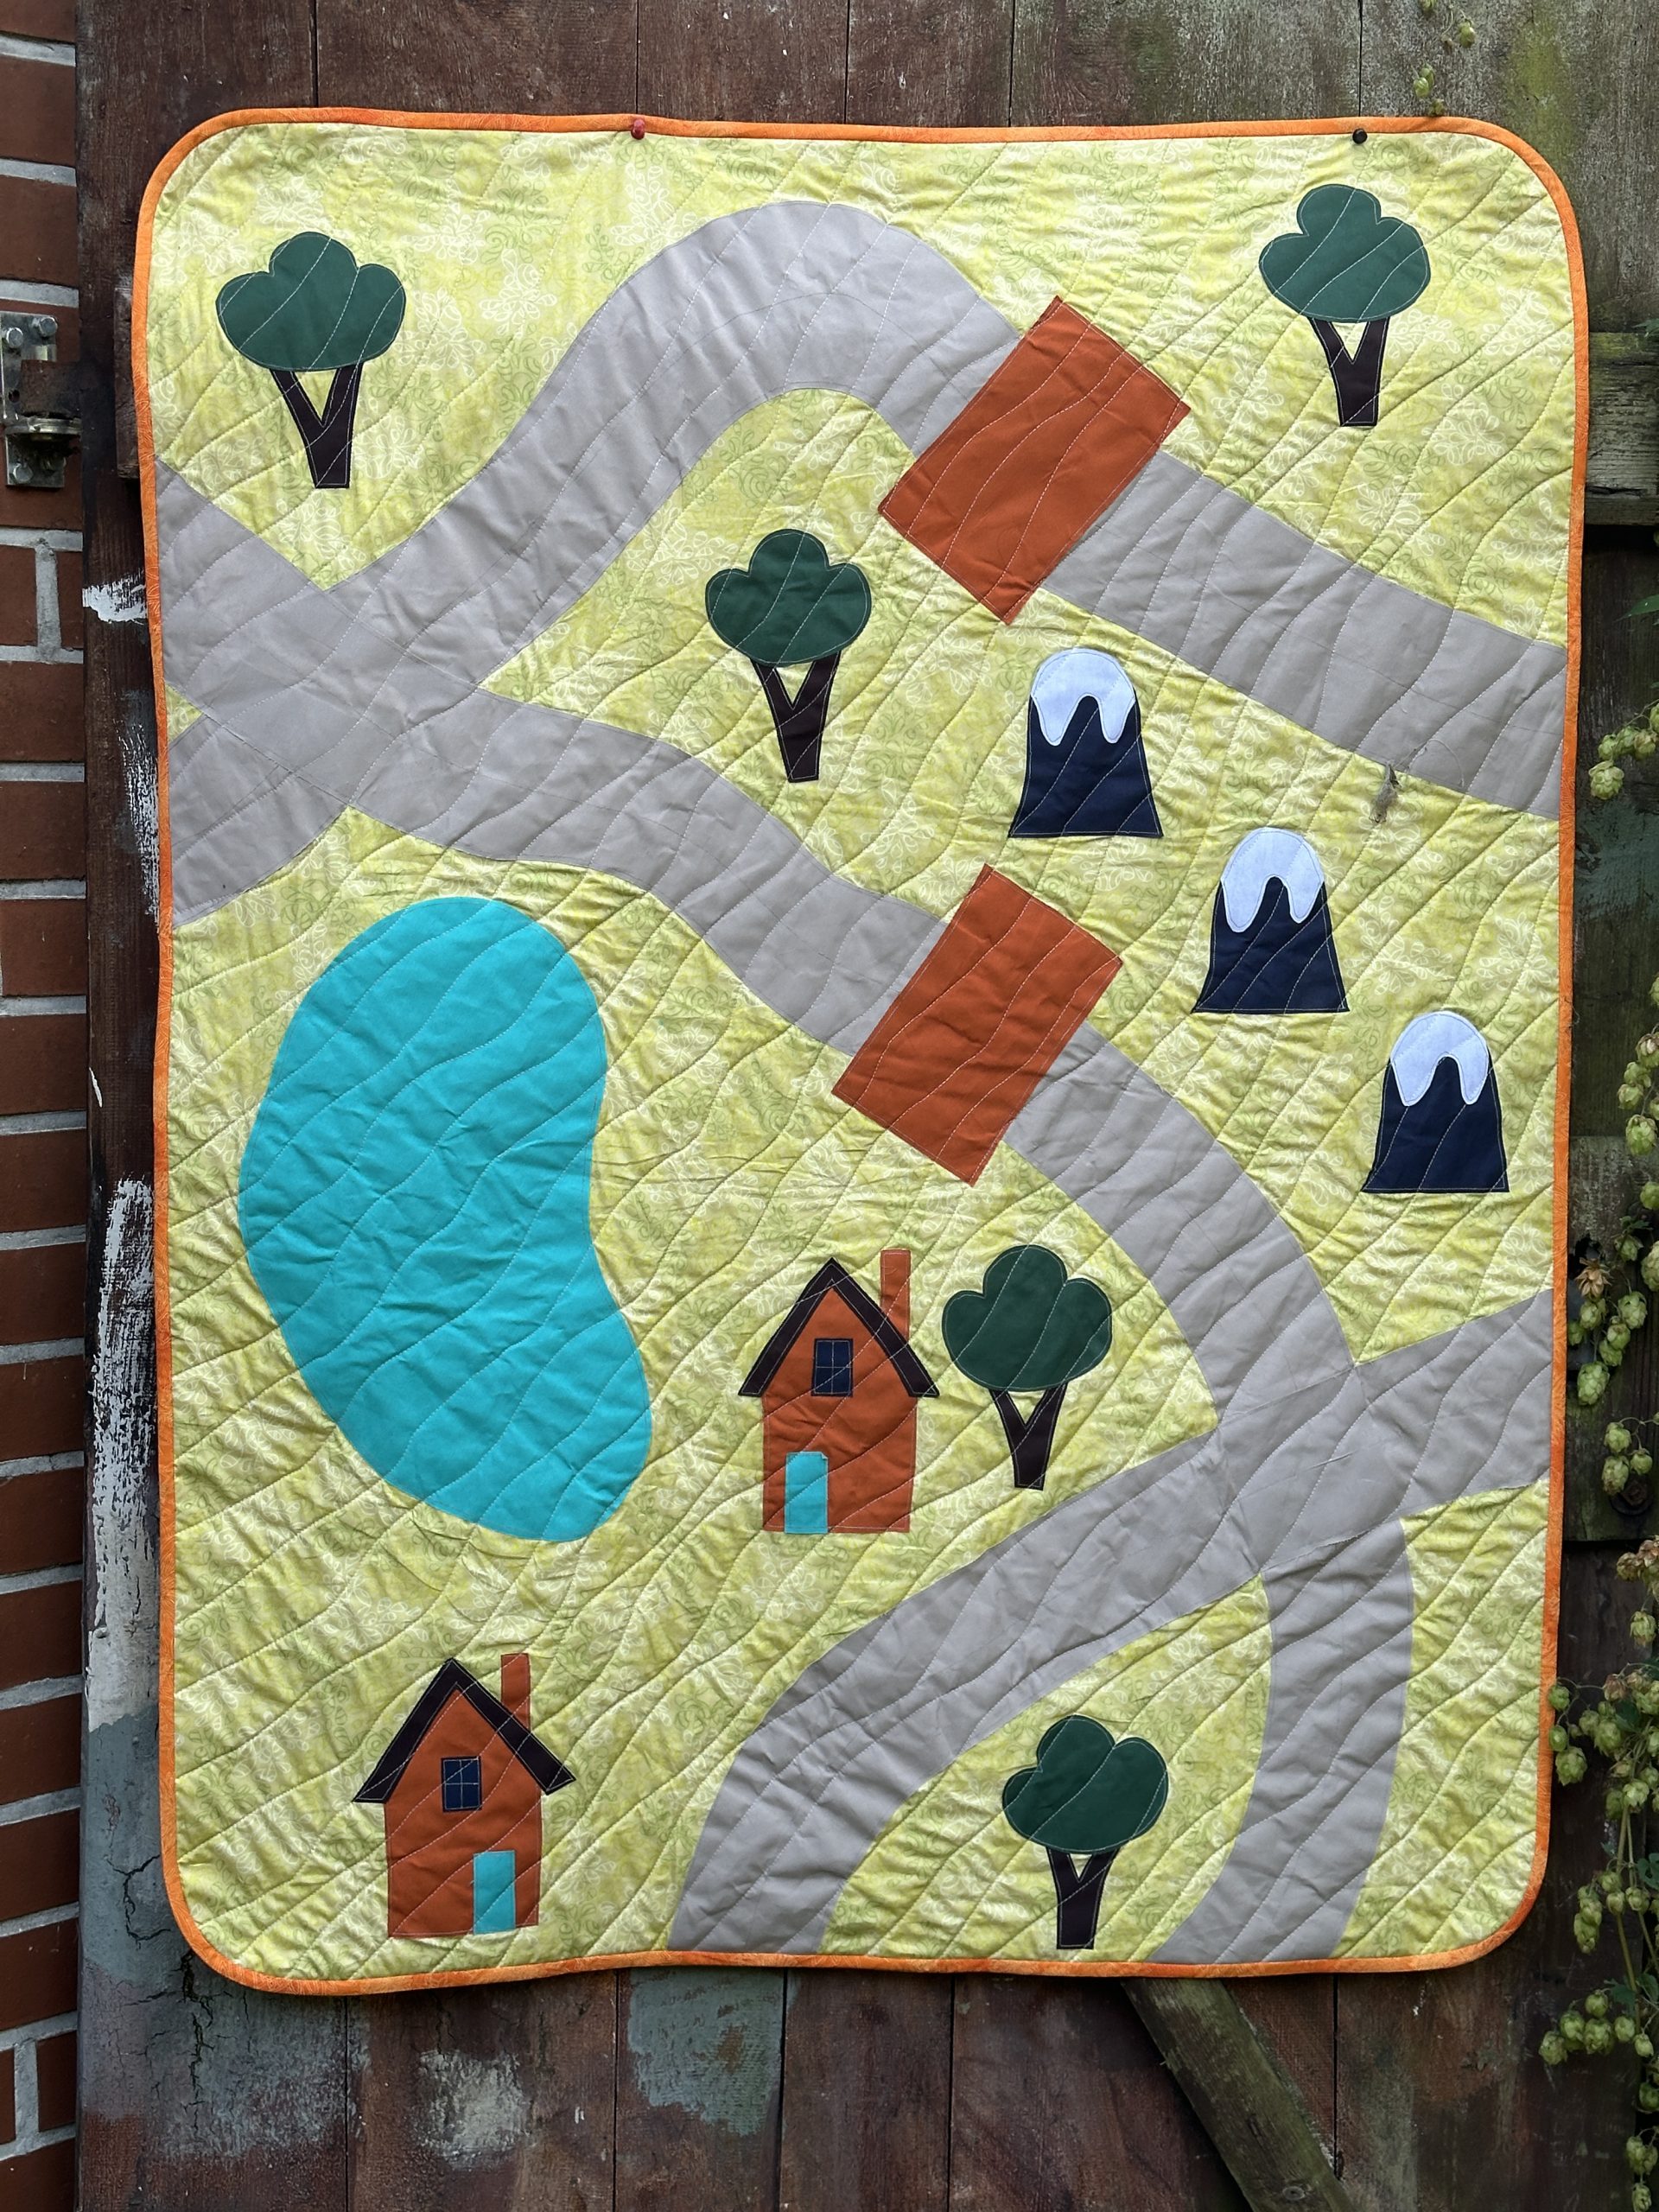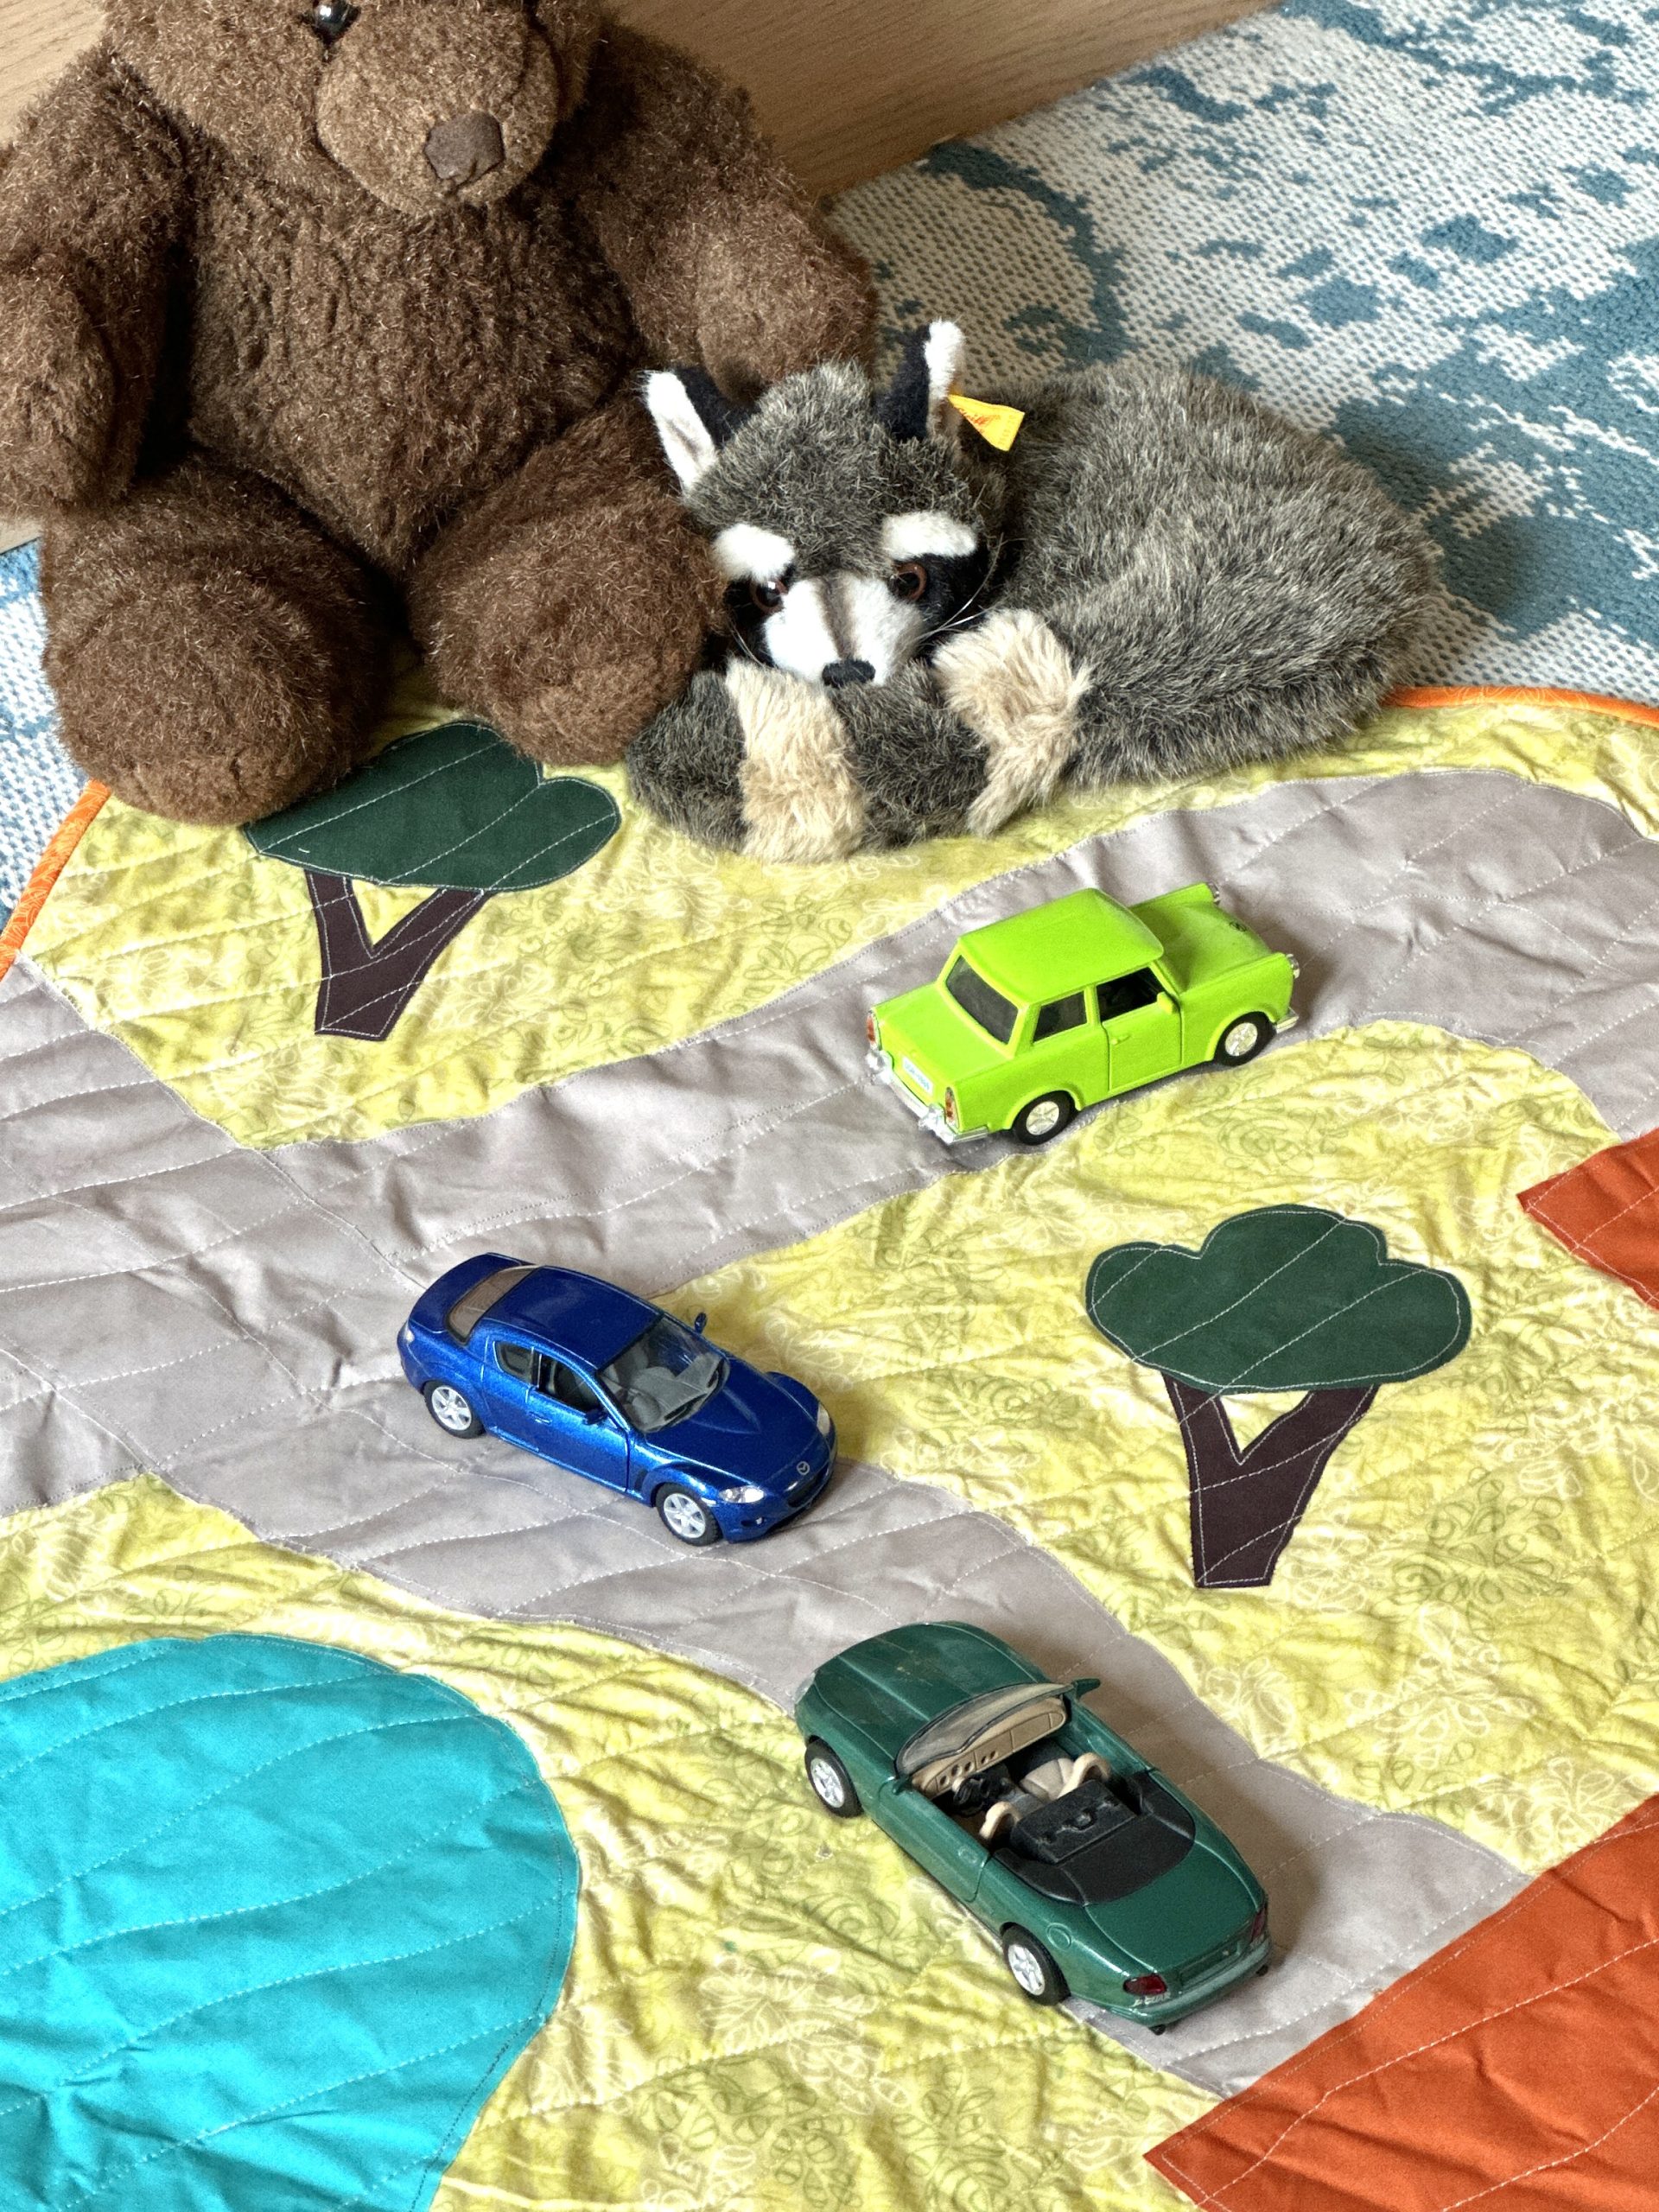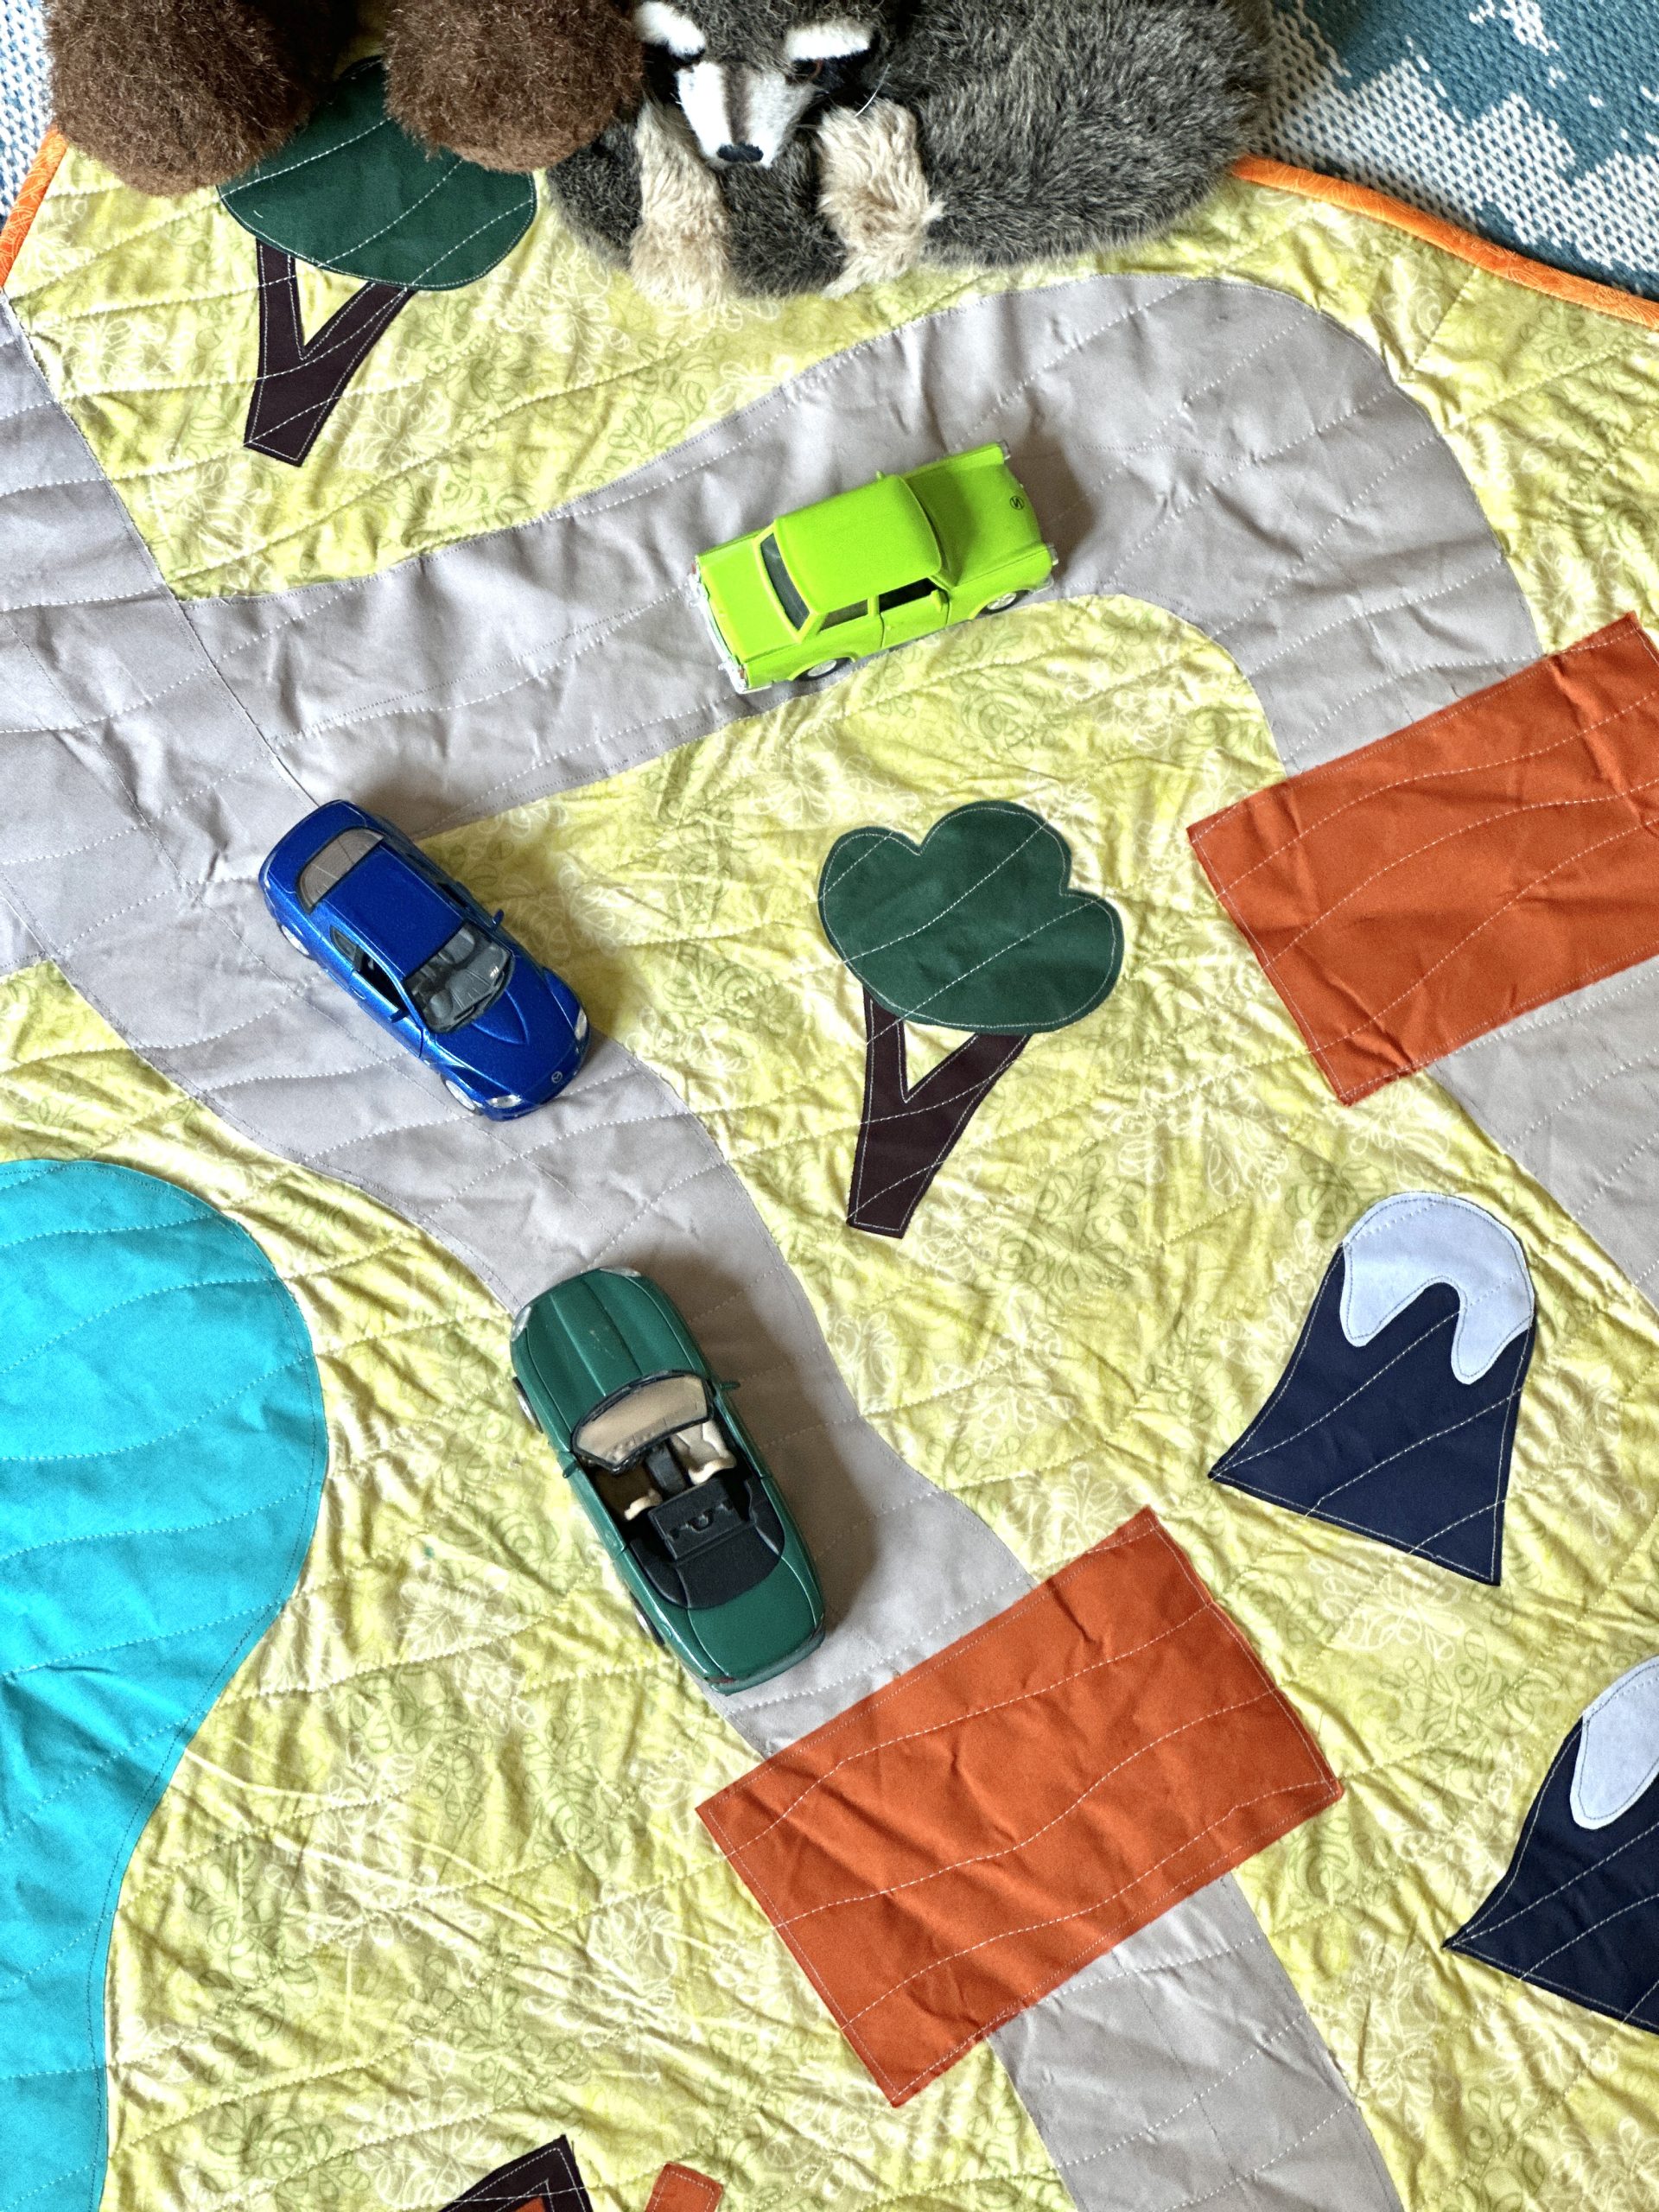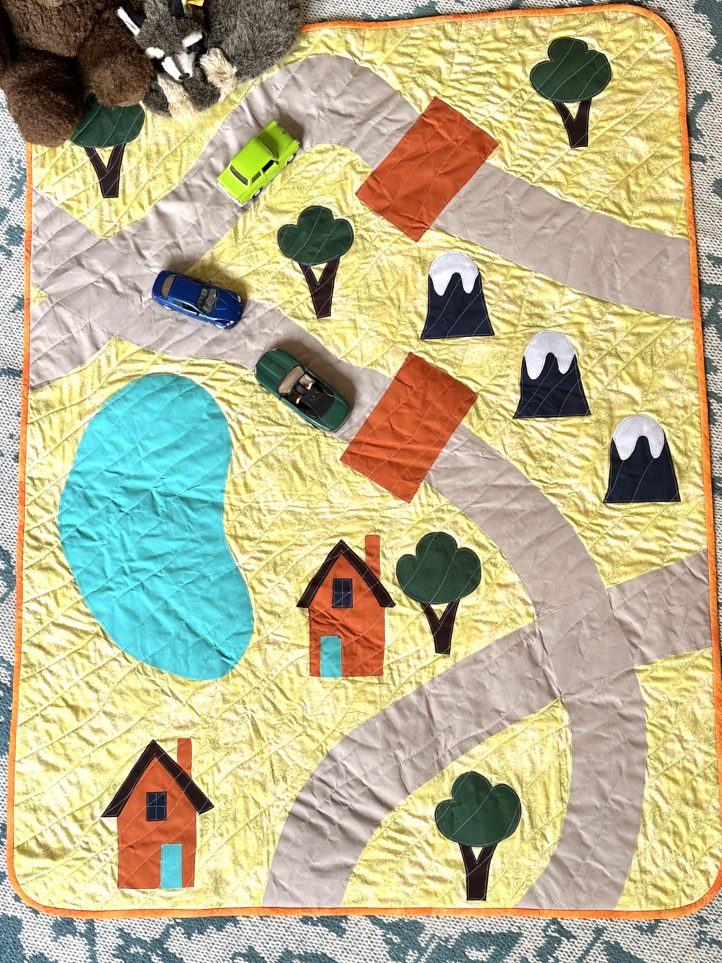
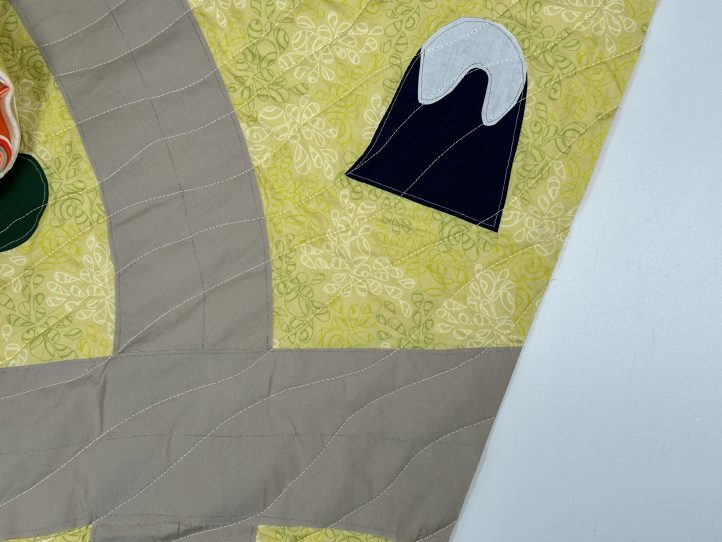
Your little ones will adore snuggling up and playing with this interactive baby quilt pattern from Debbie von Grabler-Crozier. Fat quarter friendly, this baby and toddler quilt pattern features an enchanting map of winding roads, snow-capped mountains, and mini forests. Kids will love creating their own stories by interweaving their own toys and dolls with imaginative play. Gift this small quilt pattern at your next baby shower or birthday party as a thoughtful and heartfelt homemade present.
Designer Note: Seam allowances are all 1/4 inch and have already been added.
Editor Note: Please note that the PDF templates features a .70″ scale.
Materials:
- Fabric: (Note: All fabrics are all by Art Gallery Fabrics.)
- 1 1/2 yards of green blender fabric for the background. Debbie loves Pistachio from the Nature Elements collection by AGF.
- 2 yards of something fun and bright for the backing fabric. The designer chose Fortunate Spirited from the Flight Path collection by Jessica Swift for AGF.
- 1/2 yard binding fabric. This time Orangine from the Flower Elements collection by AGF was chosen.
- Assorted solids to make the scenery. All are from the Pure Elements collection by AGF:
- 1 yard Mushroom (warm gray) for the roads
- FQ “Fat Quarter” Nocturnal (navy blue) for the mountains and the windows
- FQ Snow (white) for the snow caps on the mountains
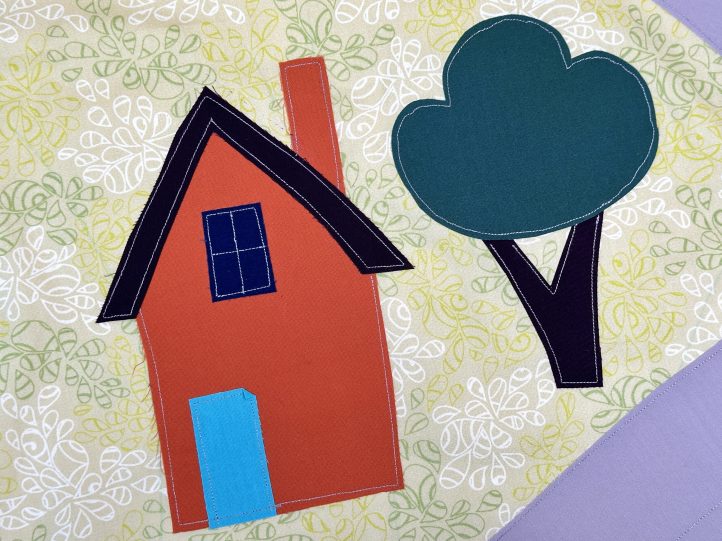
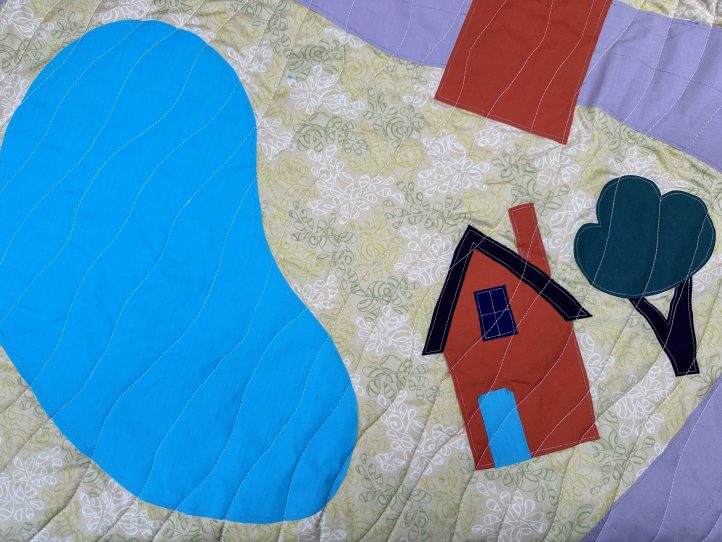
- FQ Apple Cider (rich orange) for the houses and bridges
- FQ Truffle (dark brown) for the house roofs and the tree trunks
- FQ Peacock (dark green) for the tree tops
- FQ Cozumel Blue (aqua) for the lake and the house doors
- Interfacing:
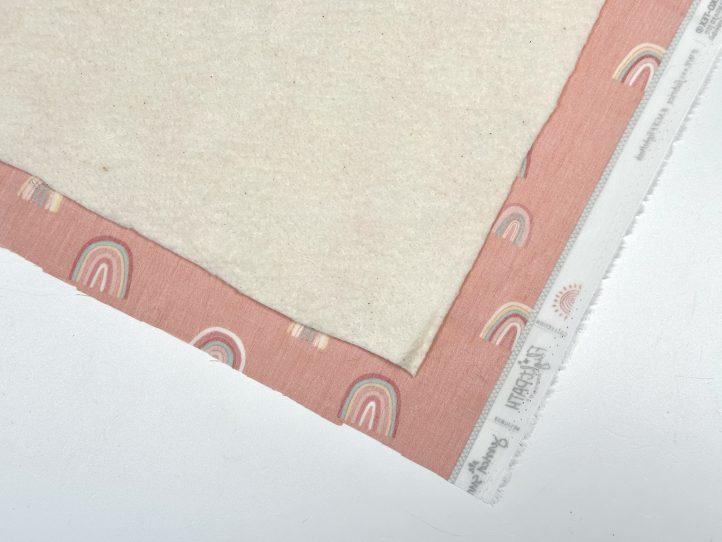
- 2 yards. #279 80/20 cotton mix wadding (Vlieseline)
- 2 3/4 yards. Bondaweb (for appliqué) (Vlieseline)
- Dark brown or dark gray thread for the appliqué
- Coordinating threads for all fabrics and trims
- Scissors
- Fabric marking tools
- Extra feet for your sewing machine (walking foot (quilting) and a darning foot (embroidery), for example)
- PDF Templates – These are located at the bottom of this page. See printing instructions below.
PRINTING INSTRUCTIONS:
To download the PDF templates, click on the download button at the bottom of the page. We recommend opening your download using Adobe Acrobat.
Cutting Instructions:
From the green background fabric:
- 1 piece 40 inch wide x 50 inch tall
From the assorted solid fabrics (using the relevant templates):
- These are found in the printable PDF.
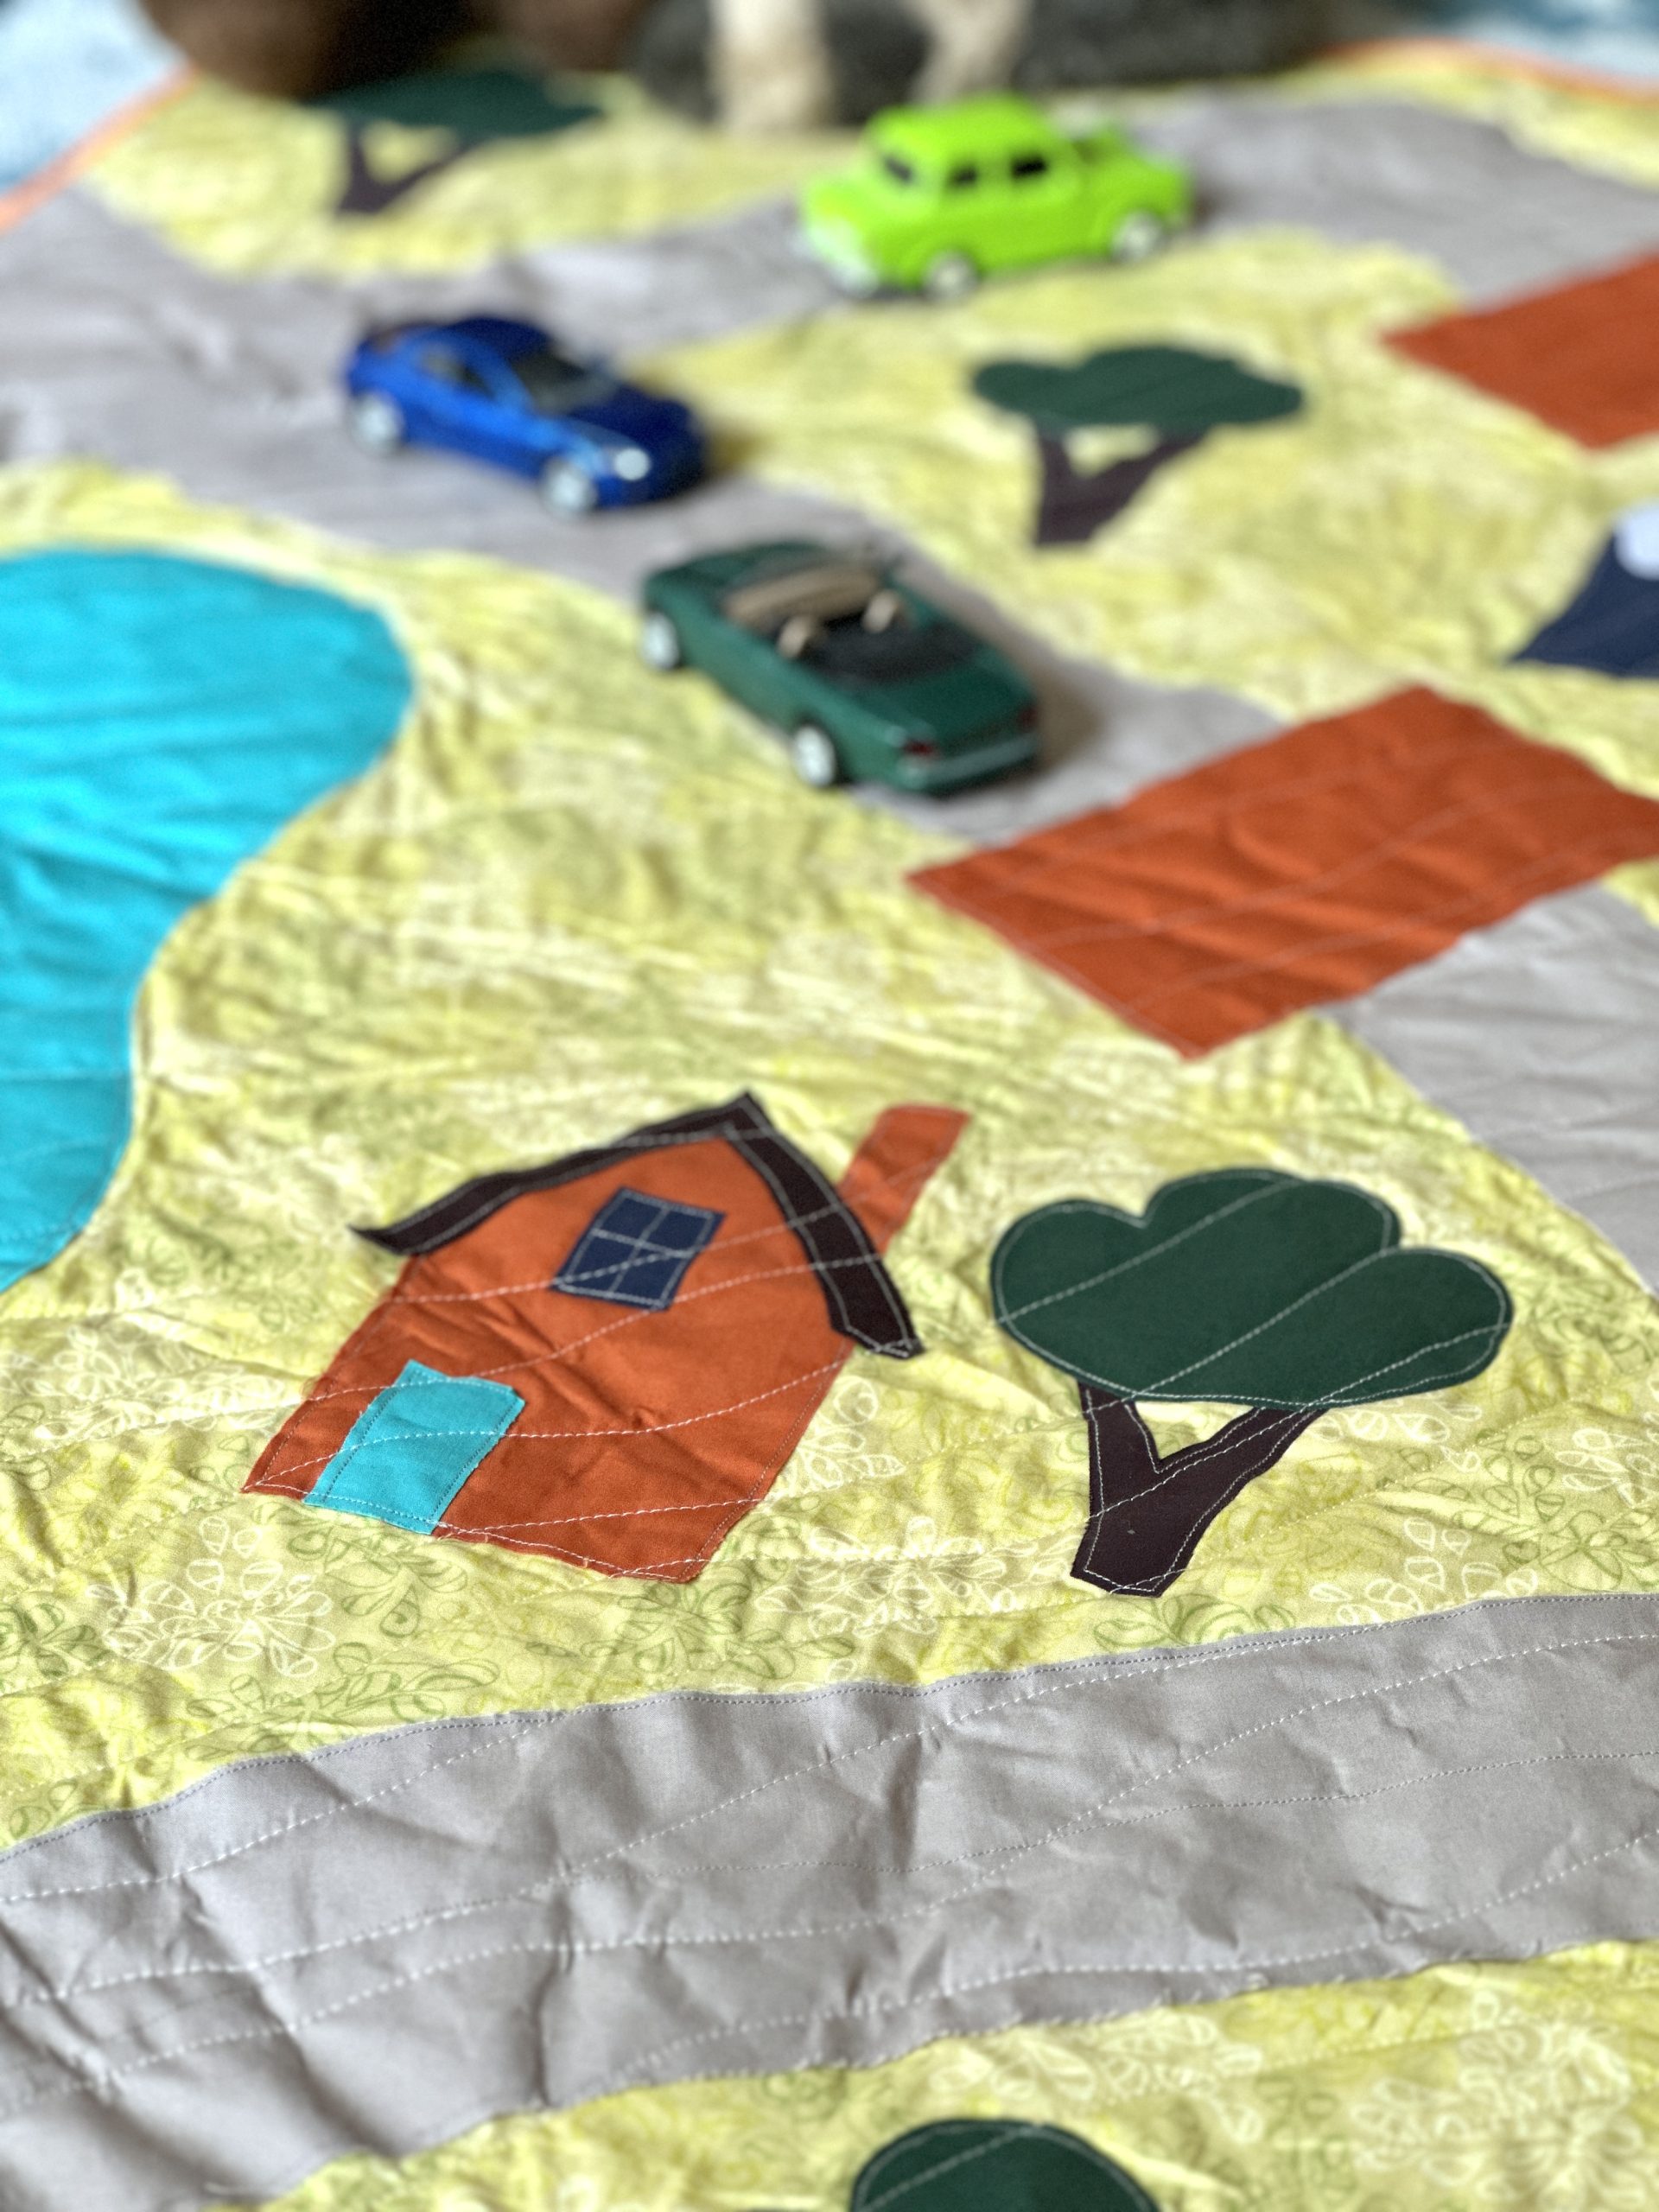
TIP: These pieces can be put together in various ways. You can leave an element out or make many of the same things: houses to build a town or trees to make a forest, for example. The road elements are in sections and can be joined together with bridges to hide the joins or placed together to make one long road as you prefer.
From the binding fabric:
- Strips cut at 1 1/2 inch wide and joined to make a continuous strip 182 inches long
From the backing fabric:
- 1 piece 45 inches wide x 55 inches tall
From the wadding:
- 1 piece 42 inches wide x 52 inches tall
Piecing Instructions:
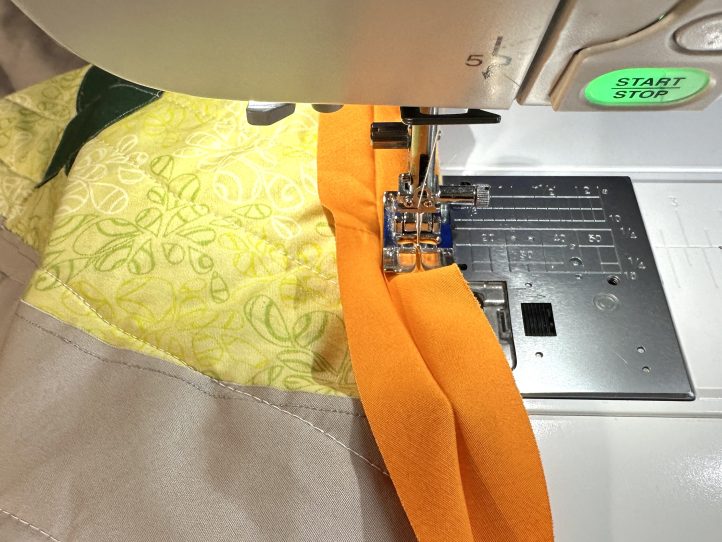
MAKE THE BIAS TAPE:
- Fold your continuous length of bias tape in half lengthways with the wrong sides facing. Press to obtain a center crease.
- Open out and fold the two long raw side edges to the center crease, also wrong sides facing, and press again.
- Re-fold along all of the creases so that the wrong sides and raw edges are hidden in the folds. Roll until it is needed.
THE APPLIQUE:
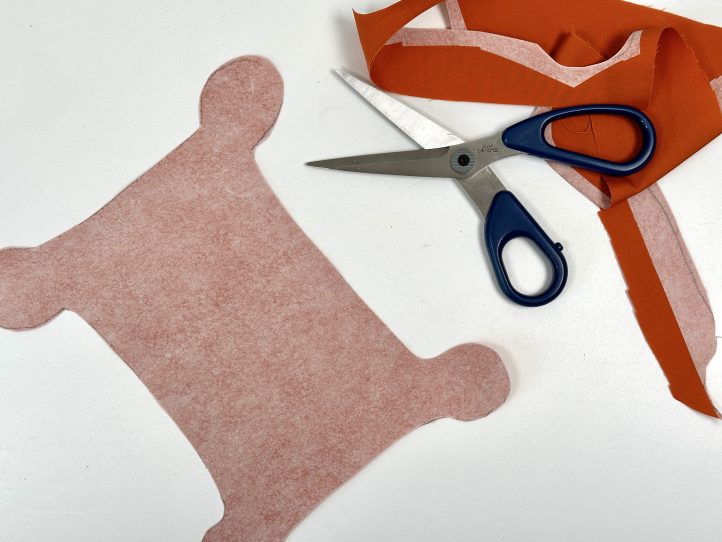
- Bondaweb has a smooth (paper) and a rough (glue) side. Draw the appliqué pieces (from your templates) onto the smooth side and then cut the pieces out roughly.
- TIP: Cutting out roughly means that you don’t need to pay too much attention to the exact shapes and you can leave a small margin of paper. Don’t leave too much though as this wastes both the Bondaweb and the fabric.
- Iron to bond the relevant shapes to the wrong sides of the relevant fabrics and then cut them out exactly.
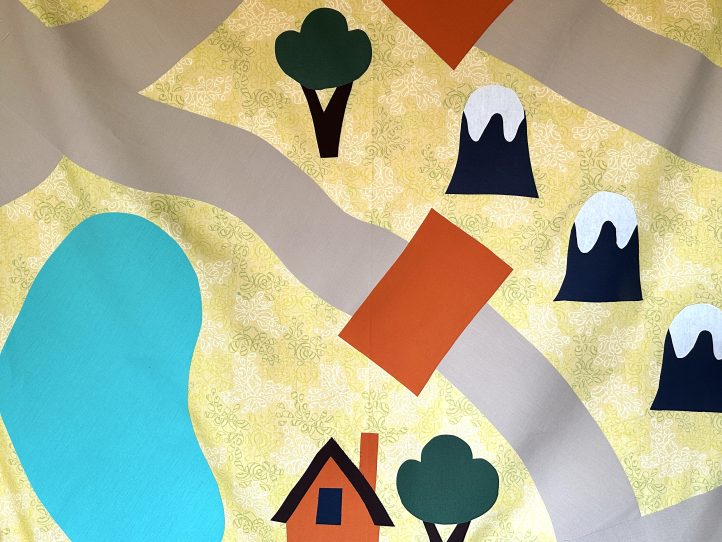
BUILD YOUR SCENE:
- Lay the appliqué pieces onto the backing fabric and see where things look best. Start with the larger elements such as the roads and the lake. When you are happy, tear the paper away and iron the appliqué pieces into place.
- Do the same with the other elements and fuse them all into place as they are ready.
THE FREE MOTION EMBROIDERY (FME):
- Set your machine up for FME by either dropping the feed dogs or setting your stitch length to zero. You will need a darning foot, too. Thread the machine with either dark brown or dark gray thread.
- TIP: Do check your individual machine’s instruction book to see how this is done because they are all different.
- TIP: FME is designed to look a bit scribbly, just like drawing with a pencil and it is perfect for this children’s project. Stitch about 1/8 inch in from the edge of the shapes, don’t aim to be too neat.
- Embroider around the pieces as described above and trim any threads.
- When the embroidery is finished, press the top and prepare for quilting.
QUILTING:
- Make a ‘quilt sandwich’ by laying the pressed backing fabric right side down onto a large surface.
- Set your machine up for quilting by attaching the walking foot (also known as a dual feed foot).
- Center the wadding on top of the backing. You will see some backing overhang all the way around.
- Place the pressed appliqué panel centrally onto the wadding, right side up.
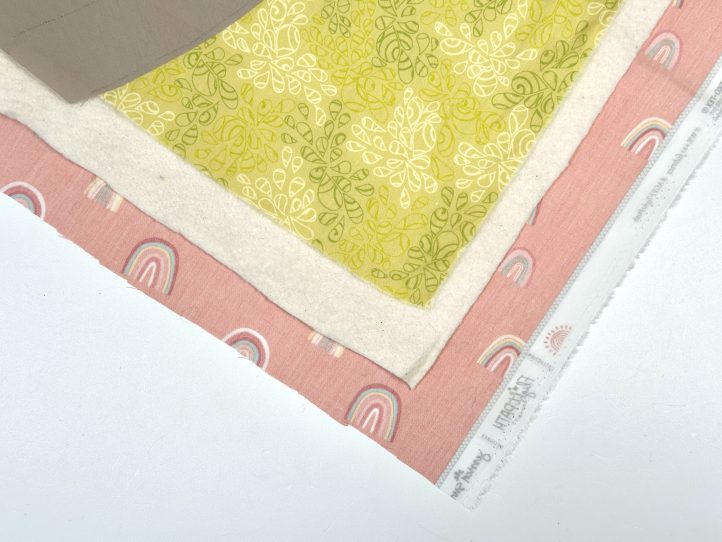
- Pin so that no movement is possible in any direction.
- Quilt using your favorite method. The designer loves a random wave which is easy to do and almost impossible to get ‘wrong’.
FINISHING:
- Trim the wadding and backing overhang to align with the quilt top and make sure that the quilt is squared.
- Round the four corners.
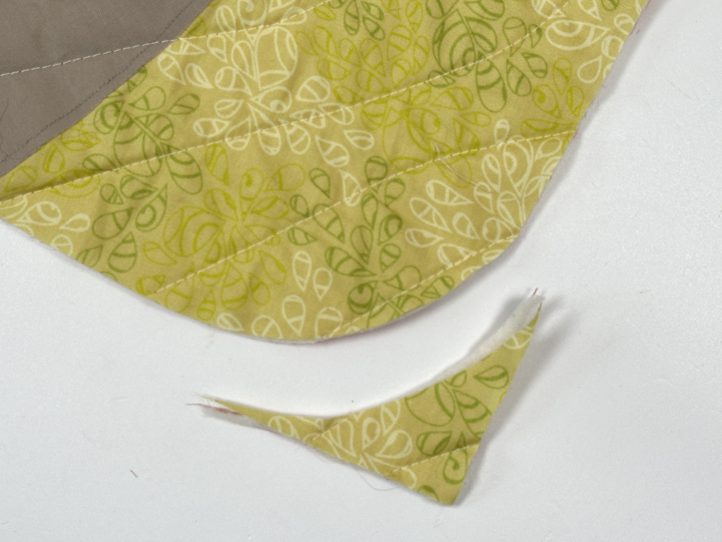
- TIP: You can use a ‘proper’ ruler to do this but if you haven’t got one, simply draw around a small plate with a removable marker and then cut the curve out.
- Bind the quilt with your prepared bias tape.