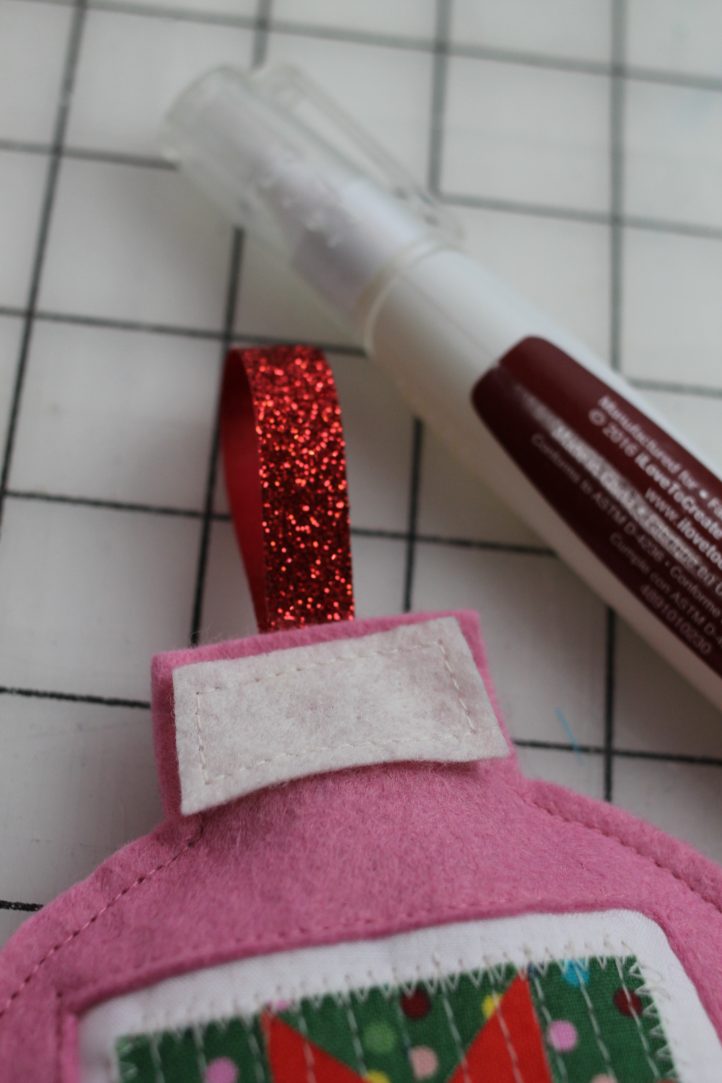
If you love covering every inch of your Christmas tree with homemade ornaments, then have we got a pattern for you! This adorable applique ornament from Stephanie Woodson features a tiny Christmas star made from colorful fabric scraps. Finish your quilted ornament pattern with glittery ribbon and hand them out to friends and family as precious homemade gifts.
Skill Level: Beginner
Time: 1 hour
Finished Size: 4.5” wide X 5.5” tall (excluding ribbon)
Seam Allowances: N/A
Materials:
- Assorted quilting cotton scraps for the design and white backing
- 5” long ribbon for the hanging tag
- Tiny amount of stuffing
- Wool felt sheet for the ornament and scrap for the ‘topper’ piece
- Fabric glue
- Heat n Bond Lite
- Batting scrap
- Freezer paper (optional)
- PDF Template – This is located at the bottom of this page. See printing instructions below.
Tools
- Iron
- Sewing machine
- Scissors
- Glue stick
- Sewing clips
PRINTING INSTRUCTIONS:
To download the PDF template, click on the download button at the bottom of the page. We recommend opening your download using Adobe Acrobat.
Sewing Instructions:
CUTTING:
- Cut from wool felt: 1 topper piece, 1 ornament shape that is solid, 1 ornament shape that has the cut-out.
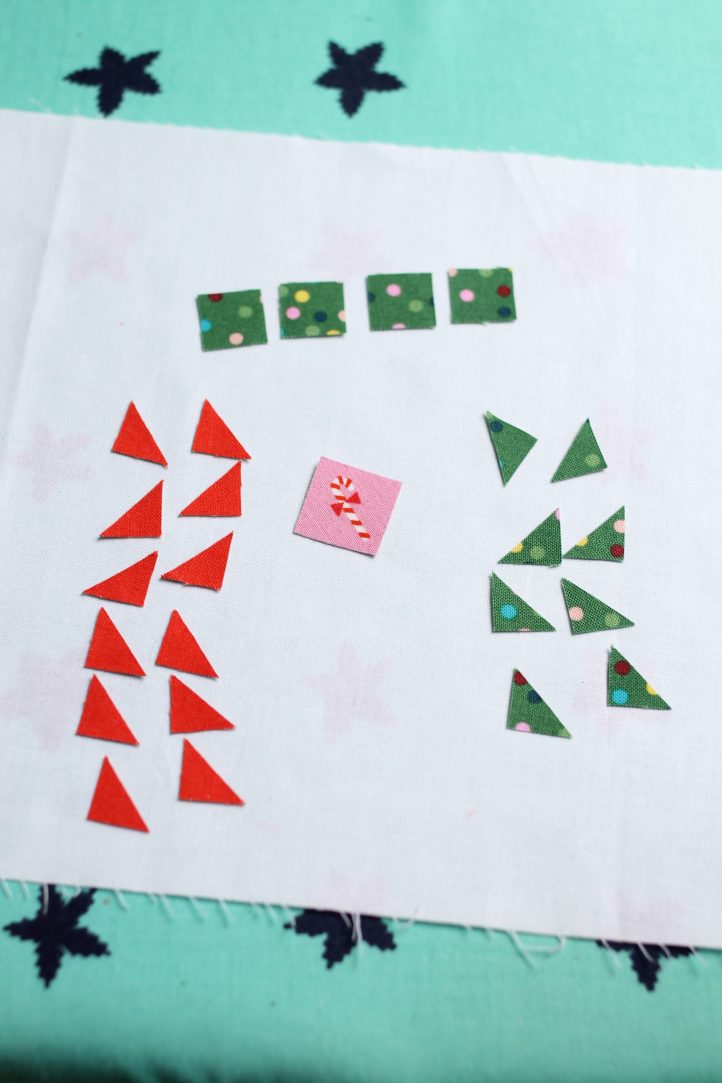
- Cut out the tiny quilt square applique shapes – Heat n Bond is highly recommended.
PIECING:
- Slowly assemble your quilt square on the white cotton backing, ironing pieces down as you go, not all at once, until it’s all secured.
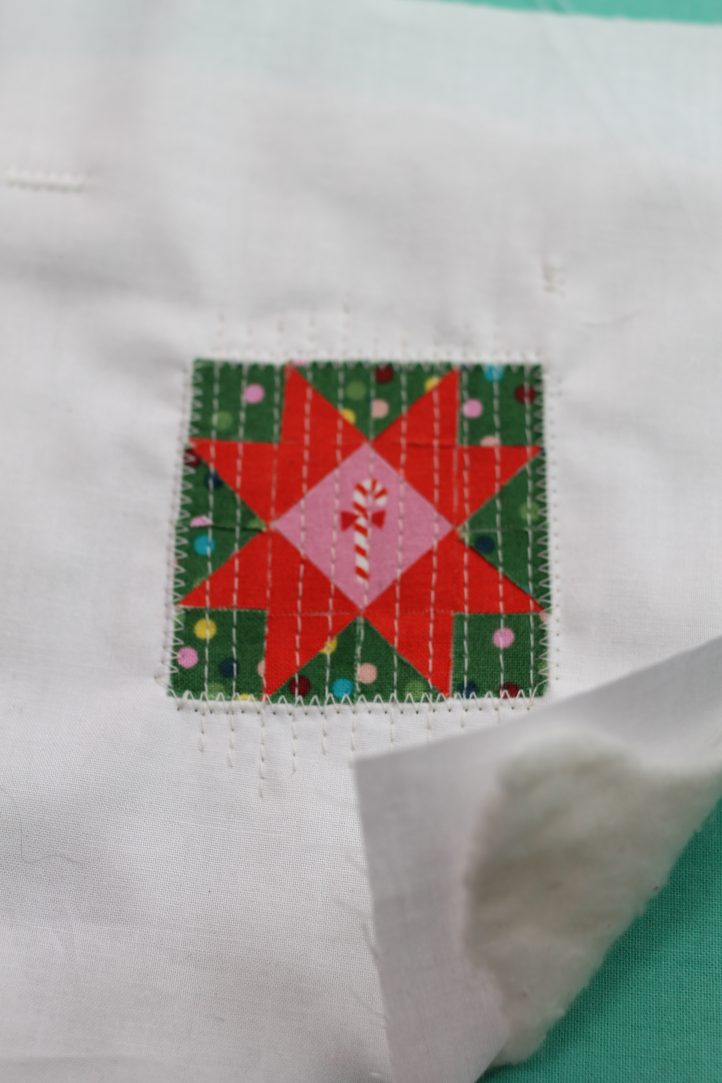
- Layer the batting underneath the quilt block and quilt as desired.
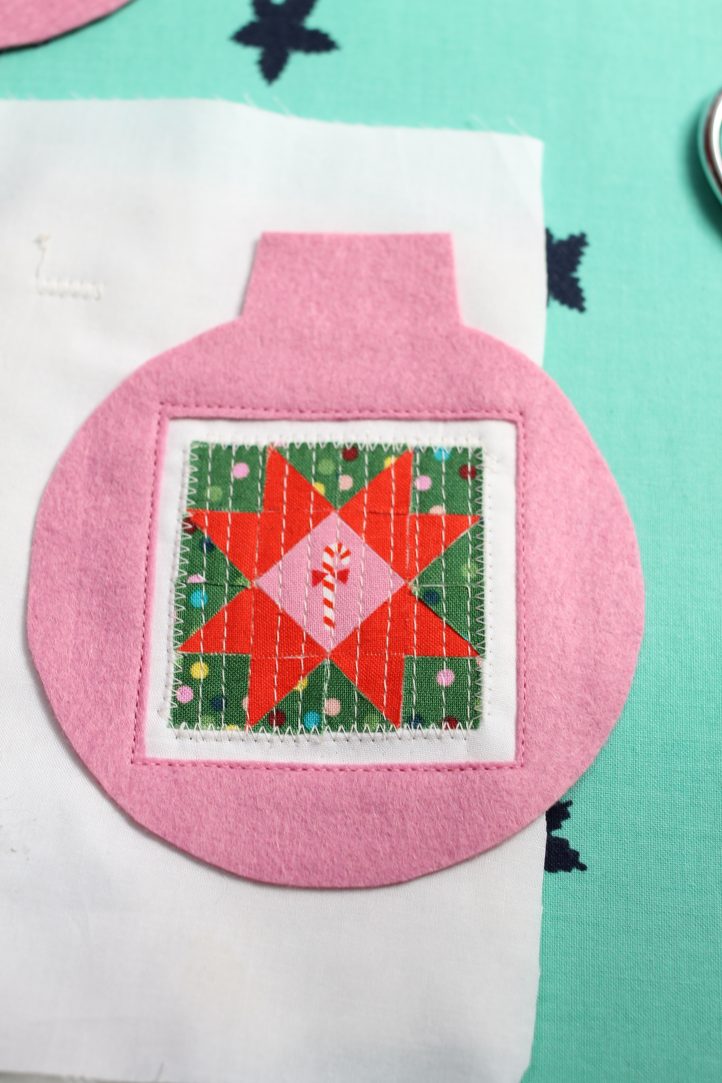
- Layer the wool ornament piece with the cut out over top and use a glue stick to temporarily adhere, and sew around the edges. Then trim the batting/white fabric away from the edges.
- Use the glue stick to adhere the ribbon, folded in half, on the back felt ornament piece. Layer the top ornament over the back ornament piece and clip around the edges.
- Sew around the edges, pausing to leave a space to add stuffing in evenly, then sew the opening shut.
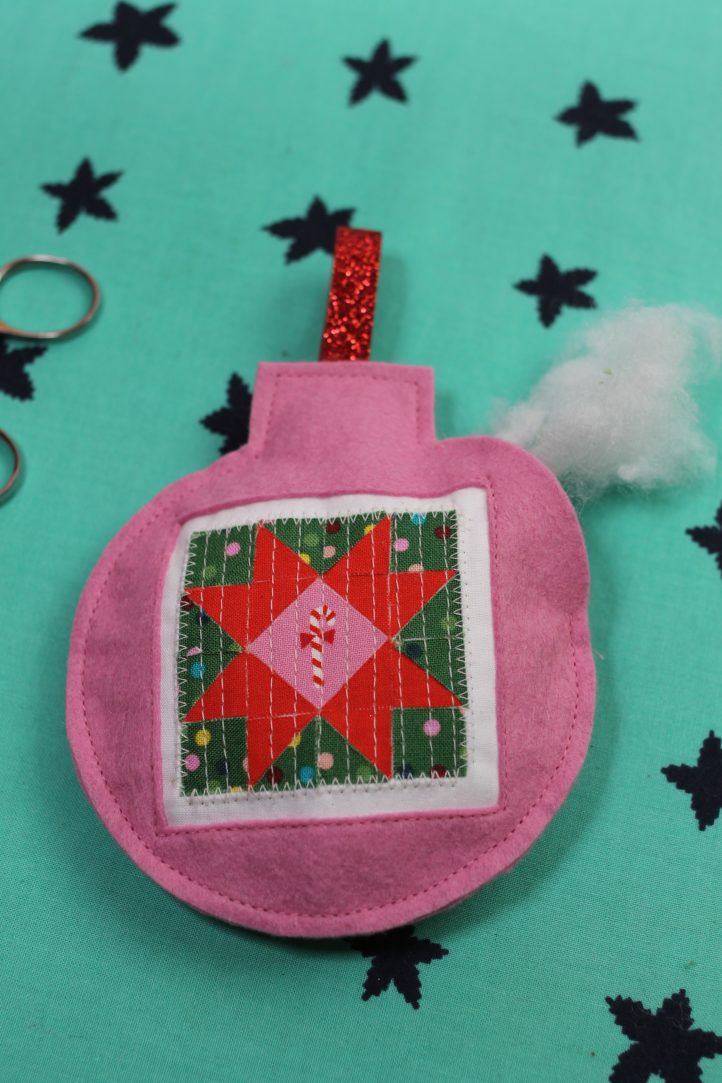
- Top stitch around the topper piece by itself and then glue it on top, and you’re done.
