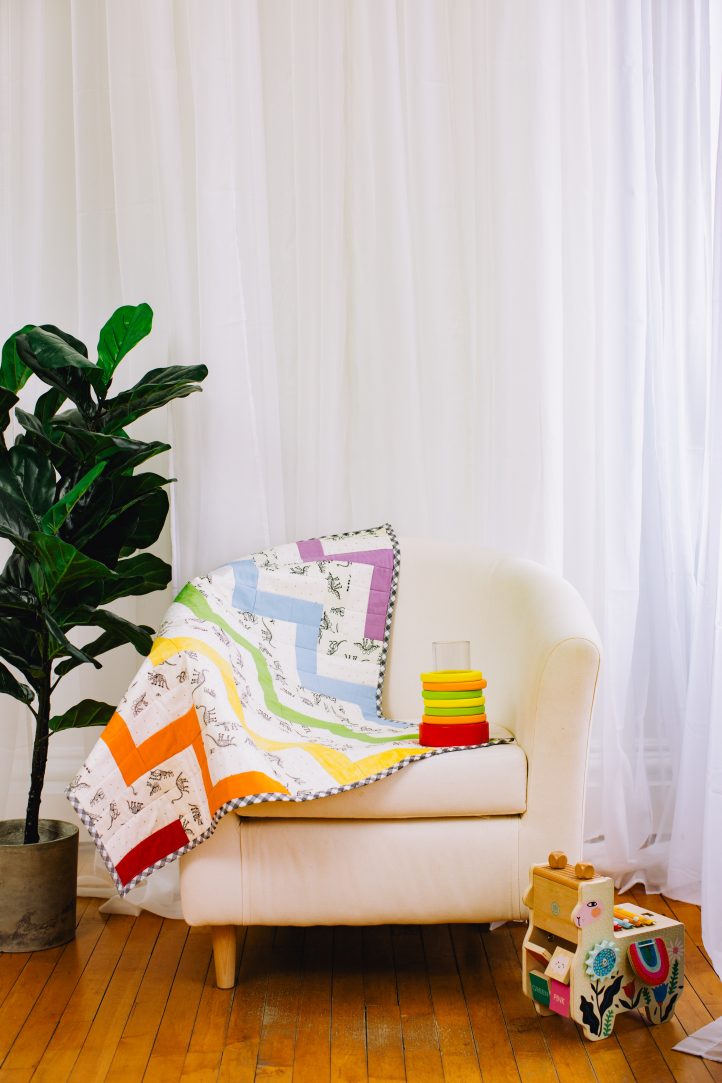
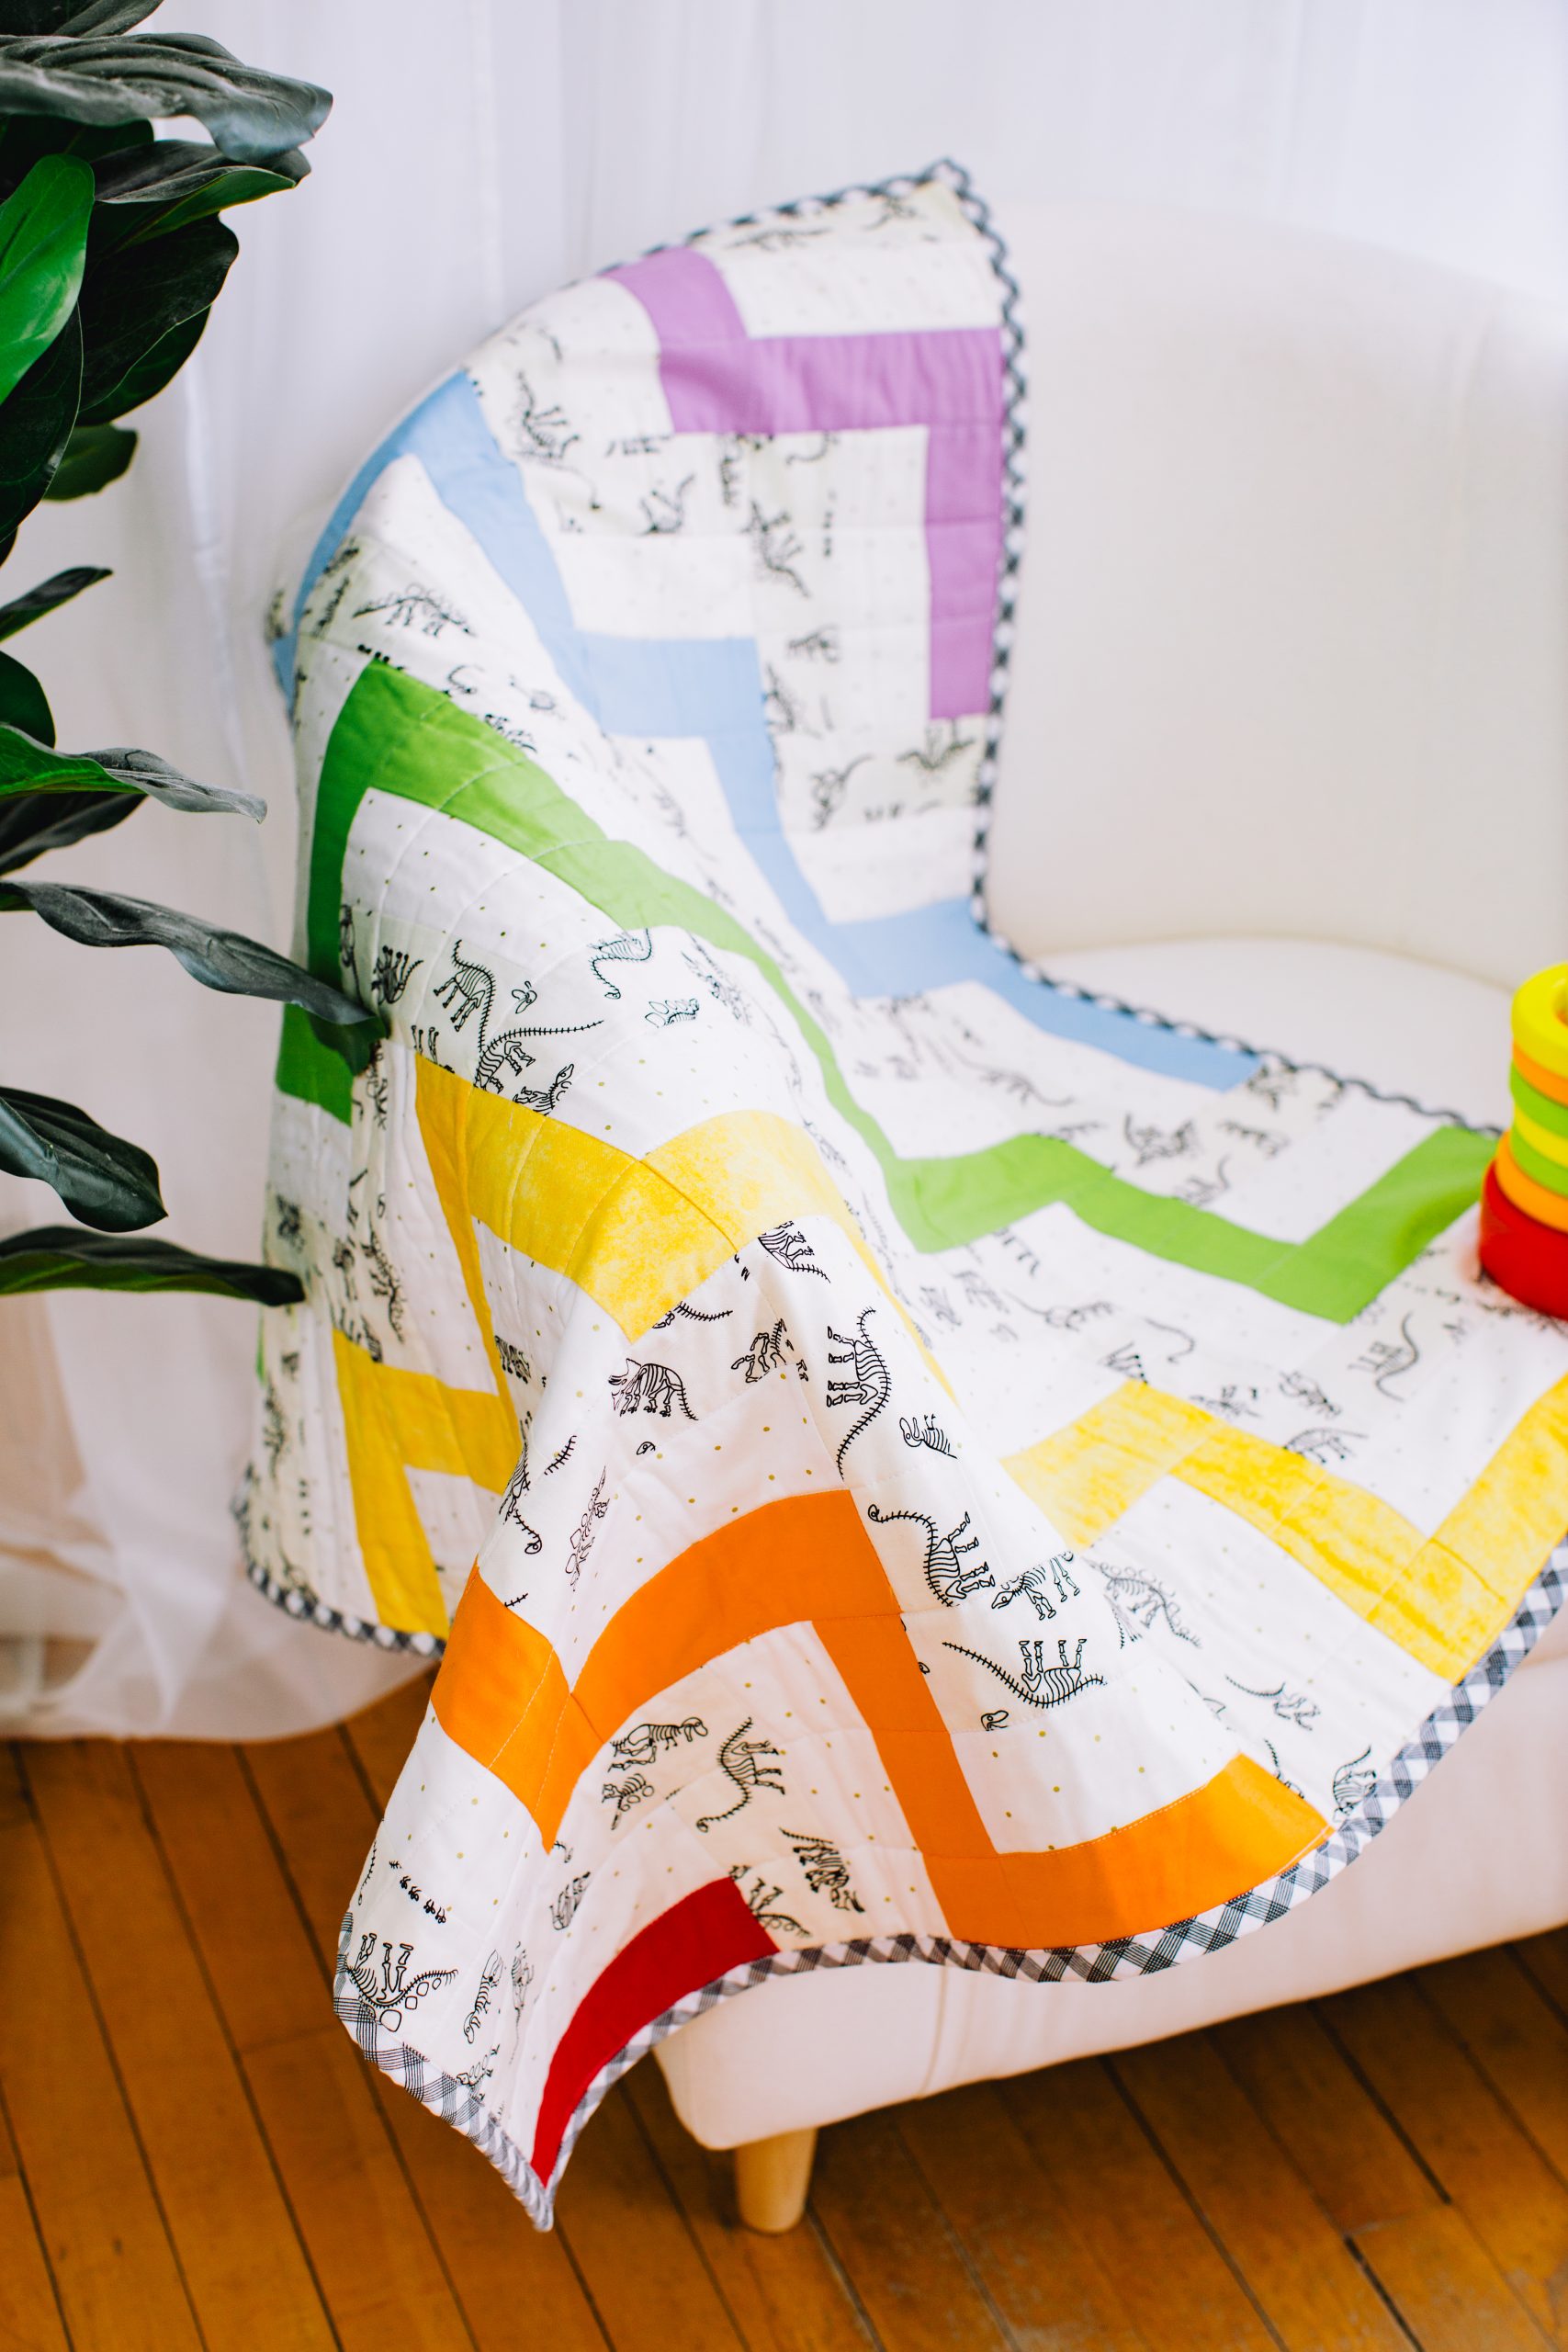
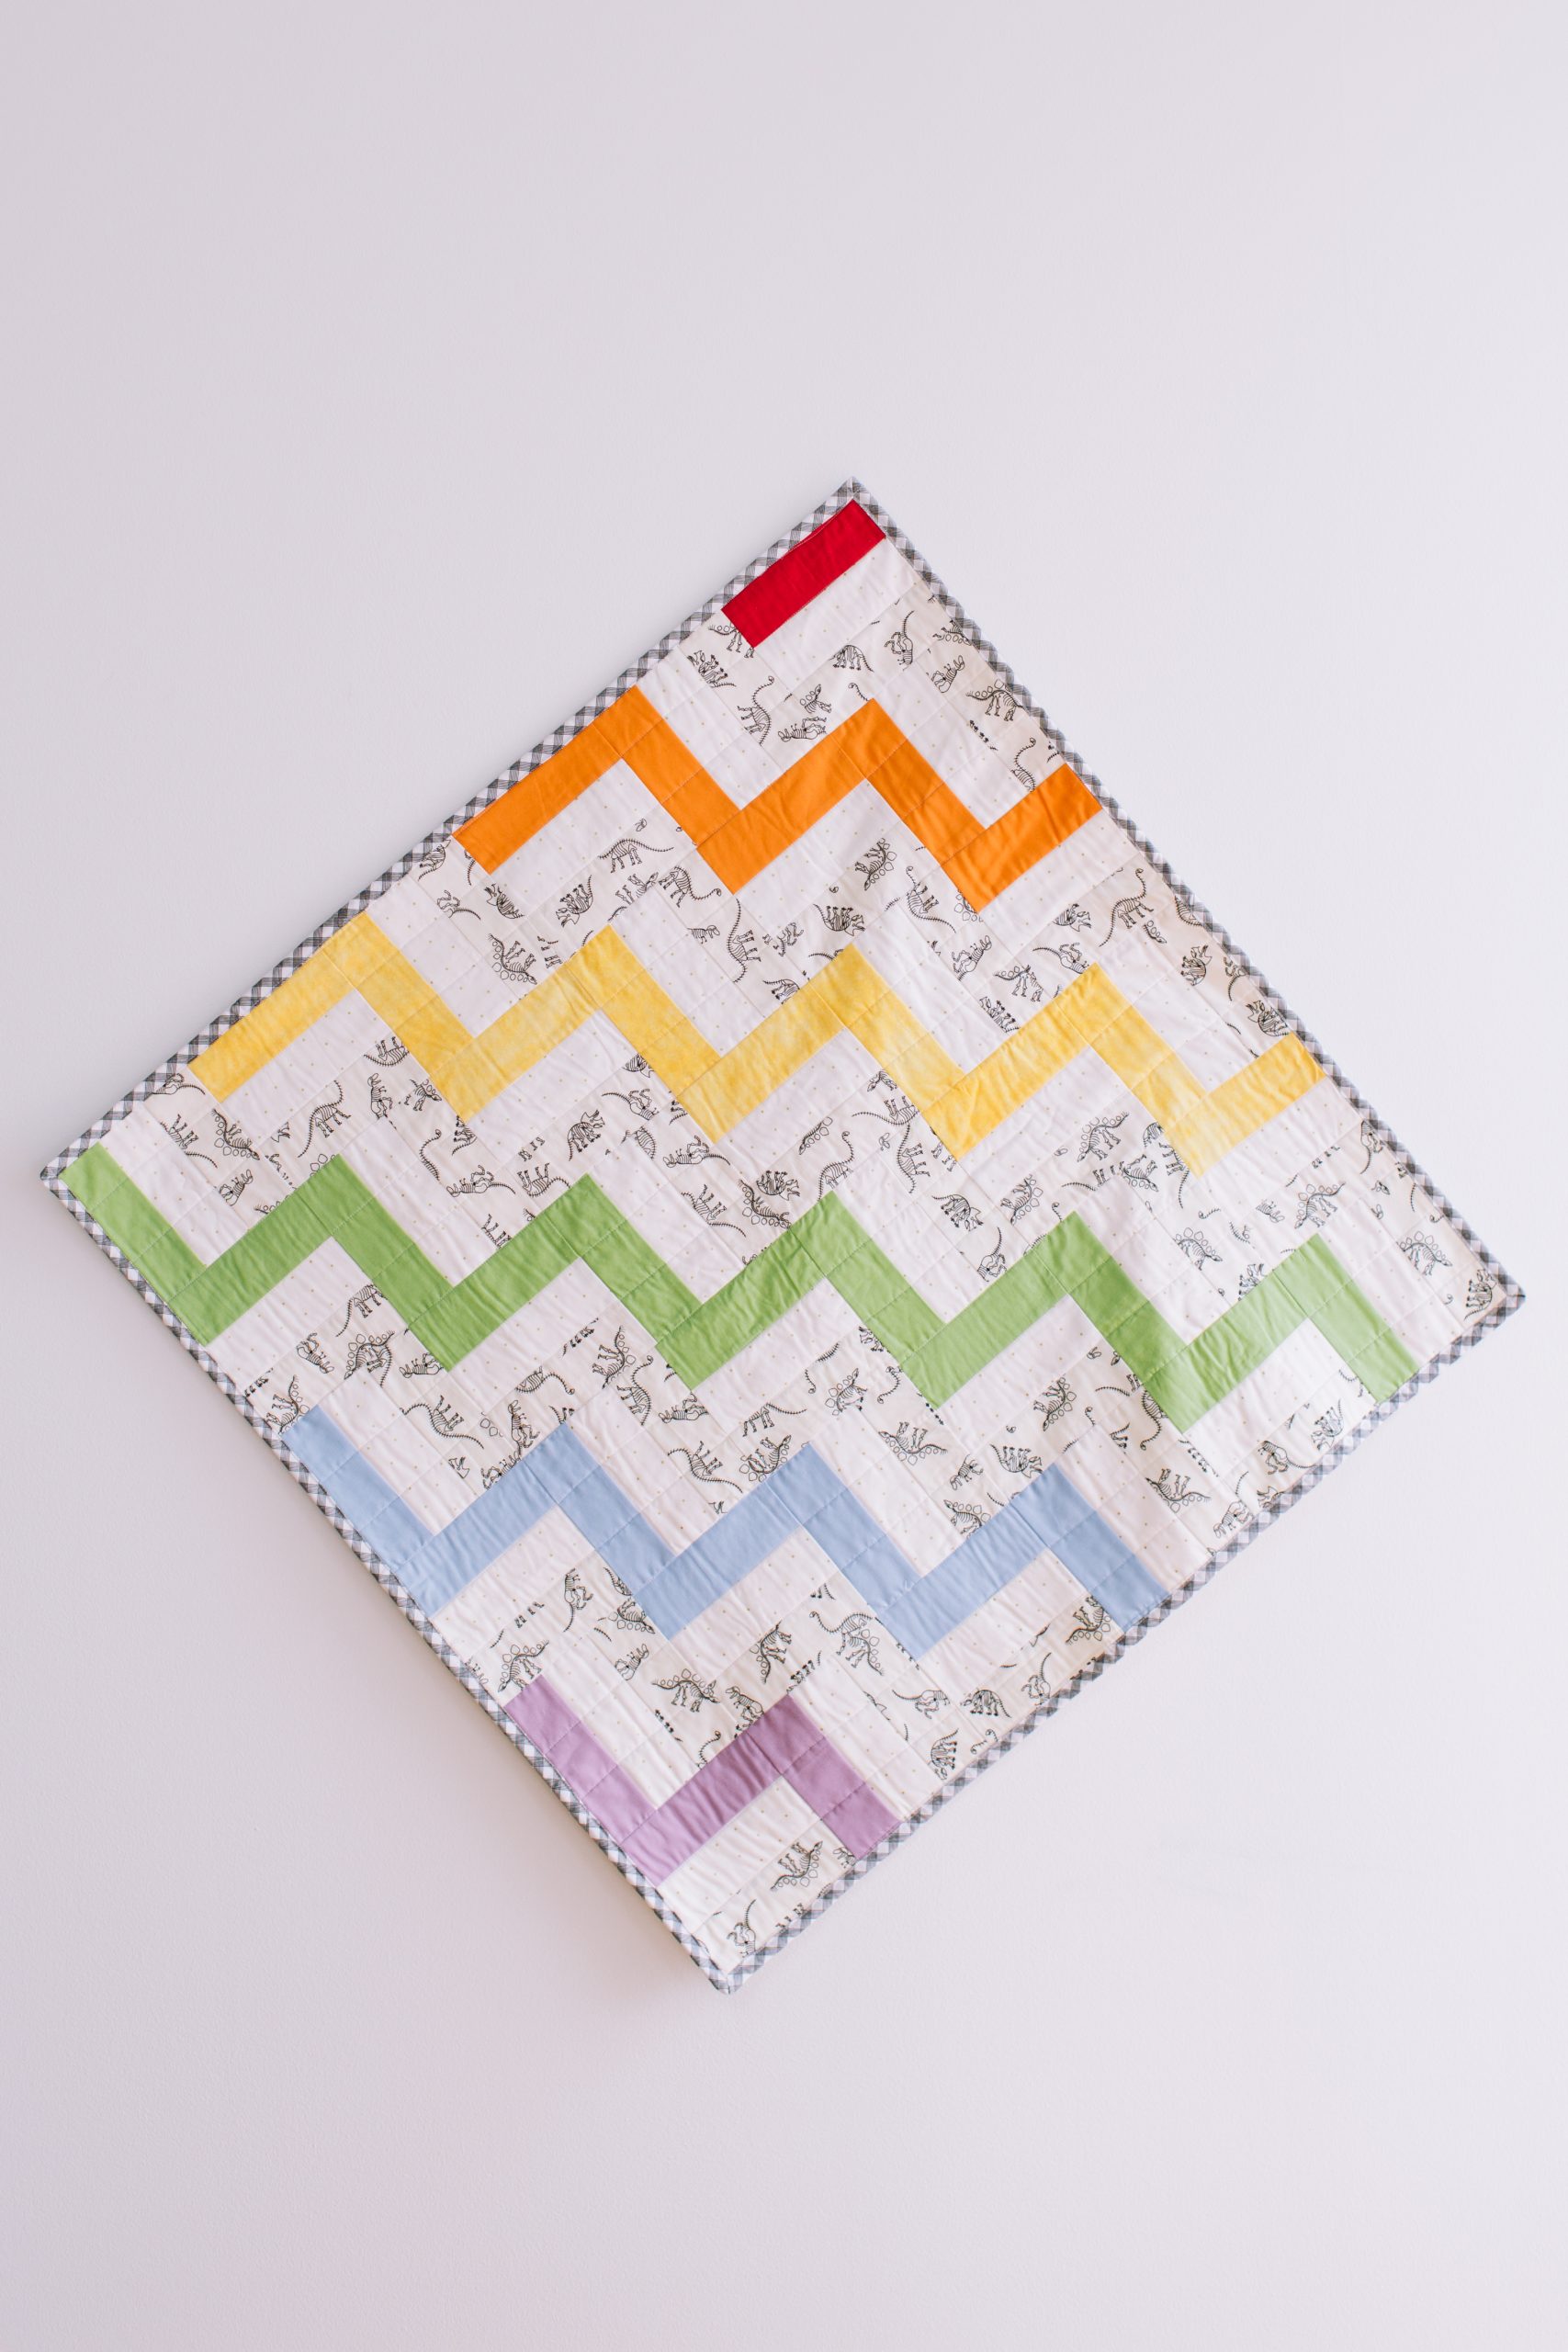
Brighten up your newborn’s nursery on dull, dark days with a beautiful handmade baby quilt. Finishing at a 36” square, this rail fence quilt pattern alternates between neutral gray, creamy ivory and bold brights for a gorgeous eye-catching design. Sew your own baby quilt in fun color schemes like ombre and finish your quilt with playful printed binding.
Skill Level: Easy
Finished Dimensions: 36″ square baby/crib quilt
Seam Allowances: 1/4″ patchwork
Designer Notes: “RST” means Right Sides of fabric together
Materials:
- 1- 1/2 yard Feature Print fabric
- 1- 1/2 yard Complimentary Print fabric
- 1- 1/2 yard Solid fabric
- 1- 1 yard cotton backing
- 1- 45 by 60 inch baby/crib quilt package of batting or equivalent
- 4- 2 1/2 in. by WOF cotton strips for binding
Special Notions:
- Walking foot
- Rotary cutter, mat and acrylic ruler
Cutting Instructions:
- Line up selvages and press all fabrics to remove any creasing or wrinkles.
- Neaten and trim up the cut edges along the WOF (Width of Fabric) with a rotary cutter, ruler and cutting mat as required to create an even edge.
- From the newly trimmed edge, use the cutting mat grid and acrylic ruler to cut:
- Feature Print fabric: 2 1/2” by 6 1/2” strips, cut 36.
- Complimentary Print fabric: 2 1/2” by 6 1/2” strips, cut 36.
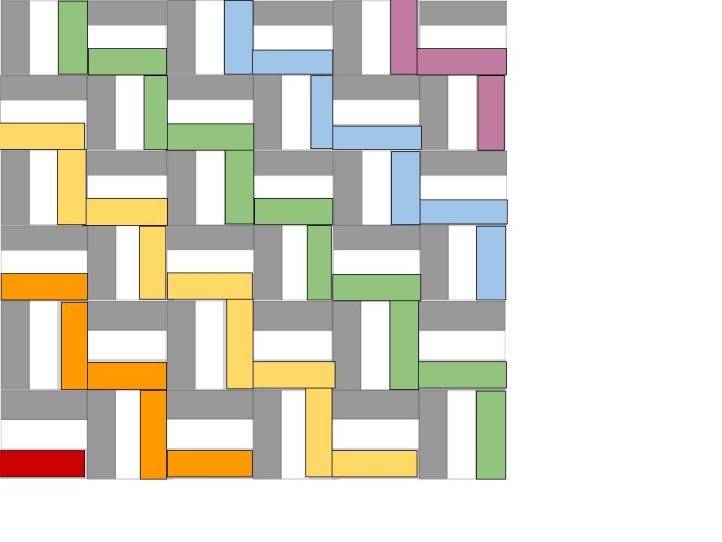
- Solid fabric: 2 1/2” by 6 1/2” strips, cut 36. Or for the Rainbow Cascade version shown in the sample, cut the following:
- 2 1/2” by 6 1/2” strip Kona Cotton 1063 Cardinal
- 2 1/2” by 6 1/2” strips Kona Cotton 1320 Saffron
- 2 1/2” by 6 1/2” strips Kona Cotton 353 Sunflower
- 2 1/2” by 6 1/2” strips Kona Cotton 493 Limelight
- 2 1/2” by 6 1/2” strips Kona Cotton 27 Cornflower
- 2 1/2” by 6 1/2” strips Kona Cotton 258 Pansy
Sewing Instructions:
CREATING THE PIECED RAIL FENCE UNIT:
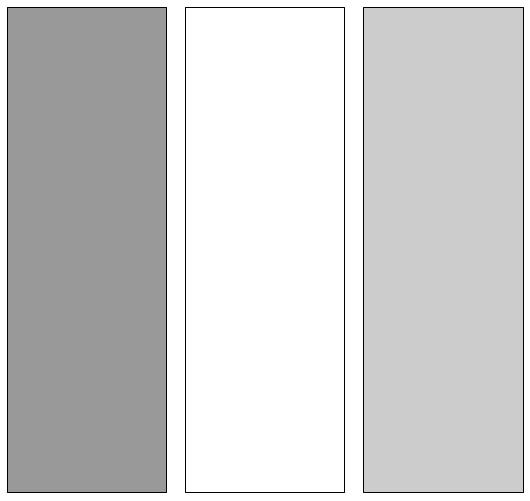
- Using the 2 1/2” by 6 1/2” strips, lay all fabrics out in order with the Feature Print followed by the Complimentary Print, and finally the Solid Fabric.
- Place the right sides of the fabrics together for the Feature Print and Complimentary Fabric, lining up the raw edges of the strips. Sew the two strips together using a 1/4” seam along the right edge.
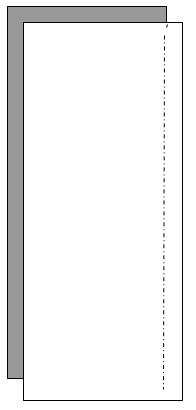
- Open the sewn pair and press the sewn seams toward the dark sides with a hot iron.
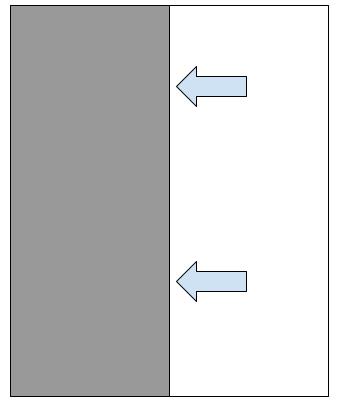
- Sew the remaining Solid Fabric strip onto the Complimentary Fabric strip RST using a 1/4” seam to create the Rail Fence Unit.
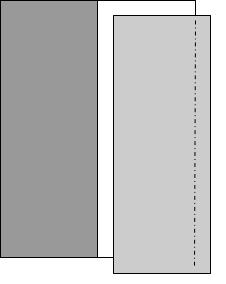
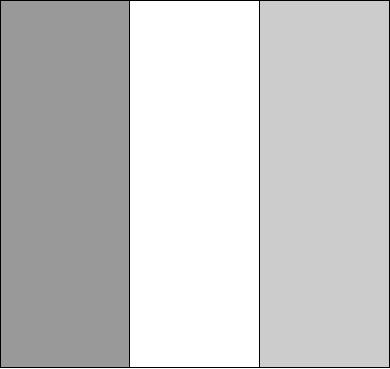
- Open the Rail Fence unit and press all seams flat. Blocks should measure 6 1/2“ by 6 1/2”, trim to square if necessary. Repeat Steps 1-5 to complete the remaining Rail Fence Units to make 36 total.
ASSEMBLING THE RAIL FENCE QUILT TOP:
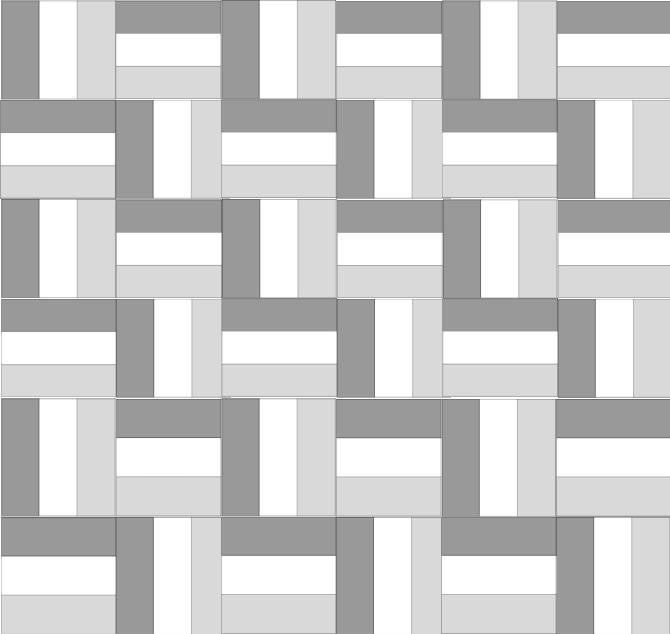
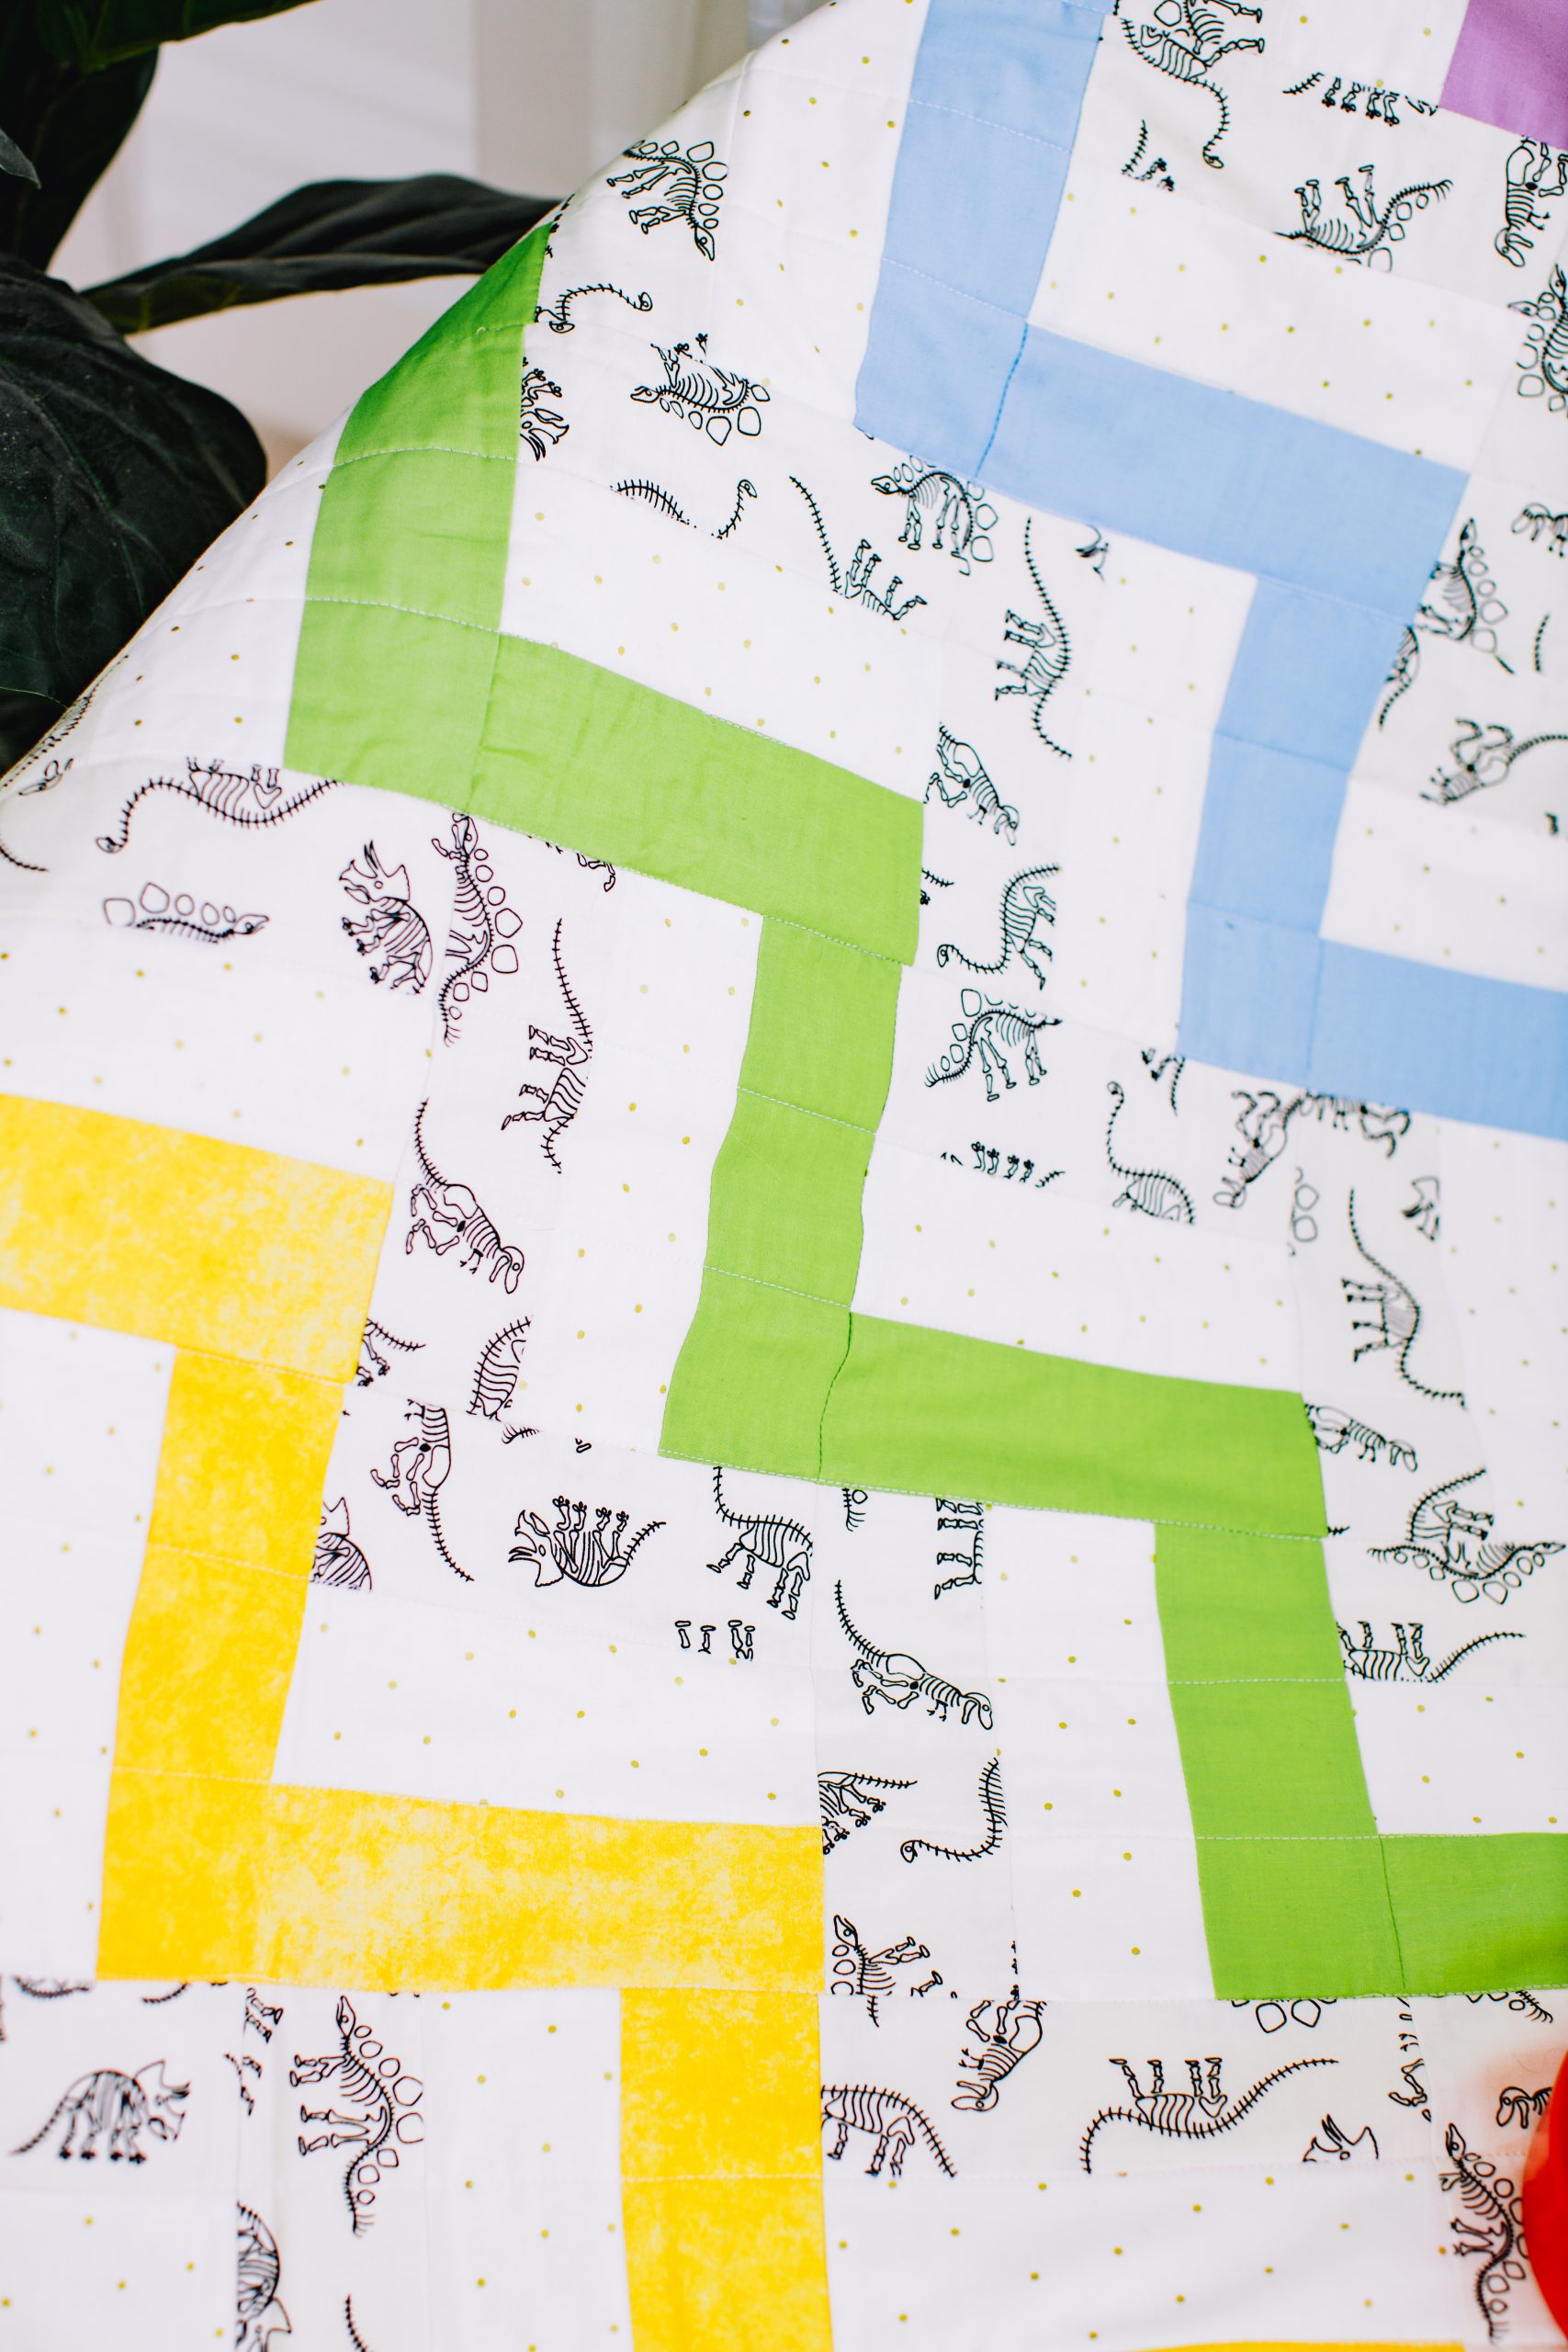
- Arrange the Rail Fence Quilt Top by rows of 6 blocks each alternating directions of the blocks as you work across the row.
- Place the first block with the Feature Print to the left edge of the quilt top.
- Place the second block with the Feature Print to the top edge of the quilt top.
- Continue to alternate blocks as shown in Figure 5 as you work across the first row.

- For the second row, arrange the first block with the Feature Print to the top edge of the row. Place the second block of row two with the Feature Print to the left edge of the preceding block as shown in Figure 6.
- Continue to alternate block placement by row as you work down the entire six rows of the quilt top.
QUILTING AND FINISHING:
- Cut a strip of batting and backing approximately 2-3” wider and longer on all sides than your finished quilt top.
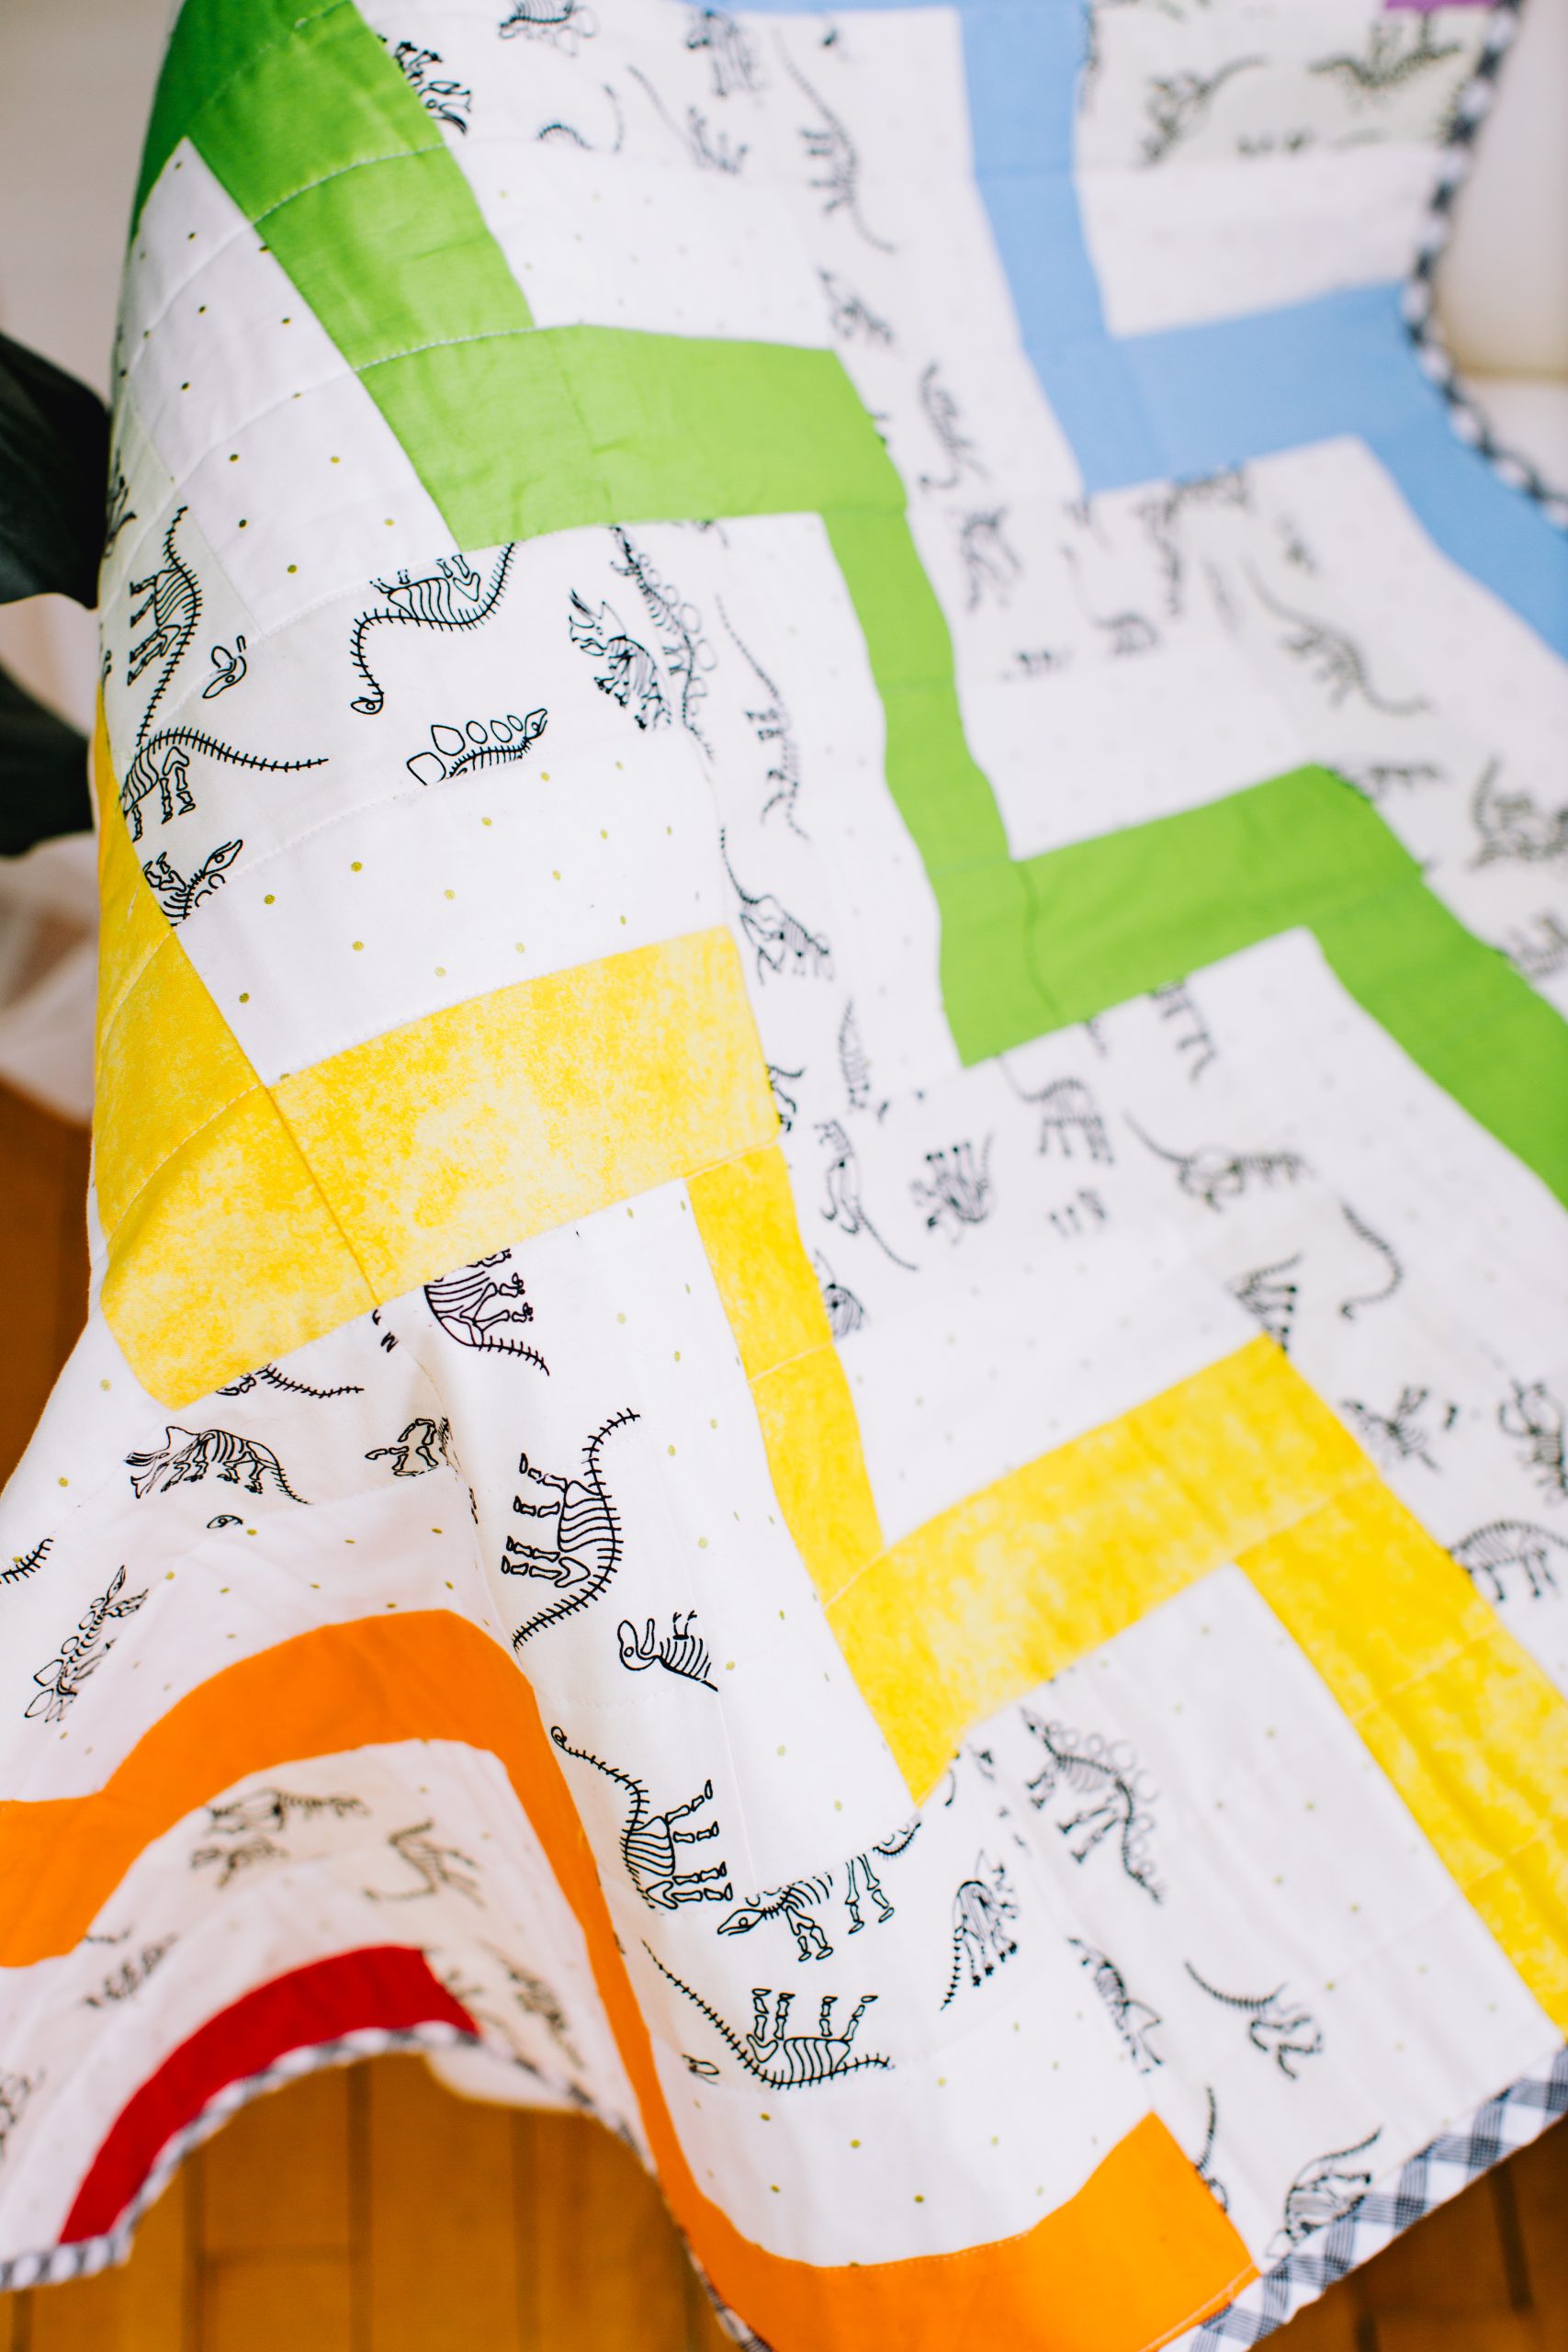
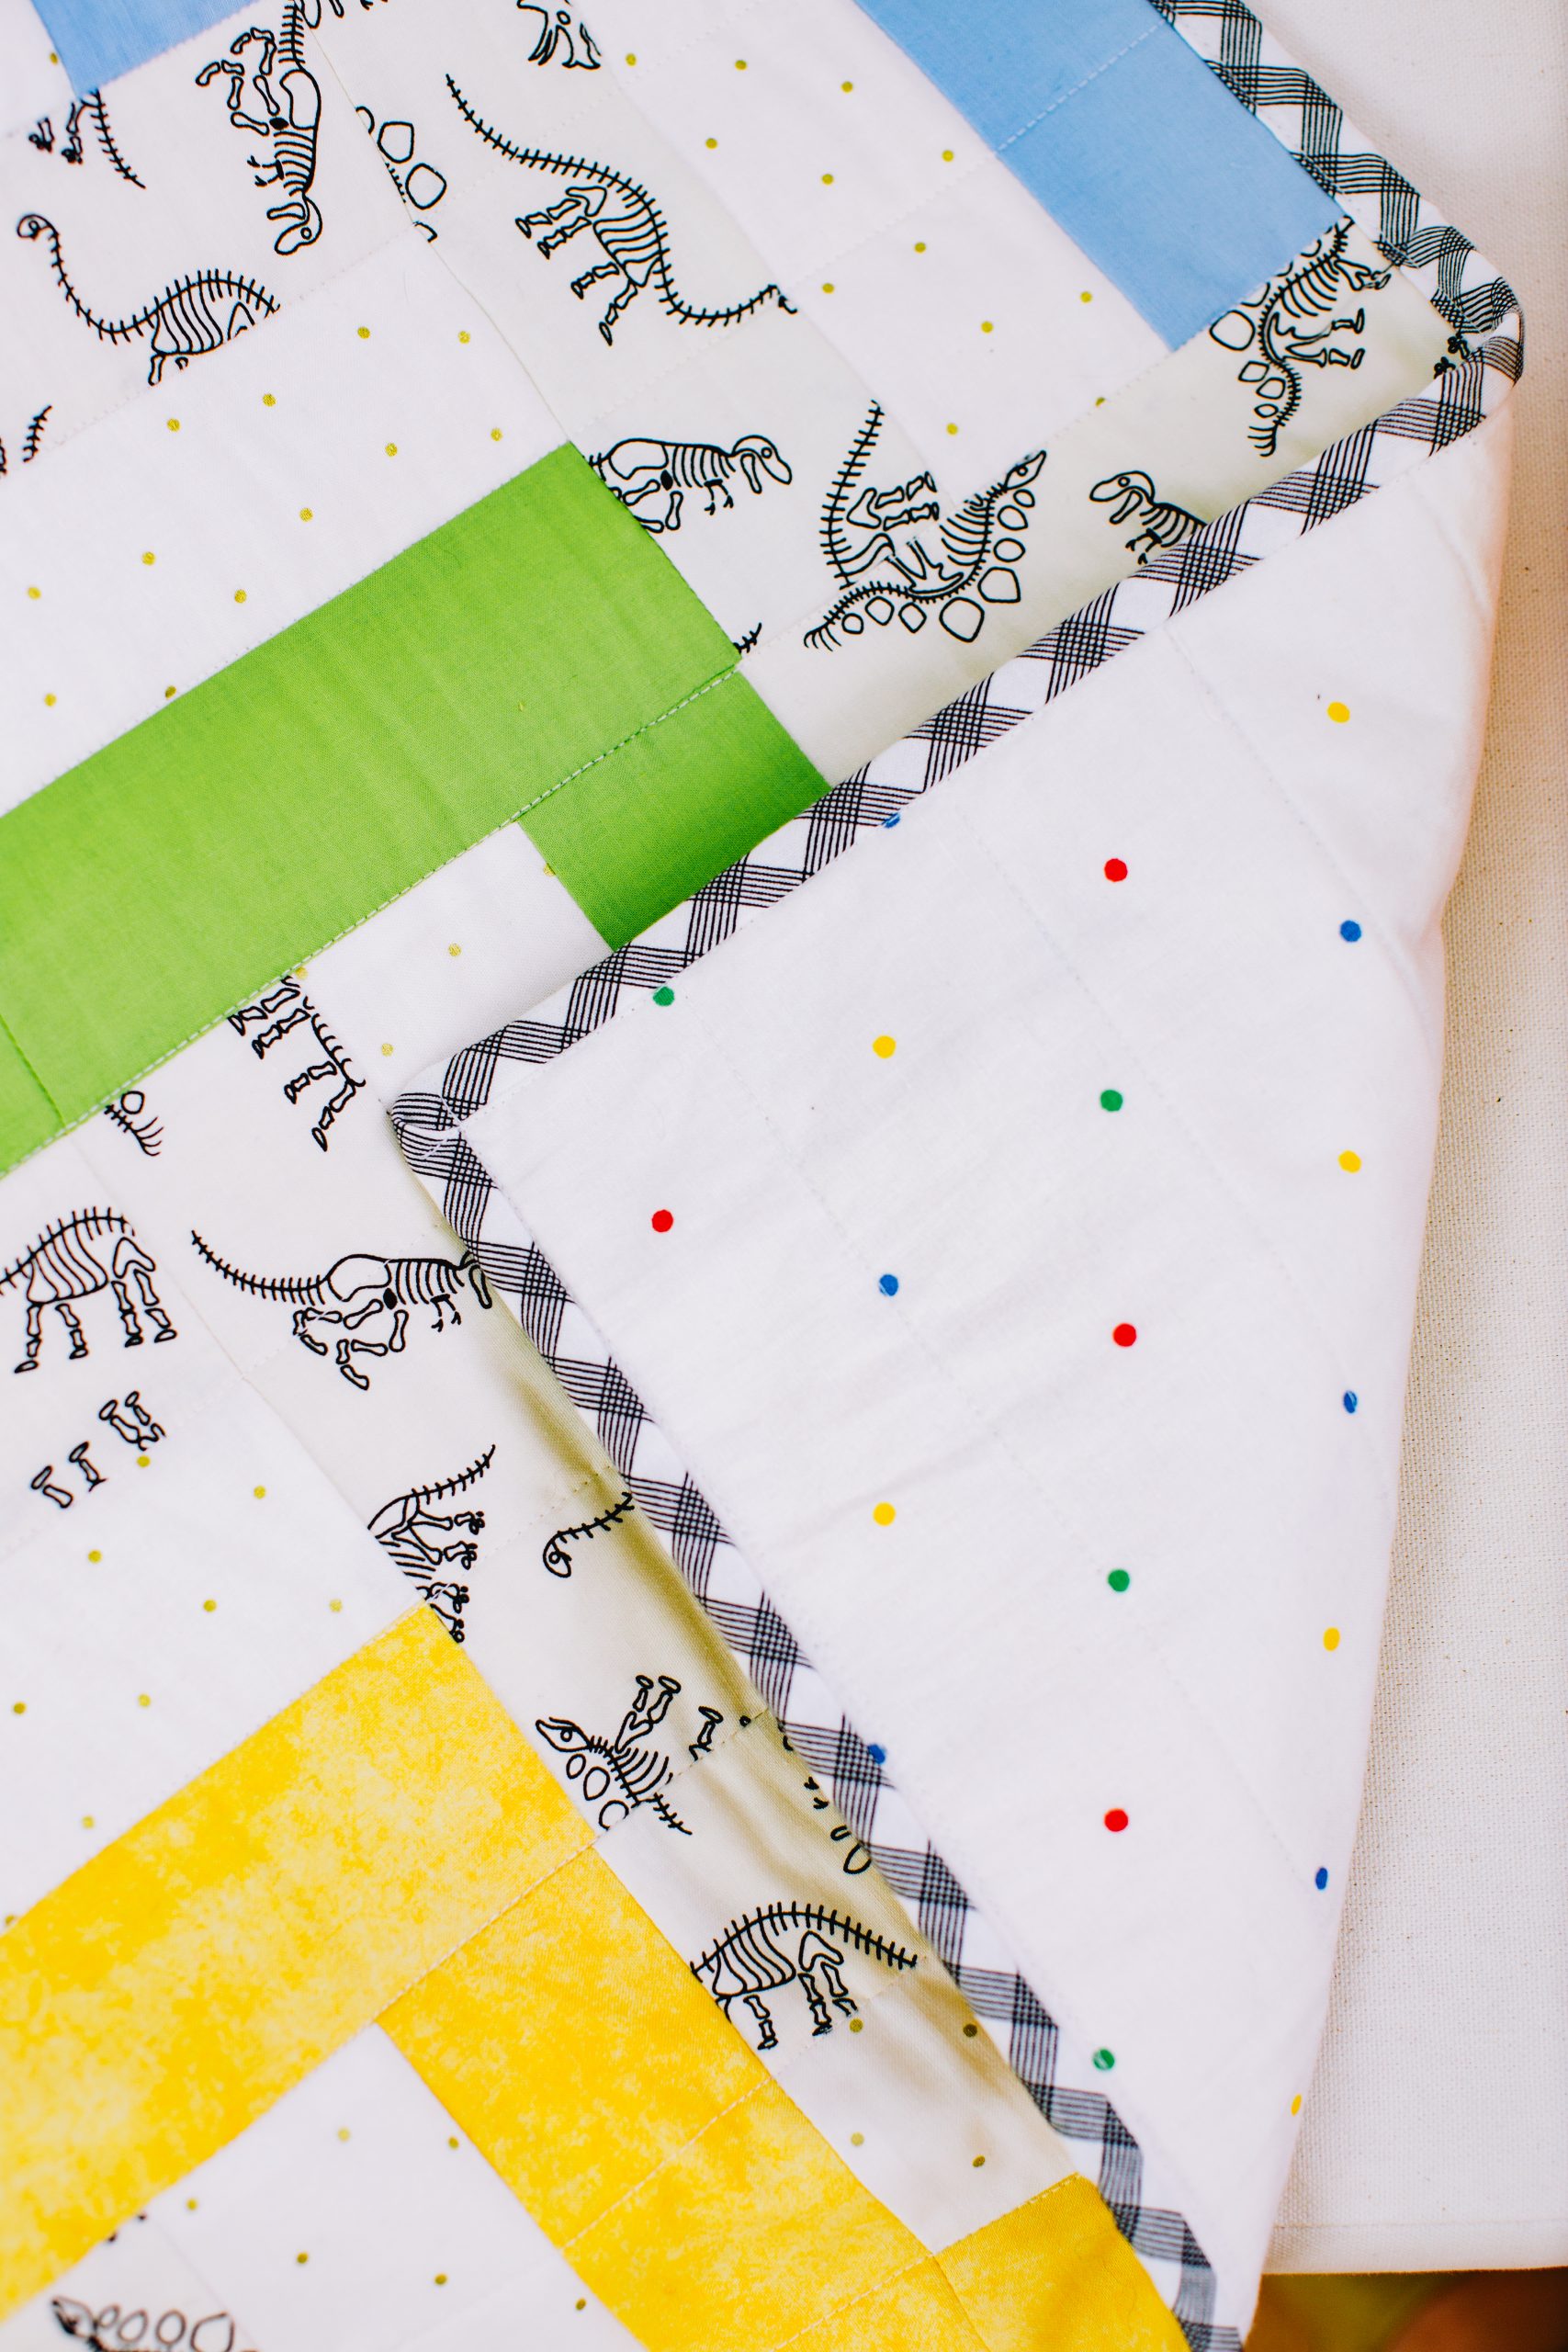
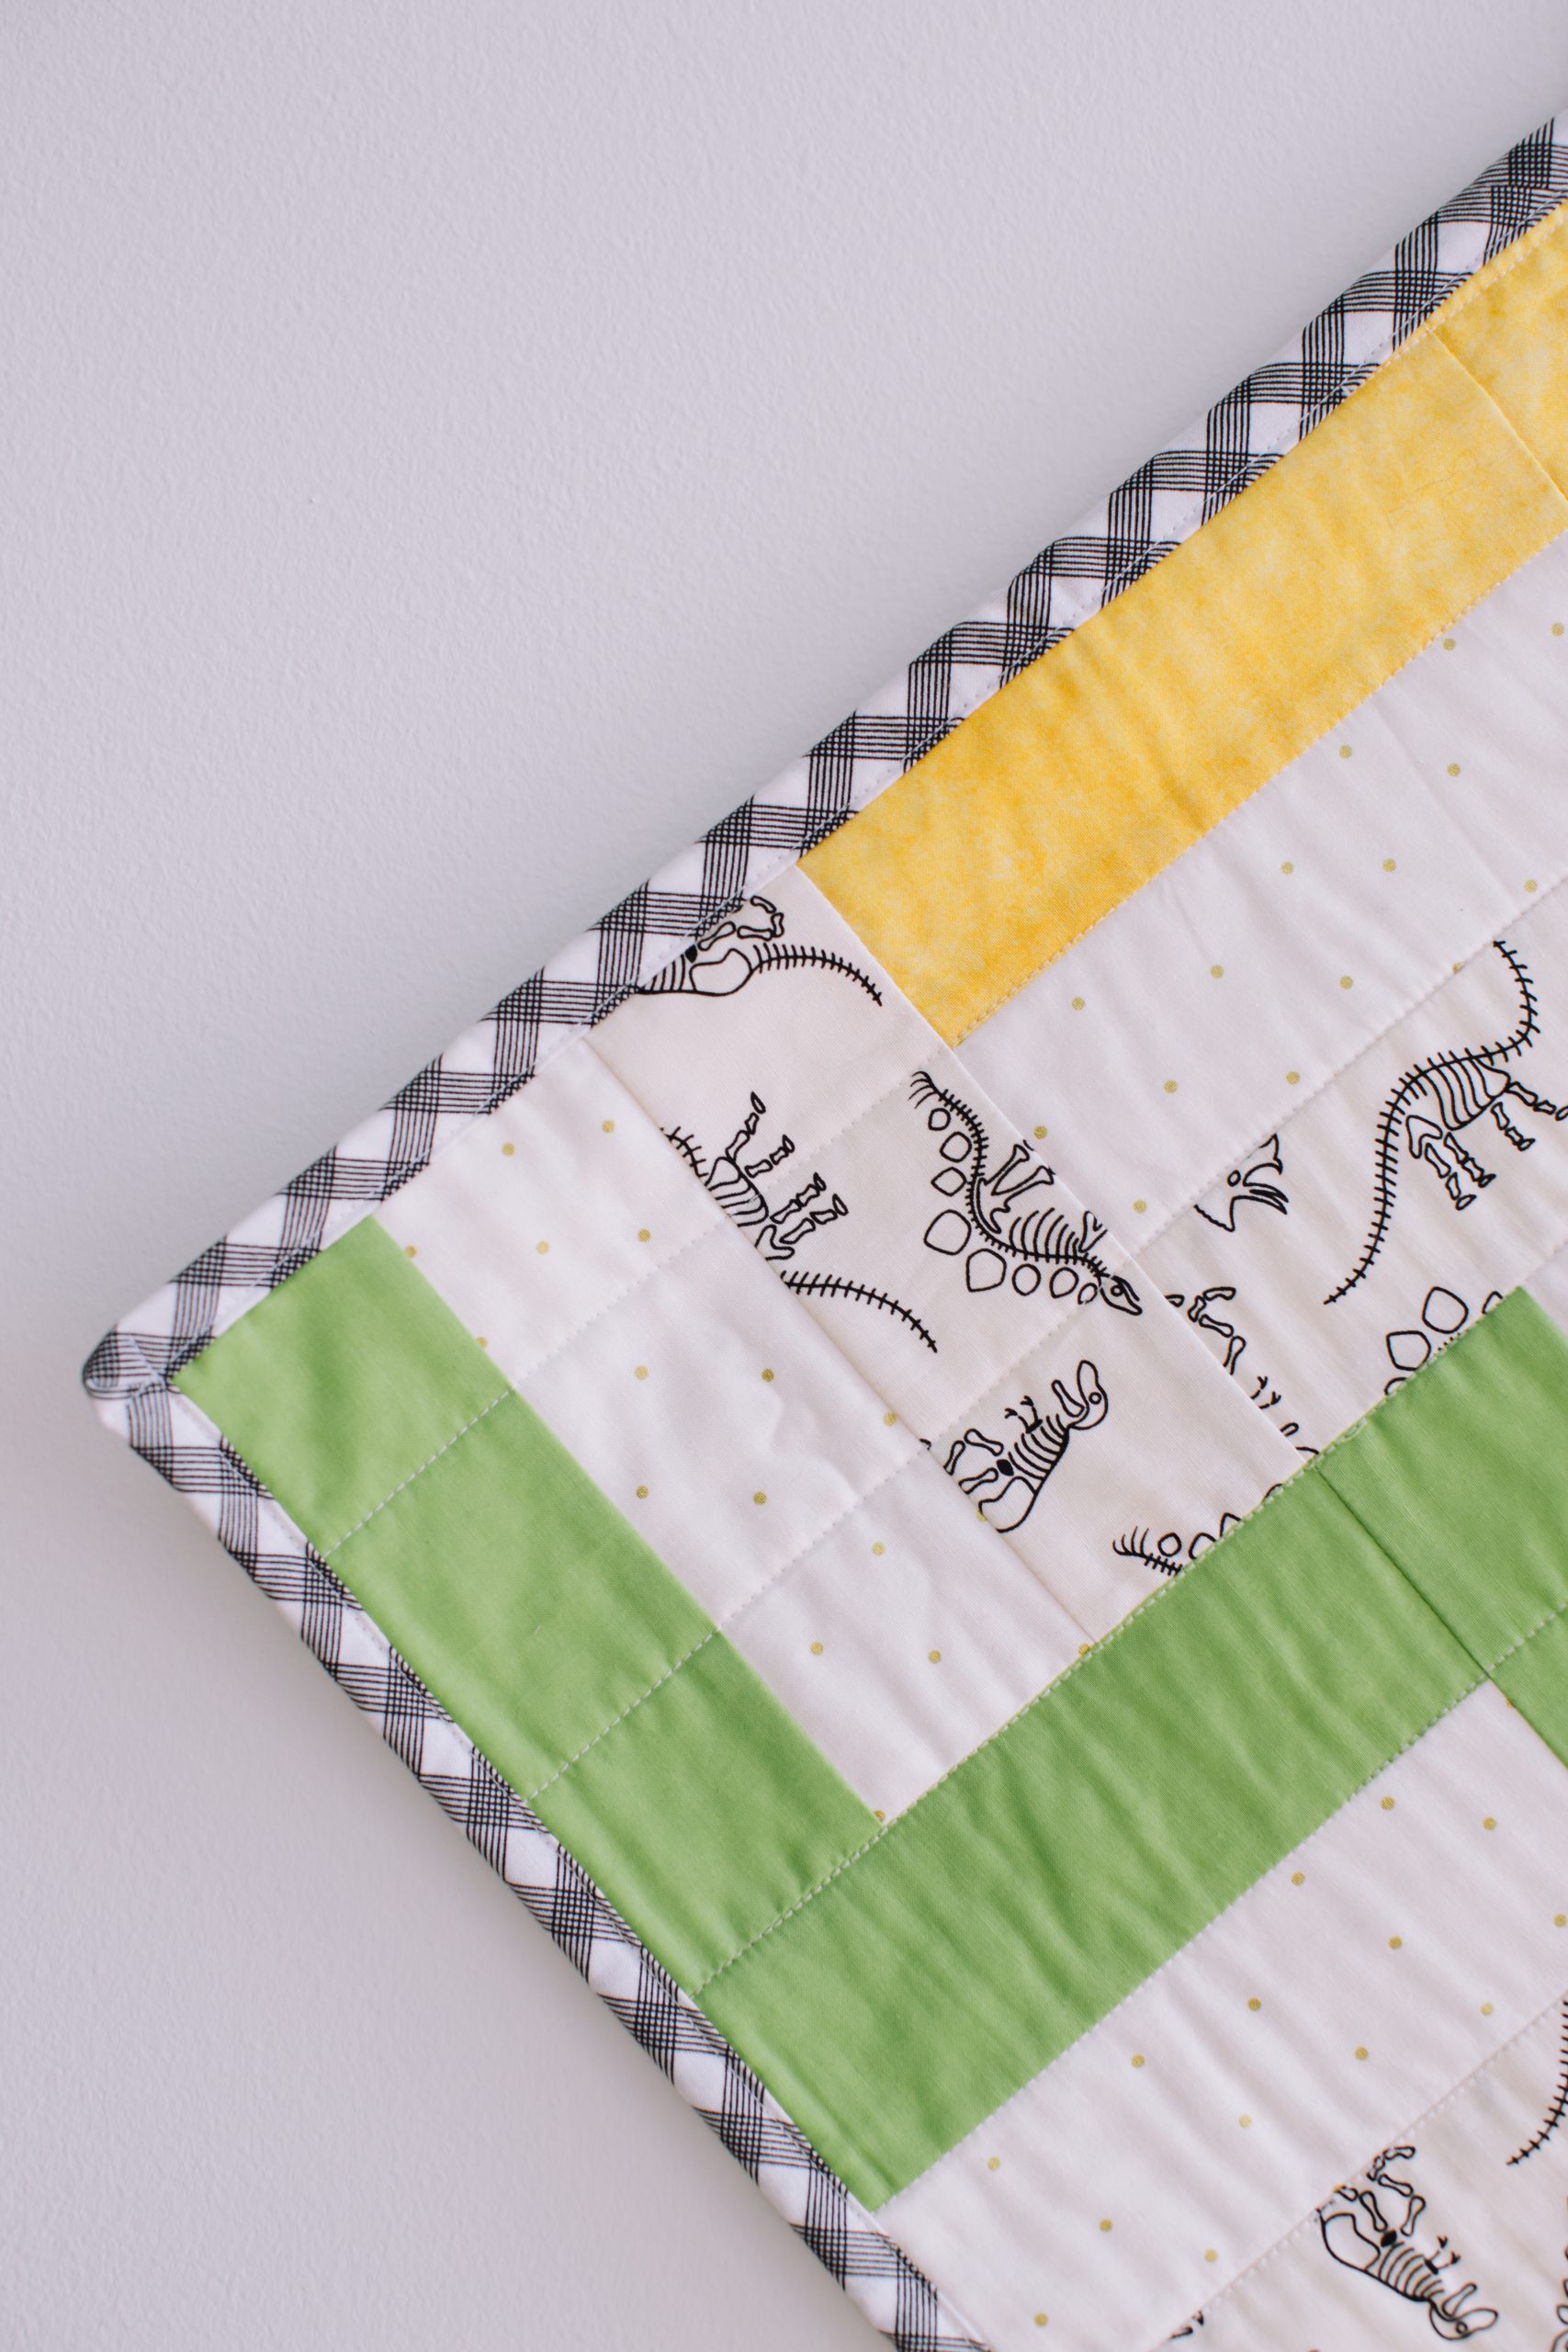
- Assemble the quilt sandwich for the quilt by laying out the backing (right side down), batting in the center and quilt on top, right side up. Baste and quilt as desired and trim edges. The cover quilt has been quilted in a straight line pattern following the seam lines of the piecing.
- Prepare the binding by cutting 2 1/2” by WOF strips of fabric and attaching all strips together on the diagonal. Press strips wrong sides together in half lengthwise along the entire length of the binding to complete.
- Attach binding to the quilt sandwich by lining up all raw edges, and mitering the corners as you go.
- To miter corners, sew into the corner stopping a 1/4 inch from the end, backstitch, and remove the quilt from the sewing machine.
- With the quilt laying flat, fold the binding up and away from the quilt, making the binding straight with the unsewn side.
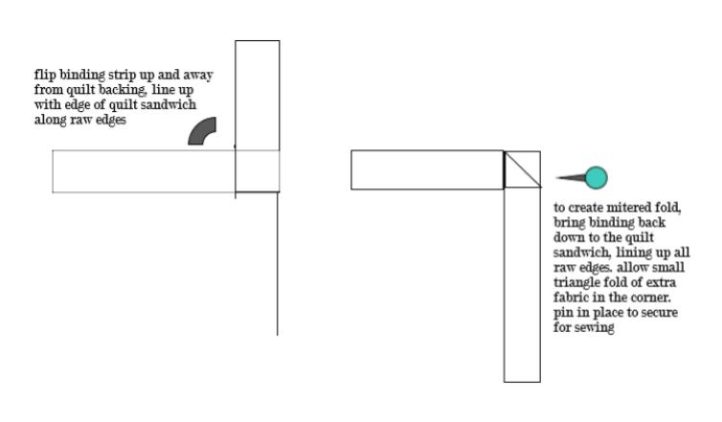
- Fold the binding down to the sewn side, leaving a diagonal fold on the underside of the binding and pin fold in place. Fig. 7
- Place the quilt back into the sewing machine and sew down the fold and continue on sewing binding.
- Make a miter at each corner, adjusting the amount of fold as necessary.
- Join the ends of the binding together where they meet and attach to the quilt sandwich.
- Press and fold the binding over to the opposite side of the quilt to finish. Tuck the mitered corner flat, pinning it into place as necessary.
- Finish the binding with your preferred method, either by hand stitching in place or by machine stitching.

This looks adorable. I think I may have fabric in my stash. Thank you for this pattern.
Thanks so much for your kind comment, Janet! Have a great day – Ashley, We Like Quilting
like it
I need to make a baby quilt for my granddaughters baby to come in October. I hope it’s easy/beginner.