You know how it goes – you decide to make a new quilt project, get super excited, buy all the supplies, throw yourself into creating it – and bam, you’ve got a brand-new creation to be proud of. You did it! You made it! It’s fantastic! But then time goes by, and unless you’ve gifted that finished patchwork to a loved one or have it displayed in prime position on your couch, it may well find its way to the bottom of a storage trunk – or start gathering dust on top of a closet.
It’s sad that so many of our once-cherished creations get relegated to the back of a cupboard once we have a new design in mind – but it doesn’t have to be the way! What if you took those long-forgotten projects and gave them a whole new lease on life?
Carry on reading to find out all our top tips and tricks for re-purposing, upcycling, and otherwise re-working all those vintage quilts into something you’ll love again – with ideas for choosing the perfect base, how to make the most of different design elements, what to avoid, and more.
Choices, Choices
First order of business – picking the perfect quilt! The type of project you use as a base will greatly affect the outcome of your finished re-work, so make sure you choose wisely. Think about what it is you want to create – are you hoping to stitch a cozy winter jacket, or would you prefer to keep the basic structure of the quilt intact and turn it into a wall hanging, instead?
The thicker the quilt, the more difficult it can be to turn into a garment – that isn’t to say that it’s impossible, just that it can be tricky to seam a really thick, heavyweight piece in a way that’s still comfortable to wear. Heavier quilts tend to work better as homewares and accessories, whereas lightweight quilts are ideal for jackets, skirts, and other garments.
You should also consider the age of the quilt, how warm it’ll be (if it is destined to be a garment), and how you’ll feel if the worst happens, and the project doesn’t go to plan. With any upcycle there’s always the risk that something will go awry, and the project will be a bust – will you be heartbroken if your beloved vintage patchwork is cut into pieces and can’t be salvaged? If the fear of losing an heirloom is too great to bear, keep it safe and stick to using projects you’re not so attached to, instead.
Start Small
If the concept of upcycling is completely new to you, why not start small and experiment with miniature makes? There are plenty of small-scale projects that can be crafted from old quilts – such as tote bags, potholders, headbands, and even scarves.
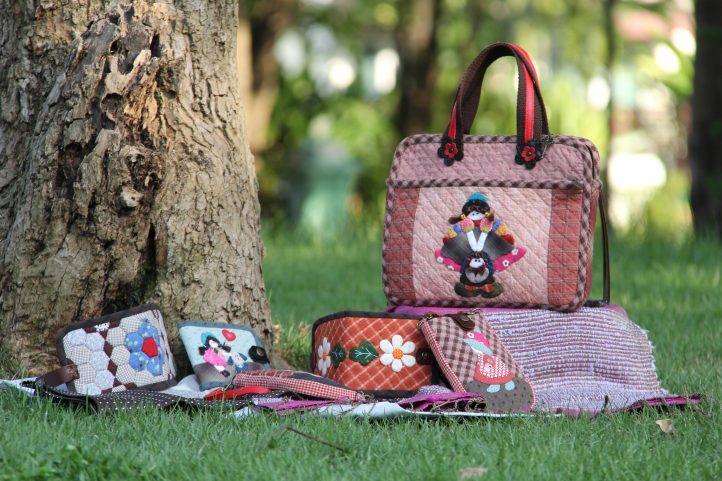
Photo provided by designer
You could make a set of coasters , a simple envelope cushion cover, or a set of placemats for your dining table. All of these ideas give you the chance to get to grips with the basic methods of re-working a quilt without worrying about fitting a garment or working complicated seams – they’re the ideal introduction to all things sustainable.
Damage Control
Of course, one of the pitfalls of re-purposing projects that have been in storage for a long time is that they may have sustained some damage over the years. Lay your chosen quilt out and inspect it all over for signs of wear – stains, rips, frayed edges, and even moth holes are all possible issues you might encounter. It may also smell a little musty, but that’s not usually a big deal – simply air it out on a washing line or gently hand wash and leave to dry thoroughly to freshen it up once more before you begin your re-work.
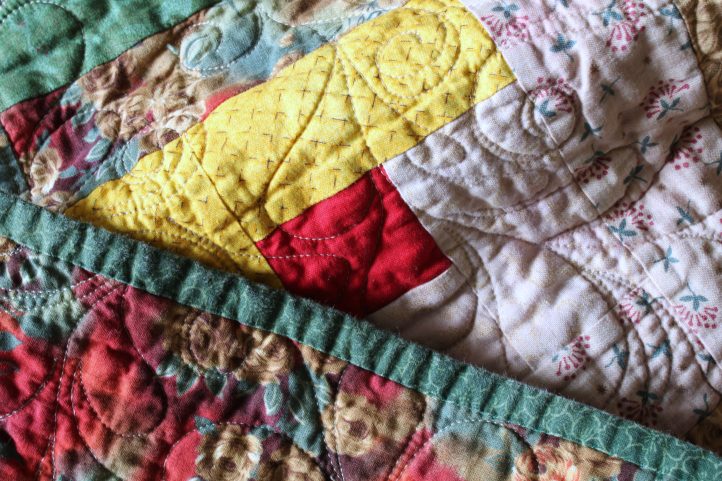
Photo provided by designer
If your chosen quilt does have issues, it’s not the end of the world – in fact, that might be the entire reason you’re thinking of re-purposing it! Simply work your new project around the damage, carefully placing any pattern pieces and cutting around the worst parts to avoid them entirely. If they can’t be avoided, don’t worry – you can always add an extra patch of fabric over the area to reinforce it and fix it up. Small holes and rips can also be embroidered or darned over. Go ahead and make a feature of it – it’s patchwork, after all!
Cutting Edge
So you’ve found the perfect quilt, and you’ve got an idea for what you want to make. It’s time to gather those tools!
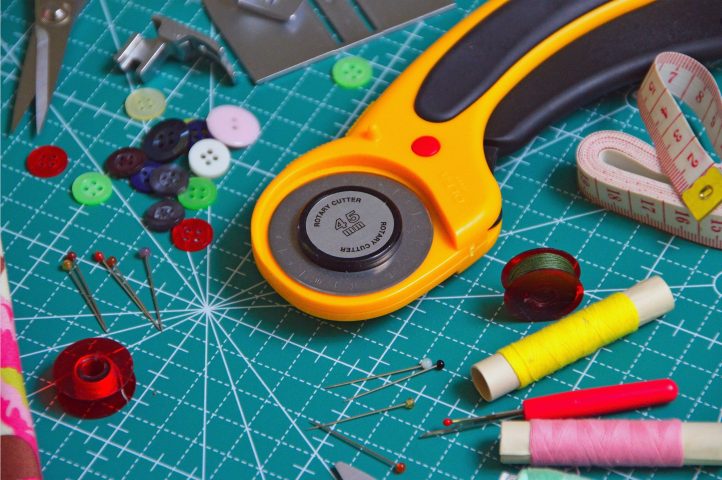
Photo provided by designer
It’s vital that you use sharp blades when re-purposing quilts – they’re thick and heavy and made of several layers that must be cut at the same time, and a dull blade will not only make the job much more difficult but also risks ripping and snagging the fabric and ruining the project before you’ve even begun.
We recommend using a good-quality rotary cutter with a brand-new blade and a self-healing mat, rather than scissors or shears – the smooth rolling motion of the blade allows you to keep the quilt laid flat, which lends itself well to really clean, accurate cuts.
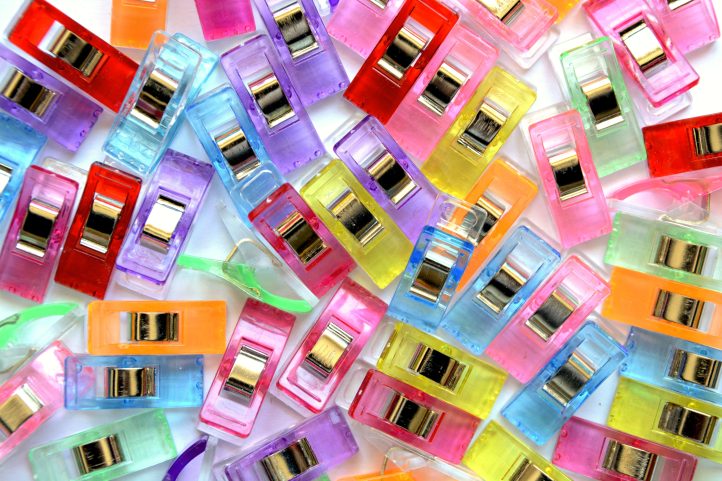
Photo provided by designer
Quilting clips are another sewing box essential – not just for upcycling patchworks but for any heavy-duty make! Unlike pins, which can easily slip out of the fabric and may be difficult to insert through multiple layers at once, quilting clips are purpose-made for holding thick layers together. As an added advantage, they also don’t damage the fabric or leave holes behind, like pins often can.
A trusty seam ripper will definitely come in handy when re-working a quilt. Not only can it assist in undoing mistakes but it can be used to gently unpick delicate seams, remove binding, salvage buttons and other fastenings, and more.
No Waste
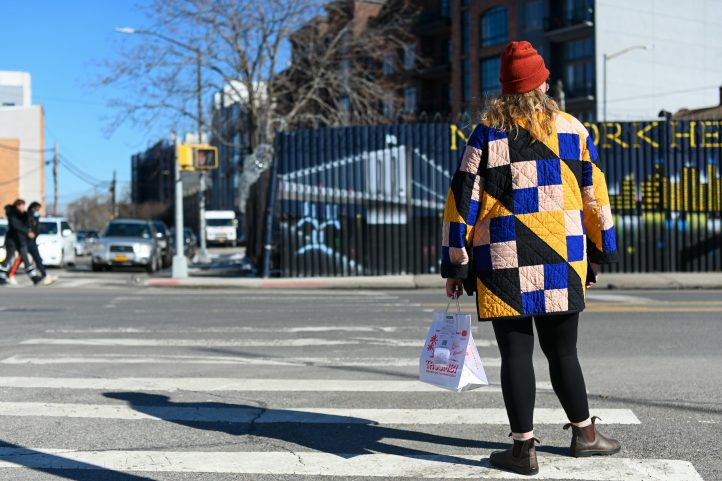
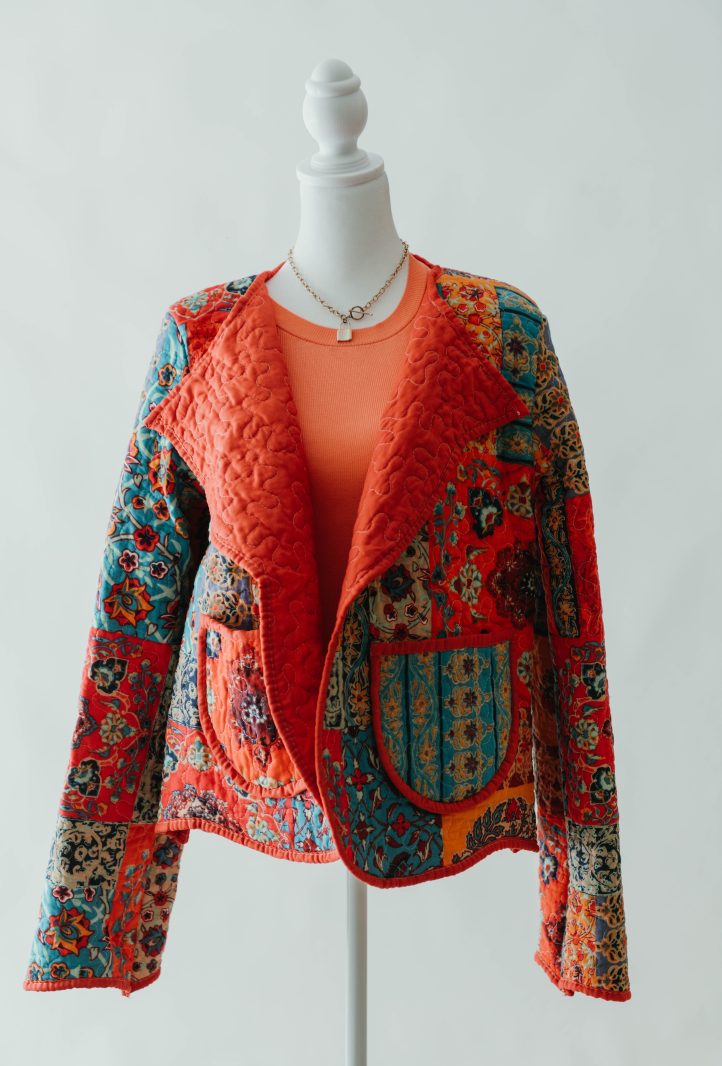
Part of the joy of re-working a quilt is trying to think of clever ways to re-use all the different elements and feature them within your new creation. For example, you can unpick and re-use binding to finish the edges of a garment, or even place your pattern pieces strategically along the edge of your patchwork so that the existing edges become part of your new make. Our upcycled quilt to jacket project uses this exact technique to achieve a cute wavy edge that not only looks good, but saves time and effort during construction too – an added bonus.
Photography: Mackenzie Gentry
When placing pattern pieces onto a quilt, try to take in the overall aesthetic of the piece – for example, does your quilt have a symmetrical patchwork design? If so, why not position the middle of it along the center back of a jacket to keep the pattern visible and make it a stand-out feature?
You can also piece together different sections of a quilt to create a larger working area, or mix up fabric colors, prints and designs within your new project. Remember – experimentation is key!
Seams Good To Me
Due to the bulky, layered nature of most quilts, picking the right seaming method is vital to getting a neat, long-lasting finish. Try to maintain a consistent seam allowance throughout your project and be aware that you may need to use a slightly wider allowance than usual to account for the extra bulk.
If making a garment, you can always trim down the seam allowances to remove some weight after stitching – or conceal the raw edges within a French seam for a truly neat finish, inside and out. If you’re worried about your seams not withstanding the extra weight of the quilted fabric, consider using a serger or a zig zag stitch to lend extra strength to your makes – especially garments and other pieces that’ll be worn or washed frequently.
Finishing Touches
When it comes to those extra special flourishes, there’s plenty of ways to add a little je ne sais quoi to your upcycled creations. Installing delicate fastenings can be tricky on thick layers of quilted fabric, so opt for bold snaps, magnetic fasteners and other hard-wearing, easy-to-fit closures instead. If you’re worried about your vintage fabric not holding up to daily wear and tear, add a layer of interfacing before you fit your fastenings to really lend some extra strength to those fibers.
If there’s small pieces of fabric leftover at the end of your project that you don’t want to discard, why not save them in your scraps pile for another make – re-use them for a future patchwork, or even turn them into a cute appliqué design, instead. Remember – waste not, want not!
Have you turned an old quilt into a fabulous new design? We’d love to see your creations – tag us on Instagram @WeLikeQuilting so that we can see your latest makes.
