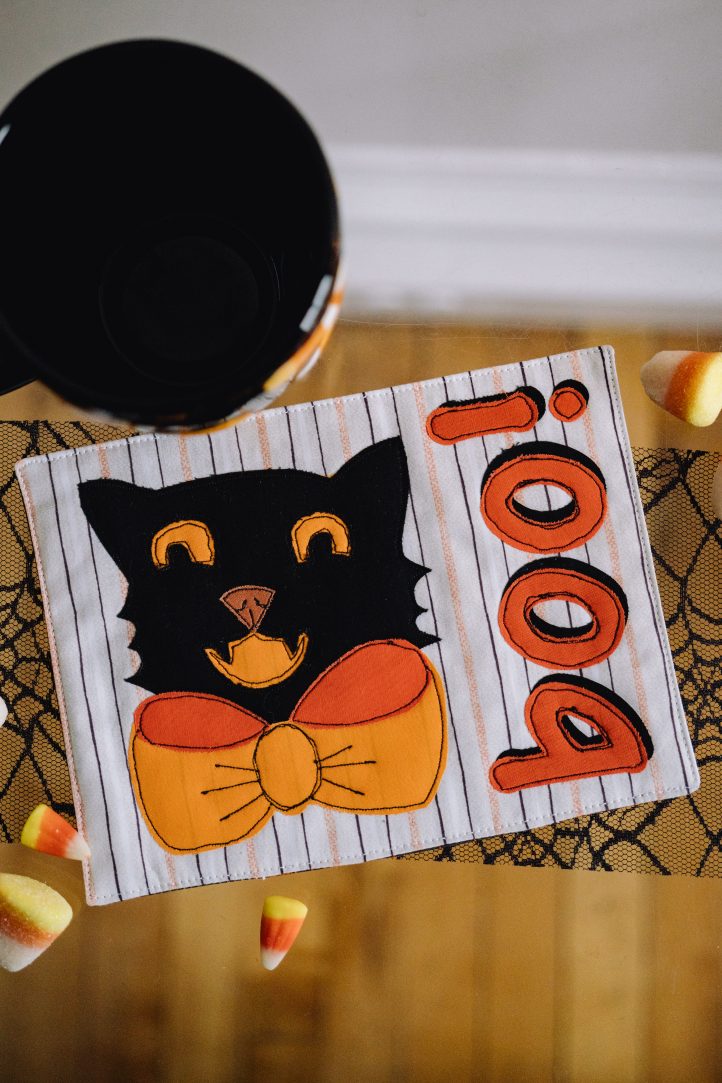
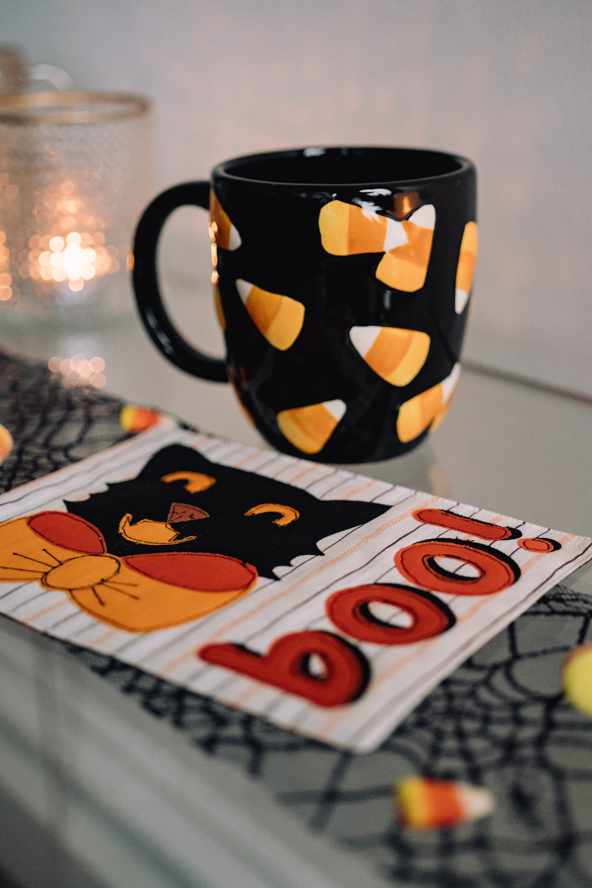
Forget about passing trends like neutral Halloween and embrace classic Halloween décor with this retro-inspired mug rug. Part Over the Garden Wall, part 1920s Halloween, this delightful mug rug pattern features an applique black cat and lettering design to create its vintage look. Turn your printed Halloween fat eighths into an eerie vintage design with this playful holiday quilting project.
Designer Notes:
- Please read all instructions and assembly requirements before beginning the pattern.
- Seam allowances are all 1/4” and have already been added.
Materials:
- Fabric: (Note: All fabrics are from Art Gallery Fabrics and this is an eighth-friendly project.)
- Fat eighth striped background fabric. The designer’s choice is High Tide Day from the Mindscape collection by Katarina Roccella for AGF.
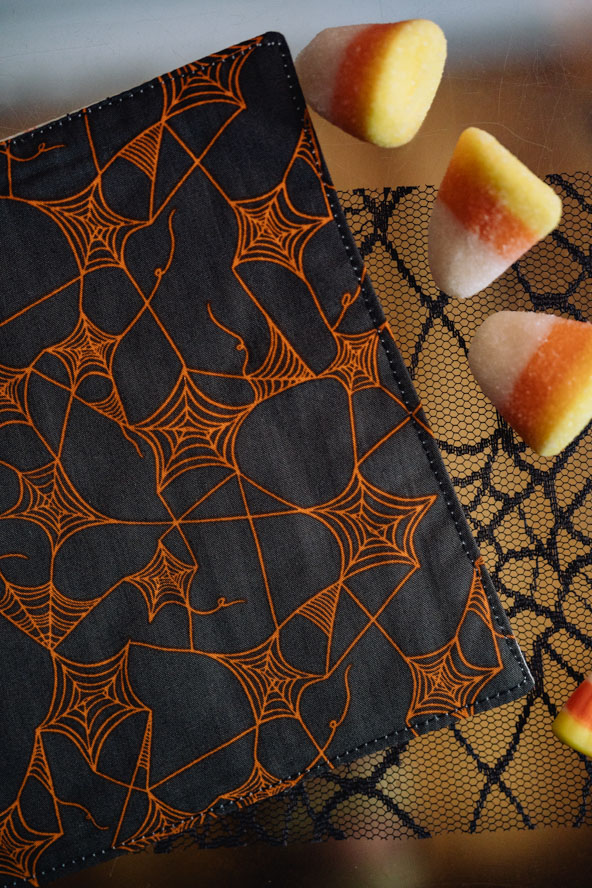
- Fat eighth Halloween fabric for the backing fabric. The designer loves Web of Scares Caramel from the Sweet ‘n Spookier collection by AGF Studio.
- Fat Eighth solid fabrics (all from the Pure Elements collection by AGF):
- Black for the cat and the word drop shadow (Caviar)
- Orange for the bow, eyes and mouth (Tangerine)
- Darker orange for the bow shadow and the word (Tigerlily)
- TIP: You will not use a whole Fat eighth of any of these colors. The designer used this size because it is often the smallest size that you can buy. A larger scrap will actually be sufficient though and you may have something in your stash already. Have a look at the template and if your scraps fit, you are good to go!
- Tiny scrap of pink or light brown for the nose
- Interfacing:
- Fat eighth H630 Fusible Batting (Vlieseline). A great substitute is Bosal #326LF Light Fusible Batting.
- Fat Eighth Vliesofix Bondaweb (Vlieseline). If you cannot find this where you live, Pellon EZ- Steam II is recommended.
- Alphabet die and die cutting machine for the word ‘Boo!’
- TIP: Because these alphabet dies come and go from the market, the designer deliberately does not recommending a particular one. The letters need to be about 1 1/2” wide x 2” tall and you need an exclamation mark. Don’t have a die cutting machine? Simply choose and download an alphabet, transfer to the paper and cut it out. Make sure that your choice is not too thin or fussy.
- Coordinating threads for all fabrics and trims
- TIP: Always coordinate all of your threads to fabrics. Sometimes this means a different color thread in the top of the machine versus the bobbin. It is a bit of extra work but well worth it in terms of style.
- Scissors
- Fabric markers
- Extra feet for your sewing machine (darning foot, for example)
- PDF Template – This is located at the bottom of this page. See printing instructions below.
PRINTING INSTRUCTIONS:
To download the PDF template, click on the download button at the bottom of the page. We recommend opening your download using Adobe Acrobat.
Cutting Instructions:
TIP: For all of the applique pieces, attach the fabric to the Bondaweb before cutting out. See the details in the first part of ‘Preparation’.
- From the striped background fabric:
- 1 piece 8 1/2” wide x 6 1/2” tall for the background fabric
- From the black fabric:
- 1 piece for the cat’s face (template 1)
- The word ‘Boo!’ from your alphabet die for the drop shadow
- From the lighter orange fabric:
- 2 pieces for the cat’s eyes roughly 1 1/2” square
- 1 piece for the cat’s mouth roughly 2” wide x 1 1/2” tall
- 1 piece for the bow (template 2)
- From the light brown or pink:
- 1 piece for the nose (template 1)
- From the darker orange fabric:
- 2 pieces for the bow shadow (template 1)
- The word ‘Boo!’ from your alphabet die for the word
- From the backing fabric:
- 1 piece 8 1/2” wide x 6 1/2” tall for the backing/lining fabric
- From the fusible batting:
- 1 piece 8” wide x 6” tall for the interfacing
Sewing Instructions:
PREPARATION:
- When you use the Bondaweb, notice that there is a smooth, paper side and a rough, glue side. To begin with, use the template to trace all of the pieces for the appliqué onto the smooth side and cut out roughly.
- Lay the roughly cut out template pieces onto the relevant fabrics, glue side down and iron onto the fabric to fuse. Cut the pieces out exactly.
- When you come to cutting the cat’s eyes and mouth out, you will need a small pair of sharp scissors capable of cutting out the detail. Carefully cut the eyes out leaving the black pupils and the mouth, leaving the fangs.

- TIP: The paper backing on the Bondaweb stiffens the fabric slightly, making this job easier.
- Peel the paper away from the pieces and build your appliqué. Plan the build by placing the face piece onto the left hand side of the backing fabric but don’t fuse it on just yet. Slip the orange eye and mouth pieces under the black face section and center them well so that they are enclosed. Add the nose and arrange the bow under the cat’s chin and make sure that the bow shadow pieces are in the right place.

- Now fuse the face into position and come back in with your removable marker and add in some details on the nose and the bow.

- Arrange the word onto the right hand side of the mat with the black letters first and then the orange, slightly above the black and to the side to achieve a drop shadow effect.

- TIP: Debbie applied her word sideways but you can also stack the letters or arrange them in a block as you prefer.
- Fuse the batting centrally to the wrong side of the front panel.
MAKING:
- Set your machine up for Free Motion Embroidery (FME). Most modern machines can do a version of this and you will need a darning foot. Either drop the feed dogs or set your stitch length to zero (your personal machine handbook will help with this) and you are ready. Thread with black thread.
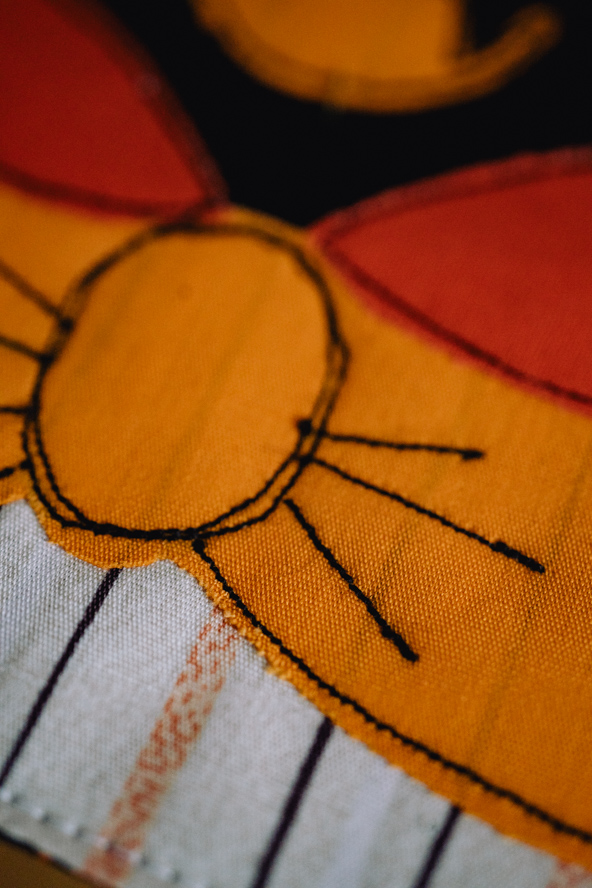
- Stitch around the edge of all of the appliqué pieces about 1/8” in from the edge and do not aim for neatness.

- Appliqué the word, too.
- TIP: You can go around twice on the bigger pieces, which looks really nice!
- TIP: As you can see in Image Five, the designer stitched around the mouth and eyes on the orange part, too. This is absolutely not necessary because the stitching on the black holds everything in place. However, it just seems to look a little more finished. You can omit this if you prefer. Do all of the other stitching and then have a look and see what you think.
- When the appliqué is finished, trim all of the threads next to the fabric.
- TIP: Because of the tightness of that stitching, it cannot come undone so you can trim right next to the appliqué.
- Trim the panel front so that it is neat.
- Place the appliquéd front right sides together onto the backing fabric and pin. Sew right around the outer edge with a normal seam and leave a turning gap along the bottom edge.
- Cut across the corners to reduce bulk and turn the mat the right way out through the gap.

- Press so that the rug is perfect all around and close the turning gap.
- TIP: You can do this with a neat hand stitch or simply press the gap edges to the wrong side by 1/4” and then close it in one go in the next step.
- Topstitch right around the edge of the mug rug both to decorate and to close the turning gap if you are using that option.

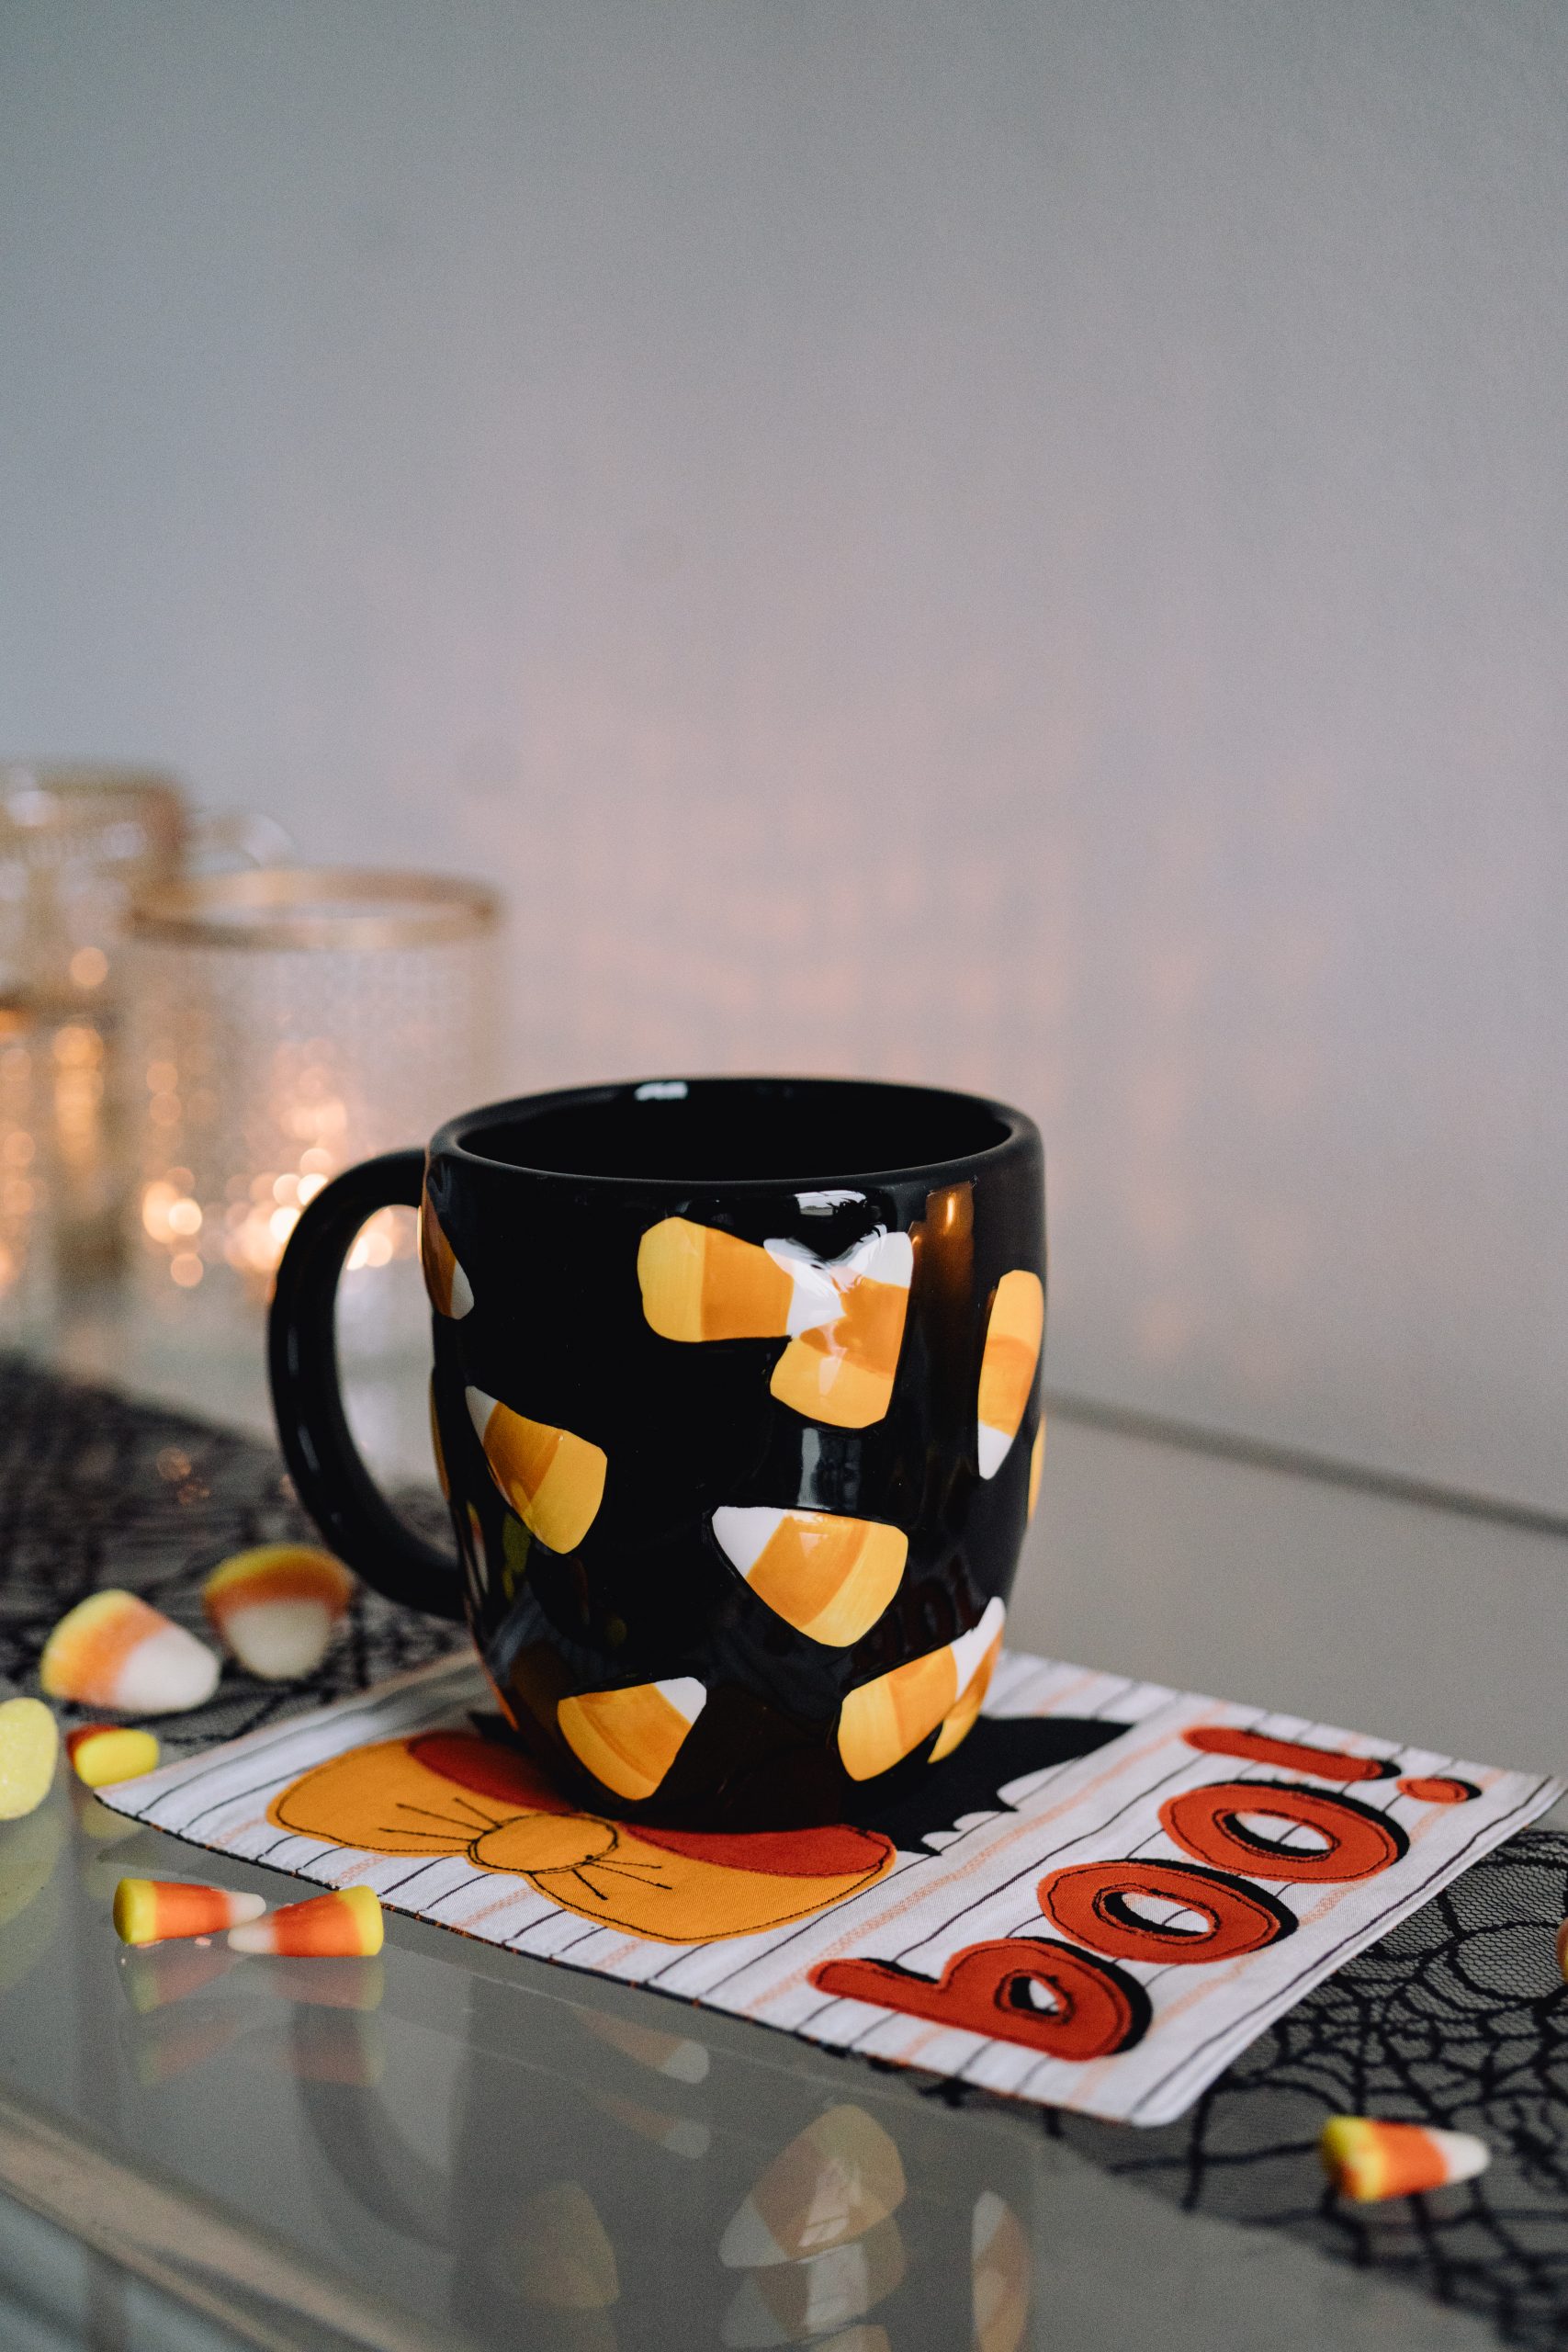
- Trim any loose threads and it is time to make hot chocolate with extra marshmallows– every mug rug must be tested!

Very cute!!!
Thanks so much for your kind comment, Patricia! Have a great day 🙂 – Ashley, We Like Quilting