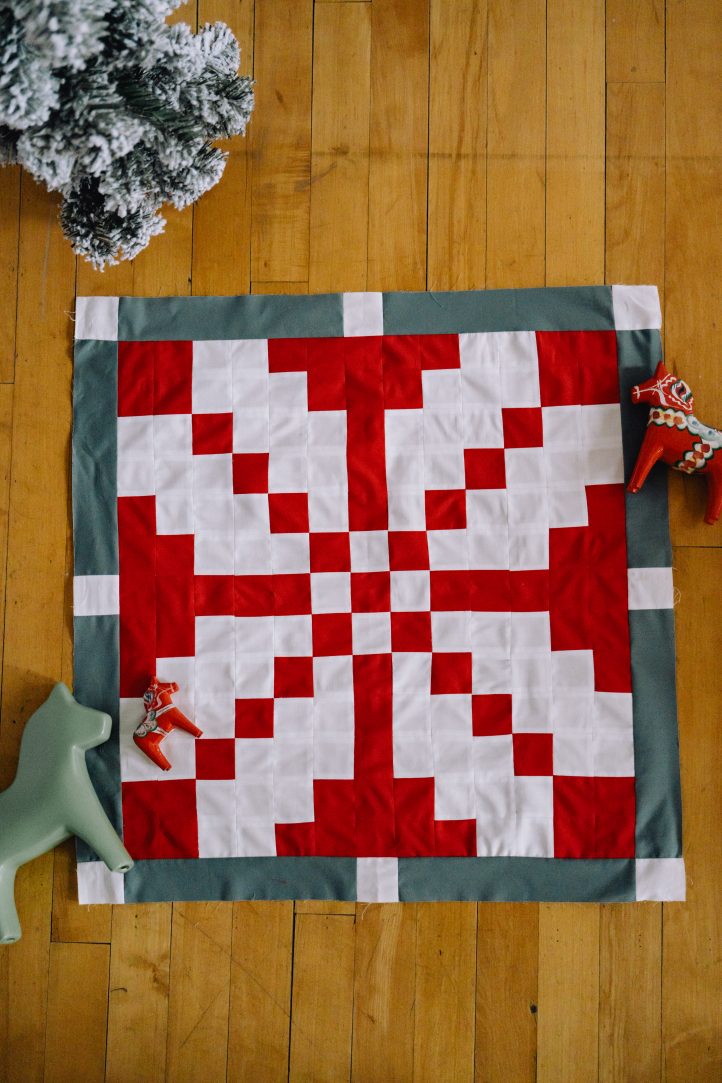
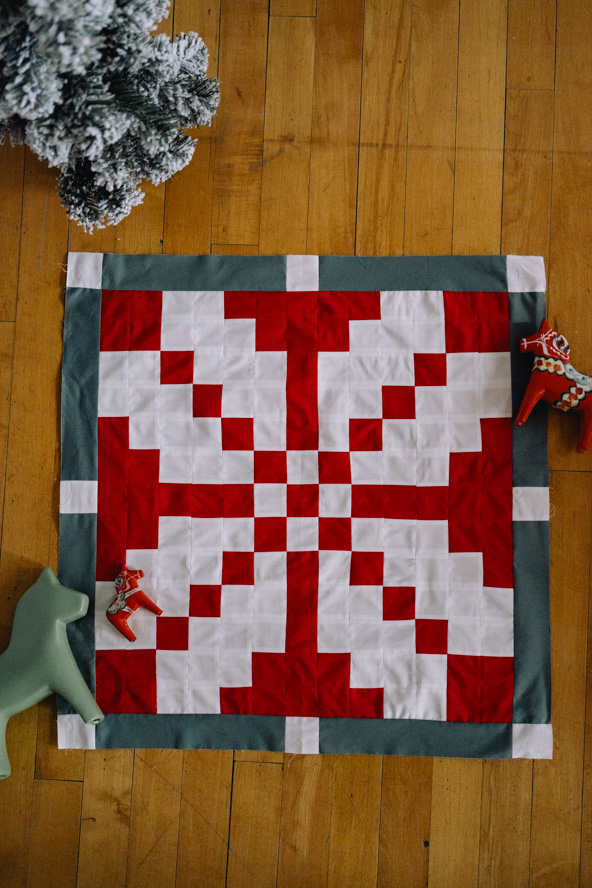
We’re more than a little bit obsessed with vibe of Scandinavian winter style. If you love the look of all things hygge, then be sure to check out this oversized Scandinavian quilt block. Made with a mixture of fat quarters and half yards of fabric, this large snowflake quilt block pattern is made in striking red and white to create a gorgeous modern block design that you can incorporate into quilts, pillows and more.
Designer Notes:
- Please read all instructions and assembly requirements before beginning the pattern.
- Seam allowances are all 1/4” and have already been added.
Materials:
- Fabric: (Note: All fabrics are from the Pure Elements collection by Art Gallery Fabrics.)
- 1/2 yard white solid (Snow)
- 1/2 yard red solid (Ruby)
- FQ green solid (Northern Waters)
- Scissors
- Fabric markers
Cutting Instructions:
From the white fabric:
- 5 strips 2” wide x WOF (width of fabric), sub-cut into 100 squares
From the red fabric:
- 4 strips 2” wide x WOF (width of fabric), sub-cut into 76 squares
From the green fabric:
- 8 strips 2” wide x 9 3/4” long
Sewing Instructions:
- This larger than usual quilt block is made up from squares, worked in rows to give a pixilated snowflake. If making more than one and planning a quilt, swap the green and the white border sashes and squares out every second block to introduce a secondary pattern.
- TIP: Press all seams open and join rows as you make them. It is also a good idea to shorten the stitch length to make the seams more stable. It is possible in many cases to save time by chain piecing.
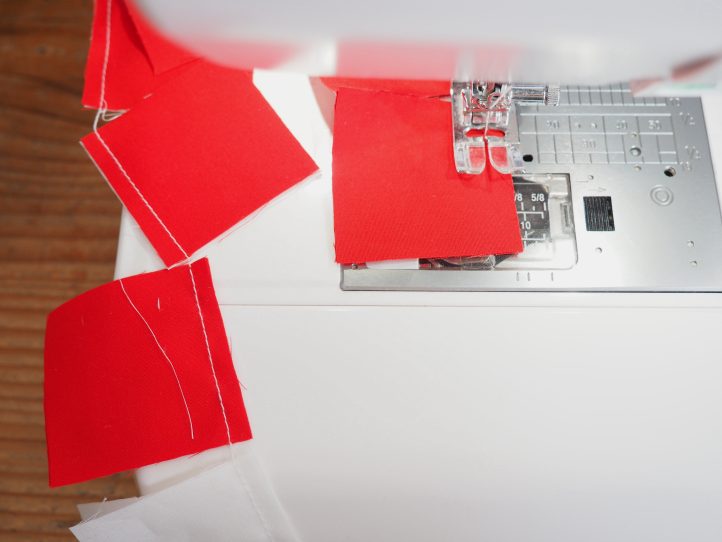
- Sewing the rows:
- Row 1- two red, two white, 5 red, two white, two red.
- Row 2- two red, three white, three red, three white, two red.
- Row 3- two white, one red, three white, one red, three white, one red, two white.
- TIP: These rows are a bit unstable (and they have to be pieced in squares). Debbie’s top tip is to join the rows together every three rows or so. The designer joined six in and you can see the pattern starting to emerge.
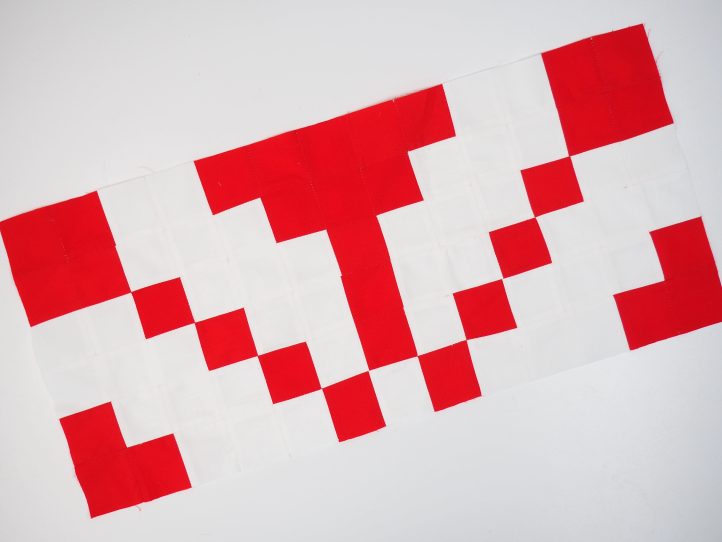
- Row 4- three white, one red, two white, one red, two white, one red, three white.
- Row 5- one red, three white, one red, one white, one red, one white, one red, three white, one red.
- Row 6- two red, three white, one red, one white, one red, three white, two red.
- Row 7- (center) five red, one white, one red, one white, five red.
- TIP: Because this pattern is mostly pieced in solids, you have to watch the joins. There is not much room to hide so make the piecing as precise as you can.
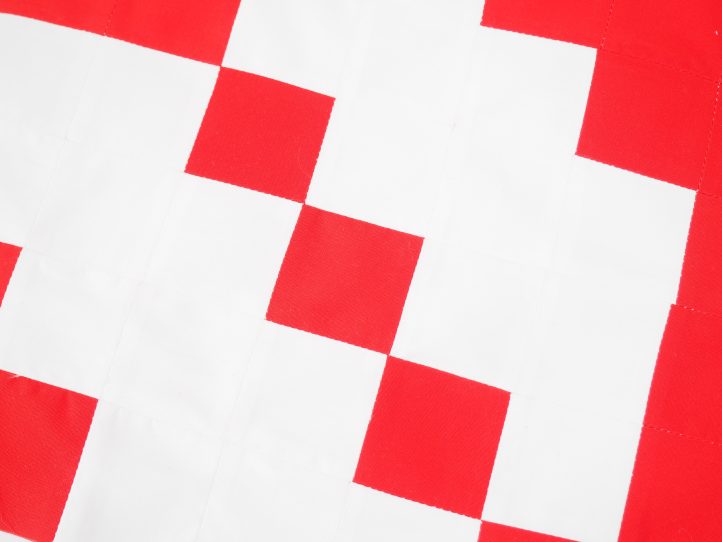
- Row 8- two red, three white, one red, one white, one red, three white, two red.
- Row 9- one red, three white, one red, one white, one red, one white, one red, three white, one red.
- Row 10- three white, one red, two white, one red, two white, one red, three white.
- Row 11- two white, one red, three white, one red, three white, one red, two white.
- Row 12- two red, three white, three red, three white, two red.
- Row 13- two red, two white, 5 red, two white, two red.
THE OUTER ROWS:
- Press everything that you have joined together and then add the left and right outer rows:
- Left outer row- green strip, white square, green strip.
- Right outer row- green strip, white square, green strip.
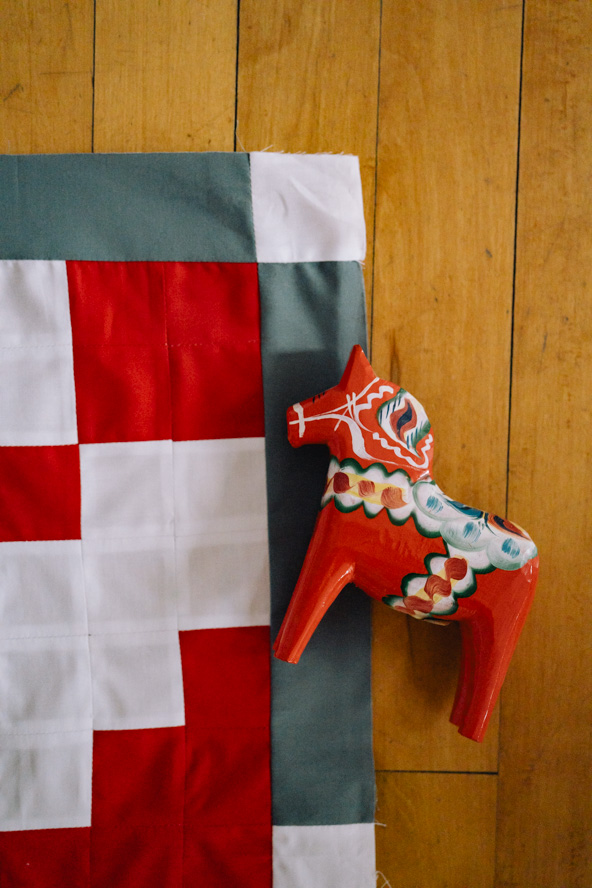
- TIP: There are some longer strips in the outer rows which stabilizes the block and makes it easier to piece several blocks together.
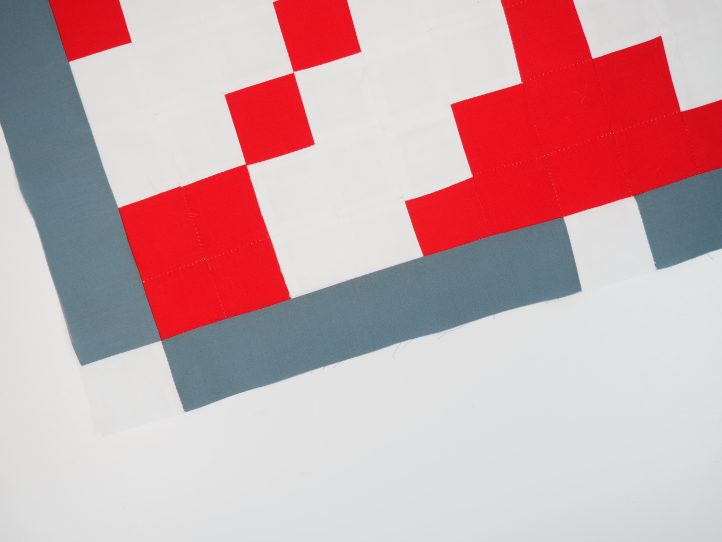
FOLLOWED BY THE TOP AND BOTTOM OUTER ROWS:
- Top outer row- white square, green strip, white square, green strip white square.
- Bottom outer row- white square, green strip, white square, green strip white square.
- Press again and trim to sq.
So how might you use a block like this? Make one and turn it into a seasonal cushion. Make nine or twelve and make a beautiful heirloom quilt for the festive season. Not up to a huge quilt? Make eight blocks and piece them in a double row to make a bed runner. For the sitting room, add side sashes and turn the single block into a table topper.

I like this one. I would do in green and white.
That color palette would look so pretty 🙂 Have a great day! – Ashley, We Like Quilting