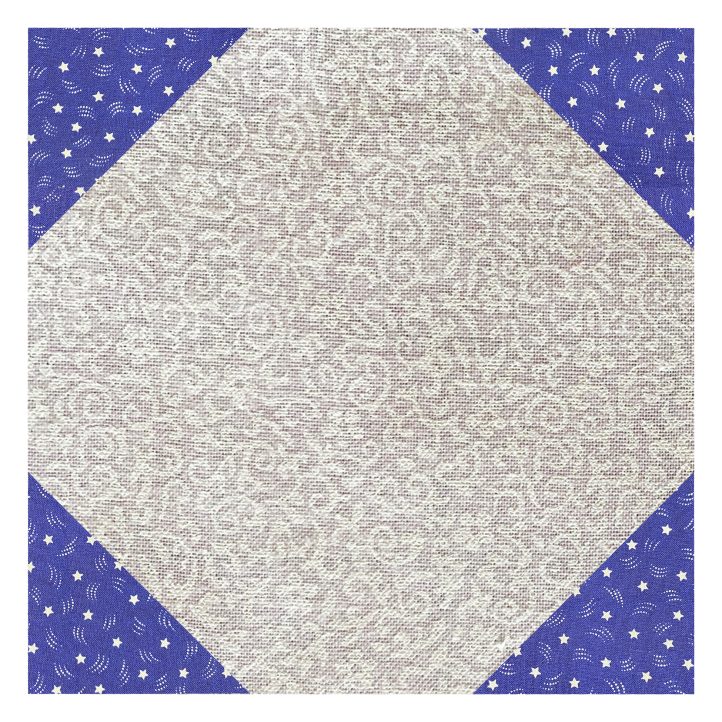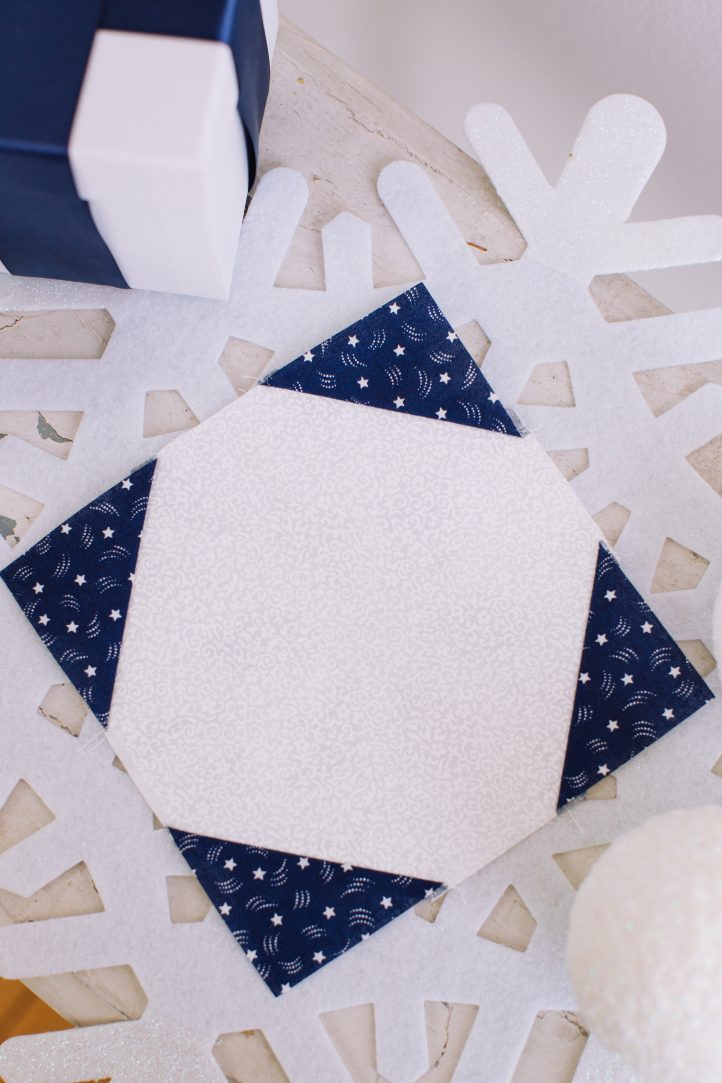
Beginner quilters rejoice! This classic quilt block pattern is an easy addition to add to your quilting repertoire. Make a traditional snowball quilt block in no time at all with this easy-to-follow quilting tutorial. Snowball blocks are known for their versatility, and we encourage you to play with interesting color combos and sizes to achieve a myriad of different looks. Designer Ann Butler walks you through the process of creating a snowball block in this handy guide.
Designer Notes:
- Pre-wash all of your fabric.
- Iron your fabric before cutting.
- Use a 1/4“ seam allowance throughout.
Materials:
- Cotton fabric: White, Blue
- Thread
Tools:
- Sewing machine
- Ruler
- Pins
- Iron
- Rotary cutter
- Cutting mat
- Scissors
- Washing machine
- Dryer
Instructions:
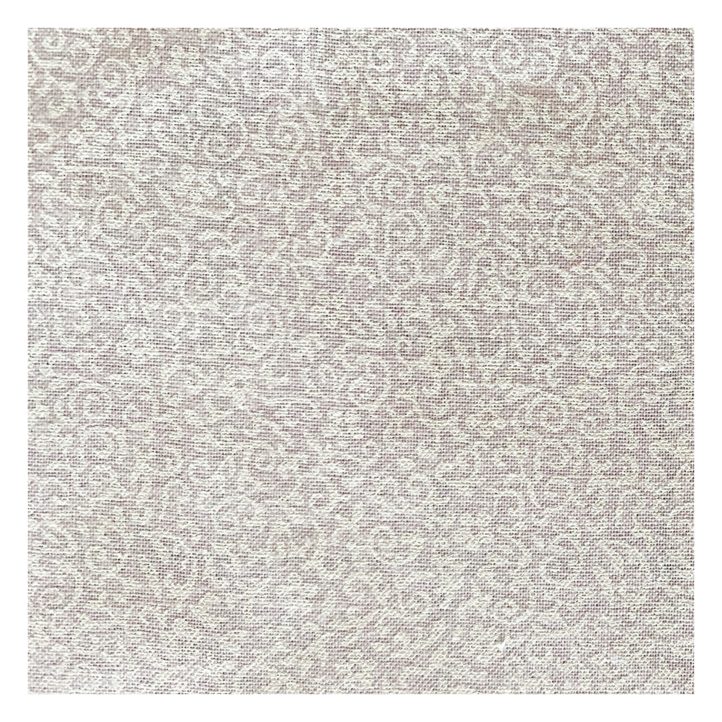
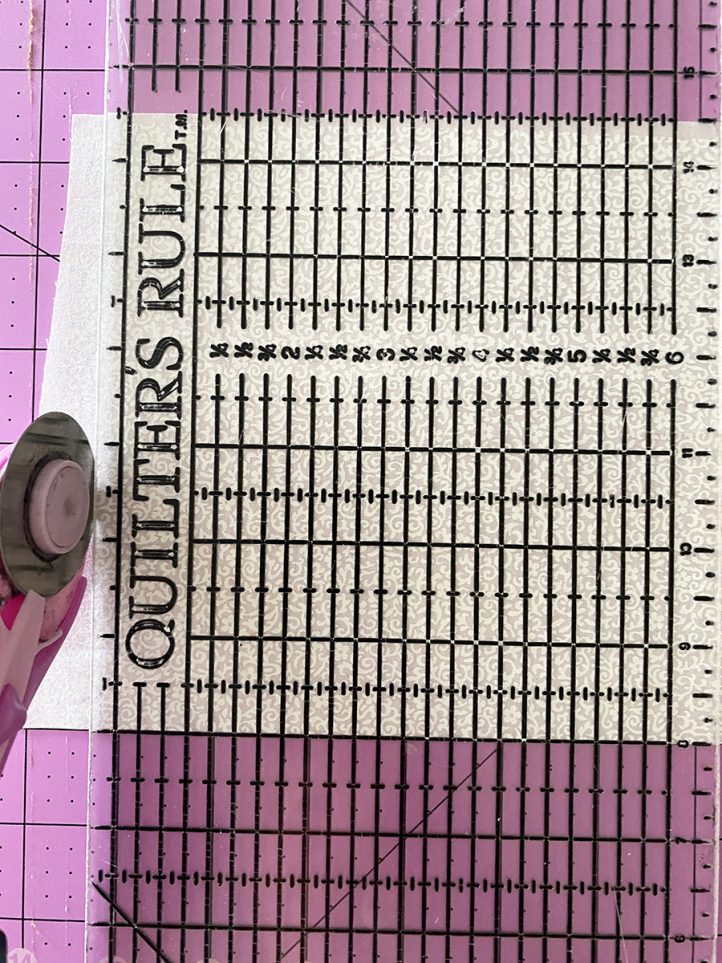
- Cut one 6 1/2″ square from the white fabric.
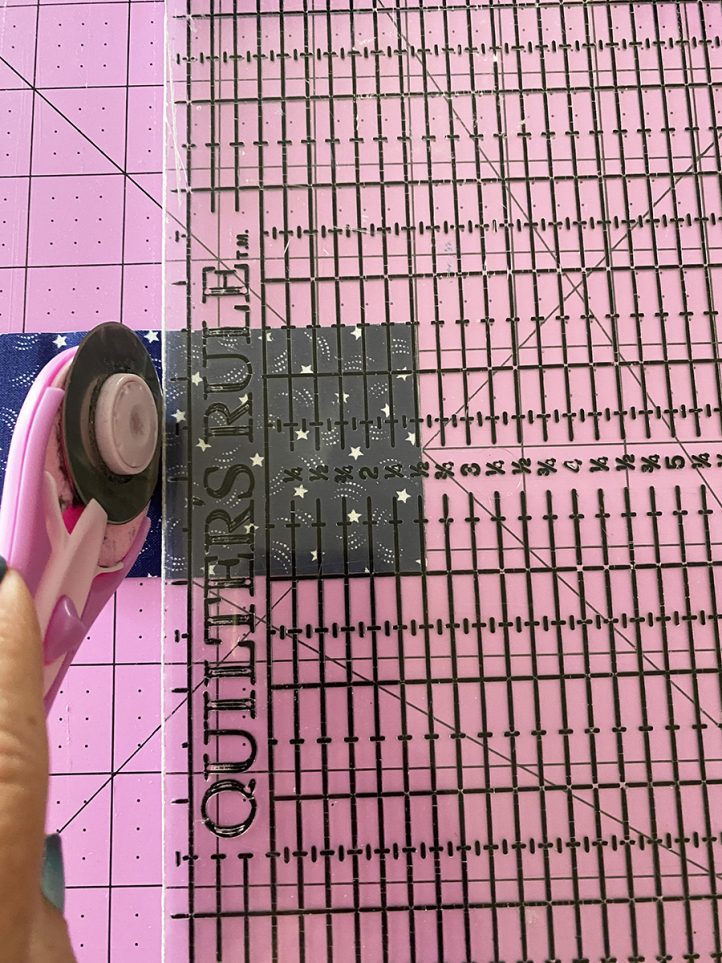
- Cut four 2 1/2″ squares from the blue fabric.
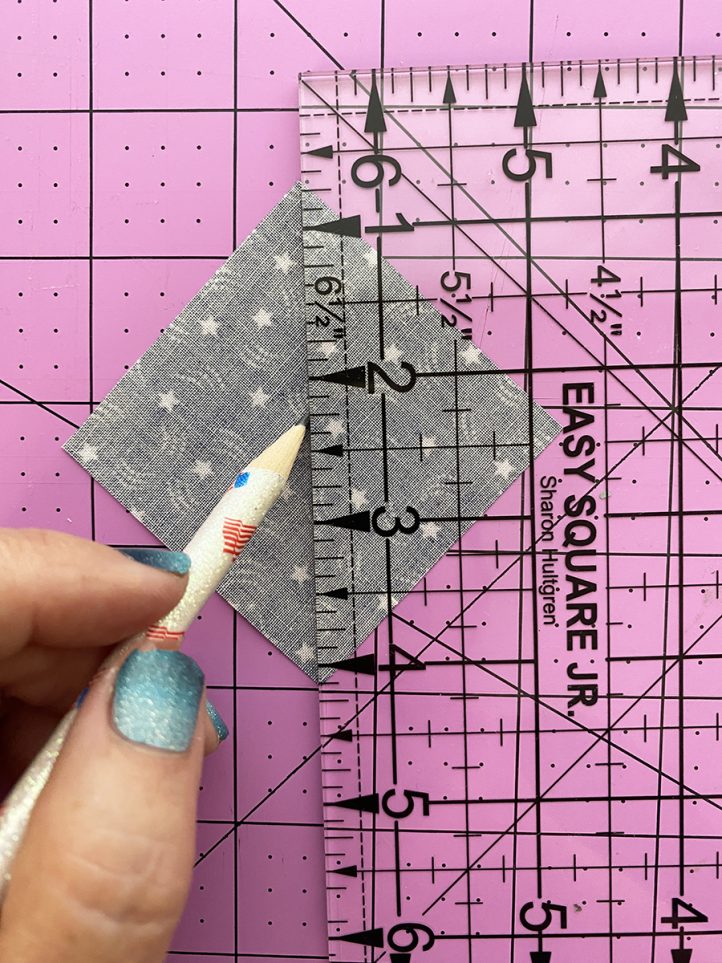
- Draw a line from point to point on the back side of the four blue squares.
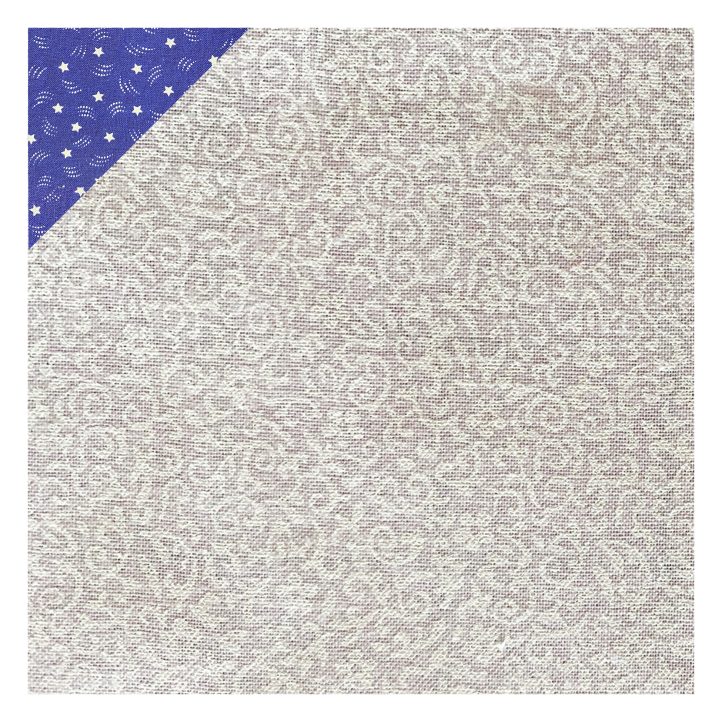
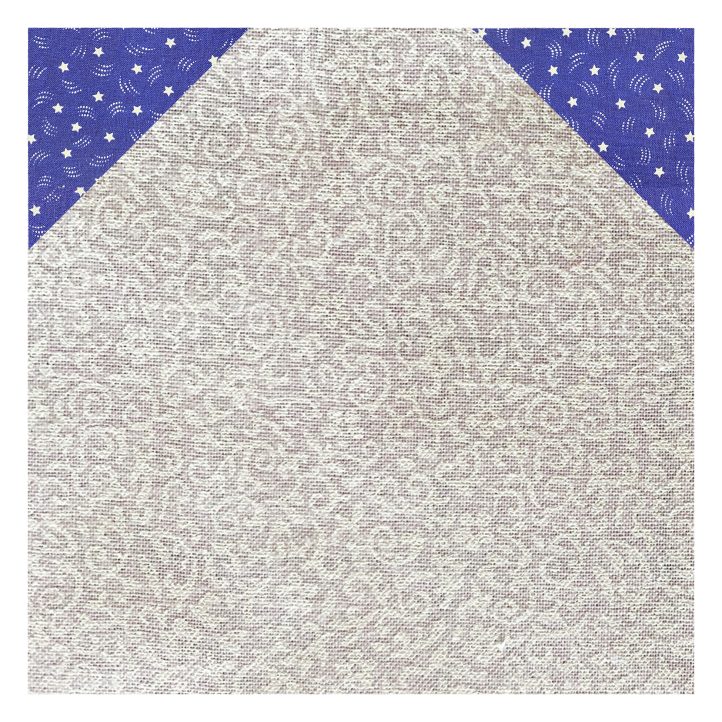
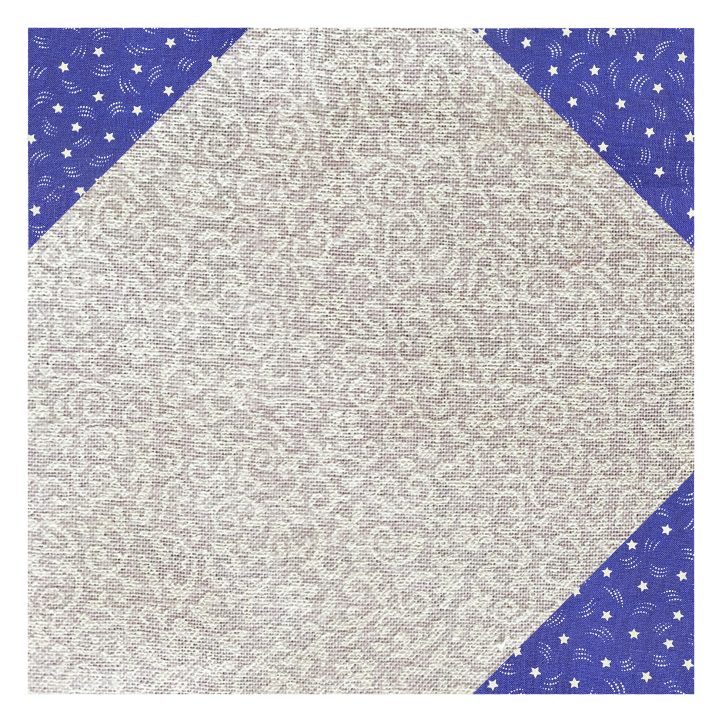
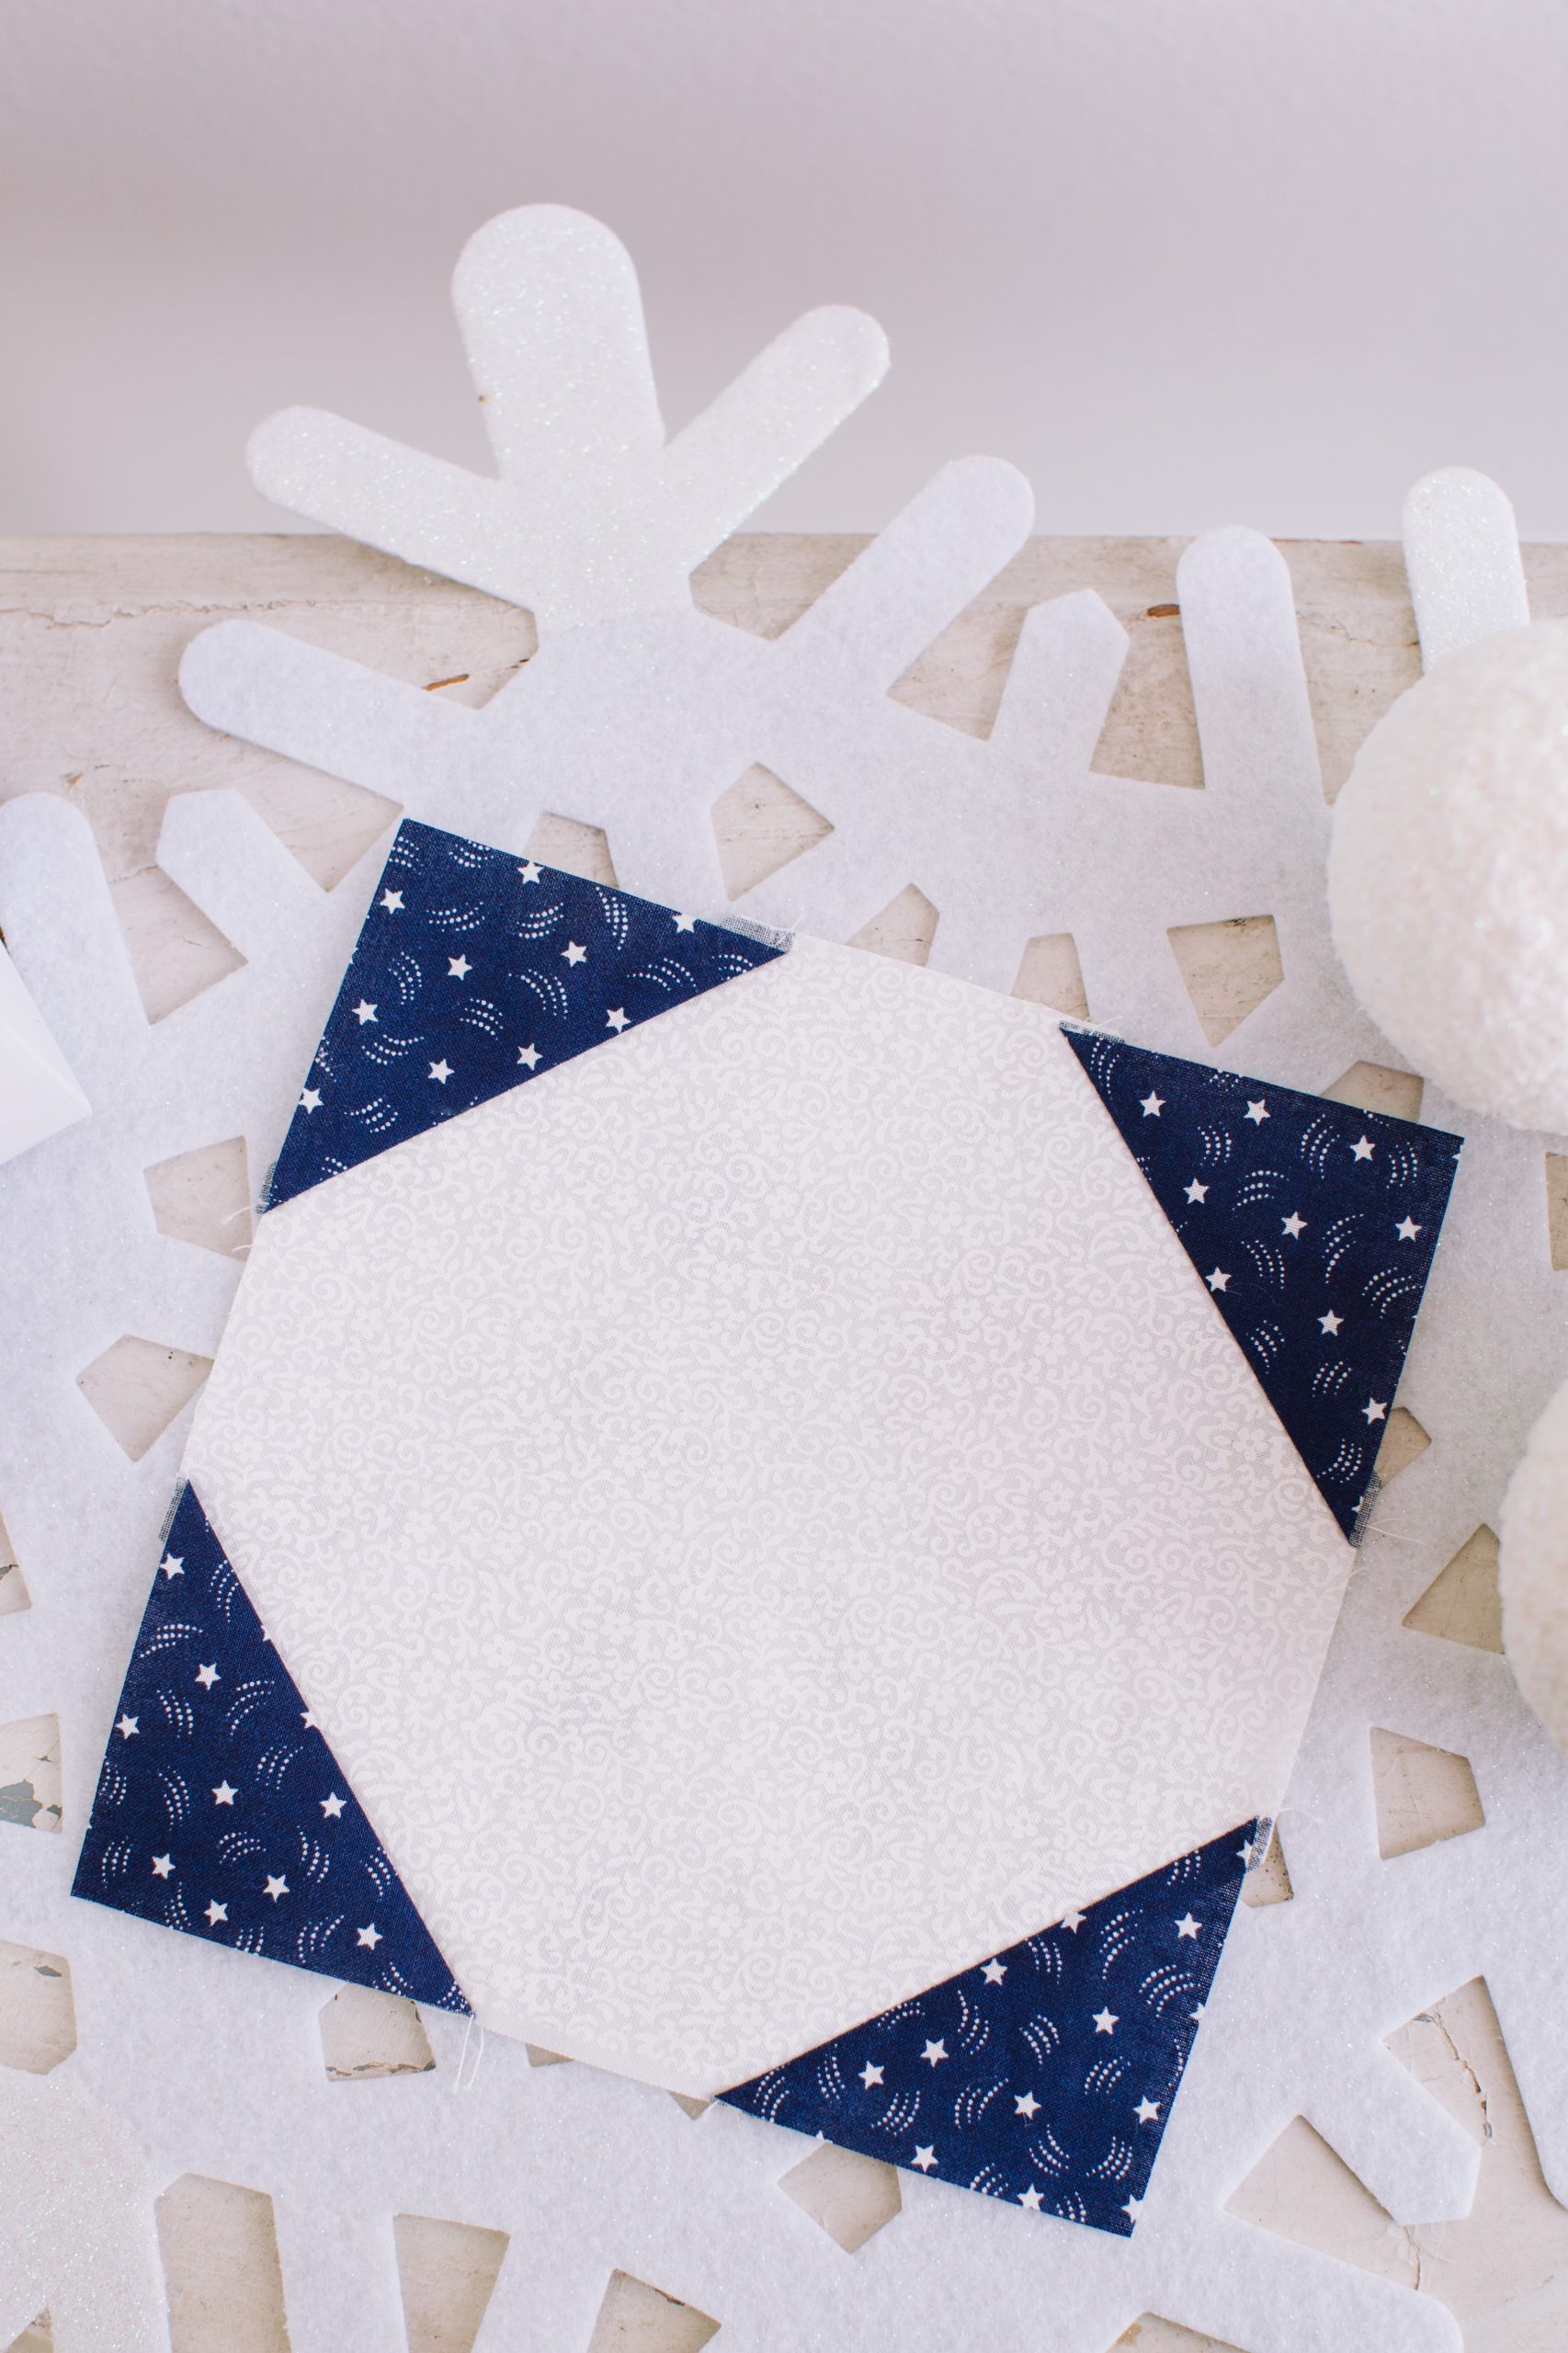
- Pin blue squares onto the corners of the white square as shown in photo.
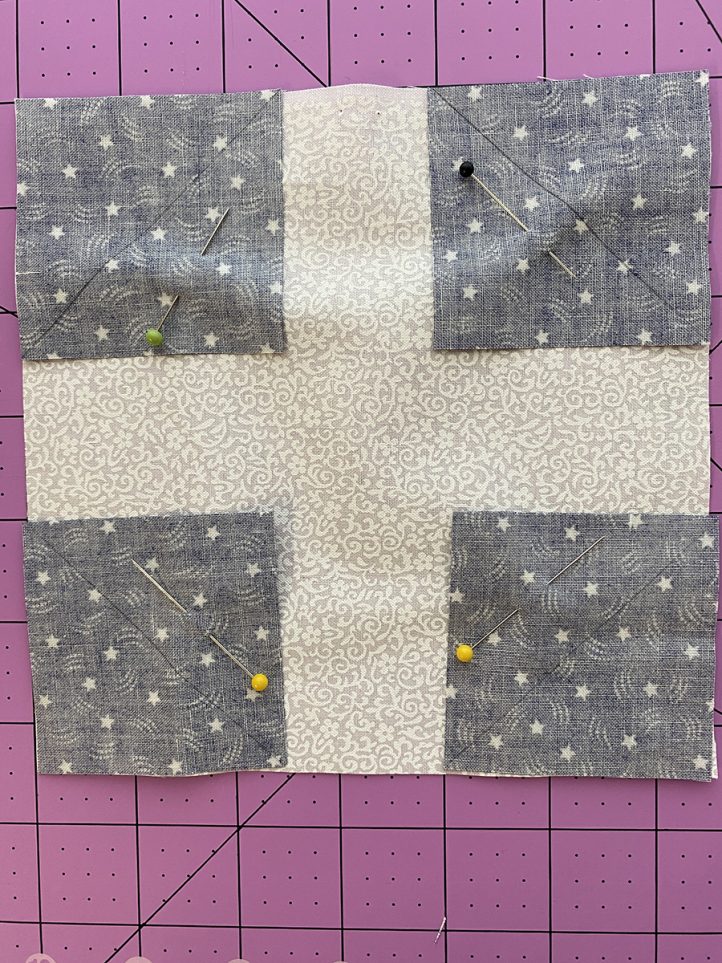
- Sew on marked lines.
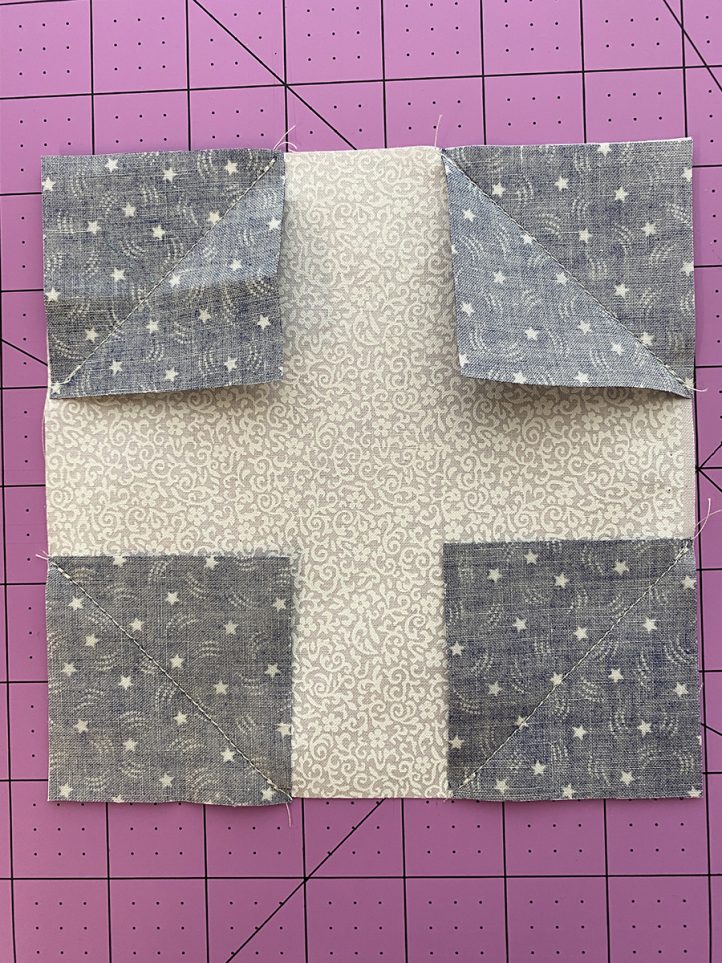
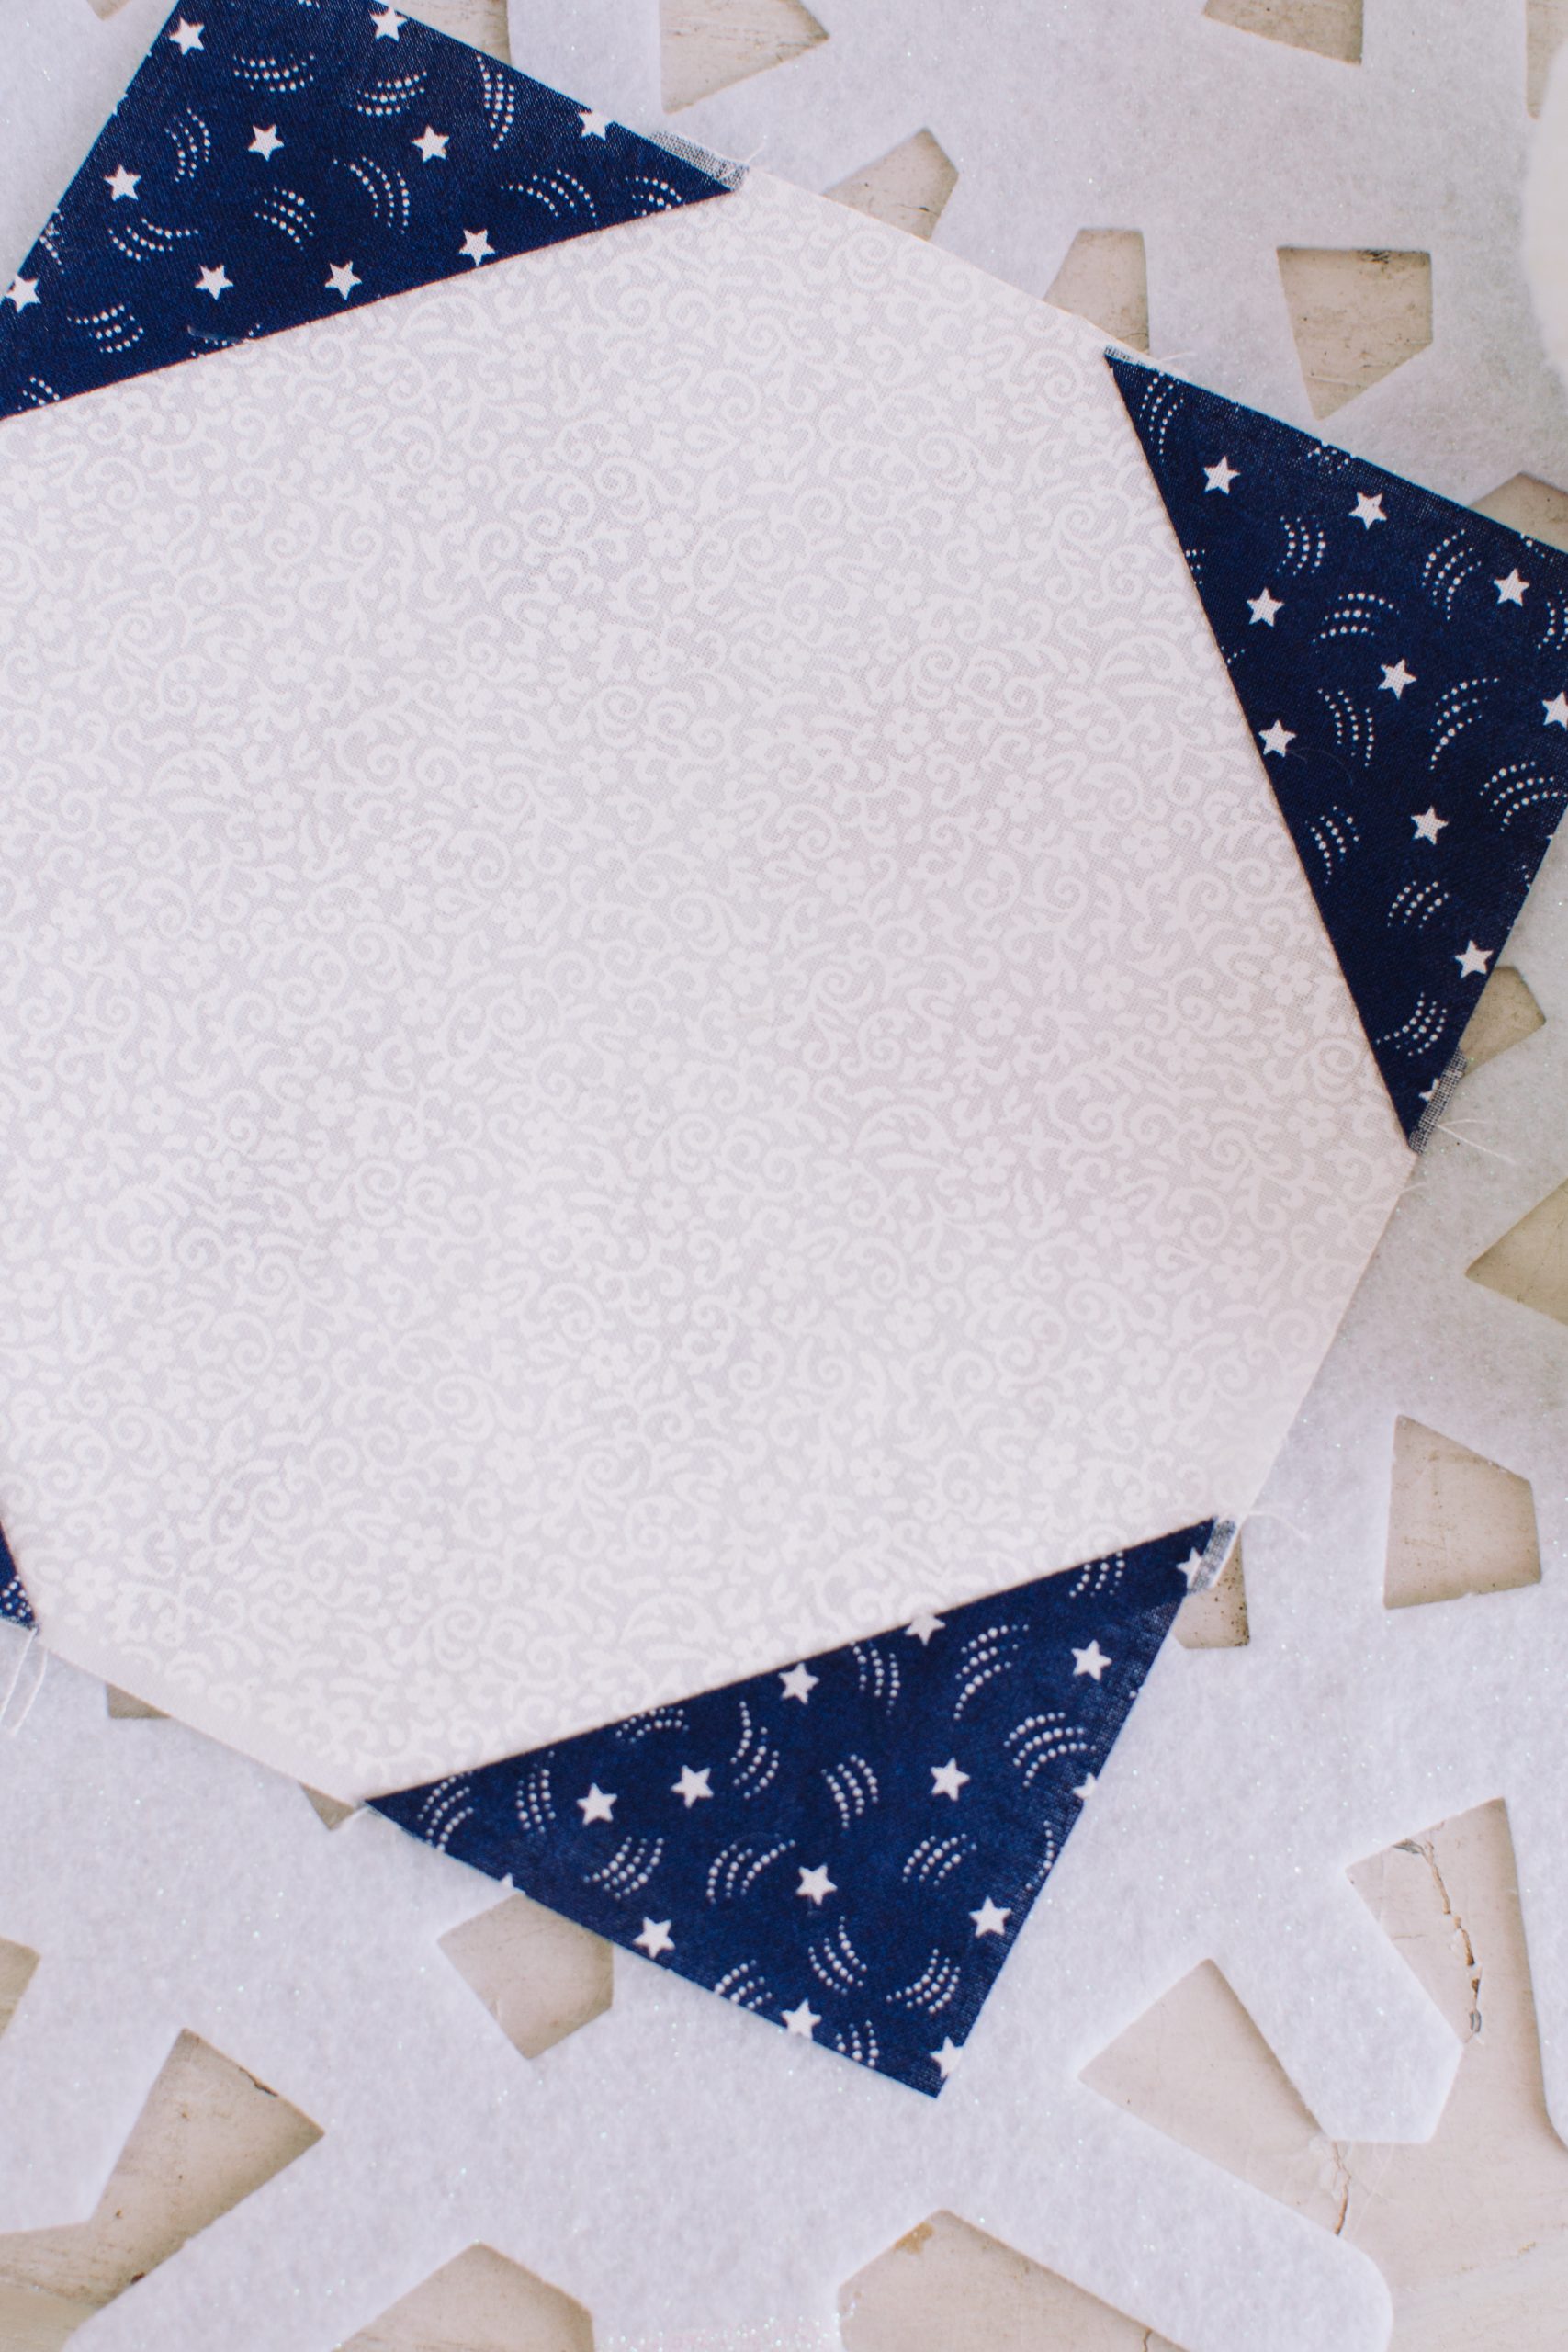
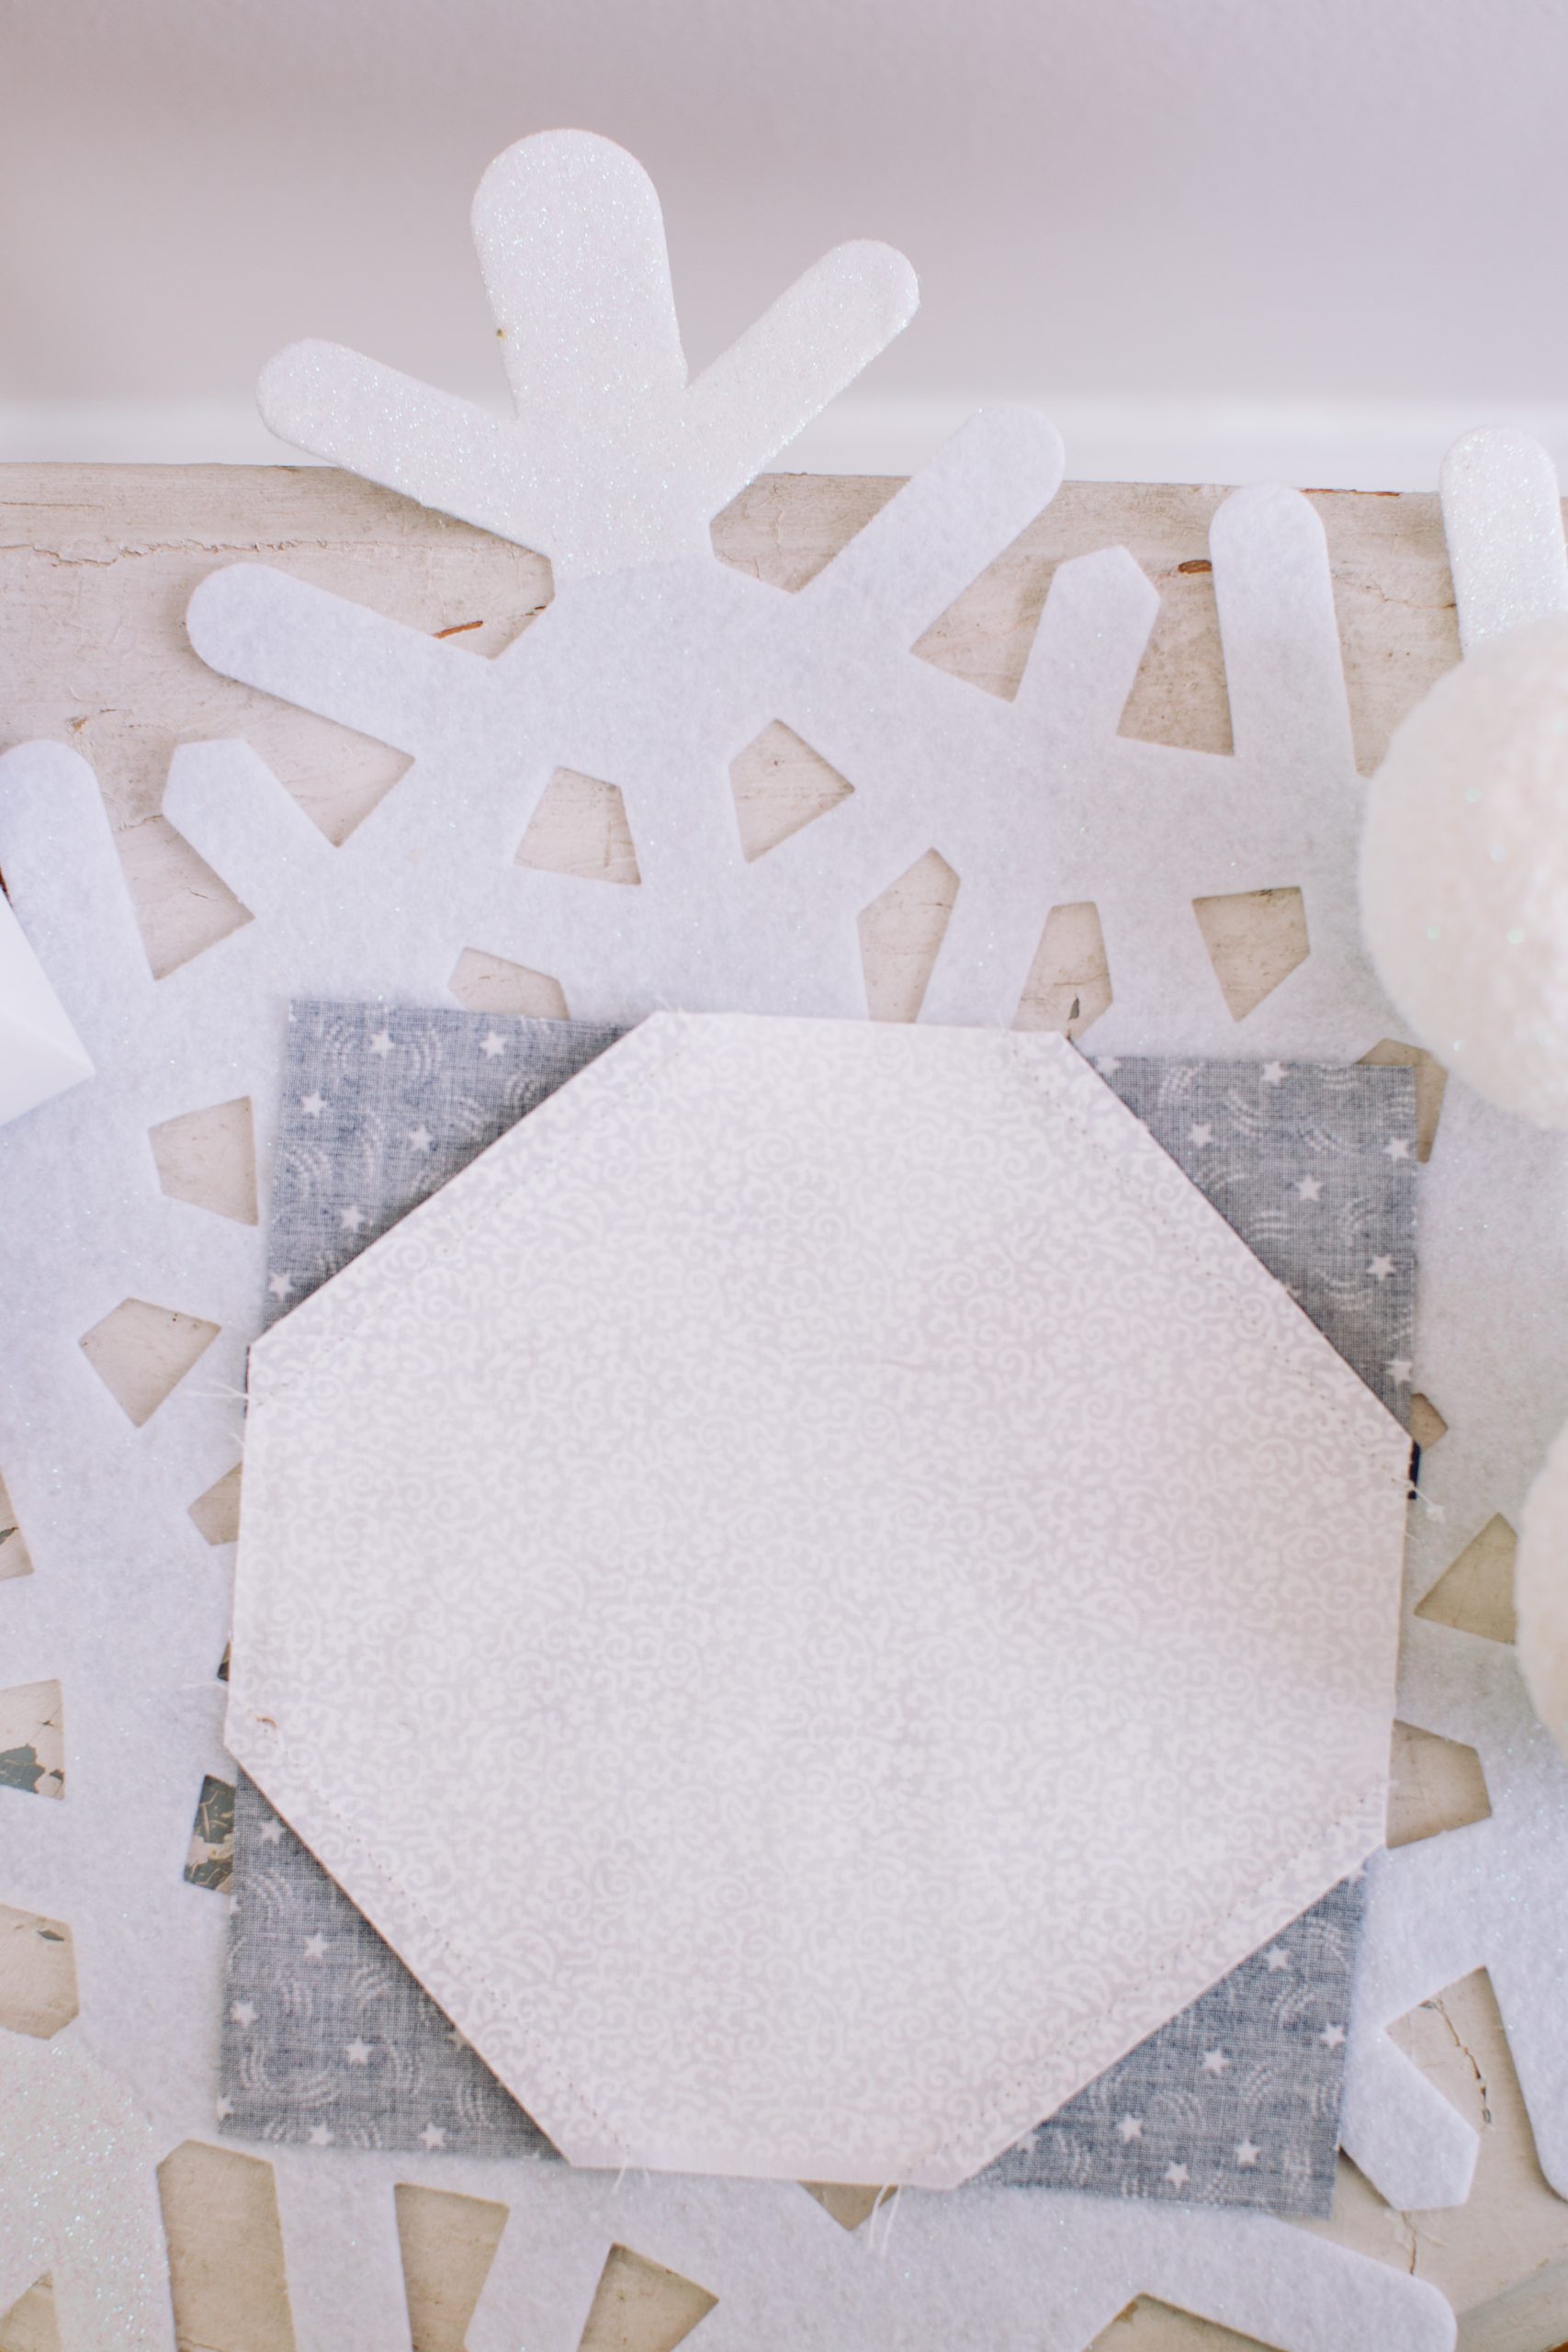
- Place a ruler over stitched line, adding 1/4“ and trim excess.
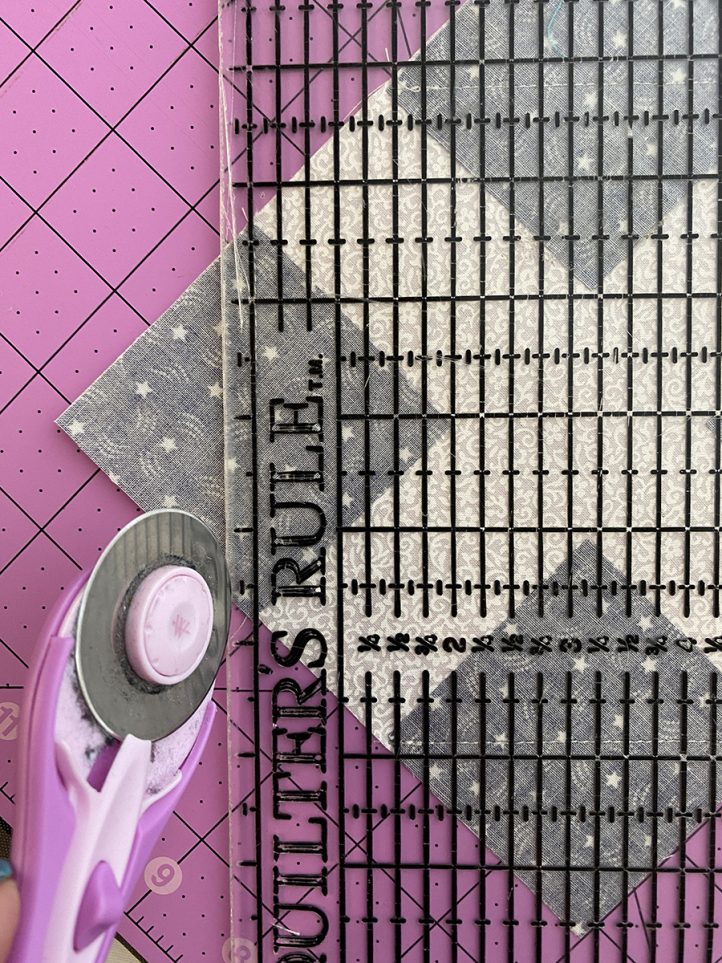
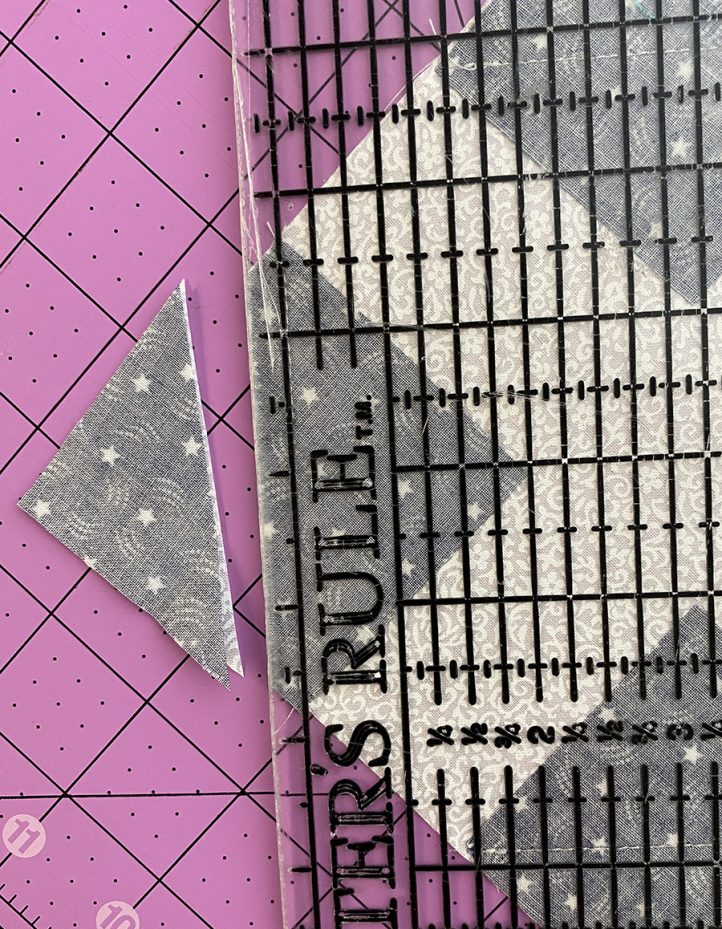
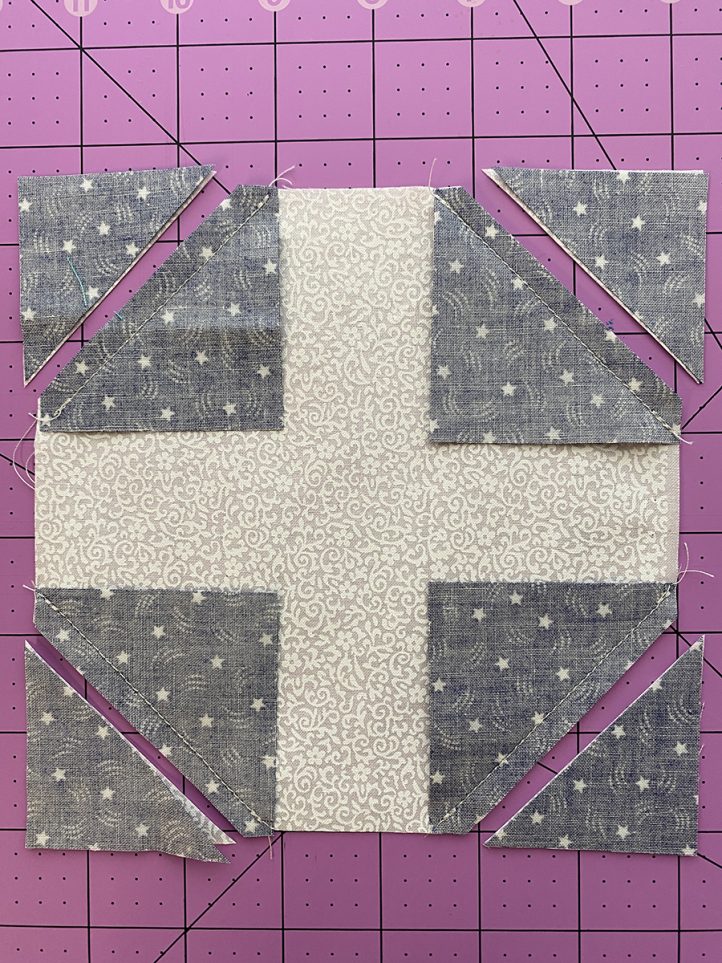
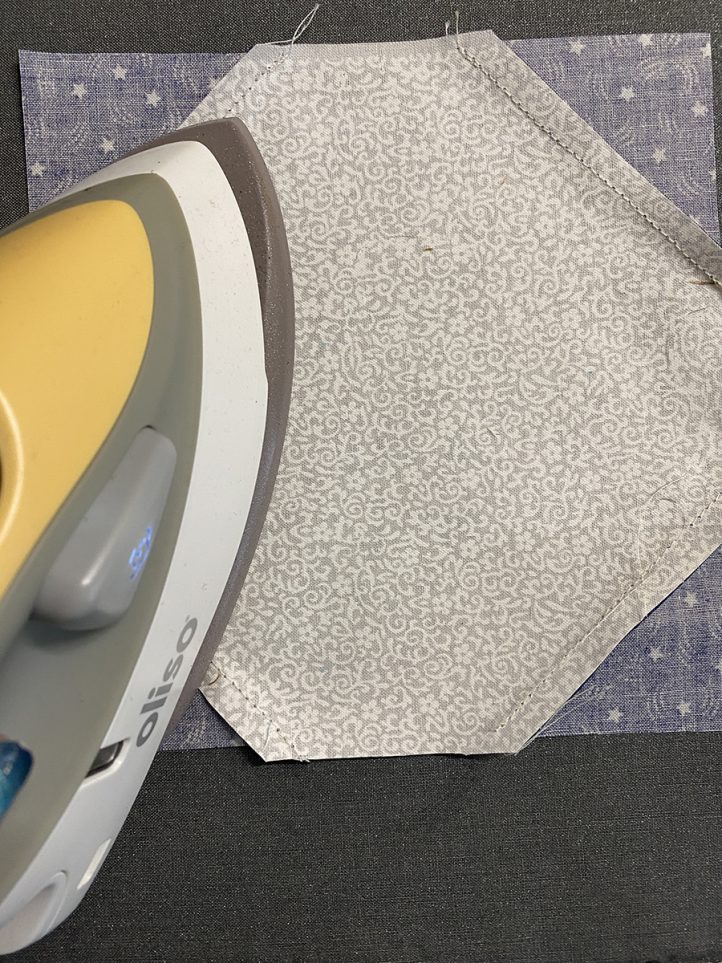
- Turn block over and iron seam toward the blue fabric side.
- Turn block right side and press. Finished Block.
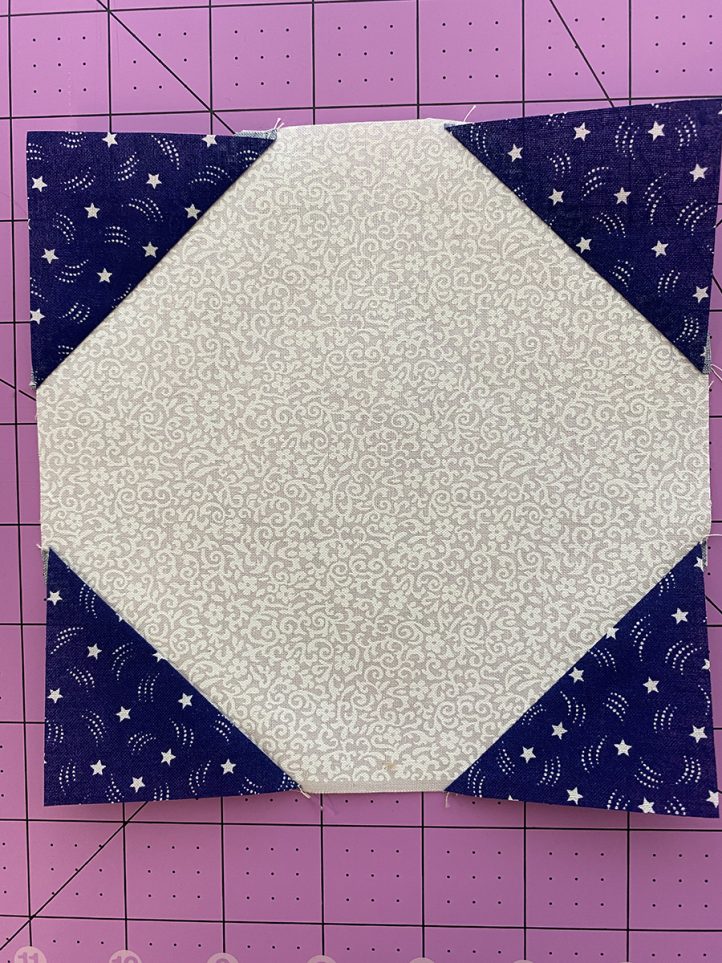
See how the block comes together below:
