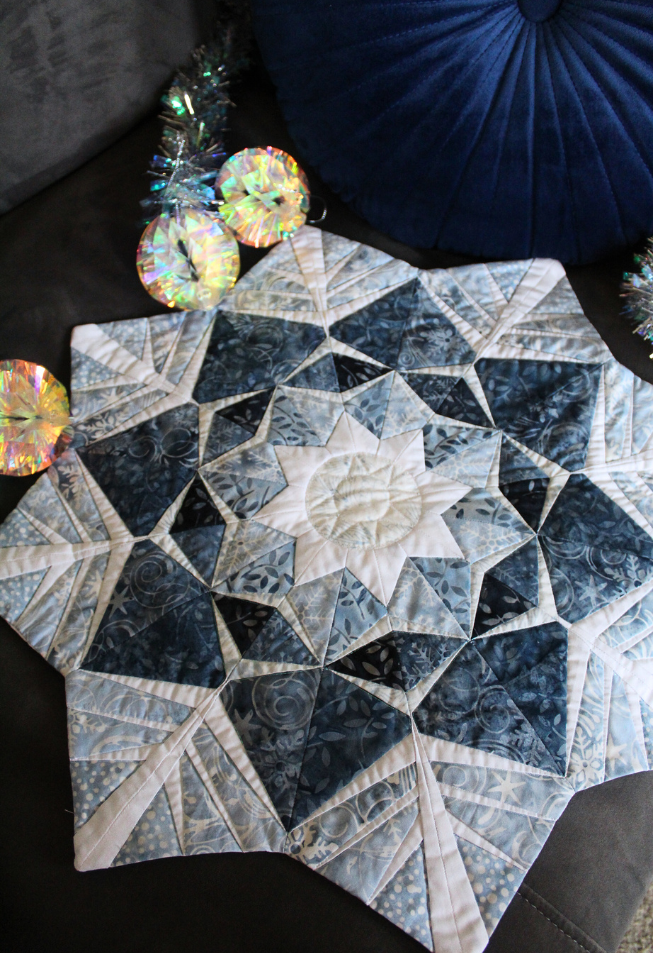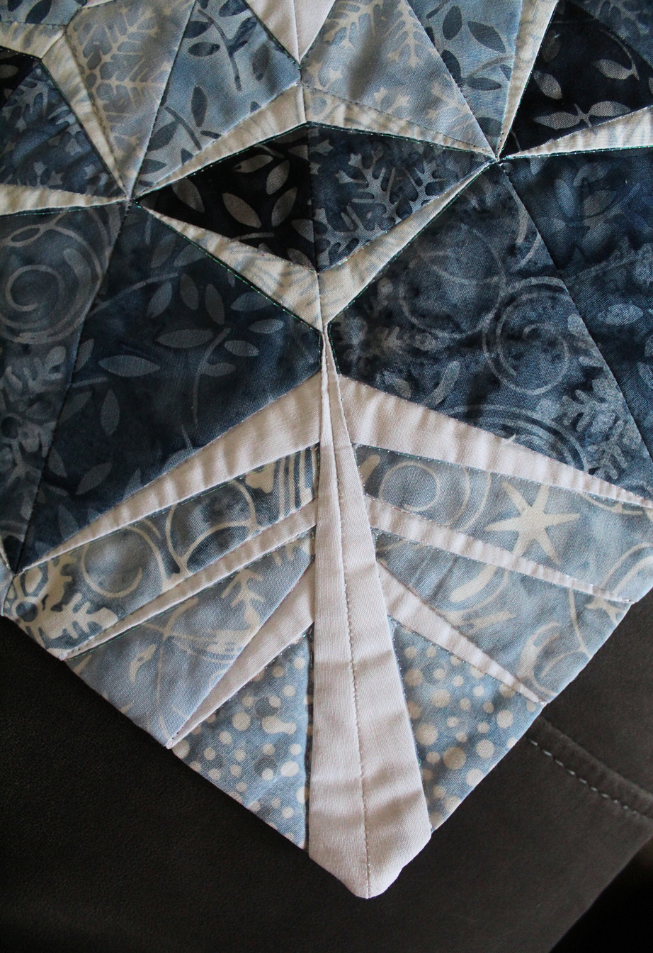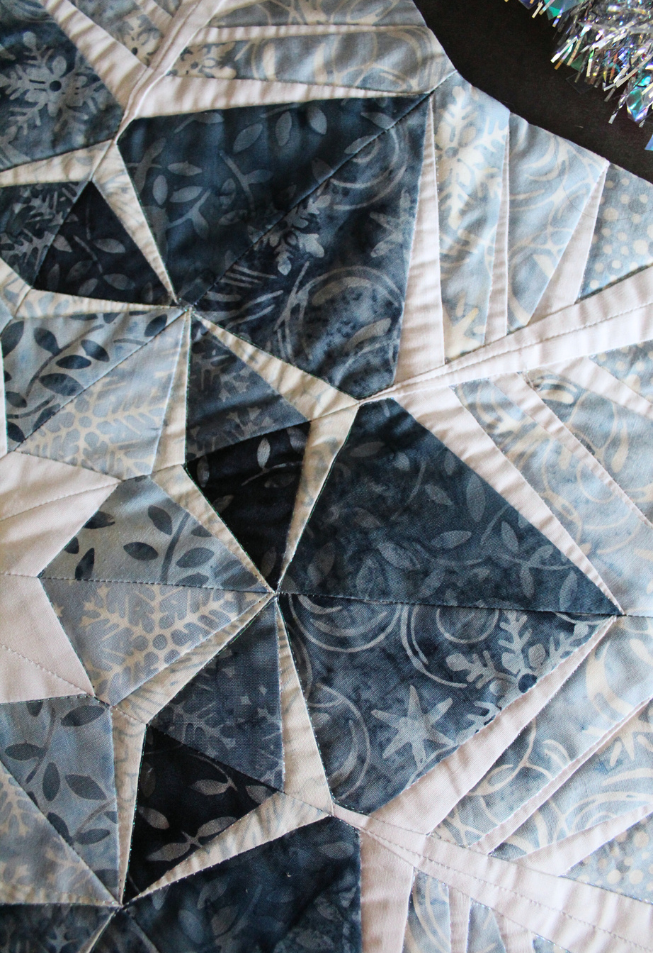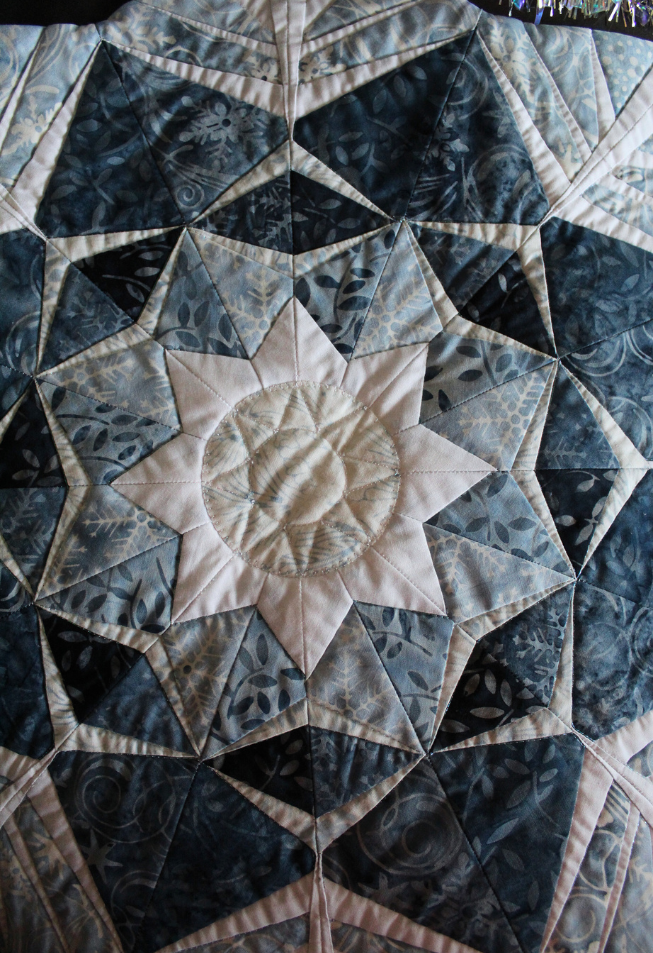
Turn your Christmas tablescape into a stunning winter wonderland with this breathtaking table mat pattern from Connie Kauffman. A great project for 1/8 yards of icy winter prints, this paper piecing pattern finishes at 21 1/2” and would look beautiful when combined with delicate place settings and glowing luminaries. This project is made using foundation paper piecing techniques, so a basic knowledge of paper piecing is required.
Finished Size: 21 1/2”
Materials:
- 1/4 yd White solid*
- 1/8 yd Five light blue prints*
- 1/8 yd Two med blue prints*
- 1/8 yd Two dark blue prints*
- 1/4 yd White solid for backing
- 25” x 25” batting*
- White thread for piecing*
- Holographic thread for quilting*
- PDF Paper Piecing Template – This is located at the bottom of this page. See printing instructions below.
Notes:
- 8 copies of the Snowflake Table Mat Pattern Template, and 8 copies of the Reverse of Snowflake Table Mat Pattern Template.
- The inner circle template is a circle 3” in diameter (You will create this template as directed below).
- *Island Batik Fabrics, Hobbs Cotton Batting, Aurifil Thread and Sulky thread used in project.
PRINTING INSTRUCTIONS:
To download the PDF template, click on the download button at the bottom of the page. We recommend opening your download using Adobe Acrobat.
Piecing Instructions:
- Sort the Snowflake paper pattern templates into regular patterns and the reverse patterns. The reverse pattern pieces will have the darker fabrics – so lay these fabrics with the patterns.
- Look at your 5 lighter fabrics and select the darkest one to use on the reverse pattern in Section 12.
- Your darkest blue print will be used with the reverse patterns in Section 10.
- The next dark fabric will be used with the reverse patterns in Section 8.
- The very lightest blue print will be used in the center circle.
- One light blue will be used in Section 2 on all patterns.
- One light blue will be used in Sections 4 and 6 on all patterns.
- One light blue will be used in Section 12 on the regular pattern.
- Your darkest blue print will be used on the regular patterns in Section 8.
- The next dark fabric will be used on the regular patterns in Section 10.
- The solid white will be used for Sections 1, 3, 5, 7, 9, 11, and 13.
- Mark all patterns with the colors used for ease in piecing.
- Sew all the patterns from 1 to 13 as you would do with any paper piecing patterns.
- Join one regular pattern template to one reverse pattern template. Make 8.
- Sew all 8 sections together and press.
- Trace your circle template onto some fusible web. Draw a line 1/4” inside the circle and cut on the inside line to leave a ring of fusible. Fuse the ring to the lightest light blue fabric according to fusible directions.
- Cut out along the outside line.
- Fuse the circle to the center of the joined Snowflake pieces on quilt top.
- Blanket stitch around the circle.
- Layer batting on bottom with backing face up and quilt top face down.
- Sew 1/4” around the outside edge, leaving 3” open for turning.
- Clip the points and inner sections of seams.
- Turn inside out.
- Sew opening closed and press.
- Quilt as desired. The designer used Sulky holographic thread to give a shine to the quilted lines. Note: Caution – Do not iron over the holographic thread as it will melt.


Where do I see the pattern and catalog?
Hi Barbara! The printable PDF pattern is located at the bottom of the pattern page and is available for our premium Gold Club members. We do not offer a catalog. Please let us know if we may further assist you. – Ashley, We Like Quilting
Love this. Want to try it.
Thanks so much for your kind comment, Anne! Have a great day 🙂 – Ashley, We Like Quilting
I don’t see the 3″ circle template, am I just supposed to make my own?
Hi Nancy! Yes, as noted by the designer in the Notes section, readers create their own circle template. Please let us know if you have any other questions. Have a great day! – Ashley, We Like Quilting