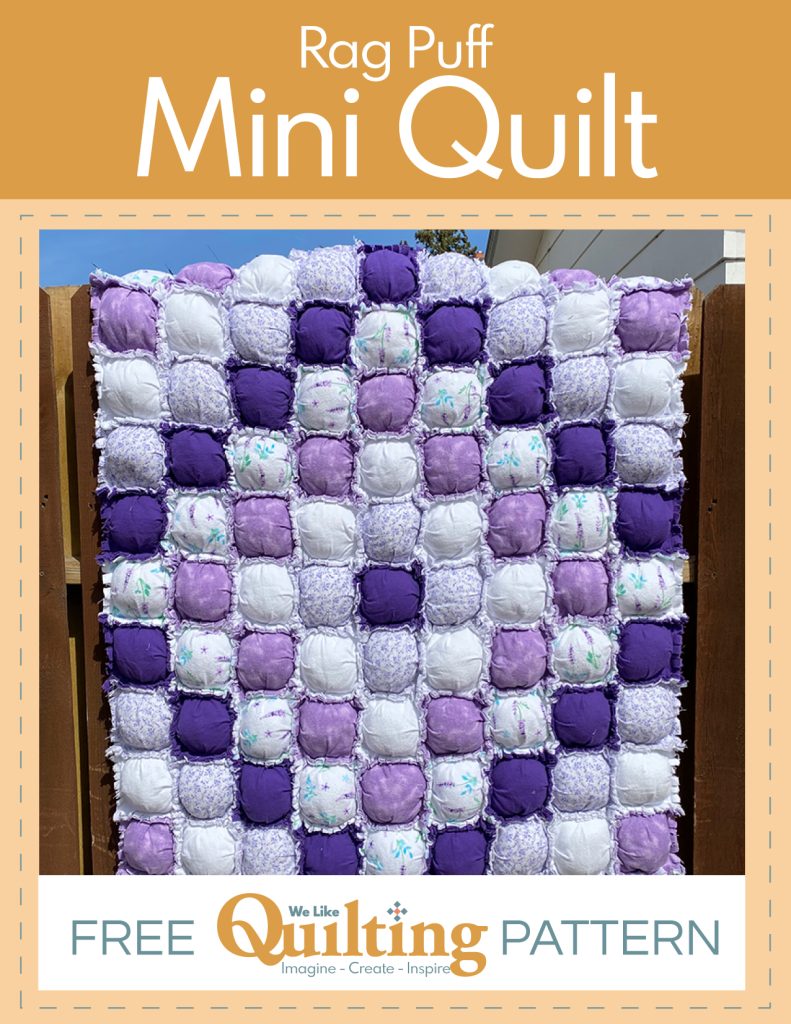
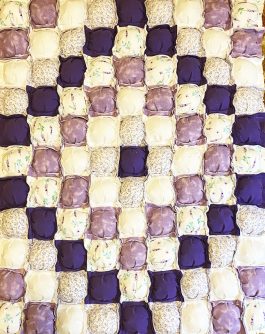
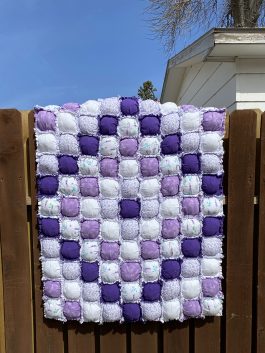
Design a quick, easy, and super soft rag quilt in a single weekend with this must-make quilting project. This Quick & Easy Rag Puff Mini Quilt is made in calming shades of lavender and plum and uses the puff quilt method (also known as the biscuit quilt) to create a design that’s as beautiful as it is snuggle-worthy. Our rag puff quilt finishes at 45″ x 50″, so it’s perfect to use as a comfy lap quilt to keep in your living room or as a homemade toddler or crib quilt for your grandchild. Forget about traditional piecework and experiment with something new with this simple quilt tutorial.
Finished size: 45” x 50”.
Materials
- Poly-fil® from Fairfield World, 32 0unces
- Flannel fabric, 2 yards, 5 assorted patterns/shades
- Thread
Tools
- Sewing machine
- Ruler
- Pins
- Iron
- Rotary cutter (optional)
- Cutting mat
- Scissors
- Washing machine
- Dryer
Sewing Instructions
- Choose five fabrics in assorted color values, prints, and solids. Pre-wash and dry your fabrics and then iron.
- Cut the twenty 6″ squares from the four lightest colored fabrics and nineteen 6″ squares from the darkest fabric.
- Cut the twenty 7″ squares from the four lightest colored fabrics and nineteen 7″ squares from the darkest fabric.
- Place the wrong sides together of a 6″ and 7″ square (same pattern), lining up the edges on two sides.
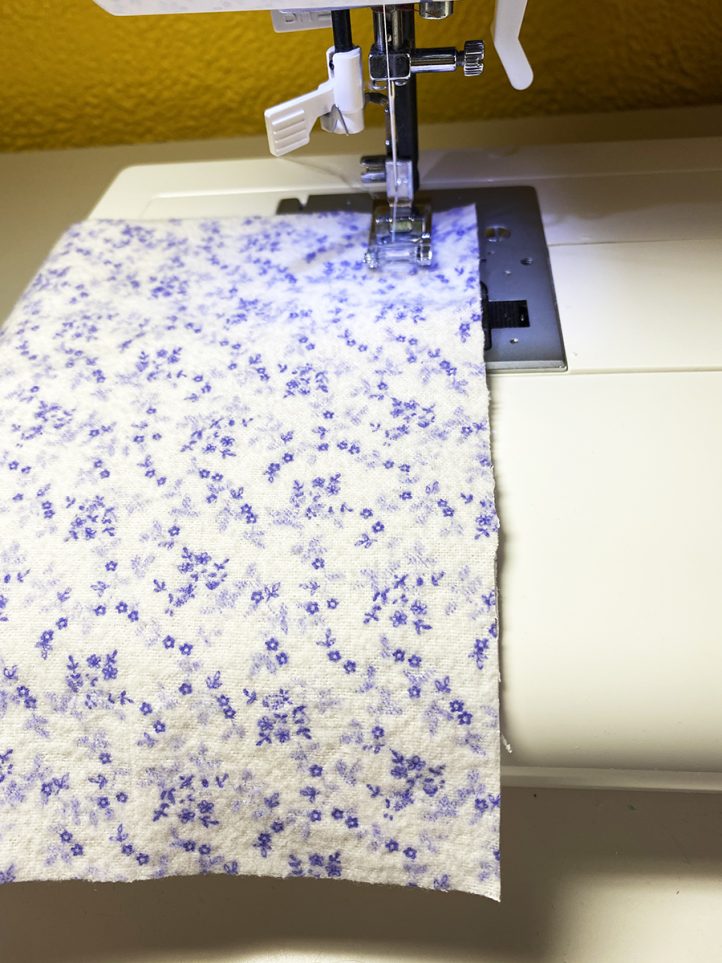
- Bring the corner edges together on the bottom edge.
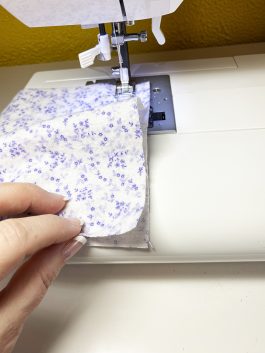
- There will be excess fabric. Make a pleat in the middle of the square and fold the pleat down.

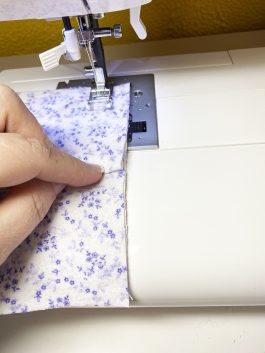
- Stitch the edge starting at about ¾” down from the top, and over the pleat with a scant ¾” seam to within ¾” from the bottom edge.
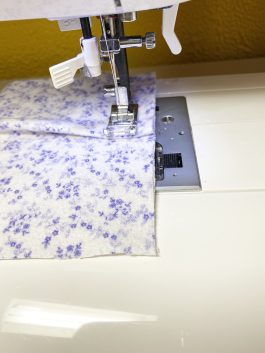
- Leave the needle in and turn the square.
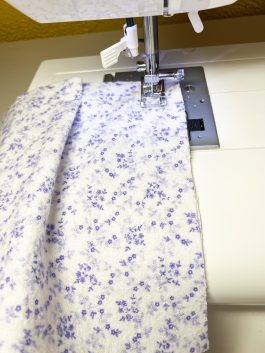
- Match the bottom corners.
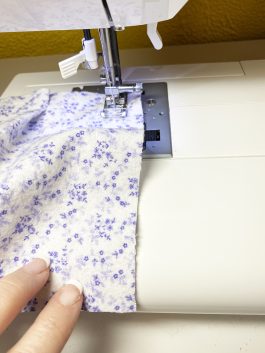
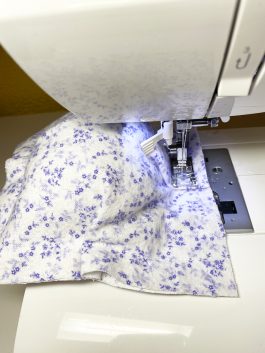
- Form the pleat and stitch, as the previous side. Repeat for the third side. Then, leave the needle in and turn the squares.
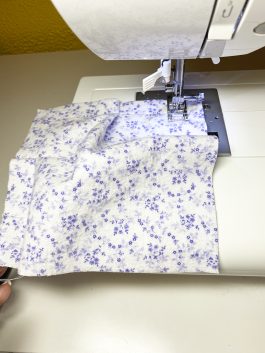
- Stuff the opening with Poly-fil®, so it is fluffy and light, not packed.
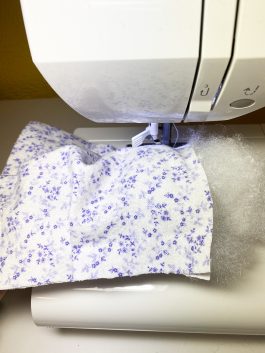
- Form the pleat and stitch as the previous three sides. One PUFF is completed. Repeat for the other ninety-eight sets of squares.
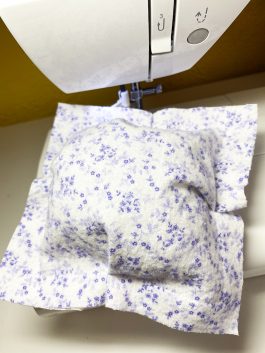
- Lay all of the puffs out as shown or create your own design.
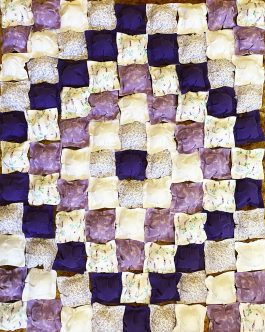
- Beginning with the first row, place the puffs wrong sides together and stitch with a generous ¾″ seam.
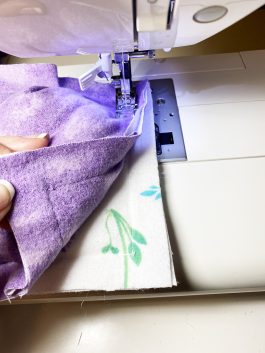
- Continue until all the puffs are sewn together in the row. Repeat for the rest of the rows.
- Place the first and second rows wrong sides together, being sure to match up the seams and stitch in place. Continue stitching rows in order until complete.
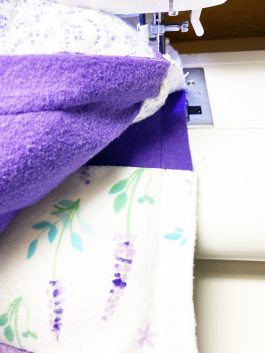
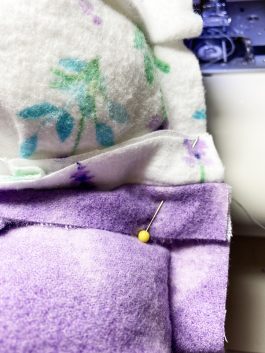
- On the front side, clip the raw edges, being sure not to clip through the stitching. Clip the folded part of the pleats both on the top side and bottom. Repeat until the raw edges are done, including the outside edge.
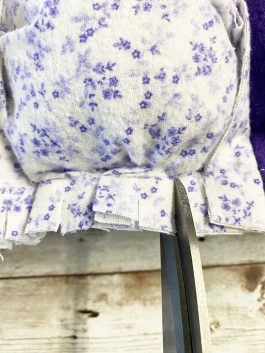
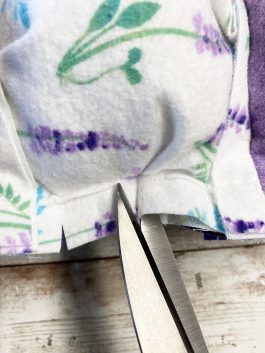
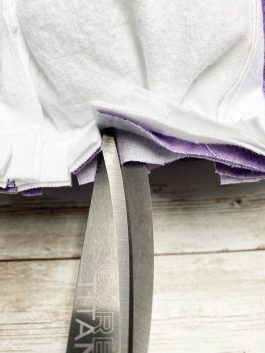
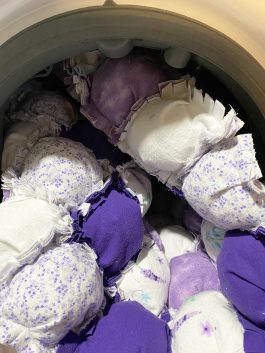
- Place into the washing machine, wash, and then dry. This fluffs up the rag seams. Enjoy!
Designer Tips
- Pre-wash all of your fabric.
- Iron your fabric before cutting.
- Use 100% cottons instead of flannel.
- For a fuller rag look, take a one-inch seam and add an extra layer of backing fabric.
- You can change up the design if you want, experiment, and have fun!
- Use more or less colors as desired.
- Use fabric scraps for a scrappy rag puff quilt.

Are there printable patterns for these 3 projects?
Hi Iris! There is no printable PDF for this pattern. PDFs are noted in the Materials list if they are included, along with printing instructions. Please let us know if you have any additional questions. Have a great day! – Ashley, We Like Quilting
Hi I a new quilter. This will be my first can you teach me how to do it with out the fring n how to put on a border? Thank you very much.
Hi!
Your system let me into your collection of magazines and freebies.
I would like to pay for a subscription to your quite
quilting magazine, but your system won’t let me get to your credit card section to make the payment. Could I make the payment over the phone? My phone number is (703) 915-5471. Please call me and I’ll be glad to provide my credit card information to pay for my subscription.
I am an honest woman. I don’t want something for nothing. Please help me make this payment of $5.00 for my subscription.
Thank you for your time and attention!
Jane Turner Kurtz
manilowbabe@gmail.com
Hi Jane! It looks like you have successfully signed up for a Gold Club membership to We Like Quilting. Our customer service team has reached out to you via email. Please let us know if we may further assist you. Have a great day! – Ashley, We Like Quilting
Thanks
A great quilt to make for my niece with scraps of material and batting. Now to finish the other 7, I have ready to quilt.
Un projet très intéressant à faire pour un lit double
Merci
This would be a good way to to make my stass smaller. Problem is– my list of unfinished projects is so
large it would take me to 2099 to get them all done!
A 88 years young follower.
My great niece want a puff quilt.
Thank you for sharing.
This would make a great baby quilt for play time on the floor. The puffs would help in the common fallover of an infant. Love it!
This is fantastic! I plan to not put away my Christmas flannels and make a tree design out of this idea in the coming winter months. ‘Ornaments’ of different colors can be laid in the tree with the puffed squares, or, make strings of ‘lights’. It will need to be ‘sketched out’ first on graph paper and then follow ‘assembly from that… Wish me luck!
I’m looking forward to getting started right after Christmas. Have a happy holiday!
Thanks so much for your comment, Nancy! Happy holidays 🙂 – Ashley, We Like Quilting
Ravioli!
My cats would probably like this.
Not much of a challenge here.
Really pretty but really daunting
I am excited to make the Rag puff mini quilt. You only need two layers of fabric?
Hi April! For this project, you will need the fabric scraps for the quilt top, backing fabric, and batting. Have a great day! – Ashley, We Like Quilting
Sorry,count me unsuscribed
Hi there! We have unsubscribed you from all We Like Quilting newsletters. Have a great day! – Ashley, We Like Quilting
A definite project in the near future. Thanks.
Great project! May give this a go. I’ll add it to my list of projects.
Sorry …. Not interested. Not my taste.