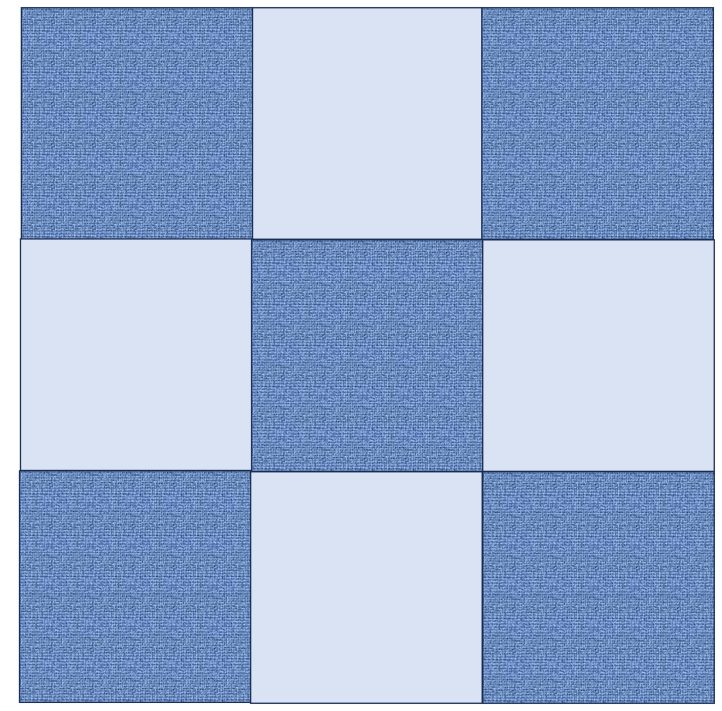
Oh, my goodness…what’s not to love about the nine patch quilt block? It is beyond easy because it simply consists of nine fabric squares that are all the same size and sewn together to create a larger square. You can scale this block up or down easily to create nine patch blocks in any size.
The nine patch quilt block is a great one to start with if you’re a beginner quilter, but it is also perfect if you’re a seasoned quilter because the possibilities for this block are endless. You can simply add in a half square triangle or two here and there to create a totally different look. This block has the ability to change in so many ways when paired with different blocks, all of which are easy when broken down.
Patterns can be created when putting the nine patch block together or you can keep it totally random. The nine patch quilt block looks great when using a lighter value and darker value fabric that are paired together to form a small checkerboard. It is also a fantastic way to use up scrap fabric to create a one-of-a-kind scrappy quilt.
How to Assemble a Nine Patch Block
You can assemble this block in a snap!
The most common way to assemble the nine patch block is by sewing three of the same size fabric squares together with a 1/4” seam allowance.
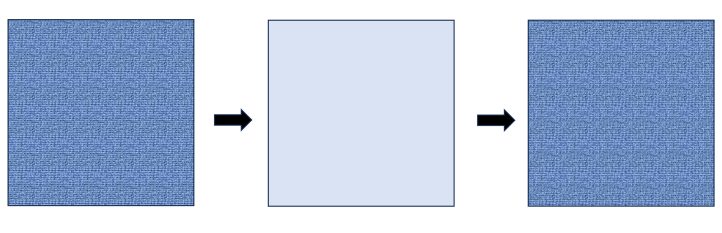
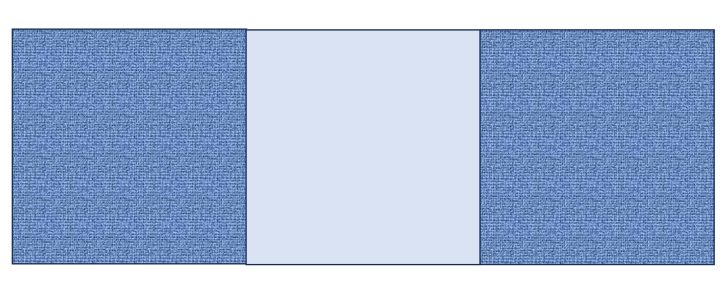
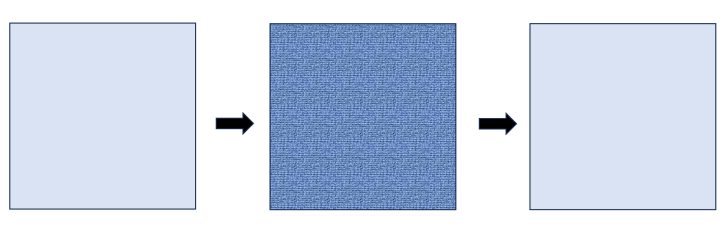
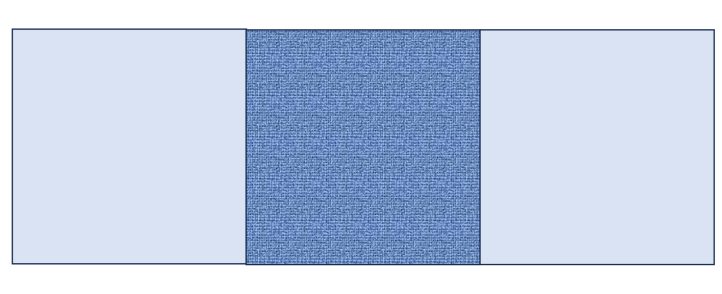
- With right sides together and using a 1/4” seam allowance, sew together each fabric square starting from the left. Once the three individual fabric squares are attached together, they will create a strip, which become Row One.
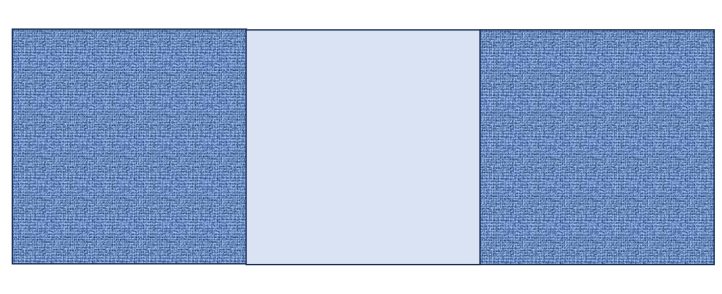
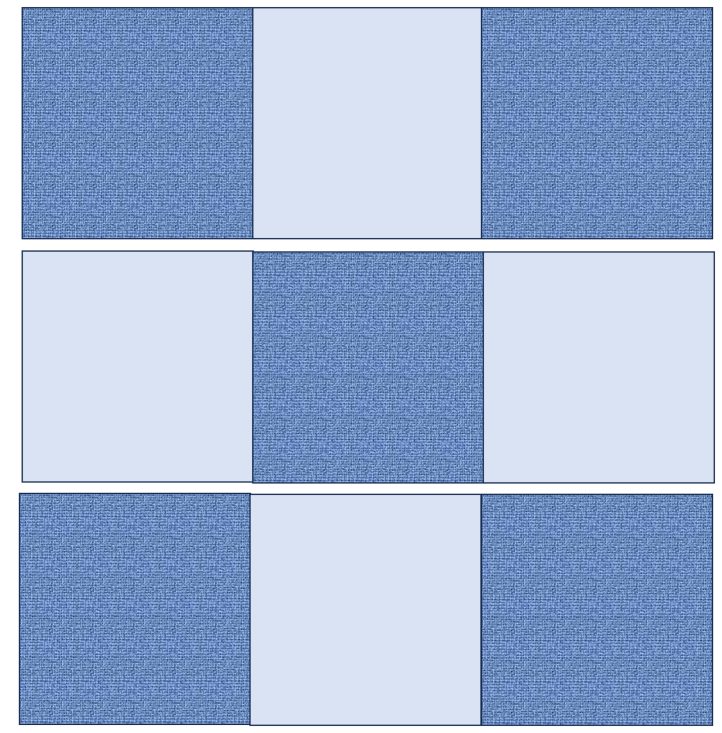
- The grid for the nine patch block works best when it is done by alternating the fabrics. The first row is a dark fabric square, a light fabric square and then a dark fabric square. So, the 2nd row would be the opposite. Starting with a light fabric square, a dark square and then a light fabric square.
- With right sides together and using a 1/4” seam allowance, sew together each fabric square starting from the left. Once sewn together, they will create Row Two.
- And the third row should repeat the pattern of the first row.

- With right sides together and using a 1/4” seam allowance, sew together each fabric square starting from the left. When sewn together, they will create Row Three.
- Iron the seams of all three rows to the darker fabric; that way they will be going in the opposite directions when sewing the rows together. Next, with right sides together, nest your seams and then sew Row One to Row Two, using a 1/4” seam allowance.
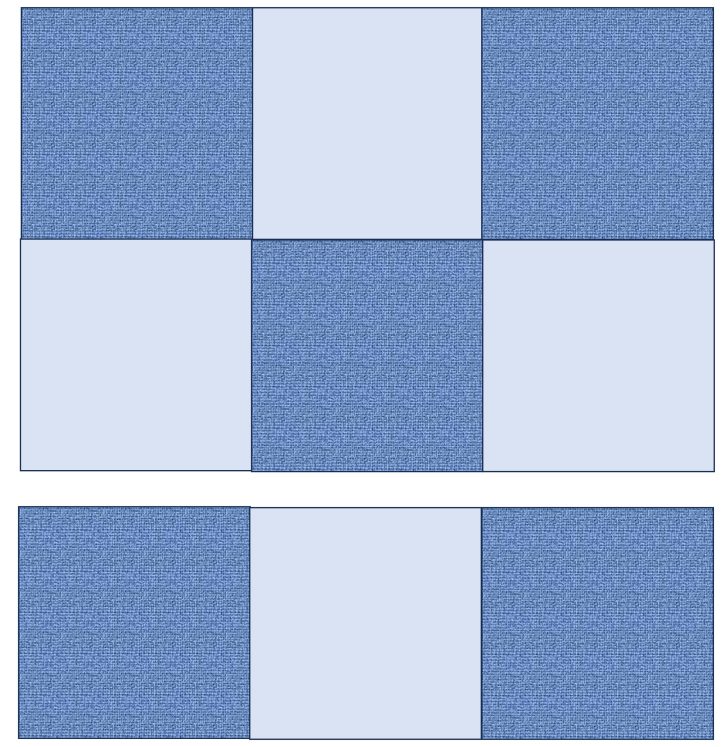
- Then with right sides together, pin Row Two to Row Three, nesting your seams and sew together using a 1/4” seam allowance and you have a nine patch block.

I mentioned you can scale the nine patch block to literally any size, so here is a simple formula to use to create your desired size:
Add together your desired finished block size, plus one and one-half inches (for seam allowances) then divide by three. For example, if you want a finished 12-inch block, simply add 12” + 1 1/2” = 13 1/2” then divide 13 1/2” by 3 = 4 1/2”. Four- and one-half inches is the size you cut out for your individual squares for your nine patch block.
Here is a chart I created for you to use for easy reference. It has the sizing for a finished six-inch block all the way up to an eighteen-inch finished block:

While the most common way to make a nine patch block is by sewing nine blocks together, you can also use the strip piecing method.
Here are some basics instructions for using the strip piece method with a light and dark fabric and creating six-inch finished blocks:
- Using a ruler, cutting mat and rotary cutter, cut strips the width of your fabric by 2 1/2”. If using fat quarters, the measurement would be 22” x 2 1/2”.
- Start with five strips of the dark fabric and four strips of the light fabric.
- You will sew three strips together to create a set and you will make three sets. Two sets will be sewn with two dark strips of fabric on the outside and one light strip of fabric on the inside. One set will be sewn with two light strips of fabric on the outside and one dark strip of fabric on the inside.

- Starting with one set of strips. With right sides together, pin two strips together and sew with a 1/4” seam allowance. Pin the third strip to what will be the middle strip and stitch with a 1/4” seam allowance. Repeat for the remaining two sets.
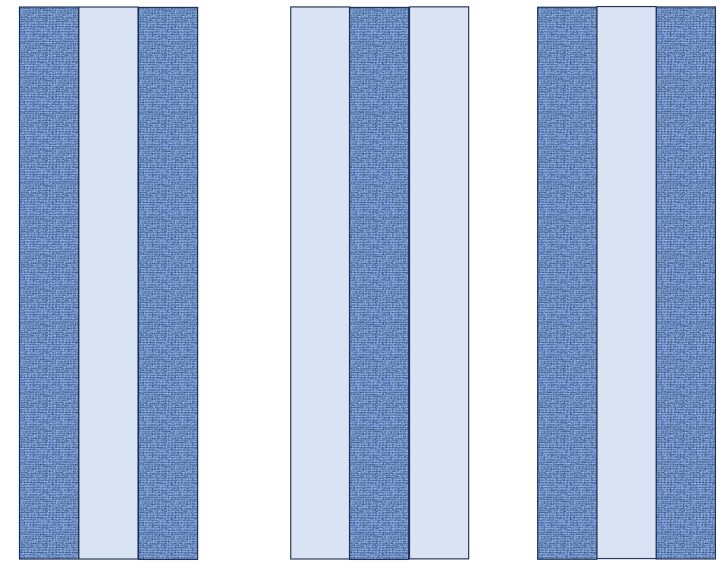
- Press your seams toward the dark fabric on each set; this way your seams will nest together when stitched together.
- Using a ruler, cutting mat and rotary cutter, cut each set into 2 1/2” pieces (for the finished six-inch size block).
- Arrange the cut pieces to form a block.
- With rights together, nest your seams for set one and two and stitch together with a 1/4” seam allowance. Then with right sides together, pin Row Two to Row Three, nesting your seams and sew together using a 1/4” seam allowance and you have a completed nine patch block. Repeat for all of the cut pieces you have, and you will end up with dozens of nine patch block ready to be arranged and sewn together for a quilt.
You can do the strip piecing method with an assortment of leftover fabrics you have from other projects to come up with a great crazy nine patch patchwork blocks.
Once you have mastered the nine patch block with squares, you can incorporate some triangles into the mix for endless possibilities with this very simple block. Enjoy!!