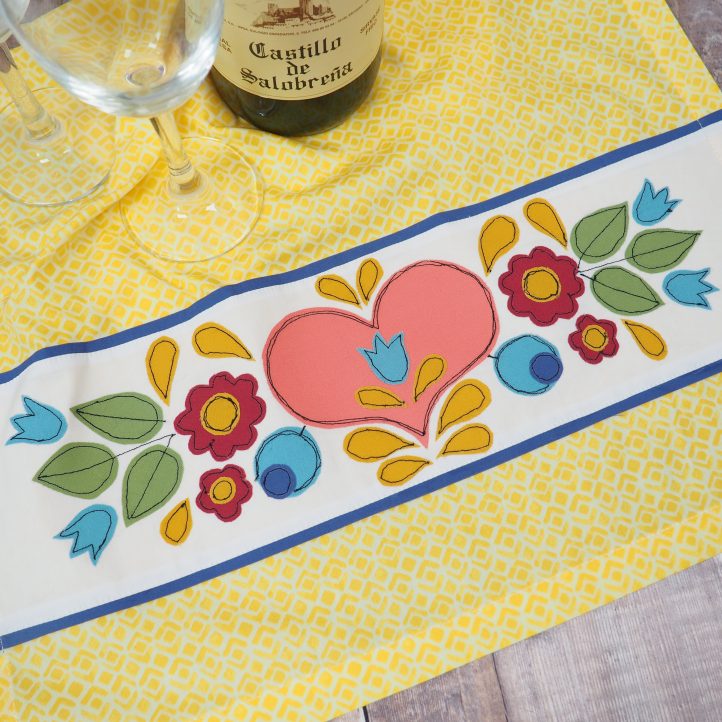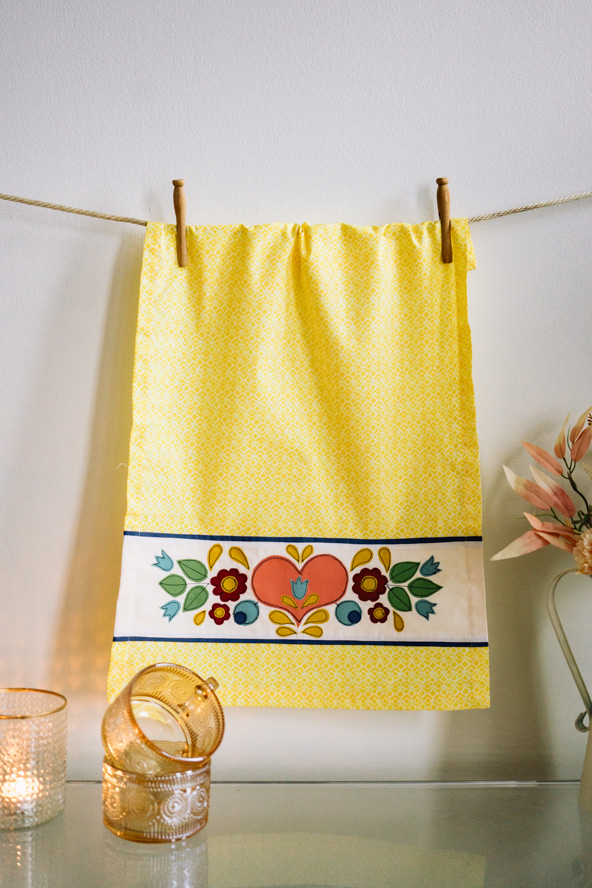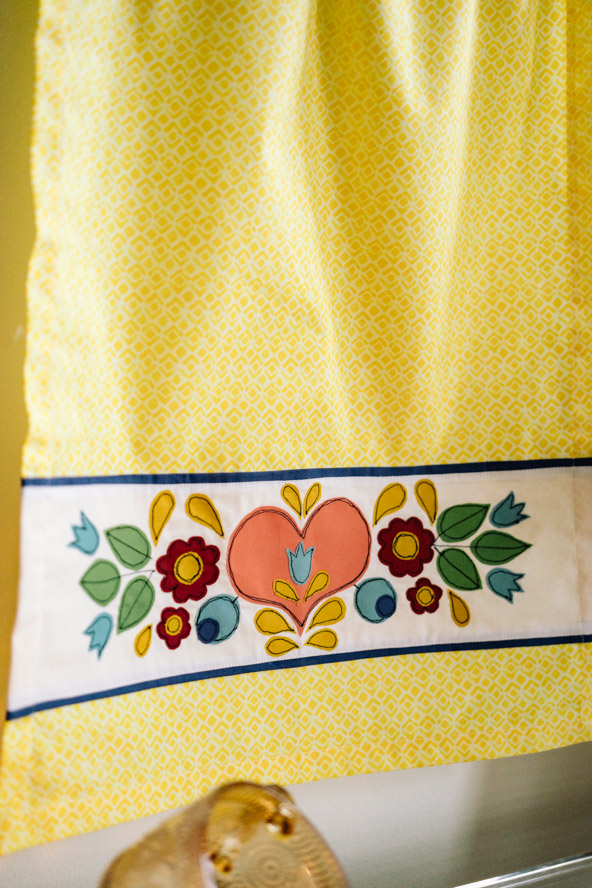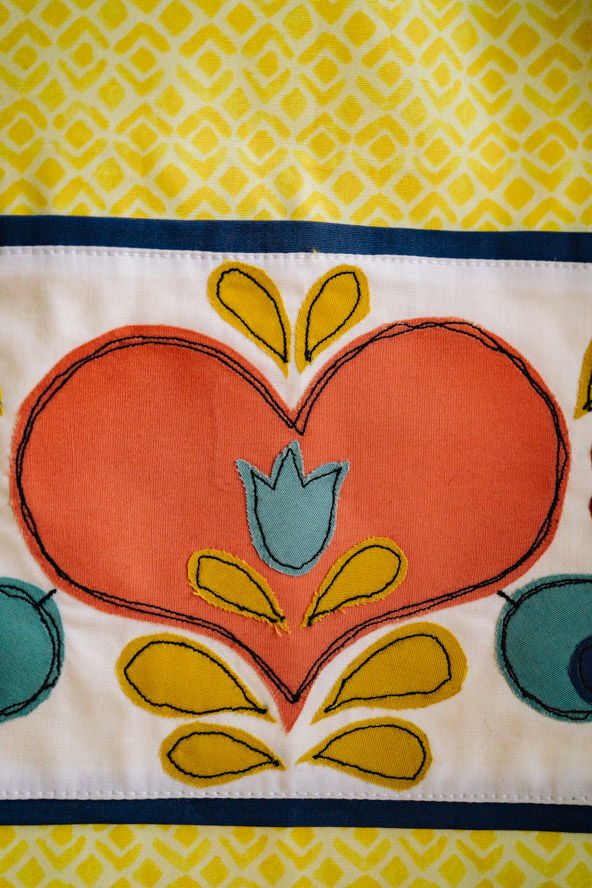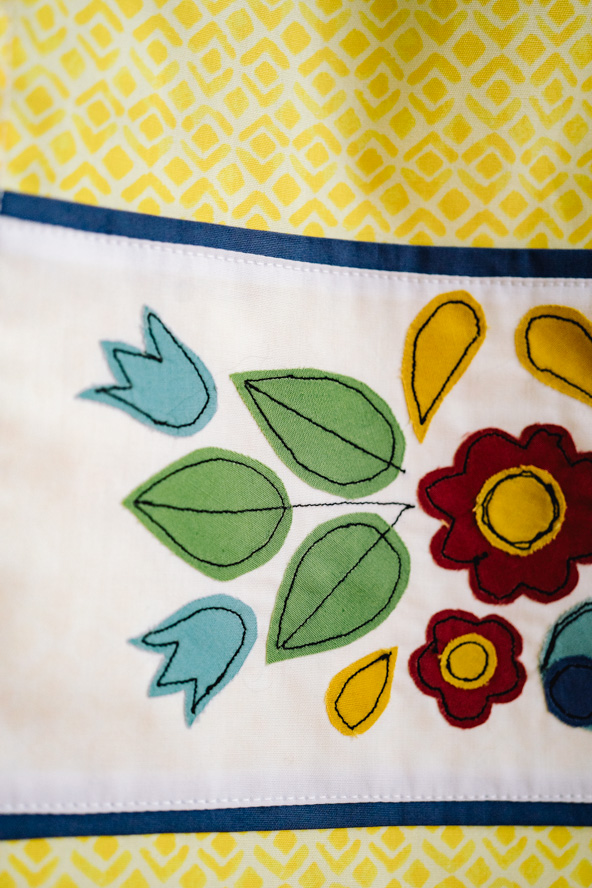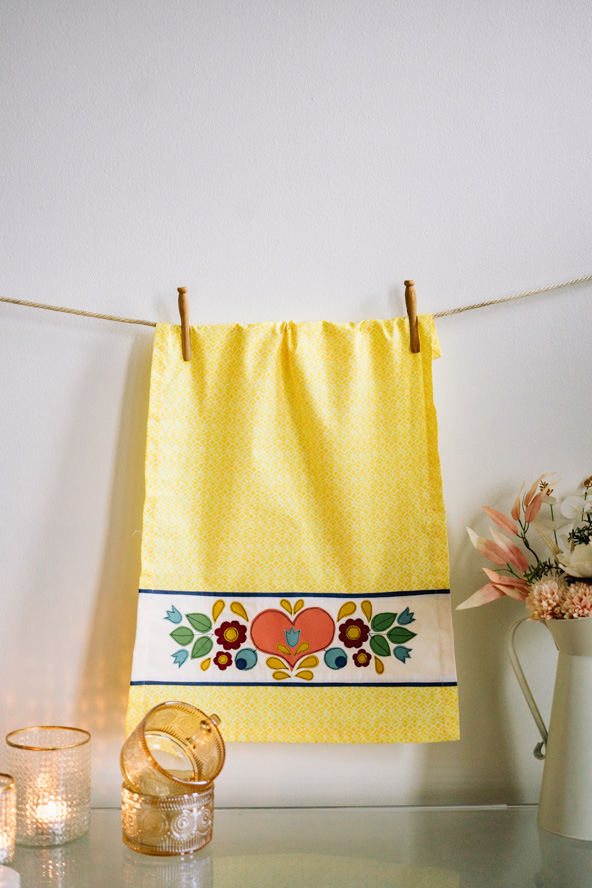
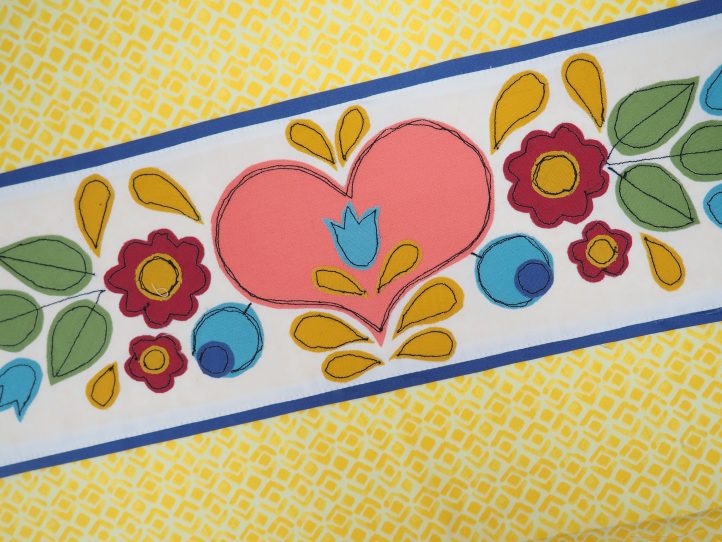
Add some cozy, cottagecore décor to your kitchen with this sweet Valentine’s Day applique project. Inspired by traditional folk-art design, this tea towel pattern uses free motion embroidery to give your appliques a homespun finishing touch. Featuring a heart and floral accents, this Valentine’s Day sewing project is also a thoughtful gift idea for loved ones, as its cheerful colors will brighten anyone’s day.
Designer Notes:
- Please read all instructions and assembly requirements before beginning the pattern.
- Seam allowances are all 1/4” and have already been added.
Materials:
Note: All fabrics are from Art Gallery Fabrics.
- Fabrics:
- 1yd.* happy yellow fabric. The designer adores Piastrelle Sole from the Capri collection by Katarina Roccella for AGF.
- *You will need a yard if your fabric has a directional print, 3/4 yd. if not.
- Fat eighth solid white fabric. The designer’s favorite is always Snow from the Pure Elements collection by AGF.
- Fat eighth solid dark blue fabric. Debbie loves Blueberry Zest from the Pure Elements collection by AGF.
- Large scraps (about 8” sq. is more than enough) solid fabrics in the following colors from the Pure Elements collection by AGF:
- Ocean Waves (teal)
- Asparagus (green)
- Miami Sunset (pink)
- Candied Cherry (darker pink)
- Lemon Tart (mustard yellow)
- TIP: To check if your scrap is large enough, have a look at the template. If your ironed scrap covers the relevant piece, you are good to go!
- 1yd.* happy yellow fabric. The designer adores Piastrelle Sole from the Capri collection by Katarina Roccella for AGF.
- Interfacing:
- 1/4 yd. Vliesofix Bondaweb (Vlieseline). A great substitute is Pellon EZ-Steam II.
- Black thread and coordinating thread for your towel if making it from scratch.
- Hot Hemmer (Clover)
- TIP: This is an ingenious tool (well worth an add to your notions box), which helps you to get the edges of your towel perfect!
- Scissors
- Fabric markers
- Extra feet for your sewing machine (darning foot for example)
- PDF Template – This is located at the bottom of this page. See printing instructions below.
PRINTING INSTRUCTIONS:
To download the PDF template, click on the download button at the bottom of the page. We recommend opening your download using Adobe Acrobat.
Cutting Instructions:
From the yellow ‘tea towel’ fabric:
- 1 piece 19” wide x 26 1/2“ tall for the towel.
From the solid white fabric:
- 1 piece 19” wide x 5” tall for the Folk Art Border background.
From the solid dark blue fabric:
- 2 pieces cut 3/4” wide x 19” long on the straight of grain for the flat piping above and below the Folk Art border.
- The centers of the blue flowers.
From the colored solid fabrics:
- The floral, leaf and heart elements (see template) of the Folk Art border.
Sewing Instructions:
- Bondaweb has a rough (glue) and a smooth (paper) side. The first thing to do is to trace all of the elements of the Folk Art border onto the paper side and cut them out roughly.
- TIP: Leave a small margin of paper around each element but not too much because it wastes the fabric (even if they are scraps). You need to be able to see the lines that you drew.
- Fuse the elements to the relevant fabrics using the main photo or image below as a guide for color suggestions.
- Cut the pieces out exactly and peel the paper off. Arrange the appliqué pieces onto the white fabric and when you are happy, fuse the design into place.
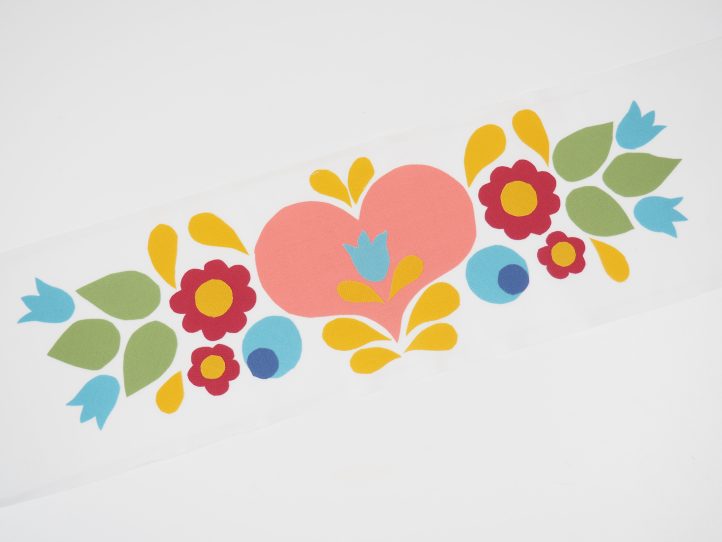
- TIP: The main thing to consider at this point is to keep everything symmetrical. Draw yourself a middle line and make sure that you leave some room for the 1/4” fold on the top and bottom by drawing that too.
- Set your machine up for Free Motion Embroidery (FME) and change to the darning foot. Thread with black sewing thread.
- Embroider the design about 1/8” in from the edge of the elements.
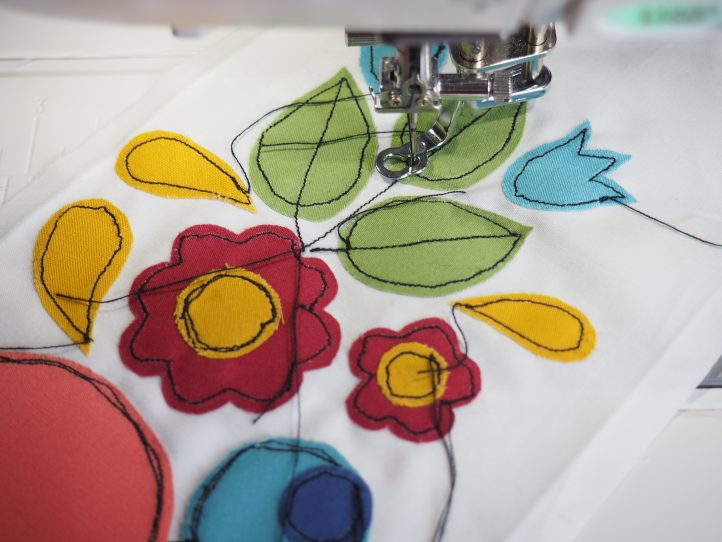
- TIP: This style of raggy edge embroidery combined with FME is a folksy sort of appliqué so don’t stress about the stitching not being perfect. You can go around twice on some of the larger focal points like the heart.
- When the embroidery is completed, trim the threads right back on the front and back.
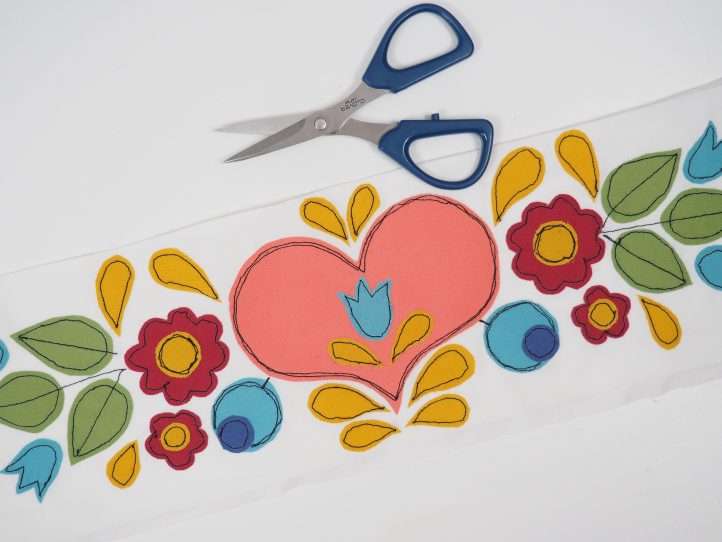
- They cannot unravel because of the tightness of the stitches.
- TIP: Because you are using a black thread for the embroidery and another light fabric for the tea towel, be sure to trim the thread ends on the back of the work as well. They are black and may be visible through the fabrics.
- Use the hot hemmer to fold the top and bottom edges of the embroidery panel under to the wrong side by 1/4”.
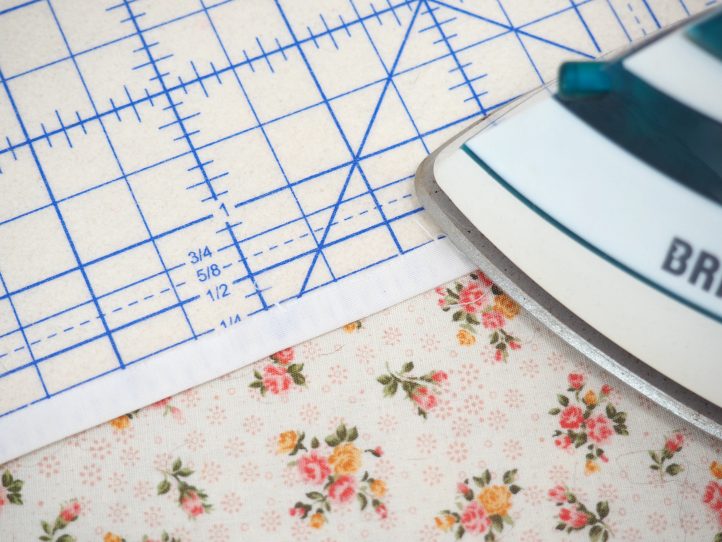
- TIP: The markings on the tool make this really easy and precise. There will be a bit of bulk where you have to negotiate the embroidery panel but a bit of extra steam helps.
- Fold the flat piping in half and press top to obtain a center crease on both pieces.
- On your towel material, measure up 4” from the bottom edge and center the embroidered panel on it. Tuck a piece of flat piping under the top and bottom edges and pin well.
- TIP: Roughly 1/4” of the piping should be visible above and below the appliquè border. The trick is to have as much as possible visible while having enough in the seam for the stitches to bite into.
- Topstitch the white panel on (and the piping with it) on the top and bottom edges.
- Baste the sides (they will be hidden in the seam) and trim if you need to.
- To make the towel itself, firstly, turn all of the edges over to the wrong side by 1/4″.
- Then go around again and fold over by 3/4”. On the corners, simply fold over.
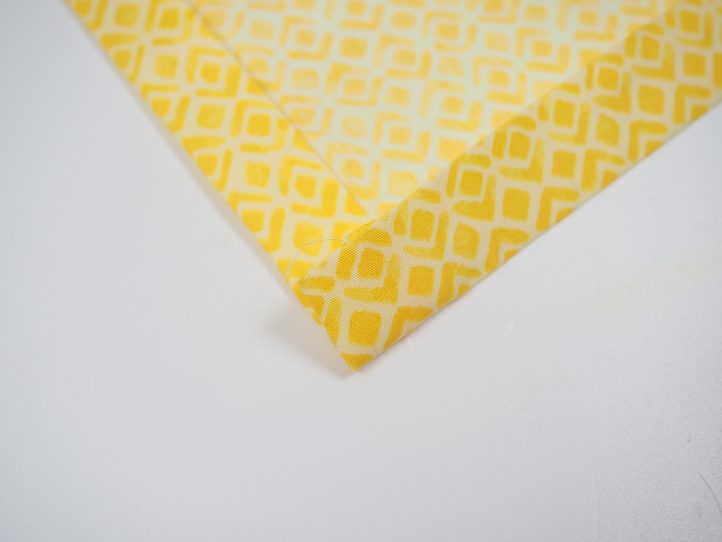
- Press really well.
- On the corners, unfold the pressed edges (leave the 1/4” folded over) and measure in 1 1/2” from the corner on two sides.
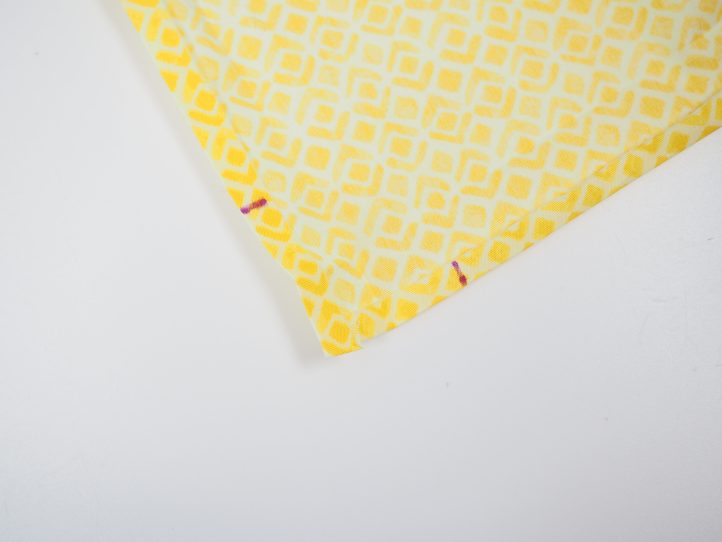
- Join these marks with a line.
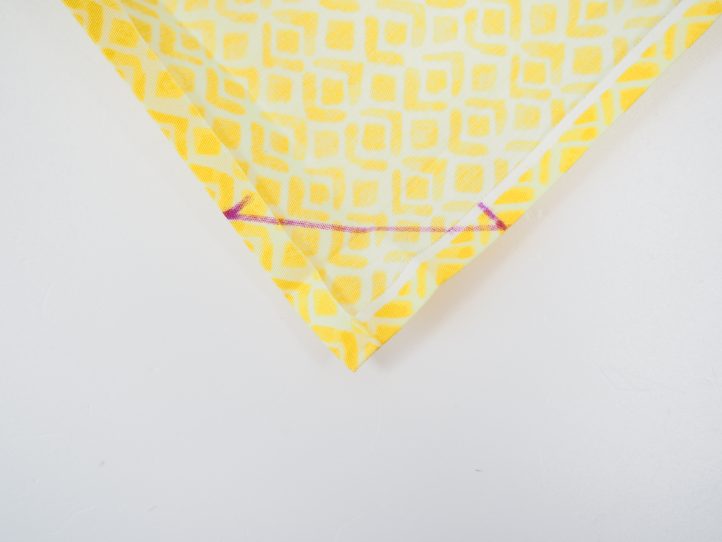
- Fold the corner so that the right sides are together and the marks match up.
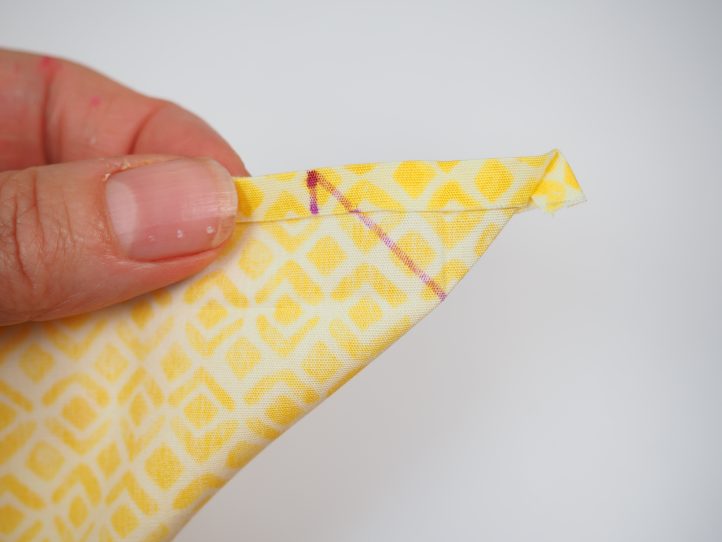
- Sew across your line and trim 1/4” for the seam allowance.
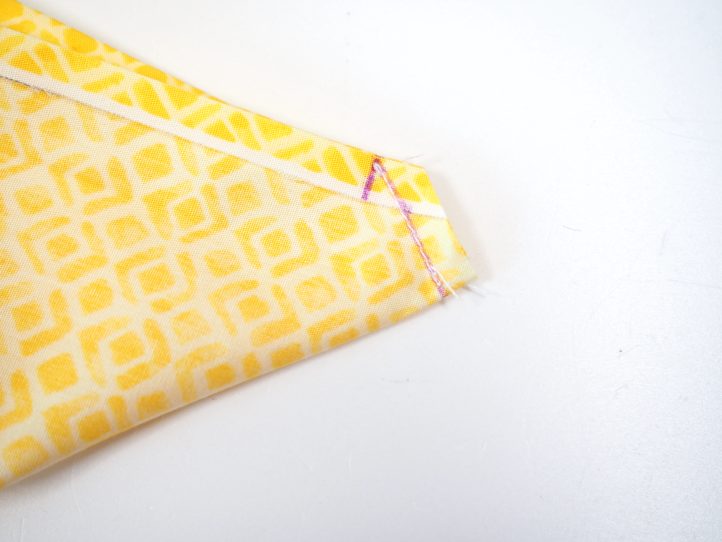
- Re-fold the corner and carefully push the point out.
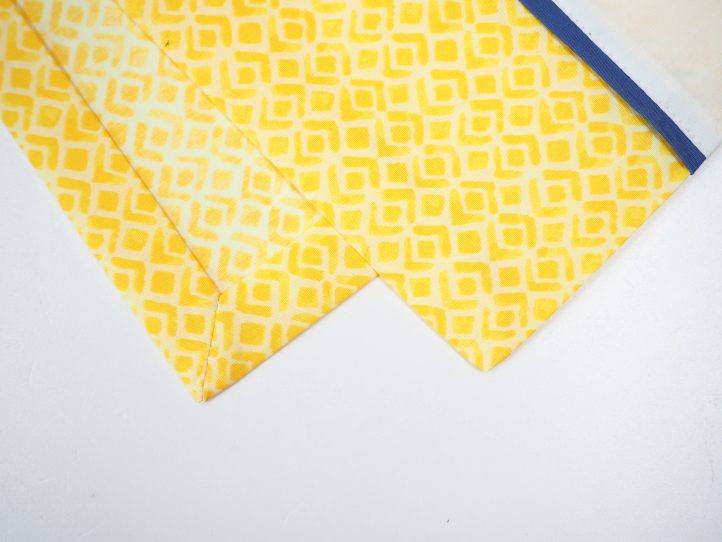
- Repeat this for the other three corners and press again so that the side edges are precise and perfect.
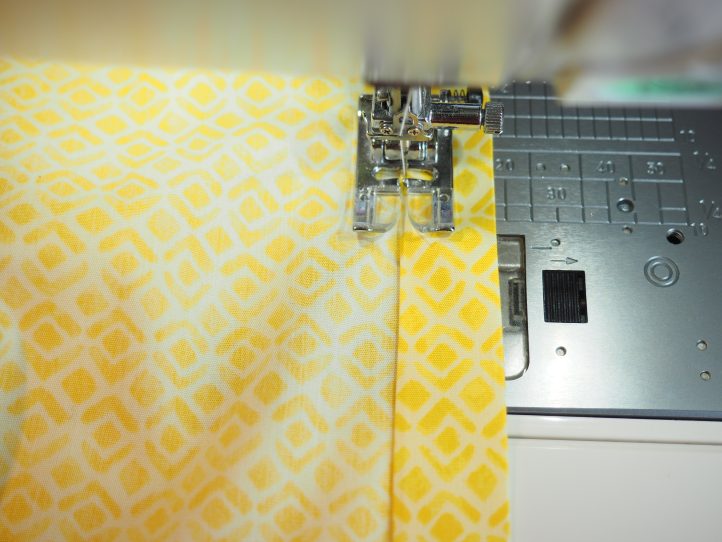
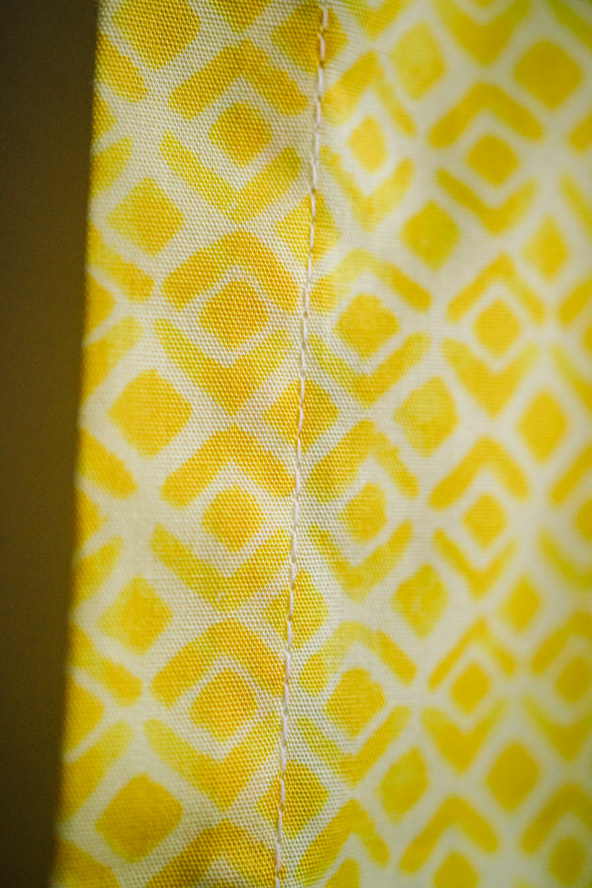
- Finally, topstitch right around the edge.
