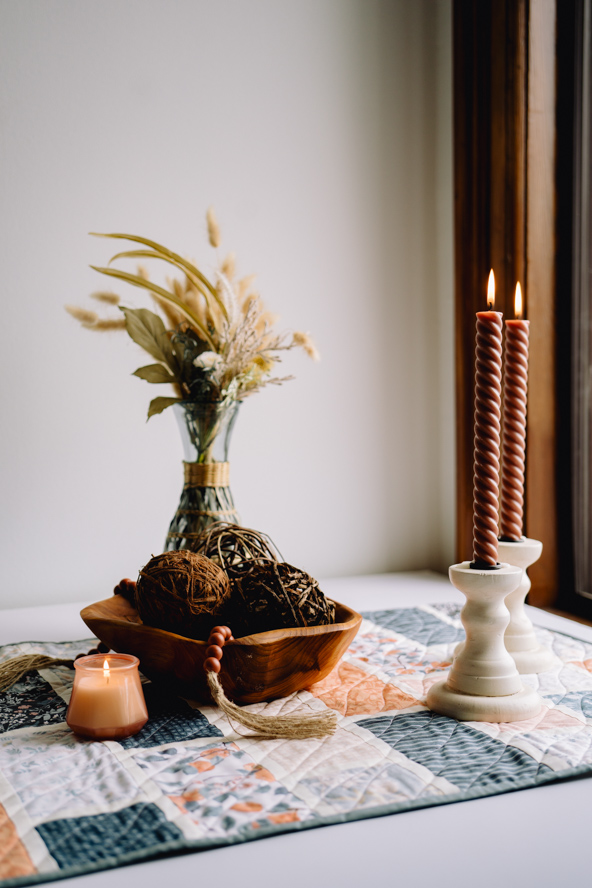
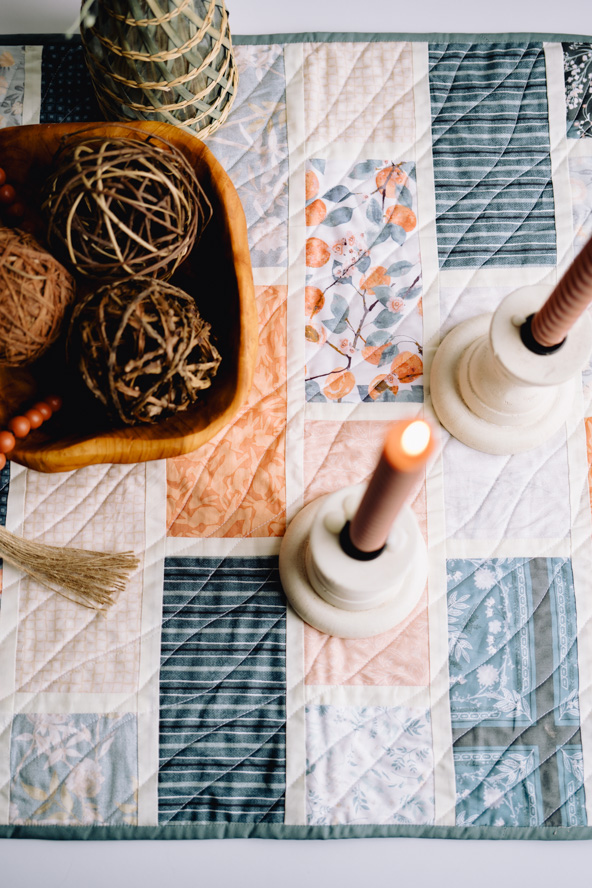
If you’ve got a stunning stack of fat quarters just begging to be put to good use, then you don’t want to miss this simple and elegant table runner. Created in calming shades of tangerine, cream and dusty blue, this table runner pattern is an excellent project for practicing your chain piecing skills and uses the classic brick quilt design, complete with “grout” lines. Sew up a colorful and stylish table runner for your dining room with this quilting project.
Designer Notes:
- Please read all instructions and assembly requirements before beginning the pattern.
- Seam allowances are all 1/4” and have already been added.
Materials:
- Fabric: (Note: All fabrics are by Art Gallery Fabrics.)
- 1x coordinated fat quarter pack. The designer loves Mindscape by Katarina Roccella for AGF. It has 16 FQs to choose from and the hard work of choosing and coordinating is all done!
- 1/2 yd. light solid for the ‘grout’ lines. Debbie chose White Linen from the Pure Elements collection by AGF.
- 52” coordinating fabric for the backing. It had to be Tenderness Serene by Katarina Roccella’s Mindscape collection for AGF.
- 1/2 yd. coordinating solid for the binding. The designer found that Northern Waters from the Pure Elements collection by AGF was perfect.
- Interfacing:
- 27” wide x 52” long #279 80/20 Cotton Mix batting (Vlieseline)
- Scissors
- Fabric markers
- Extra feet for your sewing machine (walking foot, for example)
Cutting Instructions:
From the Fat Quarters (or you can mix your own fabrics, of course. About 10 or more different fabrics keeps things interesting):
- 30 full ‘bricks’ measuring 8” wide x 4” tall
- 12 half ‘bricks’ measuring 8” wide x 4” tall
TIP: From a standard fat quarter, cut width-wise, you will get two and a half bricks.
From the ‘grout’ fabric:
- 15 strips 1” wide x WOF (width of fabric).
From the backing fabric:
- 1 piece 27” wide x 52” long (you can join this if you need to)
From the binding fabric:
- Strips cut on the diagonal 1 1/2” wide and joined to make a continuous strip 145” long.
From the batting:
- 1 piece 26” wide x 51” long
Sewing Instructions:
- The principle of this runner is simple; it is a brick path with ‘grout’ lines in between. The grout lines concentrate on the width (1”) and the length is not important because the grout is joined to the bricks and then trimmed as needed.
- TIP: Every second row, a starting and ending brick will be a half brick to keep the pattern going.
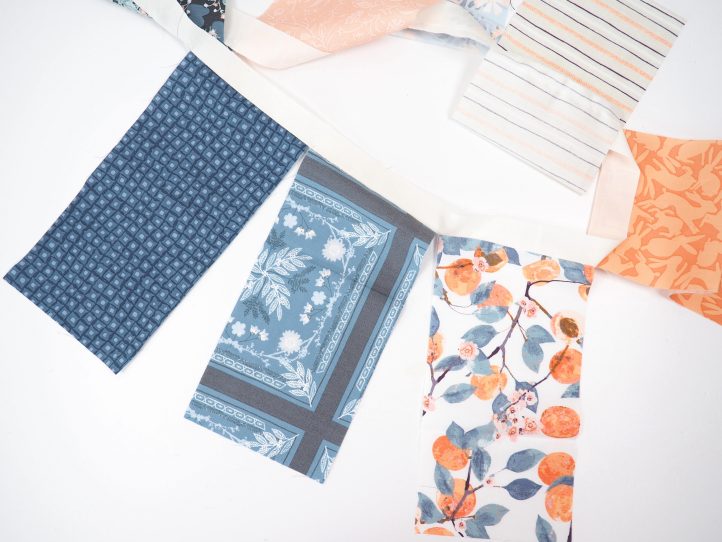
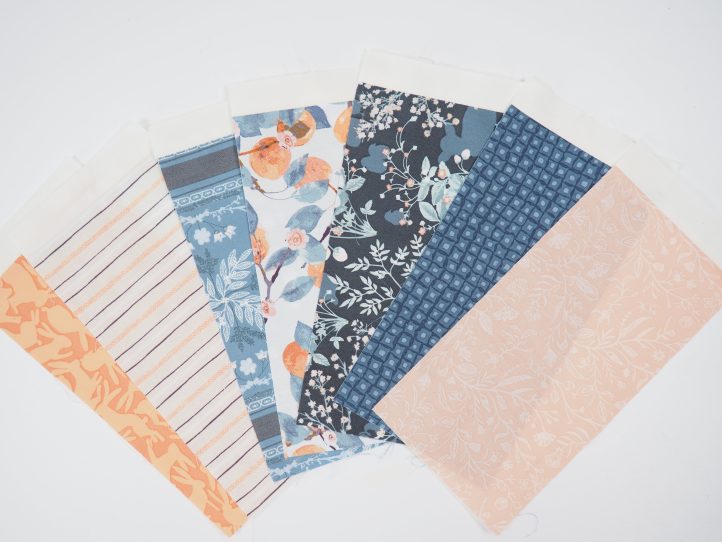
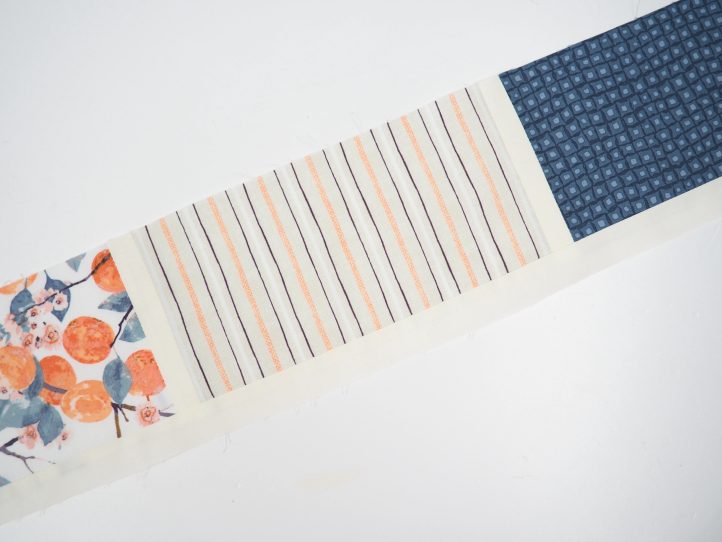
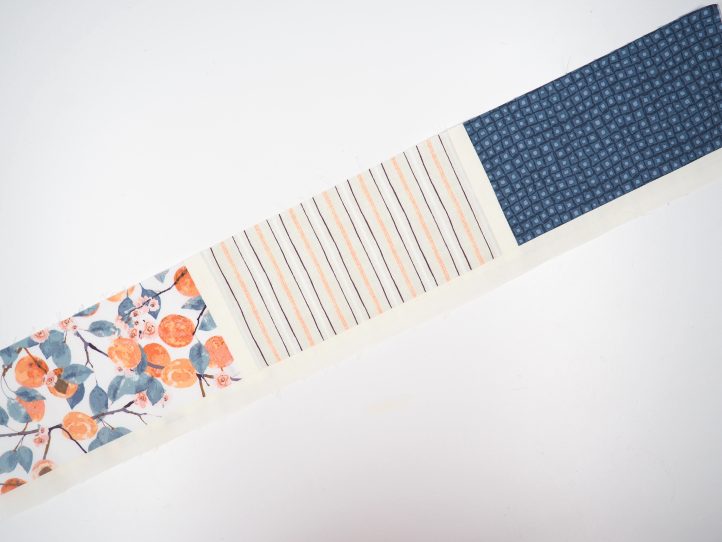
- TIP: There is a bit of an opportunity for chain piecing here. Take a grout line and a few bricks (the designer managed eight bricks on one strip of grout) and join them close together but not quite touching as you see in Image one. Then trim between them to separate them as in image two. When turned the right way out, this will give you bricks with a grout line on the right hand side of each one, which can be placed into relevant positions on the path. Do this with the half bricks too. Leave some half and full bricks for the ends where a grout line is not needed.
- To begin with, choose a few whole bricks and a strip of ‘grout’. Attach the bricks to the grout leaving a small space in between.
- Then trim it so that the bricks are separated with a line of grout on the left hand side of each one. Press the seams open.
- Start the row with a brick without a grout line and join one of your prepared bricks to it.
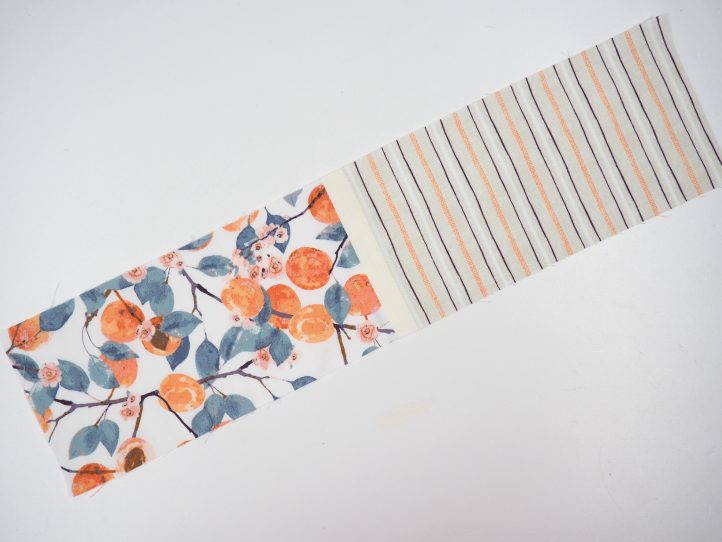
- Add another brick with another end grout line already attached.
- Before adding the next row of bricks, add a grout line to the bottom of the bricks, press and trim.
- TIP: On the longer grout lines, press the seam to the grout line.
- The next brick is a half one so choose a brick and cut it in half vertically. Add grout, more bricks and finish with another half brick. Join it into the first row.
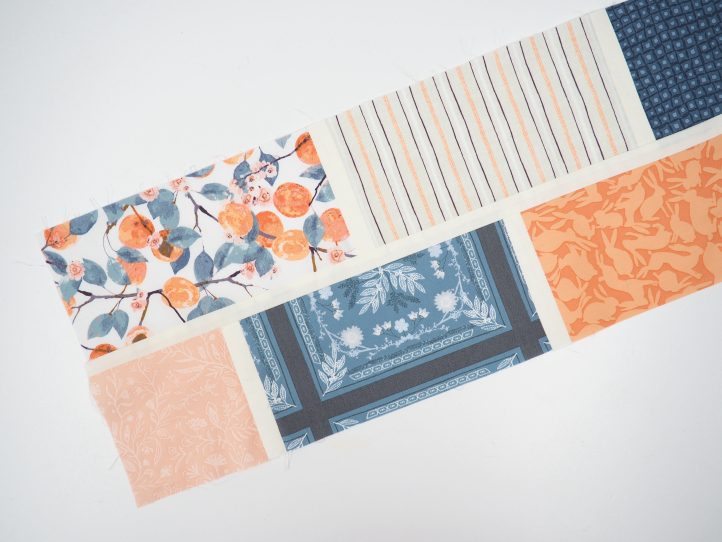
- Keep going like this until the runner top has reached its length (about 48”).
- TIP: Debbie says ‘about’ because you can make the runner longer or shorter. Just be aware that if you make it longer, your fabric, binding and batting needs will also change.
- When you are happy and everything is pressed, lay the backing fabric face down onto a flat surface, center the batting on top of it and the pressed and patched panel on top of that, face up. Pin so that no movement is possible in any direction.
- Quilt with your favorite pattern. The designer loves a diagonal wave, which is super easy to do and possible on most home sewing machines.
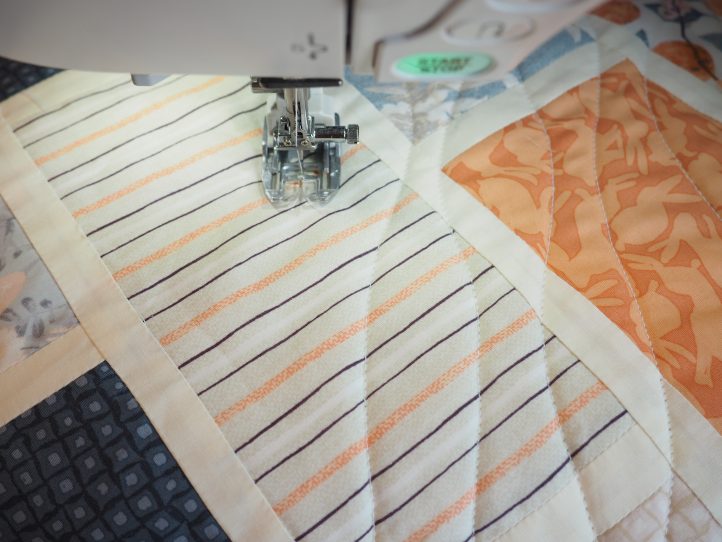
- Trim the quilted top back to the size of the patched top panel and round the corners. The designer used an upturned teacup as a ruler.
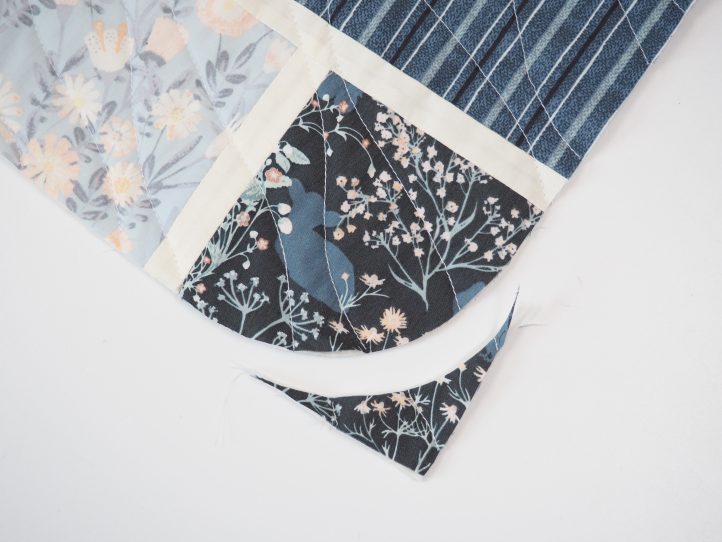
- Bind with your bias tape.
- TIP: To make your bias tape, fold the long strip in half length ways with the wrong sides together and press to obtain a center crease. Fold the two raw edges to the center crease and press again. Roll until you need it.

This is the first of your magazine I’ve seen and I love it. Thank you, Janice~
Thank you so much for your kind comment, Janice! Have a great day 🙂 – Ashley, We Like Quilting