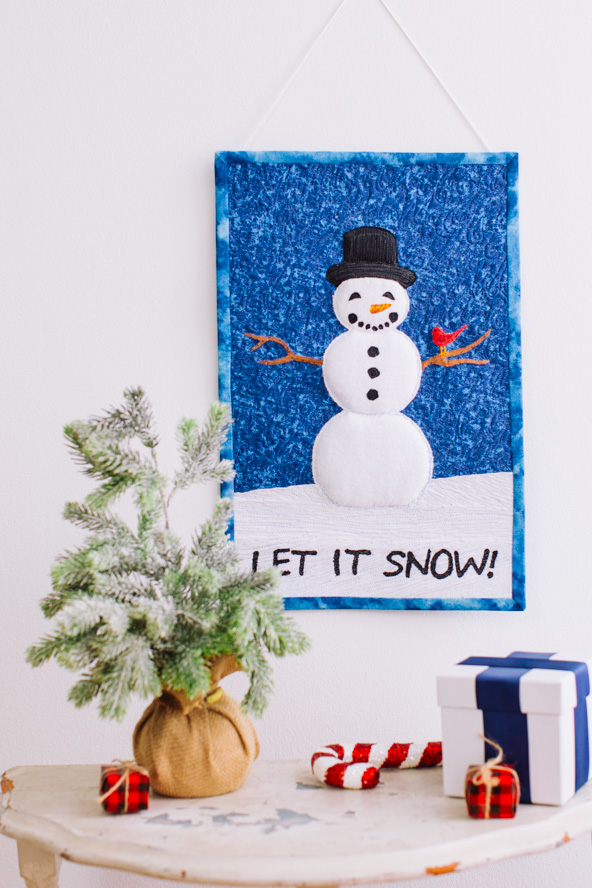
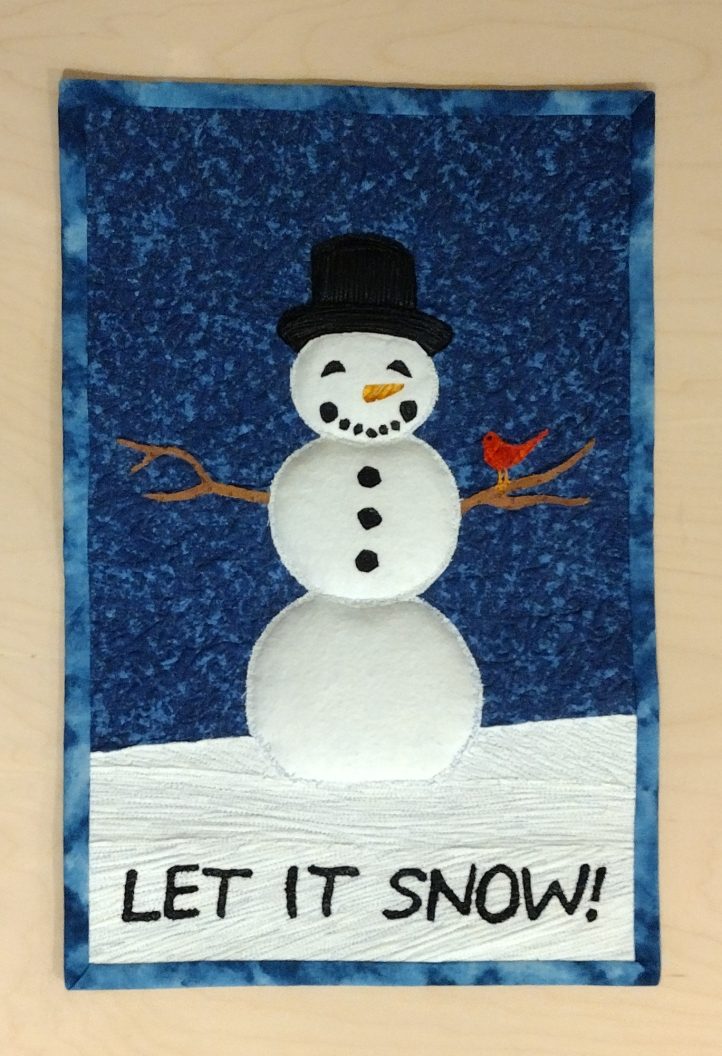
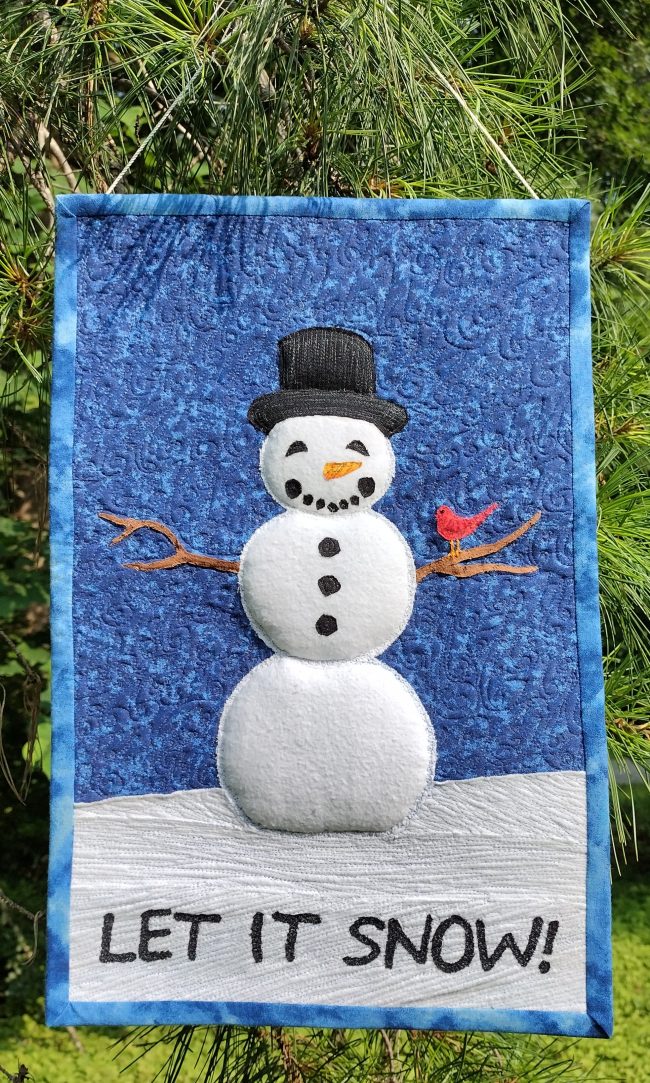
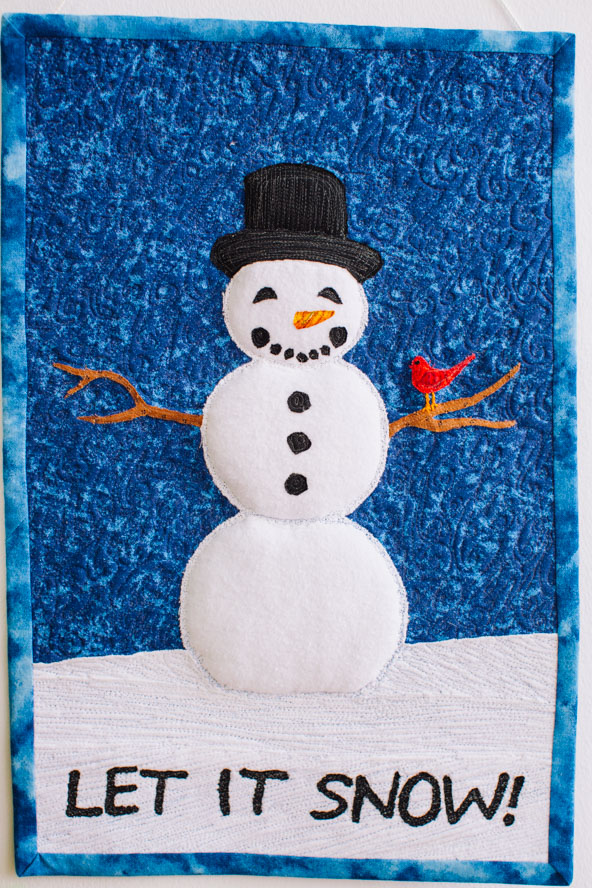
Tired of dealing with dreary winter days? Brighten up your living space with this adorable snowman wall hanging! This quilted wall hanging pattern uses trapunto quilting to create a pretty 3D effect, making it a wonderful project to practice a new skill while creating adorable décor at the same time. Perfect for using up small fabric scraps, this winter wall hanging is a great way to add texture to your home décor.
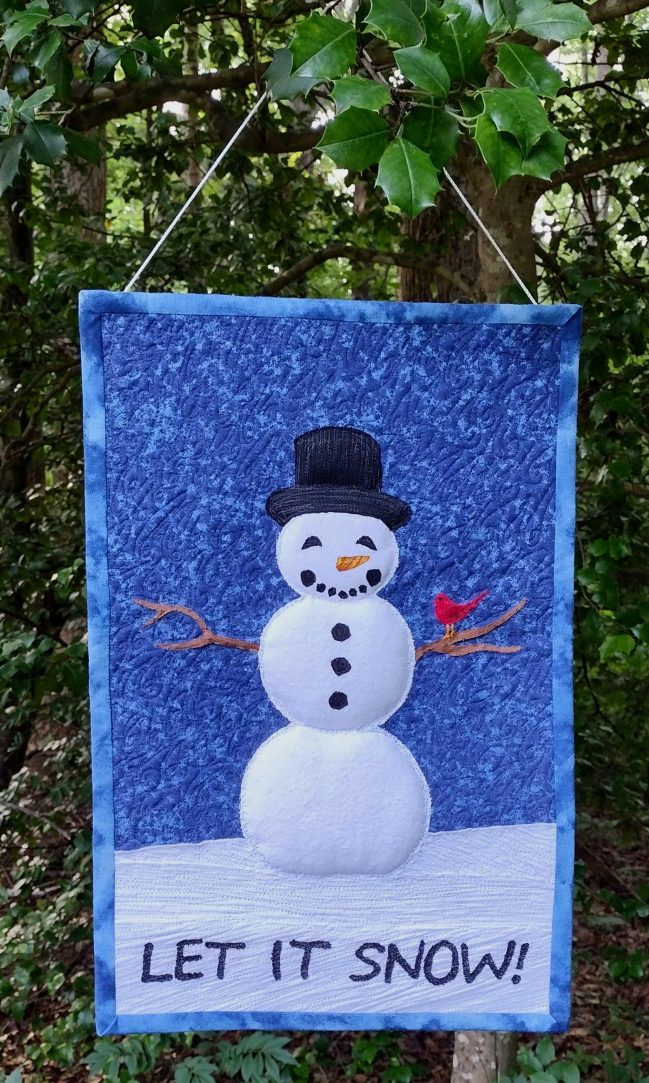
This cheerful snowman wall hanging celebrates the winter season, and reminds us that there’s something magical about even the coldest, dreariest nights! It makes a nice handmade gift for a winter-loving friend, and it’s a great scrap-busting project for leftover pieces of fabric and fusible web. This wall hanging is also a good way to practice the trapunto quilting technique. Trapunto quilting utilizes a lofty batting in the center of the “sandwich”, which is then quilted very tightly in some areas, and not at all in others. This results in a 3-dimensional effect that allows the snowman and his little bird friend to pop away from the background. Different stitch patterns lend a lot of interest and texture to the quilted areas, almost like brush strokes on a painting.
Designer Notes:
- Quilting cottons can work for this project, but using a thick white flannel adds a fuzzy texture and ensures that the dark background fabric will not show through the white fabric of the snowman.
- Printed fabrics may be used for the backing, sky, carrot, bird, and branches. However, bear in mind that using a printed fabric instead of a solid black fabric may make the words more difficult to read.
Materials:
- 1 12” x 18” piece of dark blue fabric
- 1 12” x 18” piece of coordinating backing fabric
- 2 yards of coordinating binding
- 1 12” x 18” piece of 1/2” batting (alternately, 2 layers of 1/4” batting can be used. Or, utilize 4 layers of 1/8” batting, which is how the example was constructed.)
- Double-sided fusible web
- Small scrap of thick white flannel
- Small scrap of orange fabric
- Small scrap of red fabric
- Small scrap of brown fabric
- Small scrap of black fabric
- 18” of yarn or thin cording
- 10” long chopstick, skewer, or thin dowel
- 2 thread colors for bird legs & eye (the designer used orange and black)
- Monofilament thread for quilting
- Non-stick applique pressing sheet (optional but highly recommended)
- PDF Template – This is located at the bottom of this page. See printing instructions below.
PRINTING INSTRUCTIONS:
To download the PDF template, click on the download button at the bottom of the page. We recommend opening your download using Adobe Acrobat.
Instructions:
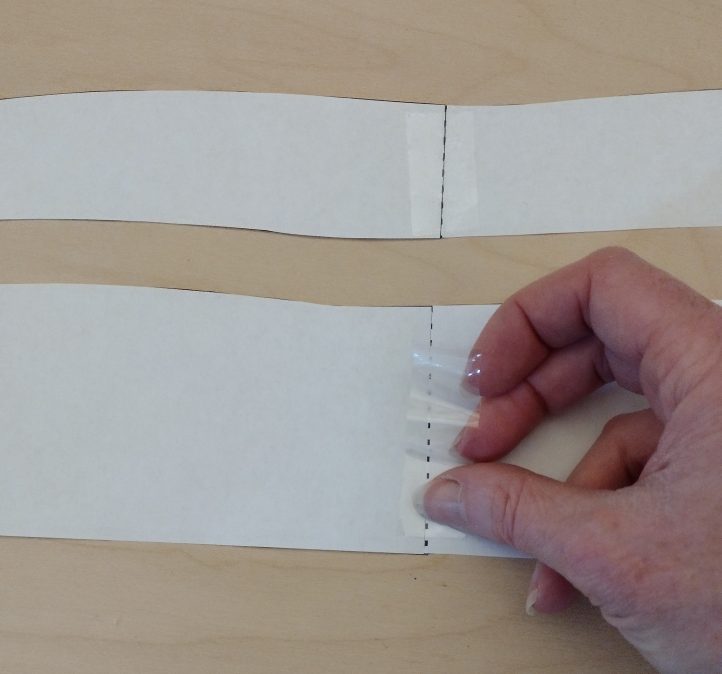
- Print out Snowman pattern and placement guide. Locate four pattern pieces with dashed lines, and tape pattern pieces together along dashes. Please note that all pattern pieces are mirror reversed, which will create a design that faces the correct way when pieces are cut from the back of the fabric. This means that the fusible web is always applied to the wrong side of the fabric, if there is a wrong side, and the pattern pieces will all be traced onto the paper side of the fusible web before the pieces are cut out.
- Fuse web to a small piece of white flannel, and cut out pattern pieces C, G, and H to form snowman body.
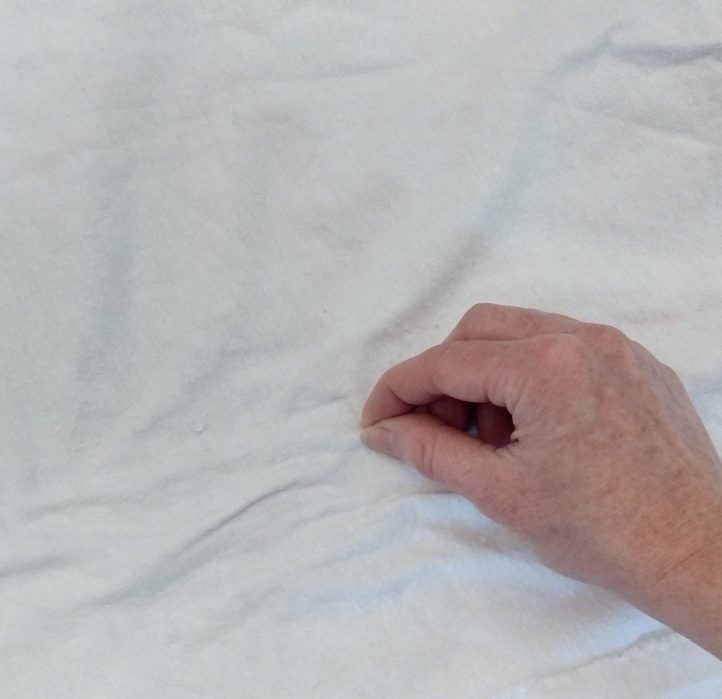
- Using fingernails, create small ripples in some of the white flannel to resemble snowdrifts and uneven areas of the ground. Gently, using steam, press straight down to set ripples in place.
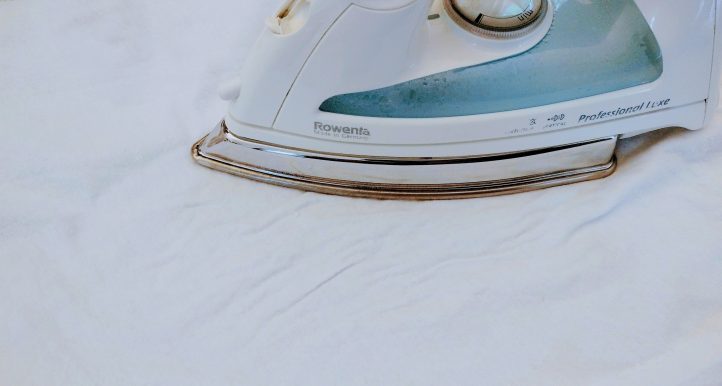
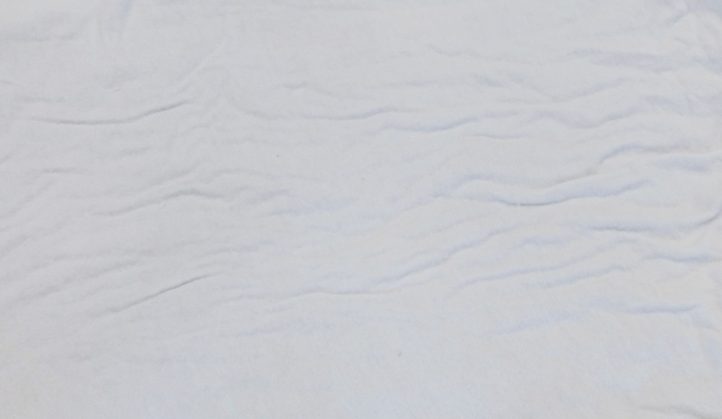
- Fuse double-sided fusible web to rippled area of the flannel, preserving ripples, and cut out pieces A, B, D, and E according to the pattern. Cut pieces so that the angle of the ripples varies slightly on each piece.
- Fuse double-sided fusible web to the back of black fabric and cut out pattern pieces I, J, and M. Repeat the process to cut out F pattern pieces from brown fabric, K piece from red fabric, and L piece from orange fabric.
- Lay dark blue fabric on table with right side facing up. Following printed placement guide, layer all applique pieces onto dark blue fabric, removing paper from fusible web as you place each piece down. Overlap pieces by about 1/8” in alphabetic order, so that A and B are slightly covered by C, and D is overlapping on top of C, and so on. Ensure that all pieces are facing with the fusible web sides down.
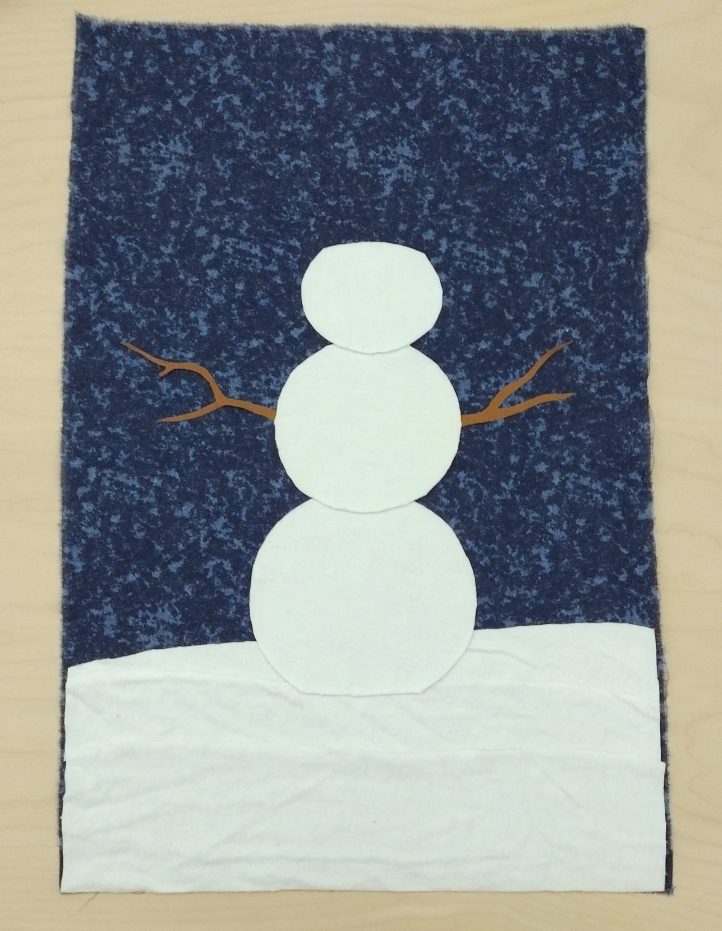
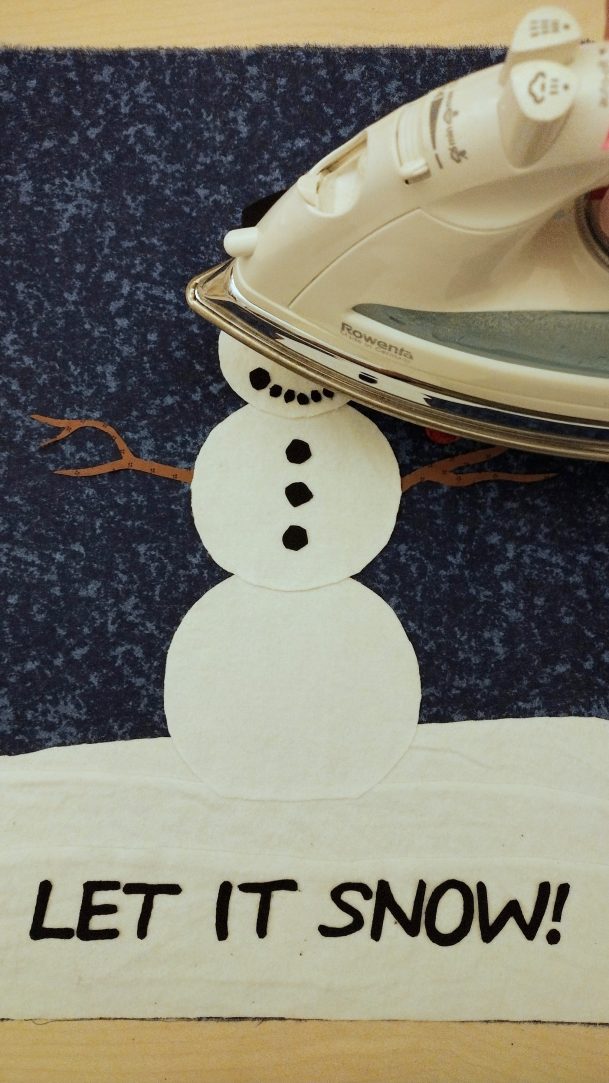
- Cover entire piece with non-stick applique pressing sheet and fuse all pieces down according to fusible web package directions.
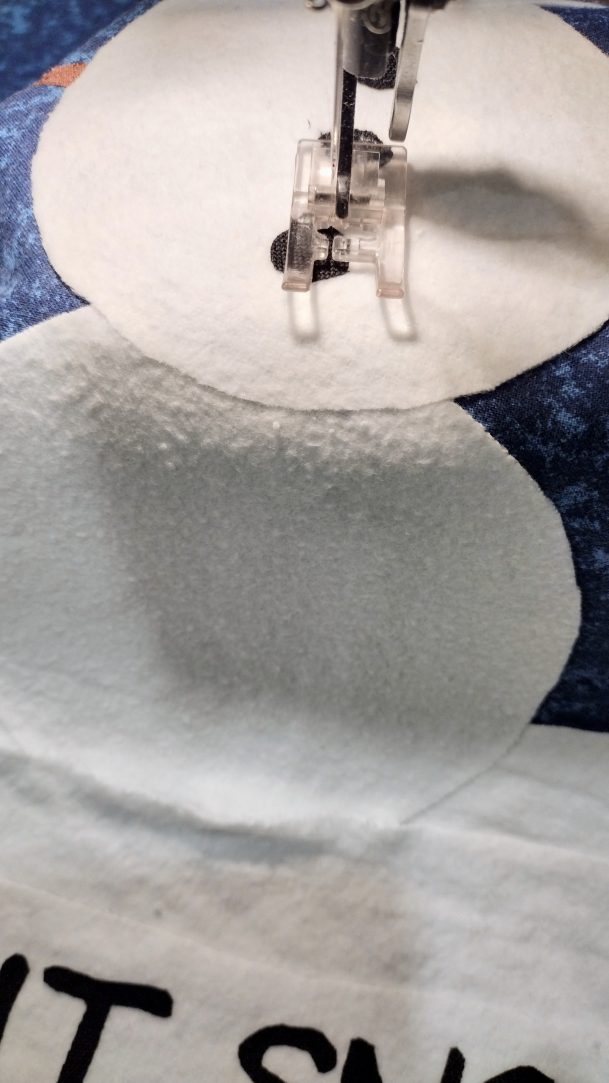
- Using a monofilament thread, stitch down bird, branches, and snowman’s buttons and face. Stitch hat pieces, echoing edges so that hat brim has curved horizontal lines of stitching and crown has vertical lines of stitching. Stitching these elements down before batting is added will help achieve a 3-D effect in the finished piece.
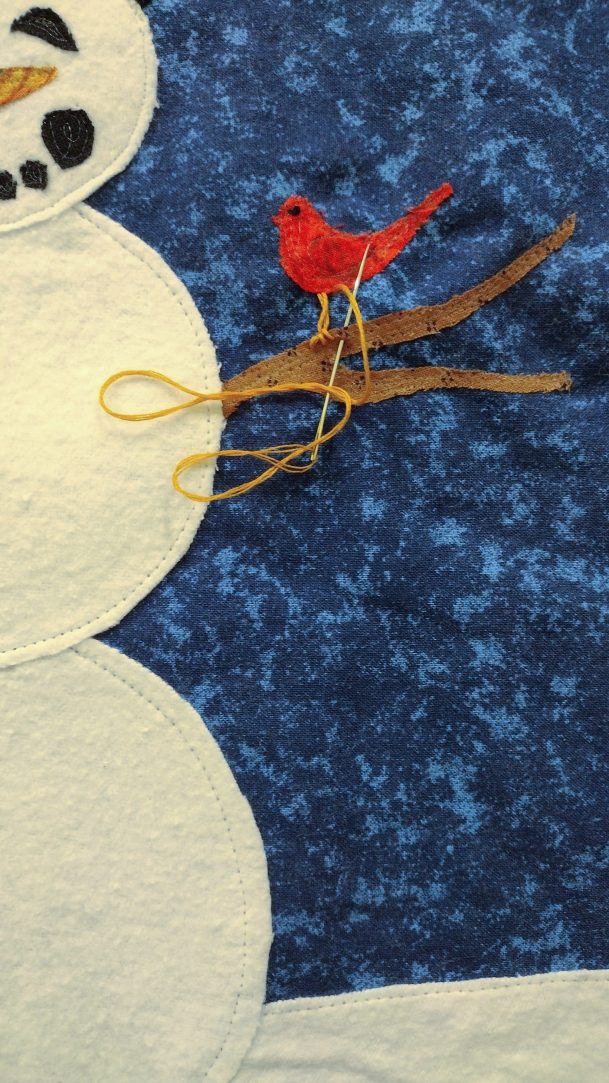
- Using hand or machine stitching, add bird’s legs using orange thread and eye using black thread.
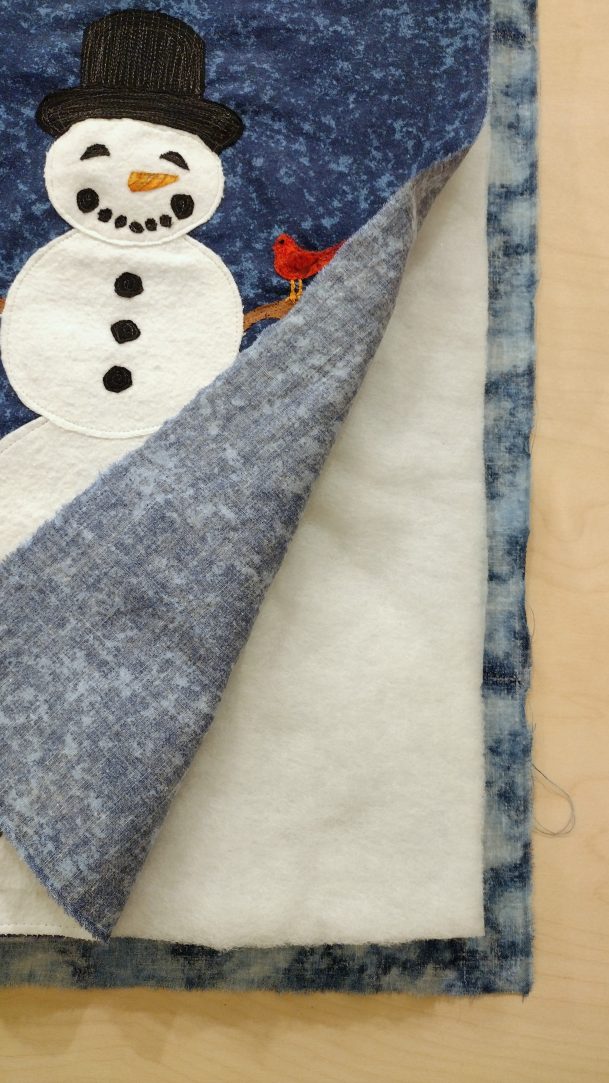
- Lay backing fabric on table, right side down. Add batting on top of backing fabric. Add fused snowman piece on top, right side up. Pin generously.
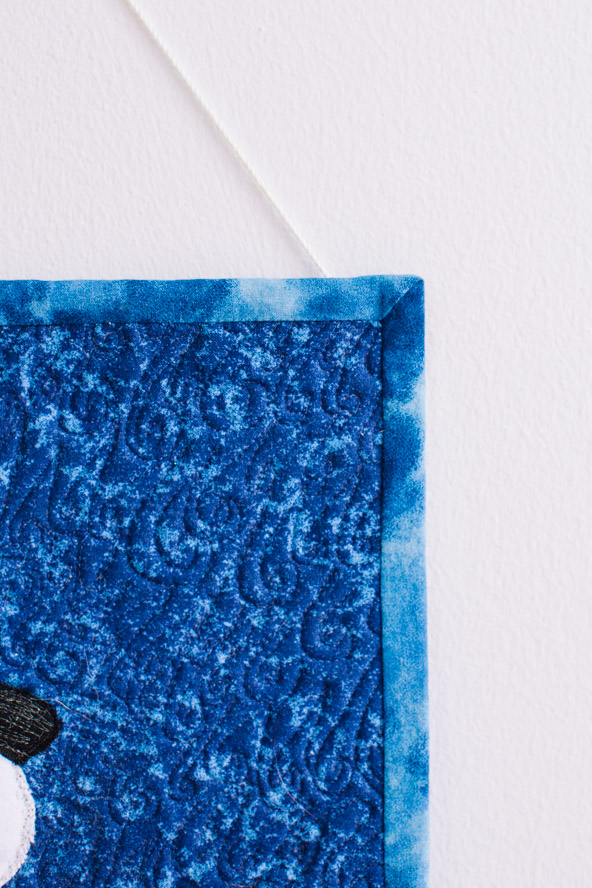
- Using a monofilament thread, quilt ground and sky. The designer suggests using close lines of stitching that mimic the ripples in the snow, and a tight swirled pattern in the sky to suggest snowflakes blown by the wind.
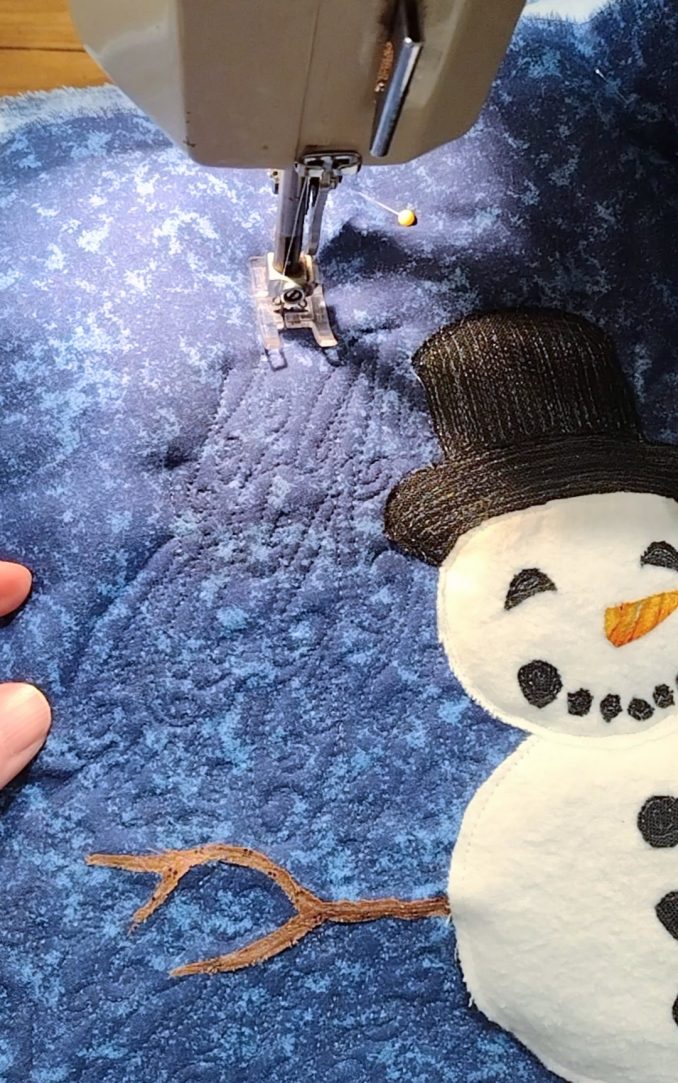
- Quilt tight spirals on letters, and 1/8” around the edges of the snowman’s white pieces, to hold all elements firmly in place and allow the batting layers to remain full and puffy behind the snowman. Quilt up to but not on top of bird, branches, and hat. Leave all but the very edges of snowman unquilted to add a 3-dimensional effect.
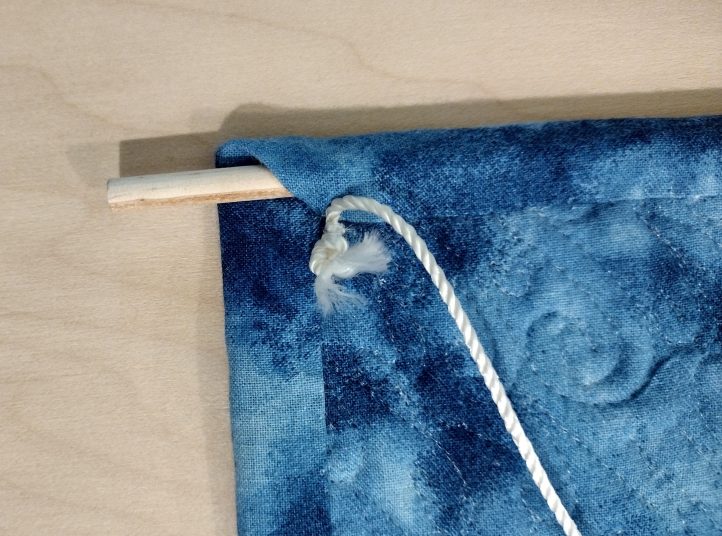
- Square piece and add binding. Leave mitered binding corners unstitched, to enable the dowel to slide inside the binding on the back of the top edge.
- Tie a knot in each end of cording, and hand-sew ends of cording to top corners of backing.
- Slide dowel inside top piece of binding on the back of piece to stiffen top edge, and hang on wall.

I would really like to get this pattern in a pdf. Is that possible?
Adorable! I cannot wait to make this wall hanging.
Thanks so much for your kind comment! Have a great day 🙂 – Ashley, We Like Quilting